Inside ASUS ZenBook 14 UM433 – disassembly and upgrade options
When we had our in-depth check on this notebook, we noticed that the cooling solution is not really efficient, especially for the hardware inside.
Check out all ASUS ZenBook 14 UM433 prices and configurations in our Specs System or read more in our In-Depth review.
1. Remove the bottom plate
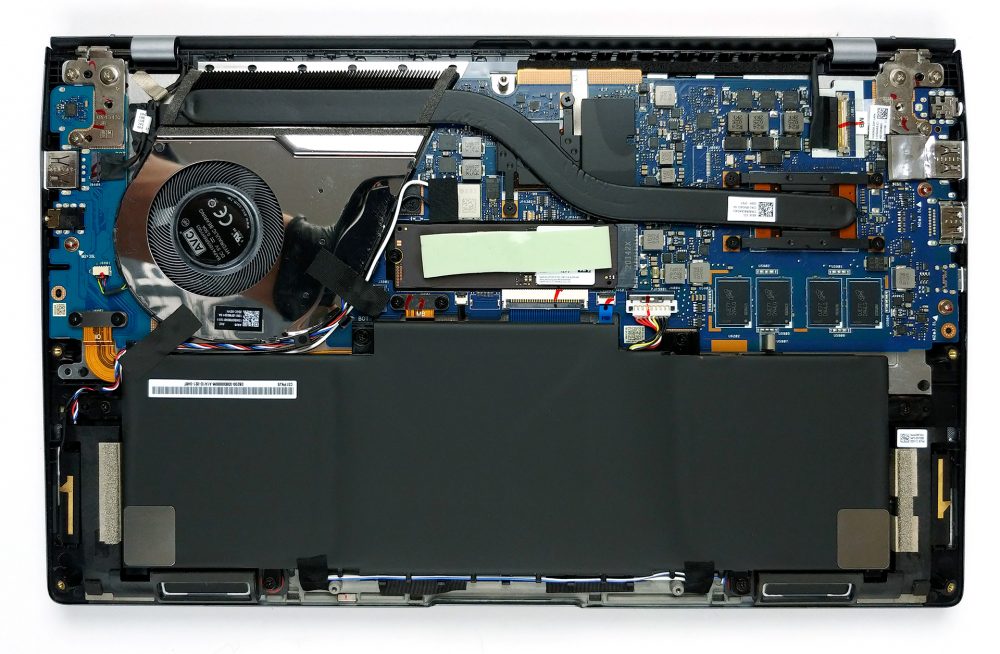
The first thing you need to do, to get inside of the machine, is to remove 7 Torx-head screws. Then, pop the back rubber feet with a sharp plastic tool to find two Phillips-head screws. And after you undo them, you can pry the bottom panel away.
2. Memory, storage, and battery
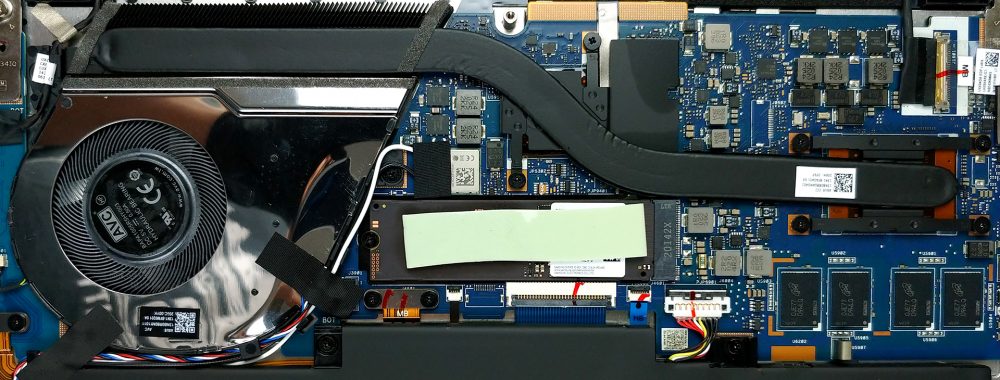
In terms of memory, you have two options – 8GB and 16GB of LPDDR4 RAM, working at 4266 MHz. Sadly, there are no slots, so you won’t be able to upgrade it at any point after purchase. On the other hand, ASUS offers one M.2 PCIe x4 slot for storage.
As of the battery, which for some reason is put upside down, it has a 50Wh capacity.
3. Cooling system
We find it a bit weird to include only one heat pipe, given the fact that this unit features a Ryzen 7 4700U and a GeForce MX350, although it is the 10W variant. On the bright side, the heat pipe is pretty thick, and the ErgoLift mechanism should allow more air to enter the chassis.
Check out all ASUS ZenBook 14 UM433 prices and configurations in our Specs System or read more in our In-Depth review.


