Inside Dell Latitude 5400 – disassembly and upgrade options
Dell Latitude 5400 proved to be a pretty strong device in the business segment of the market. Indeed, it battles the likes of ProBooks and ThinkPads but we think its battery life is going to win you. Come see why.
Check out all Dell Latitude 5400 prices and configurations in our Specs System, or read our In-Depth review.
1. Remove the bottom plate
Let’s note that Dell has done a great job with their latest Latitude devices – most of them are using screws that stay attached to the bottom plate when you unscrew them. This makes it extremely easy to keep track of them, as they basically never change their places.
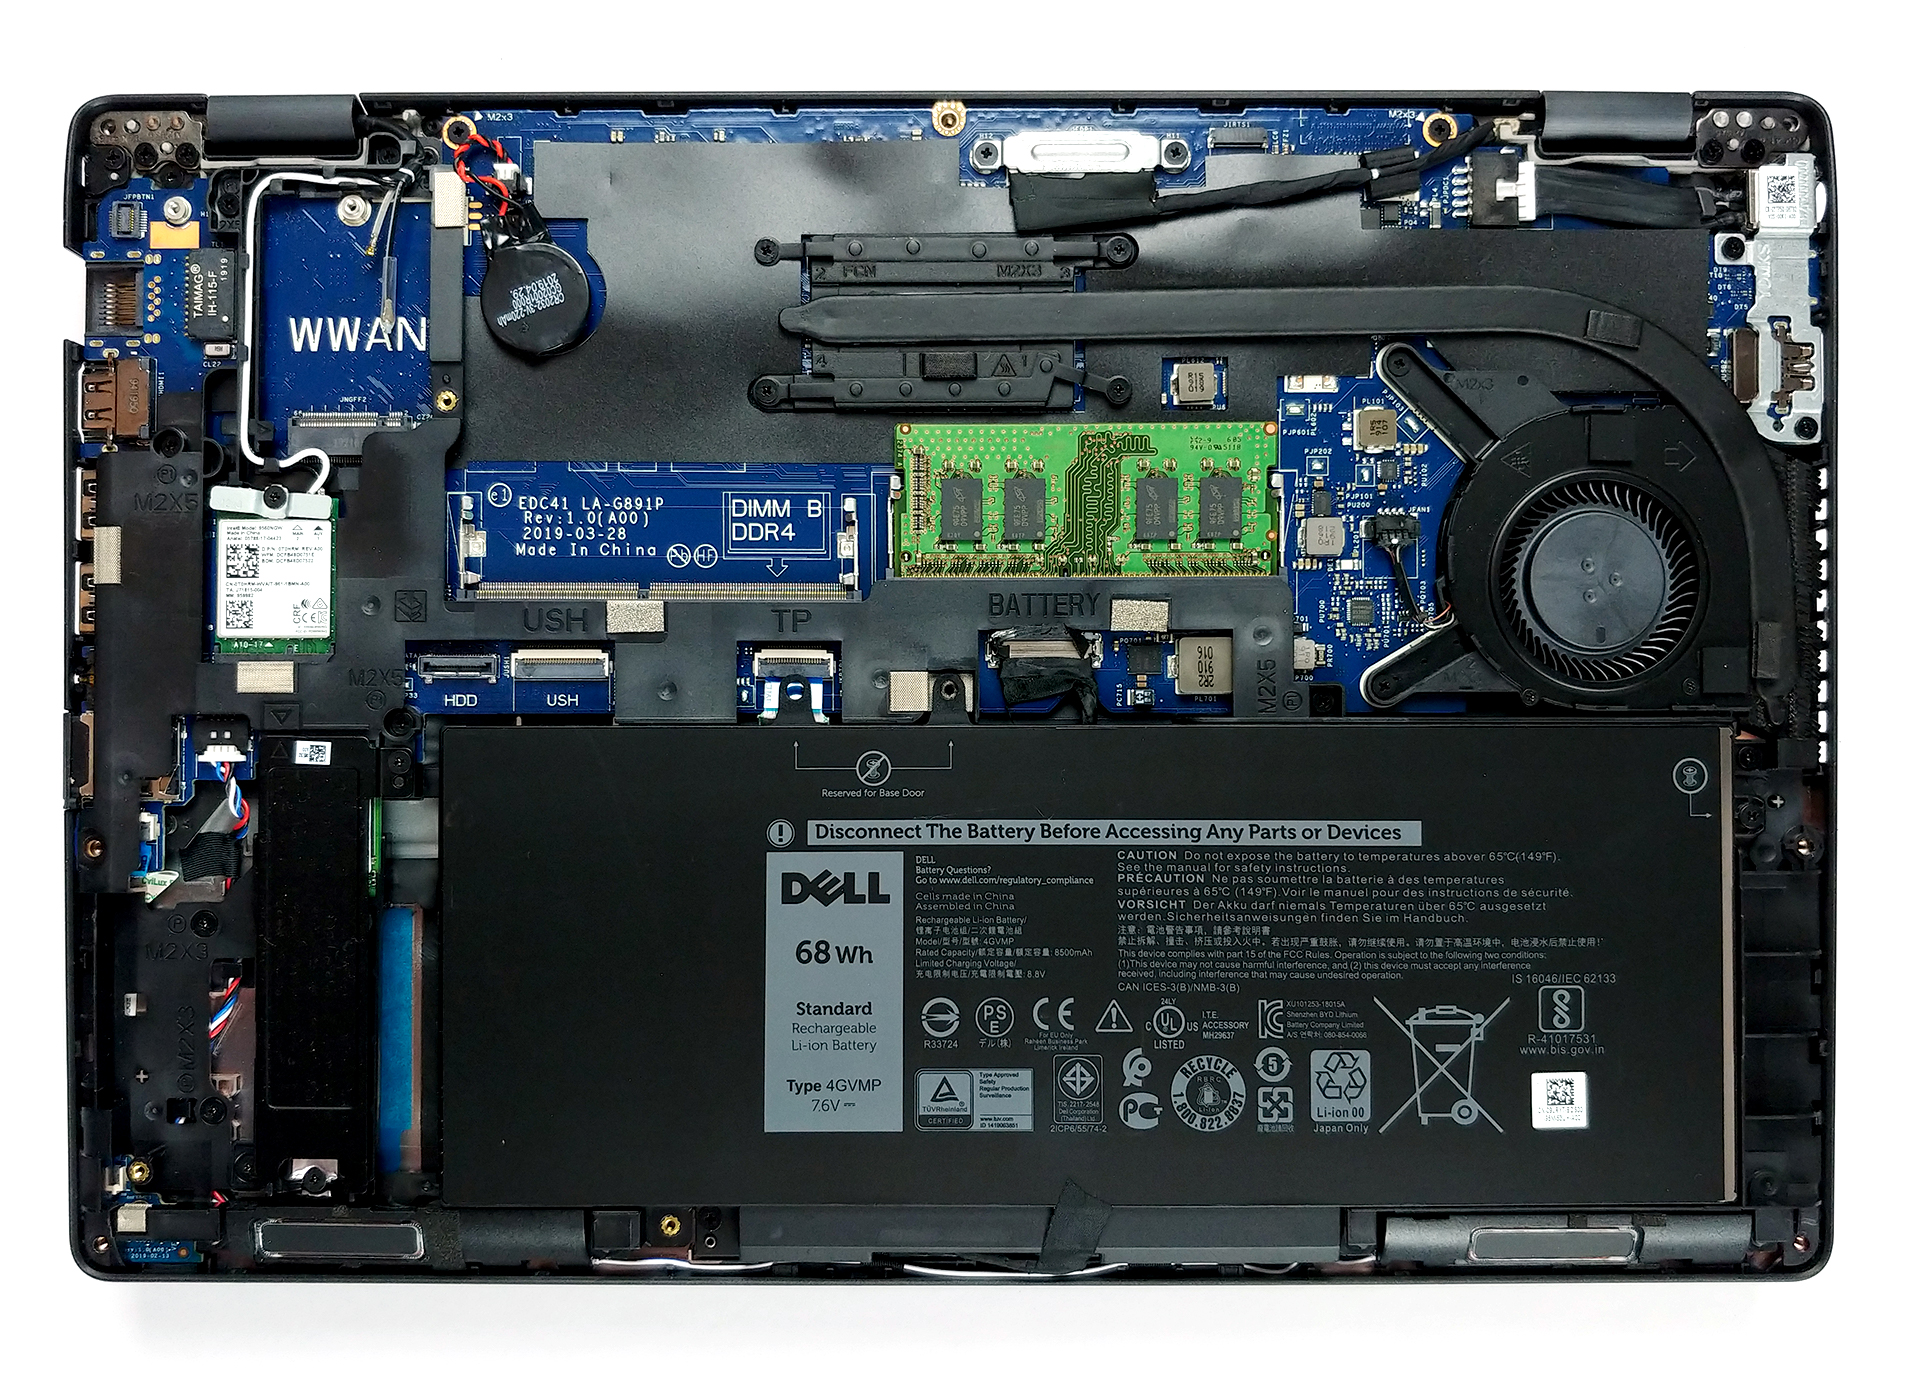
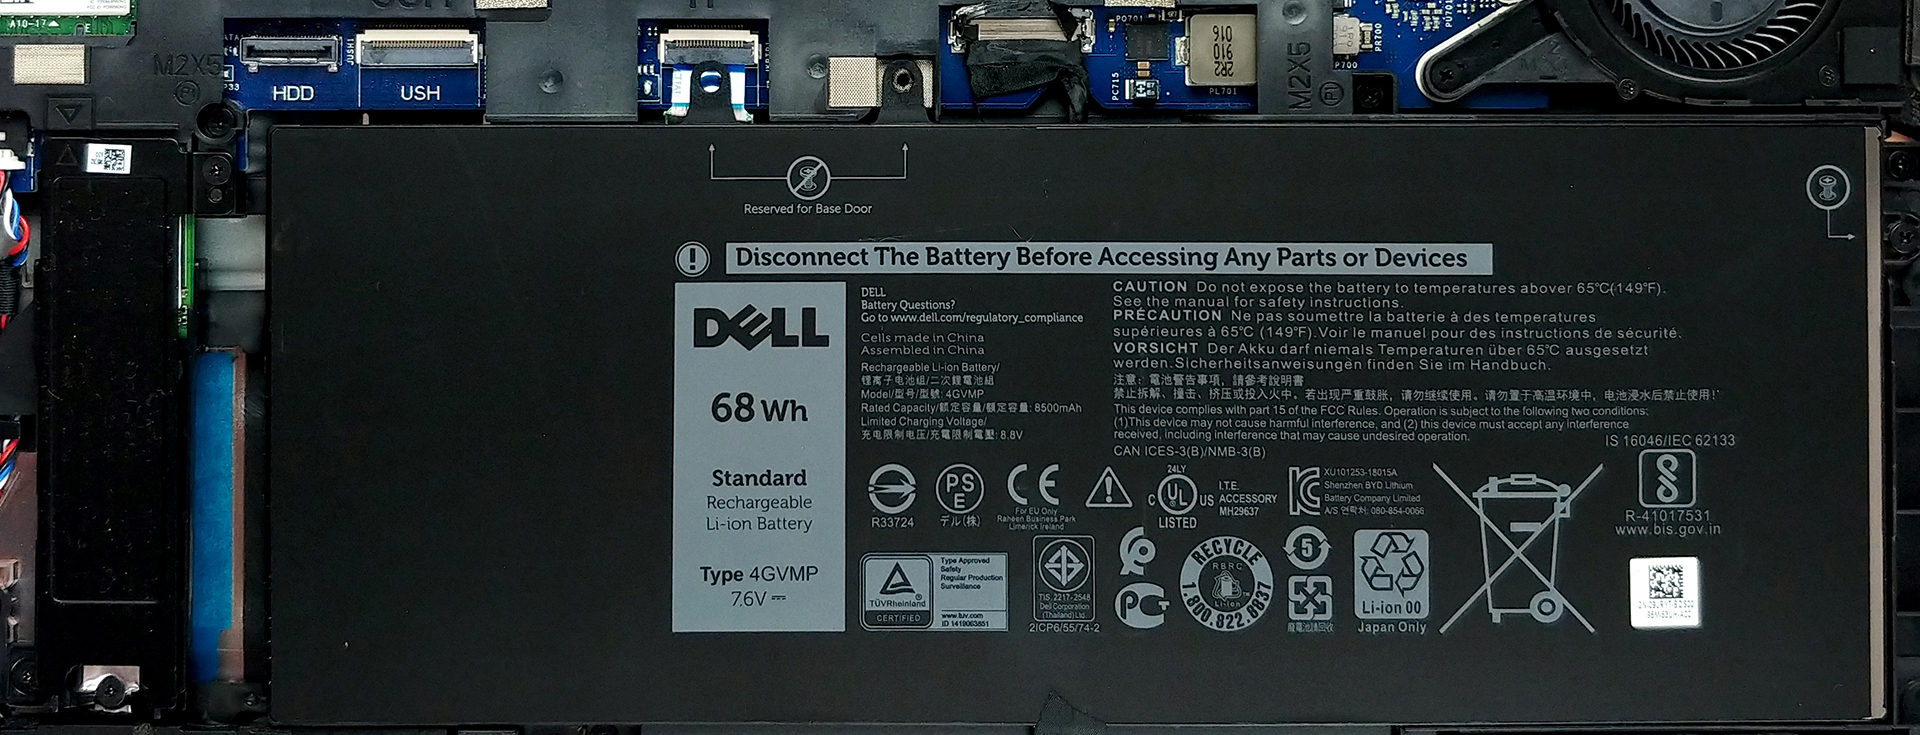
2. Battery and storage
Interestingly, the battery of this laptop is secured by only one Phillips-head screw. Perhaps, the clips around it are doing more than the screw itself, but let’s not waste our time on this – we have a 68Wh battery unit inside a 14-inch budget laptop that runs ULV hardware on it. By the way, on its left, you can see the NVMe M.2 slot.
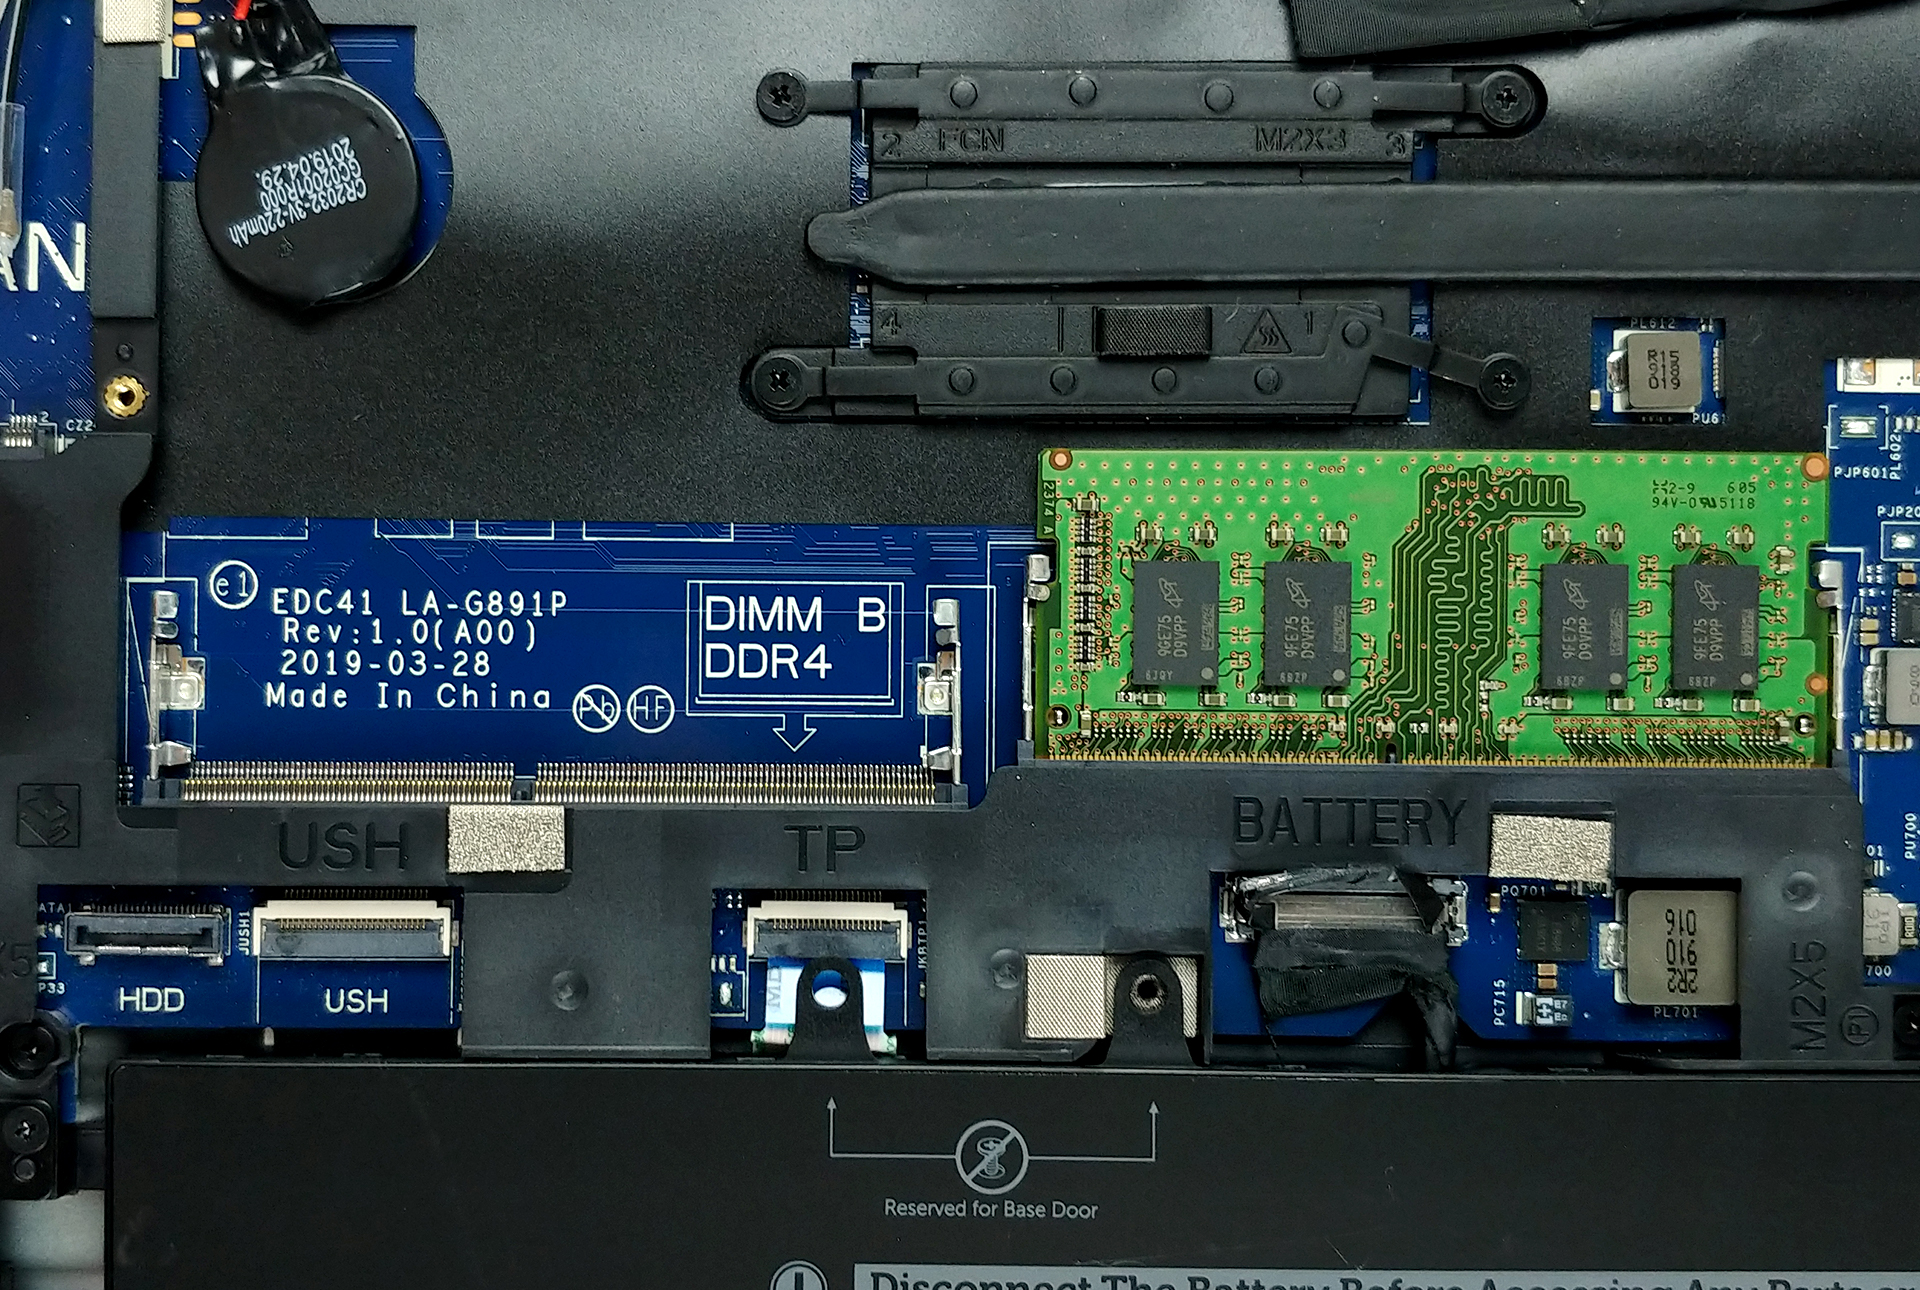
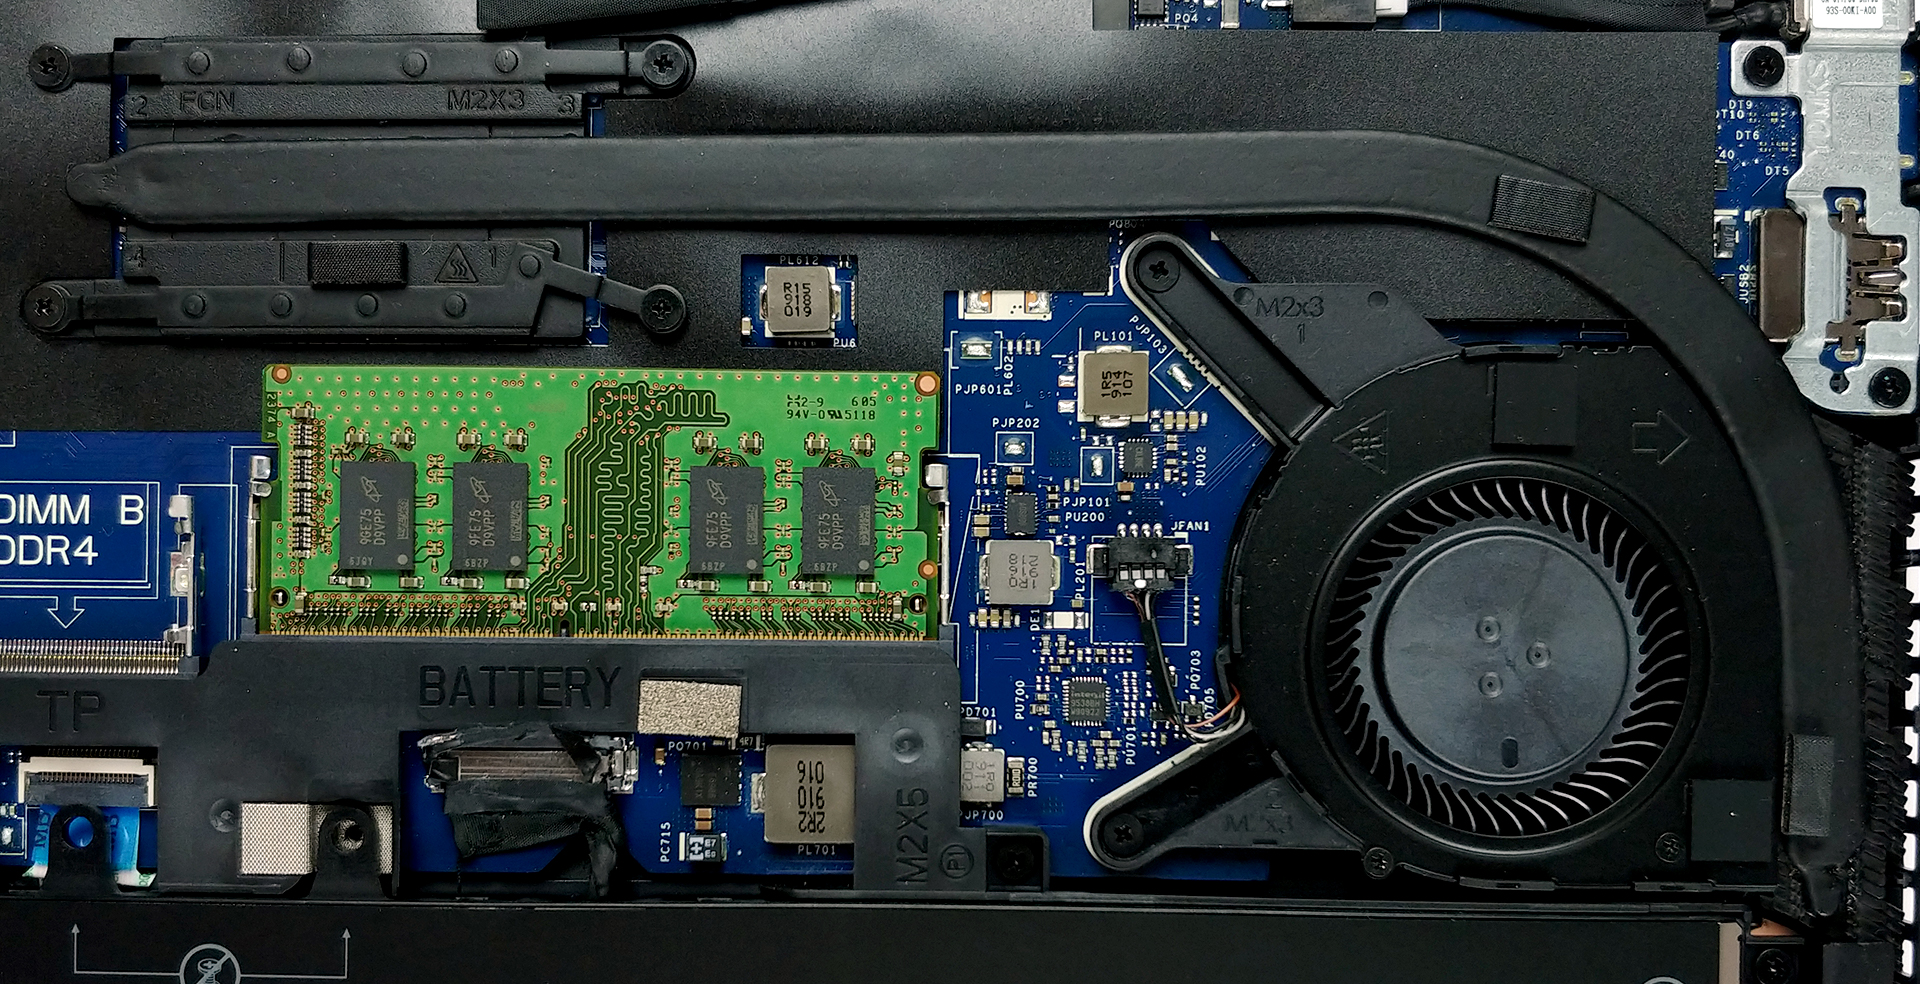
3. Memory
As you can see from the image below, the Latitude 5400 has two RAM DIMMs that support a total of 32GB of DDR4 memory.
4. Cooling solution
Quite frankly, we are fans of cooling solutions that exhaust the hot air away from the display. This makes them more efficient and less harmful for their own hardware. Other than that, nothing is unusual about this cooling system. It uses only one heat pipe, that is rather long and ends in a heatsink. We are kind of disappointed with the fan size, especially since the competition has significantly larger ones.
Check out all Dell Latitude 5400 prices and configurations in our Specs System, or read our In-Depth review.


![[June 2026] Best-Selling Laptop Brands on Amazon Global – Apple’s Unrivaled Dominance in Units and Revenue](https://laptopmedia.com/wp-content/uploads/2026/07/GLOBAL-Best-Brands-400x225.jpg)
![[June 2026] Amazon Global: Top 10 Best-Selling Laptops – Apple’s New MacBook Neo Storms to #1, Reshaping the Market with Affordability](https://laptopmedia.com/wp-content/uploads/2026/07/Best-Selling-Laptops-GLOBAL-Top-10-400x225.jpg)
![[June 2026] Amazon Global: Top 10 Best-Selling Gaming Laptops – Acer’s Nitro V 16S AI Dominates Sales, While ASUS Leads Overall Revenue](https://laptopmedia.com/wp-content/uploads/2026/07/Best-Selling-Gaming-Laptops-GLOBAL-Top-10-400x225.jpg)
![[June 2026] Global Ranking of Best-Selling Laptop GPUs on Amazon – NVIDIA RTX 5060 is the Top-Selling Dedicated GPU](https://laptopmedia.com/wp-content/uploads/2026/07/Best-Selling-GPUs-GLOBAL-Top-10-400x225.jpg)
![[June 2026] Global Ranking of Best-Selling Laptop CPUs on Amazon – Apple M5 Dominates, AMD Ryzen 7 260 Gets Solid Premium Share](https://laptopmedia.com/wp-content/uploads/2026/07/Best-Selling-CPUs-GLOBAL-Top-10-400x225.jpg)
