Inside HP ProBook 470 G3 – disassembly, internal photos and upgrade options
HP’s ProBook lineup has been pretty easy to maintain with all the service lids that the lineup provides along with a super-easy user-replaceable battery. Fortunately, the 17-inch 470 G3 model sports several of those maintenance hatches offering a fast and easy upgrade of most hardware like storage, Wi-Fi card, battery etc.
You can find some the available configurations here: http://amzn.to/2cqK4py
1. Maintenance hatches
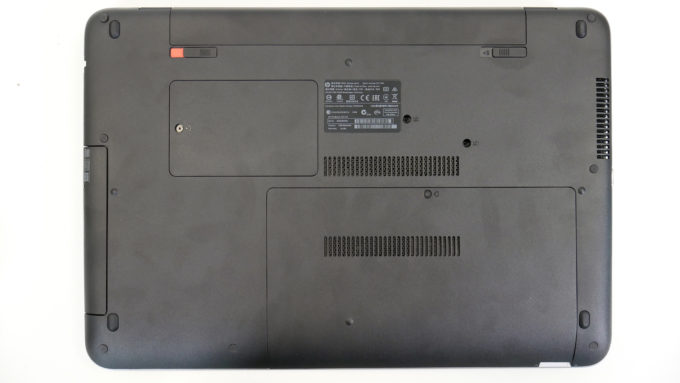
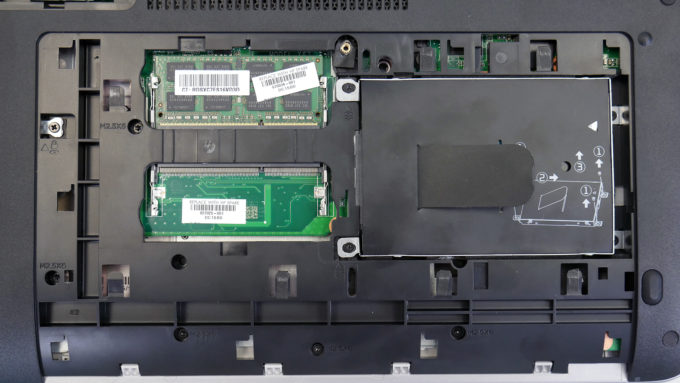
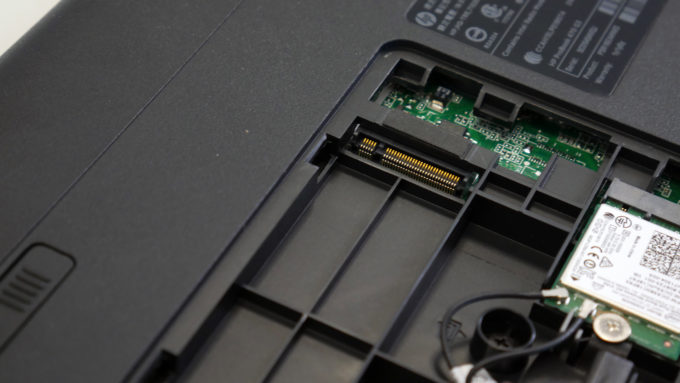
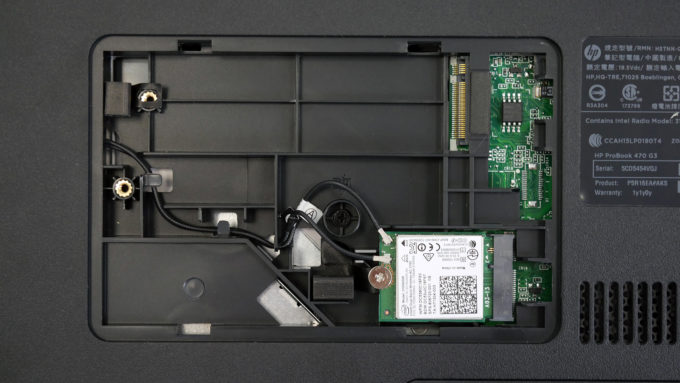
The bottom side of the laptop features two service lids held by just one screw each. The smaller one provides access to the M.2 SSD and Wi-Fi module while the big lid hides the RAM slots and 2.5-inch HDD.
2. Storage options
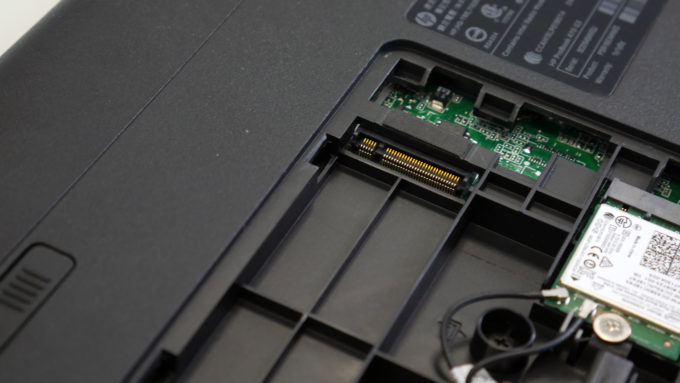
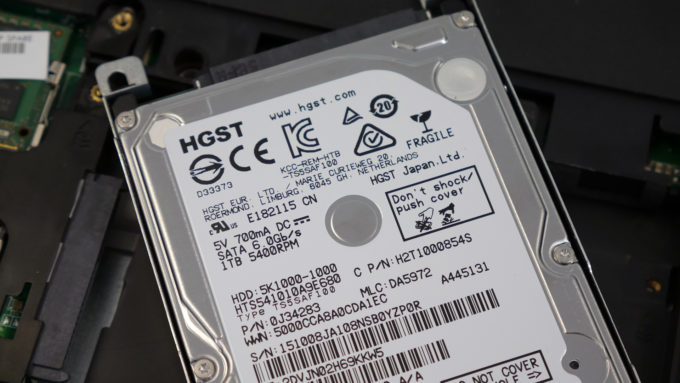
For a budget 17-inch solution, the HP ProBook 470 G3 has plenty of those. As we said above, the big lid holds the 2.5-inch HDD, which in this case is an HGST 1TB HDD spinning at 5400 rpm, while the smaller lid contains the M.2 SATA SSD slot with B-key and it’s compatible with 2280 sticks.
3. Battery, RAM and Wi-Fi card
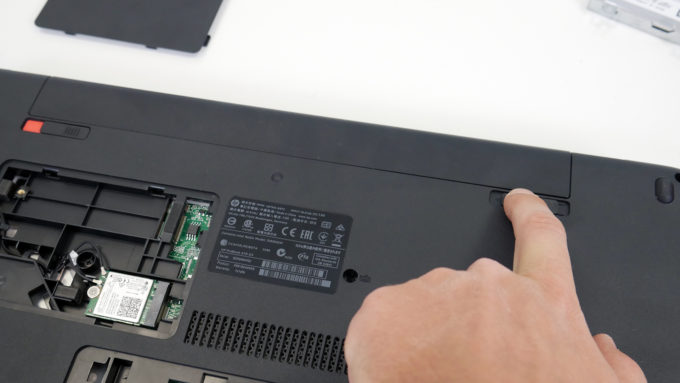
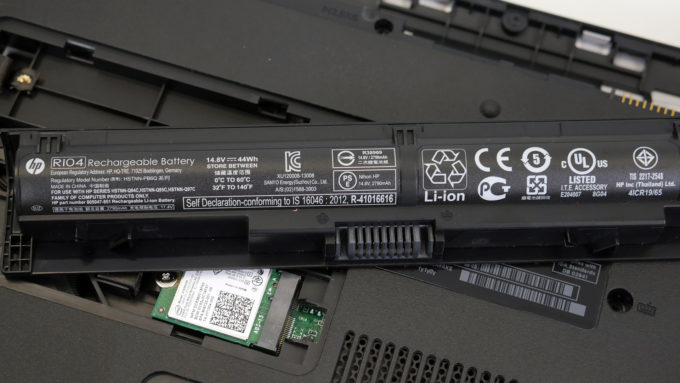
The battery is user-replaceable and can be accessed really easy. Just use the lever mechanism to detach it as shown in the photos below. The unit itself is rated at 44Wh.
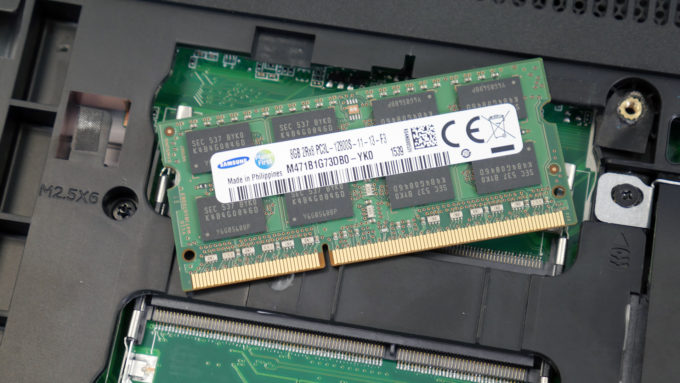
The two RAM slots are located right next to the 2.5-inch drive under the big maintenance hatch but there’s a small catch. HP has listed this model to support DDR4-2133 RAM but our unit arrived with a standard DDR3L-1600 memory stick with 8GB capacity manufactured by Samsung. Keep an eye on this little detail if it’s important to you and ask your retailer before buying in your region.
The Wi-Fi card is located right next to the M.2 slot manufactured by Intel – Dual Band Wireless-AC 3165 with model number 3165NGW.
4. Accessing the motherboard
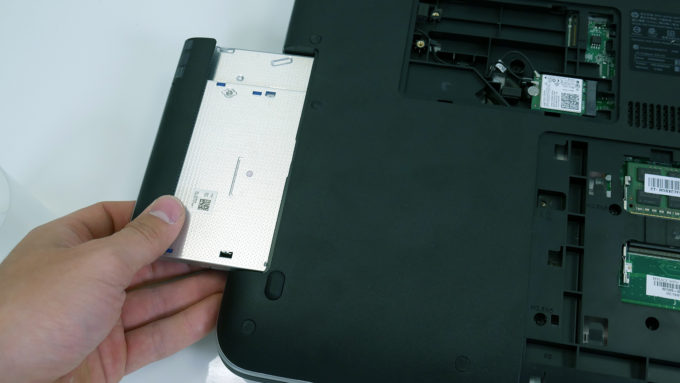
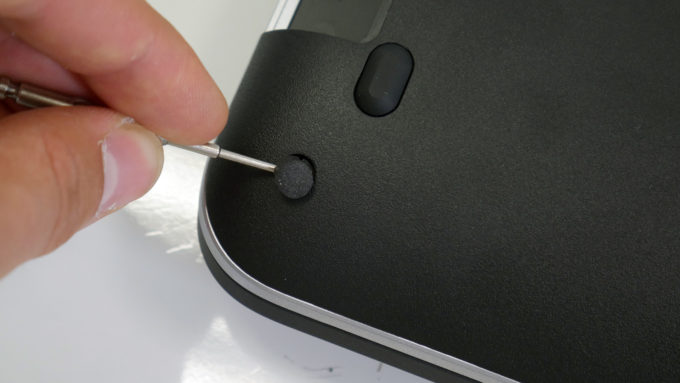
If you wish to access the motherboard, you need to take all the screws off. There are a couple of hiding beneath the big maintenance hatch, some under the battery and three under the optical drive, which, by the way, can be replaced by a caddy with another 2.5-inch HDD for extra storage. You will also have to watch out for all the silicone caps on the screws as shown in the photos below.
You can find some the available configurations here: http://amzn.to/2cqK4py
