Inside Lenovo ThinkPad X1 Extreme Gen 2 – disassembly and upgrade options
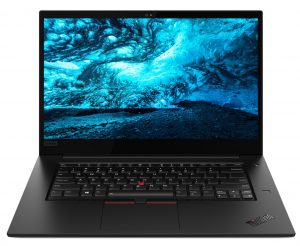
Lenovo ThinkPad X1 has two versions – the Carbon, which is the small, thin and light machine, you can take everywhere, and the Extreme Edition, which is also thin and light, for its footprint, but also packs a lot more power with a dedicated GPU and H-series processors.
Check out all Lenovo ThinkPad X1 Extreme Gen 2 prices and configurations in our Specs System or read more in our In-Depth review.
1. Remove the bottom plate
While ThinkPads, in general, are very easy to disassemble, this particular model is even more hassle-less. You got 7 Phillips-head screws to remove, and after that, you need to pry the bottom plate from the backside. Then you can simply slide it and it will come out right away.
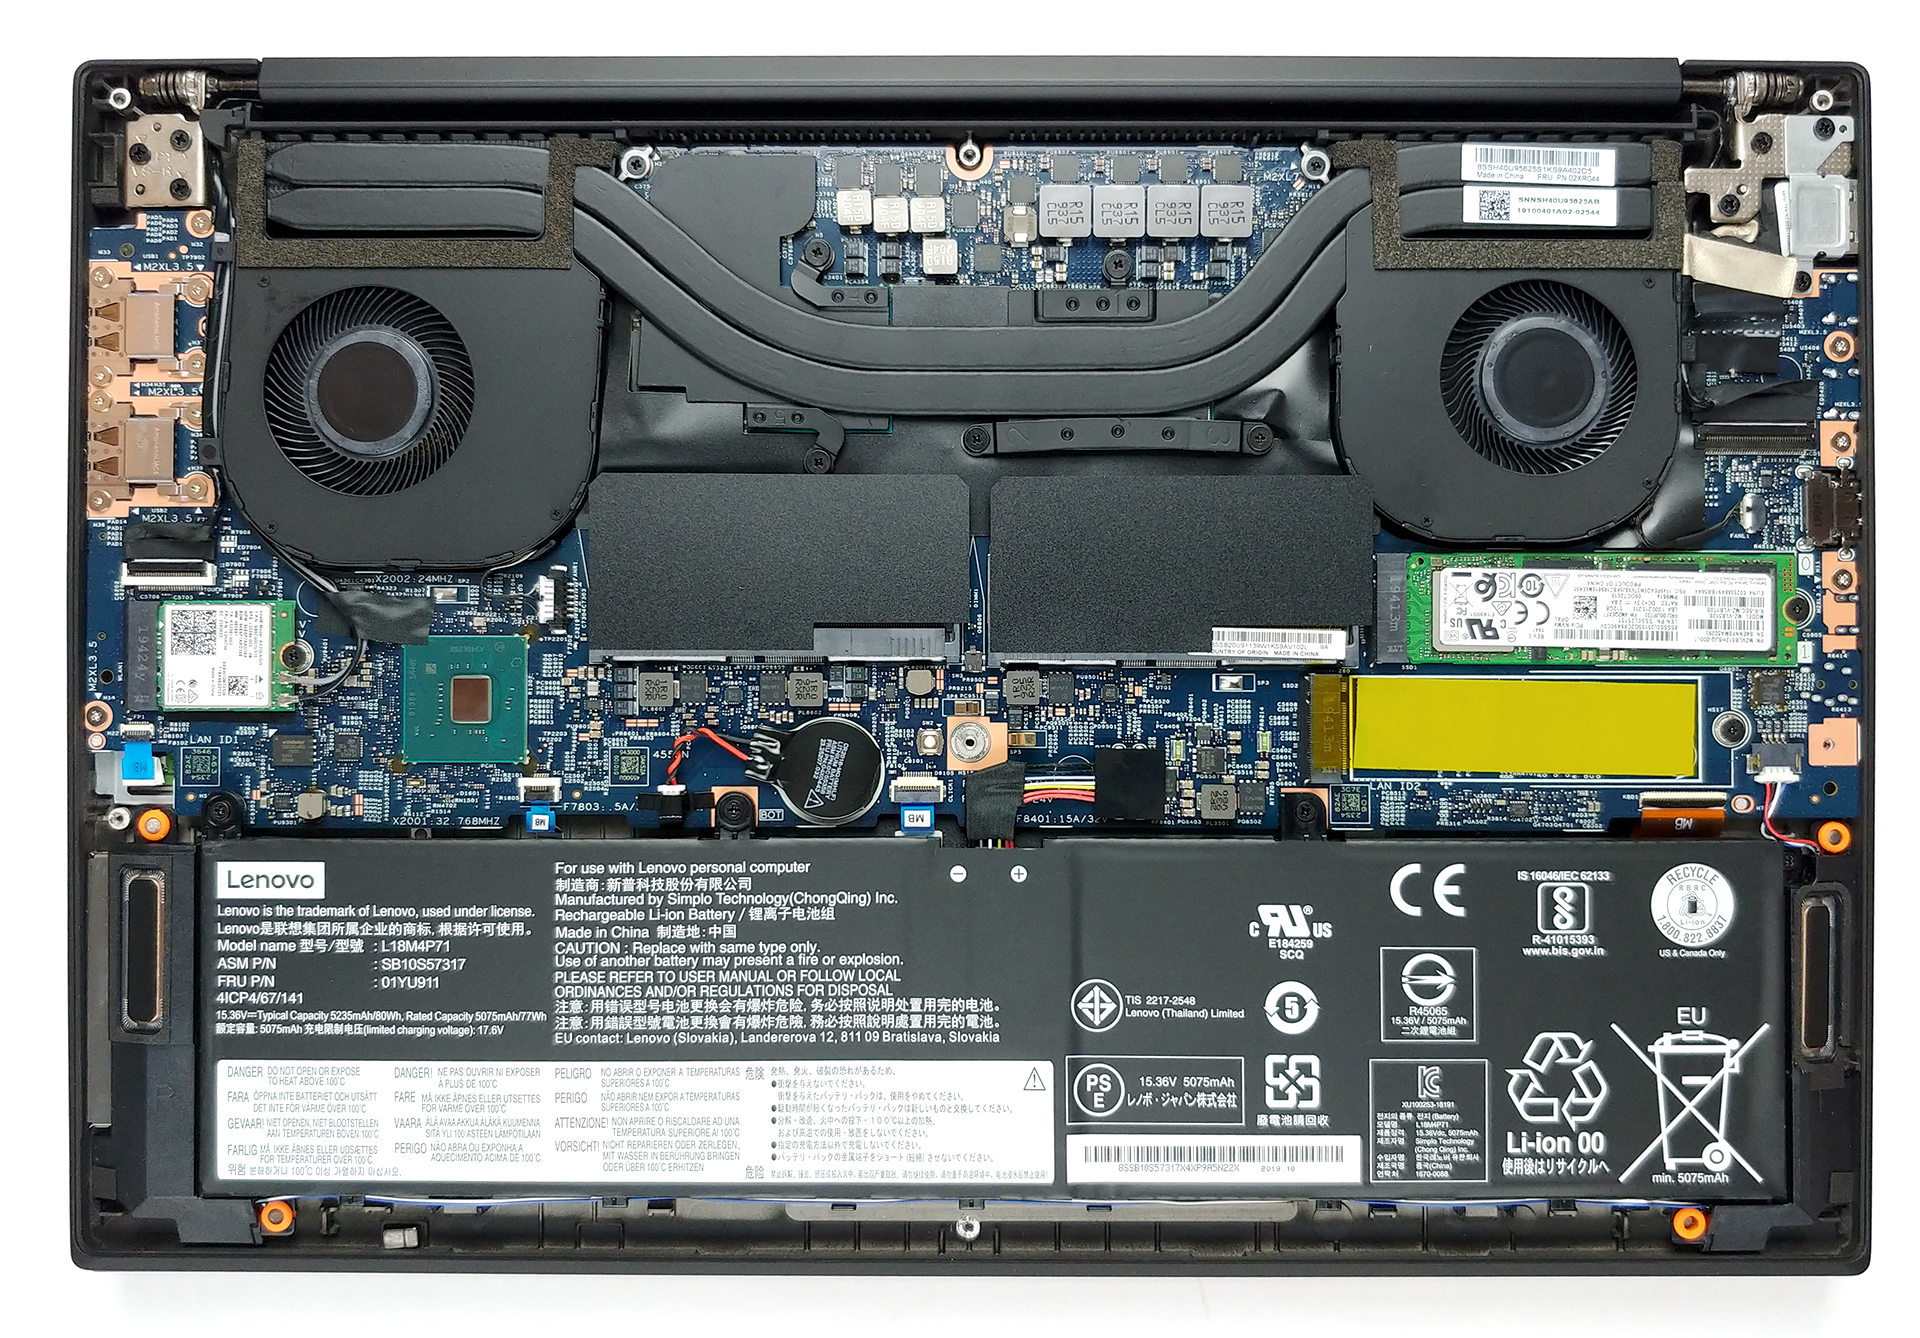
2. Battery
One of the best features of this machine is its 80Wh battery pack. It is one of the biggest we’ve seen lately. If you want to change anything in this notebook, first, you should disconnect the battery plug from the motherboard. Should you want to remove the battery, itself, you have to unscrew 4 Phillips-head suckers.

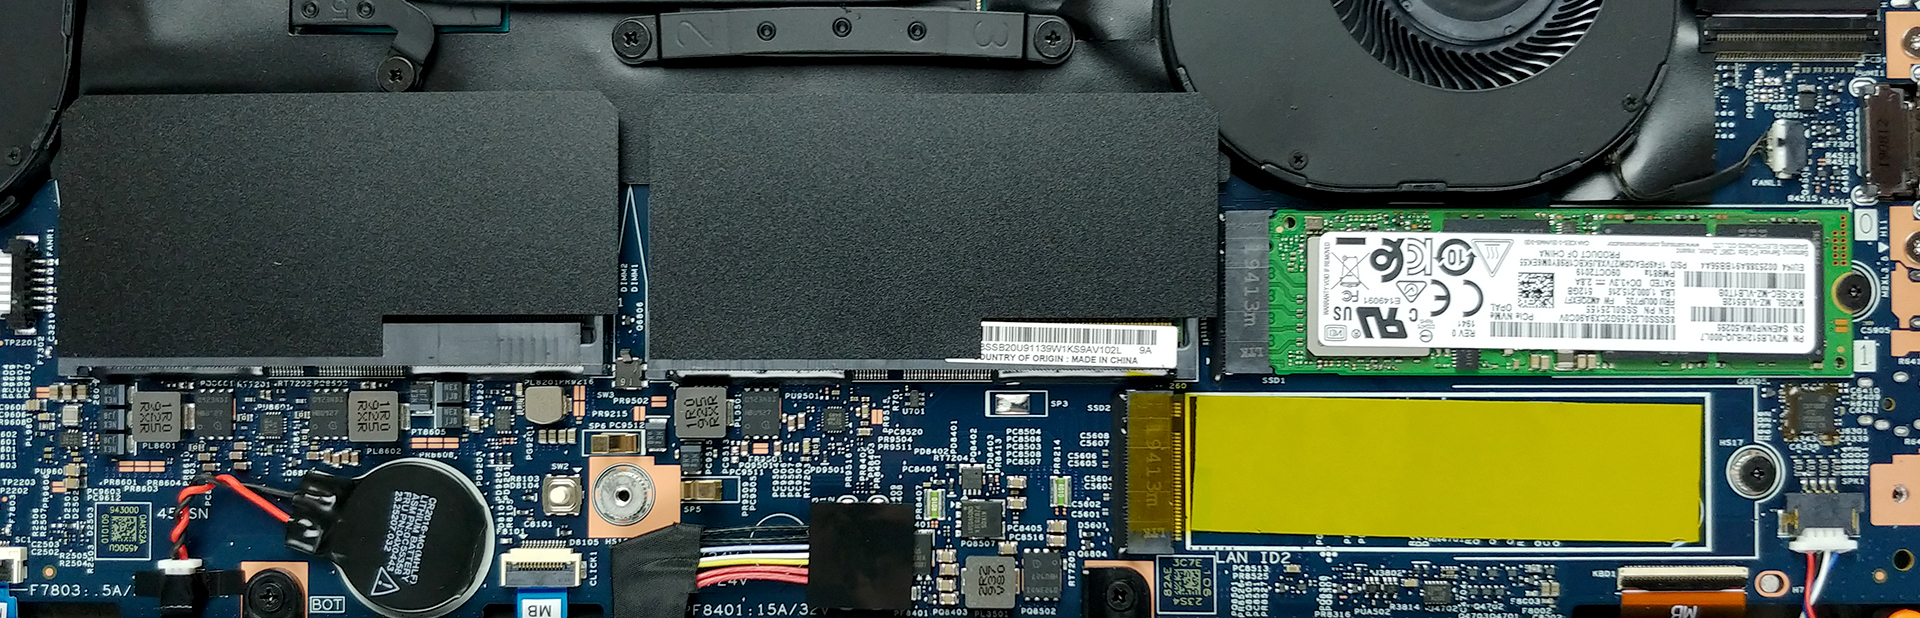
3. Memory and storage
In terms of upgradability, we have a very solid set up here. Apple, take notes, please. There are two RAM DIMMs that support up to 64GB of DDR4 memory. Additionally, there is a duo of M.2 drive slots, both of which fit PCIe x4 drives and moreover, support RAID 0 configuration.
4. Cooling system
The cooling on this notebook consists of two heat pipes that have roughly the same diameter and length. They drive the heat away from both the CPU and the GPU to two fans, placed on either side of the machine.

Check out all Lenovo ThinkPad X1 Extreme Gen 2 prices and configurations in our Specs System or read more in our In-Depth review.


![[June 2026] Best-Selling Laptop Brands on Amazon Global – Apple’s Unrivaled Dominance in Units and Revenue](https://laptopmedia.com/wp-content/uploads/2026/07/GLOBAL-Best-Brands-400x225.jpg)
![[June 2026] Amazon Global: Top 10 Best-Selling Laptops – Apple’s New MacBook Neo Storms to #1, Reshaping the Market with Affordability](https://laptopmedia.com/wp-content/uploads/2026/07/Best-Selling-Laptops-GLOBAL-Top-10-400x225.jpg)
![[June 2026] Amazon Global: Top 10 Best-Selling Gaming Laptops – Acer’s Nitro V 16S AI Dominates Sales, While ASUS Leads Overall Revenue](https://laptopmedia.com/wp-content/uploads/2026/07/Best-Selling-Gaming-Laptops-GLOBAL-Top-10-400x225.jpg)
![[June 2026] Global Ranking of Best-Selling Laptop GPUs on Amazon – NVIDIA RTX 5060 is the Top-Selling Dedicated GPU](https://laptopmedia.com/wp-content/uploads/2026/07/Best-Selling-GPUs-GLOBAL-Top-10-400x225.jpg)
![[June 2026] Global Ranking of Best-Selling Laptop CPUs on Amazon – Apple M5 Dominates, AMD Ryzen 7 260 Gets Solid Premium Share](https://laptopmedia.com/wp-content/uploads/2026/07/Best-Selling-CPUs-GLOBAL-Top-10-400x225.jpg)
