Inside Lenovo Yoga 9i (14) – disassembly and upgrade options
Although they were one of the first to include the Tiger Lake CPUs, it seems like they implemented it on an older platform. And it also doesn’t shine with upgradability, either.
Check out all Lenovo Yoga 9i (14) prices and configurations in our Specs System or read more in our In-Depth review.
1. Remove the bottom plate
To get inside this machine, you need to undo 6 Torx-head screws, as well as three Phillips-head ones, hidden beneath the back rubber foot. After you do so, pry the bottom panel with a plastic tool, starting from the back.

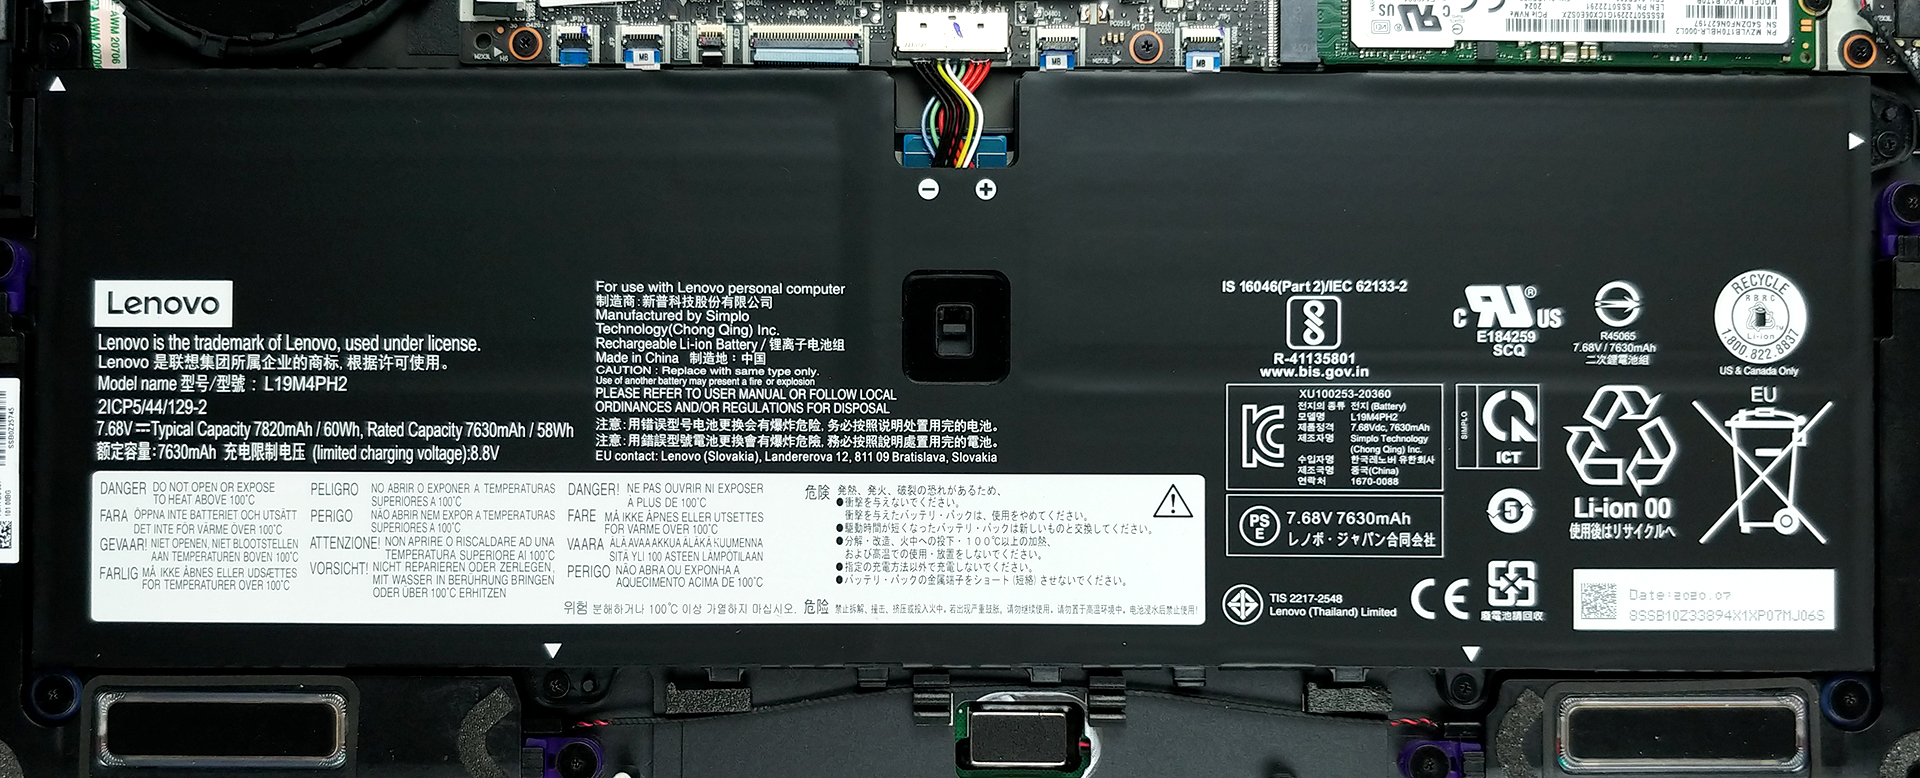
2. Battery
And for dessert, the battery capacity is 60Wh and takes half of the space inside the machine.
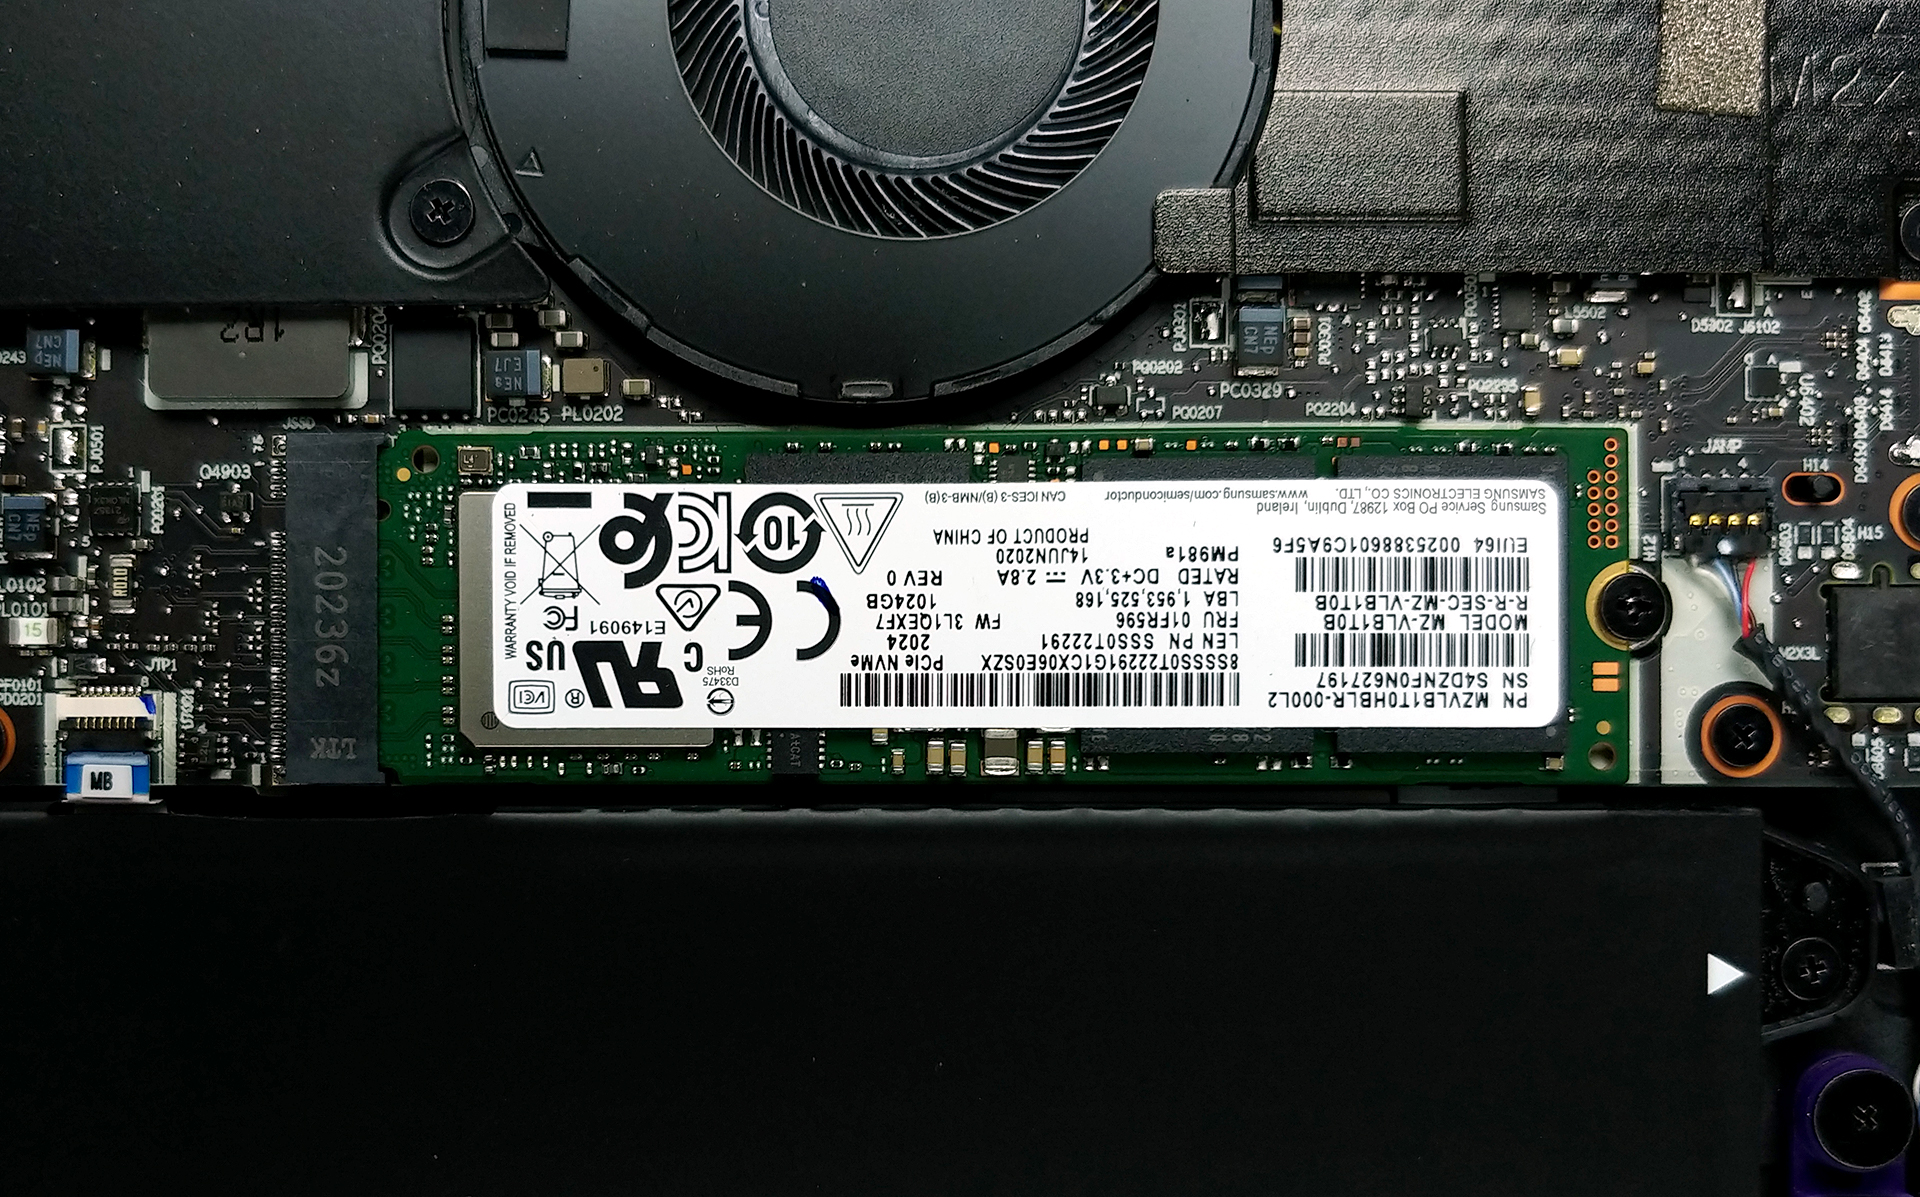
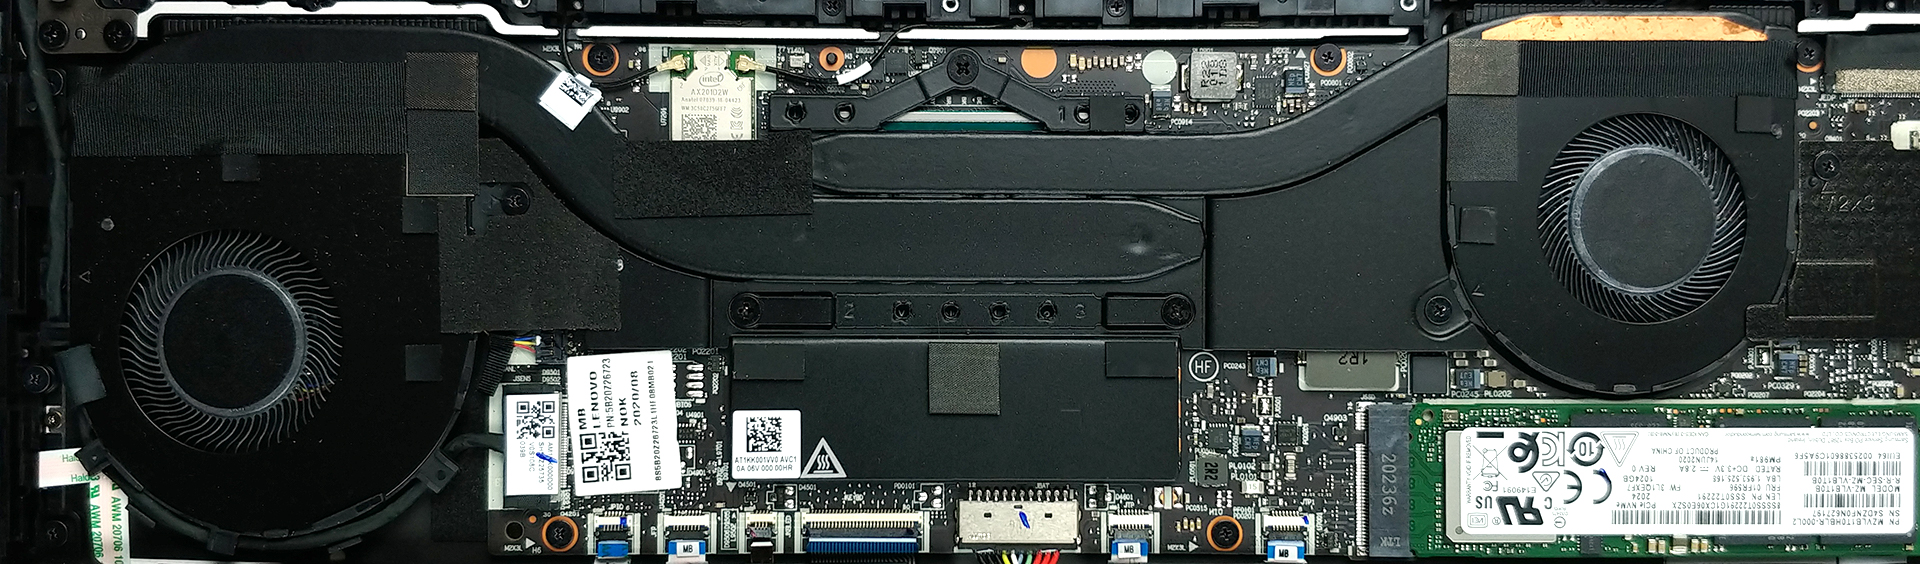
3. Memory and storage
Yep, sadly, this laptop has all its memory soldered to the motherboard, so no upgrades are possible. Thankfully, you can switch the M.2 SSD for a faster or a larger one in the future.
4. Cooling system
As we can see, the cooling solution hasn’t changed much from the Yoga C940 14. It once again includes two heat pipes of different sizes, as well as two fans, and some brackets, cooling the soldered memory, as well as the VRMs.
Check out all Lenovo Yoga 9i (14) prices and configurations in our Specs System or read more in our In-Depth review.


![[June 2026] Best-Selling Laptop Brands on Amazon Global – Apple’s Unrivaled Dominance in Units and Revenue](https://laptopmedia.com/wp-content/uploads/2026/07/GLOBAL-Best-Brands-400x225.jpg)
![[June 2026] Amazon Global: Top 10 Best-Selling Laptops – Apple’s New MacBook Neo Storms to #1, Reshaping the Market with Affordability](https://laptopmedia.com/wp-content/uploads/2026/07/Best-Selling-Laptops-GLOBAL-Top-10-400x225.jpg)
![[June 2026] Amazon Global: Top 10 Best-Selling Gaming Laptops – Acer’s Nitro V 16S AI Dominates Sales, While ASUS Leads Overall Revenue](https://laptopmedia.com/wp-content/uploads/2026/07/Best-Selling-Gaming-Laptops-GLOBAL-Top-10-400x225.jpg)
![[June 2026] Global Ranking of Best-Selling Laptop GPUs on Amazon – NVIDIA RTX 5060 is the Top-Selling Dedicated GPU](https://laptopmedia.com/wp-content/uploads/2026/07/Best-Selling-GPUs-GLOBAL-Top-10-400x225.jpg)
![[June 2026] Global Ranking of Best-Selling Laptop CPUs on Amazon – Apple M5 Dominates, AMD Ryzen 7 260 Gets Solid Premium Share](https://laptopmedia.com/wp-content/uploads/2026/07/Best-Selling-CPUs-GLOBAL-Top-10-400x225.jpg)

Very useful. Thank you. You show the battery being removed before the SSD. Is there any reason why I shouldn’t swap the SSD without removing the battery?