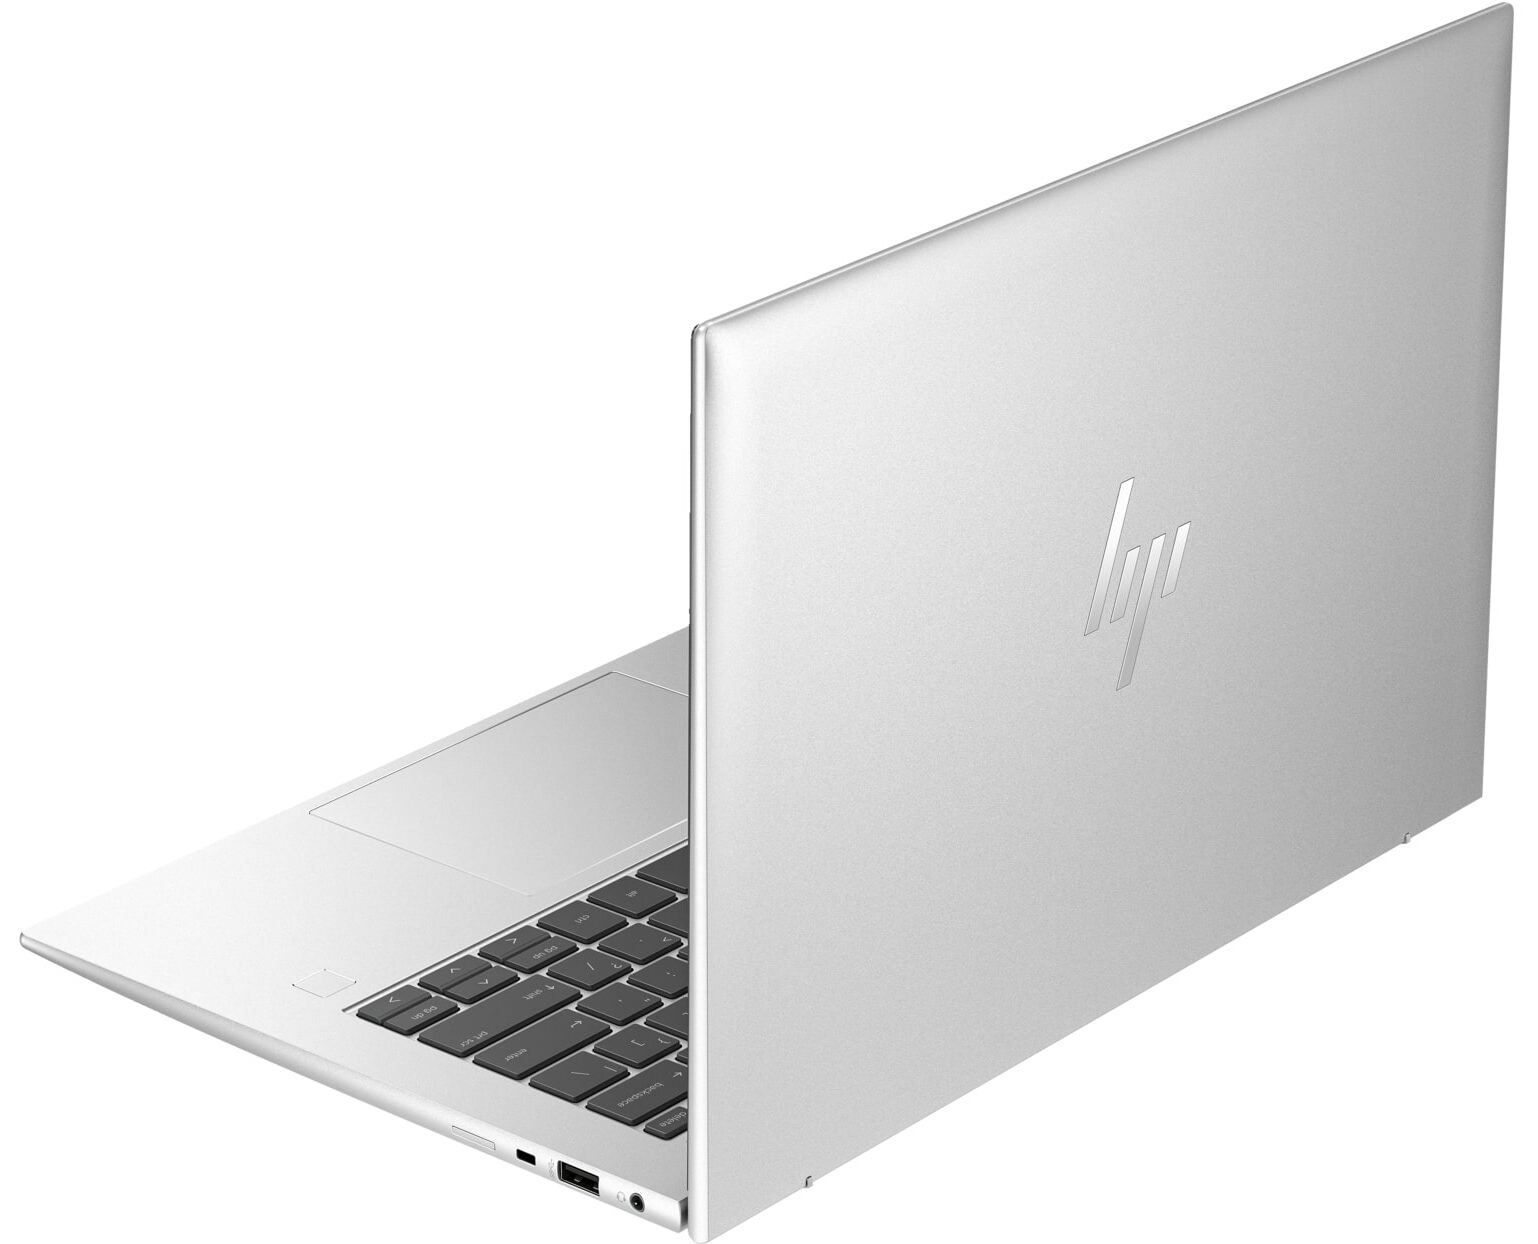
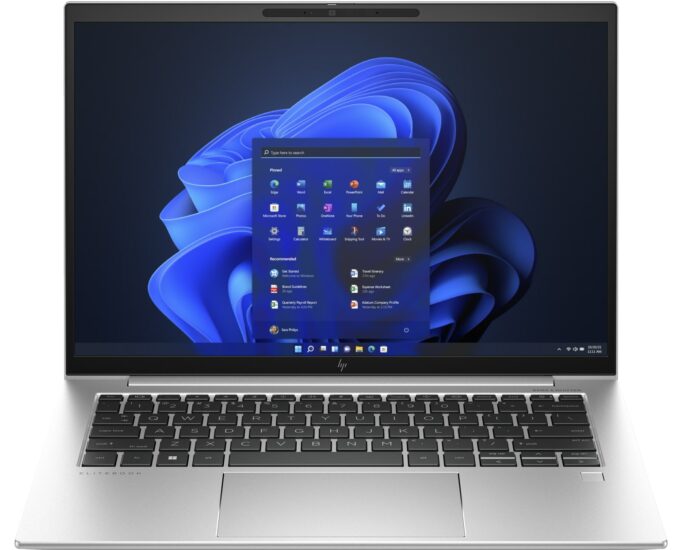
HP EliteBook 845 G10



- Date Published: 26 Sep 2025
- AMD Ryzen 9 PRO 7940HS
- AMD Radeon 780M
- 14.0”, WQXGA (2560 x 1600), IPS
- 1000GB SSD
- 32GB RAM
- 1.38 kg (3 lbs)
Review
HP EliteBook 845 G10 in-depth review
At first glance, the HP EliteBook 845 G10 may look like a slightly different version of the EliteBook 640 G10, but the former is a more premium device that is based on the latest and greatest AMD Zen 4 CPUs. No matter the compact dimensions, the top processor option is the mighty Ryzen 9 PRO 7940HS. You can choose among seven CPU options including Zen 4 non-PRO and PRO chips (Phoenix-U / Phoenix-HS). No dGPUs here but the new-gen iGPUs are pretty snappy, especially the Radeon 780M.Display-wise, you can find this machine with four different 16:10 IPS panels. Three of them are 1200p units (including one touchscreen) and the most expensive variant is a 1600p model. We can hint that the upgradability is decent, and the I/O is up to date with its two Thunderbolt 4 ports. All devices rely on[...]
Read the full review
Pros
- Great battery life
- Metal build
- 2x SODIMMs for up to 64GB of DDR5-5600MHz memory in dual-channel mode
- Modern I/O with two Thunderbolt 4 / USB4 connectors
- Has an NFC sensor, Wi-Fi 6E, and Bluetooth 5.3
- No PWM (Innolux CMN1433)
- Good spill-resistant keyboard with optional backlight + smooth glass touchpad
- Optional 5MP IR Web camera with a privacy shutter
- Capable cooling solution
- Offers optional fingerprint scanner, Smartcard Reader, and LTE / 5G connectivity
- Zen 4 CPU options
Cons
- You can't open the lid with a single hand
- Low sRGB coverage and max brightness (Innolux CMN1433)
- Just one M.2 slot
Disassembly, maintenance and upgrade options
Step 1: Opening the HP EliteBook 845 G10Ensure the HP EliteBook 845 G10 is powered off and placed on a soft, clean surface to prevent scratches or damage. Remove the 5 captive Phillips-head screws from the bottom of the laptop. Gently raise the bottom panel near the top corners to create a small gap, then use a thin plastic tool to pry the panel starting from the back and working your way around.Hint: Be cautious when prying near ports and connectors to avoid damaging the chassis or internal components.Step 2: Removing the BatteryDisconnect the battery connect[...]
Read more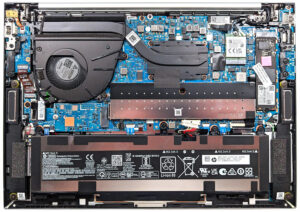


![[June 2026] Best-Selling Laptop Brands on Amazon Global – Apple’s Unrivaled Dominance in Units and Revenue](https://laptopmedia.com/wp-content/uploads/2026/07/GLOBAL-Best-Brands-400x225.jpg)
![[June 2026] Amazon Global: Top 10 Best-Selling Laptops – Apple’s New MacBook Neo Storms to #1, Reshaping the Market with Affordability](https://laptopmedia.com/wp-content/uploads/2026/07/Best-Selling-Laptops-GLOBAL-Top-10-400x225.jpg)
![[June 2026] Amazon Global: Top 10 Best-Selling Gaming Laptops – Acer’s Nitro V 16S AI Dominates Sales, While ASUS Leads Overall Revenue](https://laptopmedia.com/wp-content/uploads/2026/07/Best-Selling-Gaming-Laptops-GLOBAL-Top-10-400x225.jpg)
![[June 2026] Global Ranking of Best-Selling Laptop GPUs on Amazon – NVIDIA RTX 5060 is the Top-Selling Dedicated GPU](https://laptopmedia.com/wp-content/uploads/2026/07/Best-Selling-GPUs-GLOBAL-Top-10-400x225.jpg)
![[June 2026] Global Ranking of Best-Selling Laptop CPUs on Amazon – Apple M5 Dominates, AMD Ryzen 7 260 Gets Solid Premium Share](https://laptopmedia.com/wp-content/uploads/2026/07/Best-Selling-CPUs-GLOBAL-Top-10-400x225.jpg)