Lenovo Legion Pro 5i (16, Gen 9) review – Top Performer with Color-Accurate Display and Impressive Battery
Disassembly, Upgrade options, and Maintenance
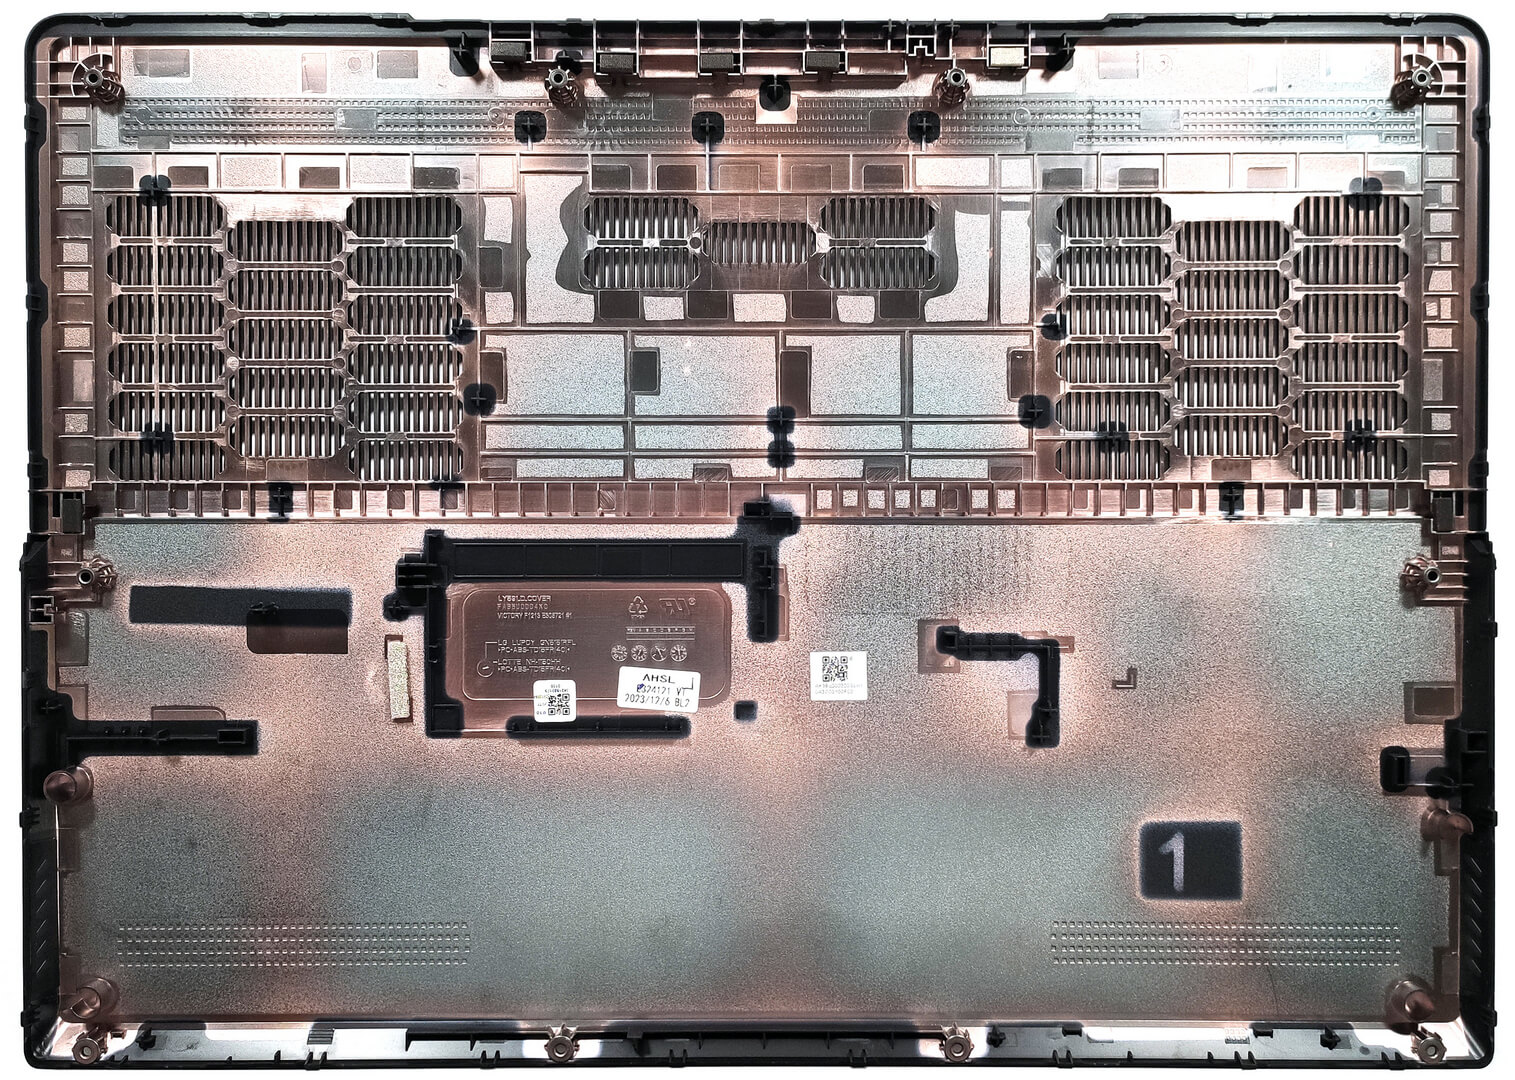
To gain access to the internals, you have to undo 10 Torx-head screws. Then, pry the panel with a thin plastic tool starting from the central zone of the back. After that, work your way around the sides and the front.

Here’s how the bottom plate looks on the inside.
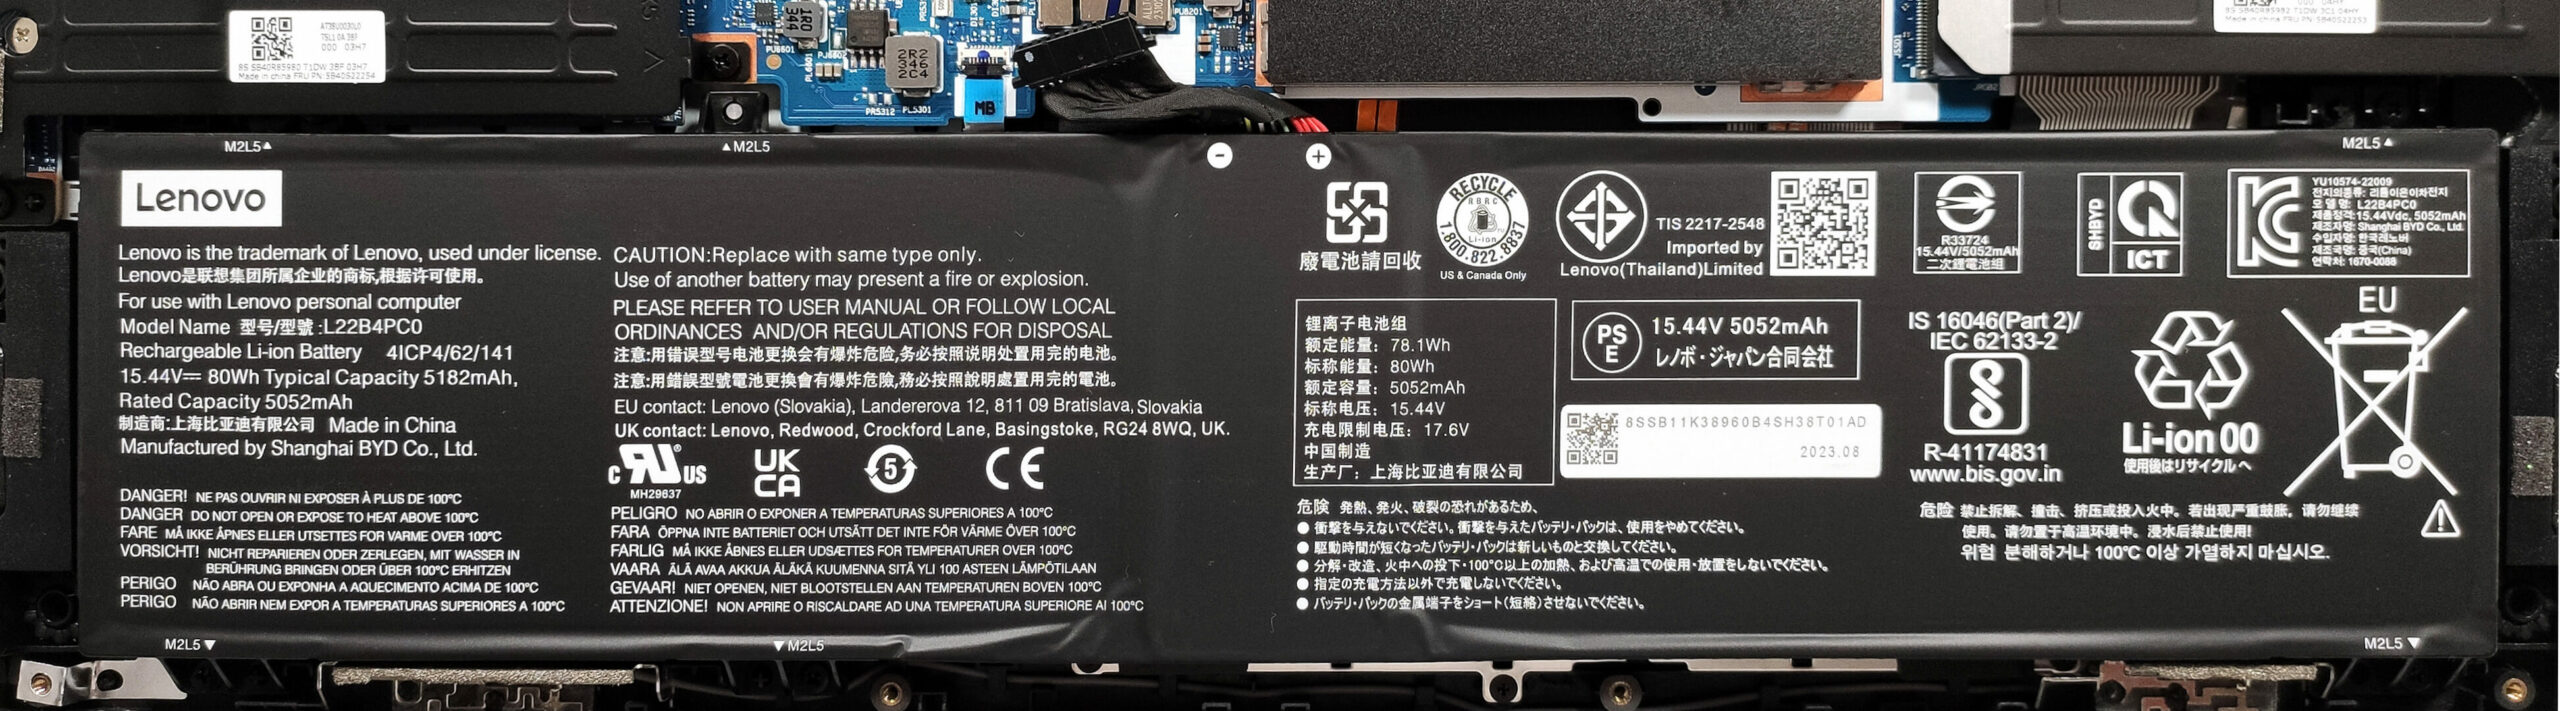
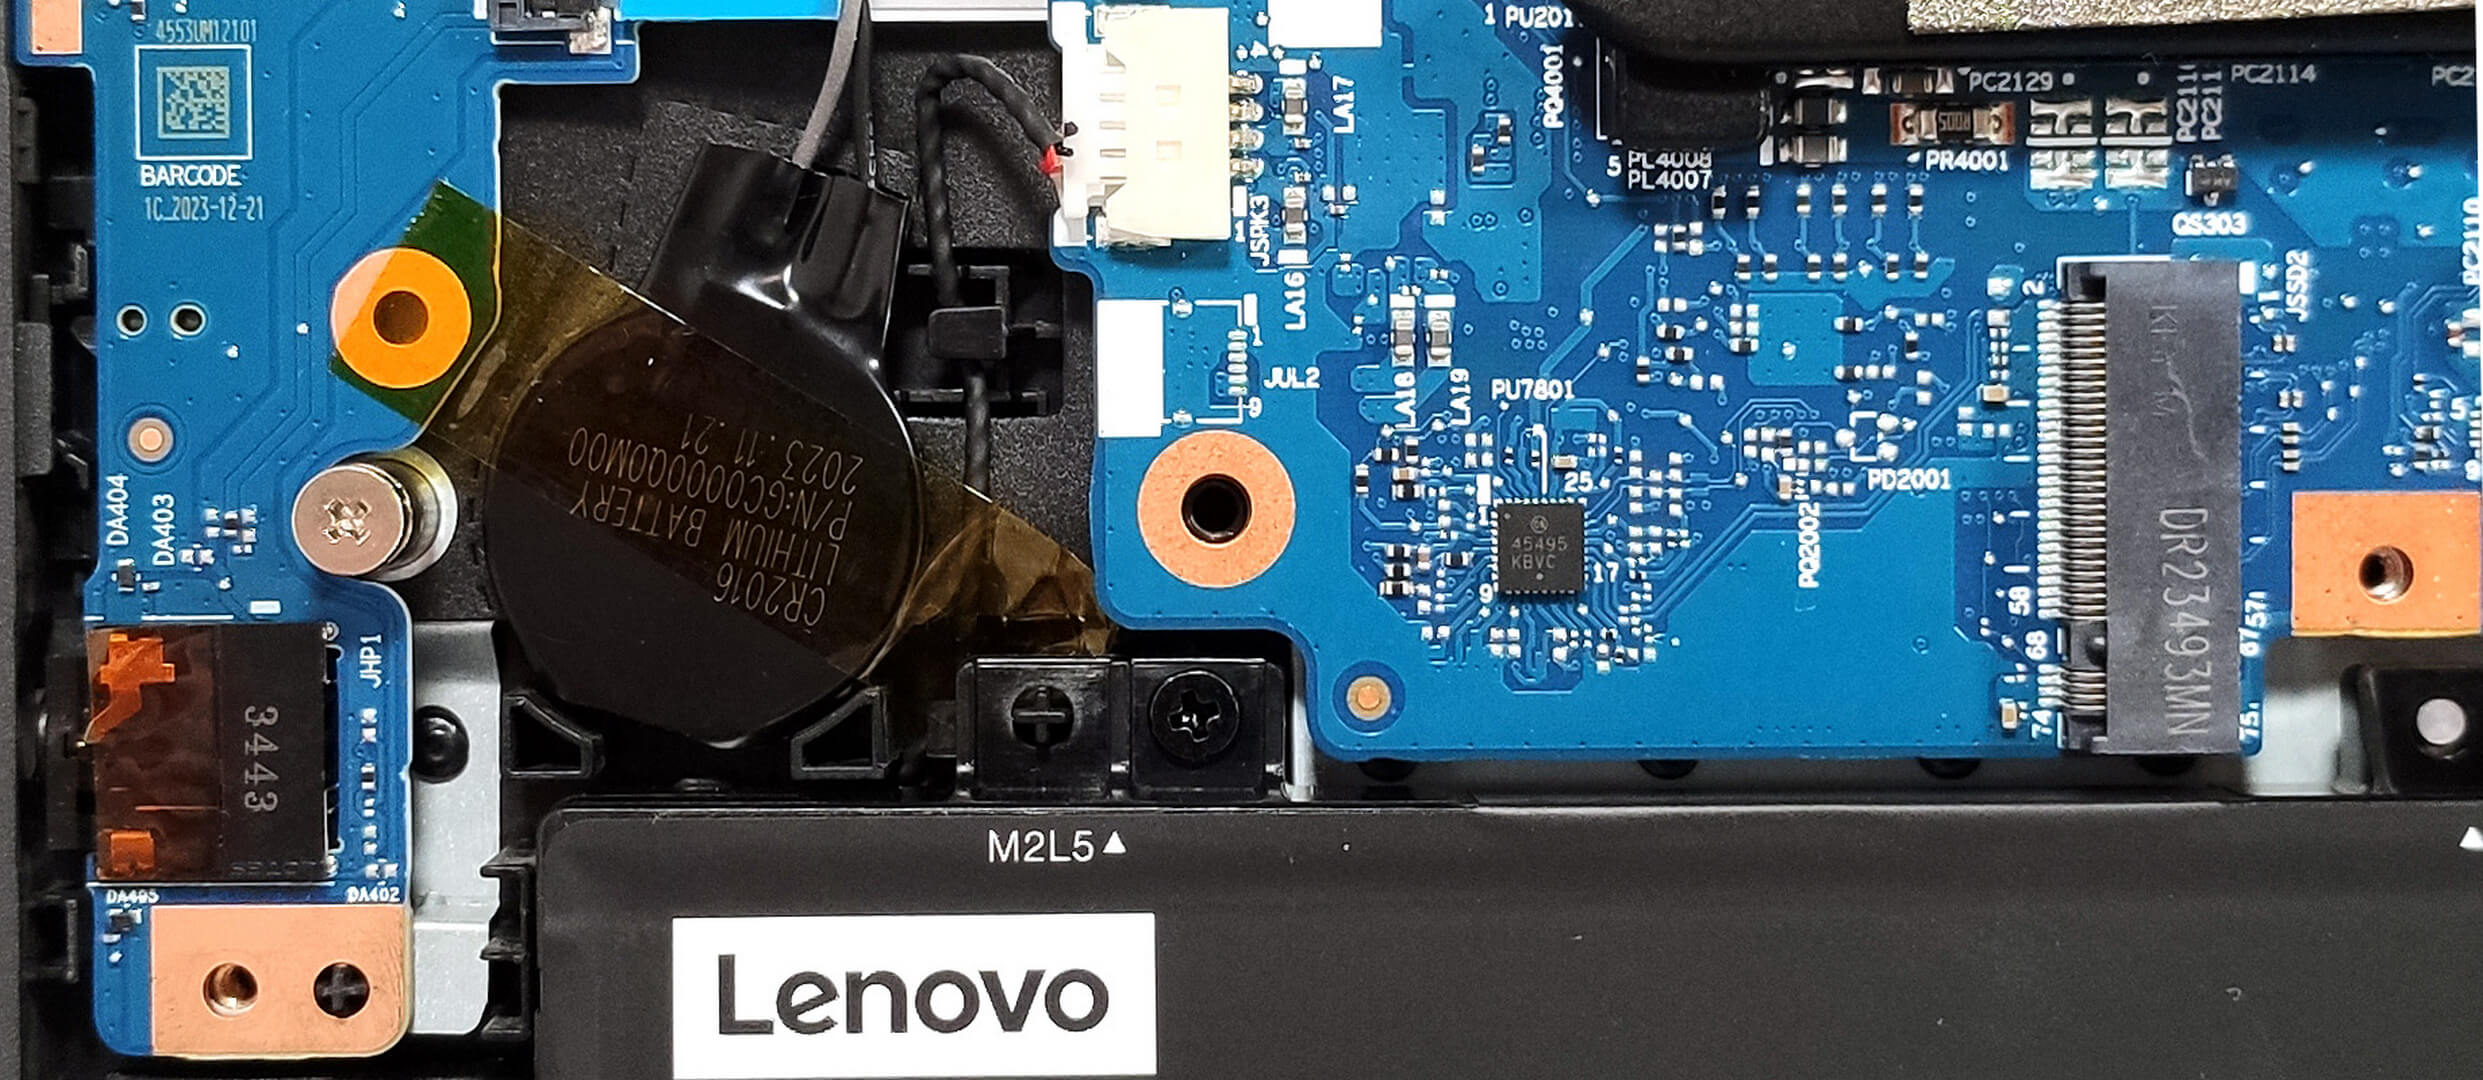
Here, we have an 80Wh battery. To take it out, detach the connector from the motherboard and undo the 5 Phillips-head screws that keep the unit in place. One of the screws is hidden below the metal SSD cover on the left so we have to remove it as well. The capacity is enough for 12 hours and 30 minutes of Web browsing or 5 hours and 53 minutes of video playback.
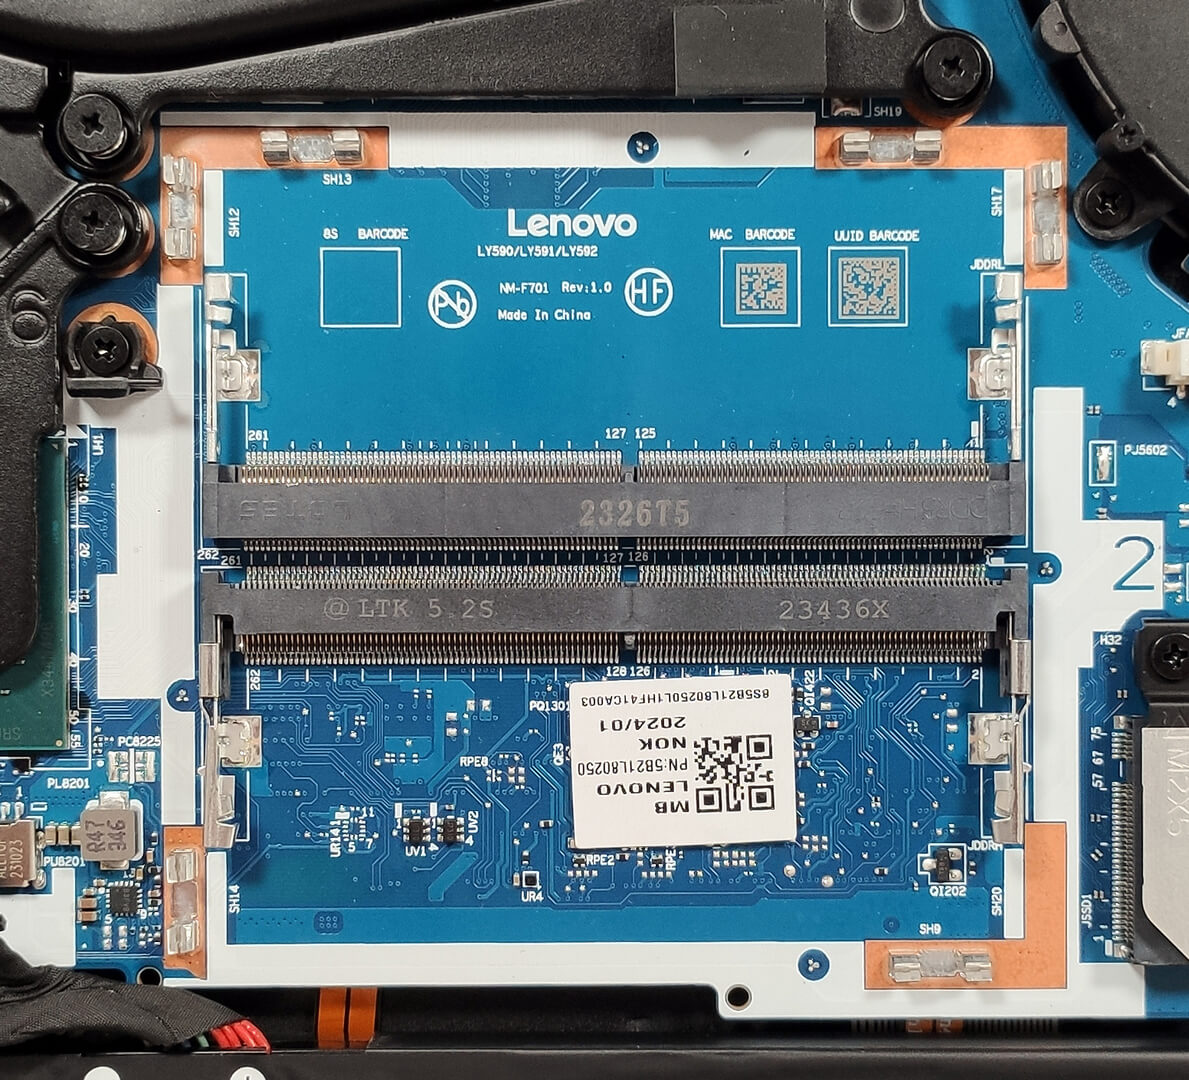
The RAM area is covered by a metal plate and you have to pop it with a lever tool to access the slots. According to Lenovo, the two SODIMMs support up to 32GB of DDR5-5600MHz RAM in dual-channel mode. However, since the CPU can support up to 192GB, this laptop likely wouldn’t have issues running a larger amount of memory than the official manufacturer’s specified limit.

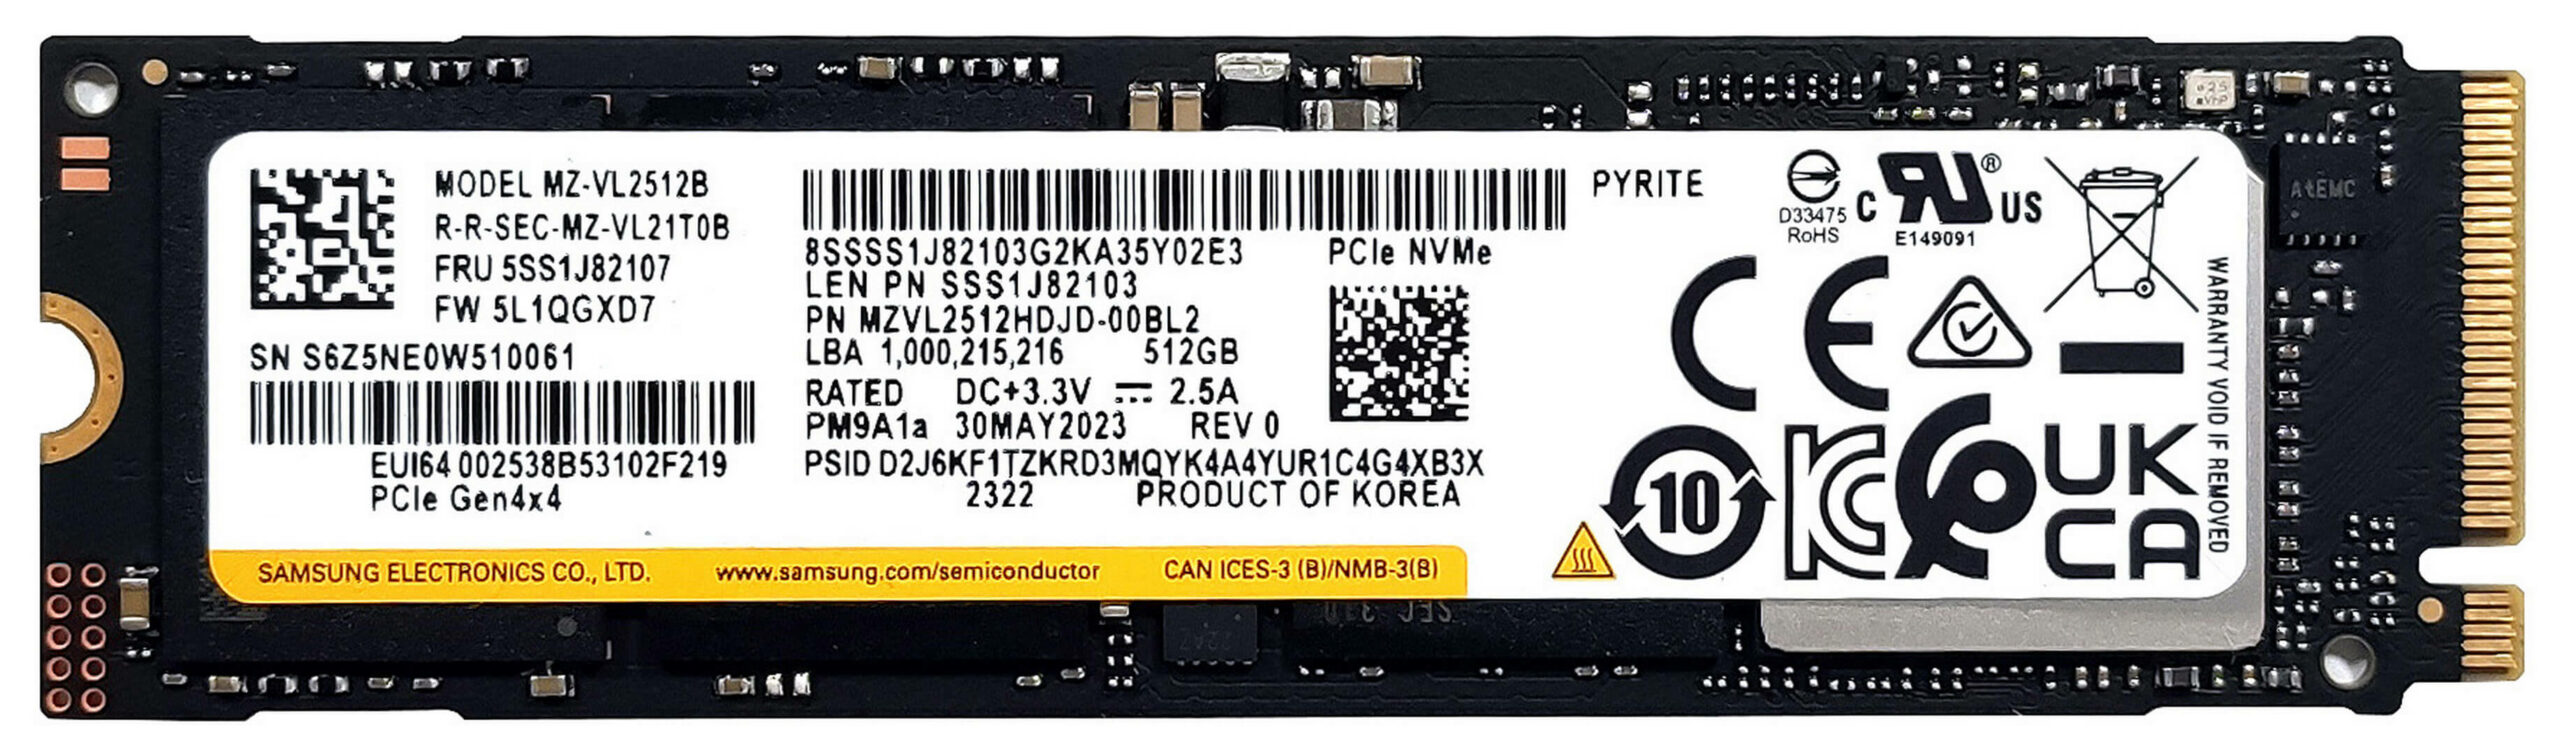
In terms of storage, you can rely on two M.2 slots for 2242 or 2280 Gen 4 SSDs. Both of them are protected by metal shrouds that are held in place by three 3 Phillips-head screws for each metal plate.
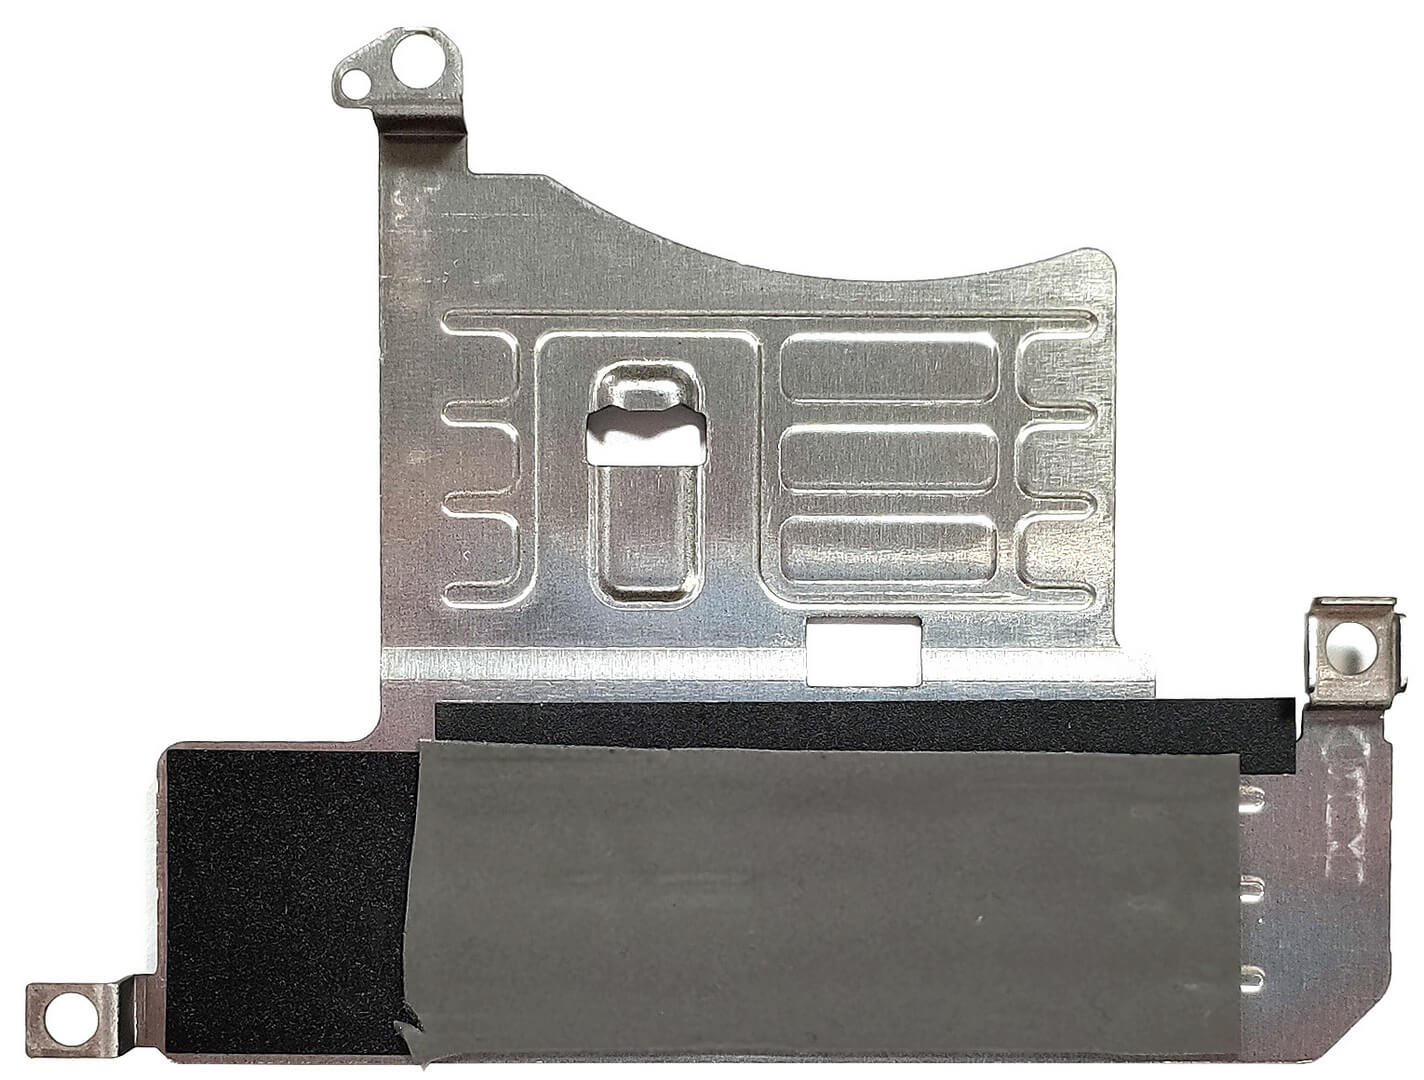
The two metal covers have a thermal pad on the inside.


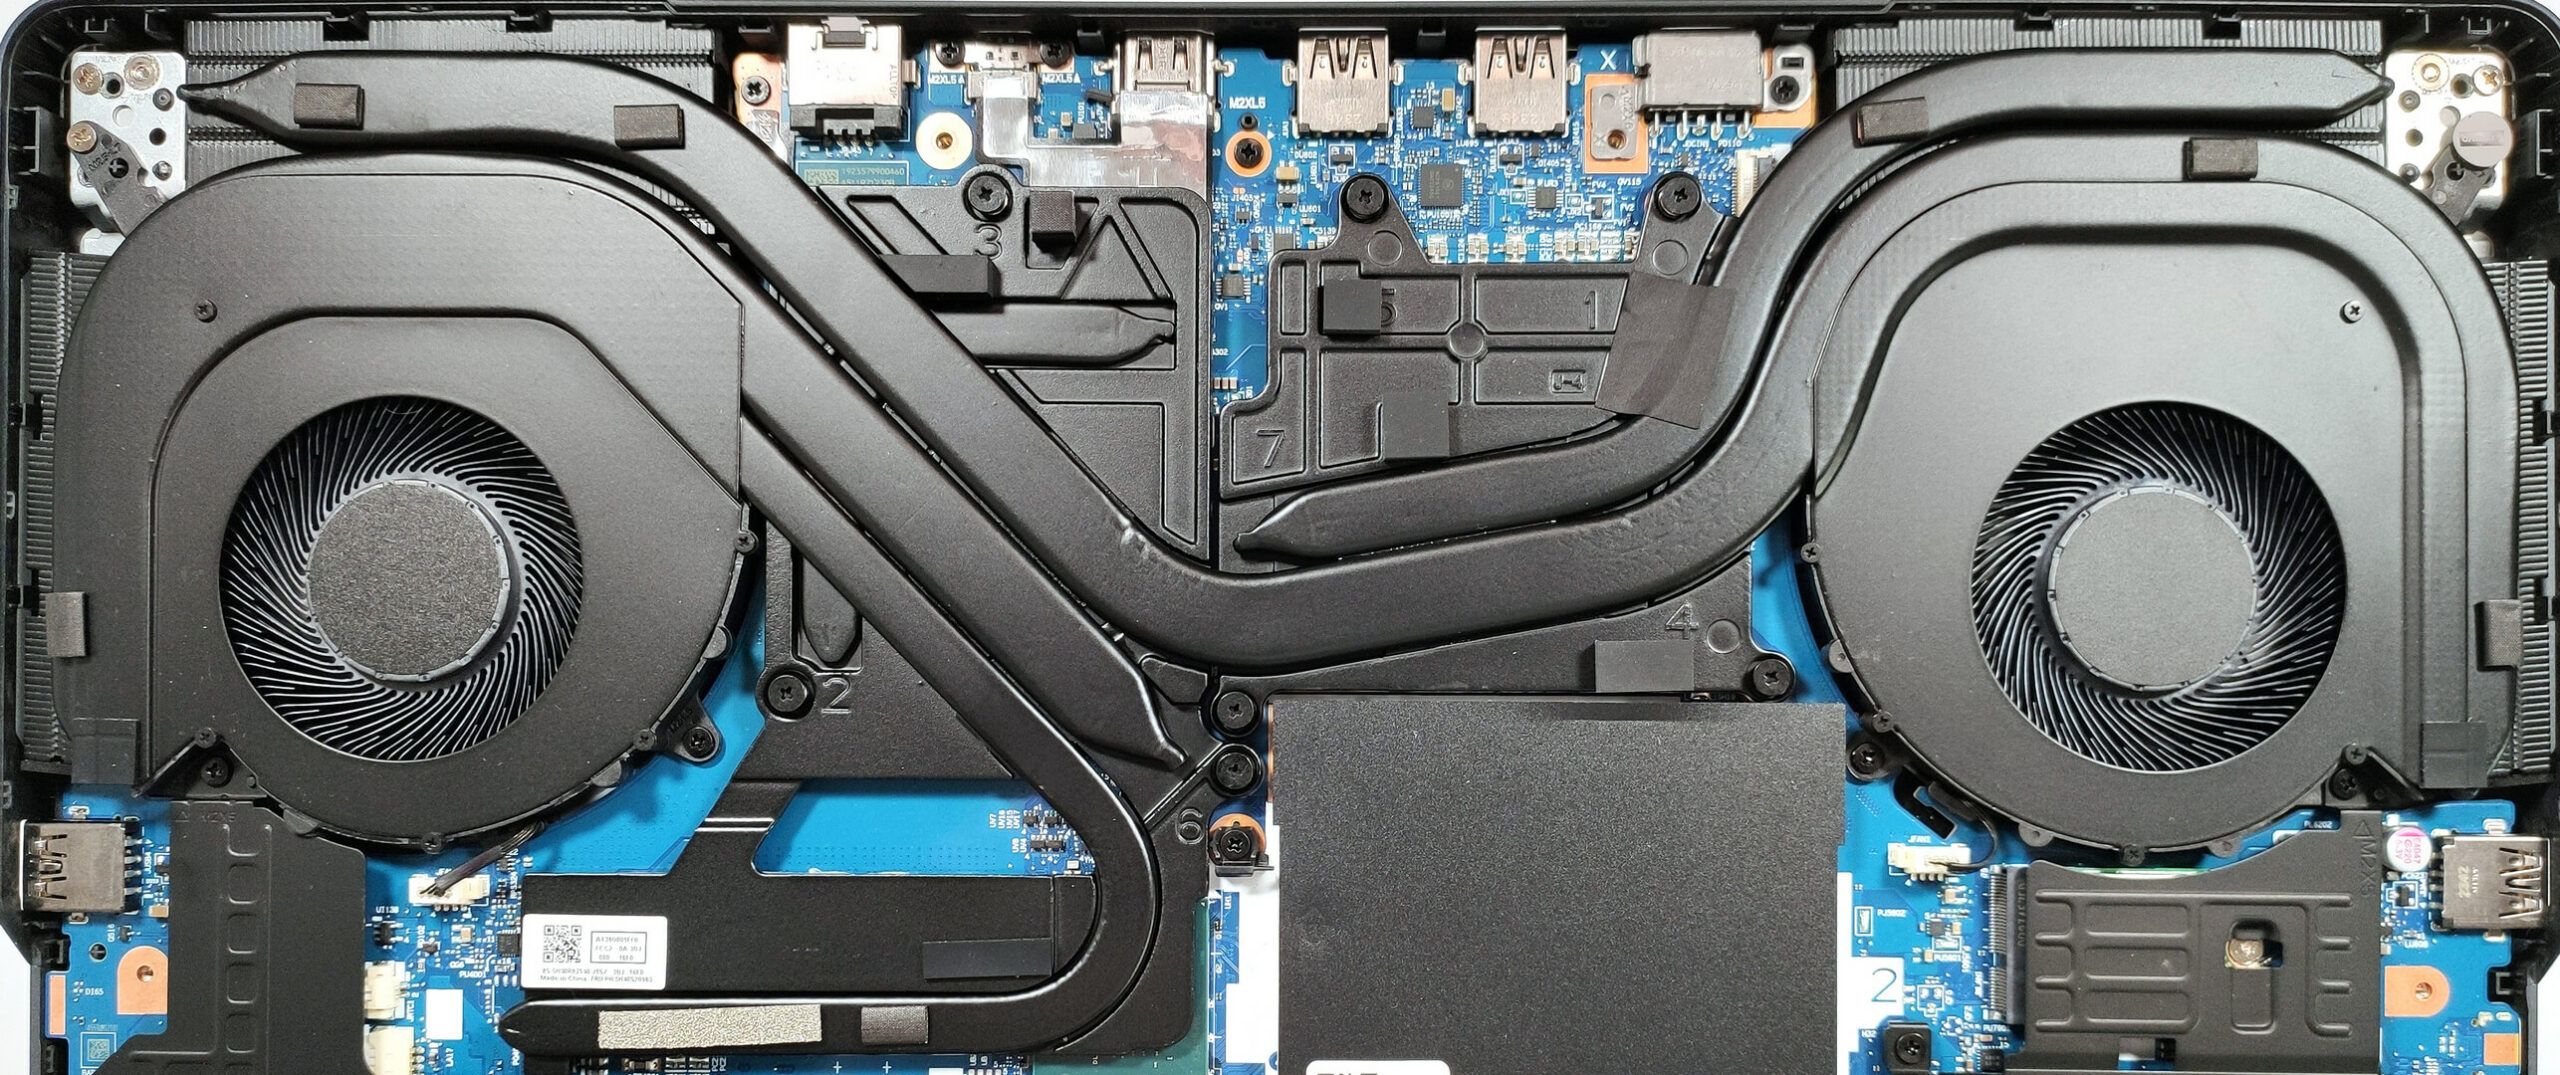
As you can see, the cooling looks seriously big. It has two large fans, one thick heat pipe shared between the CPU and the GPU, one more for the processor, and two solely dedicated to the video card and its memory and voltage regulators. We can also see four heat sinks and two huge metal plates. The one on the left is also for cooling the chipset which is a nice touch.