How to open Lenovo ThinkPad E14 Gen 5 (Intel) – disassembly and upgrade options

Opening the Laptop
- Undo the 7 captive Phillips-head screws on the bottom panel of the laptop.
- Use a plastic pry tool to gently separate the bottom panel from the chassis, starting from one of the top corners.
Caution: Be gentle to avoid damaging the internal components or the clips that hold the bottom panel in place.
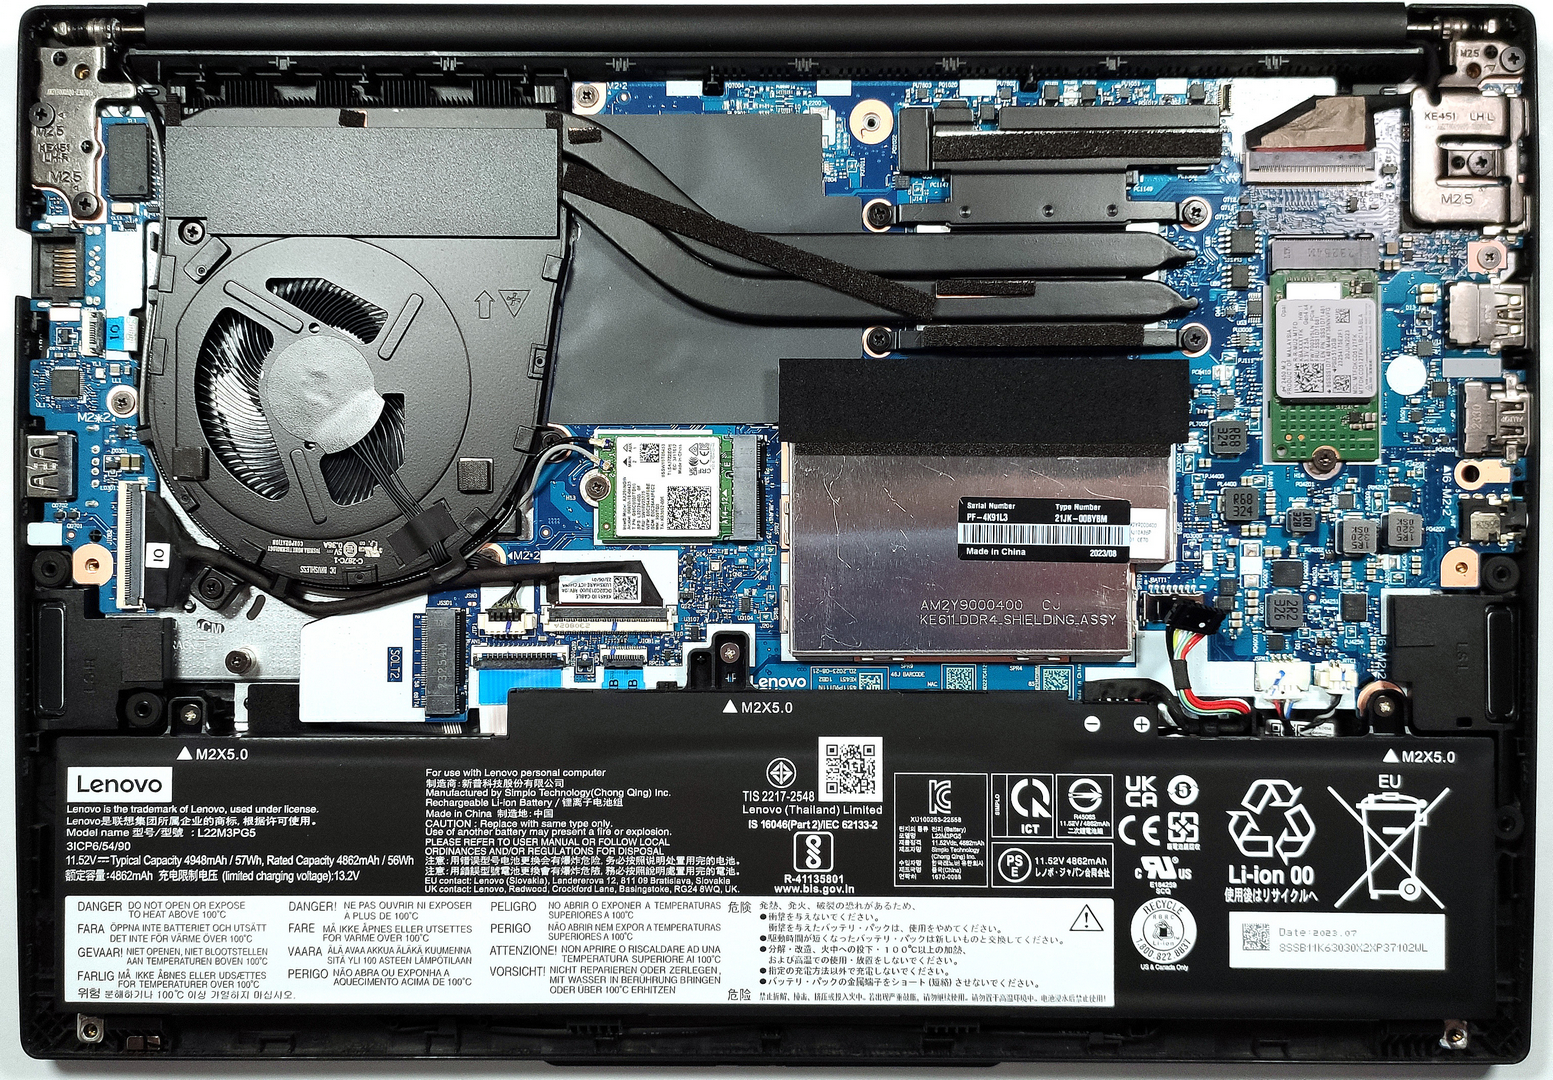
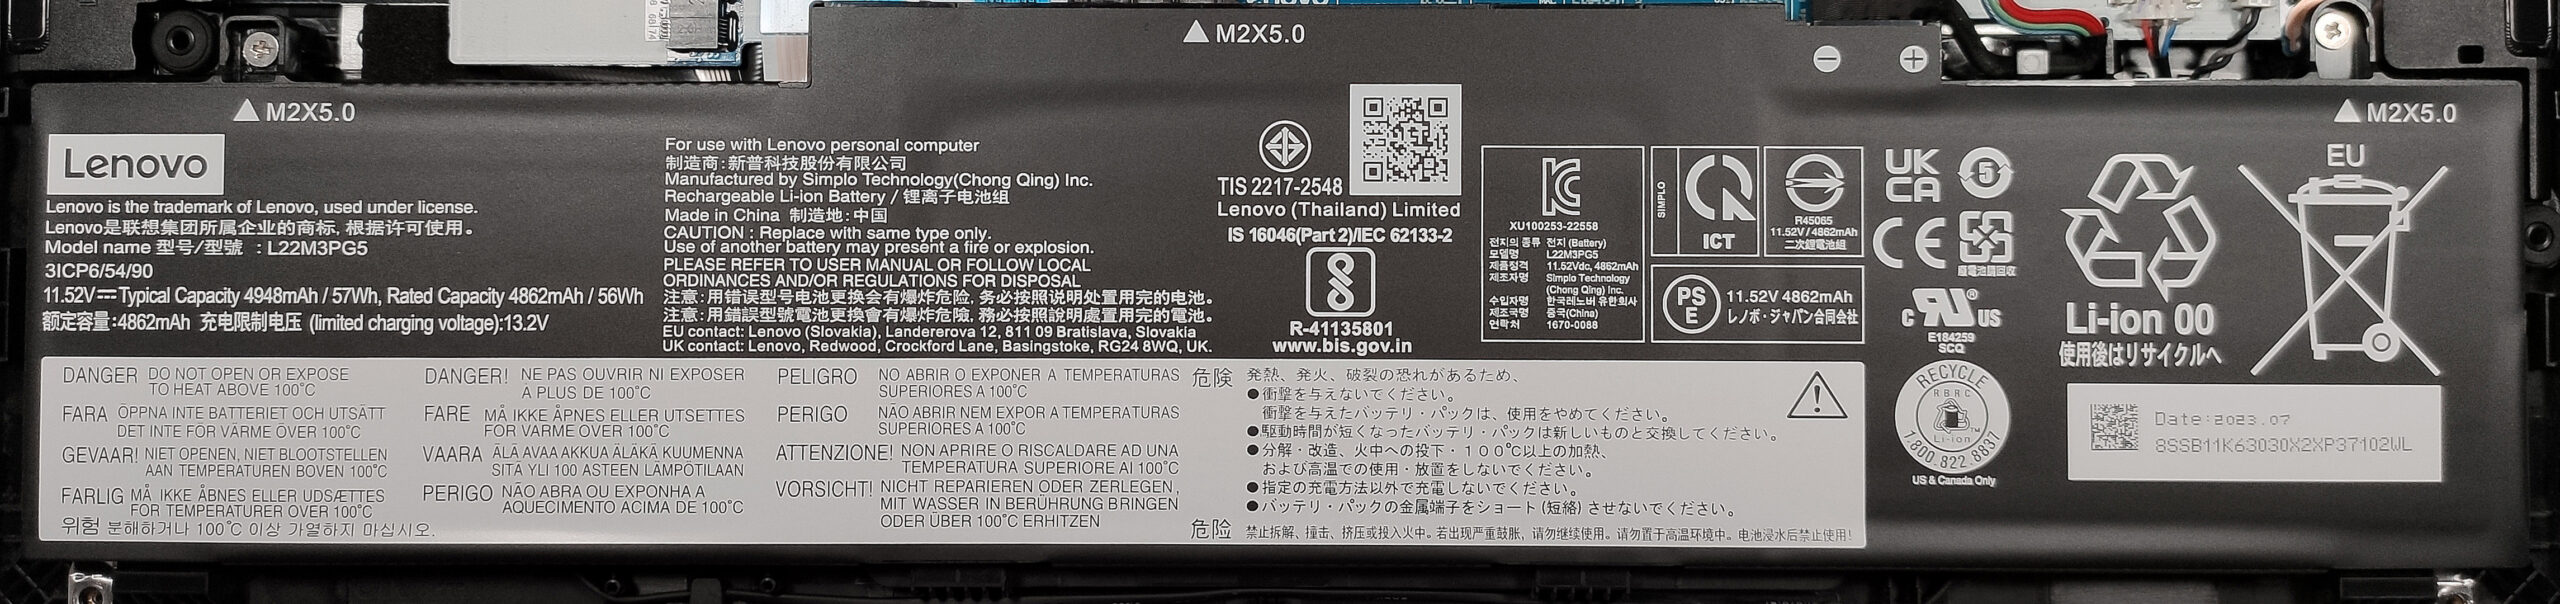
Removing the Battery
- Disconnect the battery connector from the motherboard by gently pulling it out with a plastic tool.
- Undo the three Phillips-head screws that secure the battery to the base.
- Lift the battery out of its compartment.
More info: The laptop comes with two battery options: a default model with a 47Wh capacity, and an optional 57Wh variant. The 57Wh model offers up to 16 hours and 40 minutes of web browsing or 7 hours and 9 minutes of video playback.
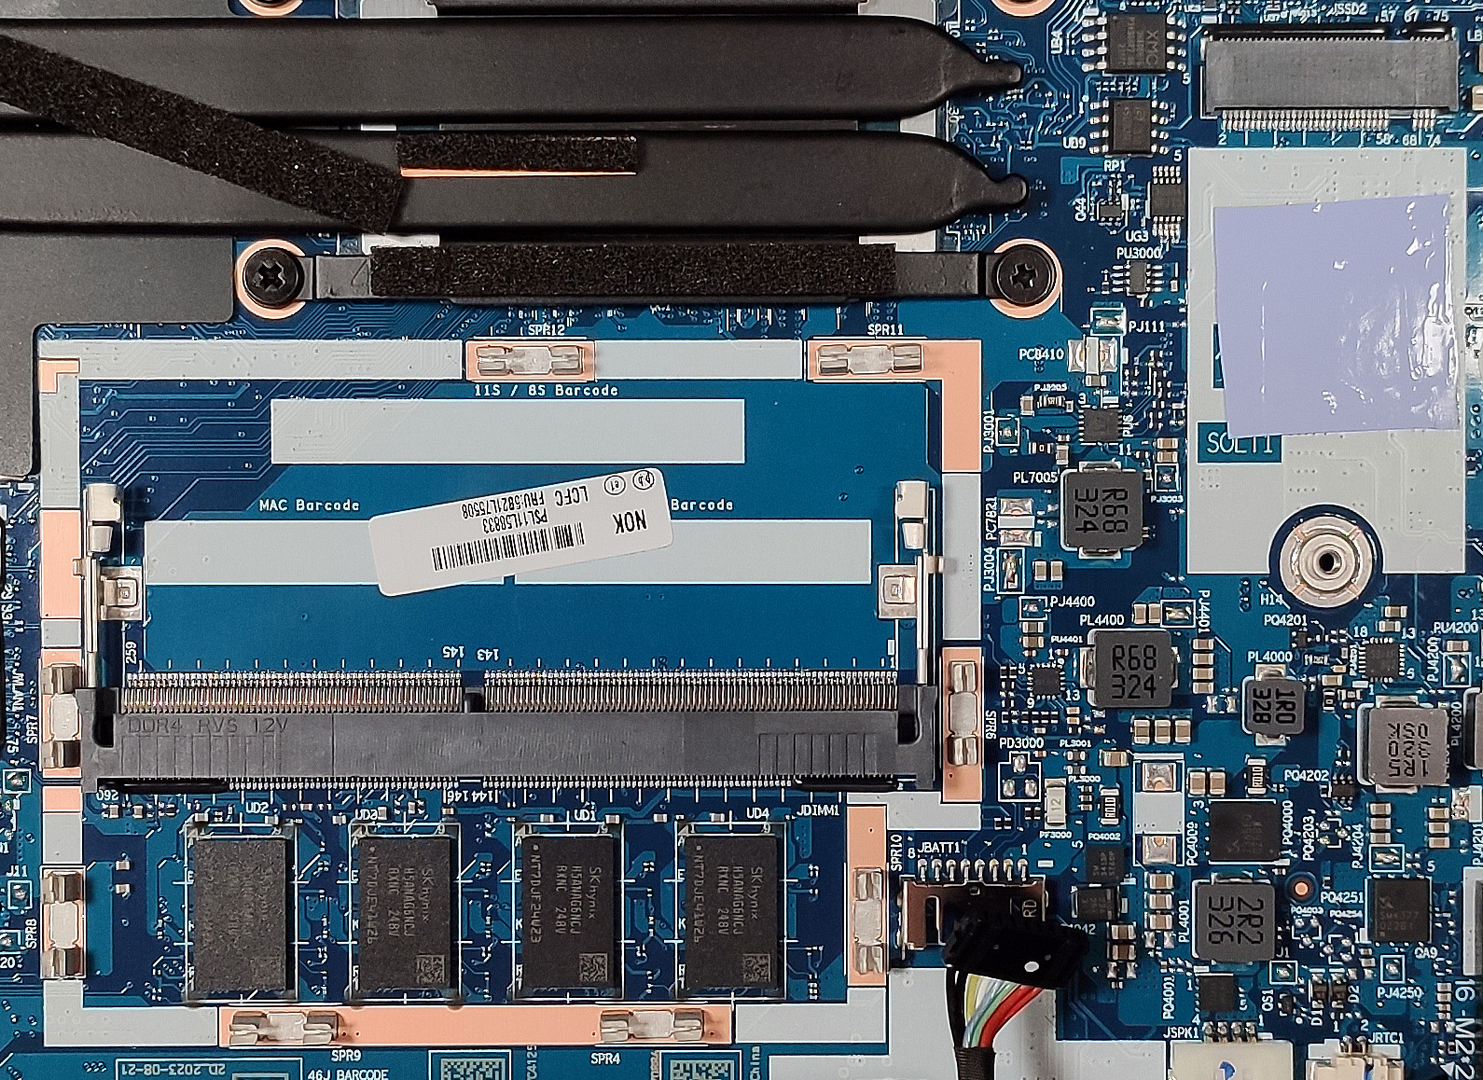
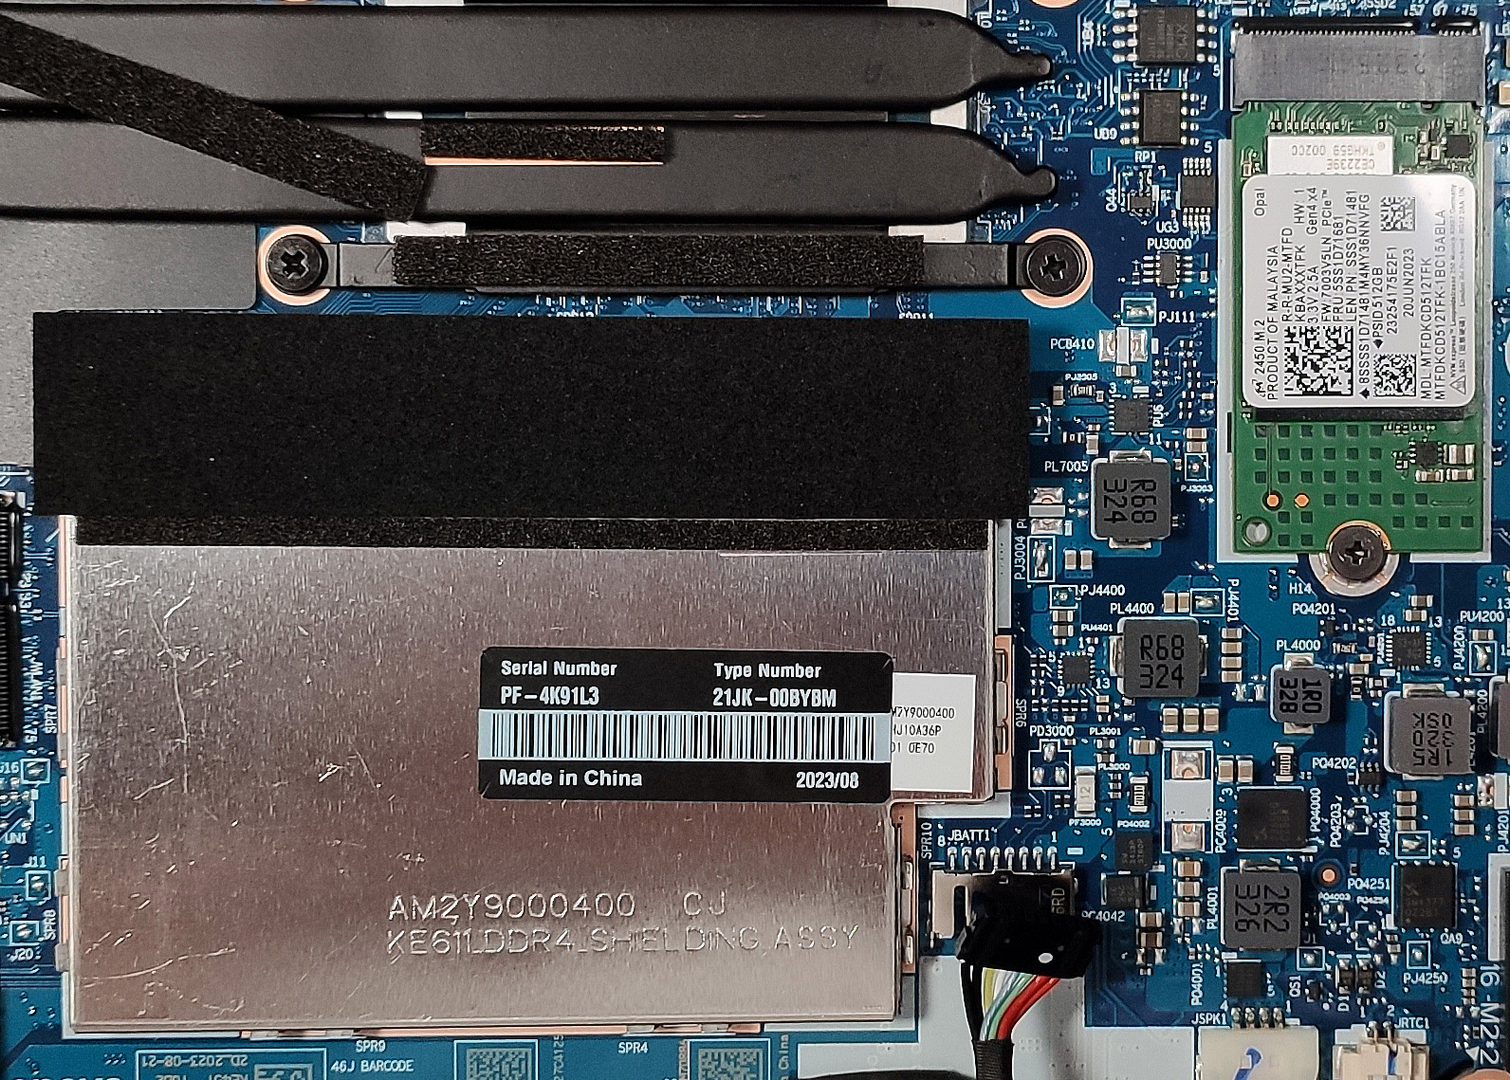
Upgrading the RAM
- Locate the RAM section under the metal shroud on the motherboard.
- If upgrading, remove the existing SODIMM by gently pushing the clips on each side of the RAM stick outward. The RAM will pop up and can be pulled out.
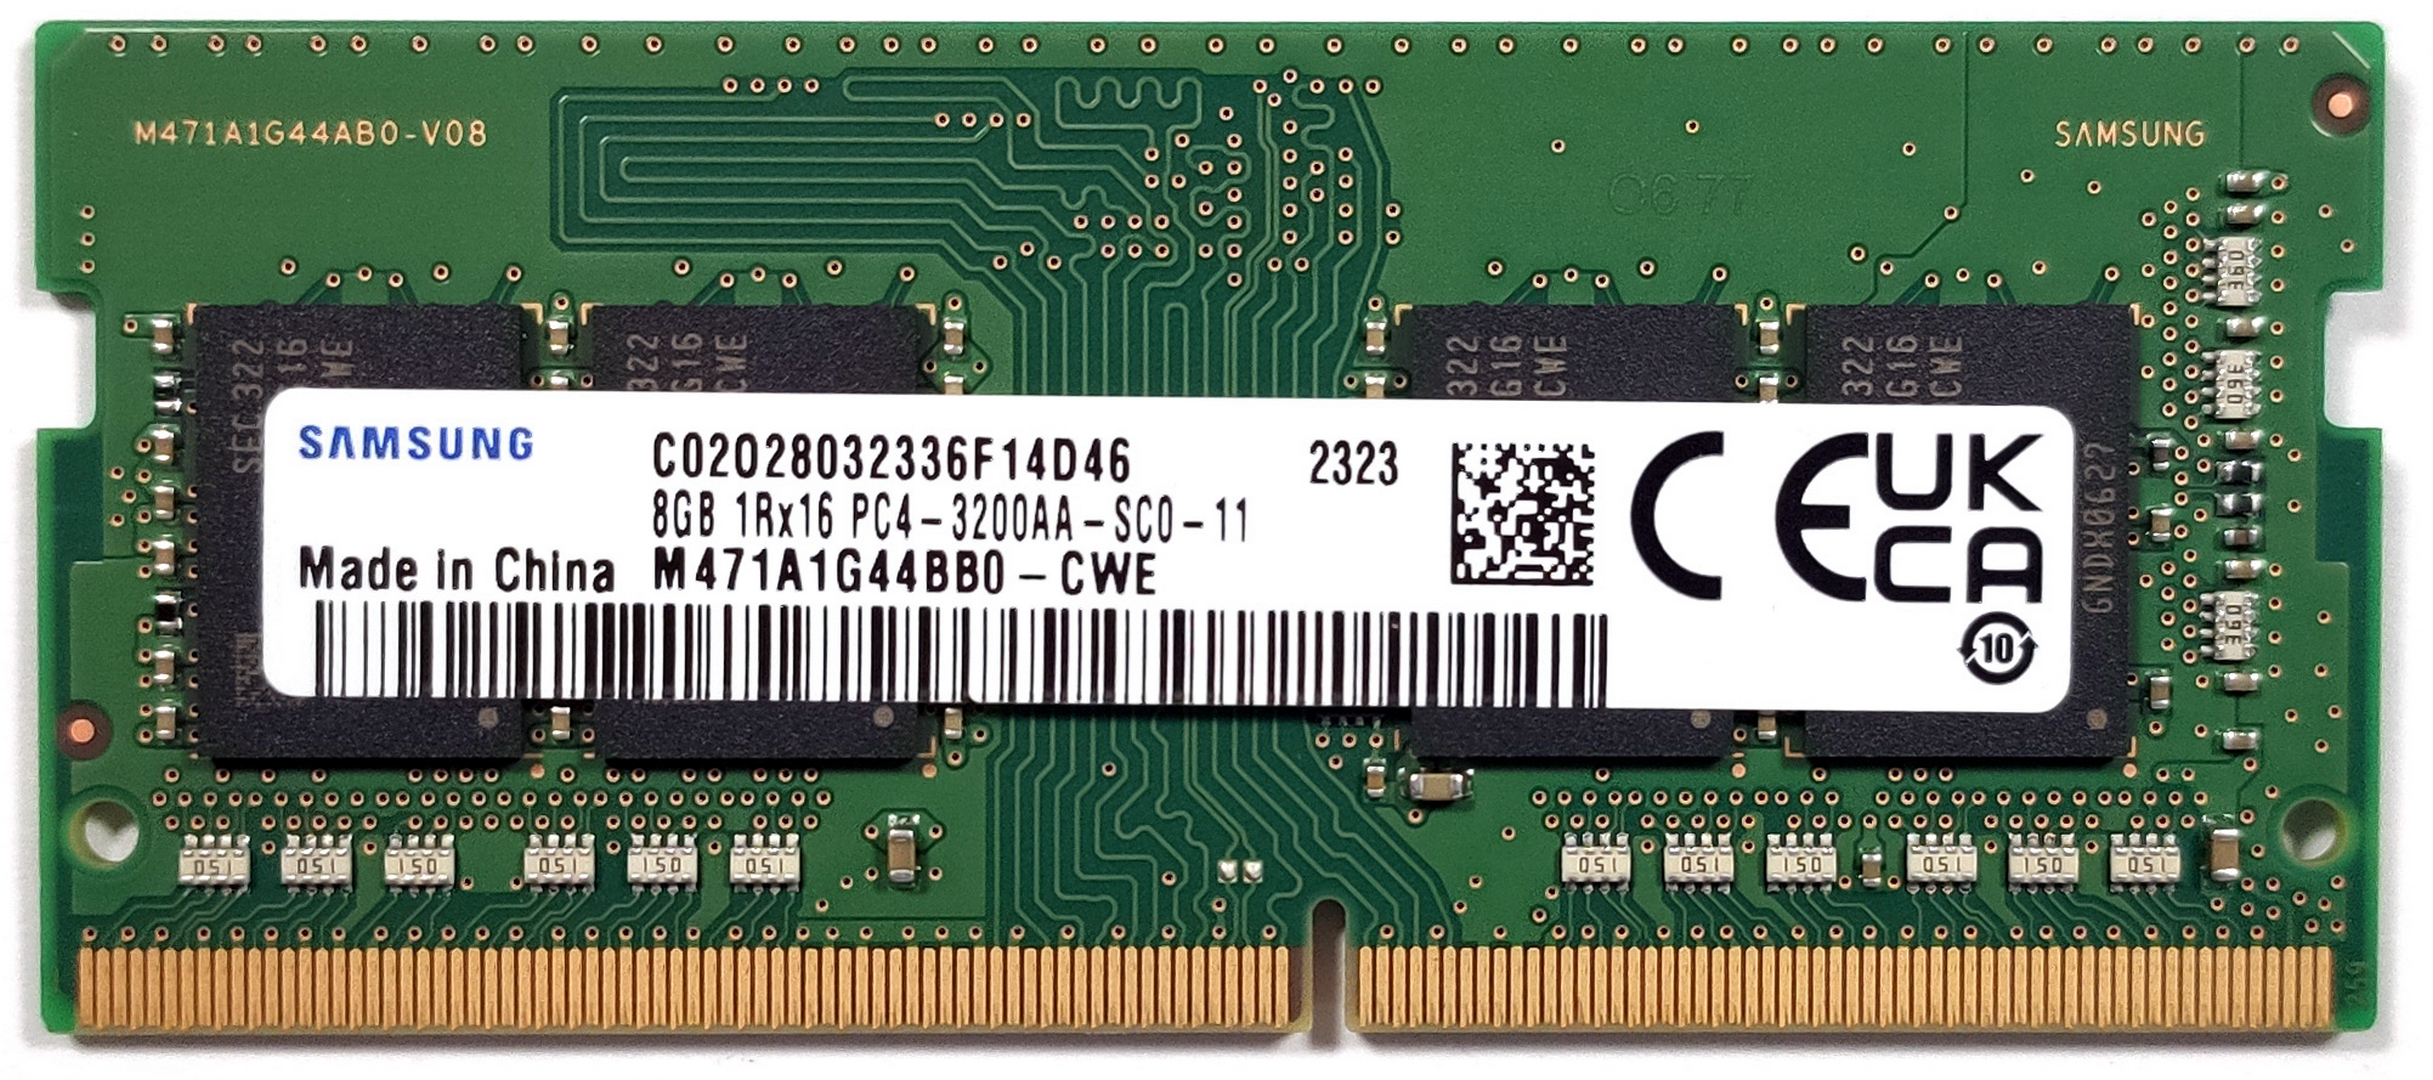
- Insert the new DDR4-3200MHz RAM module into the slot at an angle, then push down until the clips lock it in place.
You can buy DDR4 RAM modules here: Buy from Amazon.com (#CommissionsEarned)
More info: The laptop supports up to 48GB of DDR4-3200MHz memory in dual-channel mode, with 8GB or 16GB soldered and one SODIMM slot available for expansion.
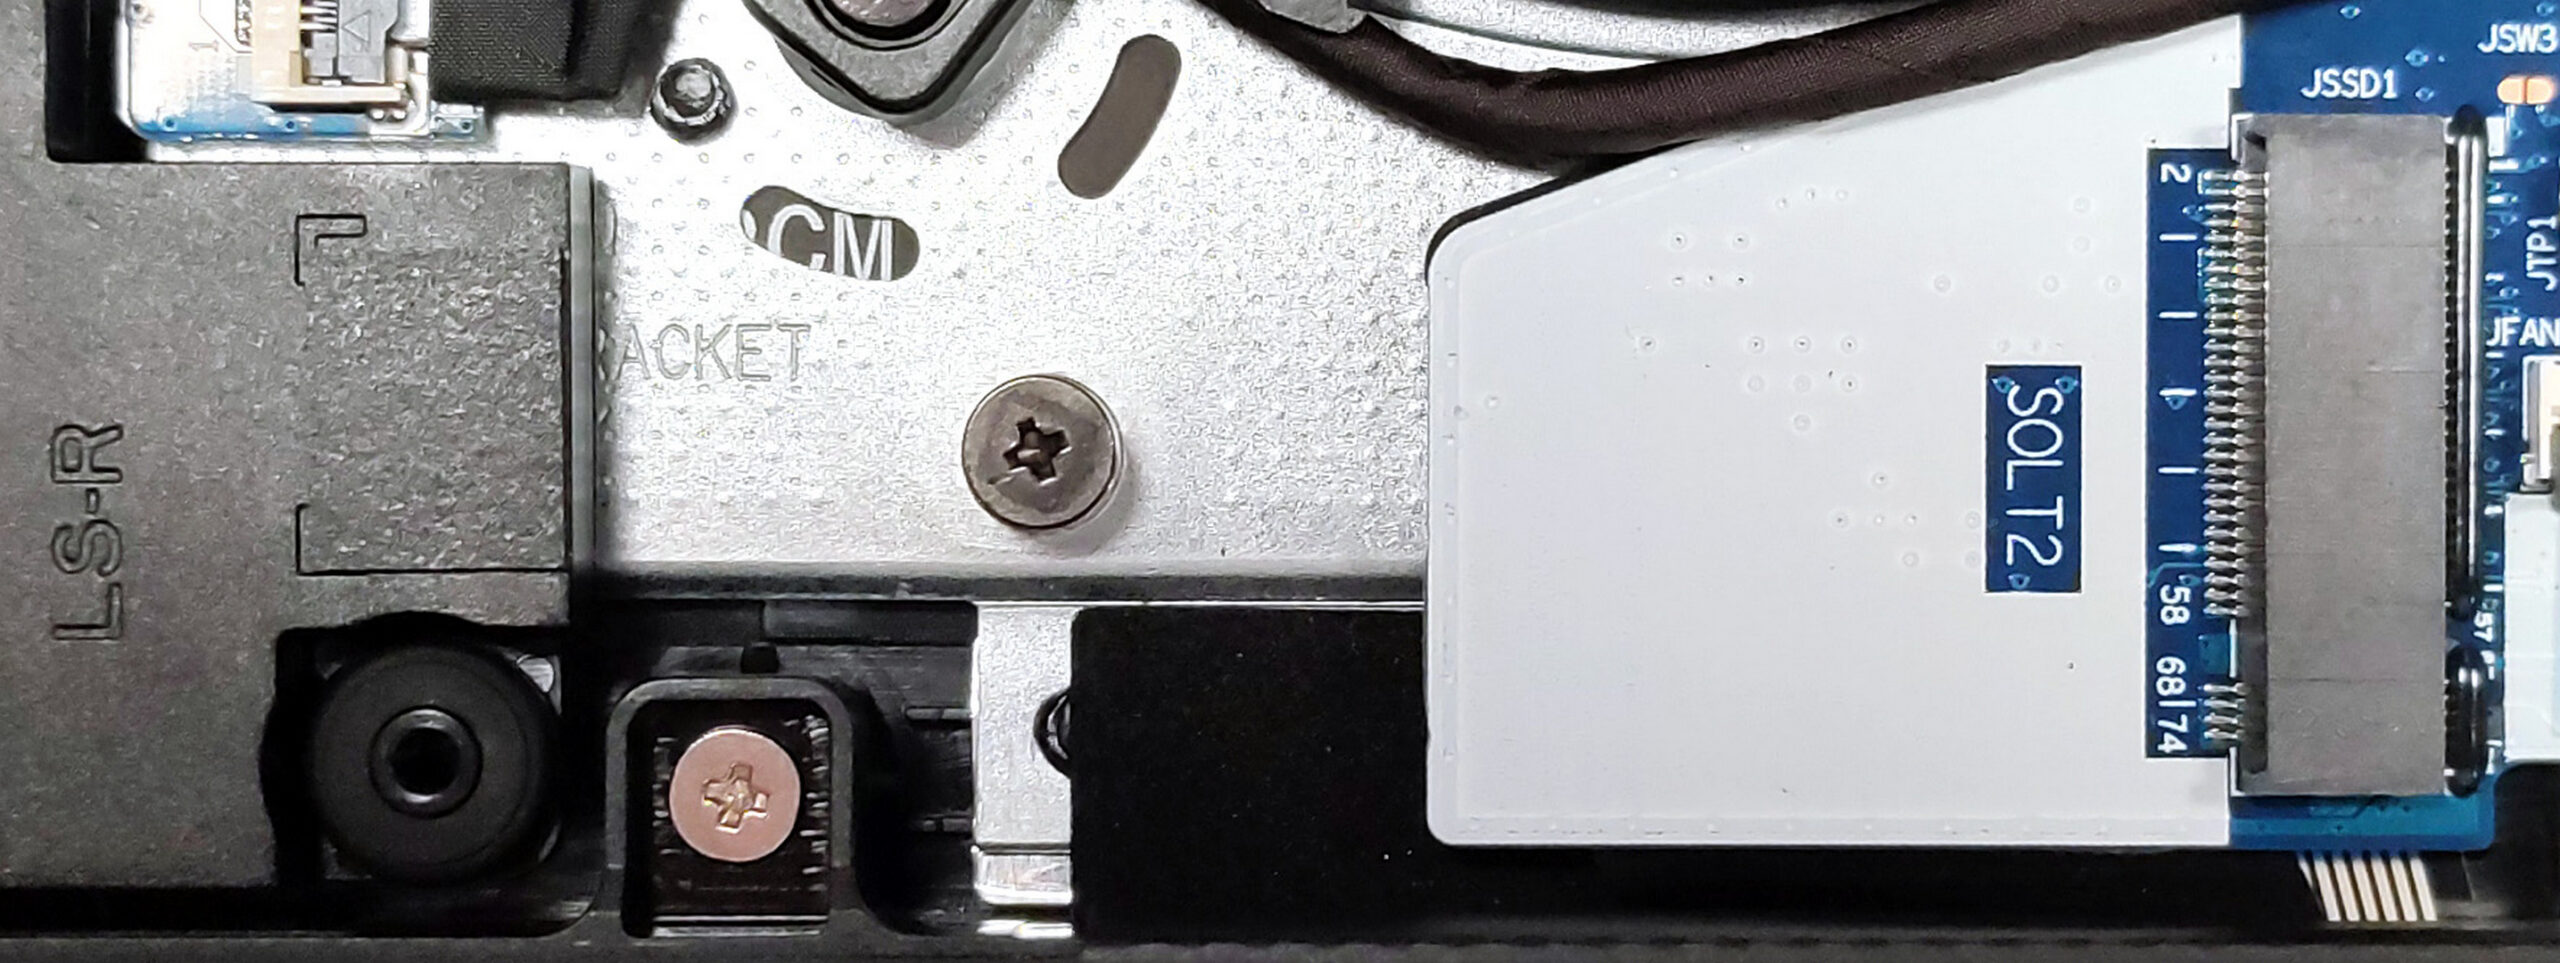
Upgrading the SSD
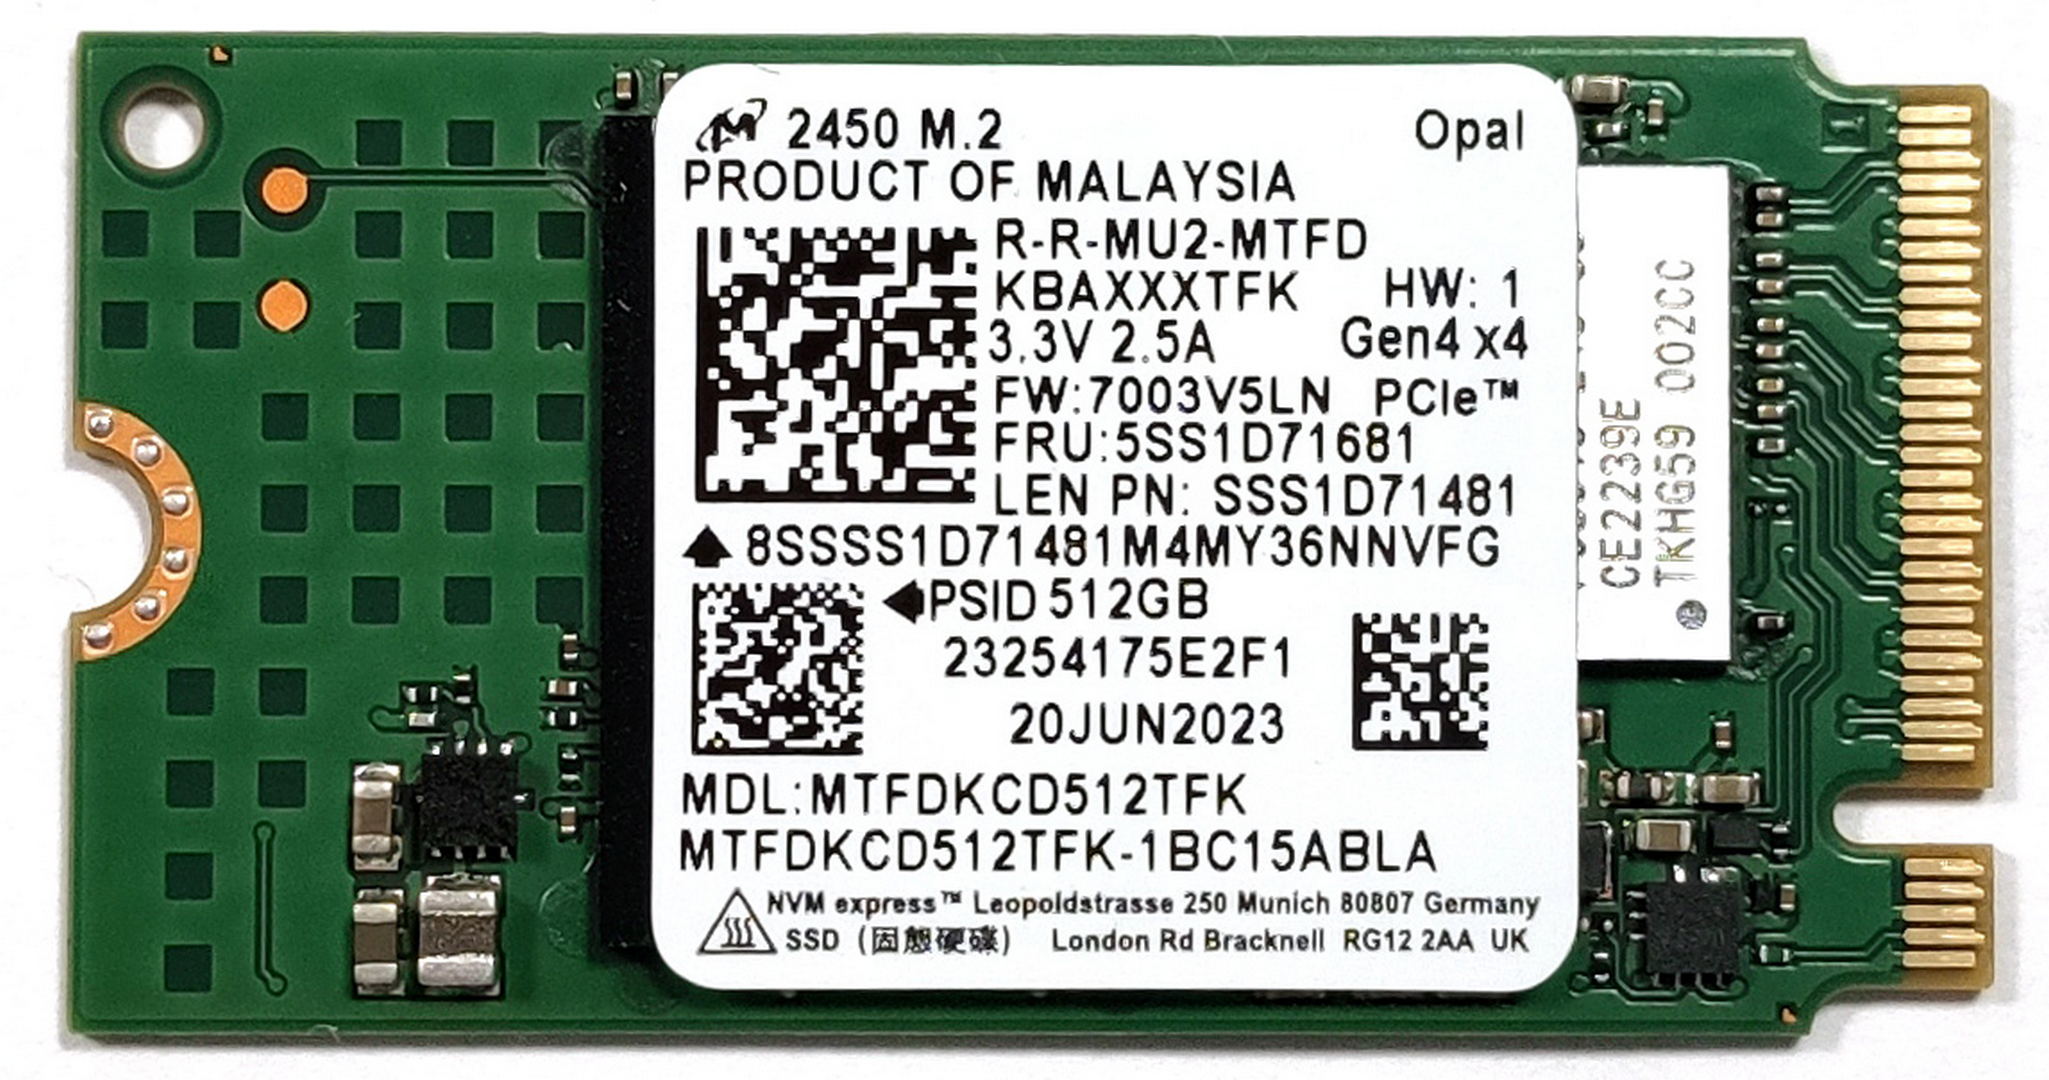
- Identify the two M.2 slots on the motherboard. Note the right slot is for Gen 4 NVMe SSDs and the left slot is for Gen 3 SSDs.
- To upgrade, remove the screw securing the preinstalled SSD and gently pull it out.
- Insert the new SSD into the slot and secure it with the screw. Ensure the cooling pad is properly aligned for optimal heat dissipation.
You can buy 2242 SSD modules here: Buy from Amazon.com (#CommissionsEarned)
More info: The laptop features two M.2 slots for storage expansion, supporting one Gen 4 and one Gen 3 NVMe SSD.
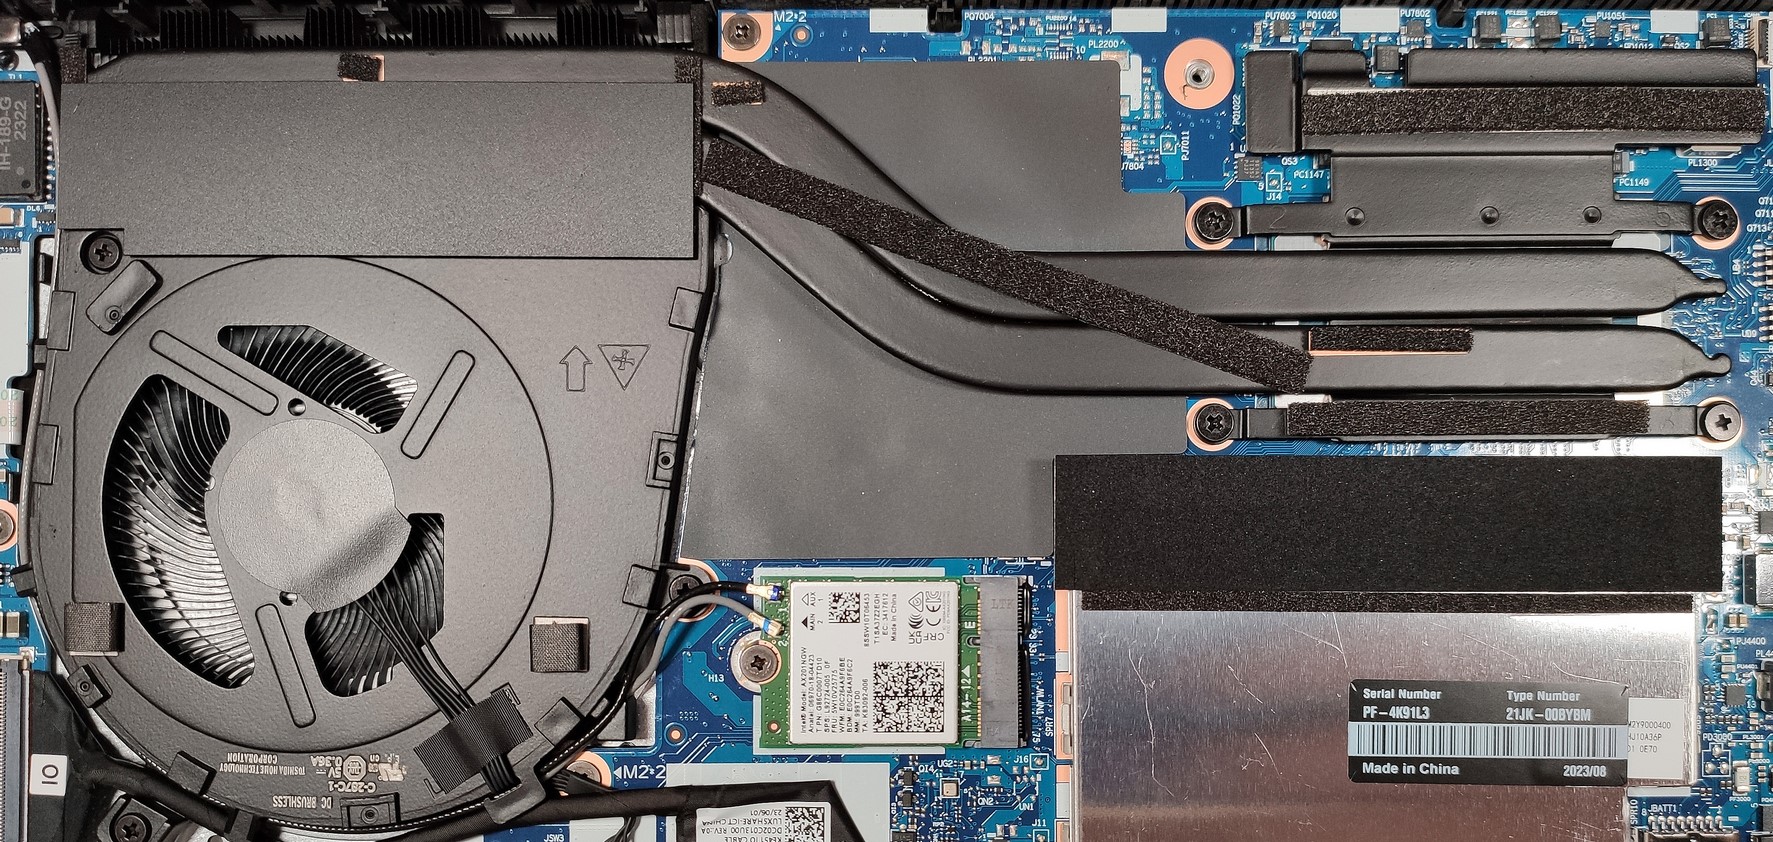
Maintenance of the Cooling System
- Locate the cooling system components – a single fan, two heat pipes, one heat sink, and a heat spreader.
- Remove the screws securing the fan and heat sink to the motherboard.
- Clean the fan and heat sink with compressed air. If replacing the thermal paste, clean the old paste off the CPU and the heat sink, then apply a new thin layer.
- Reattach the fan and heat sink, ensuring that the screws are tightened securely.
Caution: Ensure the thermal paste is applied thinly and evenly to prevent overheating.
More info: Although the cooling system is modest, it is designed to effectively manage the thermal output of the laptop’s components, ensuring stable performance under normal use.