How to open Lenovo Legion Pro 5i (16, Gen 9) – disassembly and upgrade options
LaptopMedia.com
Guides
How to open Lenovo Legion Pro 5i (16, Gen 9) – disassembly and upgrade options
| 0
#CommissionsEarned

Step 1: Accessing the Lenovo Legion Pro 5i (16, Gen 9) Internals
- Ensure the Lenovo Legion Pro 5i is powered off and placed on a soft surface to prevent damage.
- Remove the 10 Torx-head screws that secure the bottom panel of the laptop.
- Begin prying the panel off with a plastic tool from the central zone at the back, then proceed around the sides and the front to fully detach it.

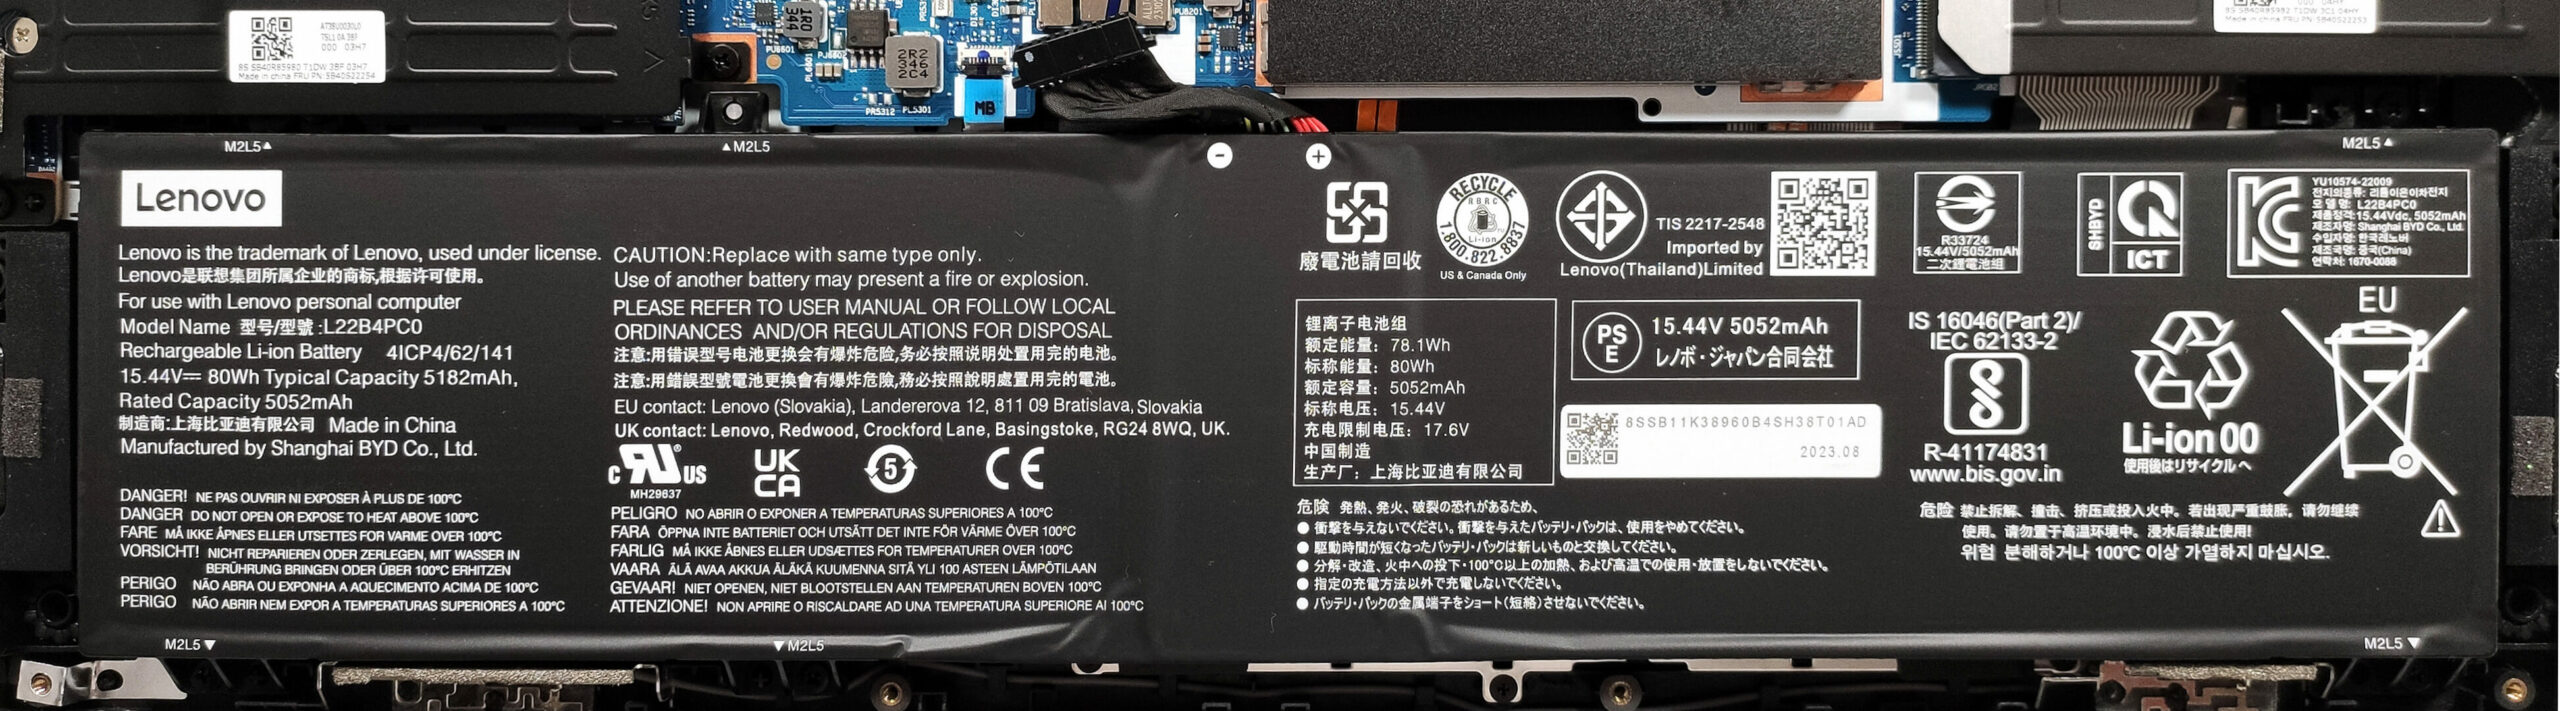
Step 2: Battery Removal
- First, disconnect the battery connector from the motherboard to ensure a safe disassembly process.
- Remove the 5 Phillips-head screws holding the 80Wh battery, noting that one screw is concealed beneath the metal SSD cover on the left, which also needs to be removed.
More info: The 80Wh battery offers up to 12 hours and 30 minutes of web browsing or 5 hours and 53 minutes of video playback, highlighting impressive battery life for extended use.
Memory Upgrade
- Access the RAM slots by popping off the metal plate that covers the RAM area with a lever tool.
- The laptop supports up to 32GB of DDR5-5600MHz RAM in dual-channel mode, according to official specs, though the CPU’s compatibility with up to 192GB suggests potential for greater memory capacity.
You can buy DDR5 RAM modules here: Buy from Amazon.com (#CommissionsEarned)
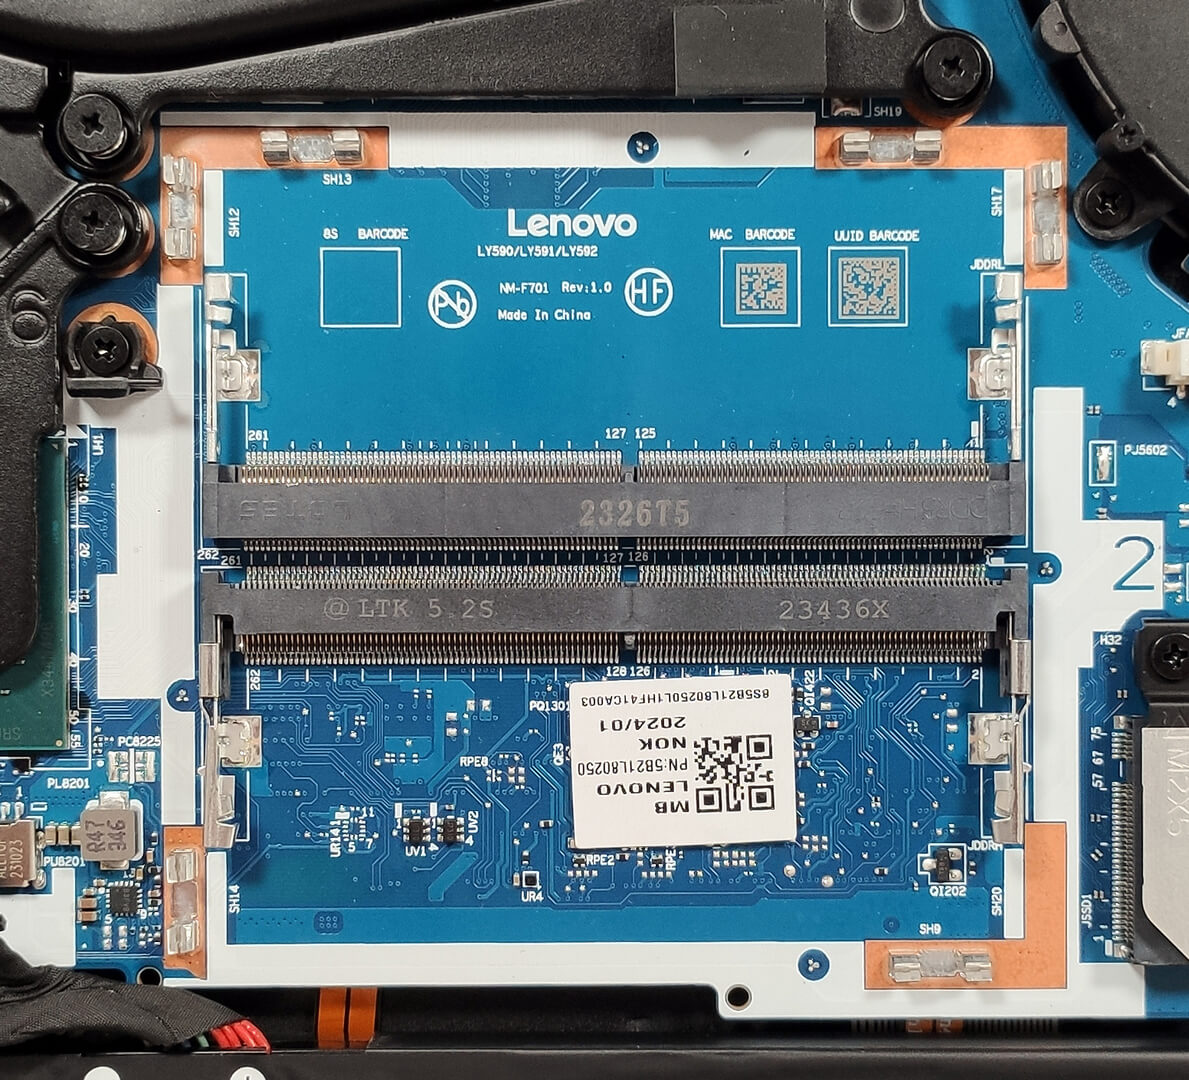

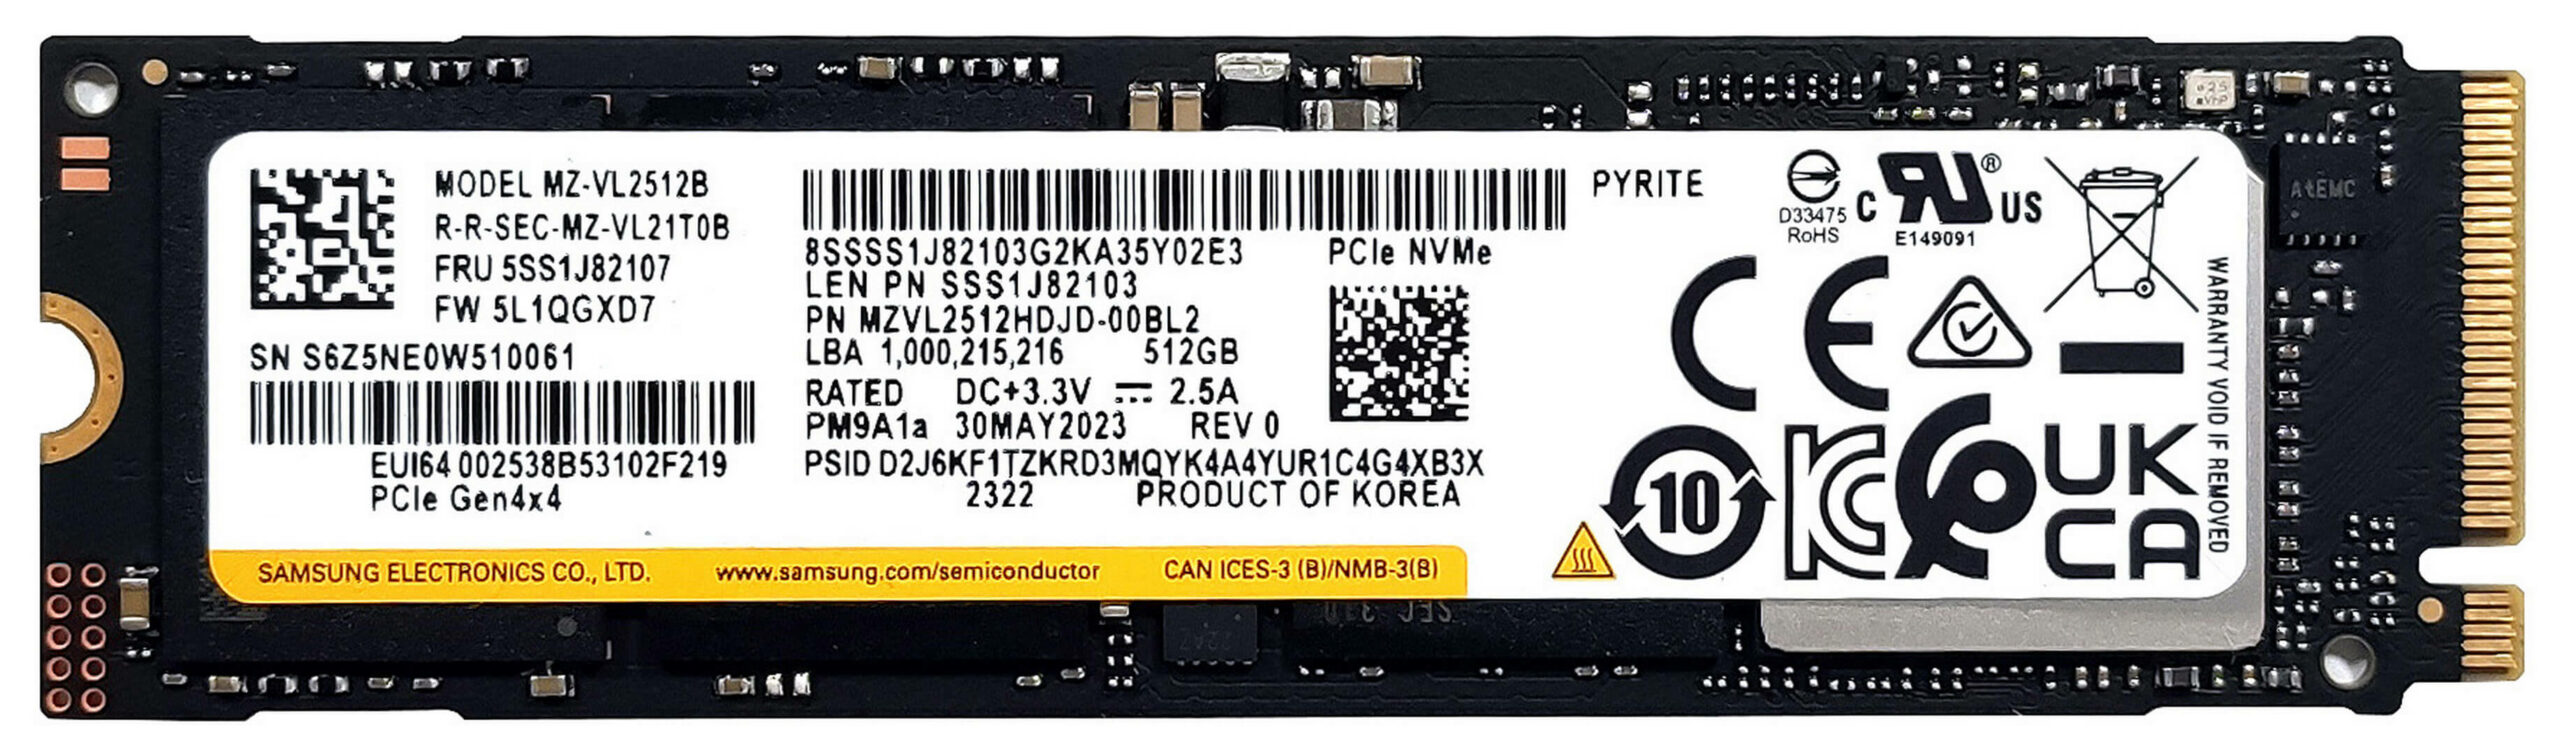
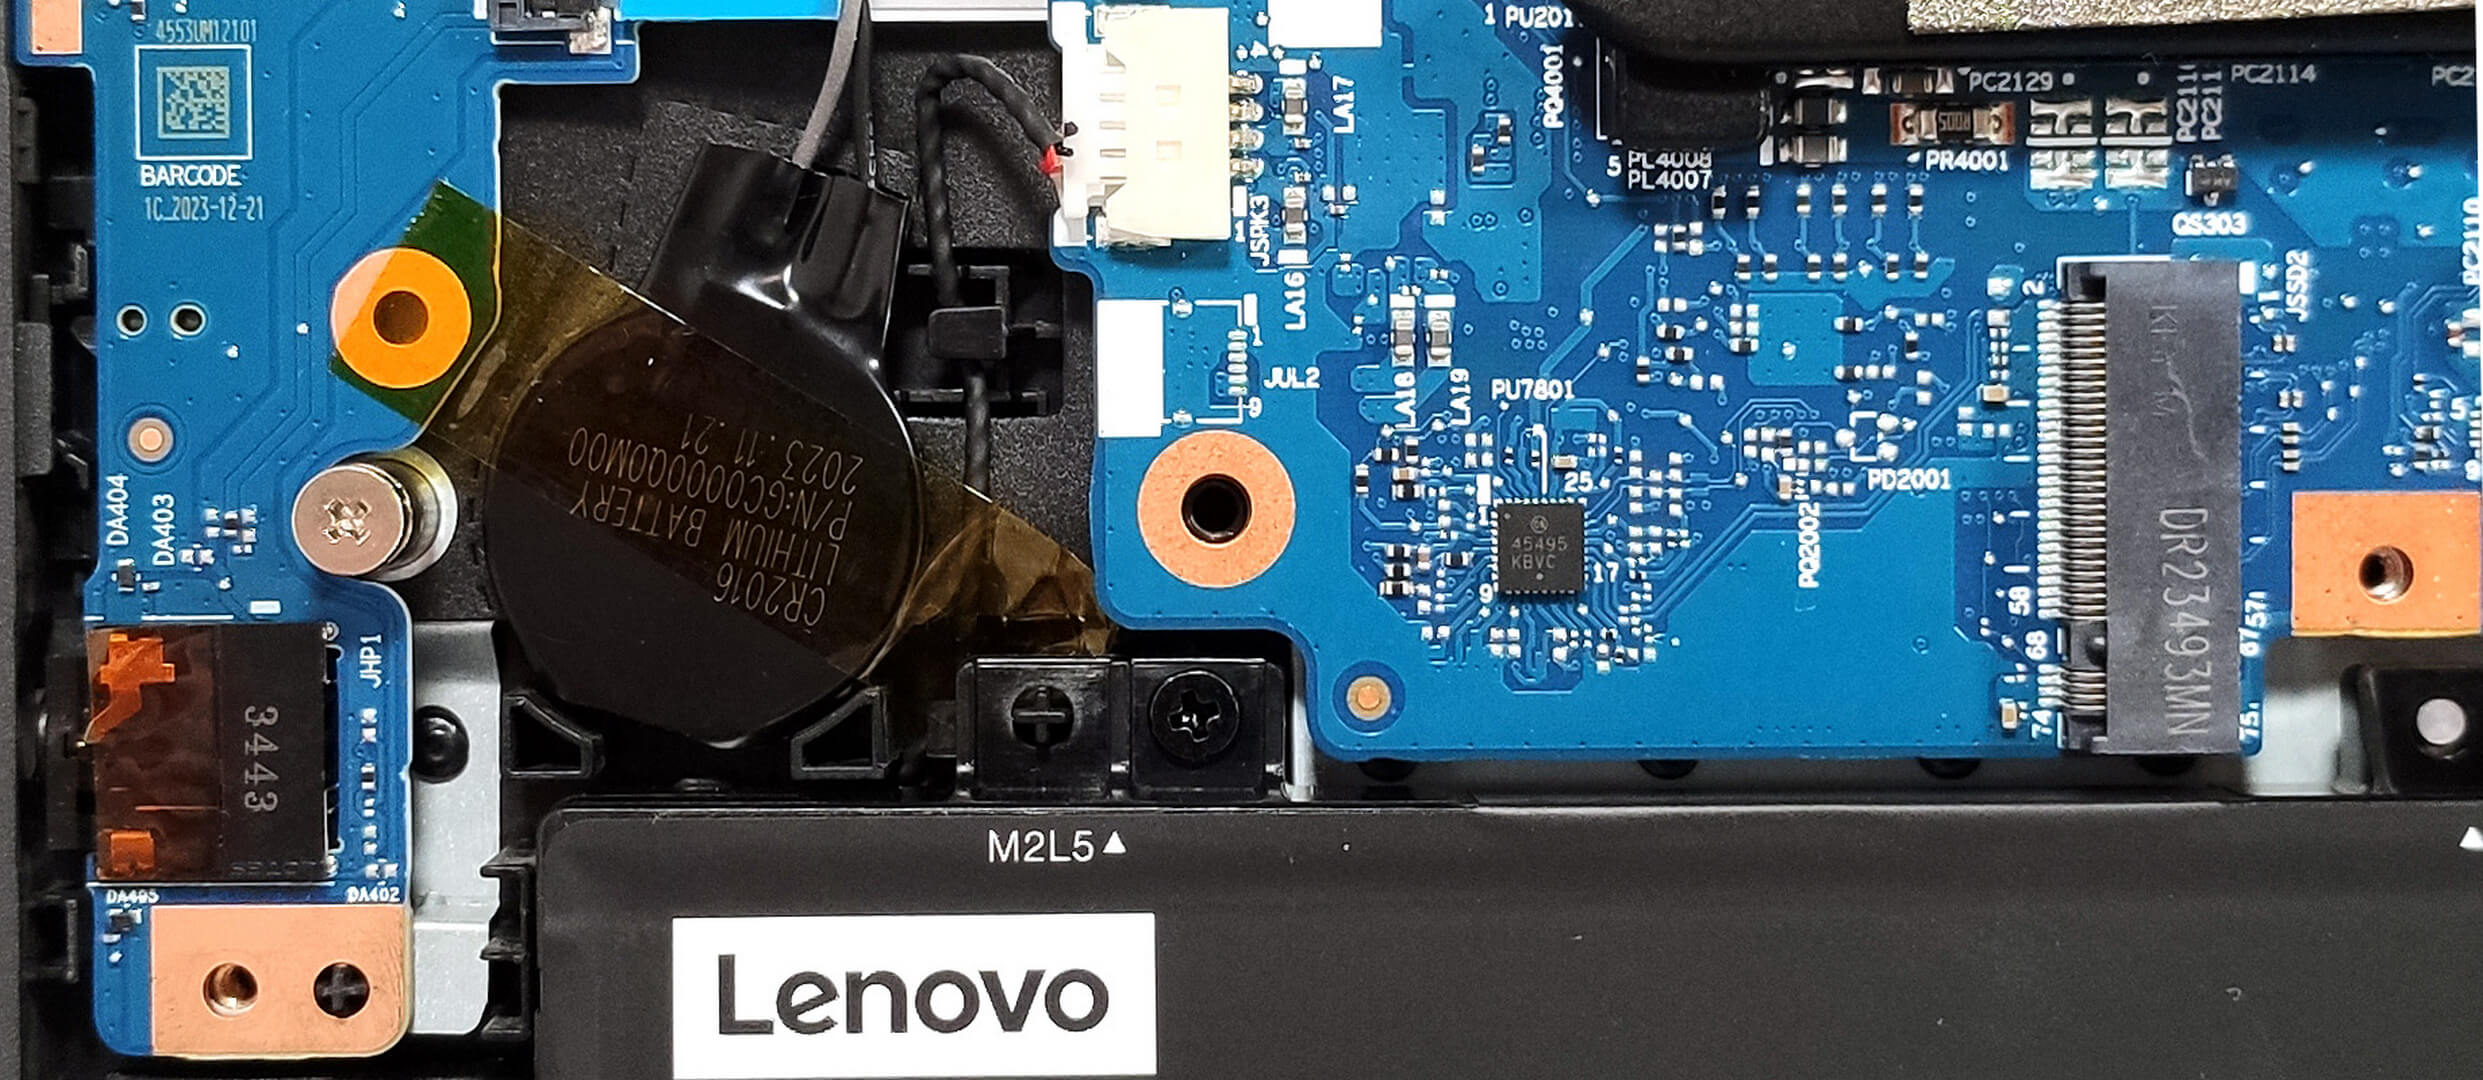
Storage Upgrade
- Identify the two M.2 slots suitable for both 2242 and 2280 Gen 4 SSDs, offering versatile storage expansion opportunities.
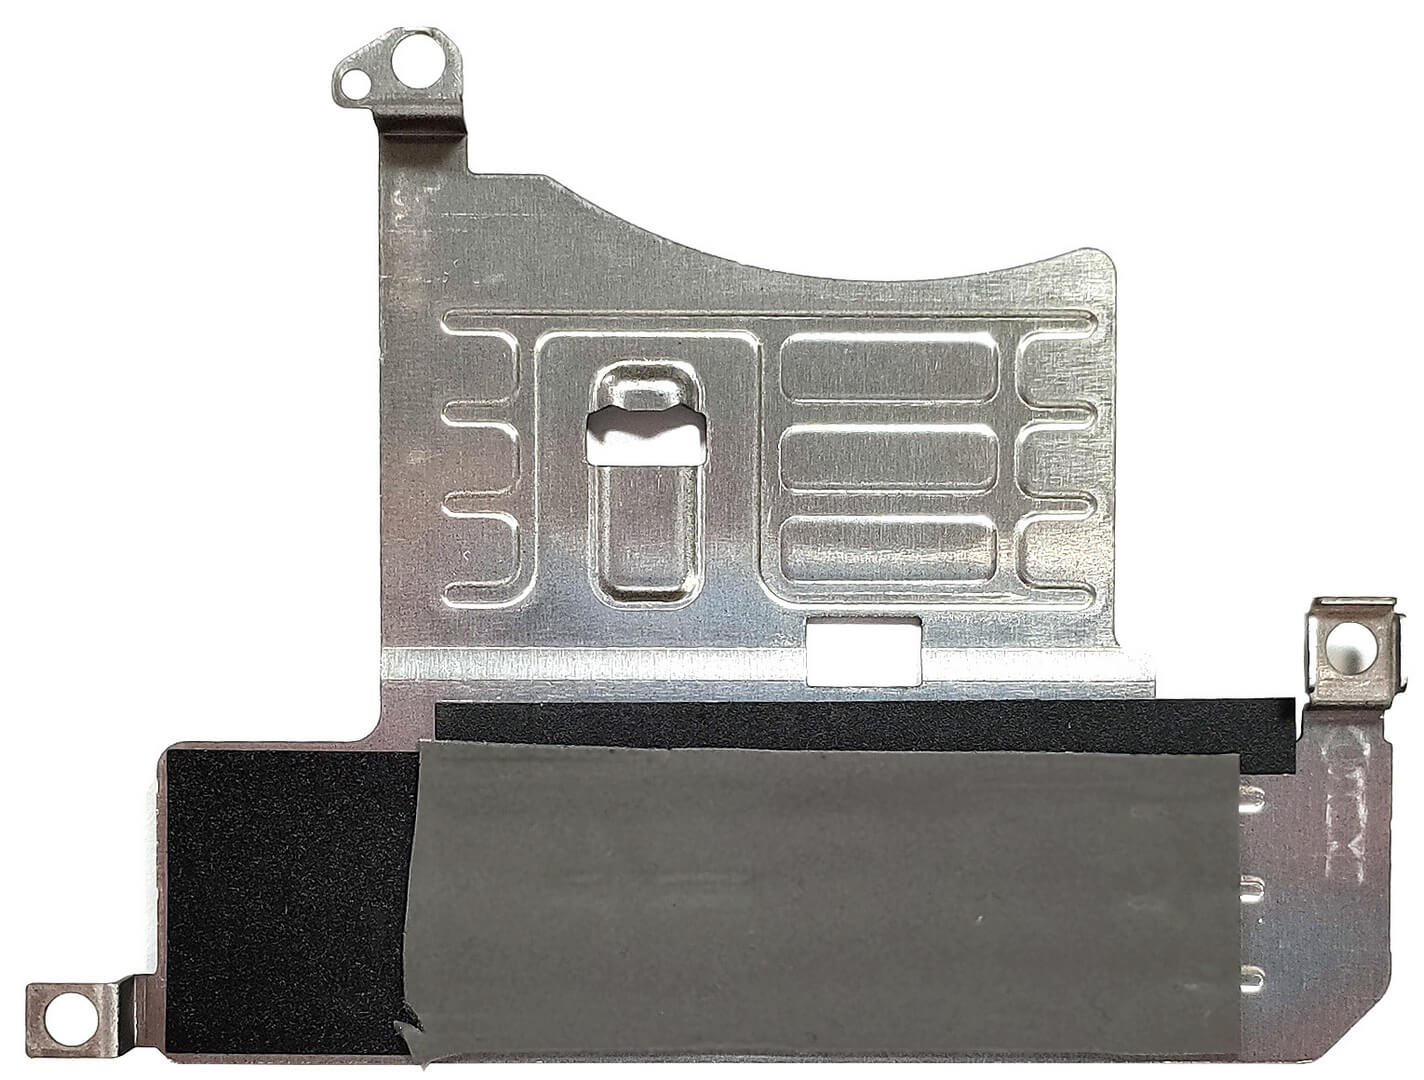
- Note that each slot is safeguarded by a metal shroud, affixed with three Phillips-head screws, and equipped with a thermal pad for improved cooling.
Hint: Consider reviewing our Top M.2 SSDs Performance Rankings to select the best storage solution for your needs.
You can buy Gen 4 M.2 SSD modules here: Buy from Amazon.com (#CommissionsEarned)


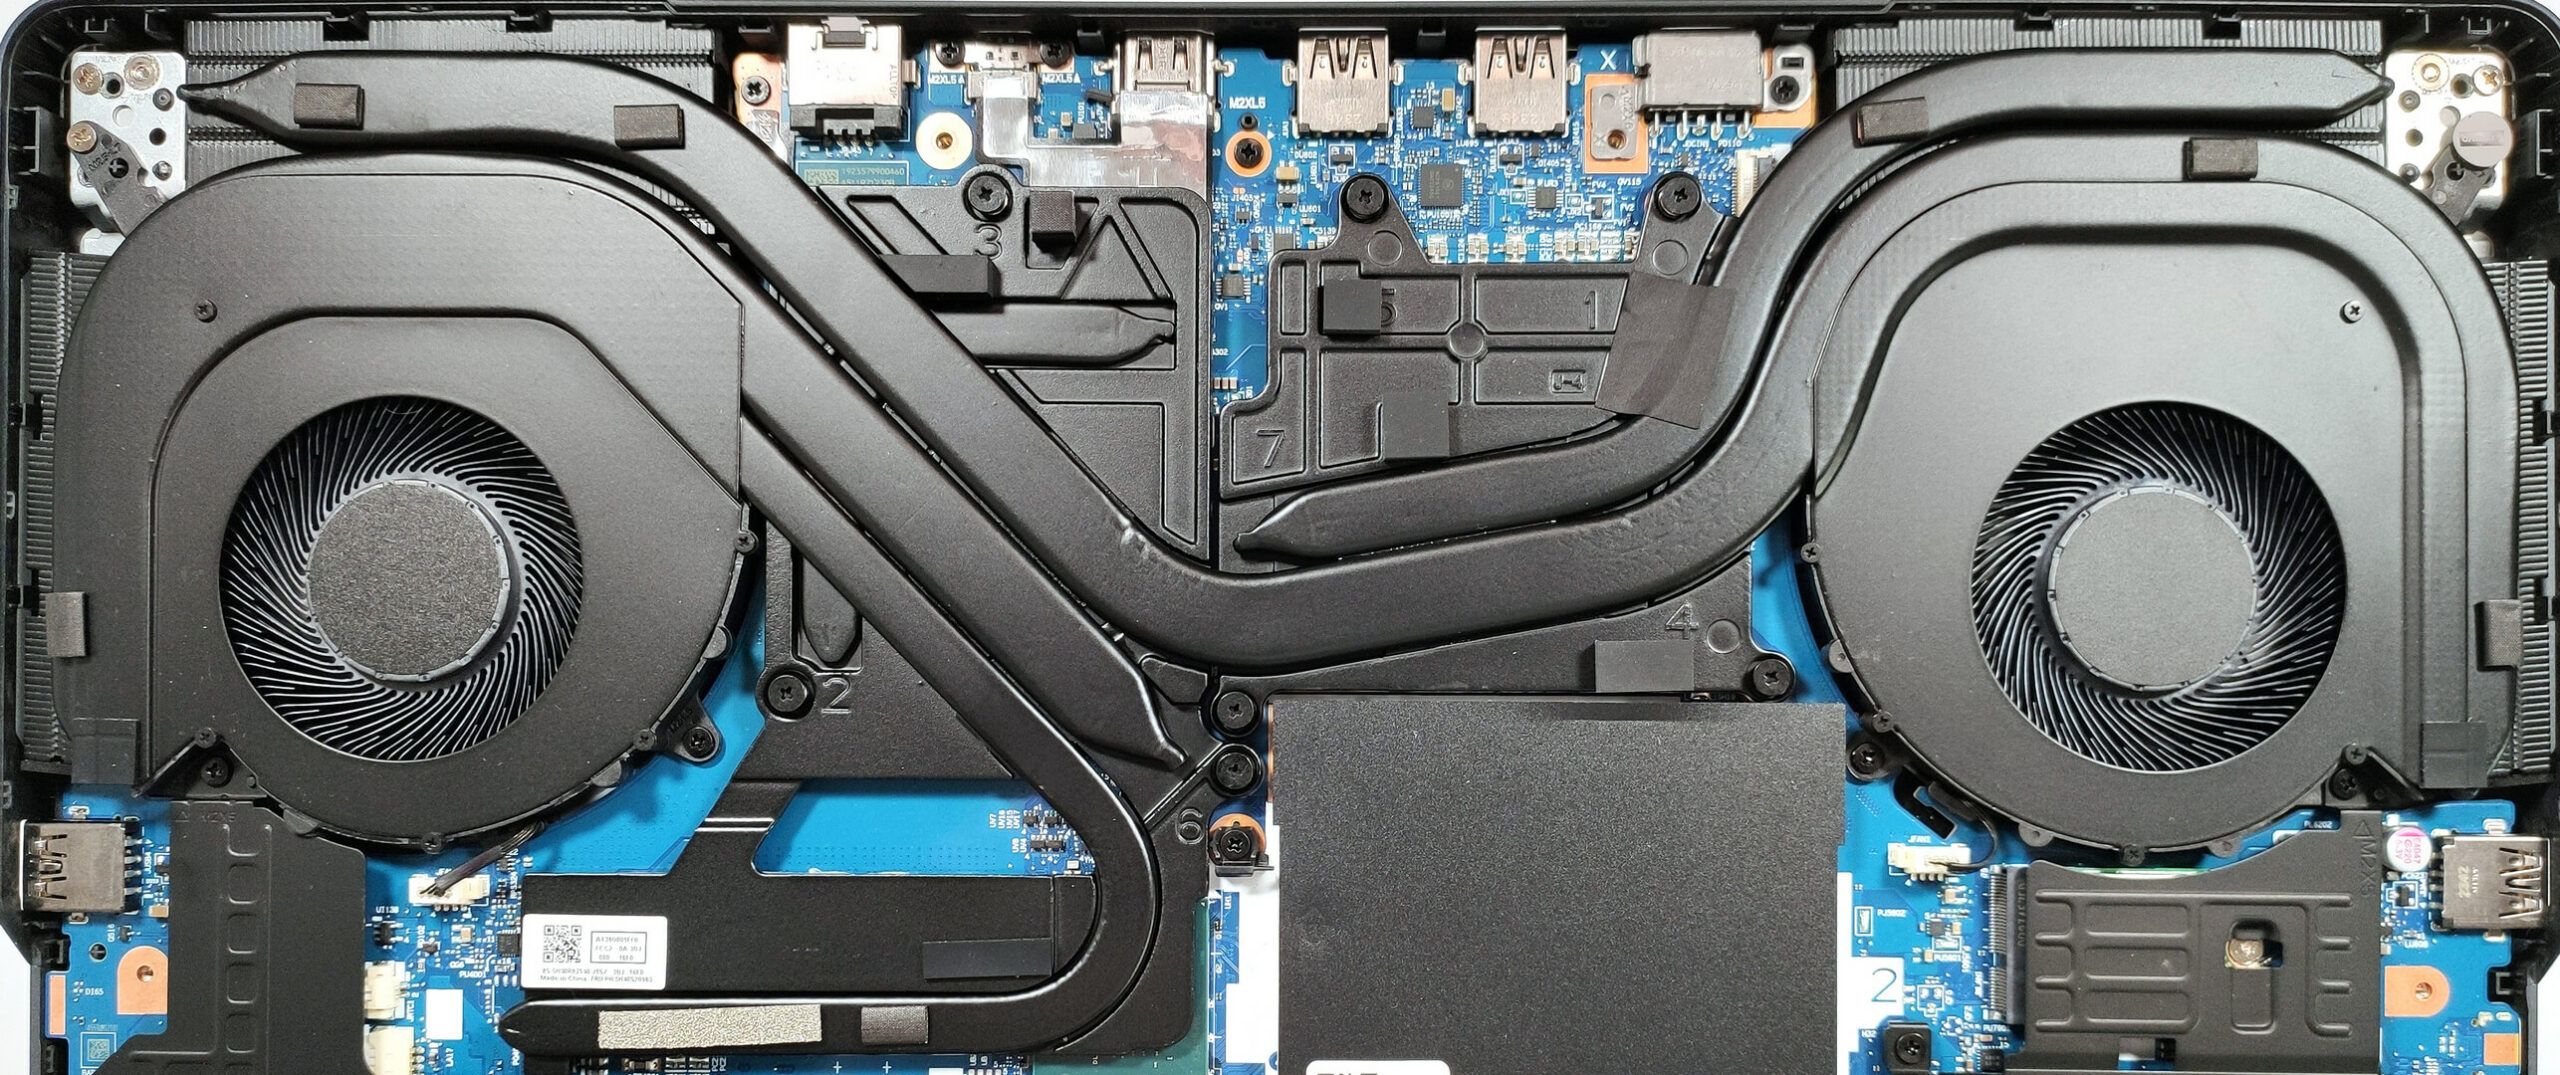
Cooling System Overview
- The cooling system includes two large fans, multiple heat pipes for efficient heat distribution between the CPU and GPU, and additional pipes dedicated to each component.
- Four heat sinks and two extensive metal plates ensure effective heat dissipation, with one plate also serving to cool the chipset.
#CommissionsEarned
Subscribe
0 Comments