How to open Lenovo Legion Pro 7i Gen 9 (16″ Intel) – disassembly and upgrade options

Step 1: Opening the Lenovo Legion Pro 7i Gen 9
- Ensure the device is powered off and placed on a clean, flat surface.
- Remove the 10 Phillips-head screws from the bottom of the laptop.
- Flip the laptop and use a thin plastic tool to pop the zones around the plastic shrouds of the four vents on the sides and back.
- Insert the plastic tool between the base and the bottom panel, lift up until you hear a pop sound, and repeat this process for all sides.
- Pry the middle of the rear, turn over the device, slightly raise the back of the panel, pry the mid and front sections of the plate, and lift it away from the base.
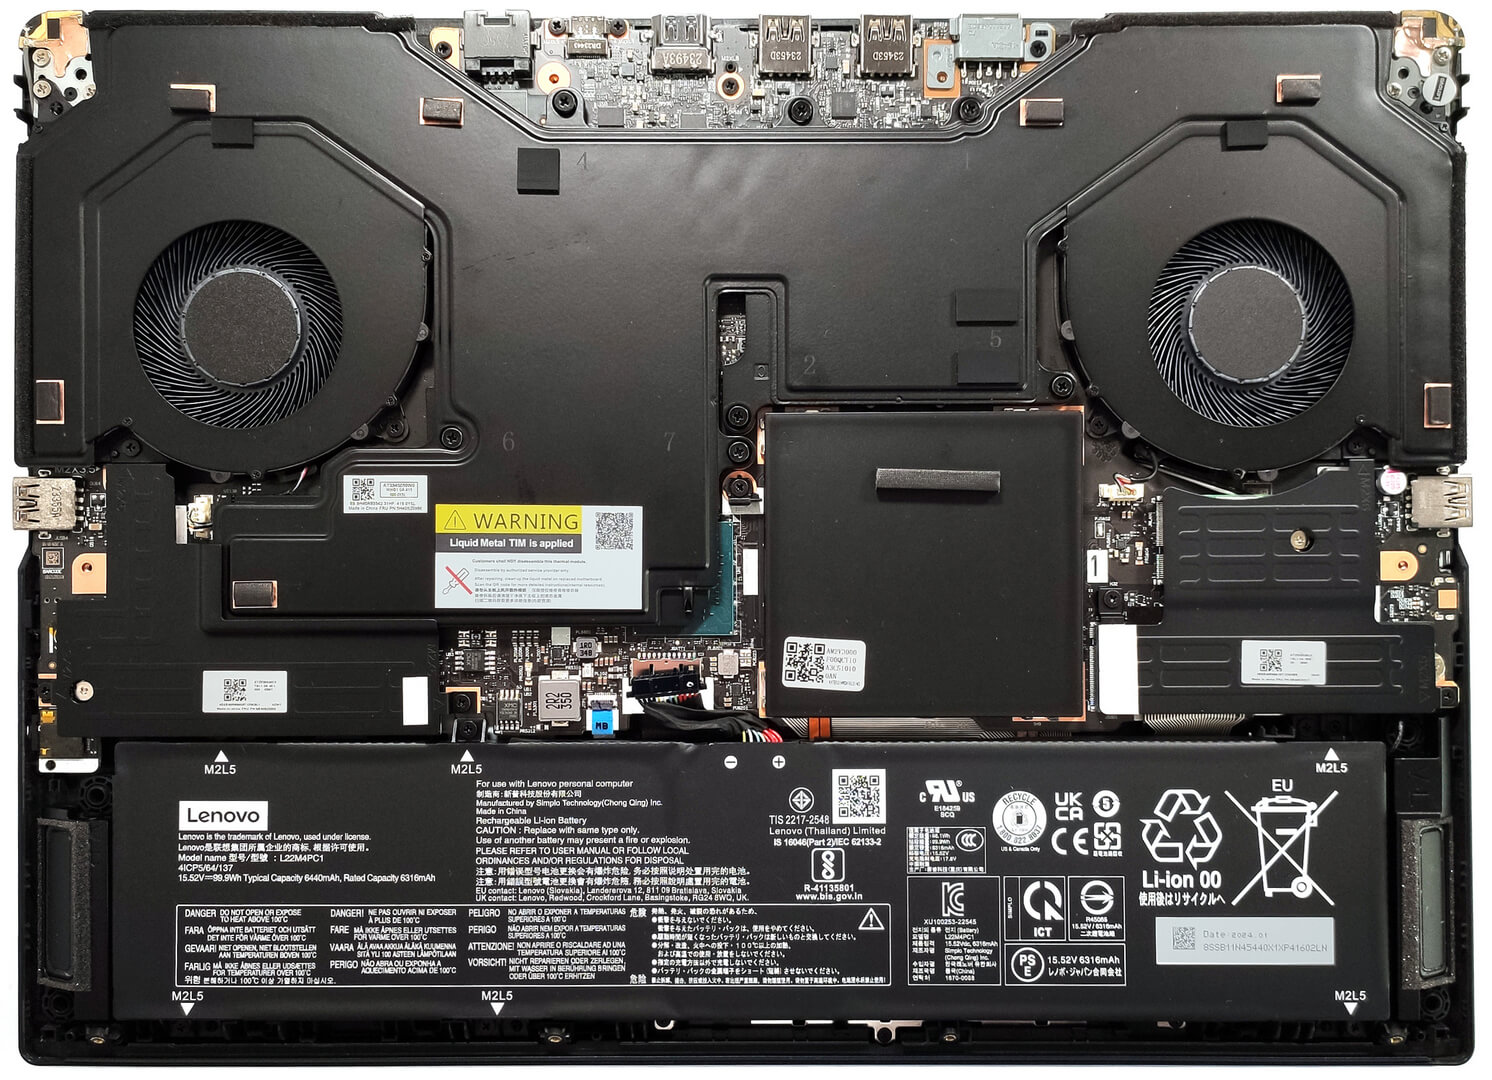
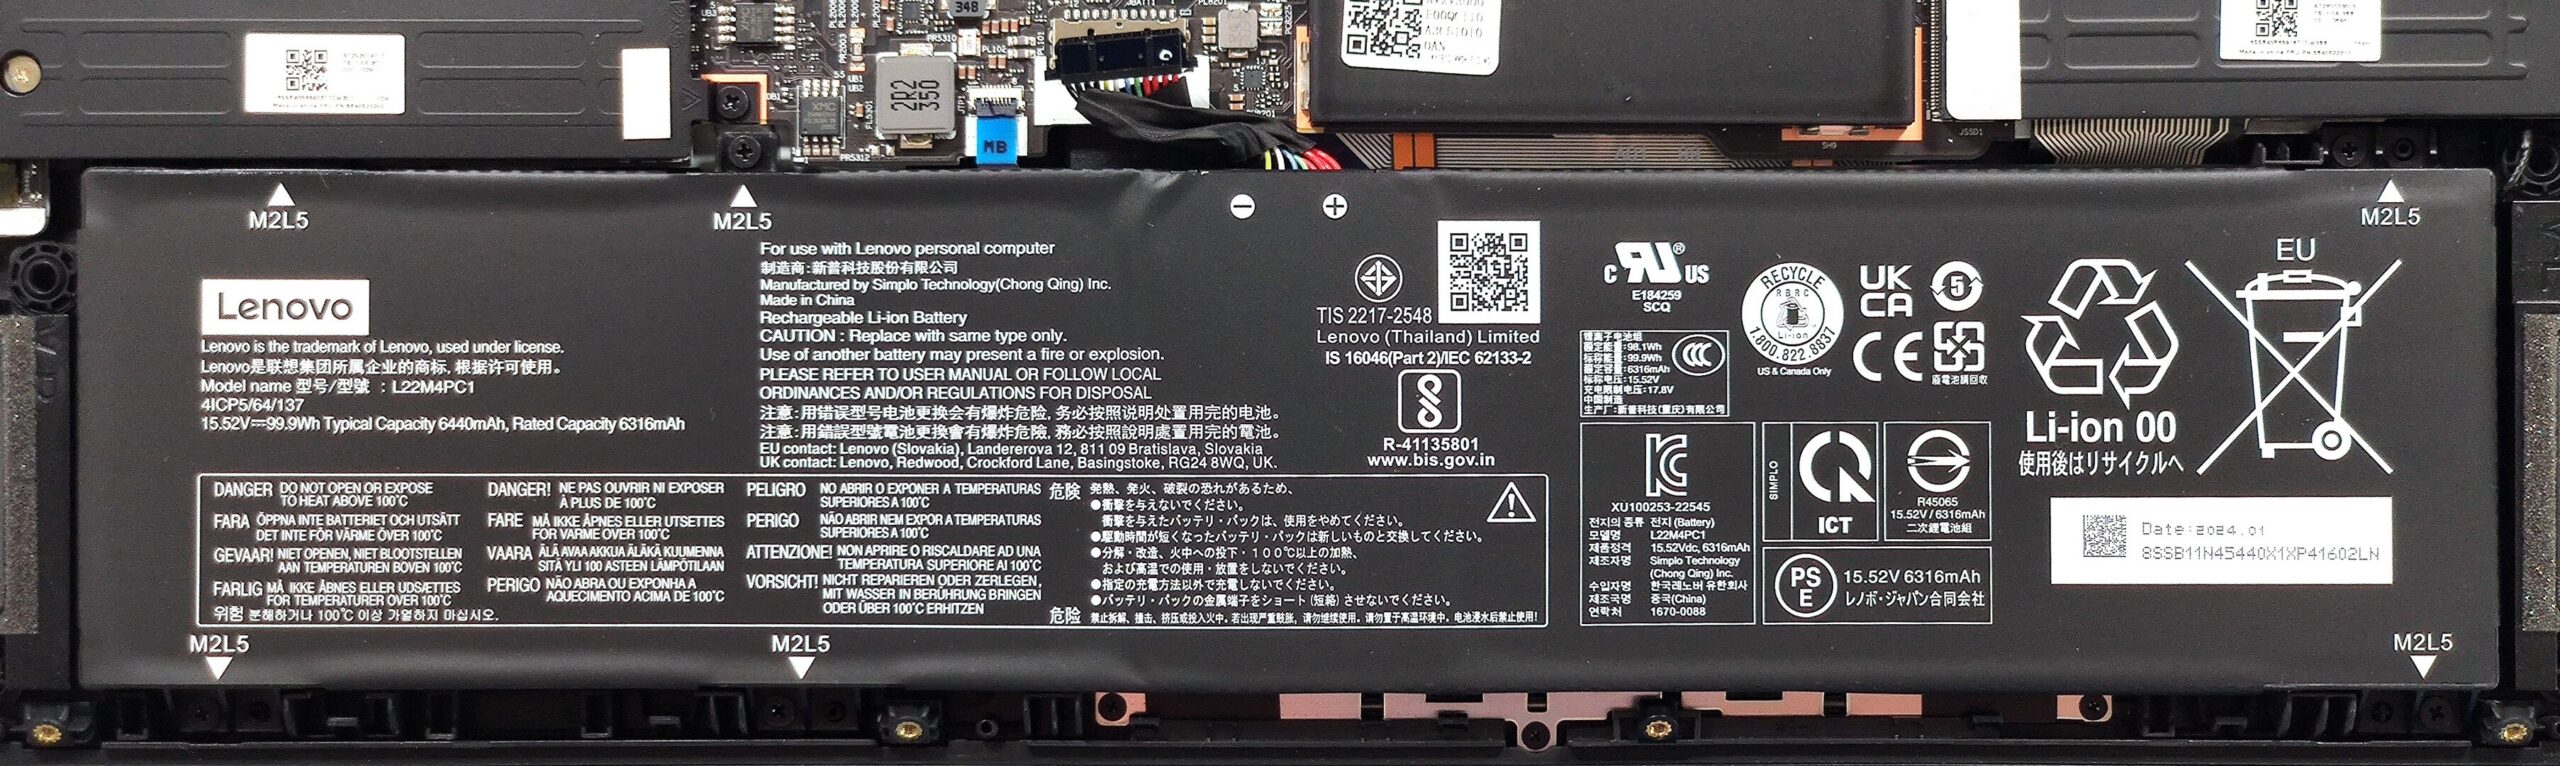
Step 2: Battery Removal
- Locate the battery connector on the mainboard and carefully detach it.
- Remove the 6 Phillips-head screws securing the battery to the chassis. Note: the top left screw is hidden beneath the metal SSD shroud and needs to be removed first.
- Lift the battery out of the chassis.
More info: The 99.9Wh battery provides up to 8 hours of web browsing or 6 hours of video playback.
Memory Upgrade
- Lift the metal plate covering the RAM zone using a lever tool to access the SODIMM slots.
- Note: The two SODIMMs support up to 32GB of DDR5-5600MHz RAM in dual-channel mode.
Note: Despite the high capacity of the CPU (up to 192GB), this model comes without thermal pads for memory cooling, which is unusual for such a high-end device.


Storage Upgrade
- Identify the two M.2 slots covered by metal plates. Remove the three Phillips-head screws from each plate to access the slots.
- Each metal plate has a thermal pad on the inside, which assists in cooling the NVMe drives.
Hint: Don’t forget to check out our Top M.2 SSDs Performance Rankings to select the best storage solution for your needs.
You can buy compatible NVMe SSDs here: Buy from Amazon.com (#CommissionsEarned)


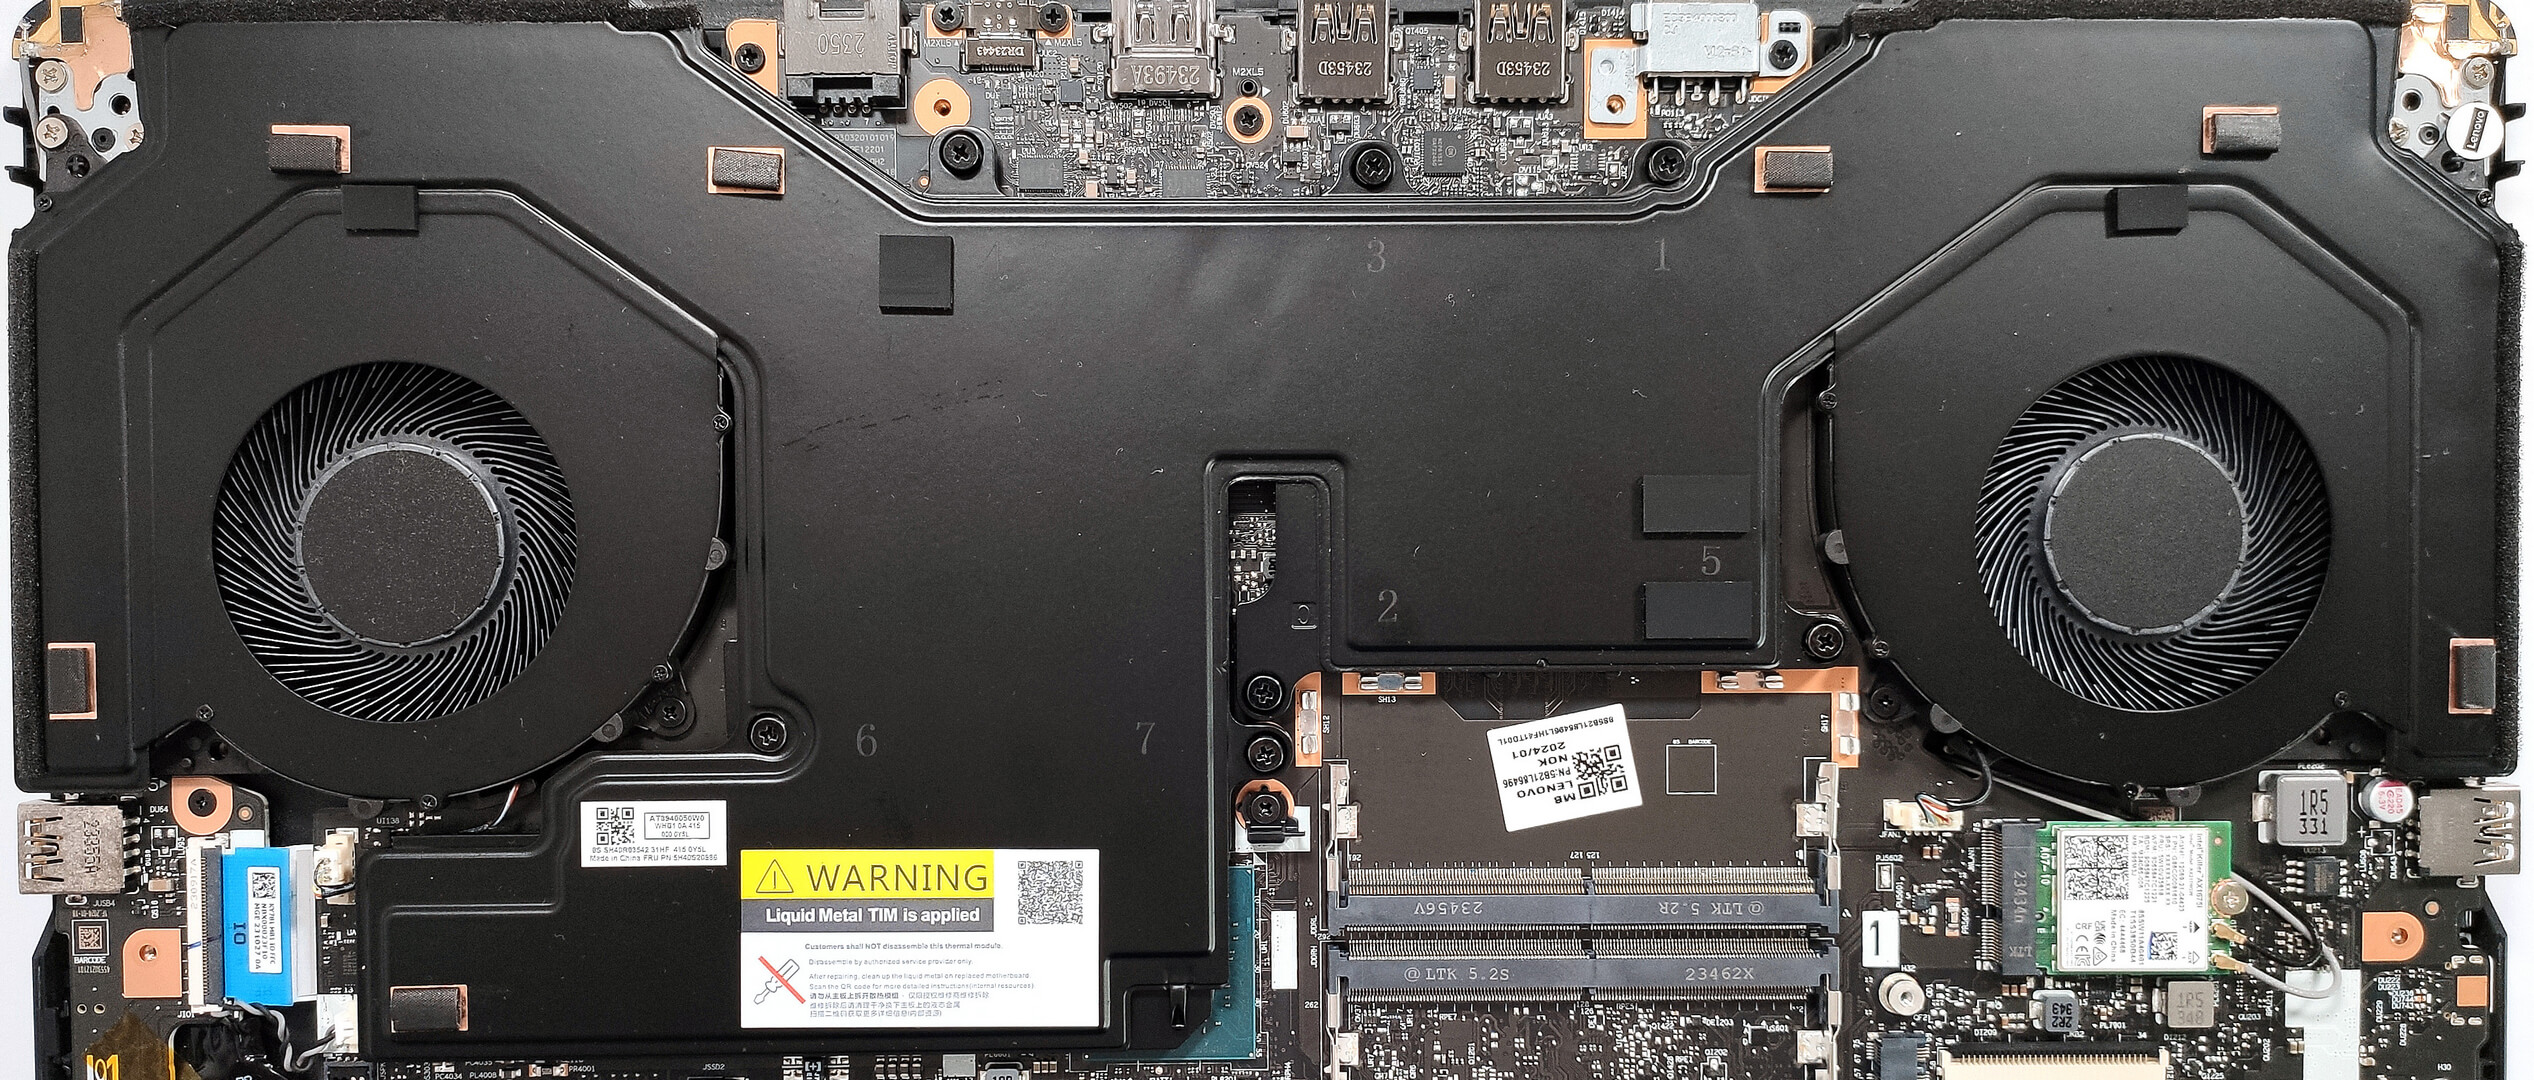
Cooling System Overview
- Inspect the Legion ColdFront Vapor chamber thermal system. Most components are not visible, but you can see the two large fans and the four heat sinks.
- Note: The cooling system also makes contact with the chipset, enhancing thermal management.
Lenovo Legion Pro 7i (16", Gen 9) in-depth review
Just like MSI and their Vector 16 HX A13V, Lenovo shows to the world that you don't have to buy a huge 17 or 18-inch laptop to fully utilize the power of a 175W GeForce RTX 4080 or 4090. The Legion Pro 7i (16″, Gen 9) is 16-incher that offers high-end hardware. The Core i9-14900HX is the only CPU option for the series. That's a 24-core beast that dissipates a lot of heat during full loads. That's why you'll find a huge vapor chamber thermal system under the hood. GPU-wise, you can choose between the two most powerful NVIDIA Ada Lovelace graphics cards with hefty TGPs. Expectedly for such a d[...]
Pros
- Good battery life for such powerful hardware
- Great performance
- Stable aluminum build
- Potent vapor chamber cooling solution
- 6 USB ports
- PWM-free
- High Max Brightness - 492 nits (BOE0C8B)
- 100% sRGB and 99% DCI-P3 coverage + great color accuracy when our "Design and Gaming" profile is applied (BOE0C8B)
- 240Hz refresh rate, 1600p resolution, and snappy (7.6 ms) pixel response times (BOE0C8B)
- The fans aren't too noisy during gaming
- Optional 1080p Web camera with an E-shutter
- The CPU and the GPU can sustain impressive clocks and power limits during full loads
- Comfortable keyboard
- Supports NVIDIA G-SYNC and Advanced Optimus
- MUX switch
- CPU OC / undervolt function
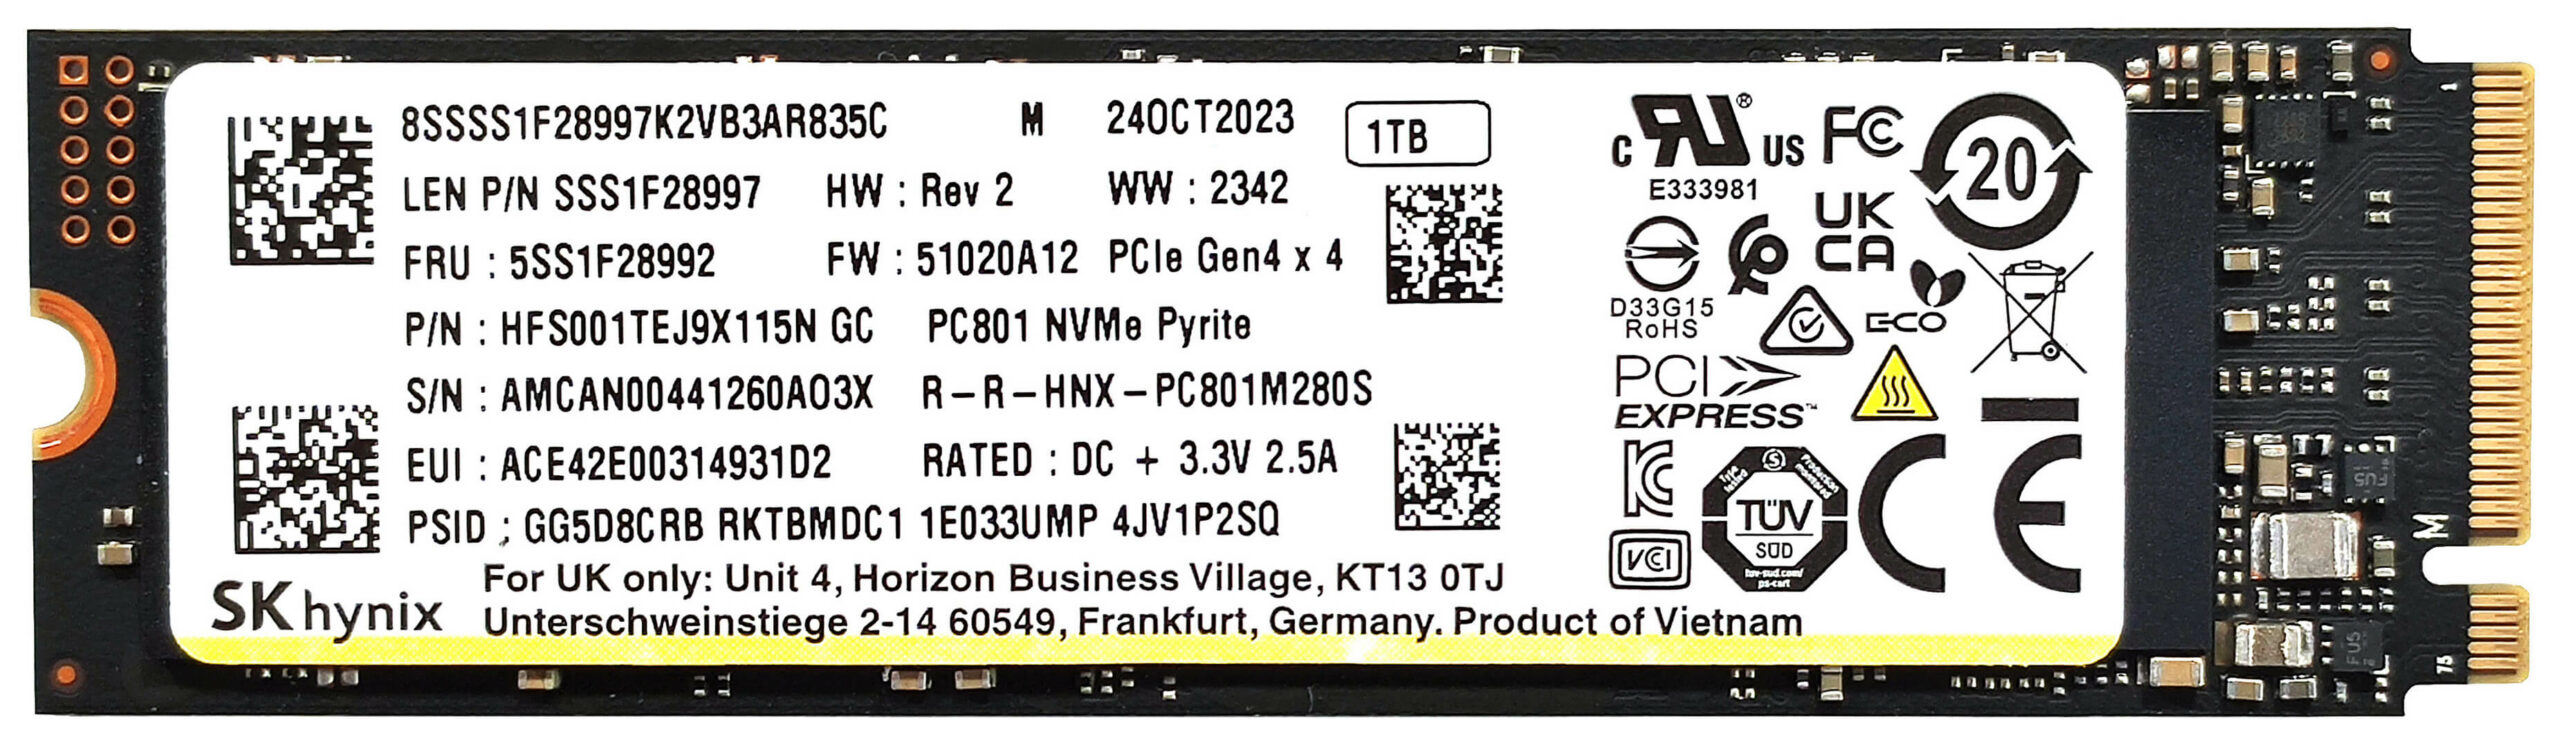
- High-performance SSD (SKHynix HFS001TEJ9X115N)
Cons
- Four of the USB ports are just 5Gbps
- Lacks thermal pads for memory cooling
- High NVMe temperatures during benchmarking