How to open MSI Thin GF63 (12Vx) – disassembly and upgrade options
Step 1: Accessing the Internal Components
- Ensure the MSI Thin GF63 (12Vx) is powered off and placed on a soft, clean surface to prevent scratches or damage.
- Remove the 12 Phillips-head screws from the bottom of the laptop.
- Begin the prying process from the front of the device, carefully working your way around, and leave the back side for the end.
- Flip the laptop to pop up the small cap behind the lid, then use a plastic tool to pry the last section.
Hint: Proceed with caution to avoid damaging the internal clips or the laptop casing.
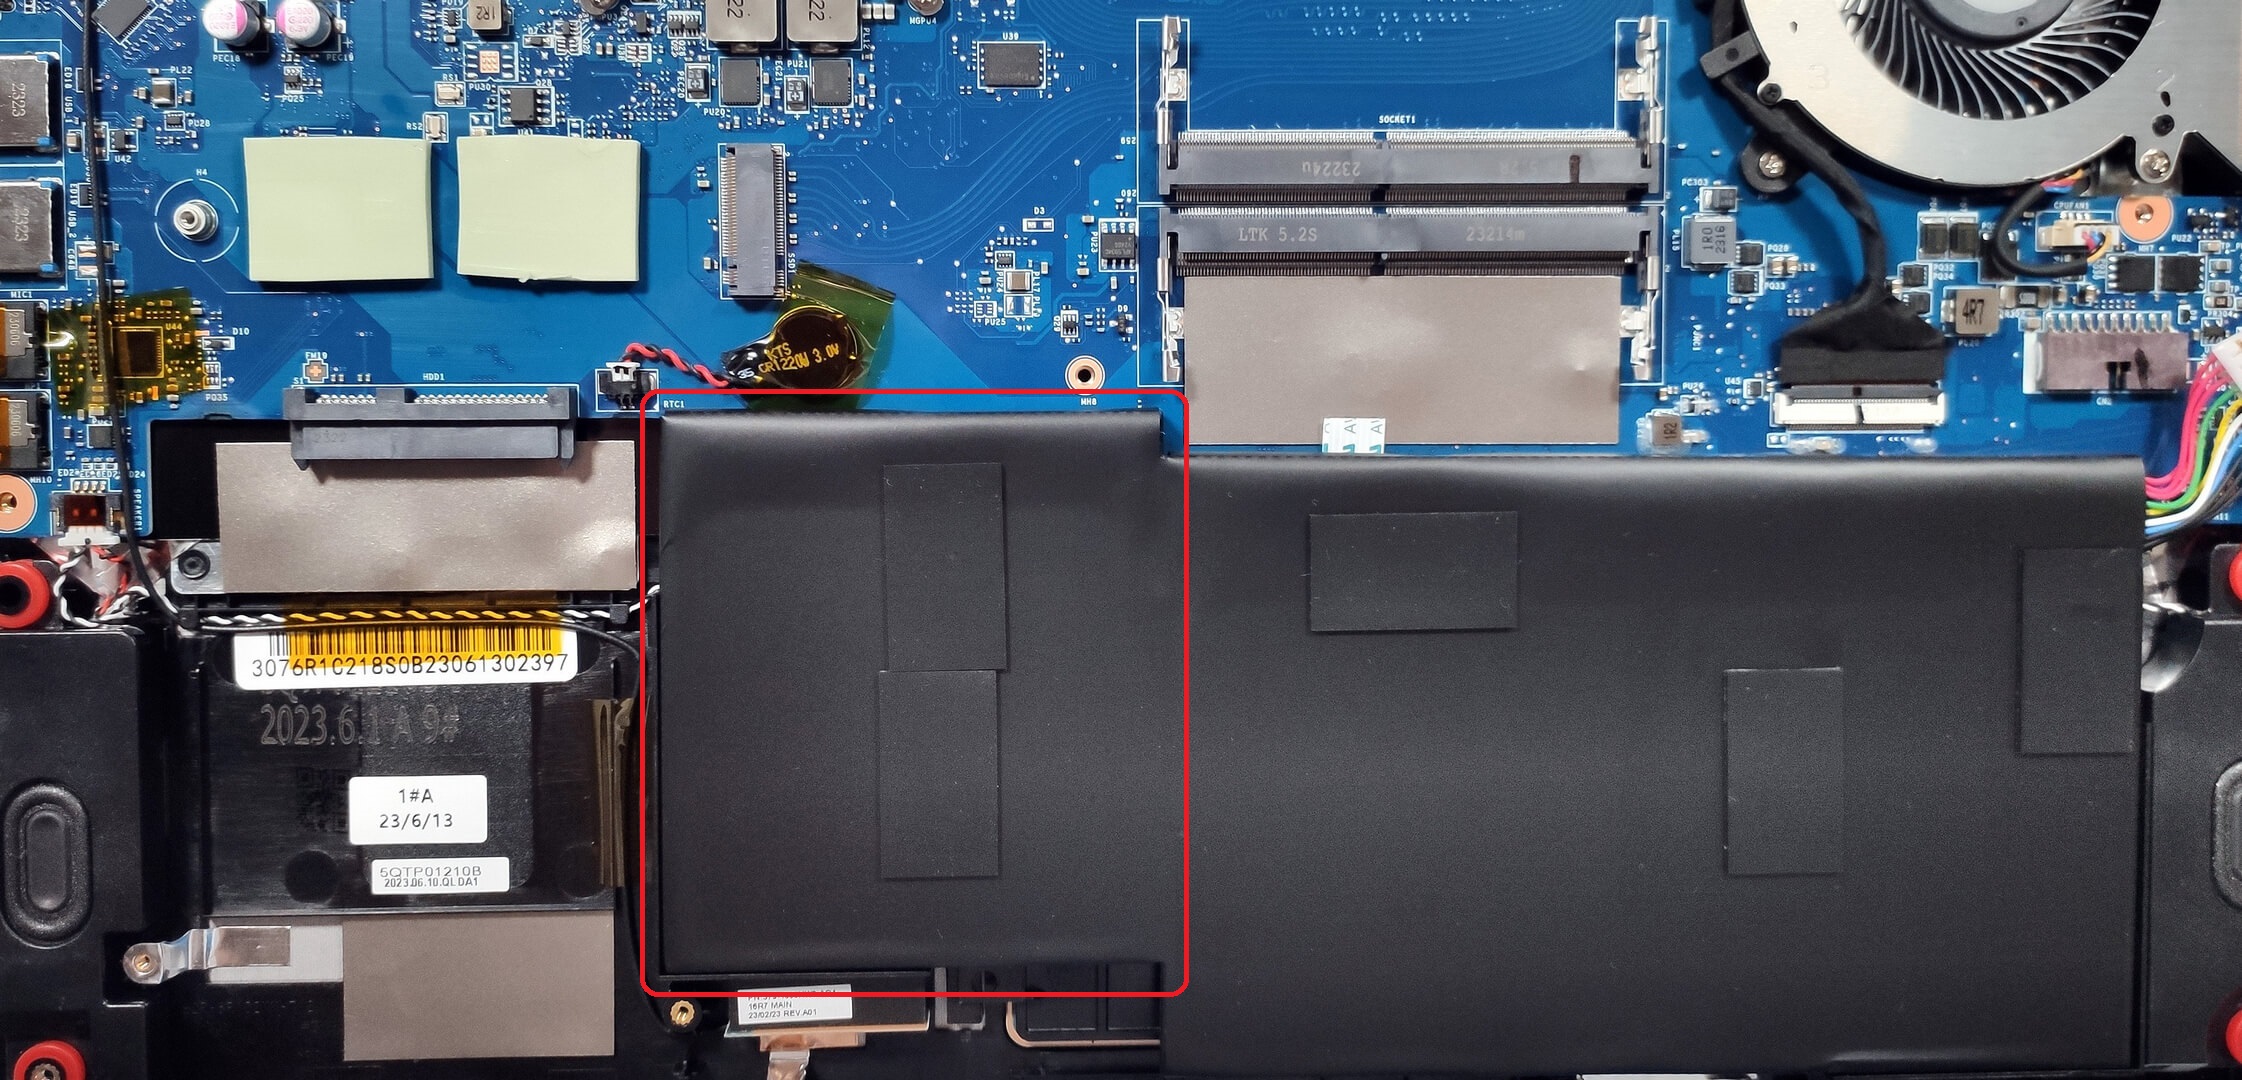
Step 2: Removing the Battery
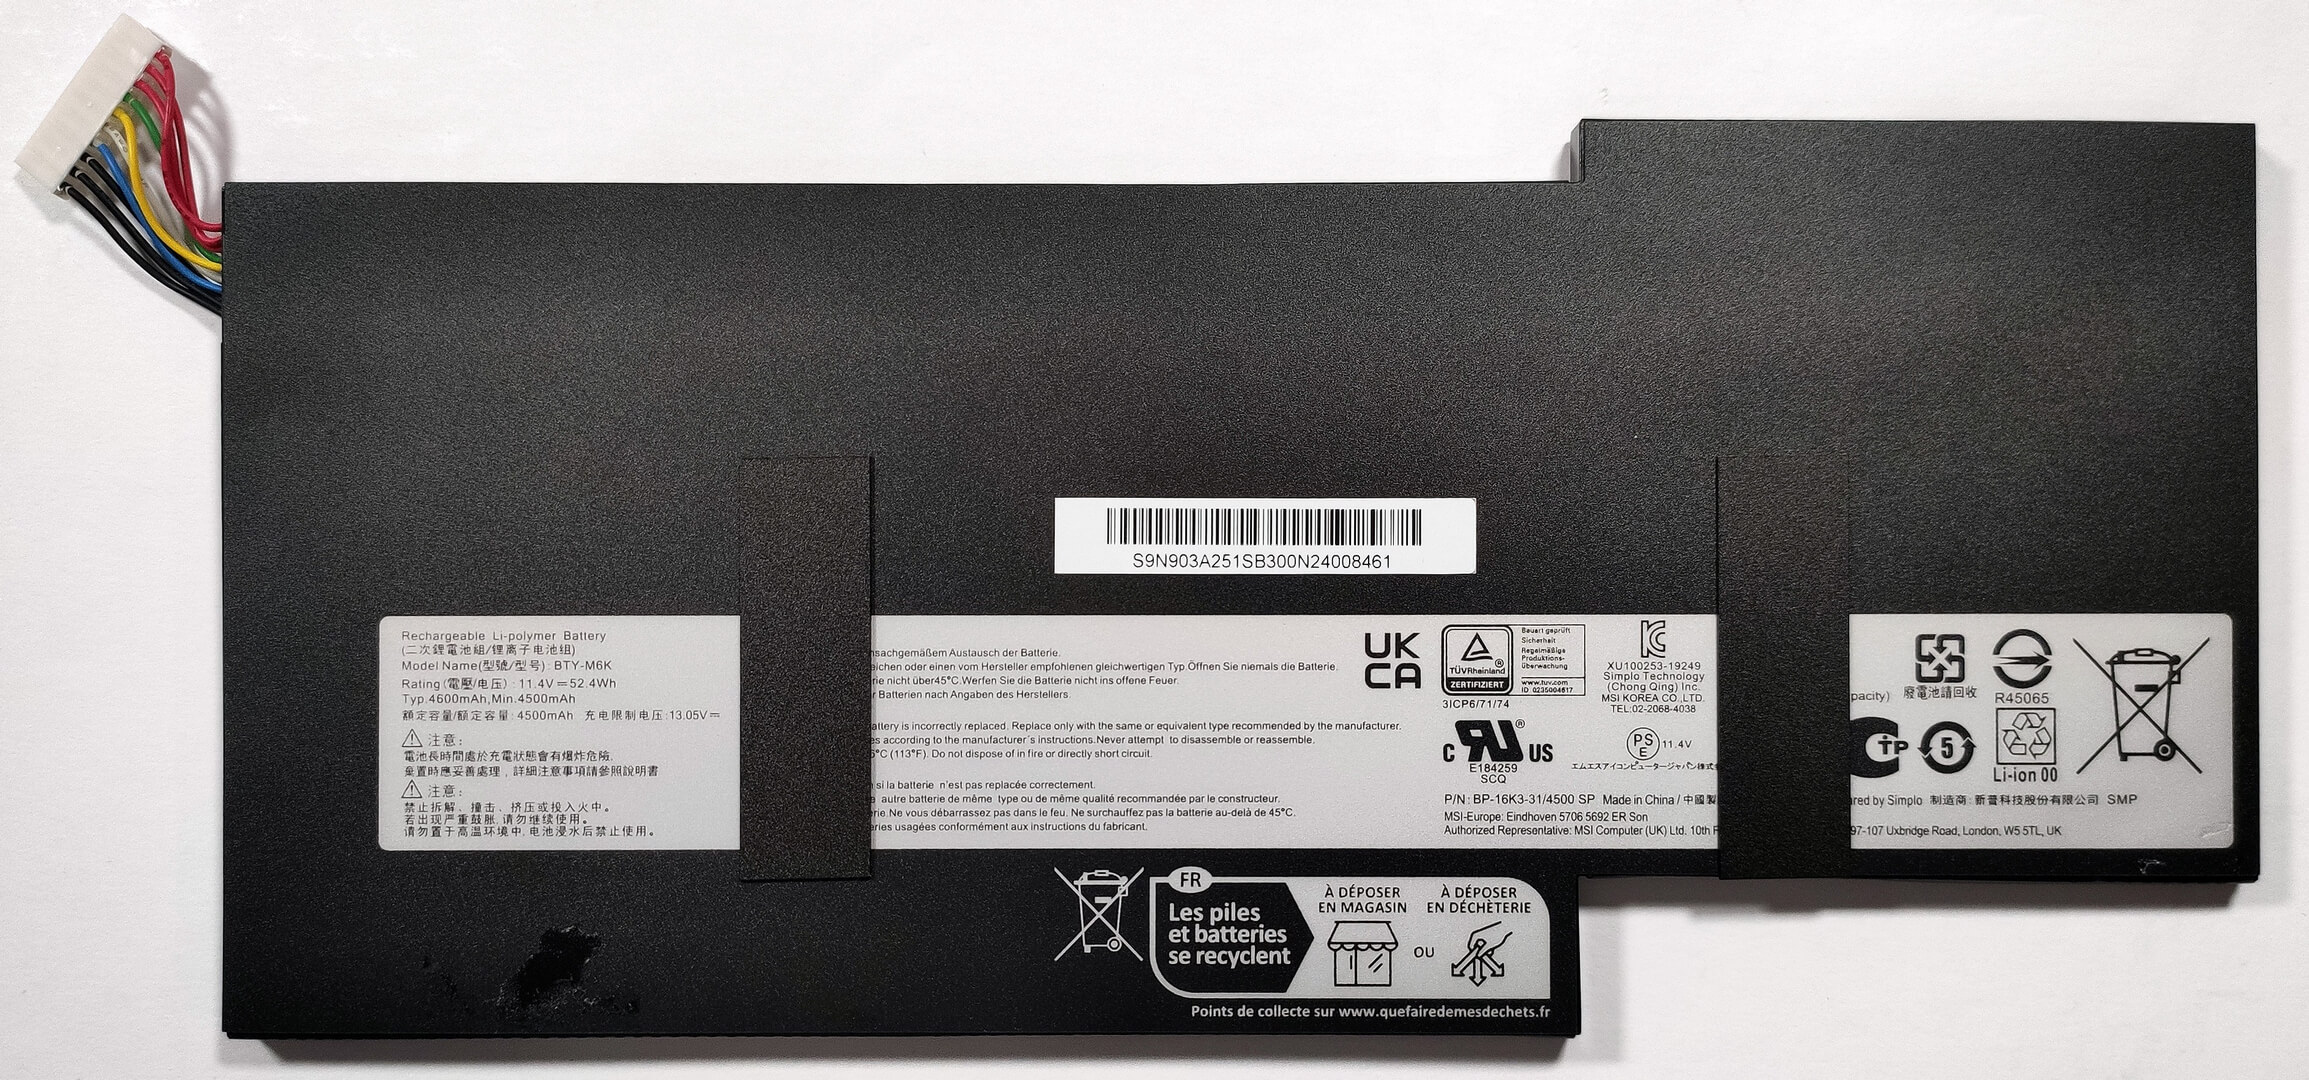
- Attempt to gently unglue the 52.4Wh battery starting from its left side due to the extra sticky double-sided tape used by MSI.
- Be extremely careful around the touchpad area to avoid any potential damage while ungluing the battery.
- Once loosened, carefully disconnect the battery connector from the motherboard.
Caution: The battery is glued to the chassis, making removal challenging. Proceed gently to avoid damaging the battery or nearby components.
More info: The 52.4Wh battery provides up to 6 hours and 40 minutes of web browsing or 6 hours and 15 minutes of video playback, a satisfactory performance for its capacity.

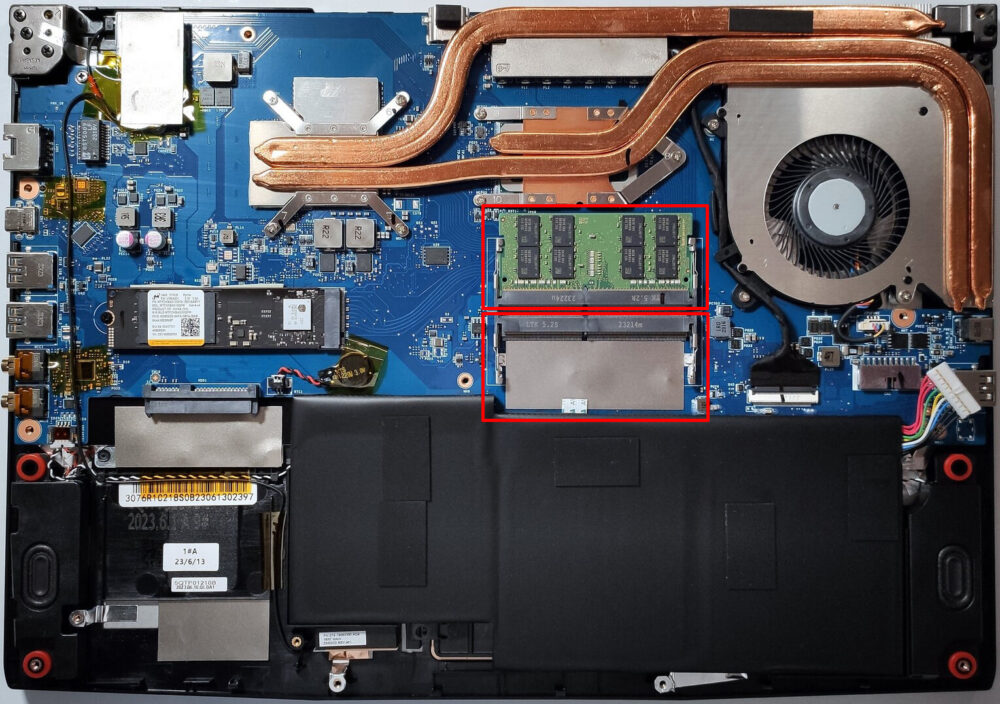
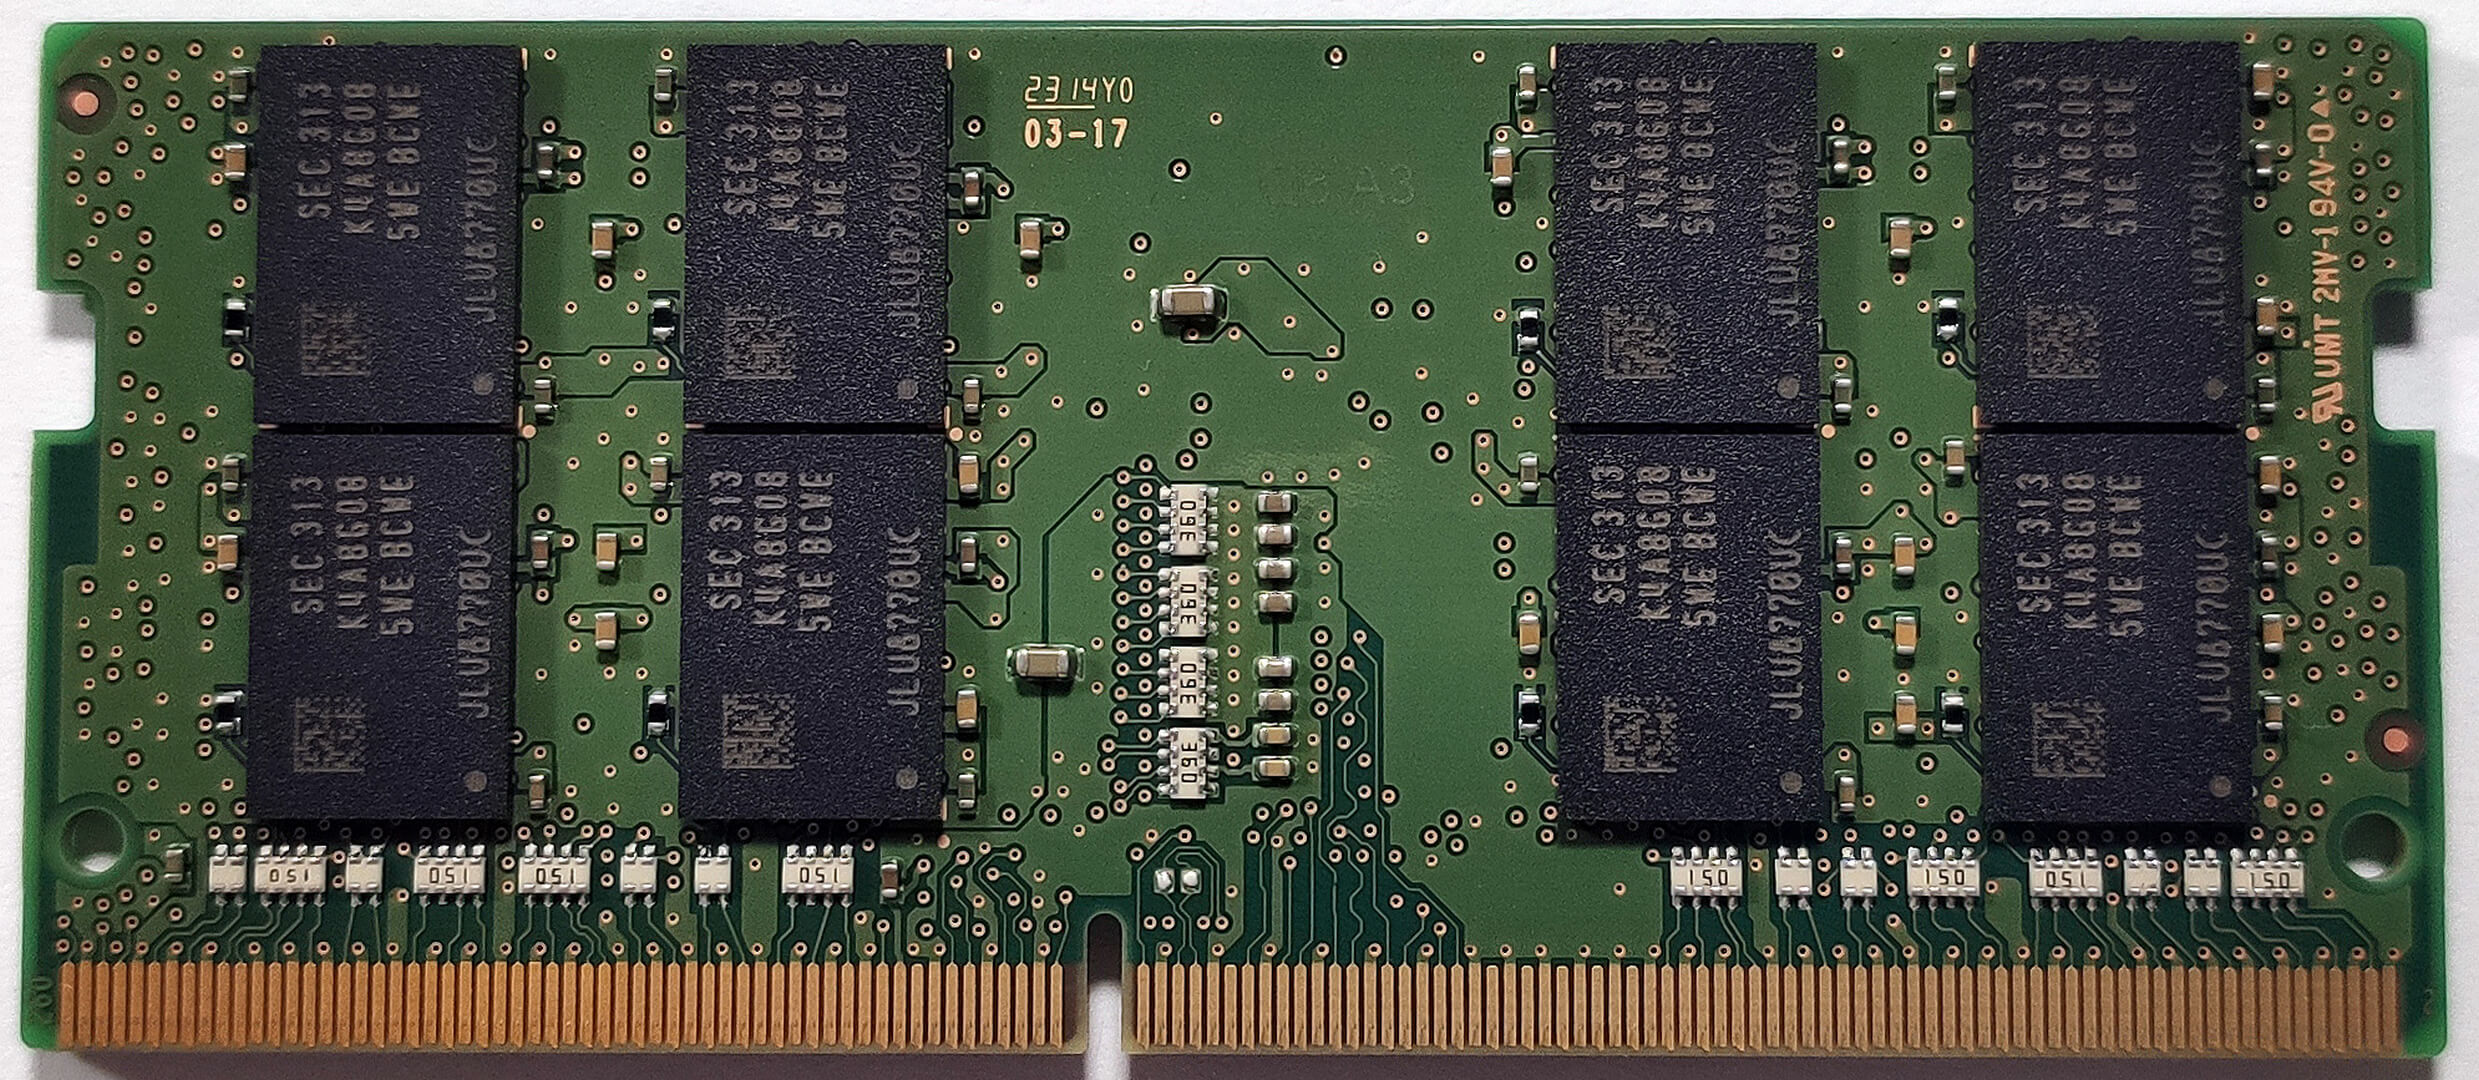
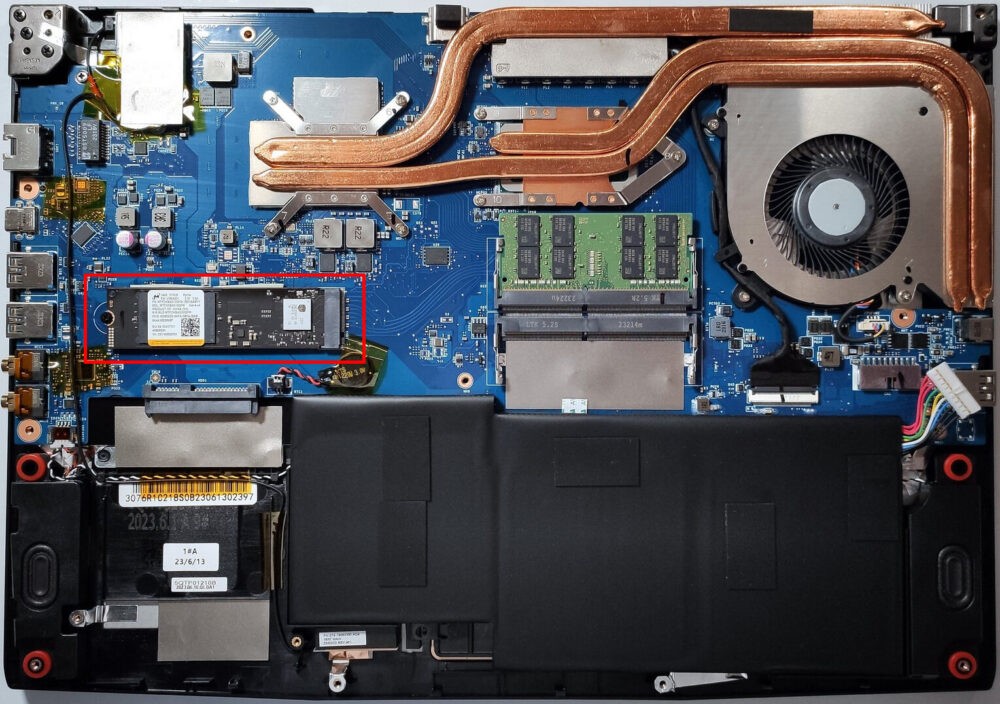
Memory Upgrade
- Locate the two SODIMM slots for memory upgrades, allowing up to 64GB of DDR4-3200MHz memory in dual-channel.
- Upgrading the memory can significantly enhance the laptop’s multitasking capabilities and overall performance.
You can buy DDR4 RAM modules here: Buy from Amazon.com (#CommissionsEarned)

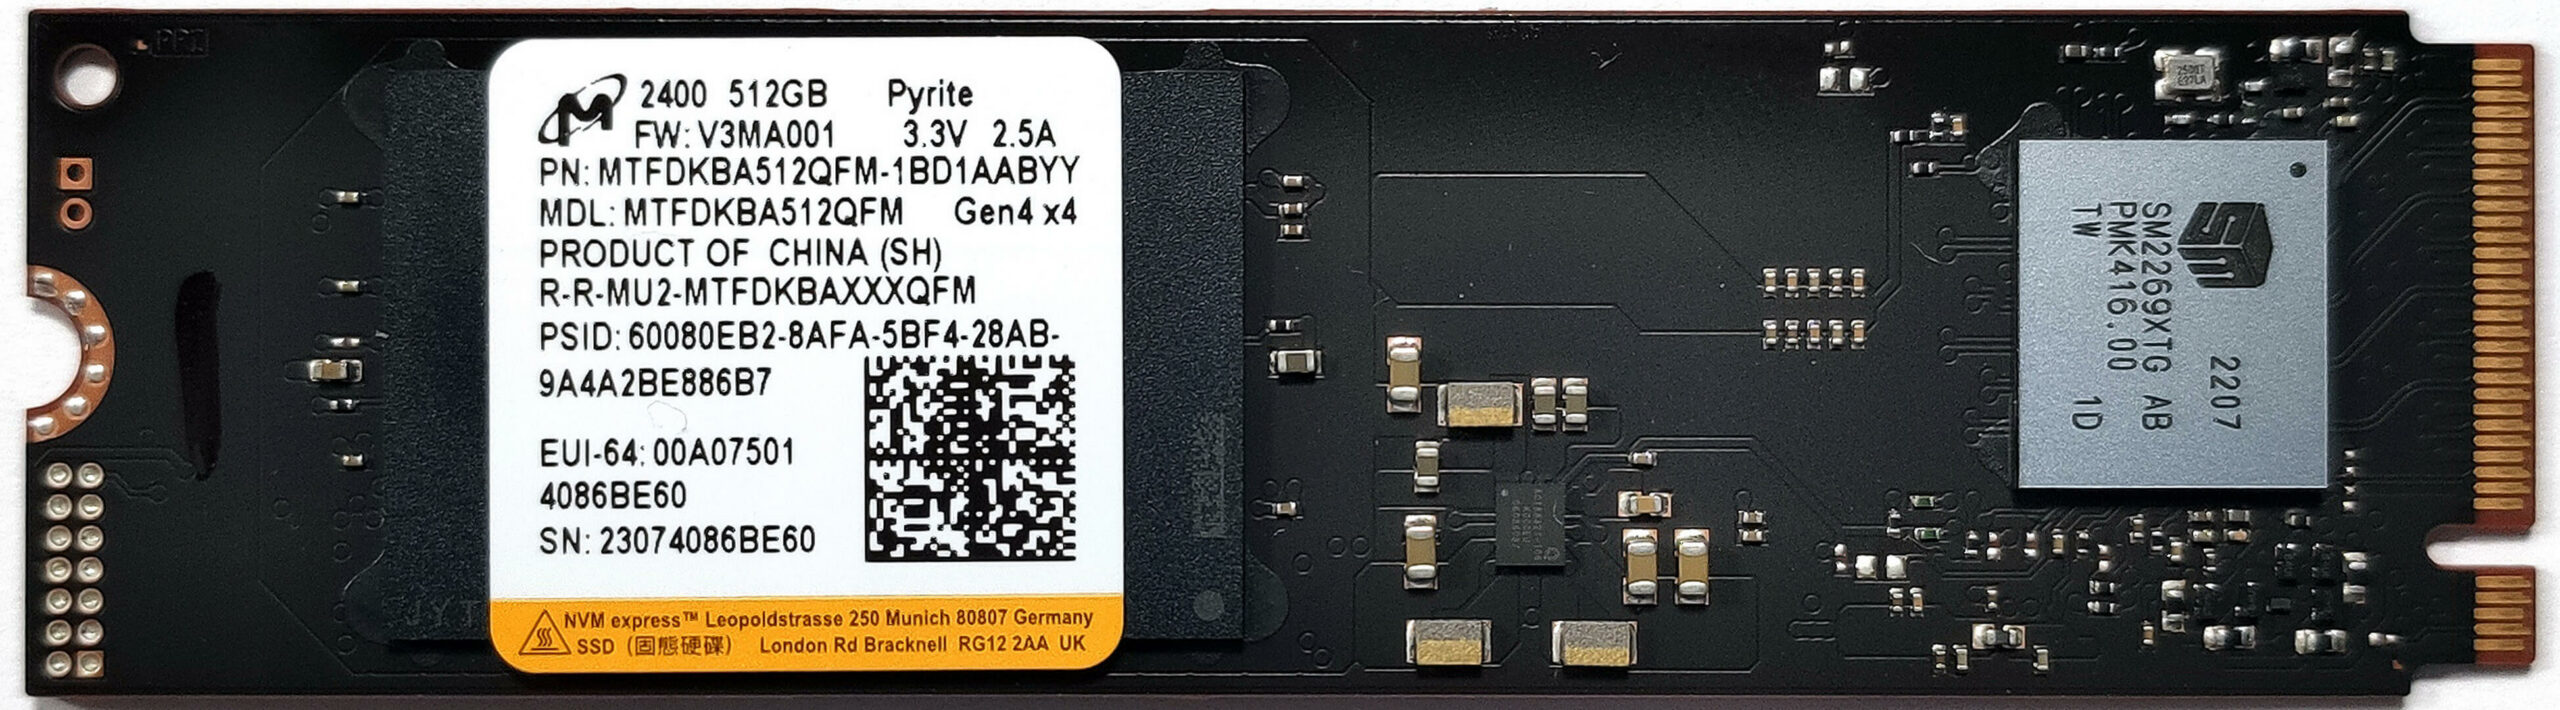
Storage Upgrade
Identify the M.2 slot compatible with Gen 4 SSDs for a high-speed storage upgrade, in addition to a SATA slot for additional SSDs or HDDs.
Hint: Don’t forget to check out our Top M.2 SSDs Performance Rankings to choose and purchase a new drive when needed.
You can buy Gen 4 M.2 SSD modules here: Buy from Amazon.com (#CommissionsEarned)
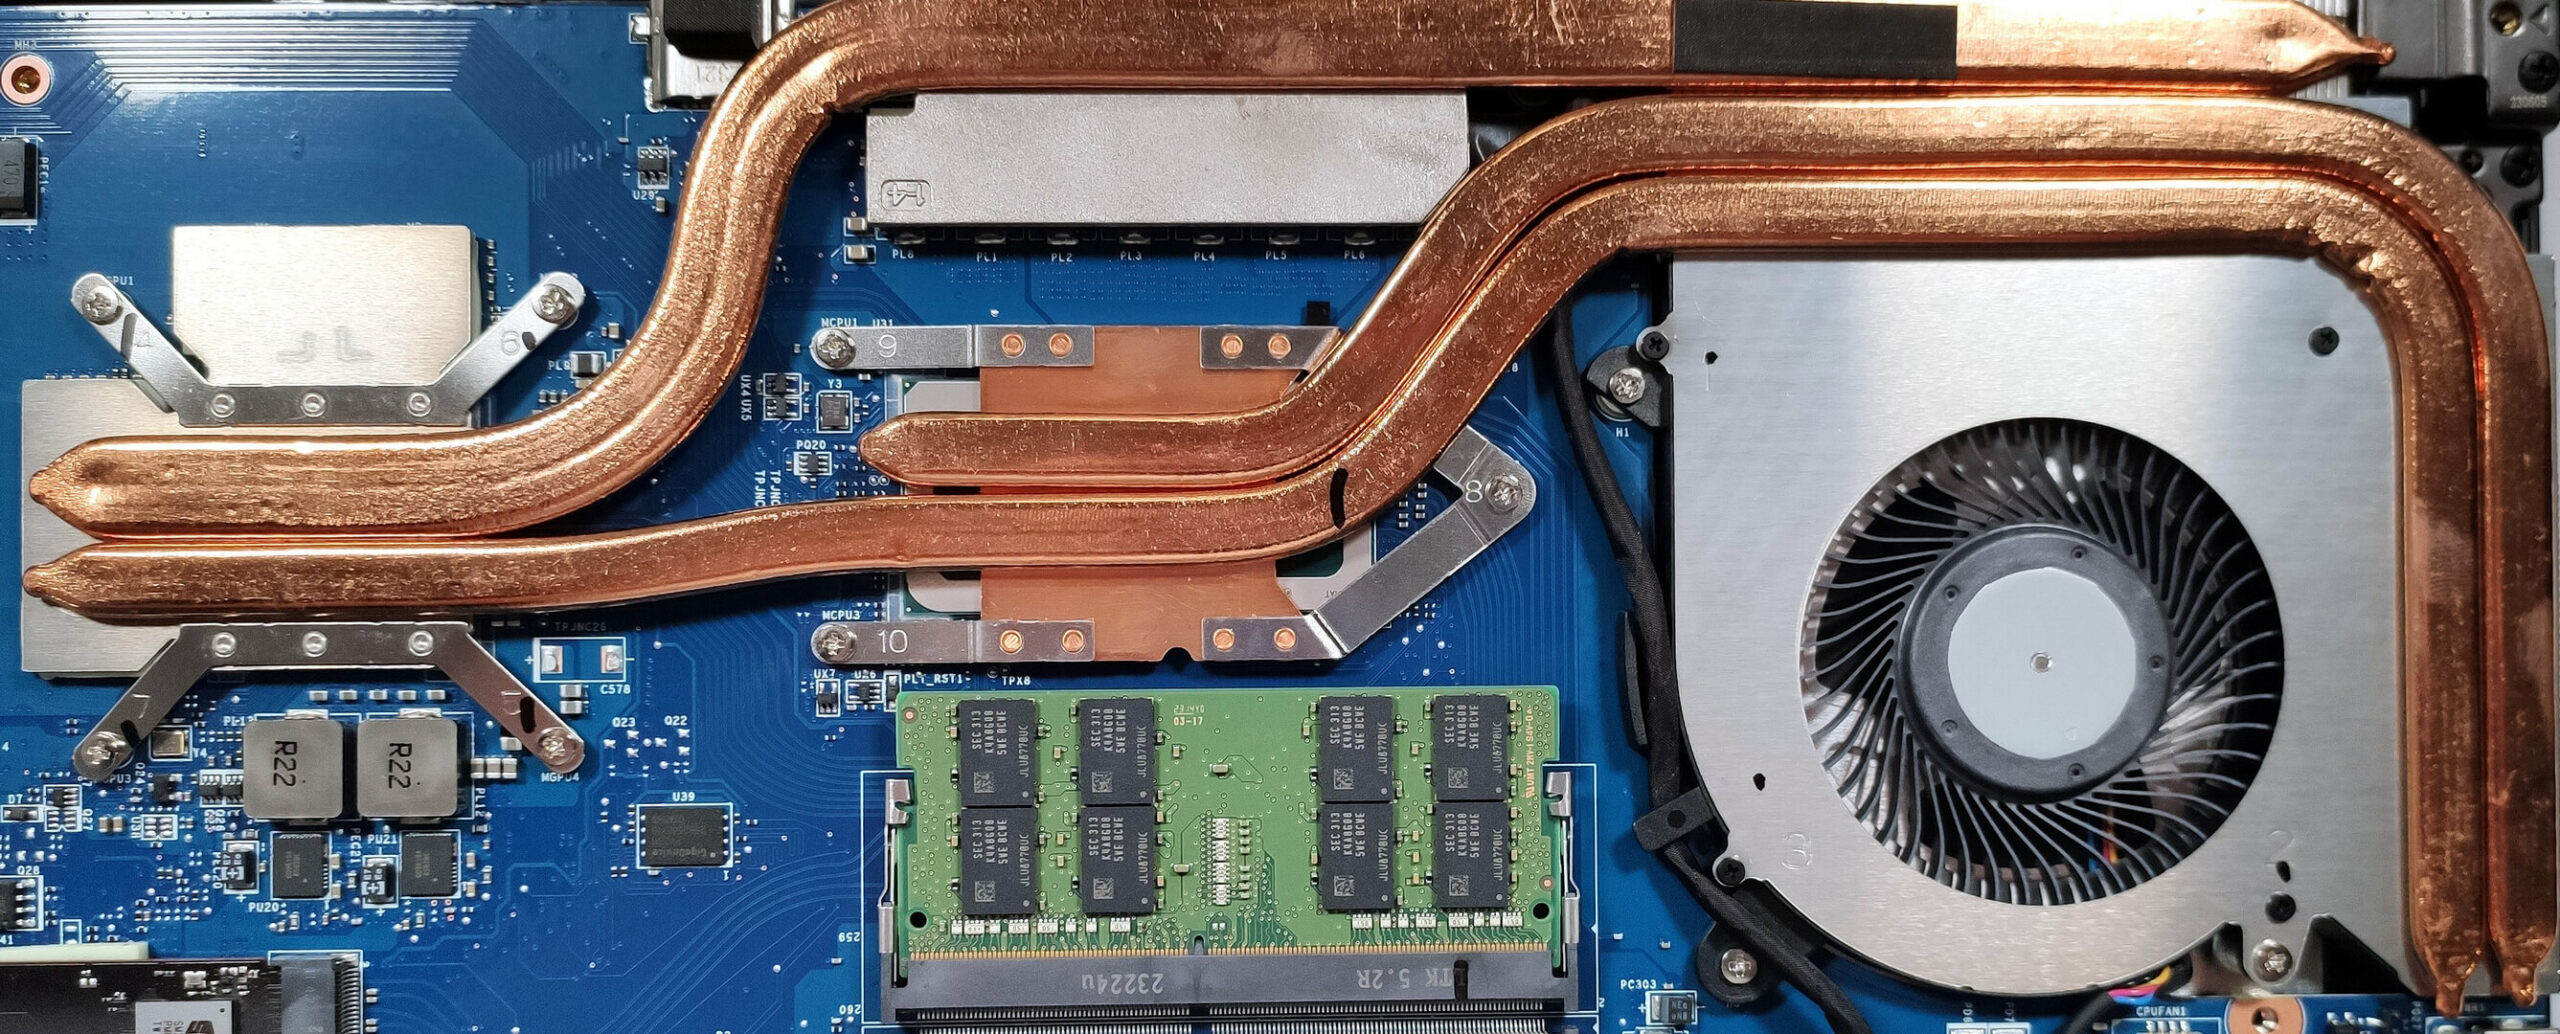
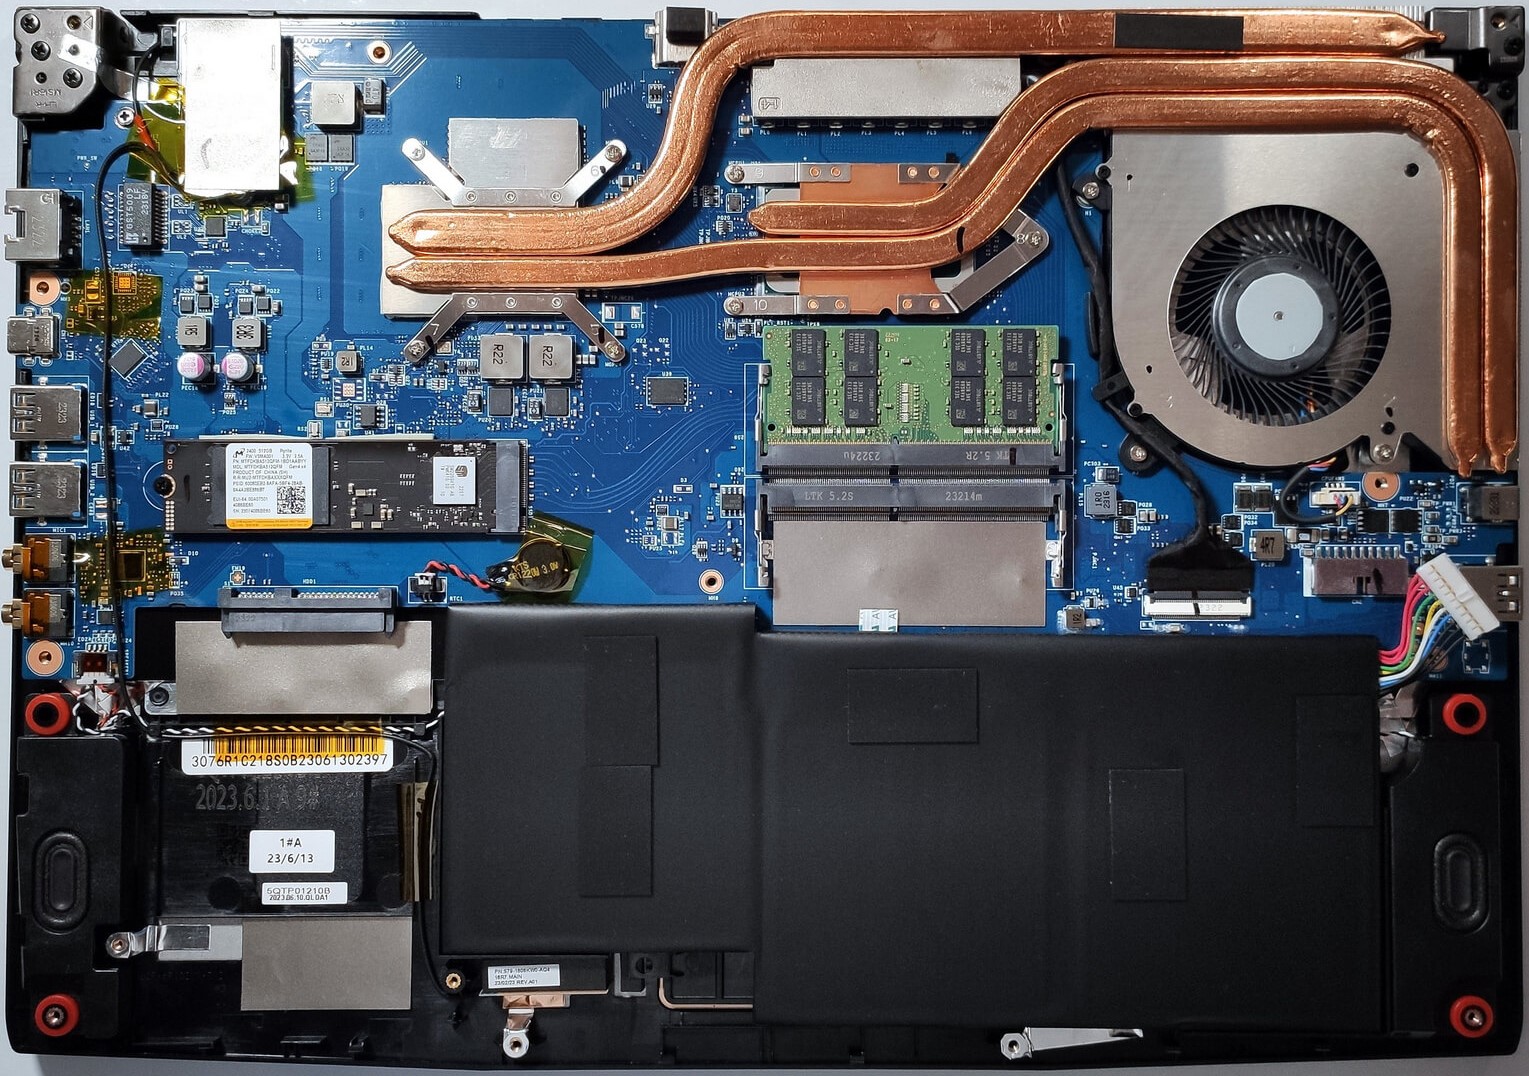
Examining the Cooling System
Inspect the cooling system, which includes a single fan, heat pipes shared between the CPU and GPU and one more dedicated to each chip, two heat sinks, a metal plate over the graphics memory and VRMs, and two heat spreaders.