How to open Acer Aspire 7 (A715-76G) – disassembly and upgrade options
1. Removing the Bottom Panel
– Before you start, ensure the laptop is powered off and disconnected from any external power sources.
– Place the laptop upside-down to access the bottom panel.
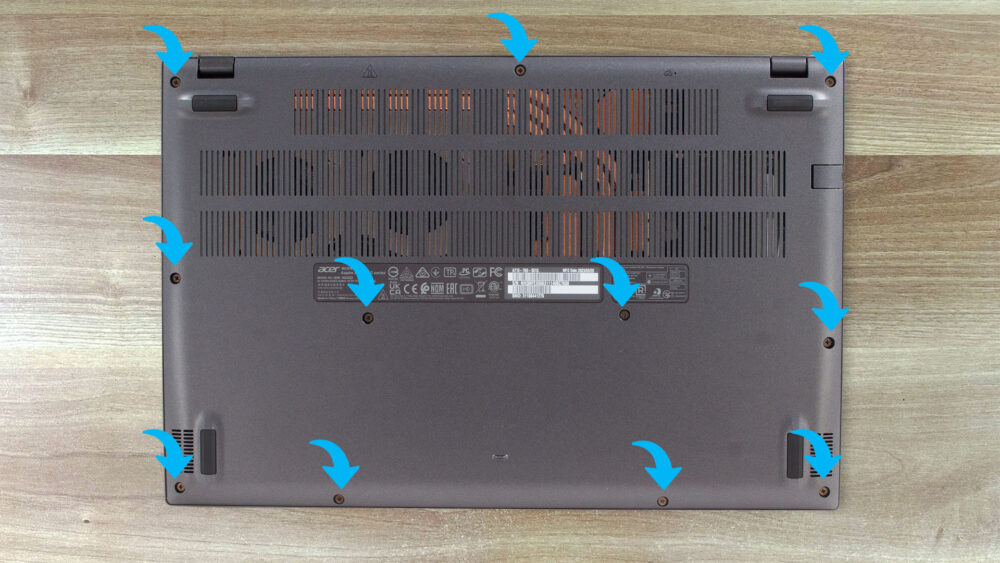
– Use a Phillips-head screwdriver to unscrew the 11 screws on the bottom. The top two screws are captive, meaning they stay attached to the bottom panel even after unscrewing.
– Begin prying from the top corners (where the captive screws are) using a plastic pry tool. Gently work your way around the edges, releasing the clips.
– Carefully lift the bottom panel to access the internal components.
2. Battery Removal
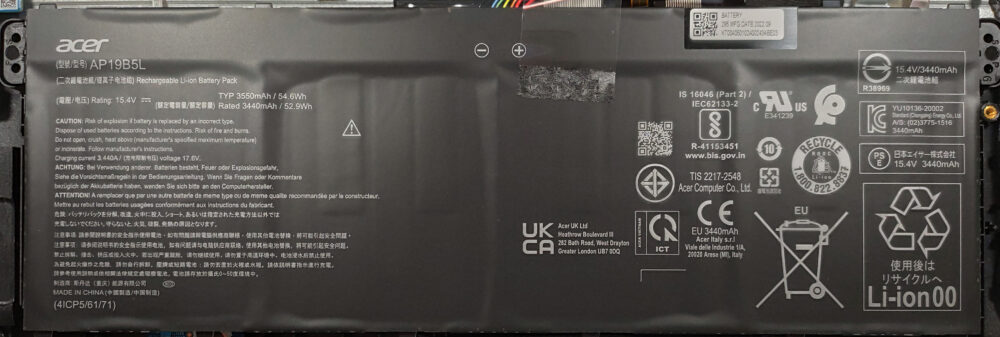
– The battery isn’t held down with screws. Instead, there is a rubber element on the bottom panel that keeps it secured and prevents any movement.
– If you need to remove the battery, first disconnect the battery connector from the motherboard. After that, you can carefully lift and remove the battery from its compartment.
3. Memory (RAM) Upgrade
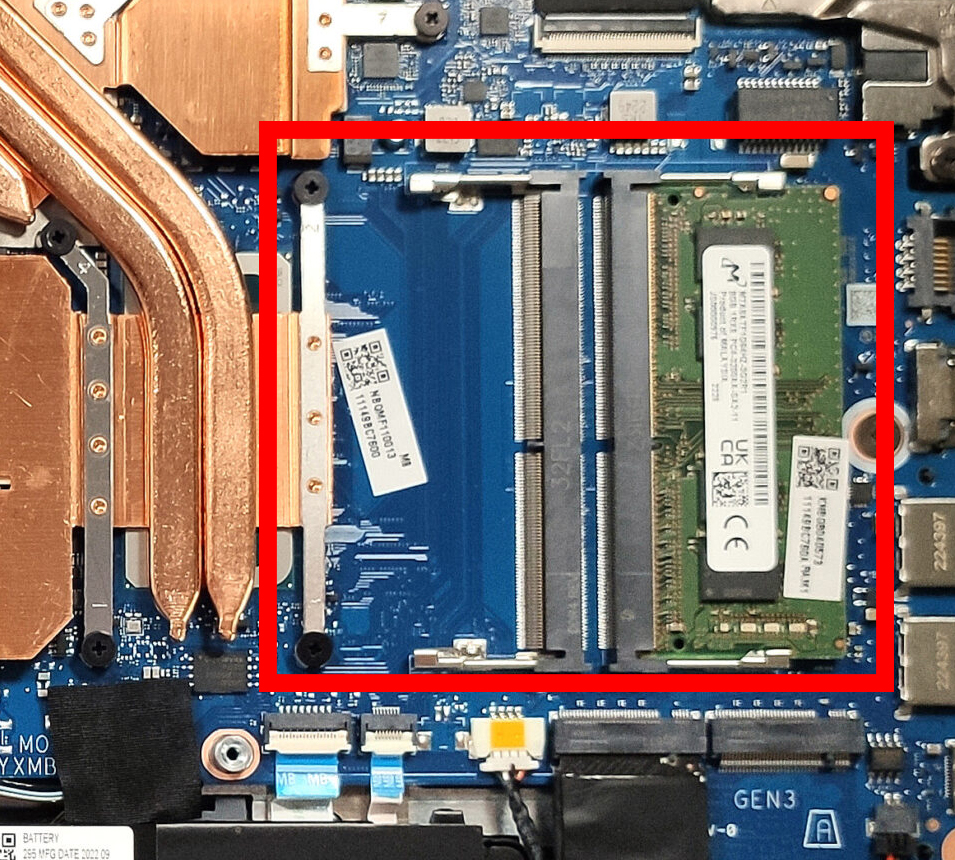
– The Acer Aspire 7 features two SODIMM slots for RAM. This allows for upgrading up to 32GB of DDR4-3200MHz memory in dual-channel mode.
– To replace or add RAM, simply open the retaining clips, remove the existing module, and insert the new one, ensuring it’s properly seated and the clips lock it in place.
4. Storage Upgrade
– The laptop comes with two M.2 slots. One slot supports Gen 4 SSDs, and the other is compatible with Gen 3 NVMe SSDs.
– To upgrade or replace an SSD, remove the securing screw, then pull out the SSD. Insert the new SSD, ensuring it’s firmly seated, and then tighten the securing screw.
5. Cooling System
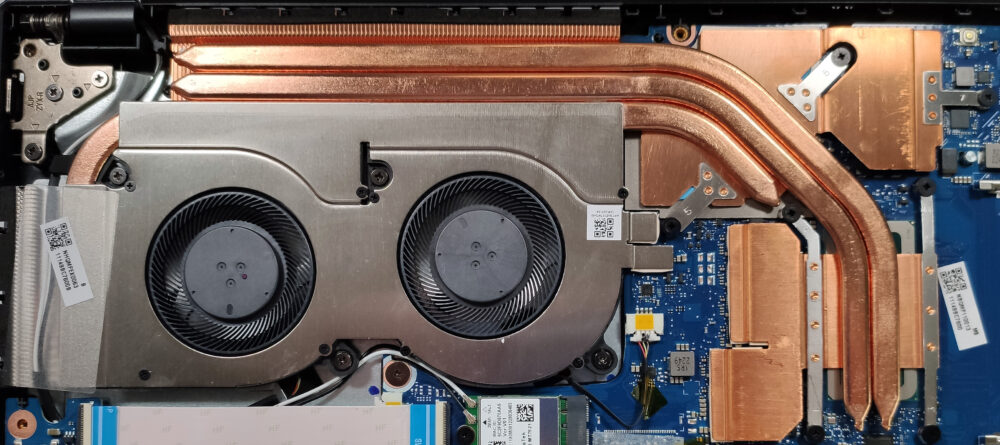
– The Acer Aspire 7 has a robust cooling system for its category. It features two heat pipes shared between the CPU and the GPU. There is a third heat pipe dedicated to the GPU. Additionally, there are two fans, two heat spreaders, and a couple of heat sinks.
– Regular maintenance, like cleaning the fans and replacing the thermal paste, can help maintain optimal thermal performance.
Note: Always handle components with care to avoid any damage. If you’re not confident about the disassembly process or face any challenges, it’s recommended to consult a professional or an authorized service center.
Acer Aspire 7 (A715-76 / A715-76G) in-depth review
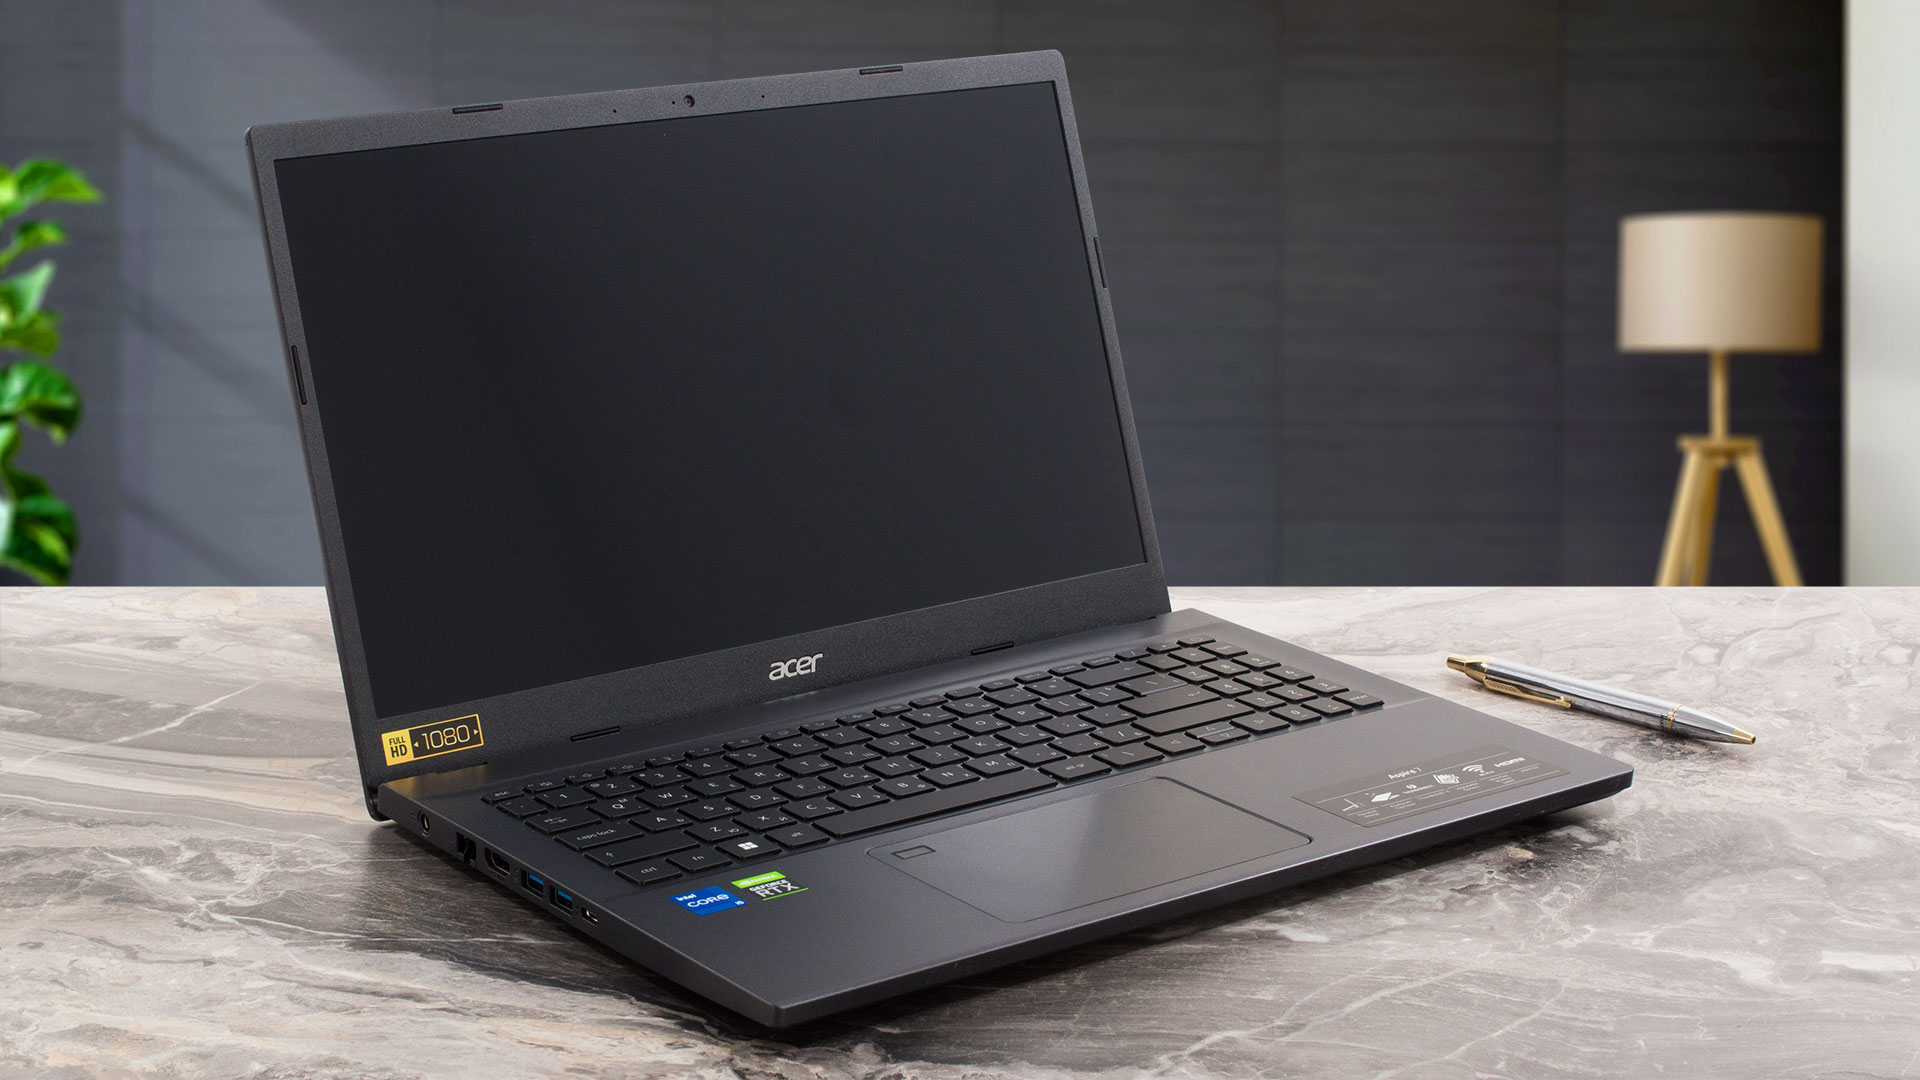
If you need an all-purpose laptop that lacks the typical gaming design of modern machines, you don't have a lot of options. Especially if you don't want to pay a whole fortune for an office notebook that is going to be used for playing some games for an hour or two after work.In this scenario, the Acer Aspire 7 (A715-76G) is one of the possible solutions. The laptop doesn't cost much and it offers Intel Alder Lake-H CPU options and optional RTX 3000 and RTX 2000 dGPU variants. On top of that, you can configure it with a high refresh rate display and this will transform it into a pretty dec[...]
Pros
- Great cooling, which provides surprisingly good performance
- Wi-Fi 6E + 2x SODIMM slots + 2x M.2 slots
- Decent battery life given the hardware
- PWM-free display (Innolux N156HCA-EAB (CMN15E7))
- Adequate pricing
- Aluminum lid and stable base for the most part
- Good I/O for the class
Cons
- No SD card reader
- Covers only 58% of the sRGB color gamut (Innolux N156HCA-EAB (CMN15E7))
- Noisy fans in "Performance mode"

