Inside Acer Swift 3 (SF313-53) – disassembly and upgrade options
This device has very potent mobile hardware, but sadly, it doesn’t shine with its upgradability.
Check out all Acer Swift 3 (SF313-53) prices and configurations in our Specs System or read more in our In-Depth review.
1. Remove the bottom plate
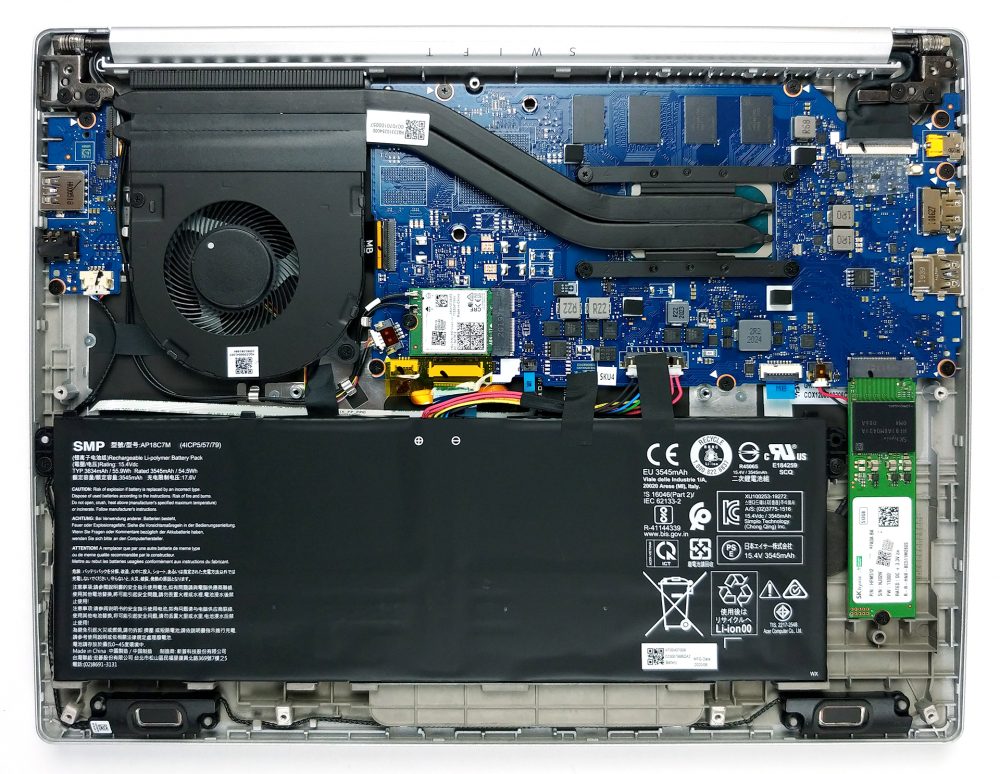
To get inside this notebook, you have to undo 11 Torx-head screws. After that, pry the panel with a plastic tool, and lift it away.
2. Battery, memory, and storage
First, unplug the battery, which has a capacity of 55.9Wh.
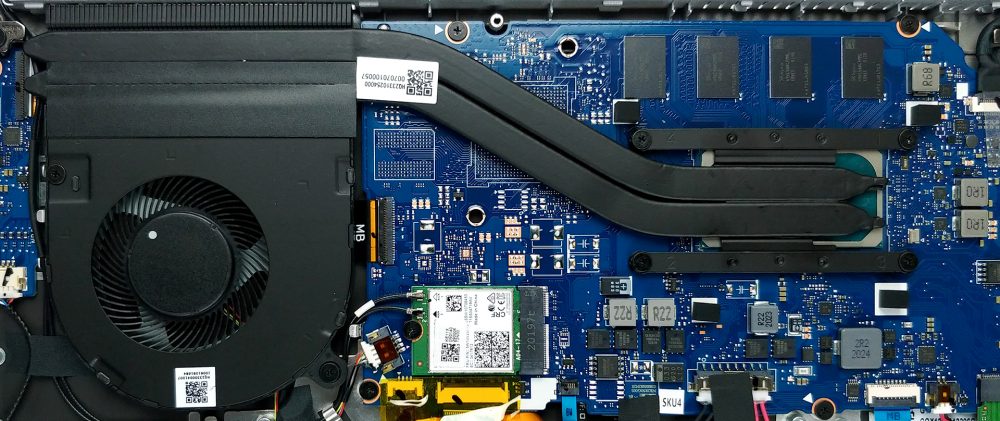
As you can see, the RAM chips are soldered above the processor. This means you won’t be able to upgrade the memory, so you’re left with the 8GB or 16GB of LPDDR4x RAM you get in the beginning. However, there is one M.2 PCIe x4 slot for storage upgrades.
3. Cooling system
Cooling-wise, there are two thin heat pipes, attached to the CPU, leading the heat away to a heat spreader. Then, a medium-sized fan blows it out of the chassis – pretty conventional setup.
Check out all Acer Swift 3 (SF313-53) prices and configurations in our Specs System or read more in our In-Depth review.


