Inside Dell Inspiron 15 3582 – disassembly and upgrade options
You need an optical drive on your daily machine – why don’t you consider the Inspiron 15 3582. Let’s see what can you change in your notebook, once you buy it.
Check out all Dell Inspiron 15 3582 prices and configurations in our Specs System or read more in our In-Depth review.
1. Remove the bottom plate
Interestingly, the Inspiron 15 3582 is one of the few devices equipped with a DVD-RW drive. From disassembling perspective, this is the first thing you need to remove. Just unscrew the adjacent screw, and pull it away. Then, you need to remove further 12 Phillips-head screws. After that, turn the laptop around and open its lid. Start the prying process from beneath the touchpad and continue around the device.

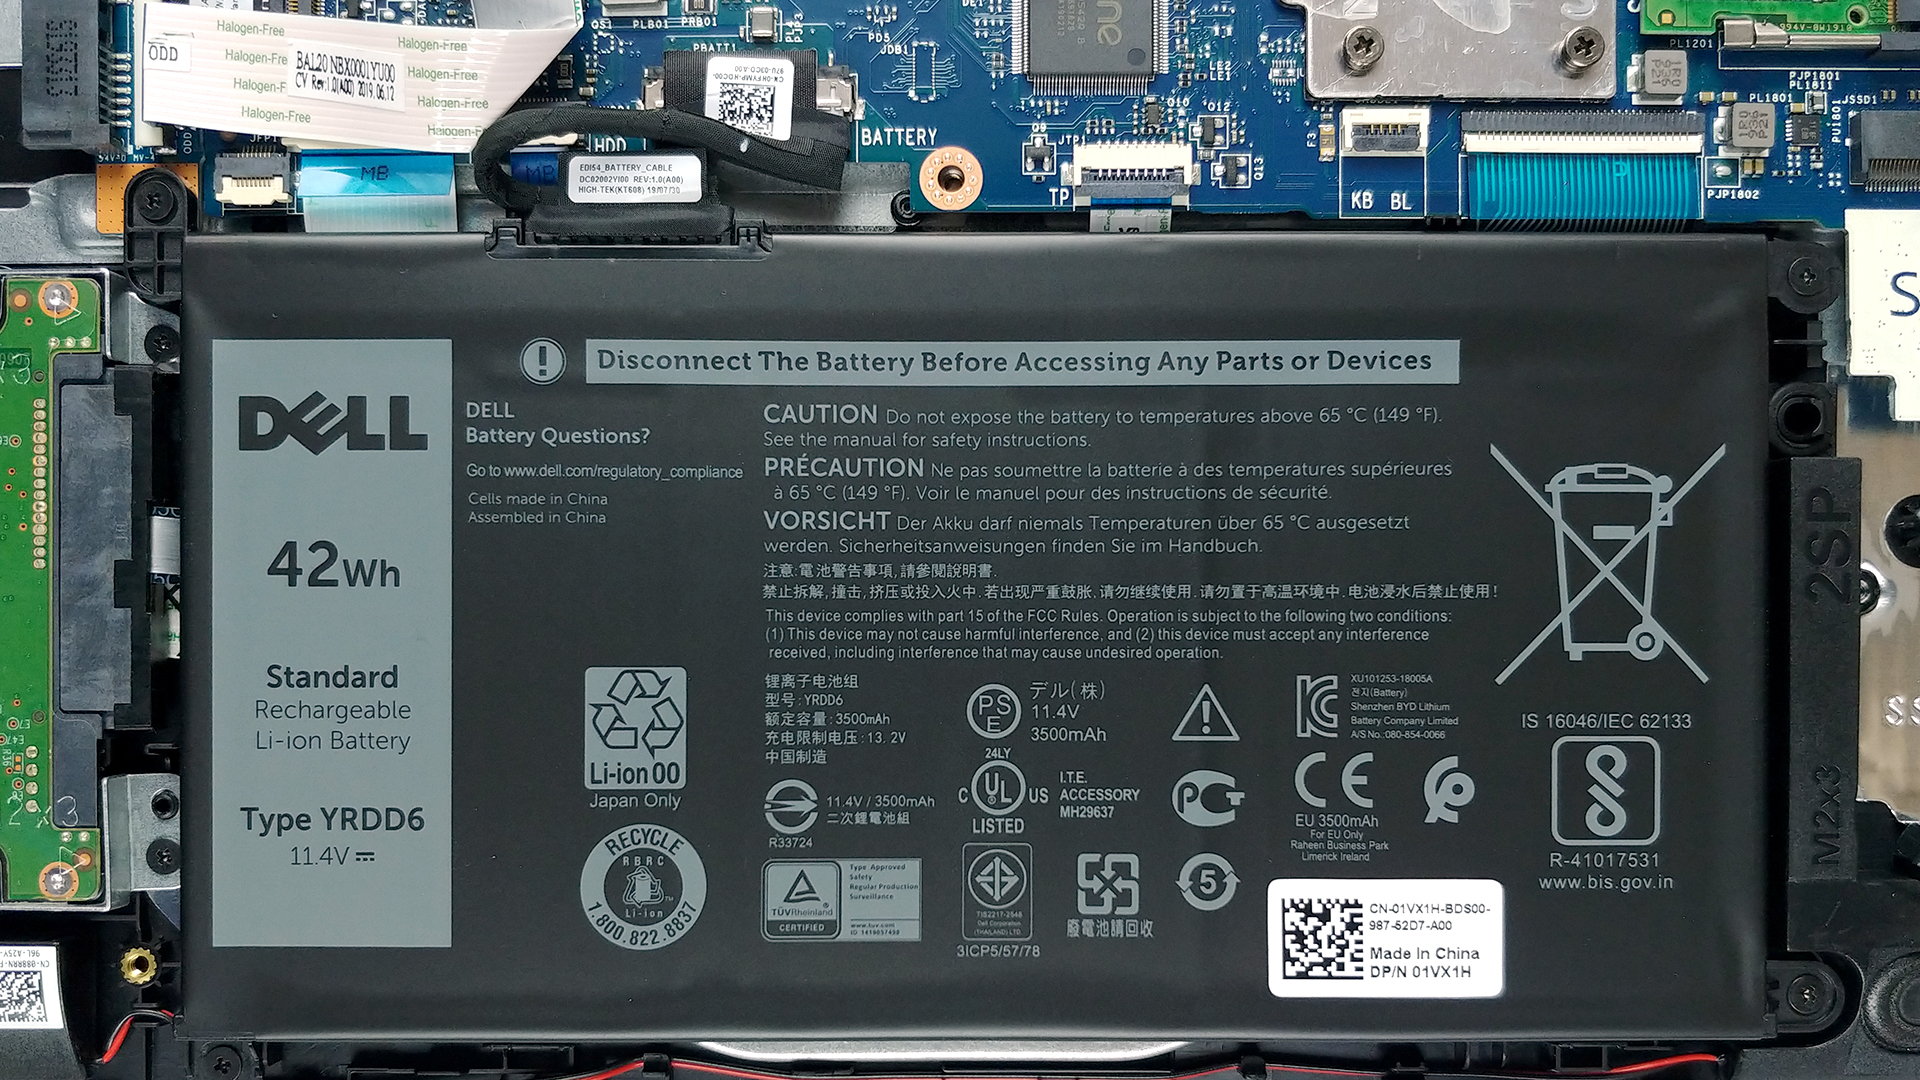
2. Battery
As of the battery, the notebook is powered by a 42Wh unit.
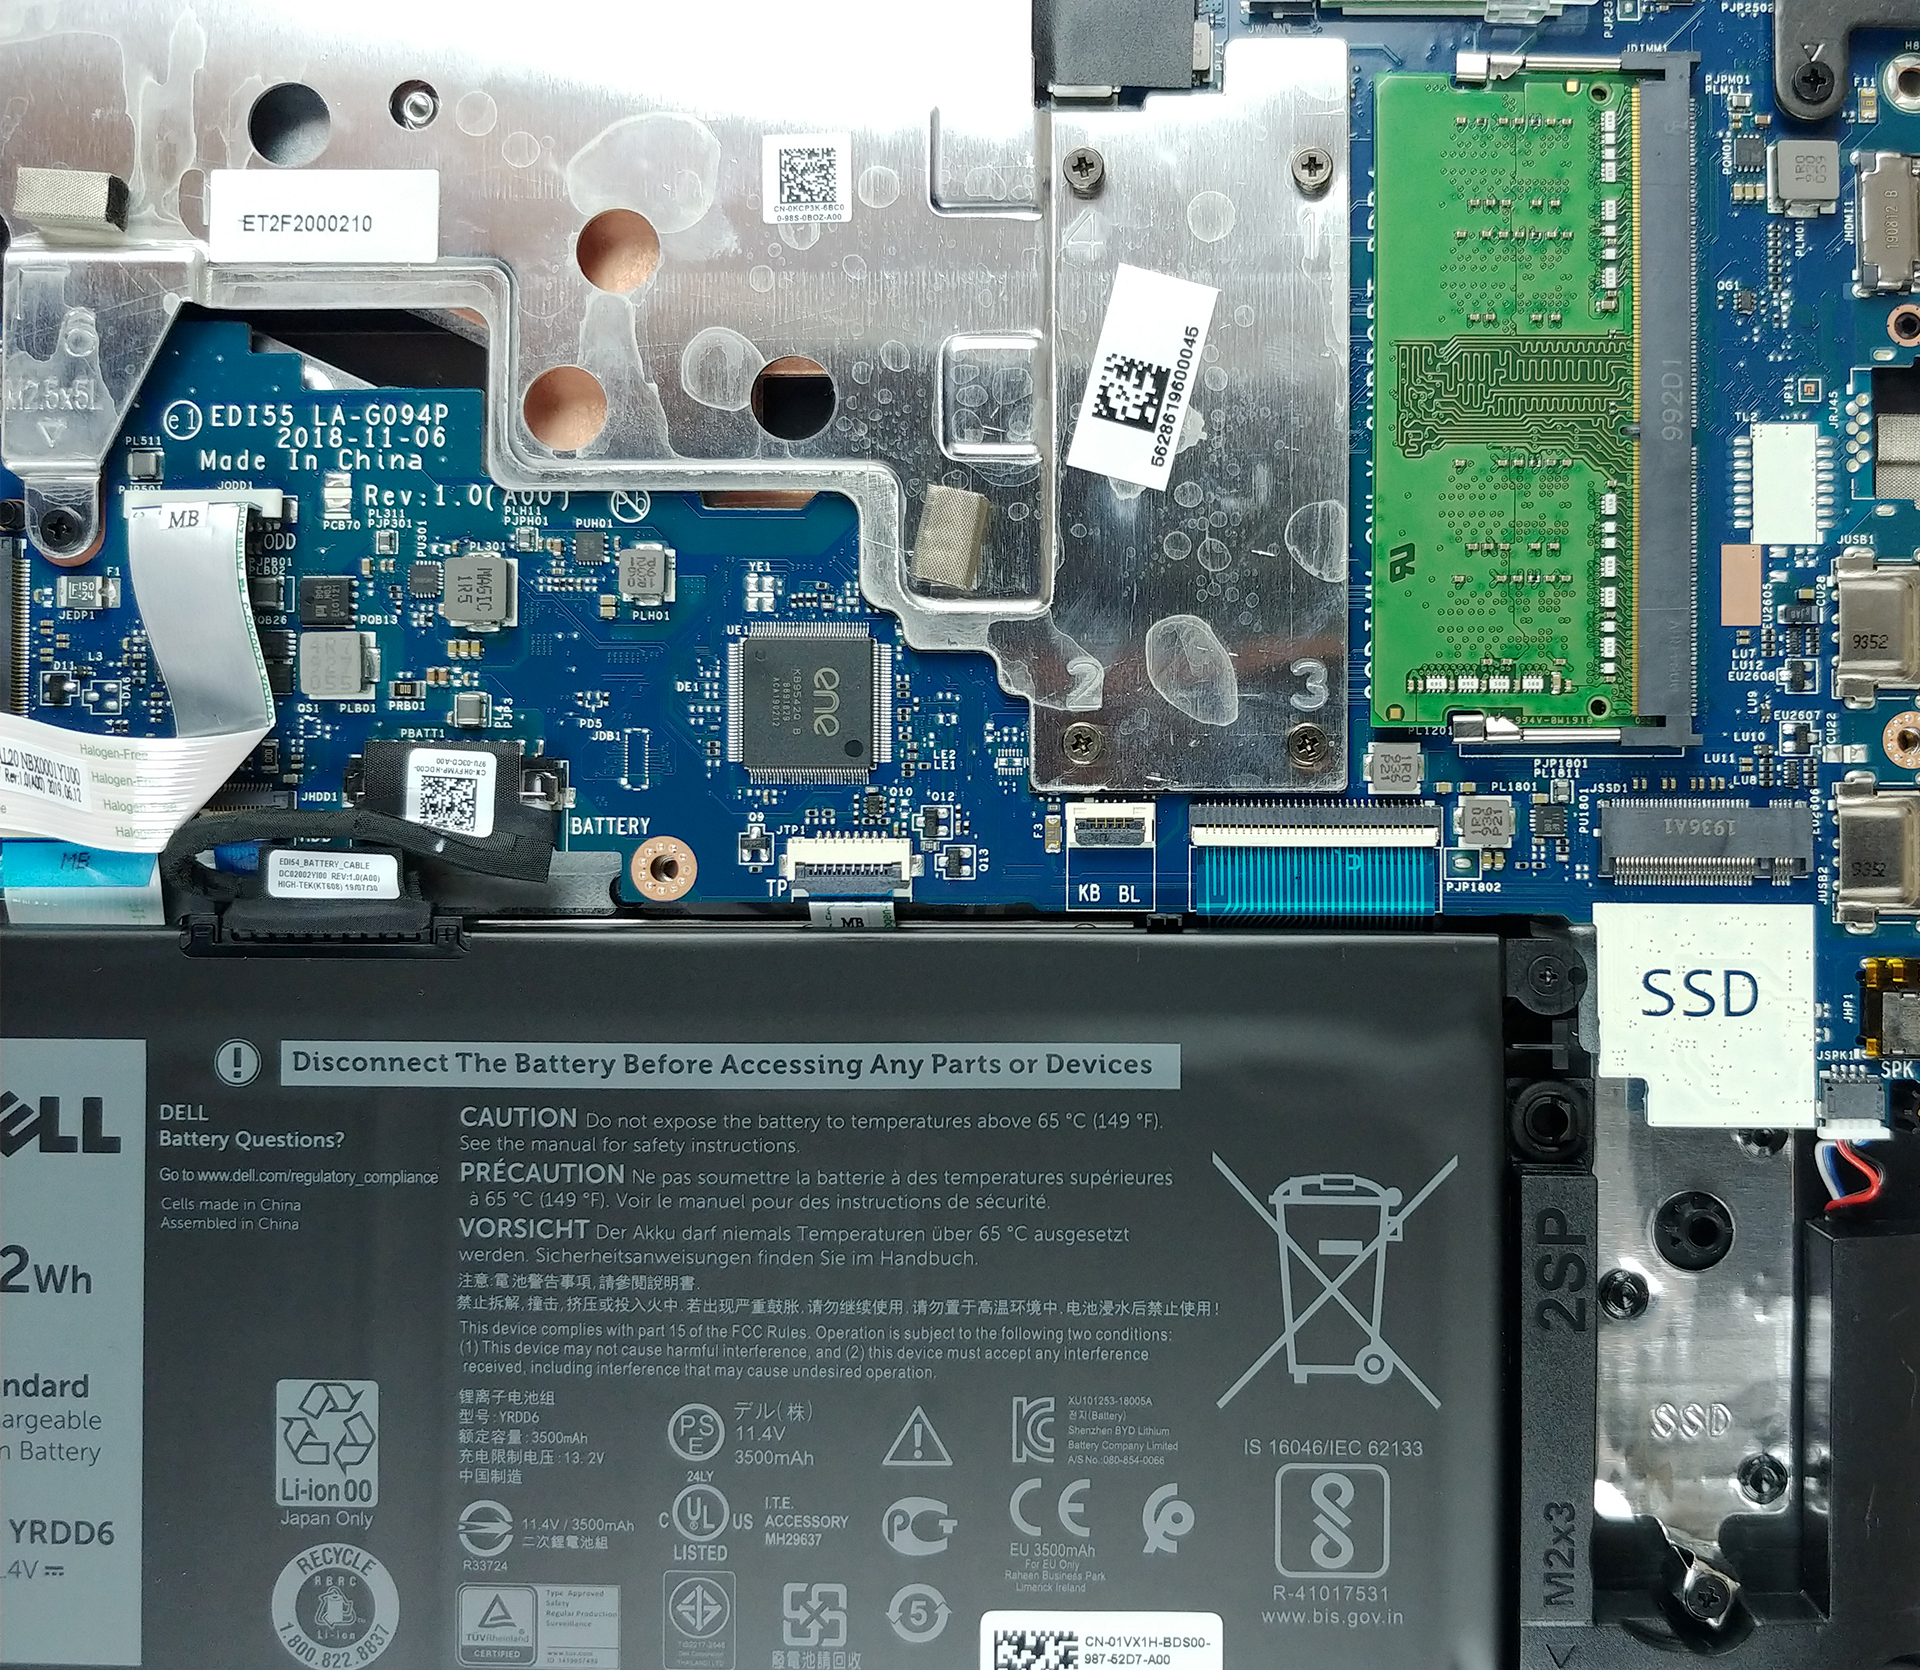
3. Memory and storage
Then, let’s move to the memory, which features a single SODIMM slot. There is no soldered RAM here, and according to Dell, the maximum supported memory here is 8GB of DDR4 (up to 2400MHz). As of the storage – right beneath the RAM slot, you’ll see an M.2 drive slot, which supports PCIe x2 SSDs. Additionally, there’s a 2.5″ SATA drive bay on the other side of the battery.

4. Cooling system
After you pop the bottom plate open, you can see the passive cooling solution, used for this machine. Honestly, you shouldn’t worry about overheating, since this is a commonly used solution for 6W processors.

Check out all Dell Inspiron 15 3582 prices and configurations in our Specs System or read more in our In-Depth review.


![[2026年6月] Amazonグローバルにおけるノートパソコンのベストセラーブランド ― 販売台数と売上高の両面で、Appleが圧倒的な優位性を示す](https://laptopmedia.com/wp-content/uploads/2026/07/GLOBAL-Best-Brands-400x225.jpg)
![[2026年6月] アマゾン・グローバル:ノートパソコン売上ランキングトップ10――Appleの新型「MacBook Neo」が1位に躍り出て、手頃な価格帯で市場を再編](https://laptopmedia.com/wp-content/uploads/2026/07/Best-Selling-Laptops-GLOBAL-Top-10-400x225.jpg)
![[2026年6月] アマゾン・グローバル:ゲーム用ノートPC売上ランキングトップ10――エイサーの「Nitro V 16S AI」が販売台数で首位を独占、ASUSが総売上高で首位に立つ](https://laptopmedia.com/wp-content/uploads/2026/07/Best-Selling-Gaming-Laptops-GLOBAL-Top-10-400x225.jpg)
![[2026年6月] AmazonにおけるノートPC用GPUの世界販売ランキング ― NVIDIA RTX 5060が専用GPU部門で首位を獲得](https://laptopmedia.com/wp-content/uploads/2026/07/Best-Selling-GPUs-GLOBAL-Top-10-400x225.jpg)
![[2026年6月] AmazonにおけるノートPC用CPUの世界販売ランキング ― Apple M5が首位を独占、AMD Ryzen 7 260がプレミアム層で堅調なシェアを獲得](https://laptopmedia.com/wp-content/uploads/2026/07/Best-Selling-CPUs-GLOBAL-Top-10-400x225.jpg)
