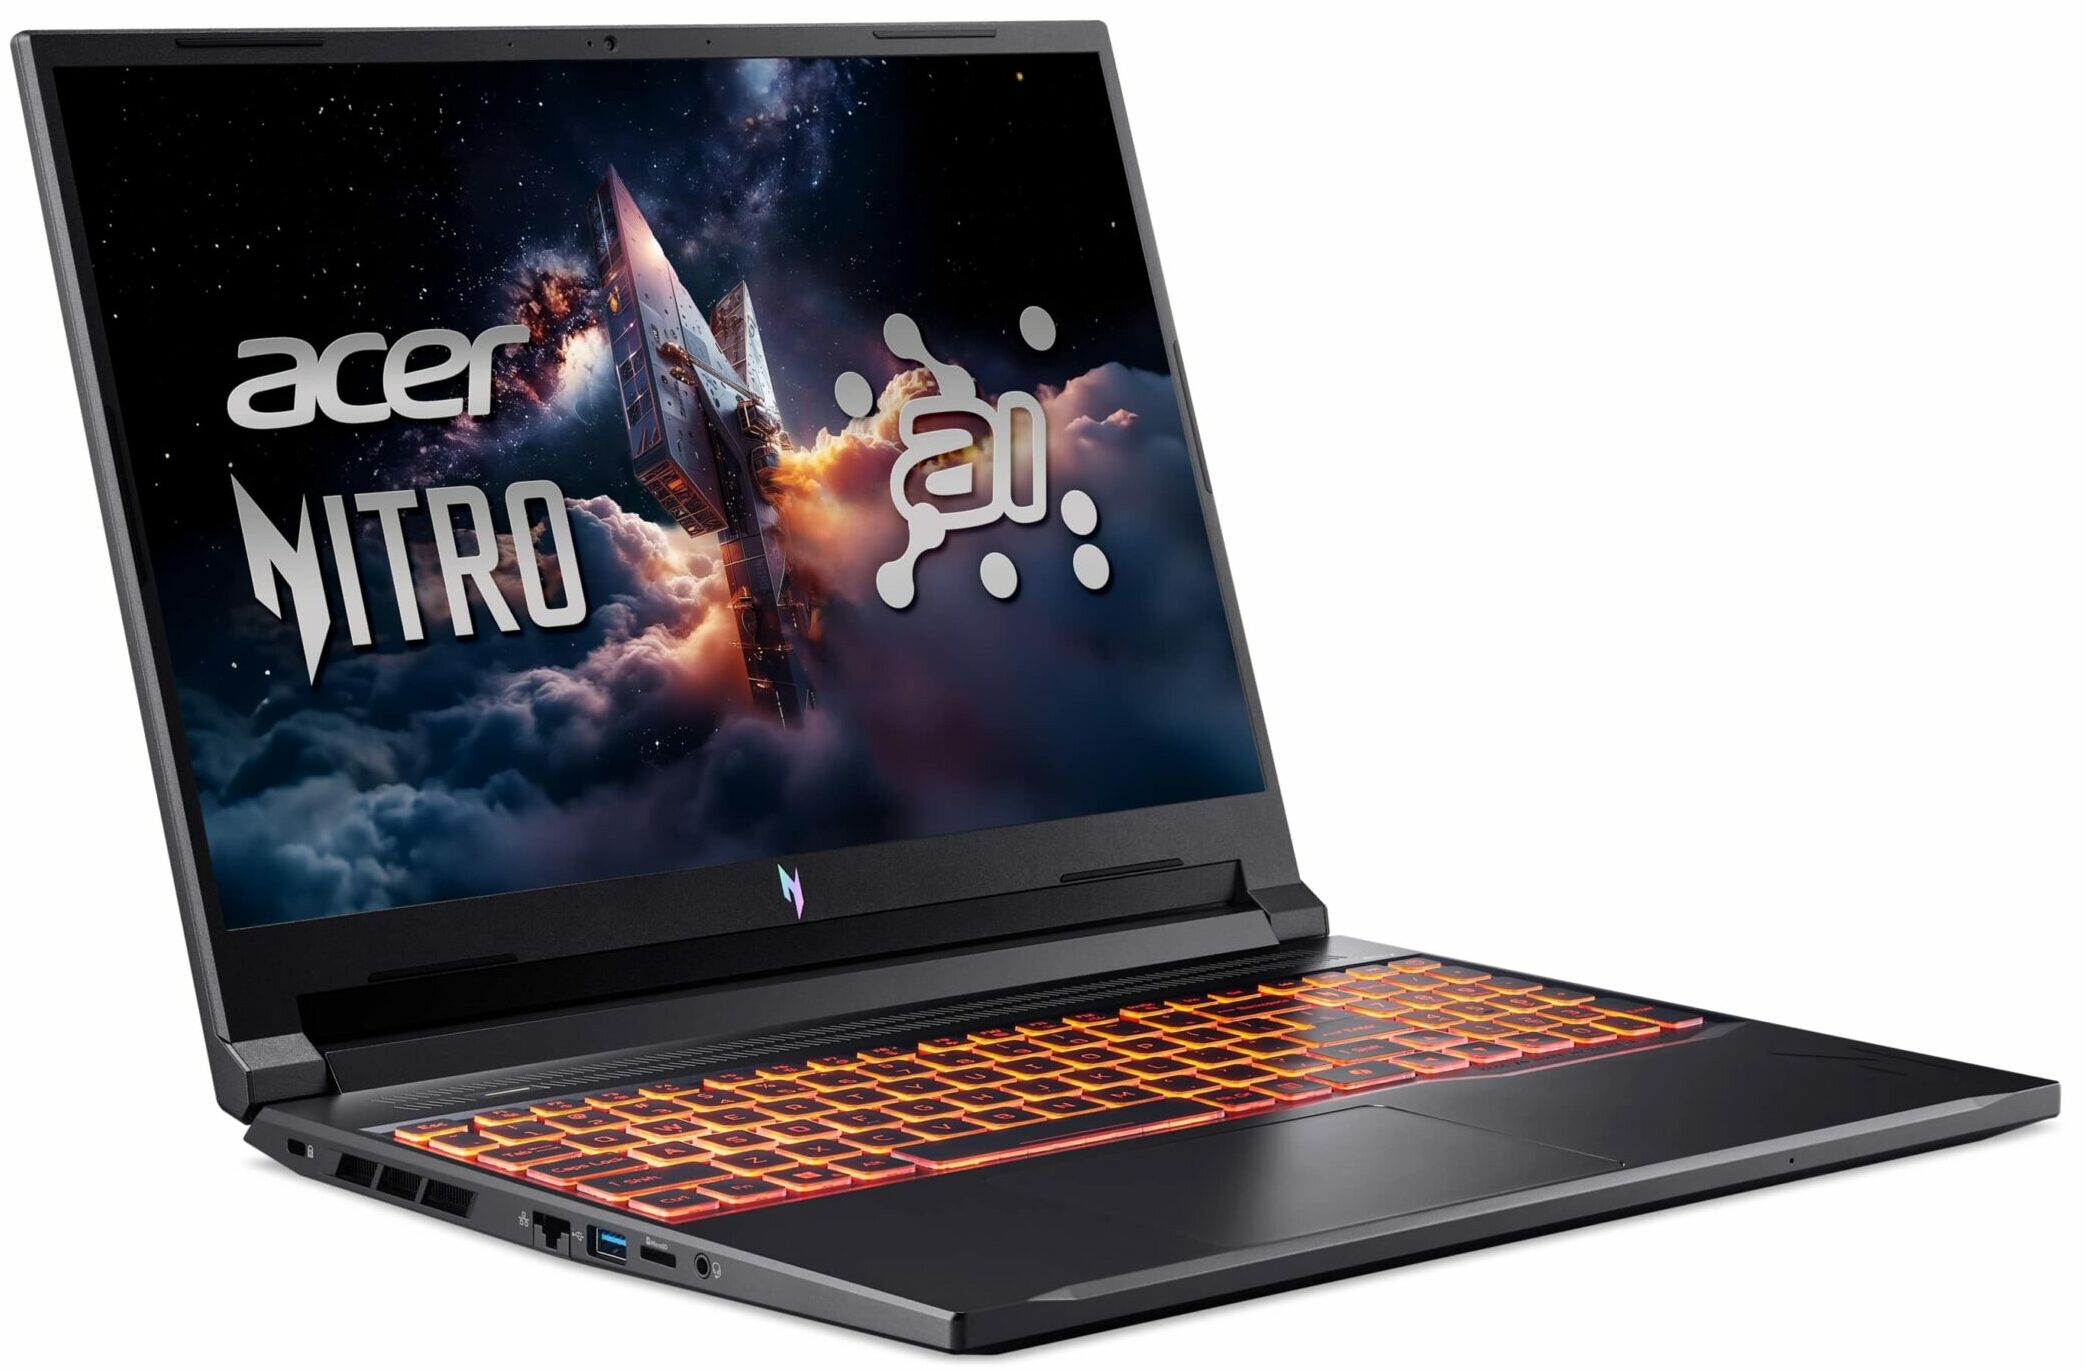
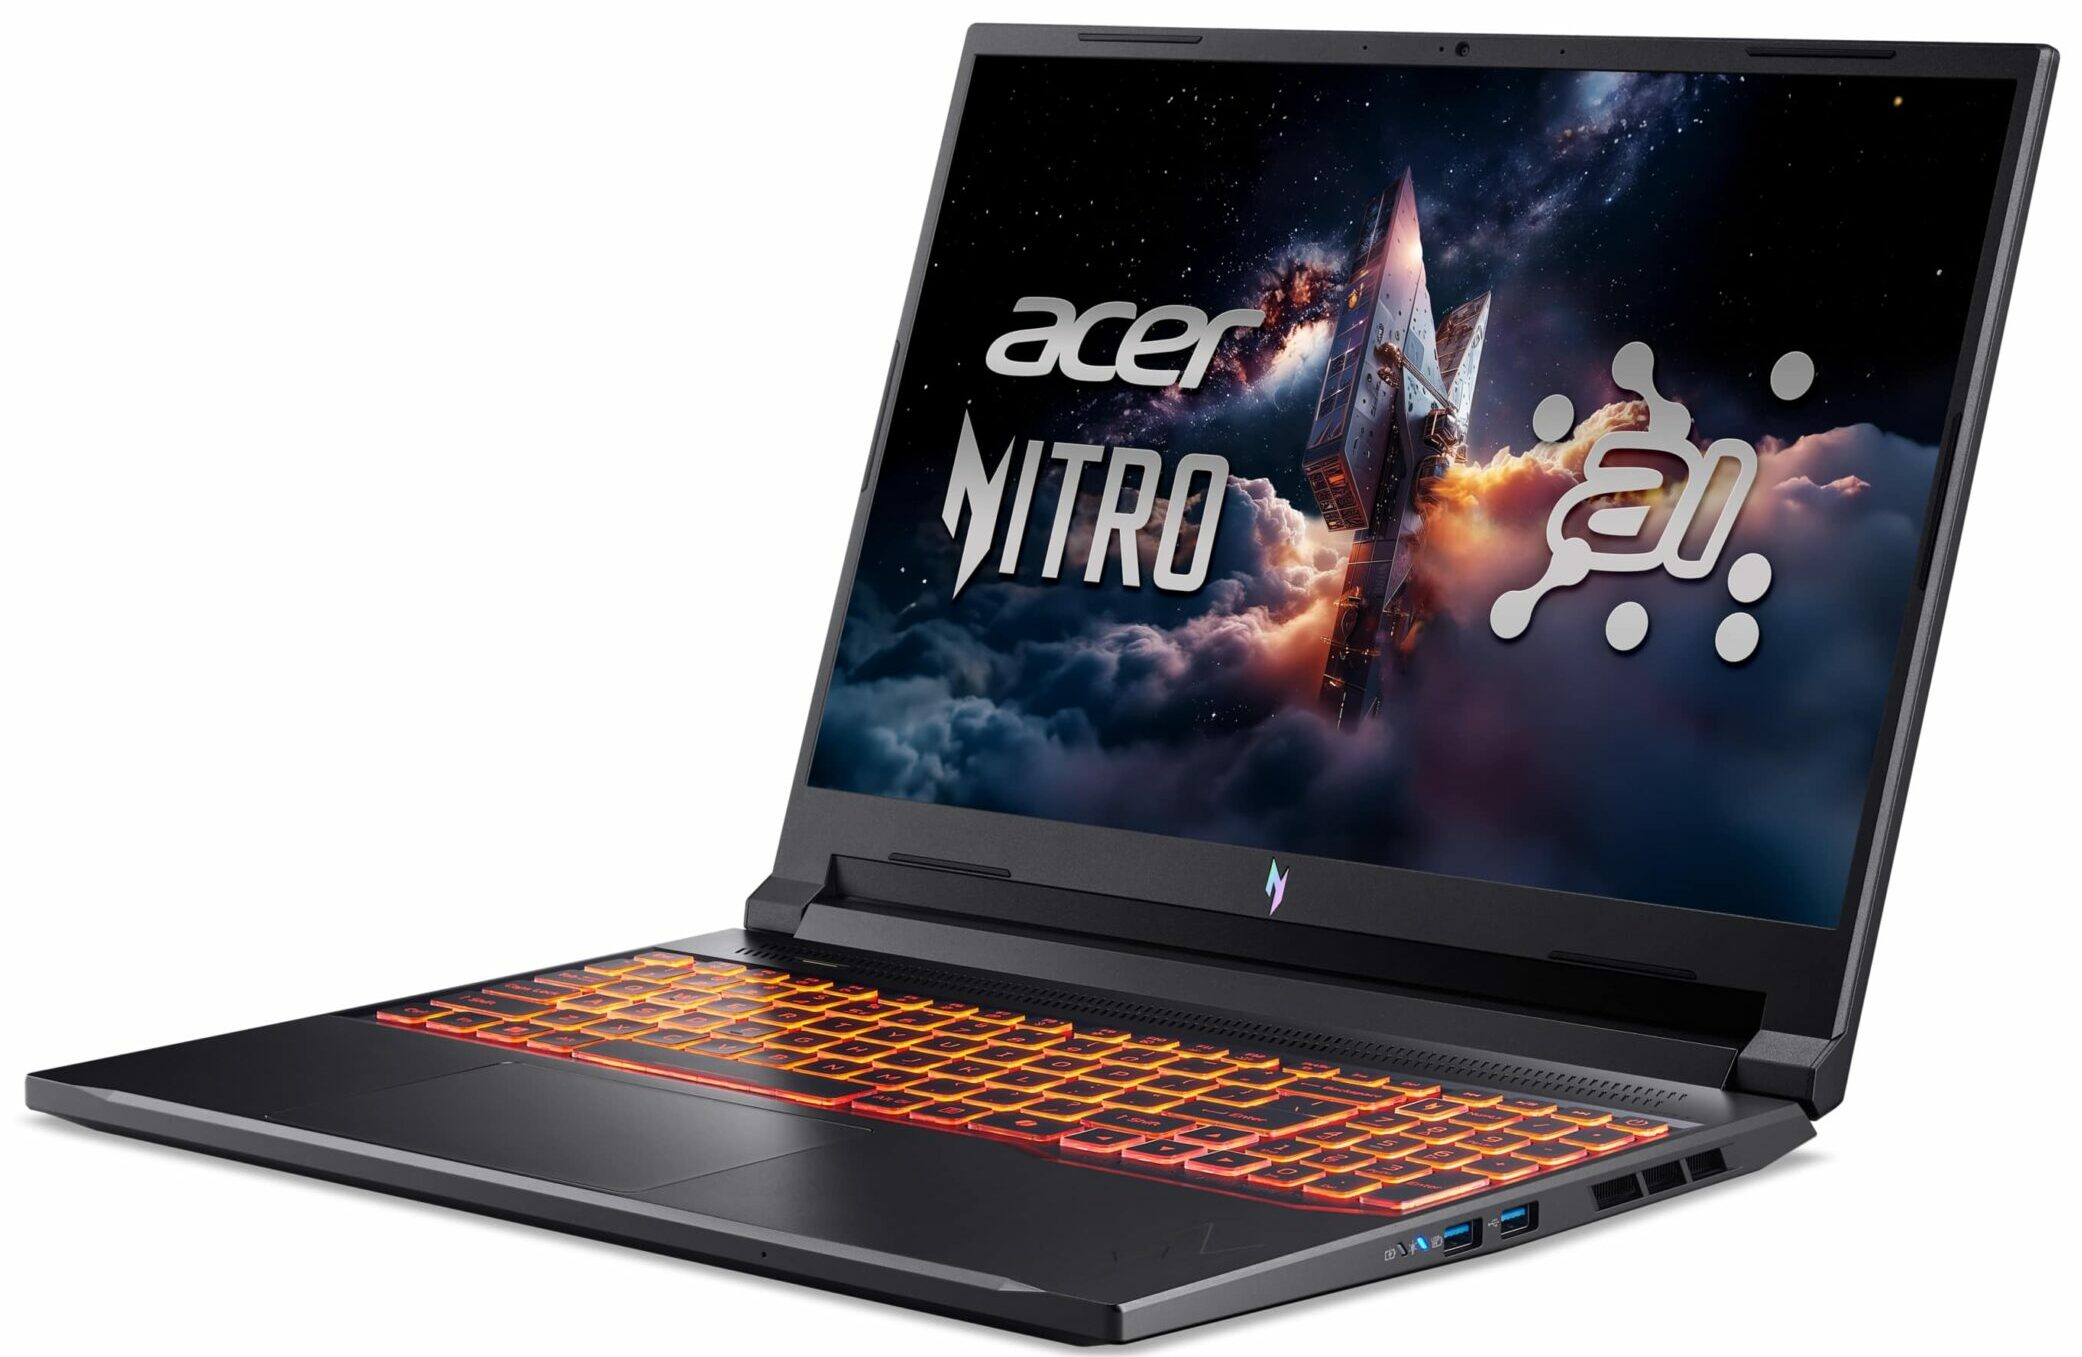
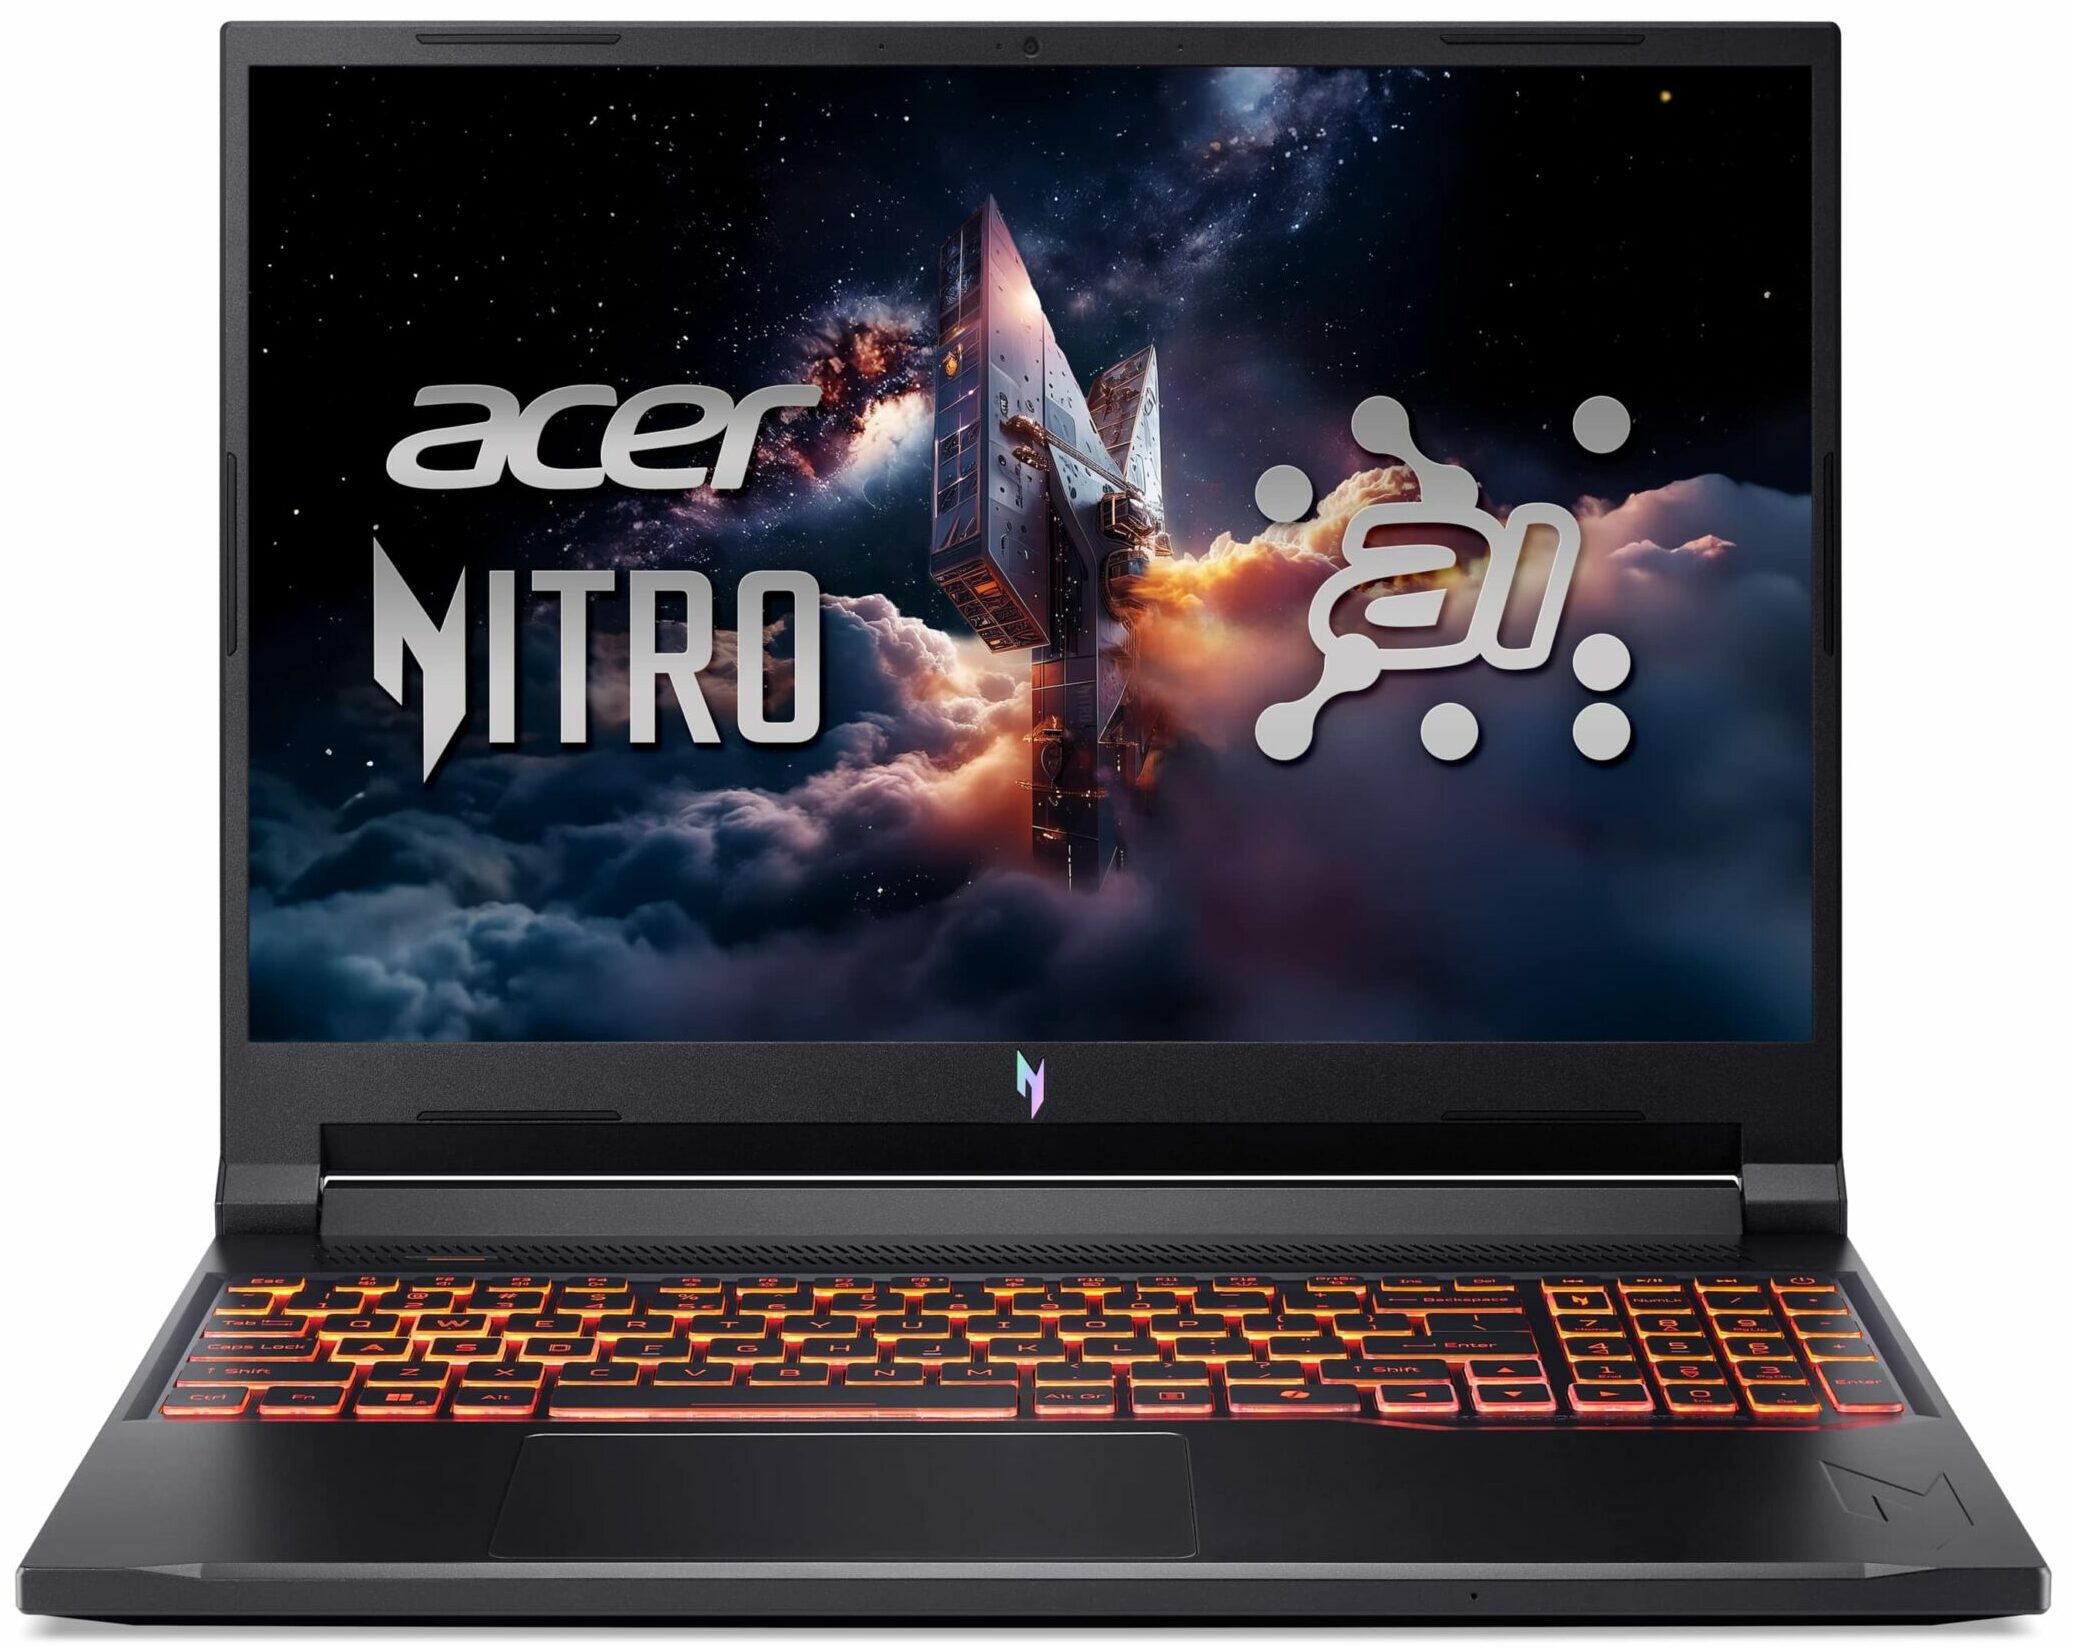
Acer Nitro V 16 AI

- Date Published: 29 Oct 2025
- AMD Ryzen 7 260
- NVIDIA GeForce RTX 5050 (Laptop)
- 16.0″, WUXGA (1920 x 1200), 180 Hz, IPS
- 4000GB SSD
- 64GB RAM
- 2.44 kg (5.4 lbs)
Review
Acer Nitro V 16 AI in-depth review
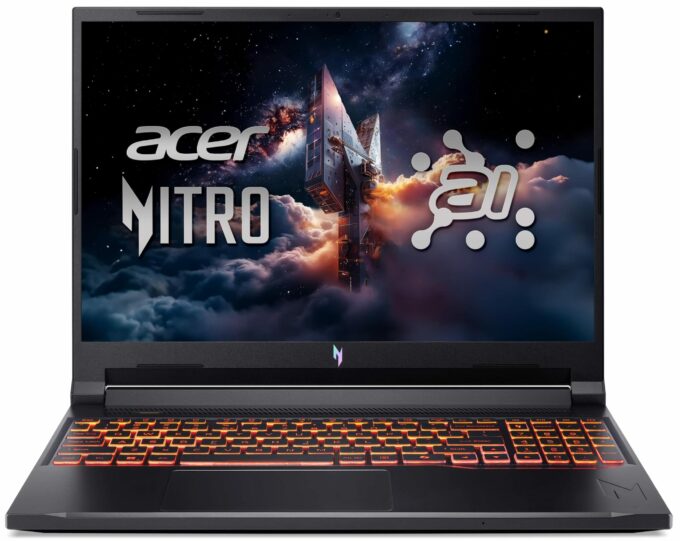
In the relentless race for the highest benchmark scores, many gaming laptops push their components to the absolute thermal limit. The Acer Nitro V 16 AI (ANV16-42) takes a different, smarter path. Instead of chasing a few extra points on a chart, Acer has engineered a machine that prioritizes what truly matters for a great long-term gaming experience: thermal stability, reliability, and impressive battery life. The result is a surprisingly balanced and responsible powerhouse that runs dramatically cooler than its direct competitors. But to achieve this cool-headed performance, there is one major sacrifice that users must be willing to make, and it's a big one.You can check the prices and configurations in our Specs System: https://laptopmedia.com/series/acer-nitro-v-16-ai-anv16-42/[...]
Read the full review
Pros
- Exceptional CPU thermal management keeps the system cool and stable
- Great battery life for a gaming laptop
- Fantastic upgradeability with two RAM and two M.2 slots
- PWM-free screen with a fast response time is great for the eyes
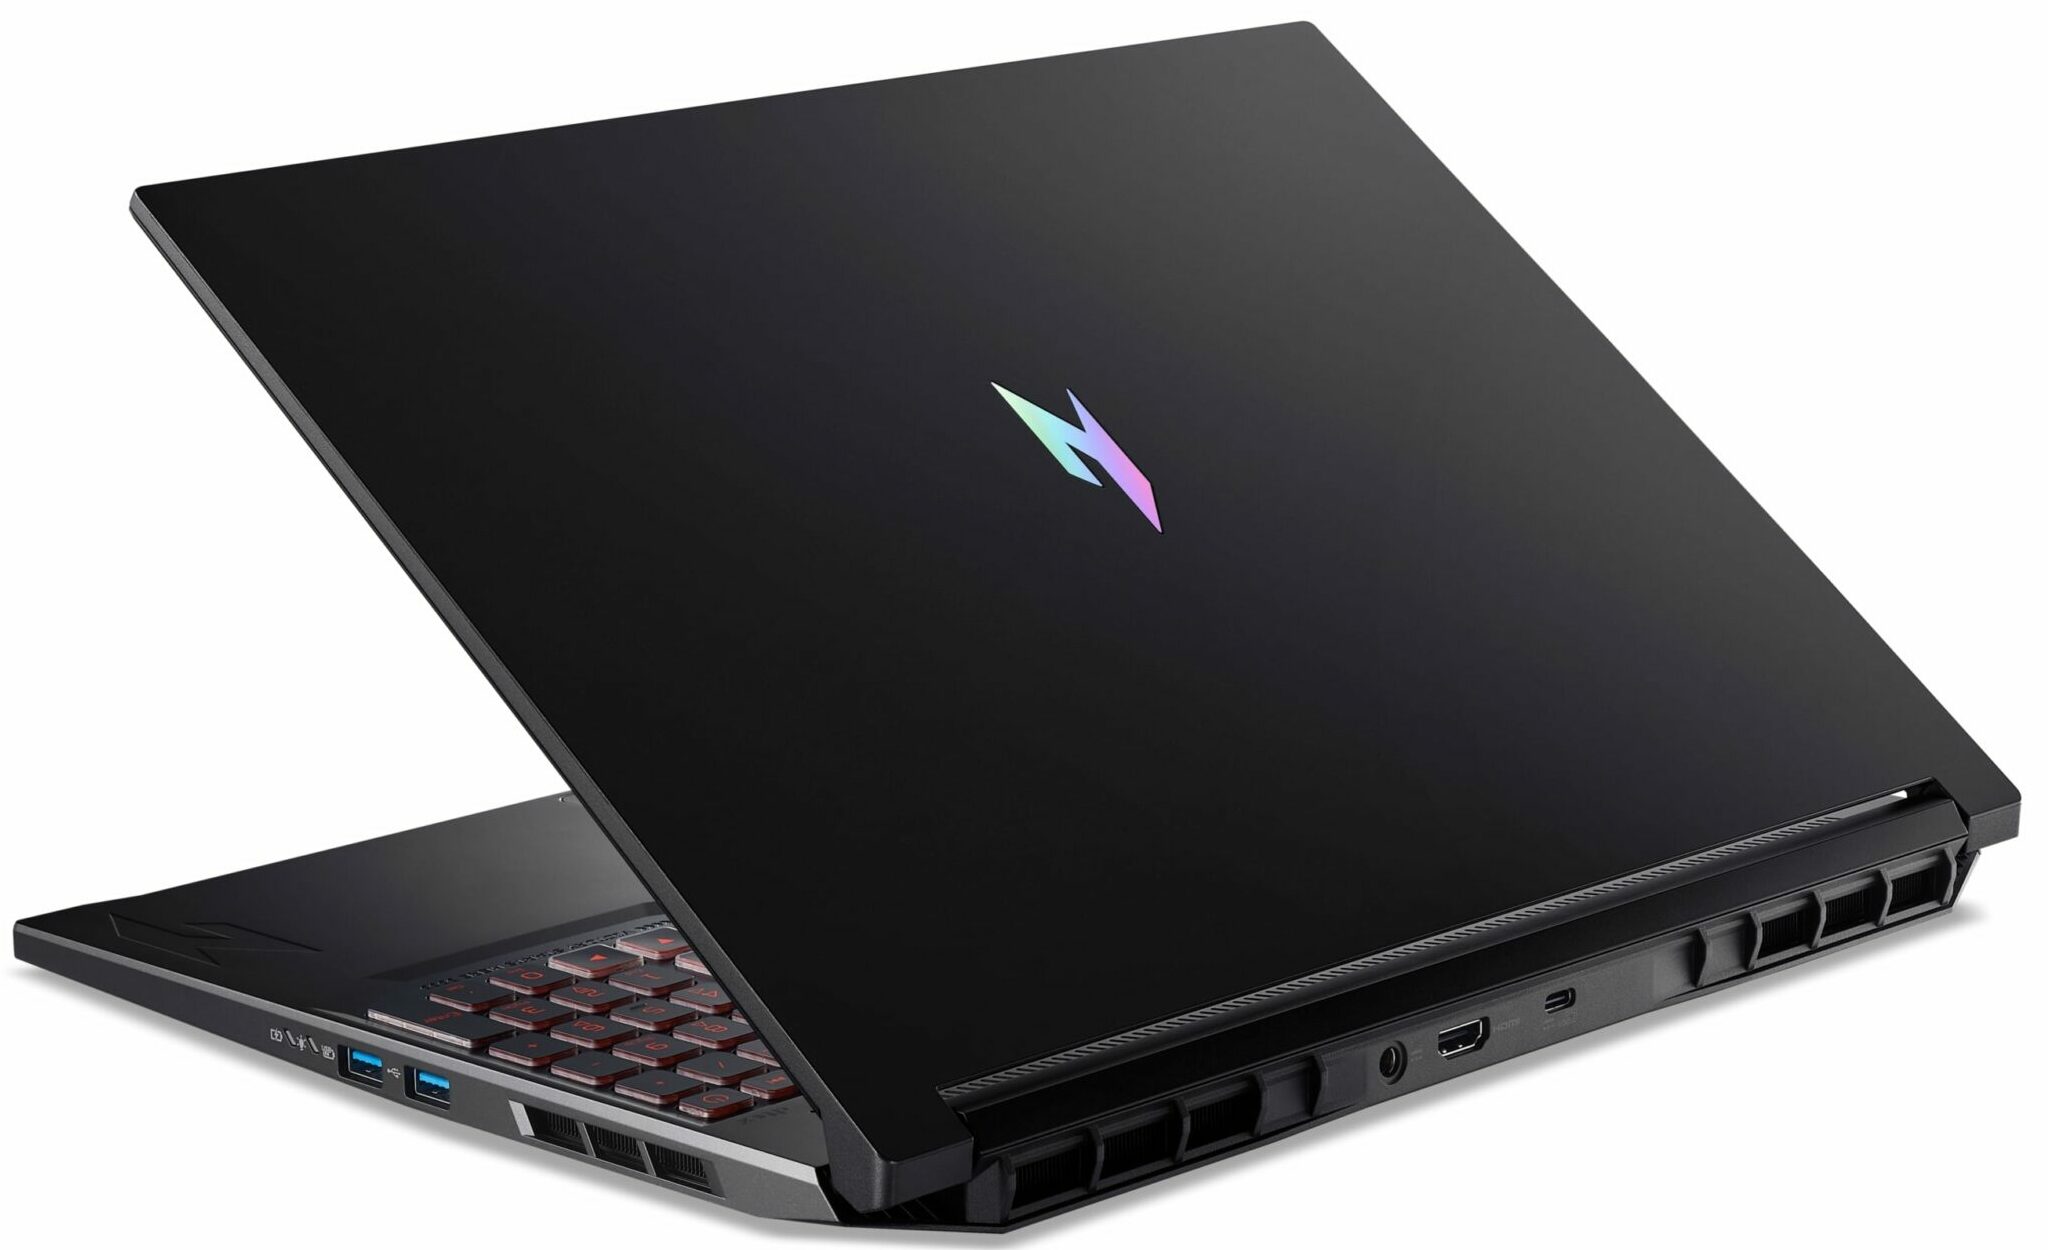
- Good port selection including a versatile USB4 port
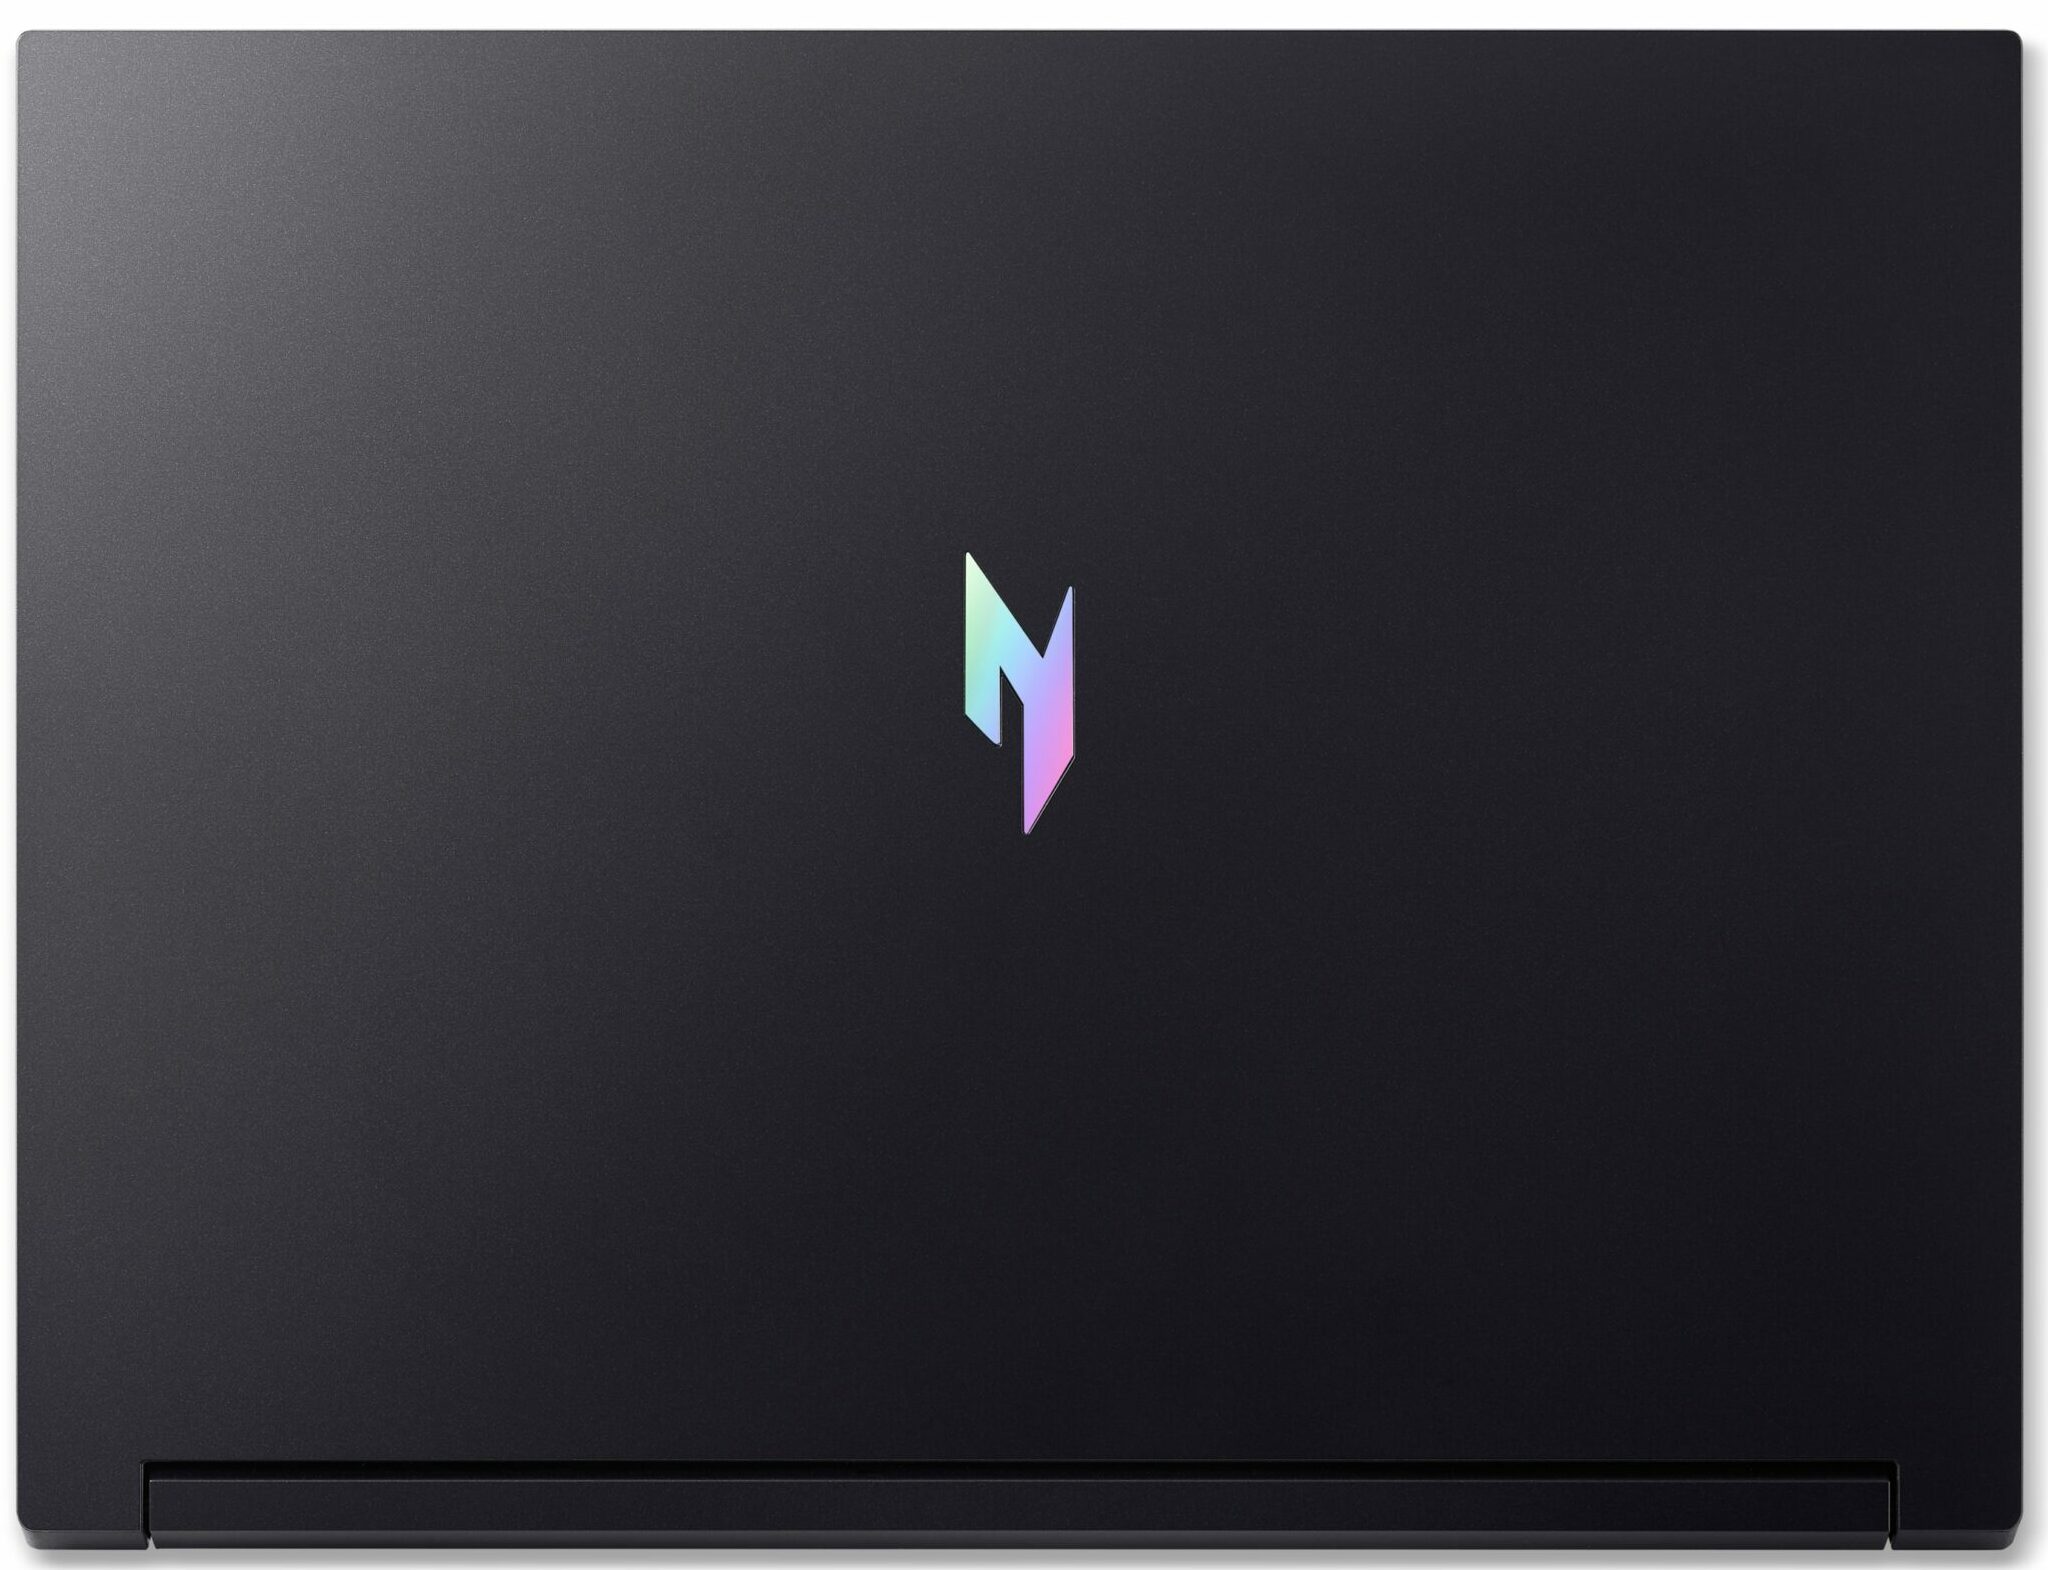
- Solid and elegant design
Cons
- Base model display has very poor color coverage (50% sRGB)
- CPU performance is slightly lower than direct competitors
- No physical camera shutter or fingerprint reader
Disassembly, maintenance and upgrade options
How to open the bottom panelShut down the laptop completely and unplug the charger and all peripherals. Place the notebook upside down on a soft, clean surface to avoid scratches. Undo the ten bottom screws that secure the panel to the chassis. Keep track of their positions for easier reassembly. Insert a thin plastic pry tool between the bottom cover and the chassis along one of the side edges and gently start releasing the clips.Work your way around the perimeter. The panel comes off cleanly and there are no hidden fasteners.Once all clips are released, lif[...]
Read more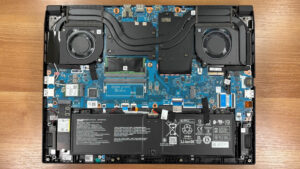


![[June 2026] Best-Selling Laptop Brands on Amazon Global – Apple’s Unrivaled Dominance in Units and Revenue](https://laptopmedia.com/wp-content/uploads/2026/07/GLOBAL-Best-Brands-400x225.jpg)
![[June 2026] Amazon Global: Top 10 Best-Selling Laptops – Apple’s New MacBook Neo Storms to #1, Reshaping the Market with Affordability](https://laptopmedia.com/wp-content/uploads/2026/07/Best-Selling-Laptops-GLOBAL-Top-10-400x225.jpg)
![[June 2026] Amazon Global: Top 10 Best-Selling Gaming Laptops – Acer’s Nitro V 16S AI Dominates Sales, While ASUS Leads Overall Revenue](https://laptopmedia.com/wp-content/uploads/2026/07/Best-Selling-Gaming-Laptops-GLOBAL-Top-10-400x225.jpg)
![[June 2026] Global Ranking of Best-Selling Laptop GPUs on Amazon – NVIDIA RTX 5060 is the Top-Selling Dedicated GPU](https://laptopmedia.com/wp-content/uploads/2026/07/Best-Selling-GPUs-GLOBAL-Top-10-400x225.jpg)
![[June 2026] Global Ranking of Best-Selling Laptop CPUs on Amazon – Apple M5 Dominates, AMD Ryzen 7 260 Gets Solid Premium Share](https://laptopmedia.com/wp-content/uploads/2026/07/Best-Selling-CPUs-GLOBAL-Top-10-400x225.jpg)