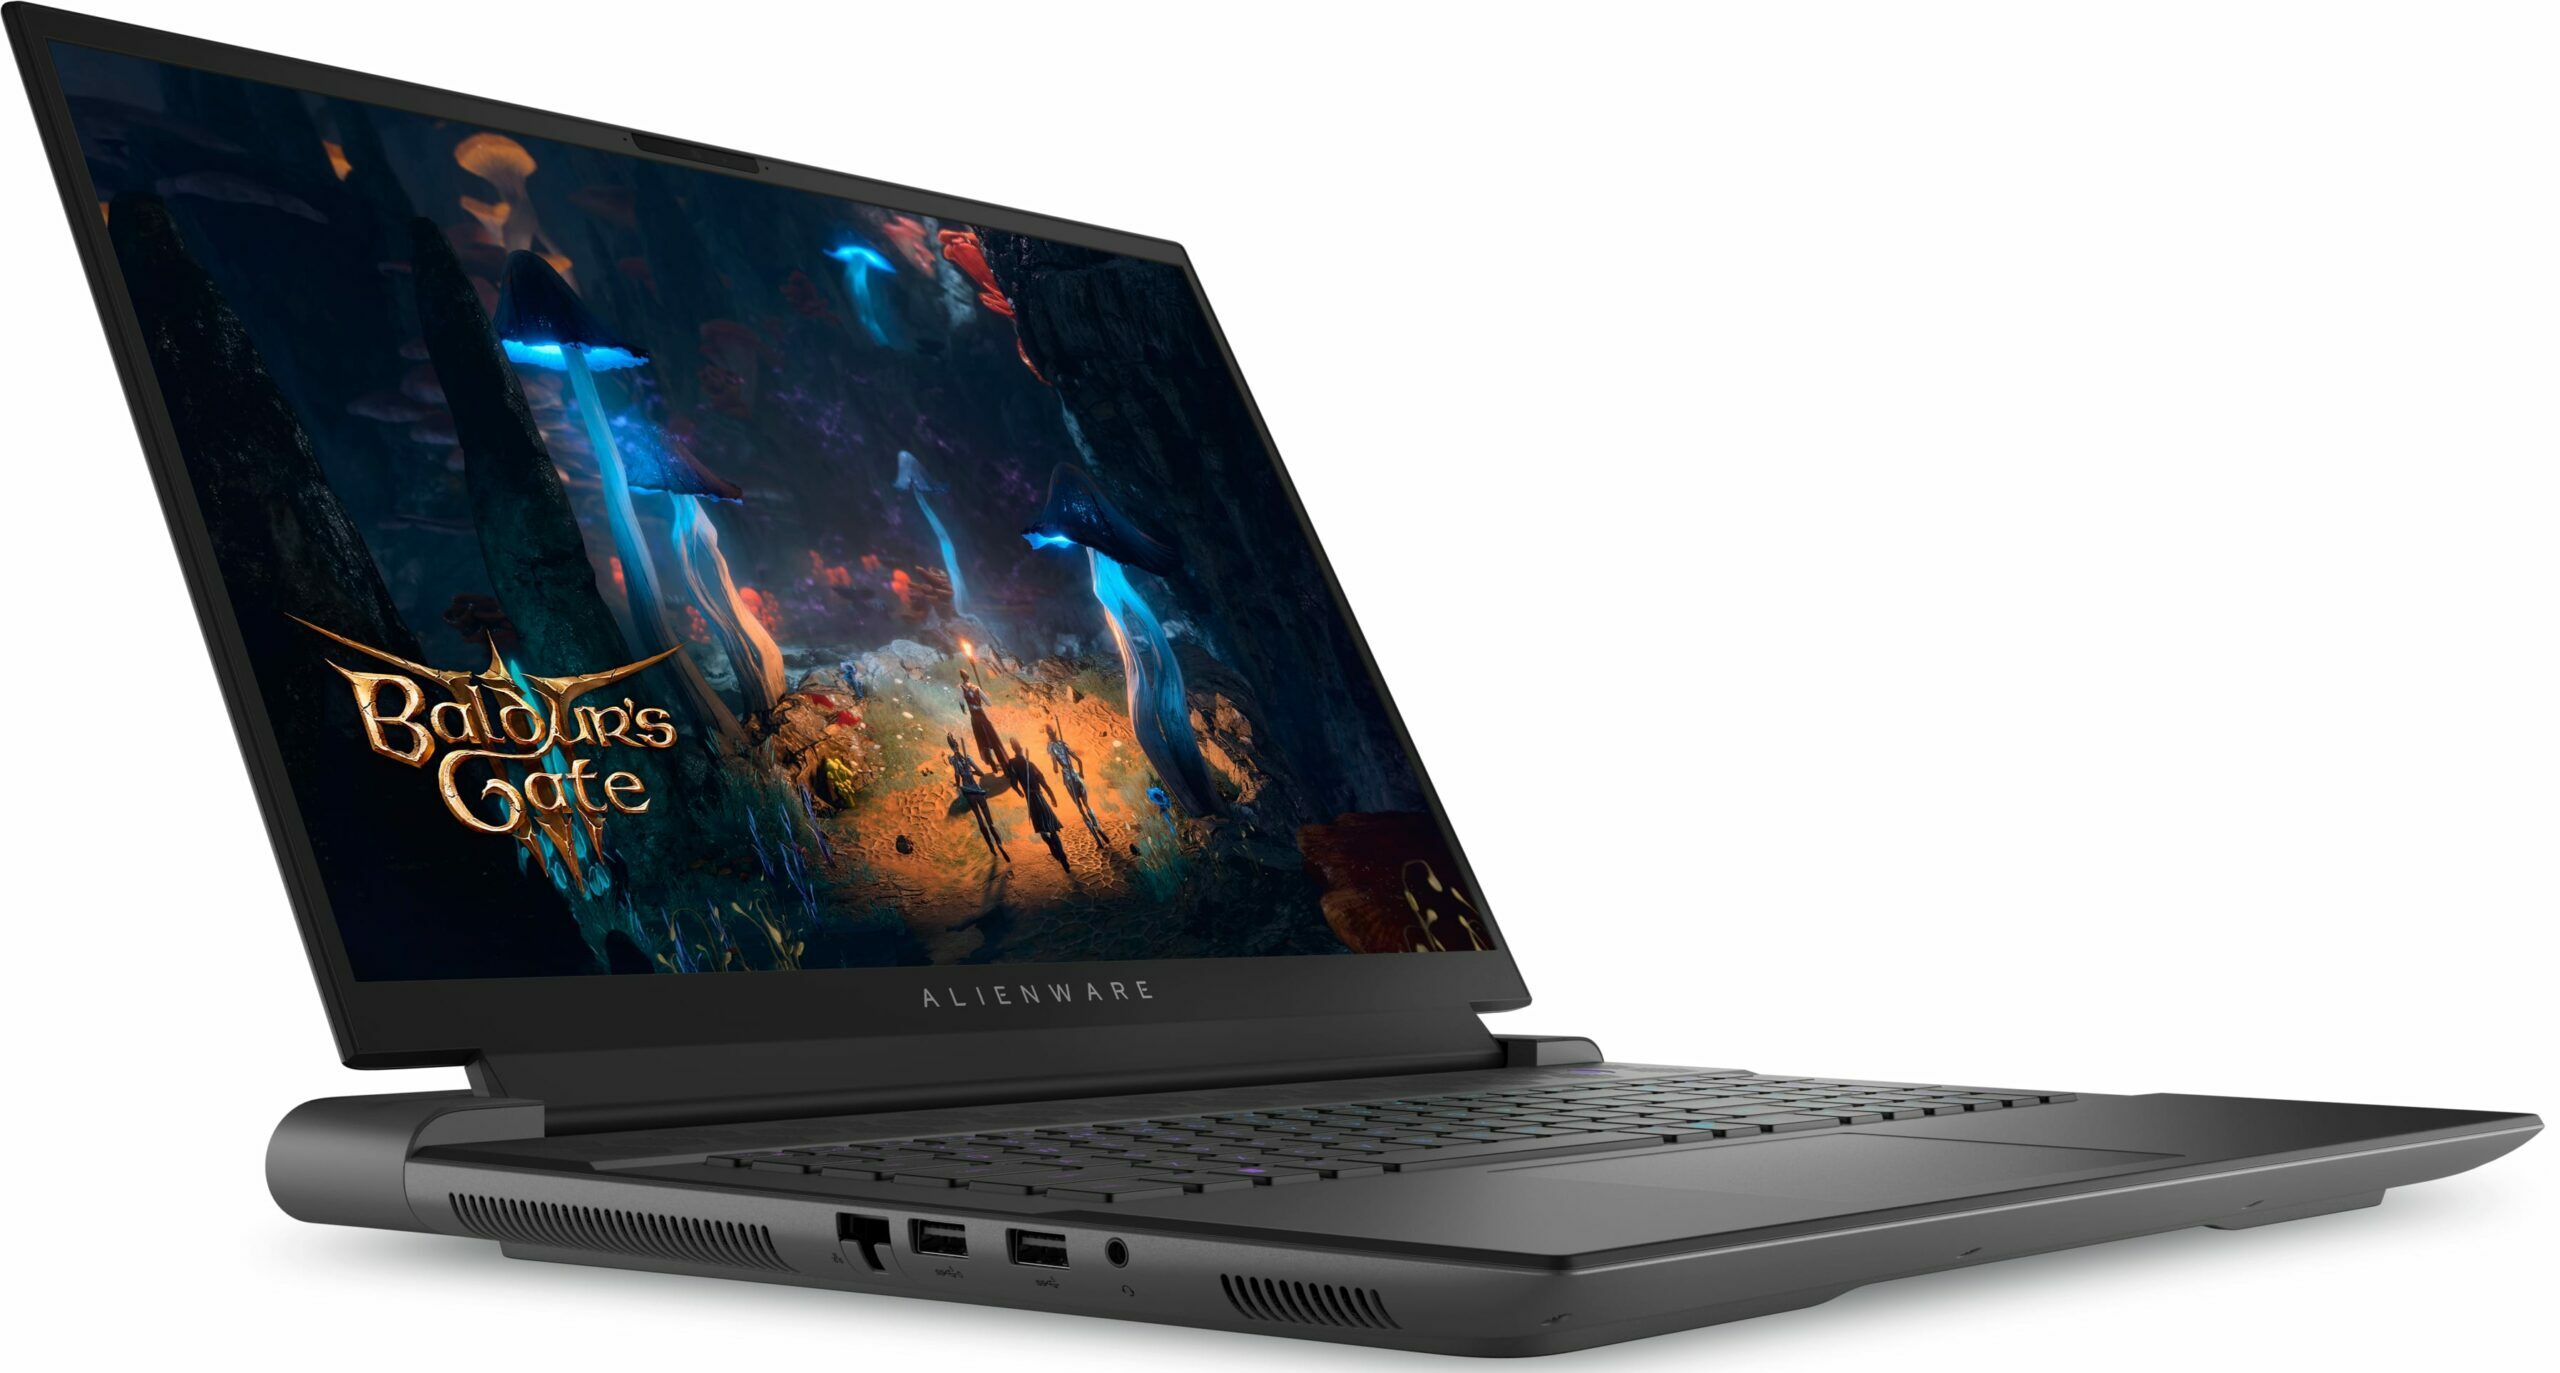
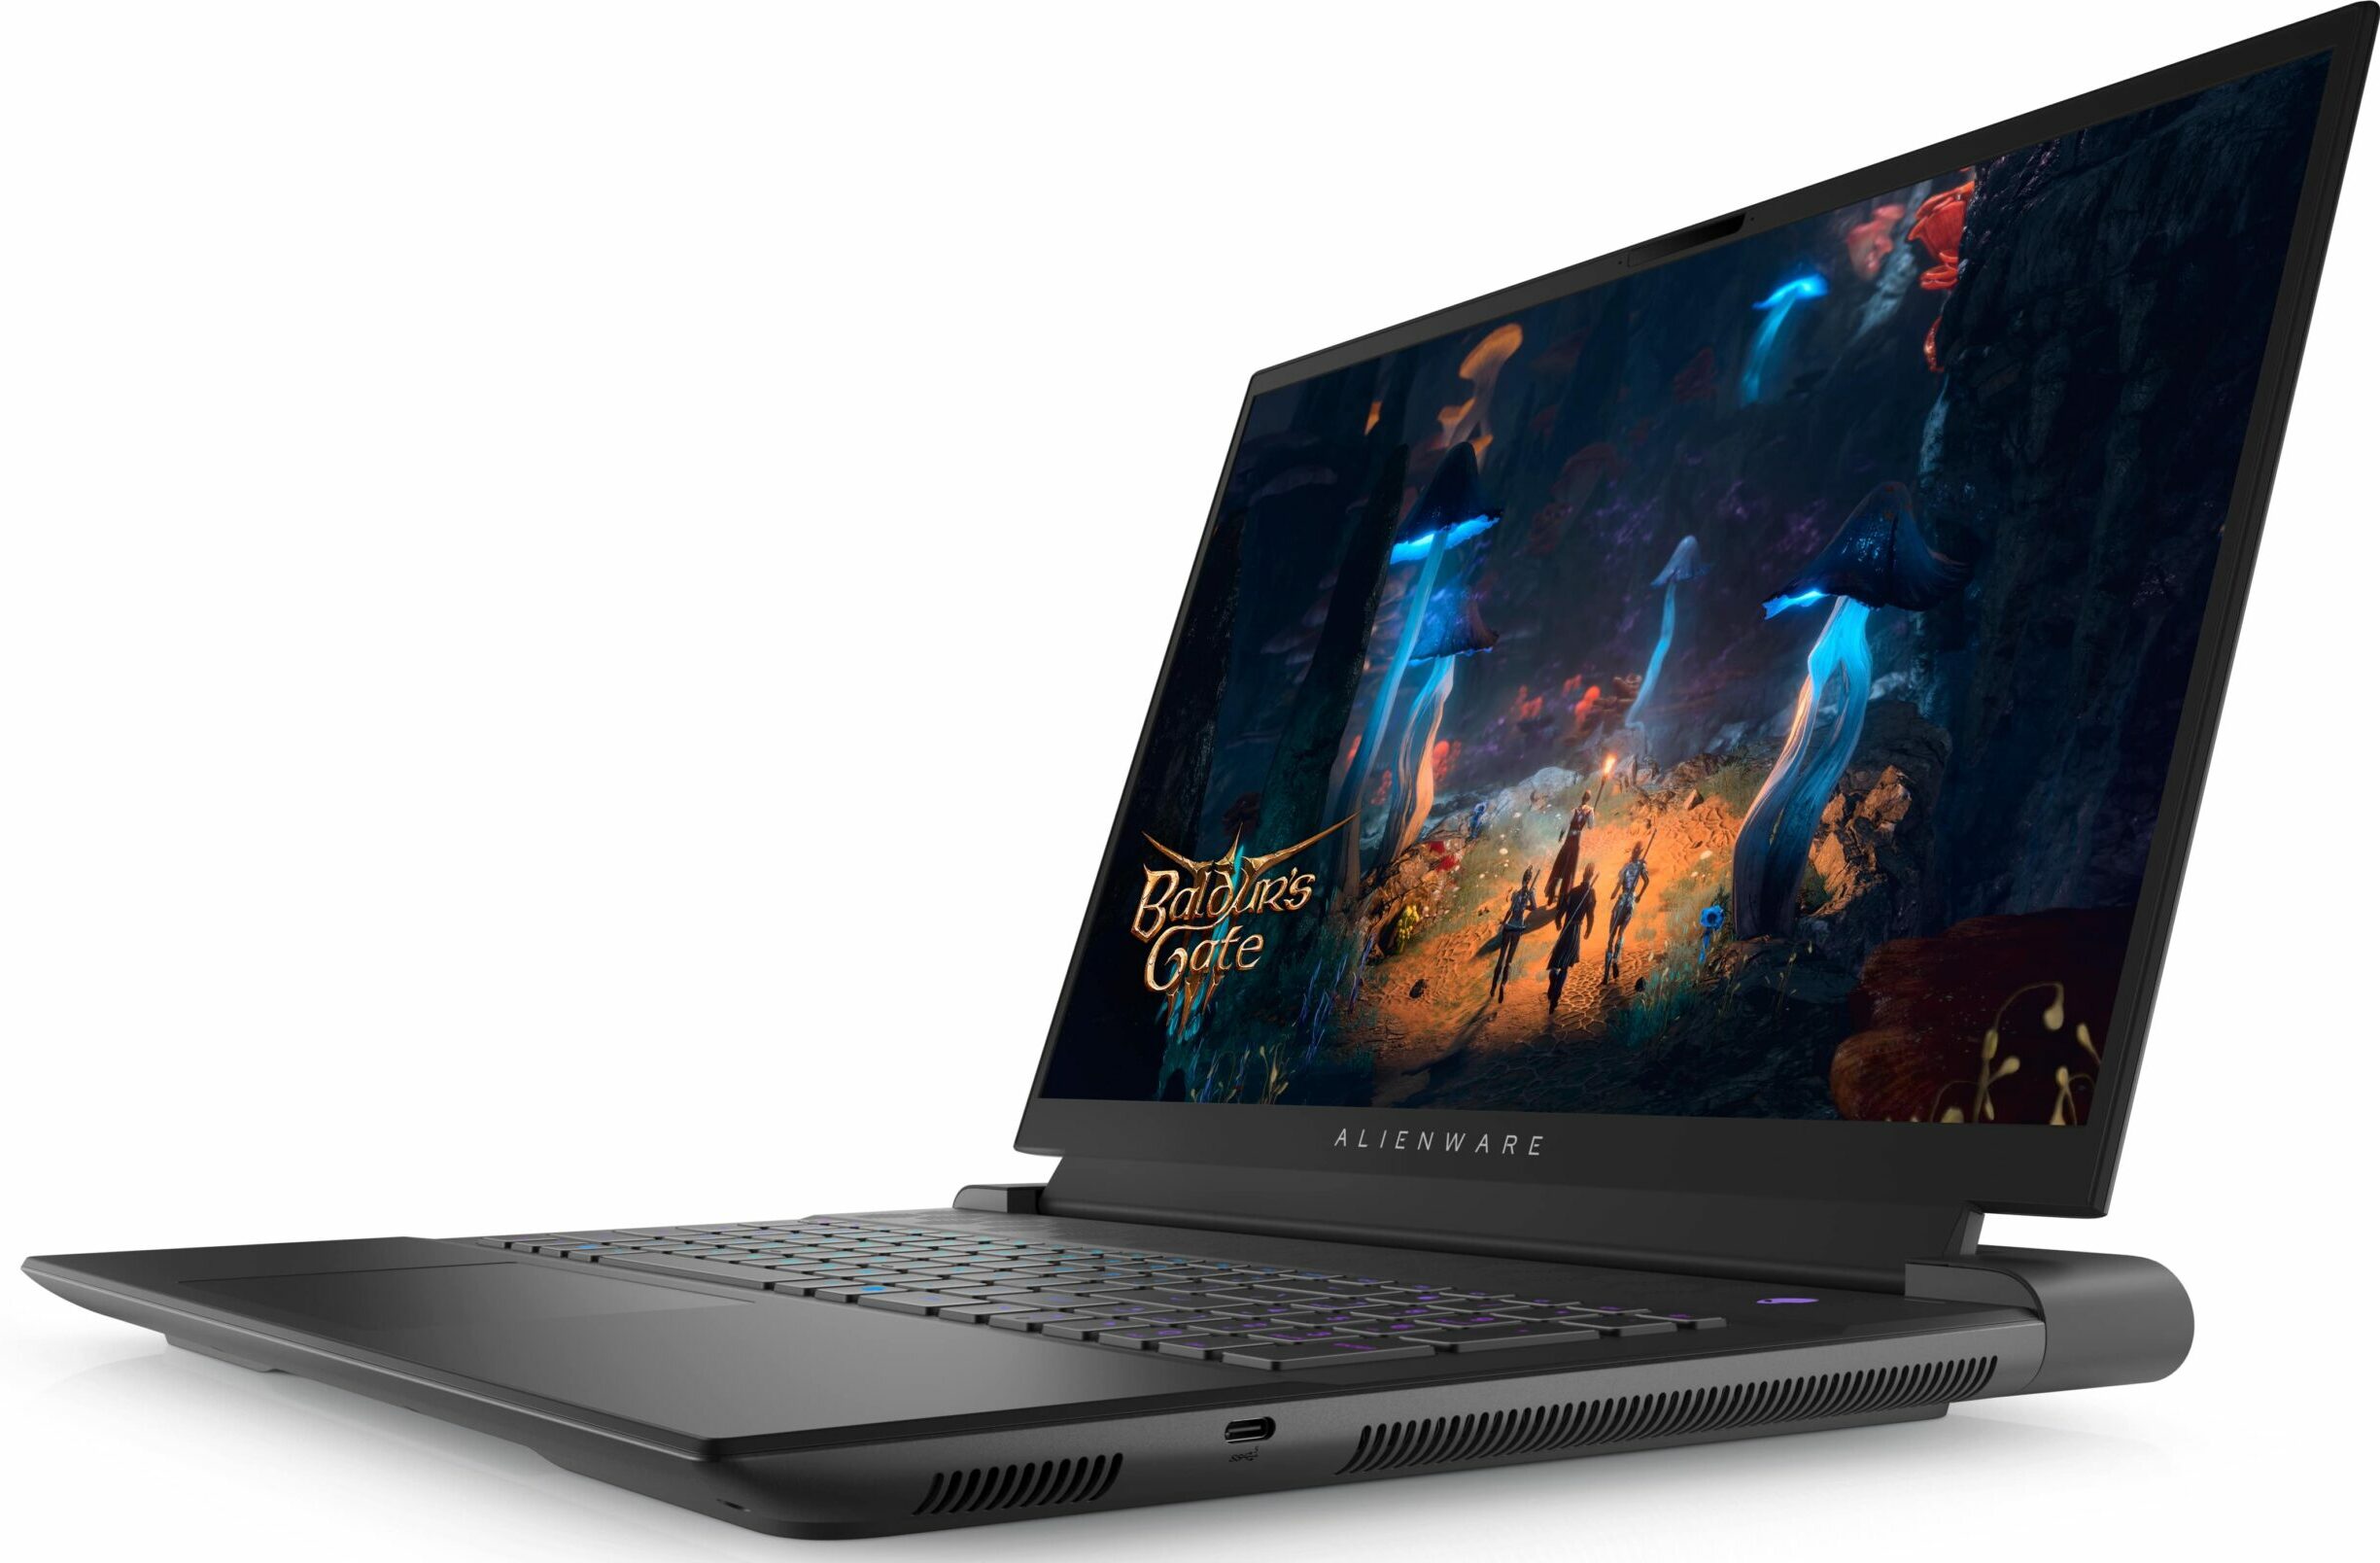
Alienware m18 R2
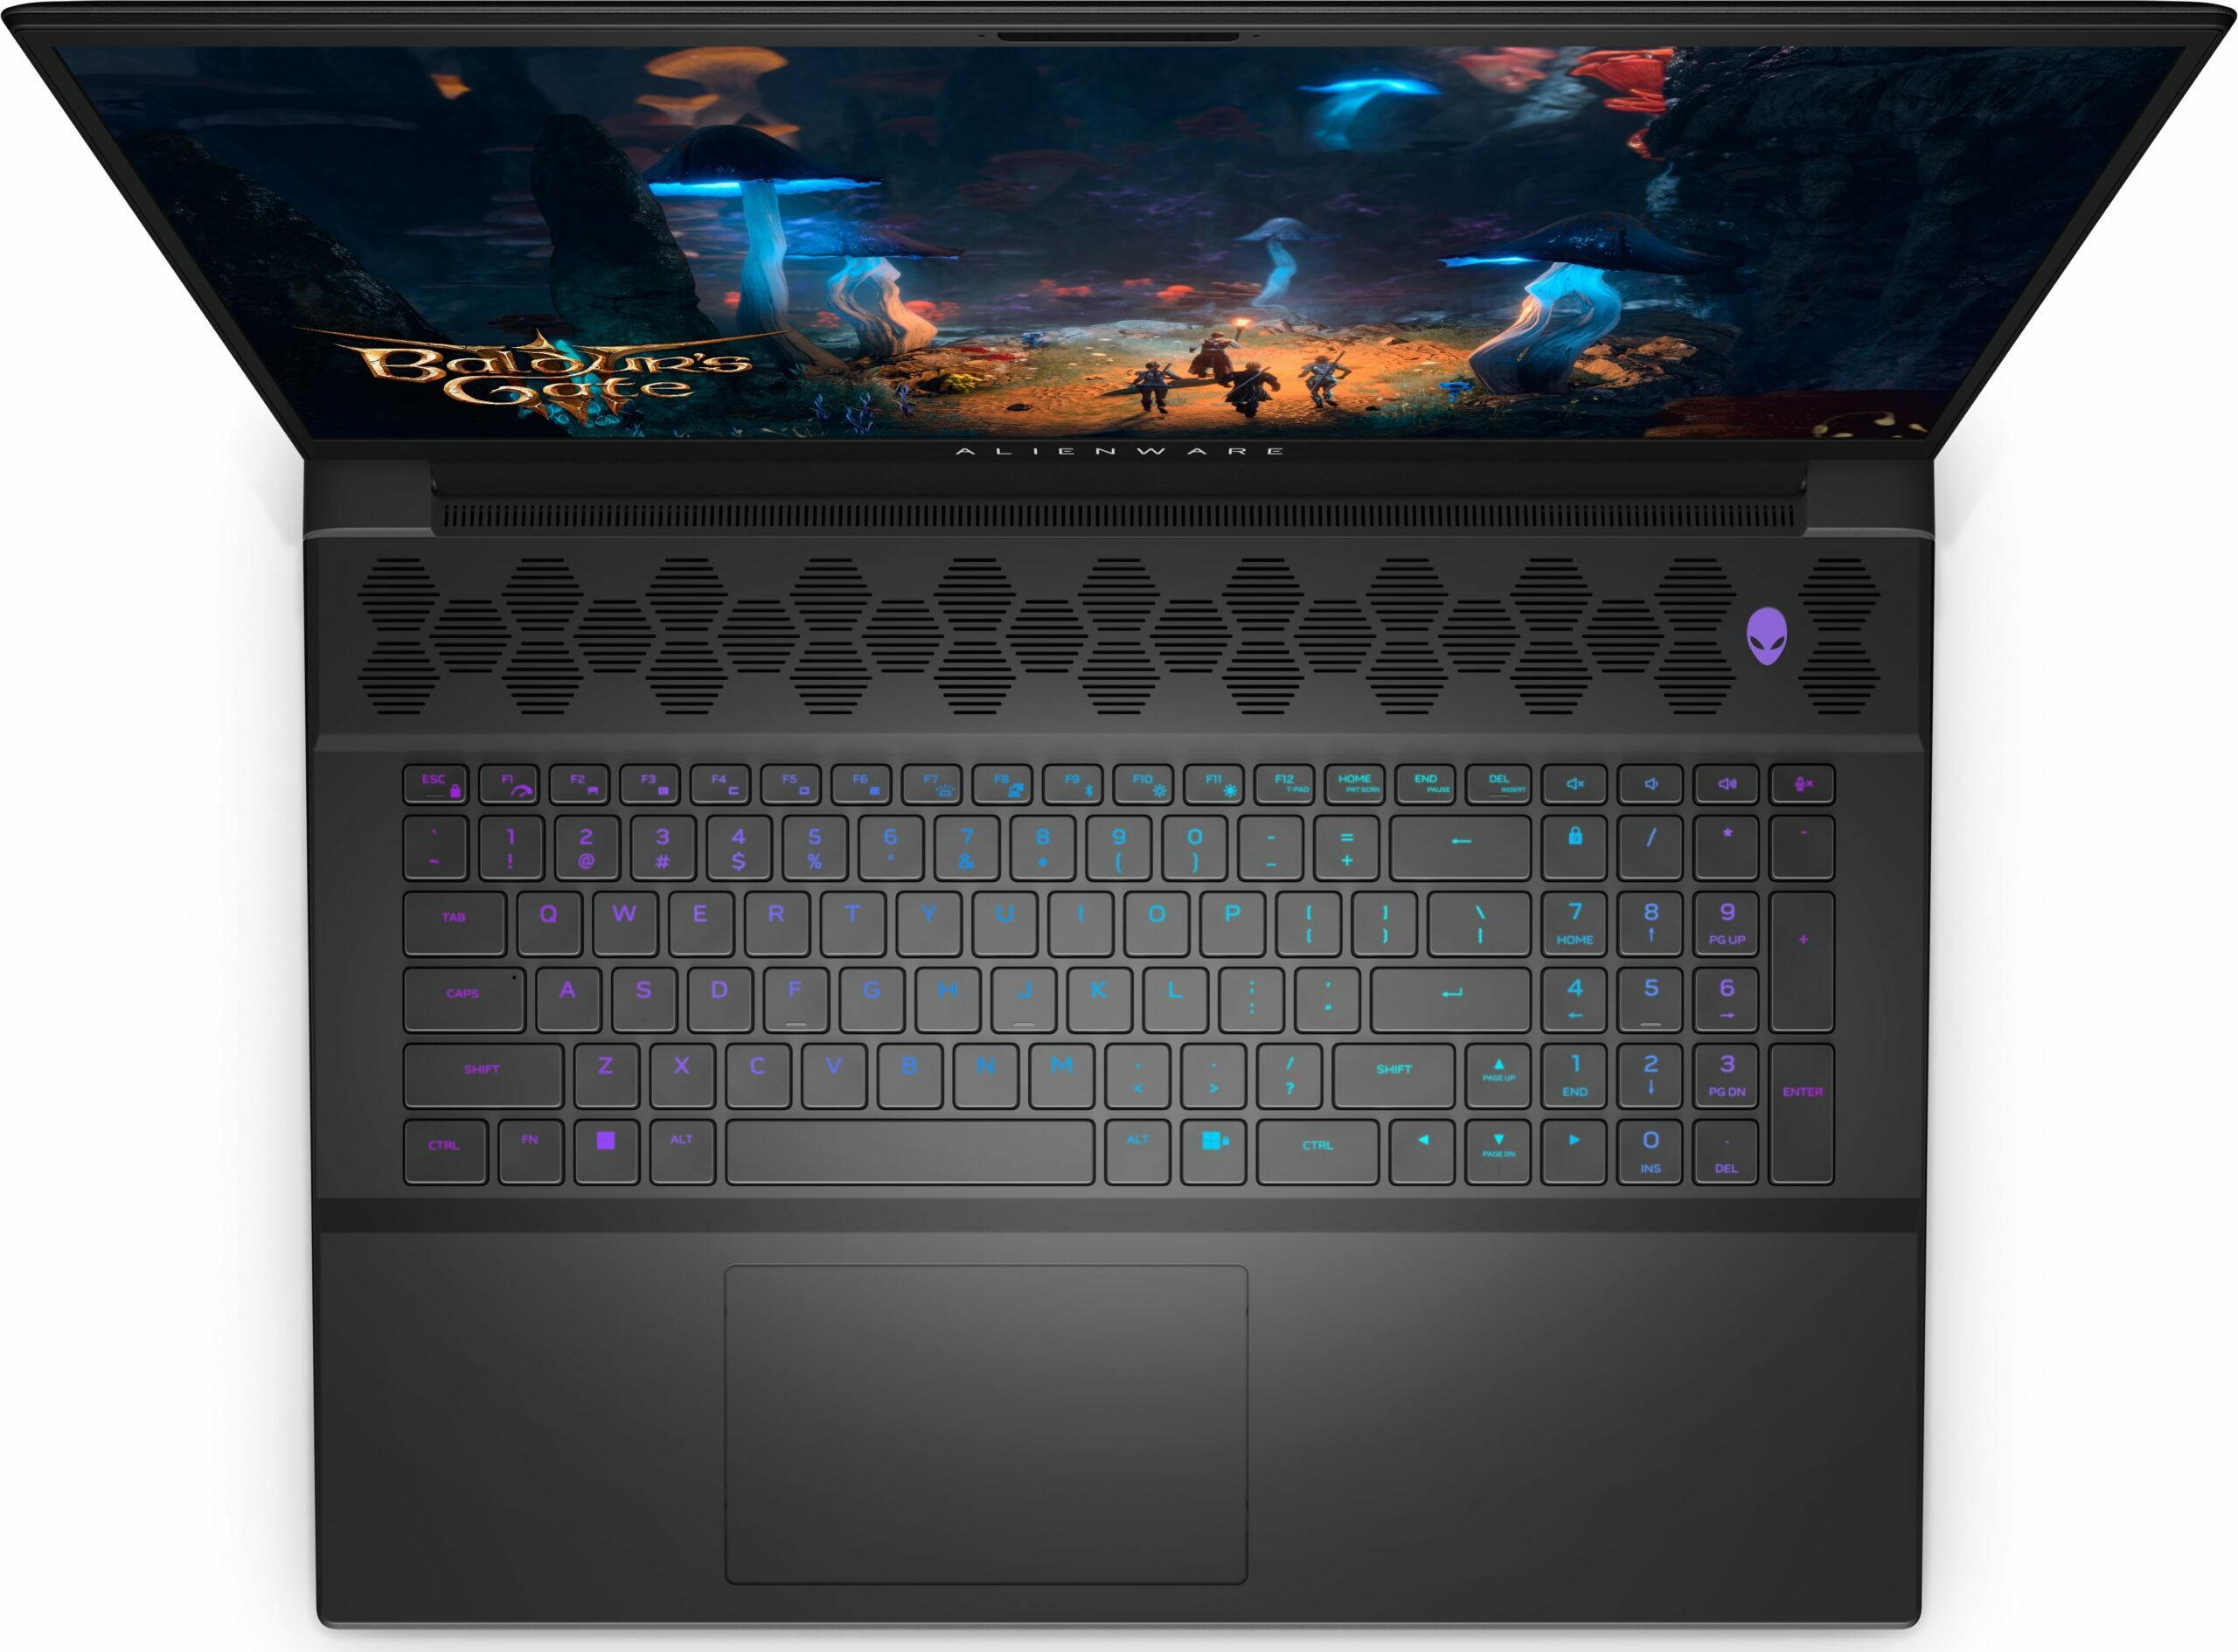

- Date Published: 29 Oct 2025
- Intel Core i9-14900HX
- NVIDIA GeForce RTX 4090 (Laptop, 175W)
- 18.0”, WQXGA (2560 x 1600), 165 Hz, IPS
- 2000GB SSD
- 32GB RAM
- 4.23 kg (9.3 lbs)
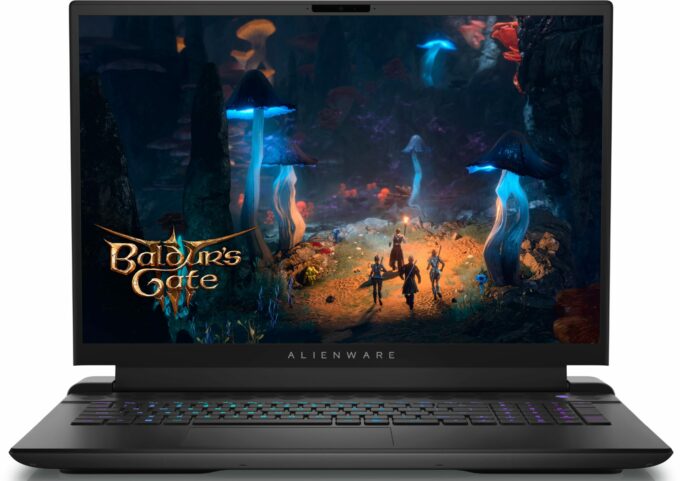
Specs

- HDD/SSD
- 2000GB SSD
- M.2 Slot
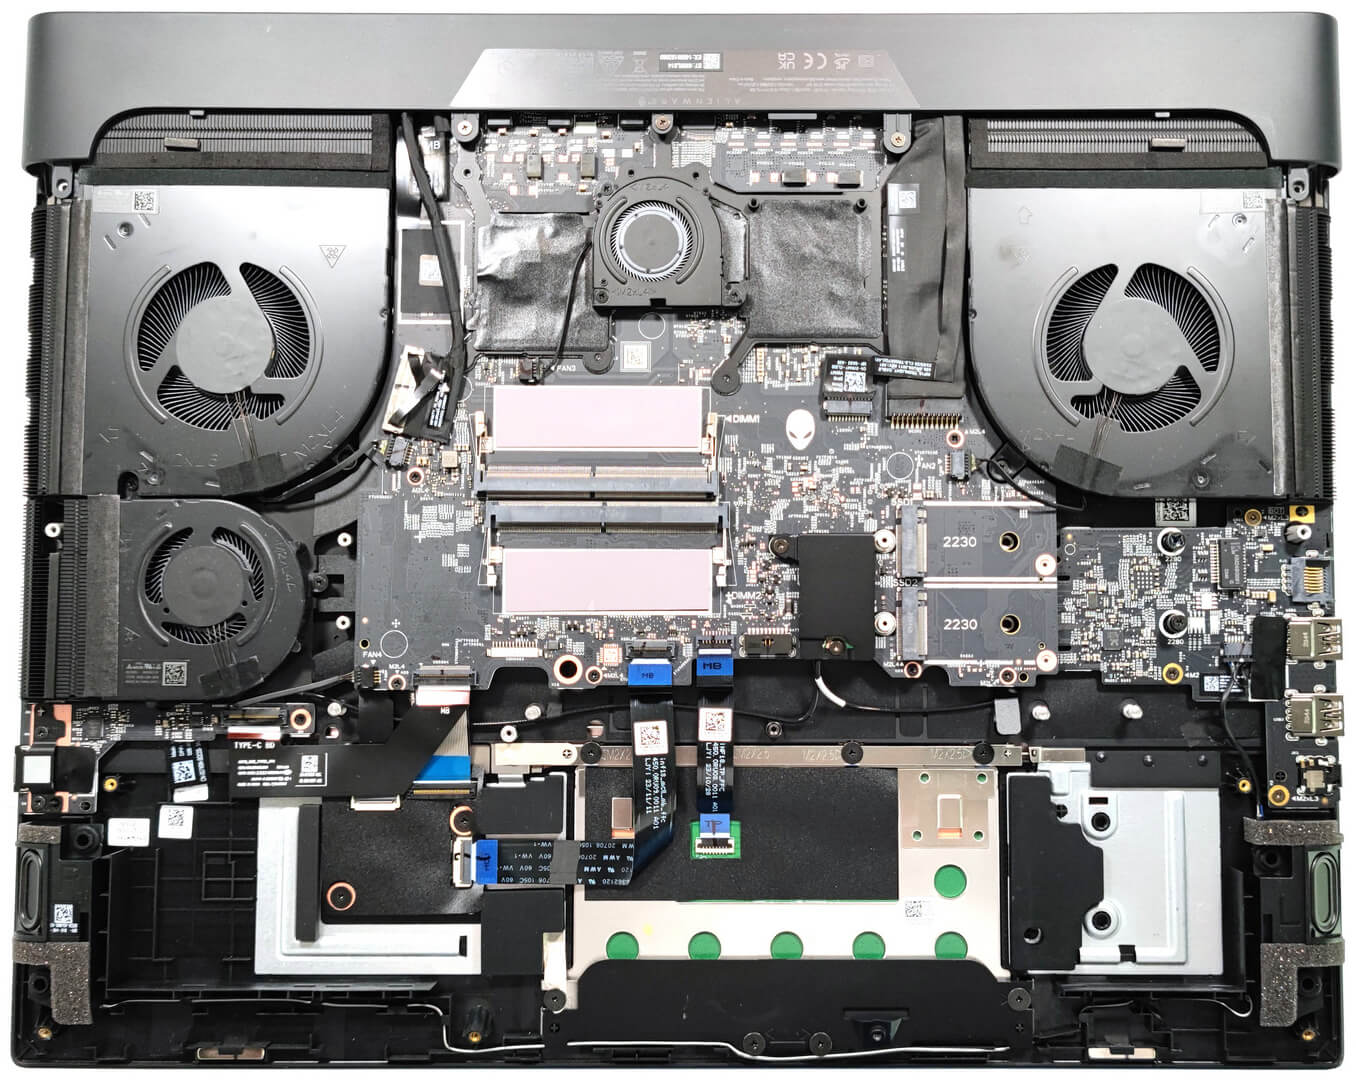
- 2x 2230 / 2280 M.2 NVMe PCIe 4.0 x4 or + 2x 2230 M.2 NVMe PCIe 4.0 x4 See photo
- RAM
- 32GB RAM
- OS
- Windows 11 Pro
- Body Material
- Plastic / Polycarbonate, Aluminum
- Dimensions
- 410.30 x 319.90 x 24.10 - 25.10 mm (16.15" x 12.59" x 0.95")
- Weight
- 4.23 kg (9.3 lbs)
- Ports and connectivity
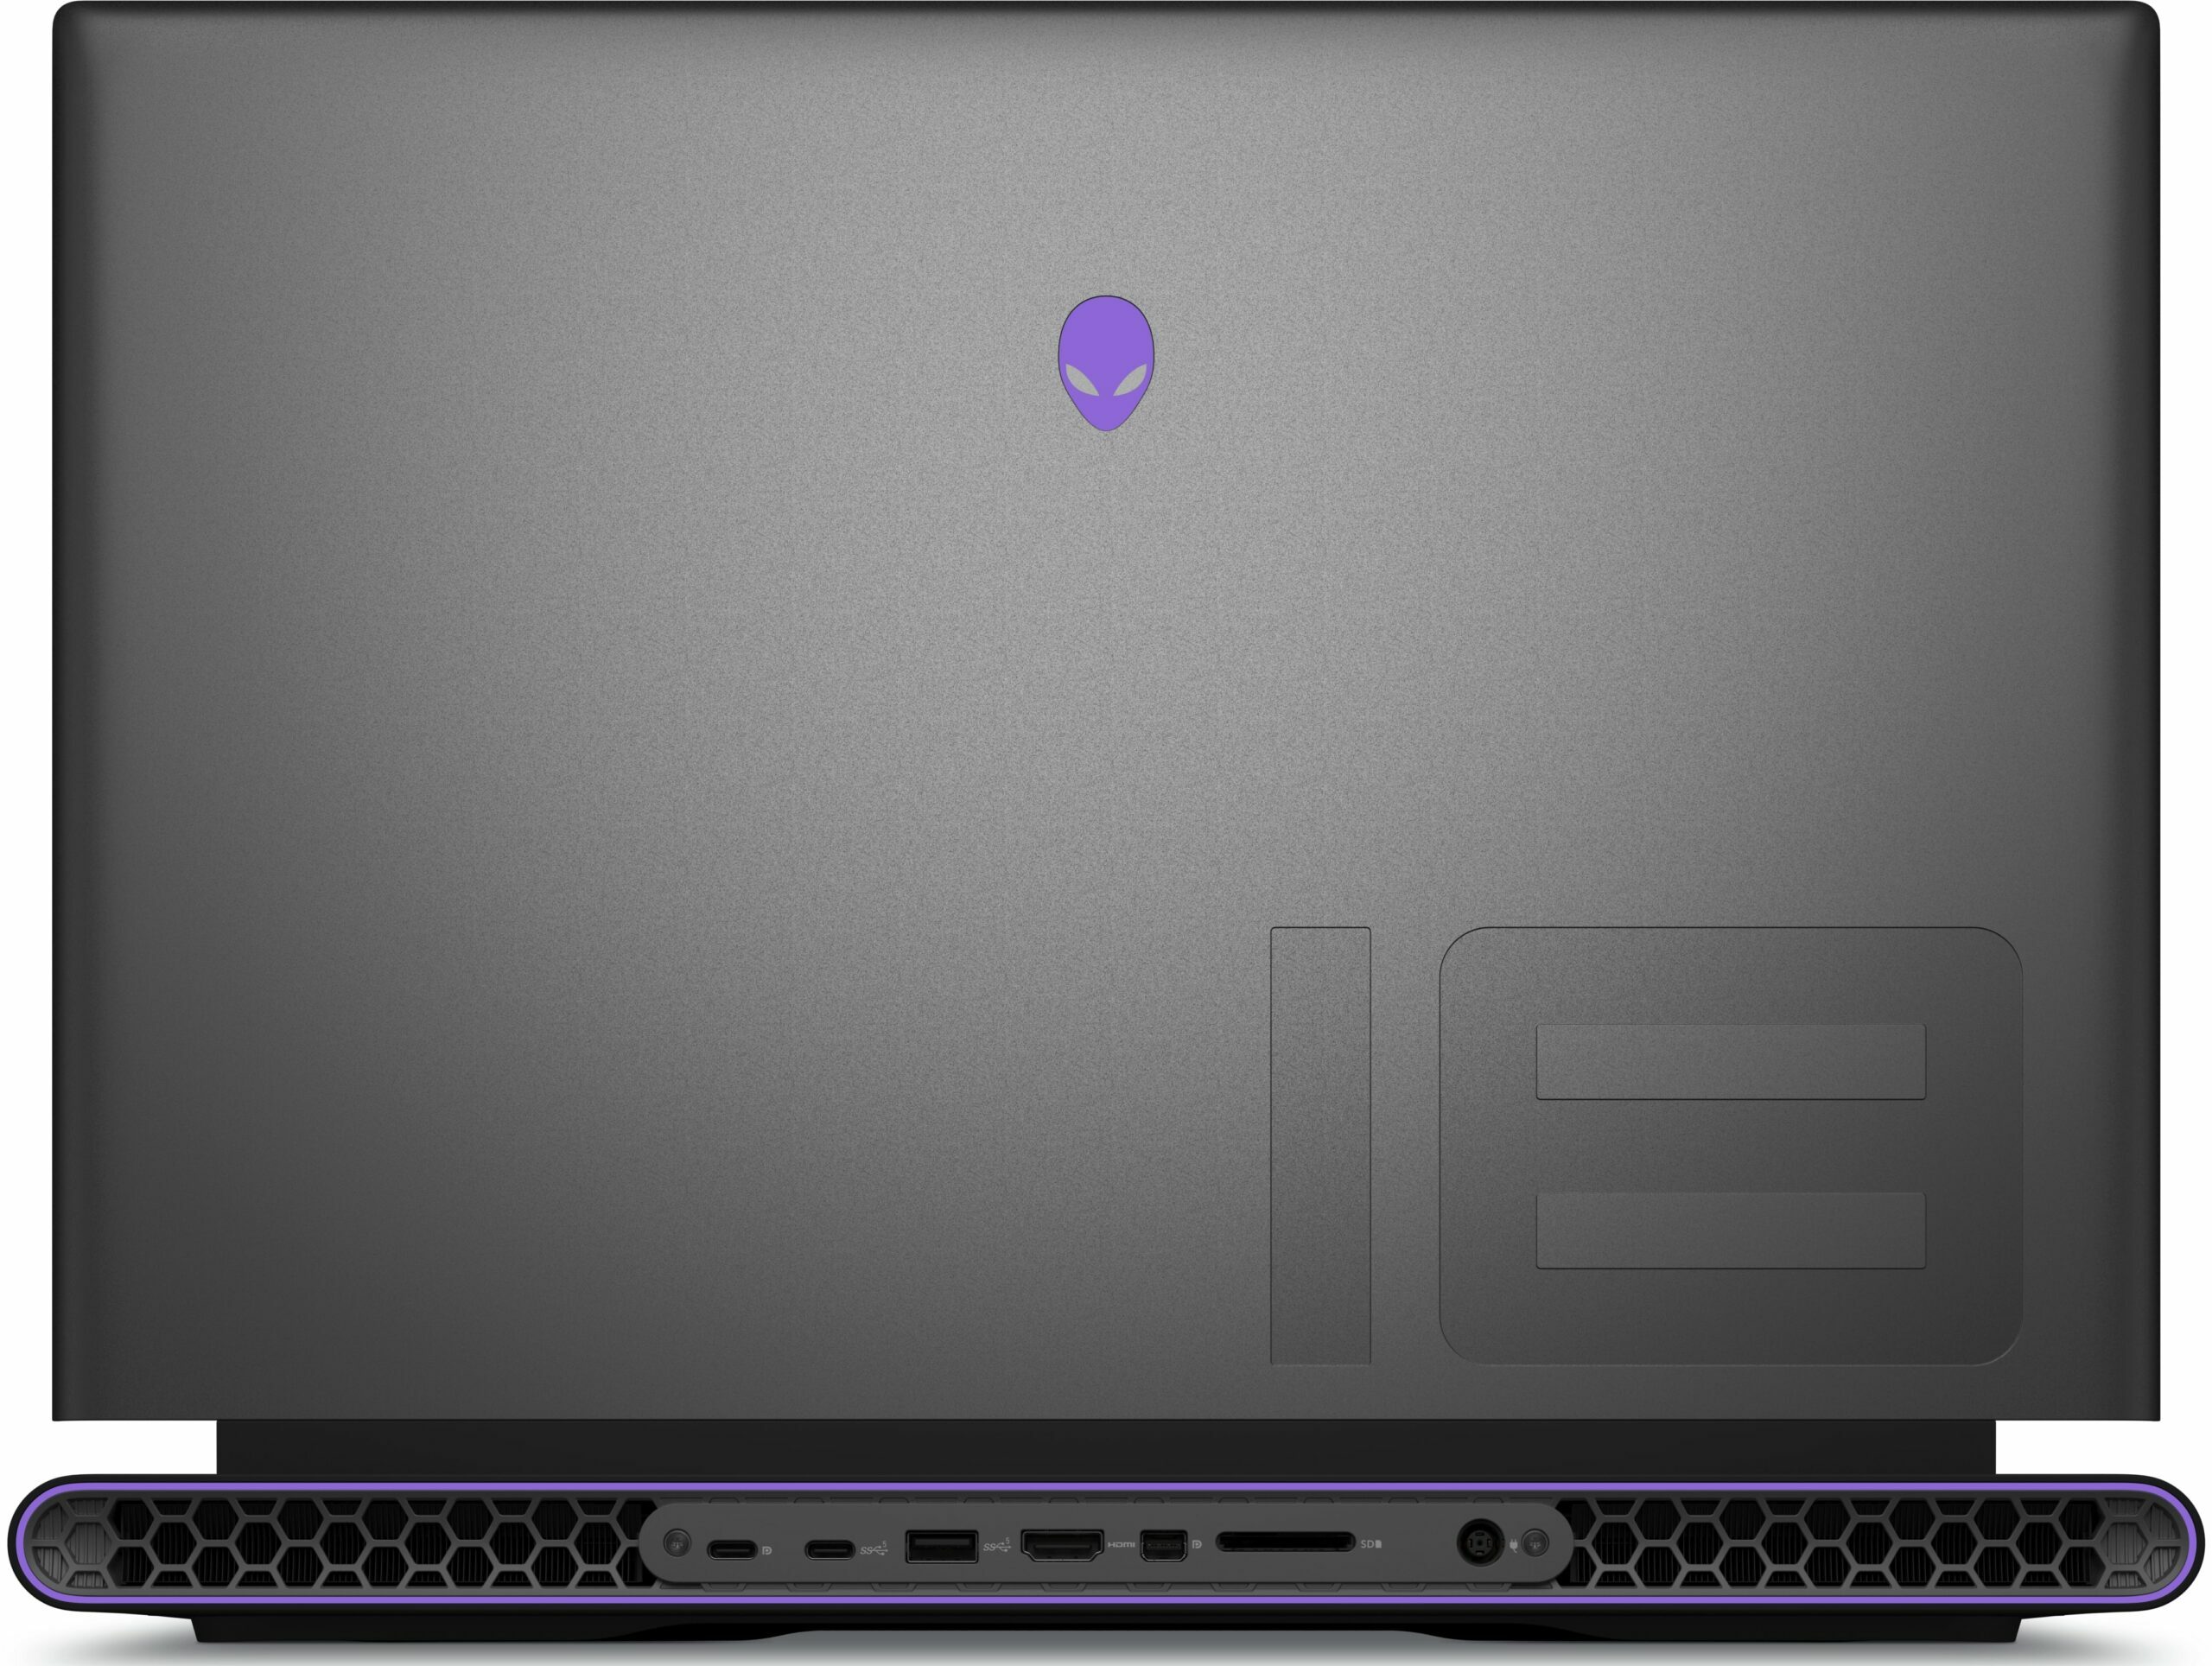
- 2x USB Type-A
- 3.2 Gen 1 (5 Gbps)
- 1x USB Type-A
- 3.2 Gen 1 (5 Gbps), Sleep and Charge
- 1x USB Type-C
- 3.2 Gen 1 (5 Gbps)
- 2x USB Type-C
- 4.0, Thunderbolt 4, DisplayPort
- HDMI
- 2.1
- Mini DisplayPort
- Card Reader
- SD (SD, SDHC, SDXC)
- Ethernet LAN
- 10, 100, 1000, 2500, 5000 Mbit/s
- Wi-Fi
- 802.11be
- Bluetooth
- 5.4
- Audio jack
- 3.5mm Combo Jack
- Features
- Fingerprint reader
- Web camera
- FHD
- Backlit keyboard
- Microphone
- Digital Array Microphones
- Speakers
- 2x 2W Stereo Speakers
- Security Lock slot
Portability
Review
Alienware m18 R2 in-depth review
The Alienware m18 R2 is another 18-incher that offers high-end hardware. Expectedly, we are talking about 14th gen Intel Raptor Lake-HX CPU options and GeForce RTX 4000 graphics cards with hefty TGPs. Wealthy enthusiasts could have fun with the 175W RTX 4090 or 4080. Still, if you don't need so much graphics power, the other video cards rely on 140W power limits which is more than enough for the AD107 and AD106 chips. Interestingly, the laptops with the top-tier GPUs have vapor chamber cooling, preapplied Element 31 liquid metal on the CPU and GPU, and two more M.2 slots. If you want these goodies, you have to stretch your wallet a lot.Since that's an expensive gaming laptop, the presence of extras such as Wi-Fi 7-ready connectivity, MUX switch, NVIDIA Advanced Optimus, and G-Sync isn'[...]
Read the full review
Pros
- Solid premium build
- Thin profile for such a form factor
- Capable thermal system
- Stable and high CPU and GPU frequencies under any kind of load
- Wide viewing angles (BOE HF1FV-NE18NZ1 (BOE0AFB; NE180QDM-NZ1))
- Snappy pixel response times (BOE HF1FV-NE18NZ1 (BOE0AFB; NE180QDM-NZ1))
- PWM-free (BOE HF1FV-NE18NZ1 (BOE0AFB; NE180QDM-NZ1))
- 98% sRGB coverage + accurate colors with our "Design and Gaming" profile (BOE HF1FV-NE18NZ1 (BOE0AFB; NE180QDM-NZ1))
- 2x SODIMM slots
- Comfortable per-key keyboard and touchpad
- Offers plenty of ports
- The fans aren't that loud in "Overdrive" mode
- Low noise and a 115W GPU TGP in "Quiet" mode
- Good battery battery life given the 1600p display and the powerful hardware
- The Alienware Command Center app is full of useful extras such as CPU undervolt
- Offers NVIDIA Advanced Optimus, G-Sync + MUX switch
Cons
- High price
- Heavy
- Only the RTX 4080 / 4090-based machines have four M.2 slots and a vapor chamber cooling
- Too many Gen 1 ports + the Thunderbolts connectors support just a 15W charging
- For such a pricey laptop, the 1600p display should offer better contrast ratio and max brightness
Disassembly, maintenance and upgrade options
Step 1: Opening the Alienware m18 R2Ensure the laptop is powered off and placed on a clean, flat surface. Undo the 8 Phillips-head screws securing the bottom panel. Note the screws in the front corners are captive and lift the panel slightly. Begin prying the sides using a thin plastic tool, except the back. Lift slightly the front section of the metal plate and push it forward. Carefully lift away the panel from the chassis.Step 2: Battery RemovalLocate the battery connector on the mainboard and carefully unplug it. Remove the 4 Phillips-head screws secur[...]
Read more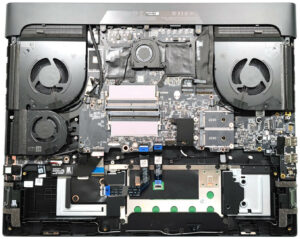


![[June 2026] Best-Selling Laptop Brands on Amazon Global – Apple’s Unrivaled Dominance in Units and Revenue](https://laptopmedia.com/wp-content/uploads/2026/07/GLOBAL-Best-Brands-400x225.jpg)
![[June 2026] Amazon Global: Top 10 Best-Selling Laptops – Apple’s New MacBook Neo Storms to #1, Reshaping the Market with Affordability](https://laptopmedia.com/wp-content/uploads/2026/07/Best-Selling-Laptops-GLOBAL-Top-10-400x225.jpg)
![[June 2026] Amazon Global: Top 10 Best-Selling Gaming Laptops – Acer’s Nitro V 16S AI Dominates Sales, While ASUS Leads Overall Revenue](https://laptopmedia.com/wp-content/uploads/2026/07/Best-Selling-Gaming-Laptops-GLOBAL-Top-10-400x225.jpg)
![[June 2026] Global Ranking of Best-Selling Laptop GPUs on Amazon – NVIDIA RTX 5060 is the Top-Selling Dedicated GPU](https://laptopmedia.com/wp-content/uploads/2026/07/Best-Selling-GPUs-GLOBAL-Top-10-400x225.jpg)
![[June 2026] Global Ranking of Best-Selling Laptop CPUs on Amazon – Apple M5 Dominates, AMD Ryzen 7 260 Gets Solid Premium Share](https://laptopmedia.com/wp-content/uploads/2026/07/Best-Selling-CPUs-GLOBAL-Top-10-400x225.jpg)