ASUS TUF Gaming F16 FX608
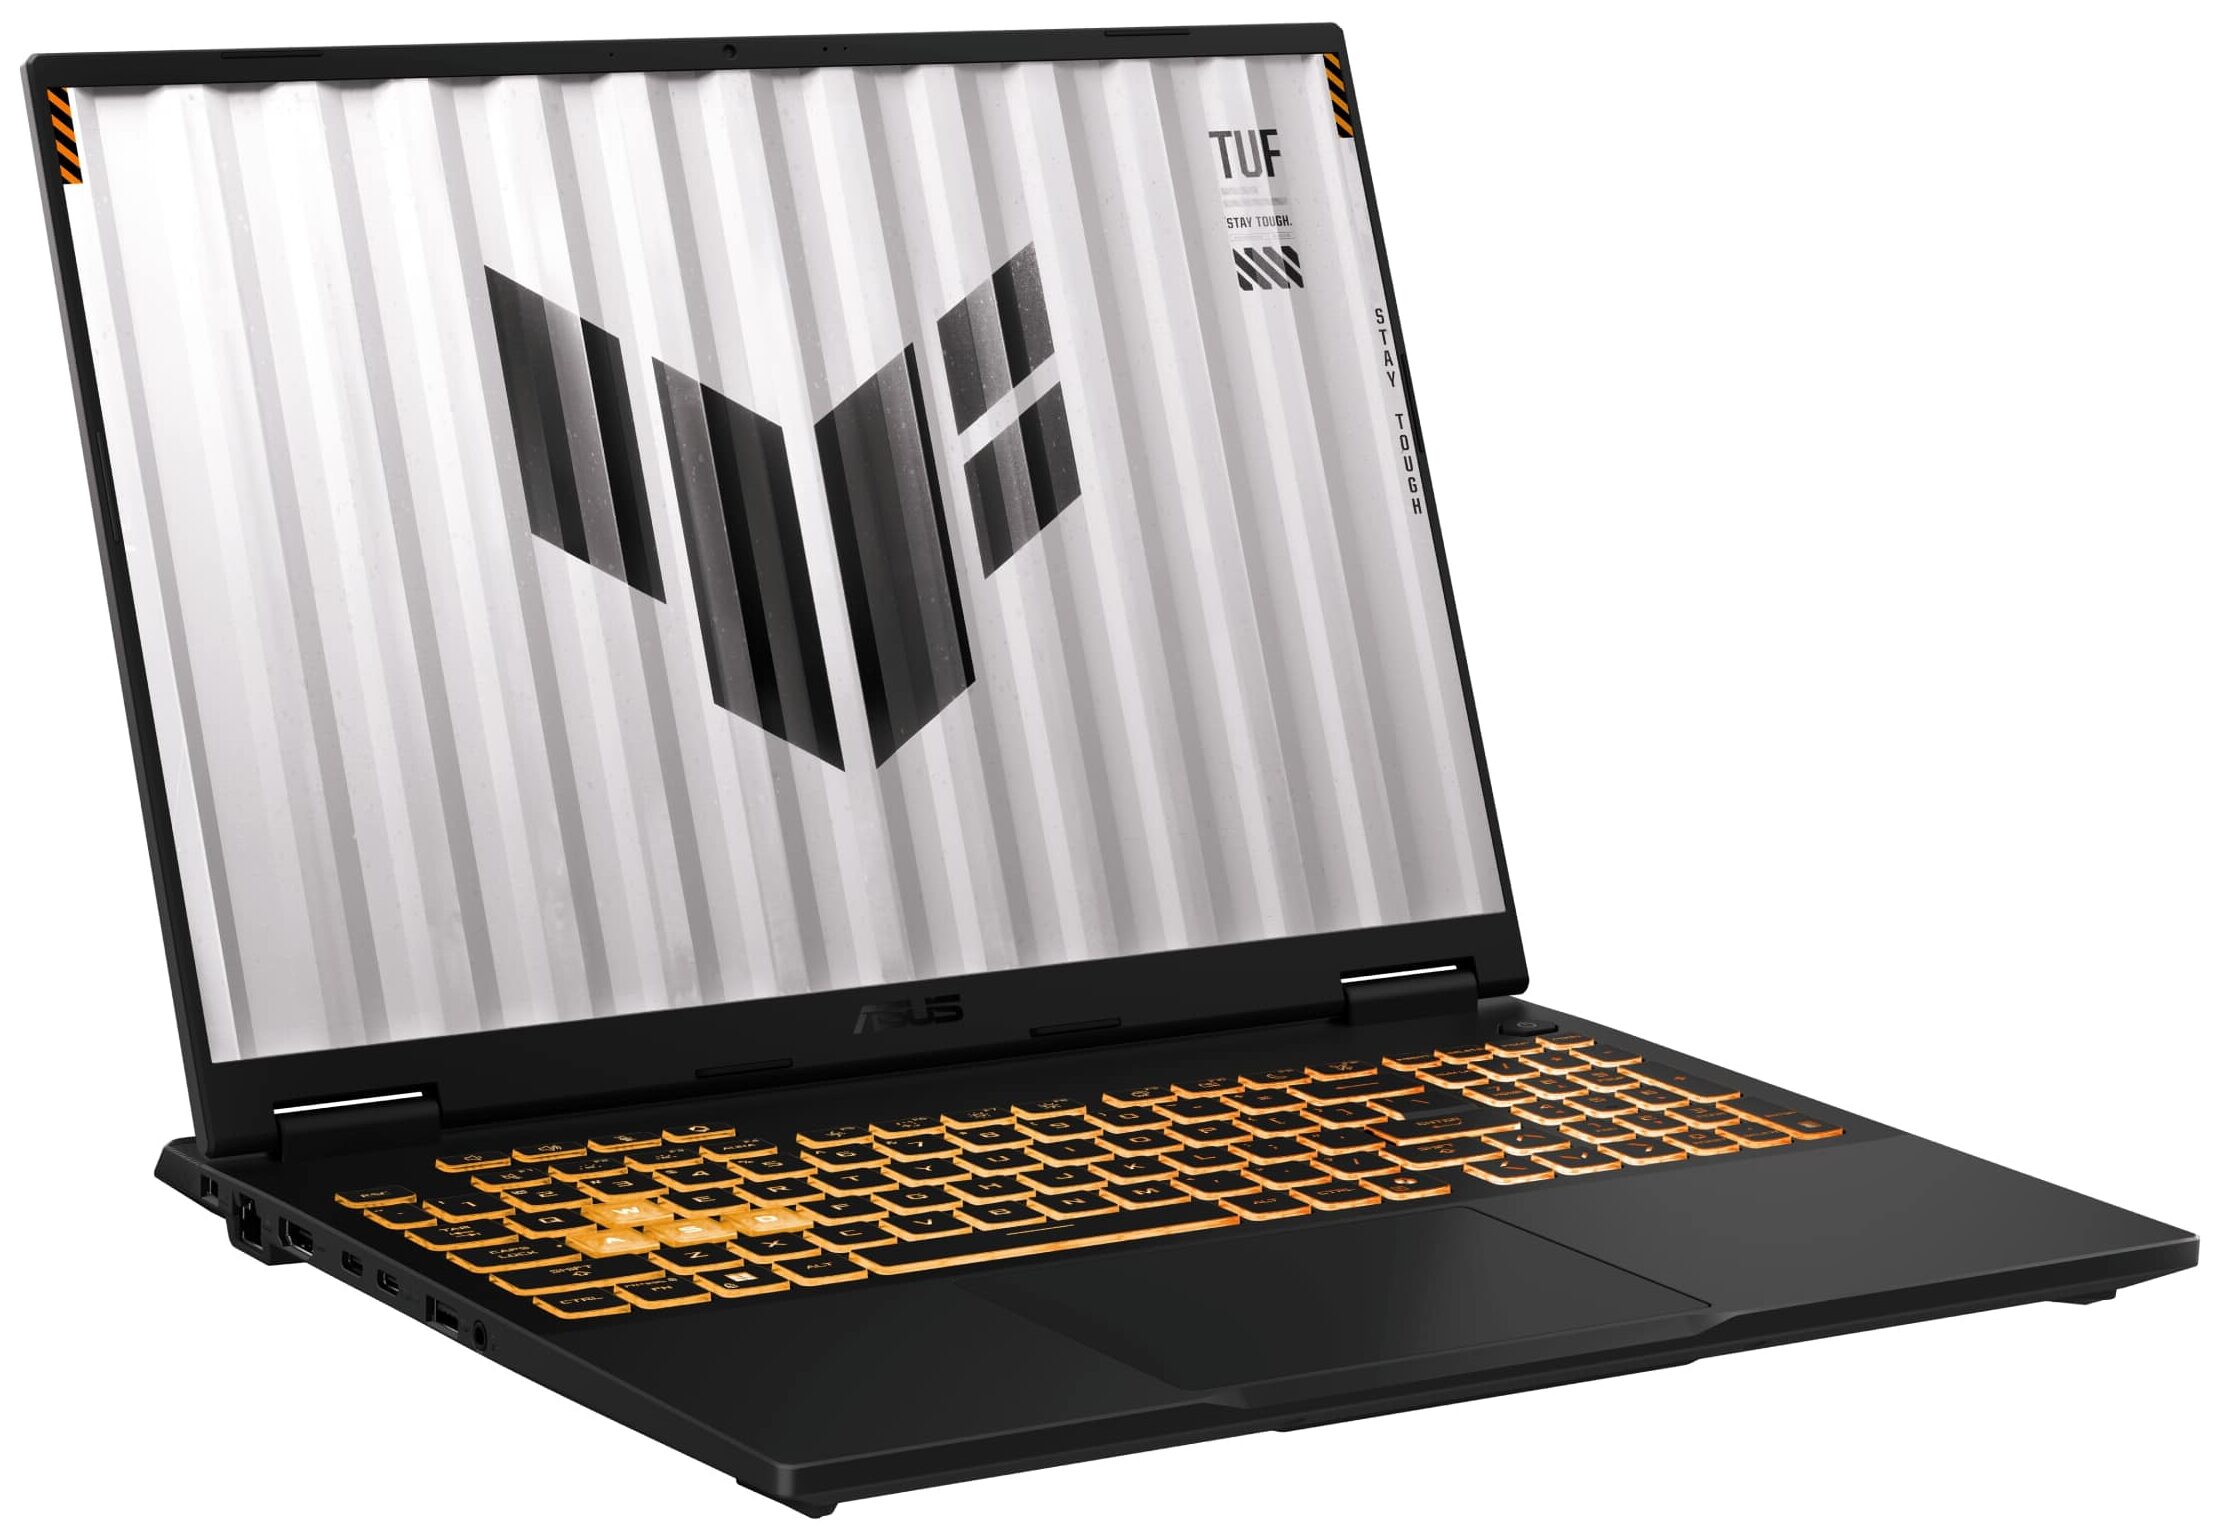
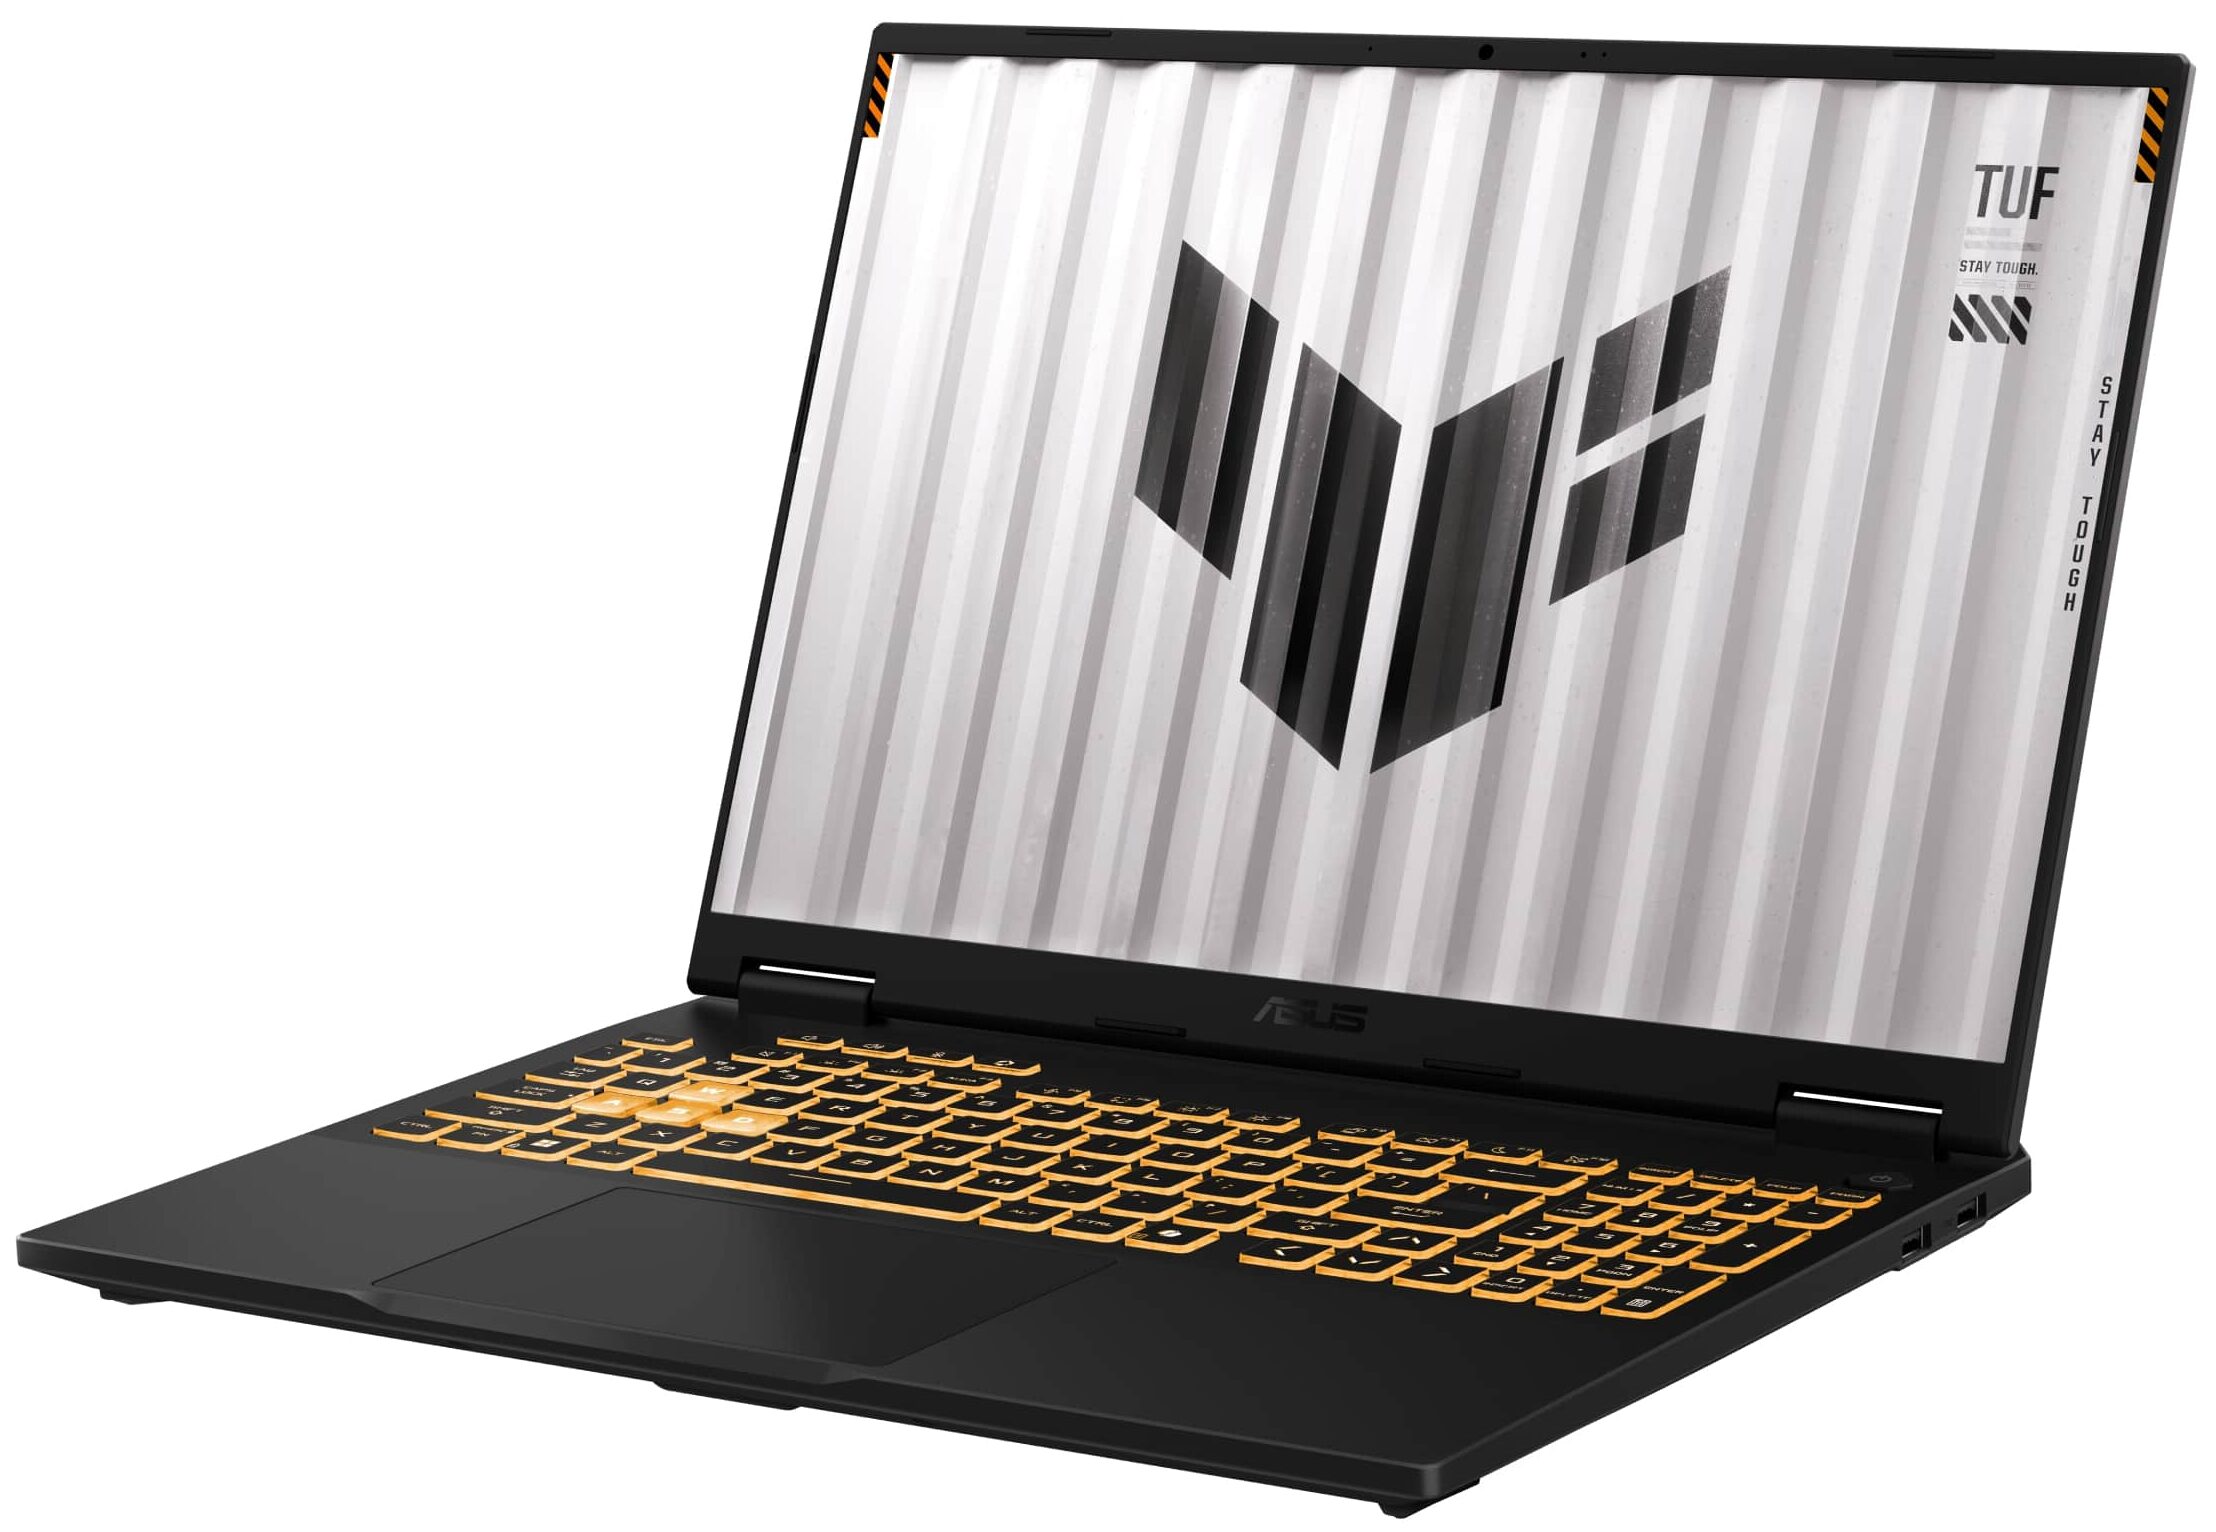
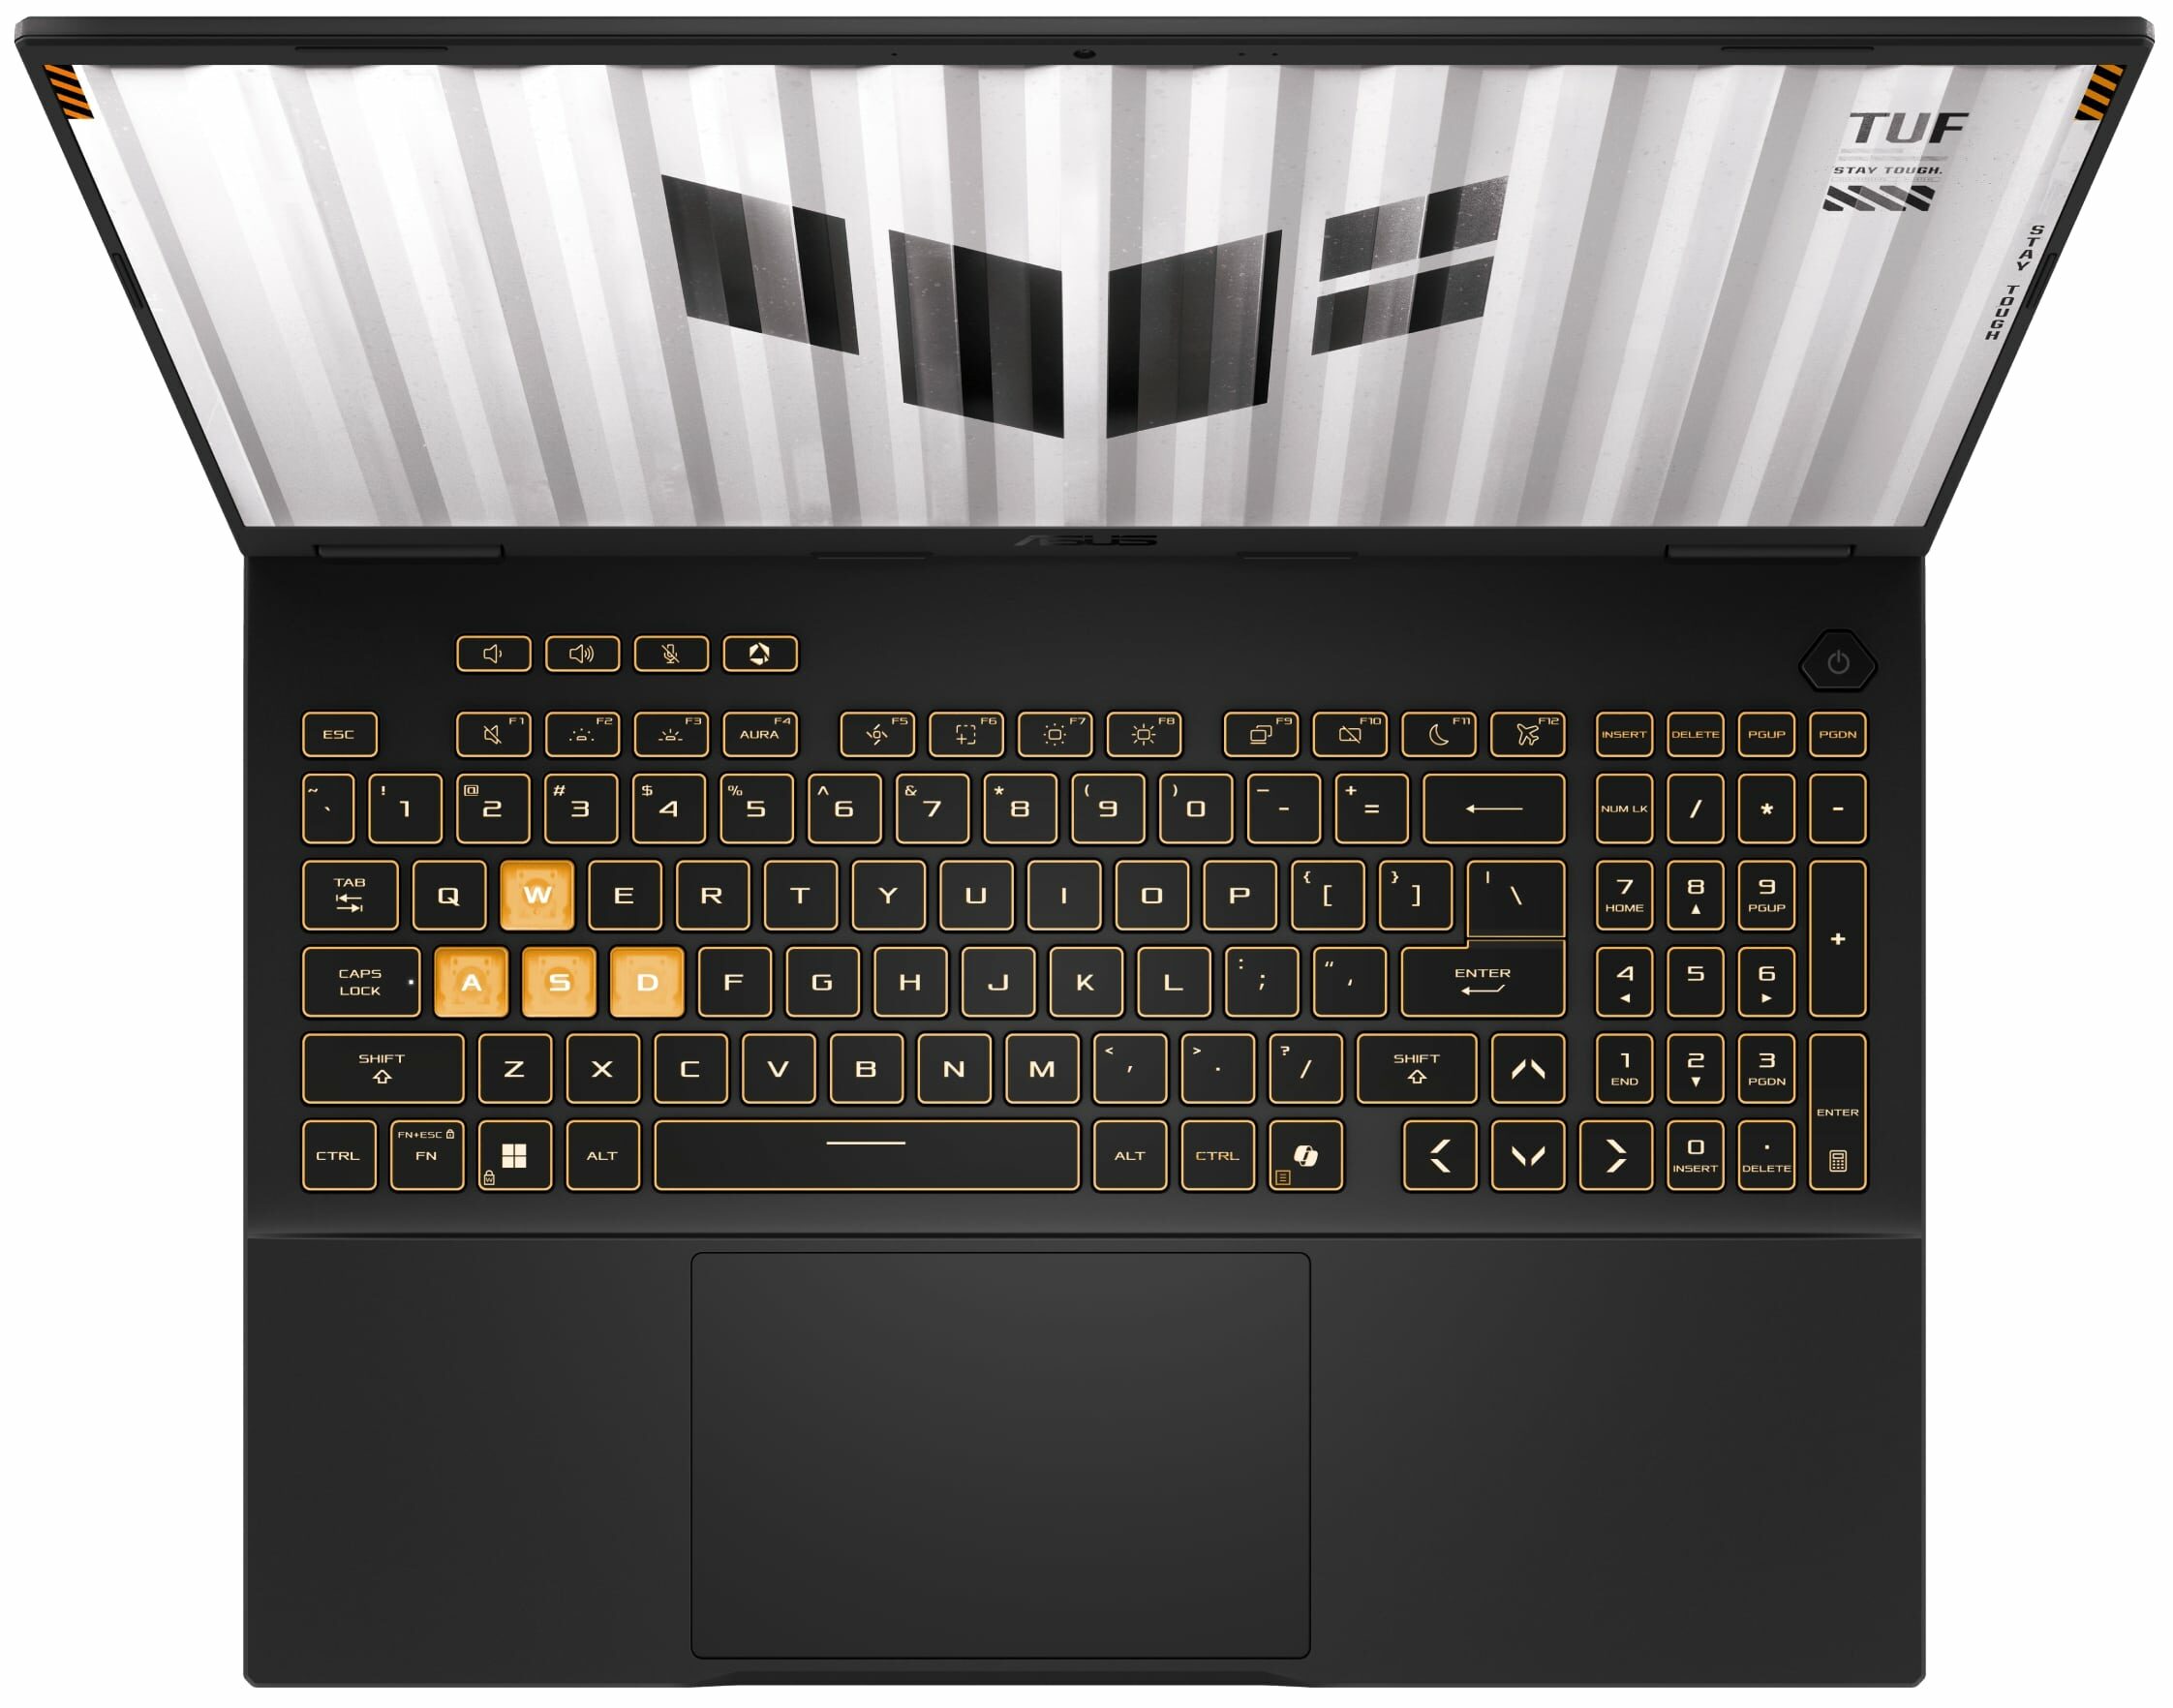
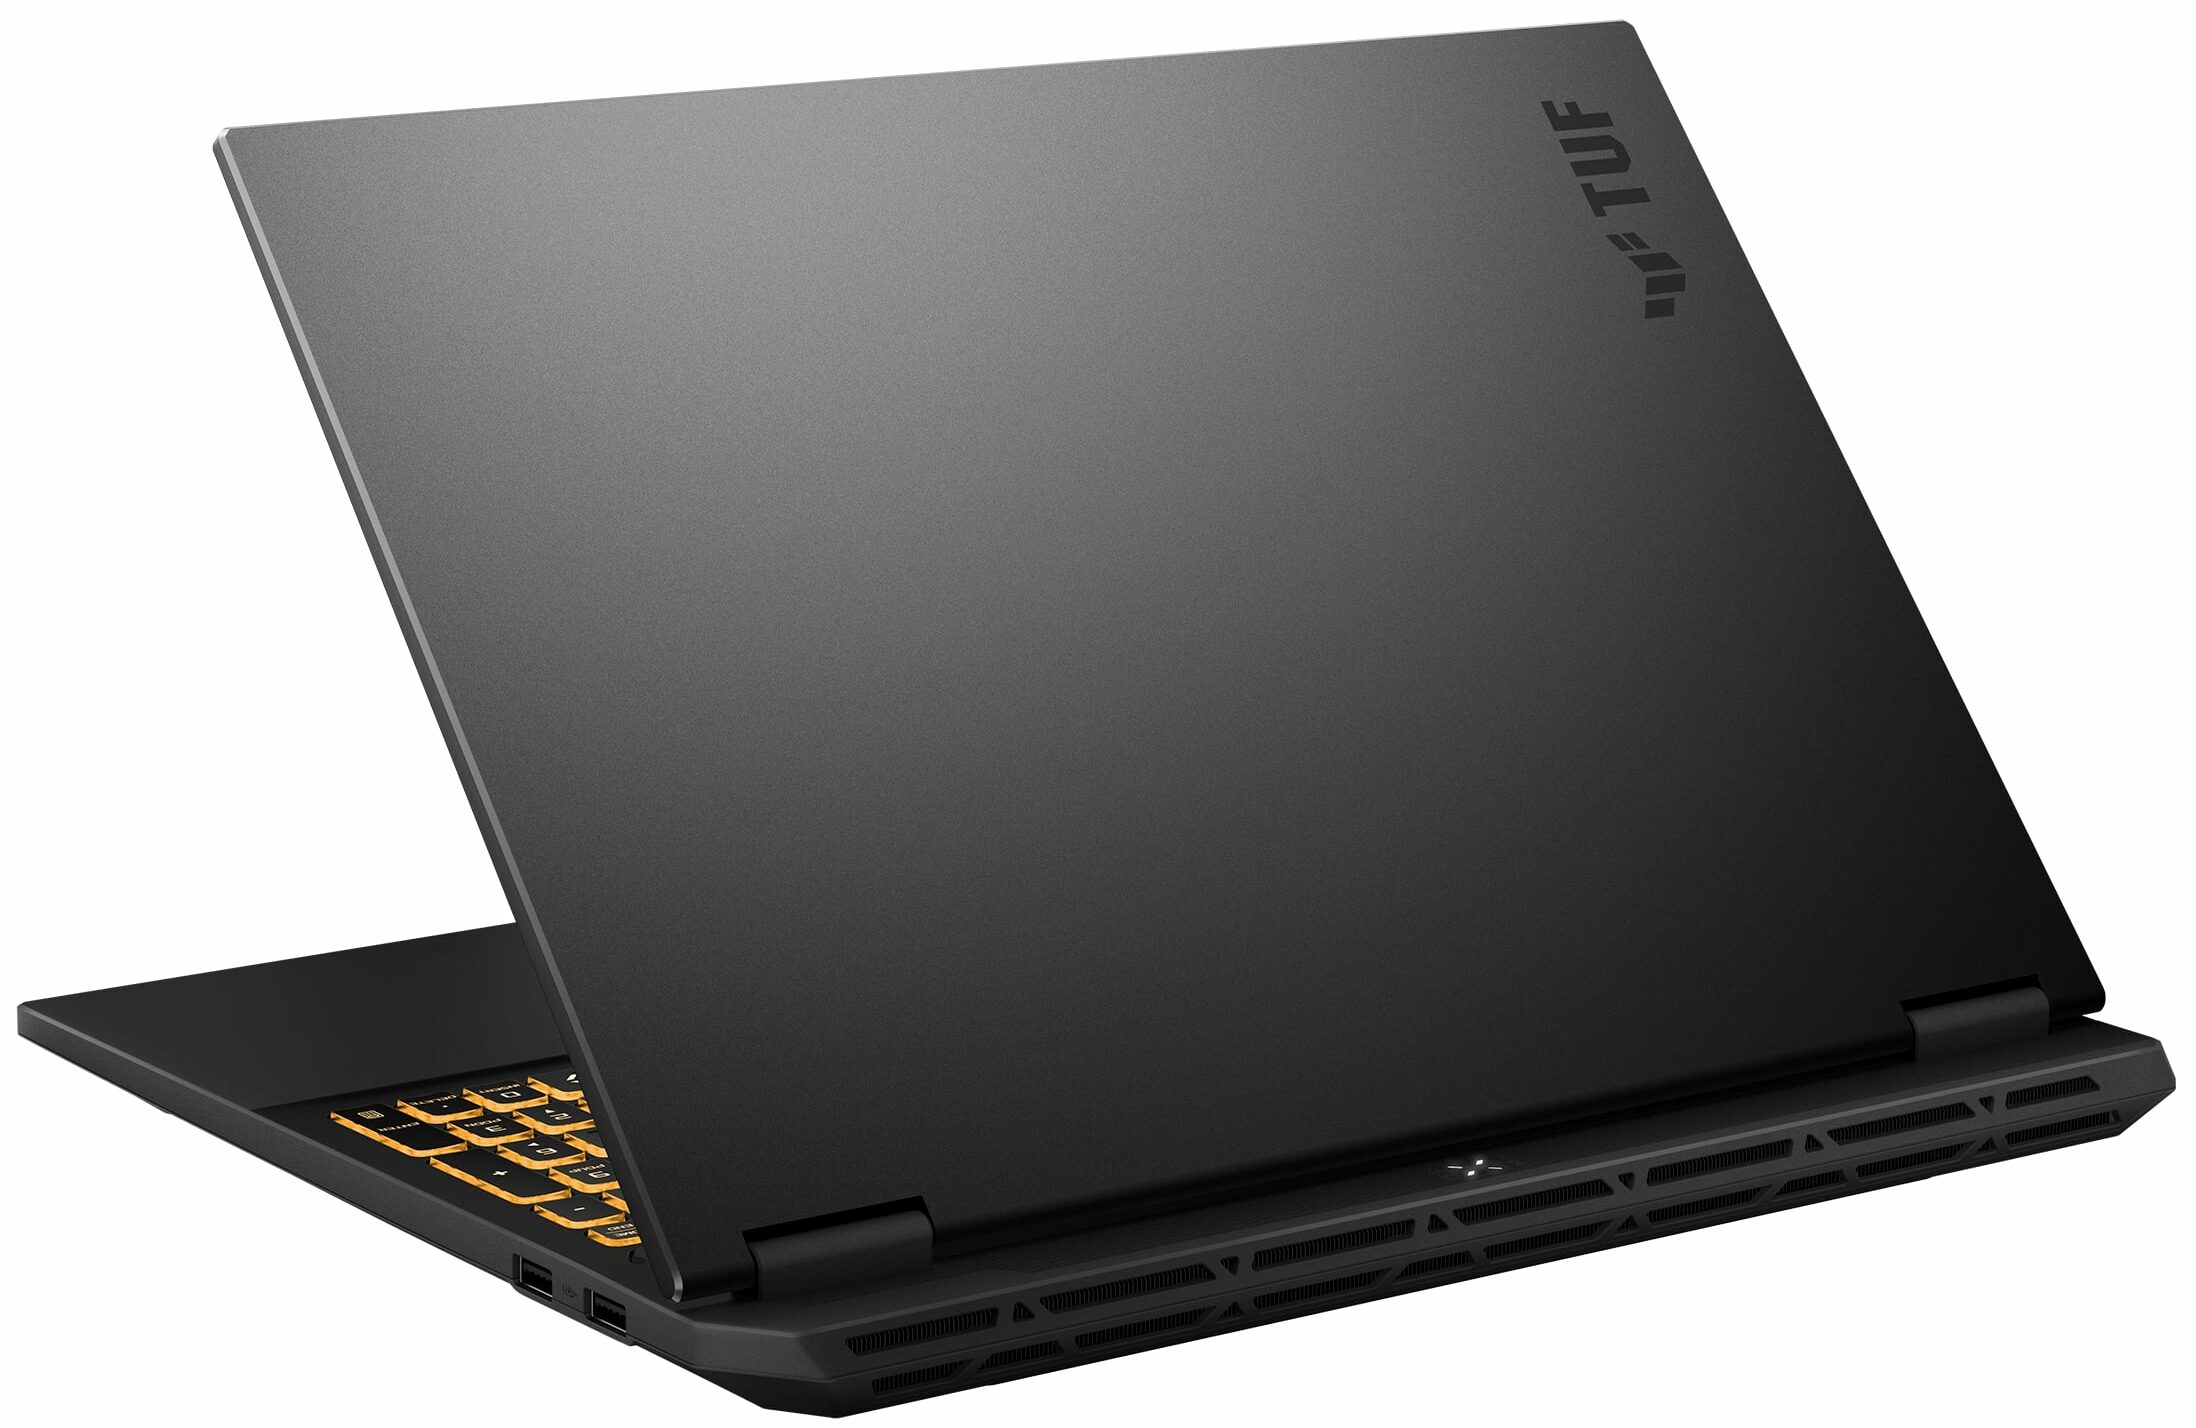
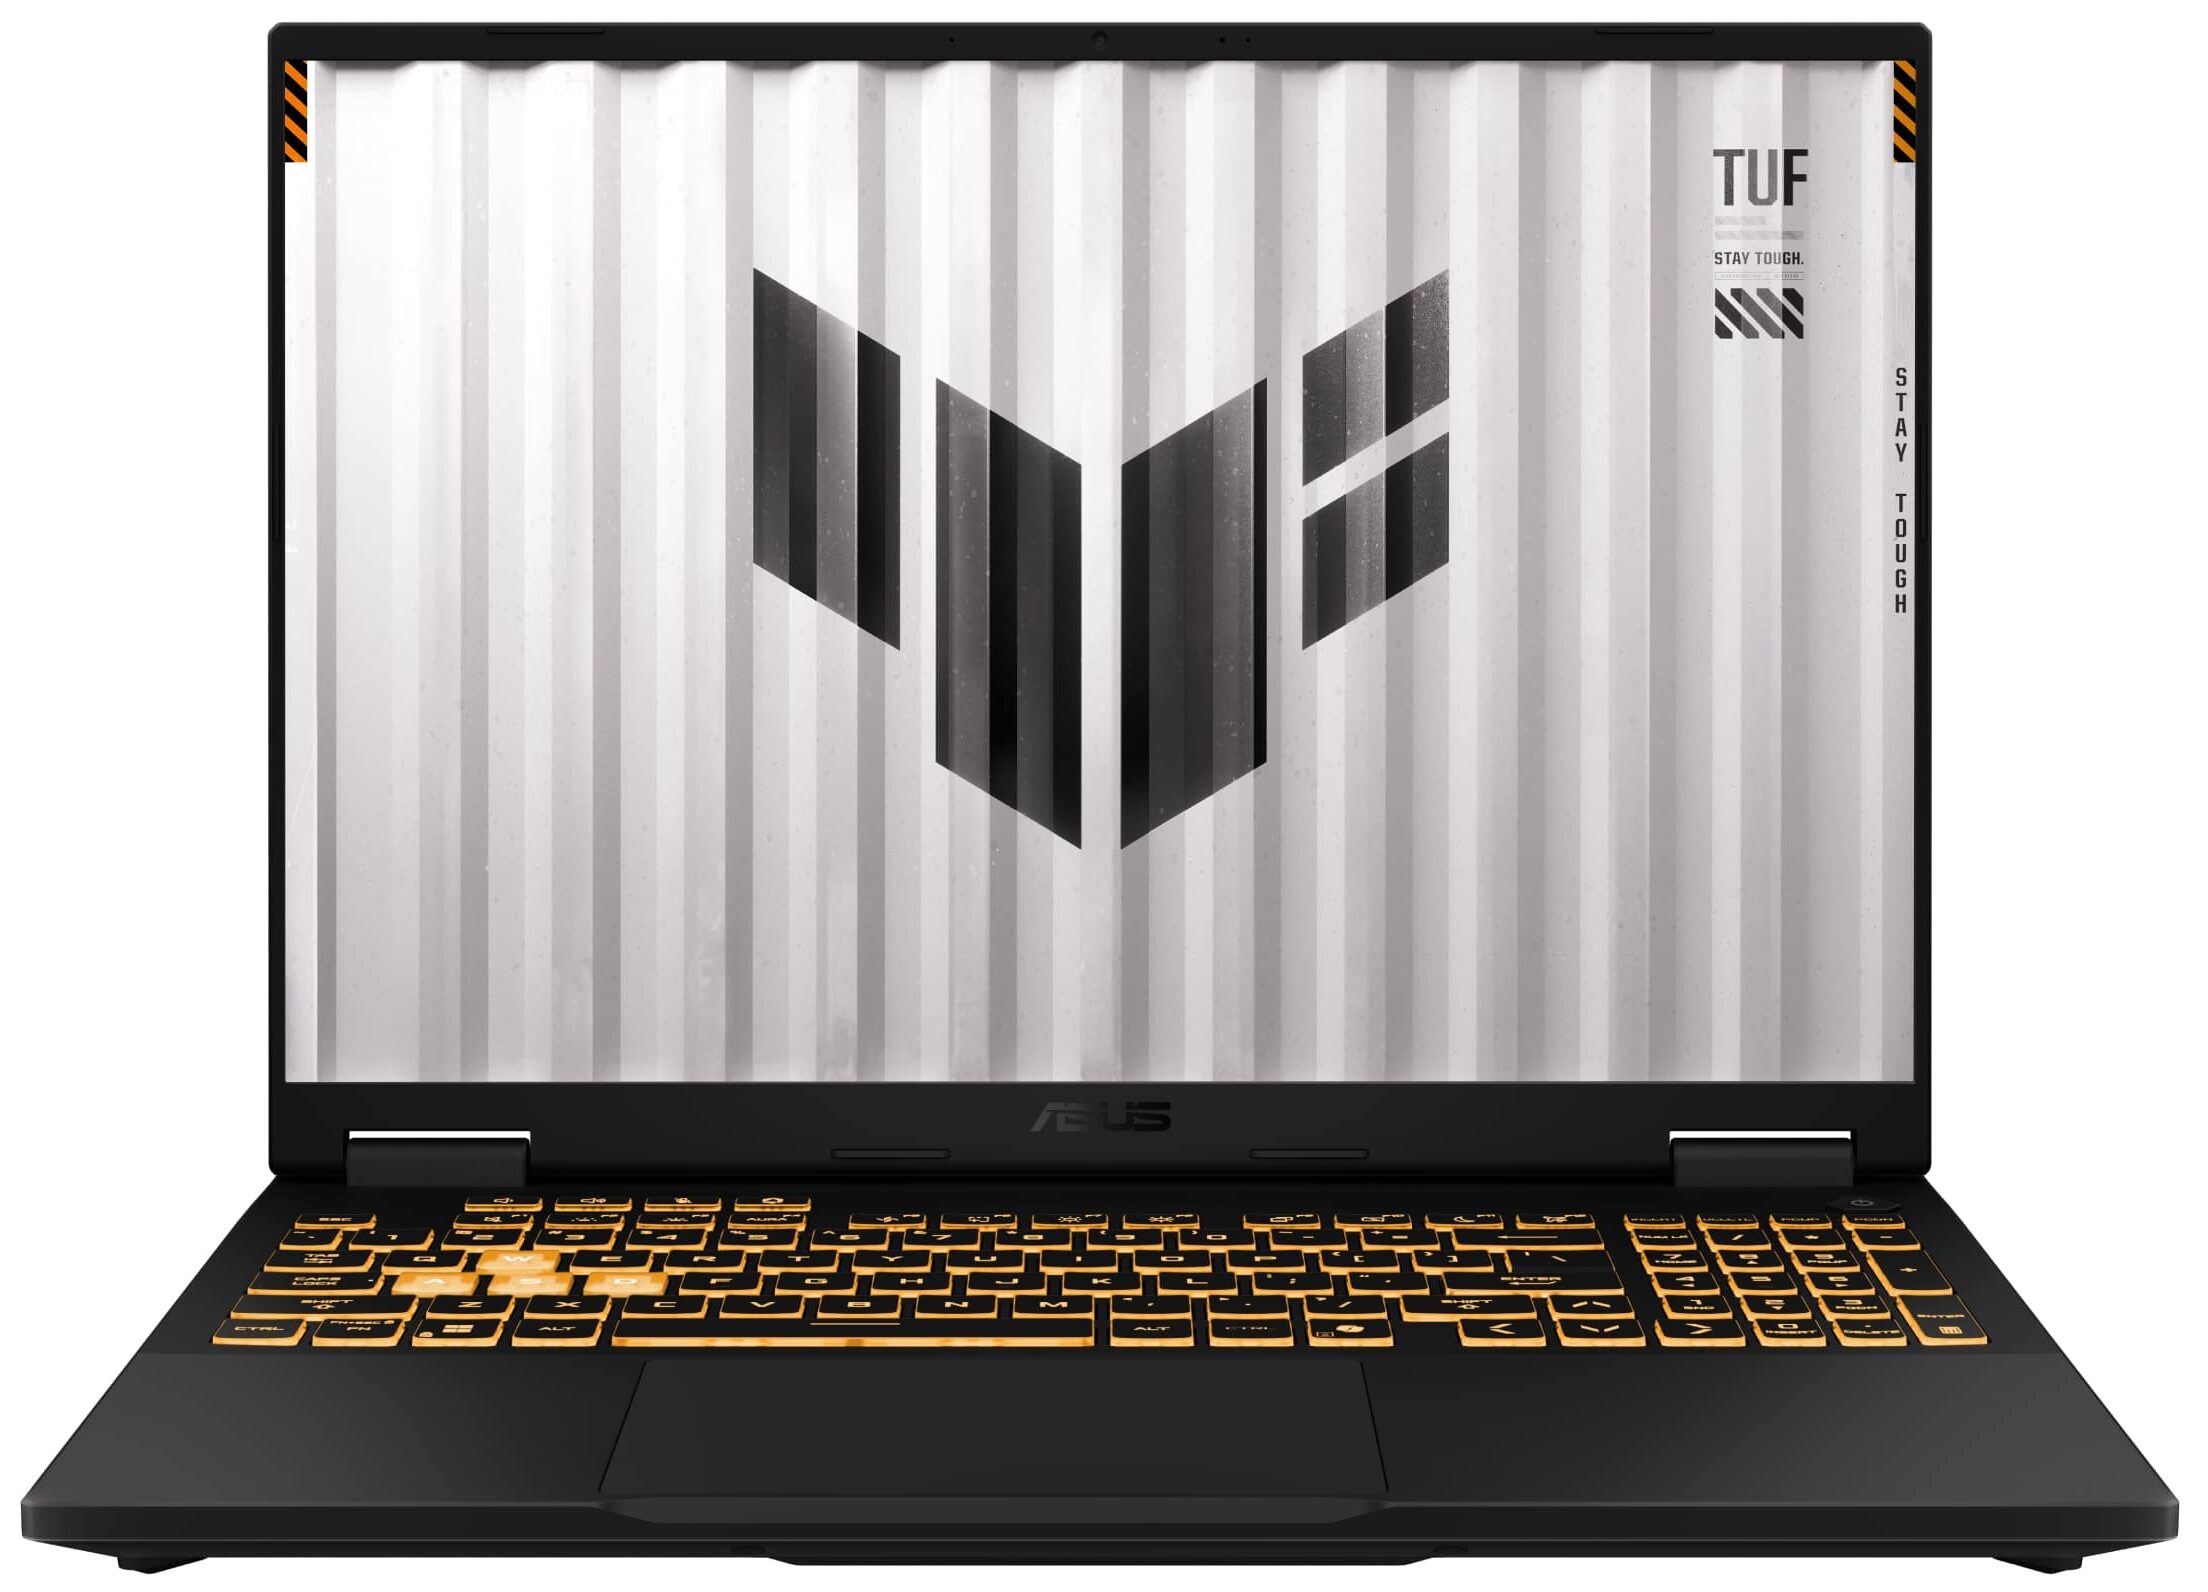
- Date Published: 06 Jul 2026
- Intel Core i7-14650HX
- NVIDIA GeForce RTX 5060 (Laptop)
- 16.0″, WUXGA (1920 x 1200), 165 Hz, IPS
- 4000GB SSD
- 64GB RAM
- 2.20 kg (4.9 lbs)
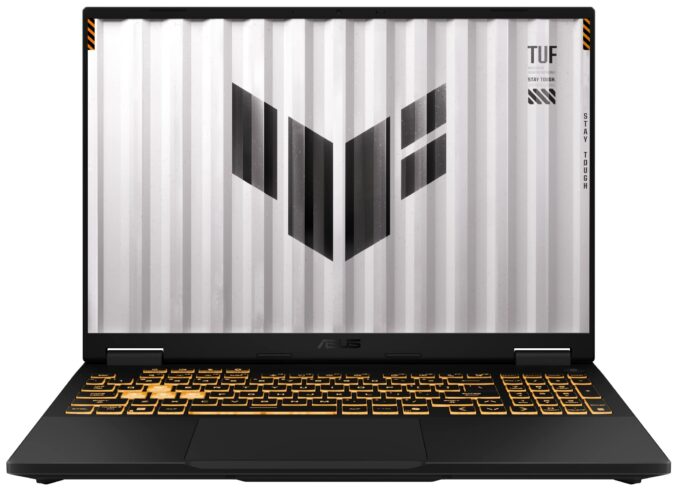
Review
ASUS TUF Gaming F16 FX608 in-depth review
The ASUS TUF Gaming F16 FX608 is a laptop that knows exactly what it is: a gaming machine built to survive the rigors of daily use while delivering reliable performance. With its military-grade chassis, excellent cooling, and a surprisingly good display, it ticks almost every box for the practical gamer. But in the world of tech, context is everything. While the F16 is an impressive machine on its own, it faces its toughest competition from within its own family. With an AMD-powered twin that offers double the battery life, does this Intel version still have enough unique strengths to justify its existence?You can check the prices and configurations in our Specs System: https://laptopmedia.com/series/asus-tuf-gaming-f16-fx608/Specs, Drivers, What's in the boxDrivers [...]
Read the full review
Pros
- Excellent thermal management with very cool GPU temps
- Robust, military-grade build quality with fingerprint resistance
- Great 165Hz display with accurate colors and no PWM
- Full-sized arrow keys and comfortable keyboard
- Fantastic upgradeability with two RAM and two M.2 slots
- Thunderbolt 4 support and high-speed USB ports
Cons
- Battery life of the AMD version is much longer
- Fans are audible even at idle
- No physical privacy shutter or fingerprint reader
Disassembly, maintenance and upgrade options
Step 1: Opening the ASUS TUF Gaming F16 FX608Power off the laptop and place it on a soft, clean surface. Remove the bottom panel screws and carefully lift the cover away from the chassis. Once the panel is off, you will see a clean internal layout, with most serviceable parts positioned in the lower half of the motherboard and the cooling system covering the top side.Step 2: Battery RemovalDisconnect the battery cable from the motherboard before touching any other internal component. Undo the fixing screws that secure the 90Wh, 4-cell Li-ion battery. [...]
Read more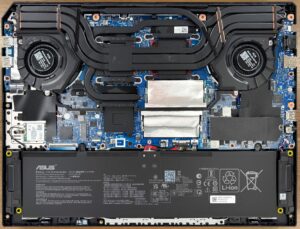


![[June 2026] Best-Selling Laptop Brands on Amazon Global – Apple’s Unrivaled Dominance in Units and Revenue](https://laptopmedia.com/wp-content/uploads/2026/07/GLOBAL-Best-Brands-400x225.jpg)
![[June 2026] Amazon Global: Top 10 Best-Selling Laptops – Apple’s New MacBook Neo Storms to #1, Reshaping the Market with Affordability](https://laptopmedia.com/wp-content/uploads/2026/07/Best-Selling-Laptops-GLOBAL-Top-10-400x225.jpg)
![[June 2026] Amazon Global: Top 10 Best-Selling Gaming Laptops – Acer’s Nitro V 16S AI Dominates Sales, While ASUS Leads Overall Revenue](https://laptopmedia.com/wp-content/uploads/2026/07/Best-Selling-Gaming-Laptops-GLOBAL-Top-10-400x225.jpg)
![[June 2026] Global Ranking of Best-Selling Laptop GPUs on Amazon – NVIDIA RTX 5060 is the Top-Selling Dedicated GPU](https://laptopmedia.com/wp-content/uploads/2026/07/Best-Selling-GPUs-GLOBAL-Top-10-400x225.jpg)
![[June 2026] Global Ranking of Best-Selling Laptop CPUs on Amazon – Apple M5 Dominates, AMD Ryzen 7 260 Gets Solid Premium Share](https://laptopmedia.com/wp-content/uploads/2026/07/Best-Selling-CPUs-GLOBAL-Top-10-400x225.jpg)