How to open ASUS TUF Gaming F16 FX608 – disassembly and upgrade options
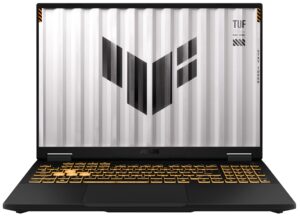
Step 1: Opening the ASUS TUF Gaming F16 FX608
- Power off the laptop and place it on a soft, clean surface.
- Remove the bottom panel screws and carefully lift the cover away from the chassis.
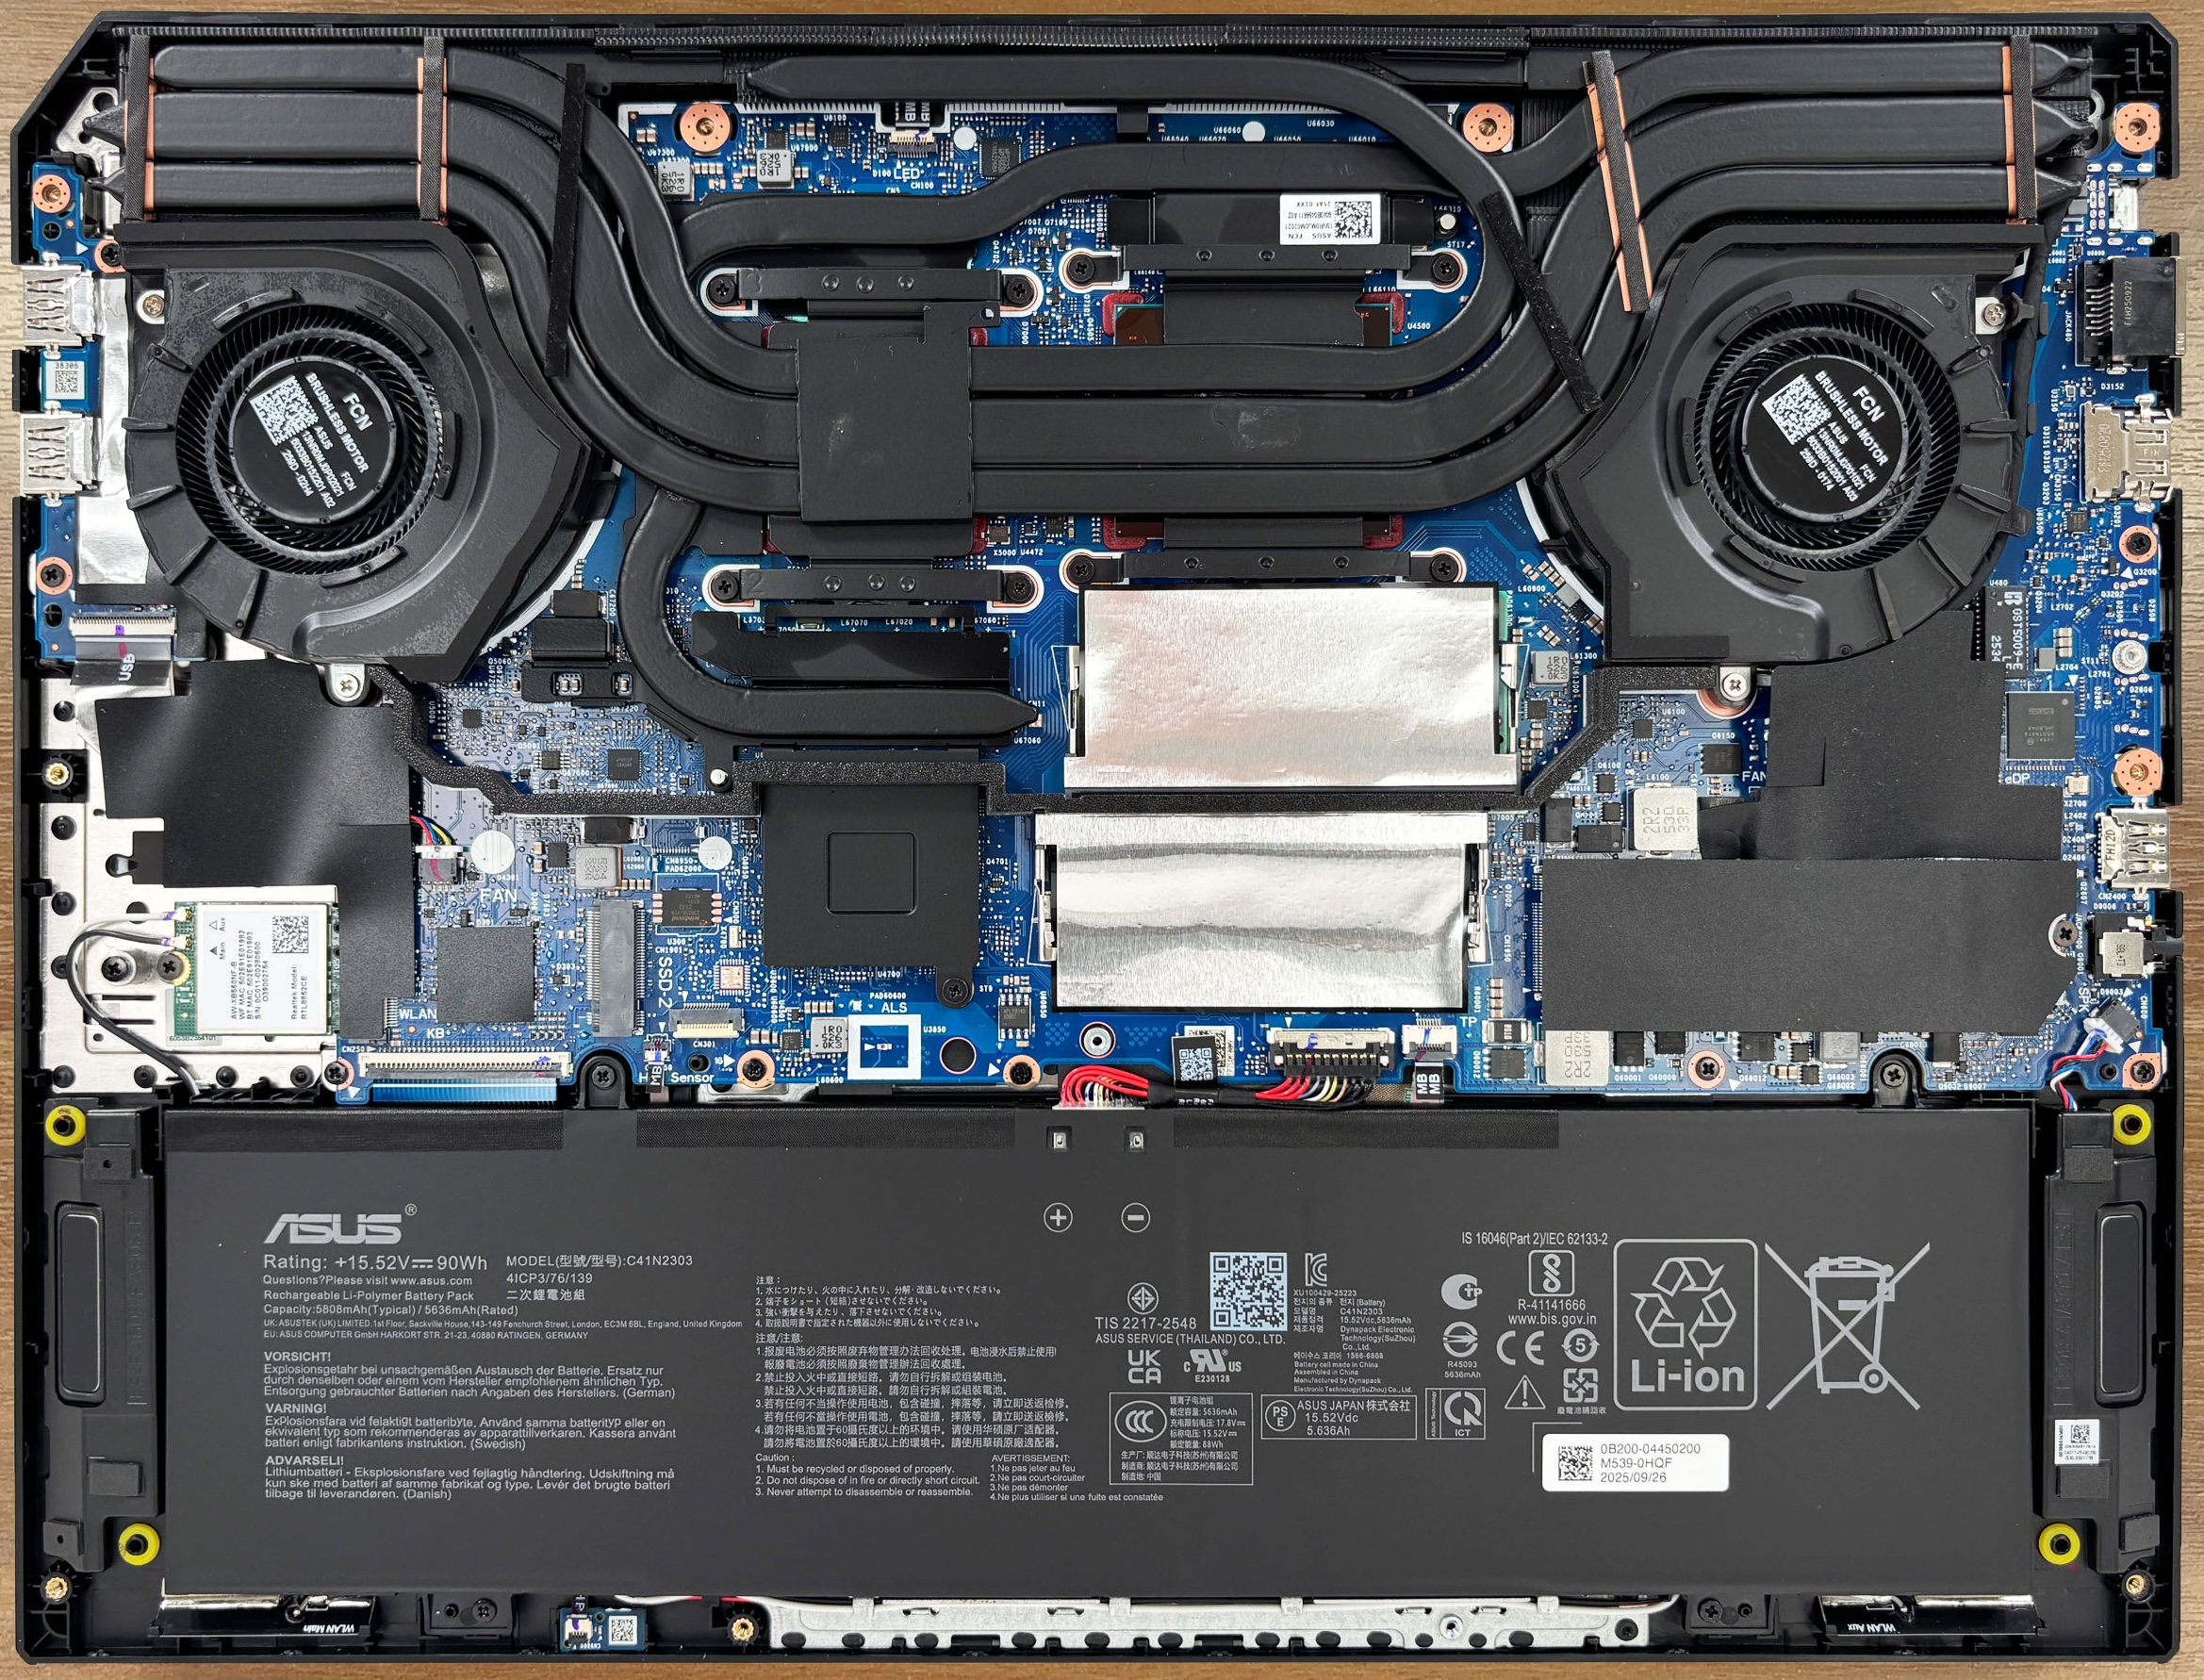
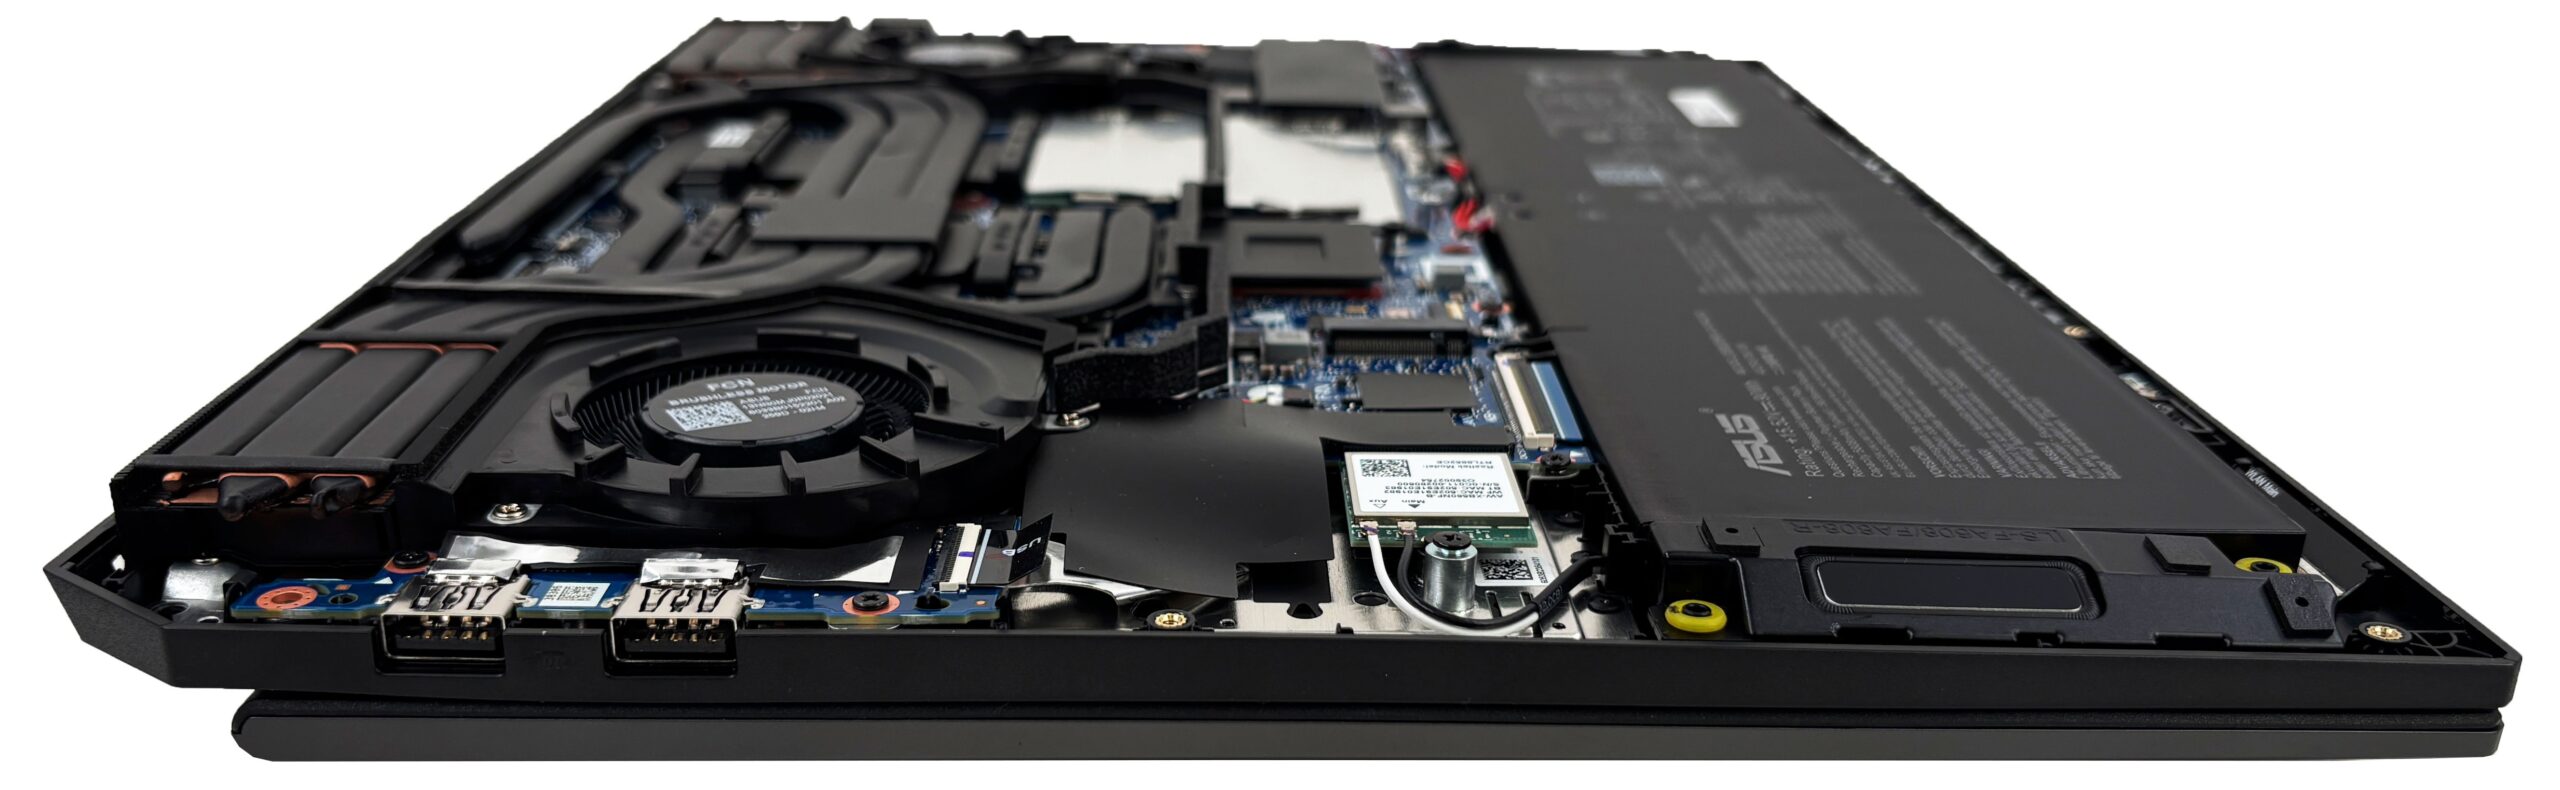
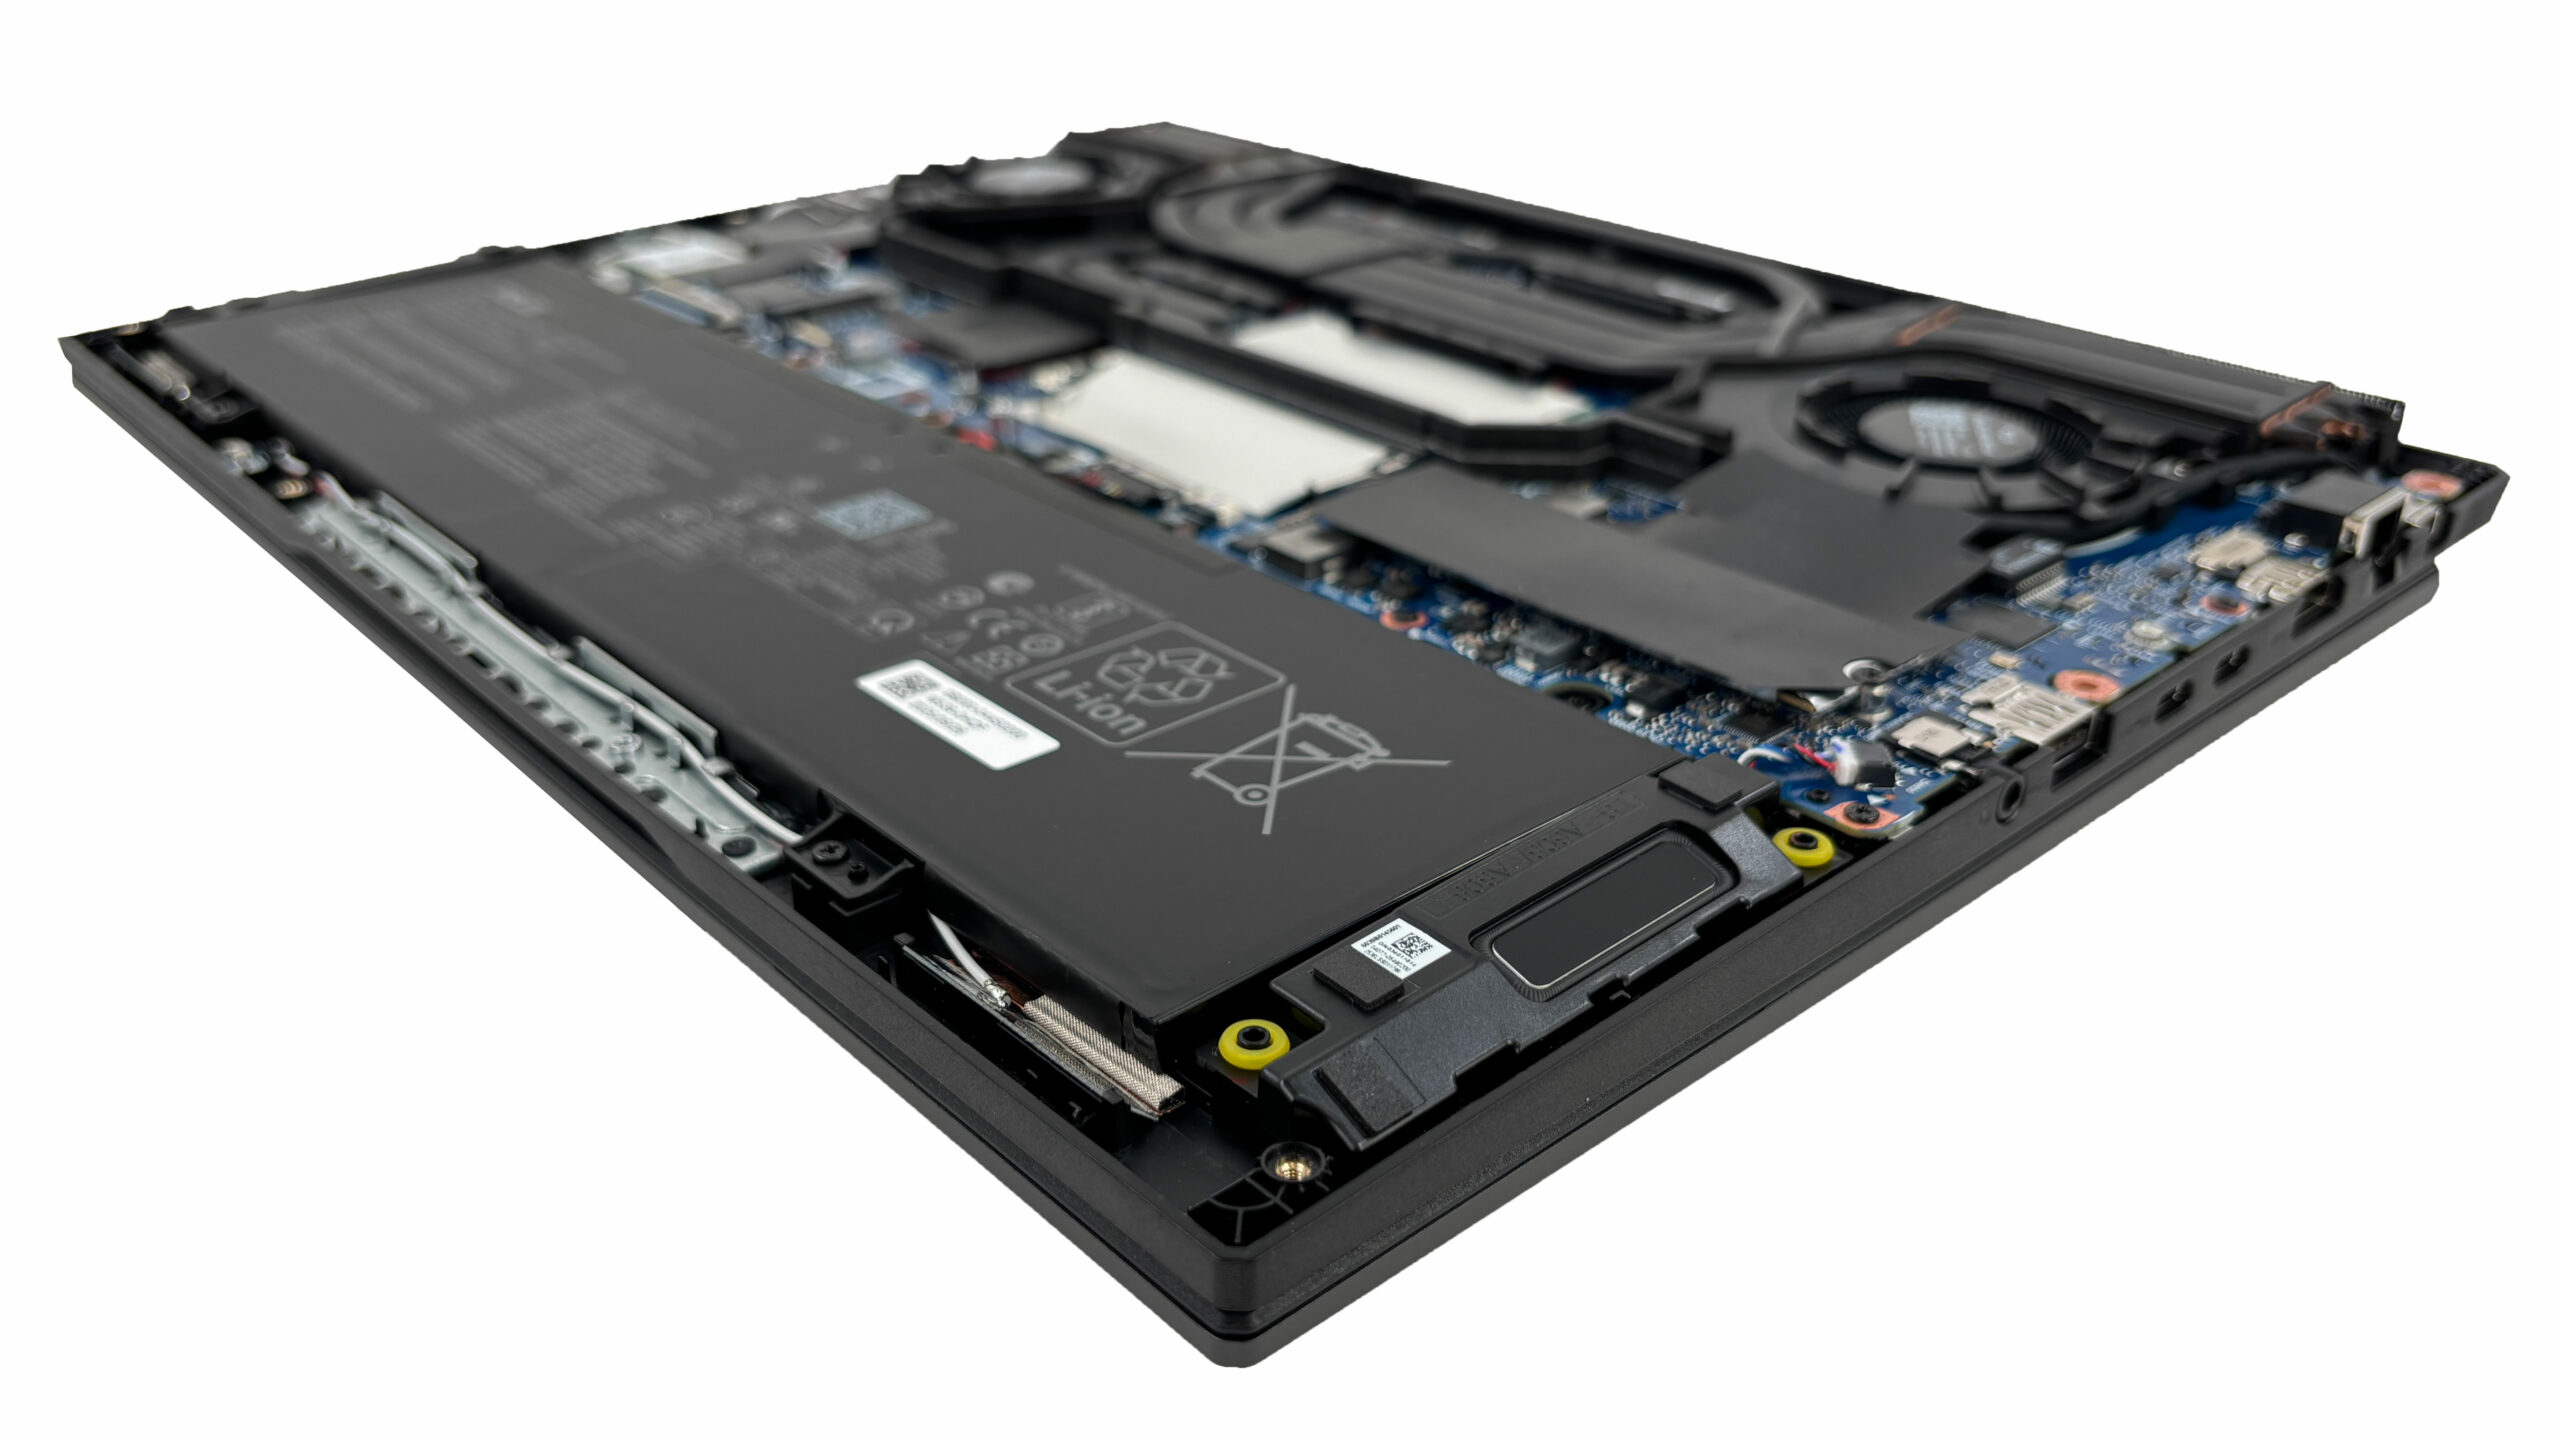
- Once the panel is off, you will see a clean internal layout, with most serviceable parts positioned in the lower half of the motherboard and the cooling system covering the top side.
Step 2: Battery Removal
- Disconnect the battery cable from the motherboard before touching any other internal component.
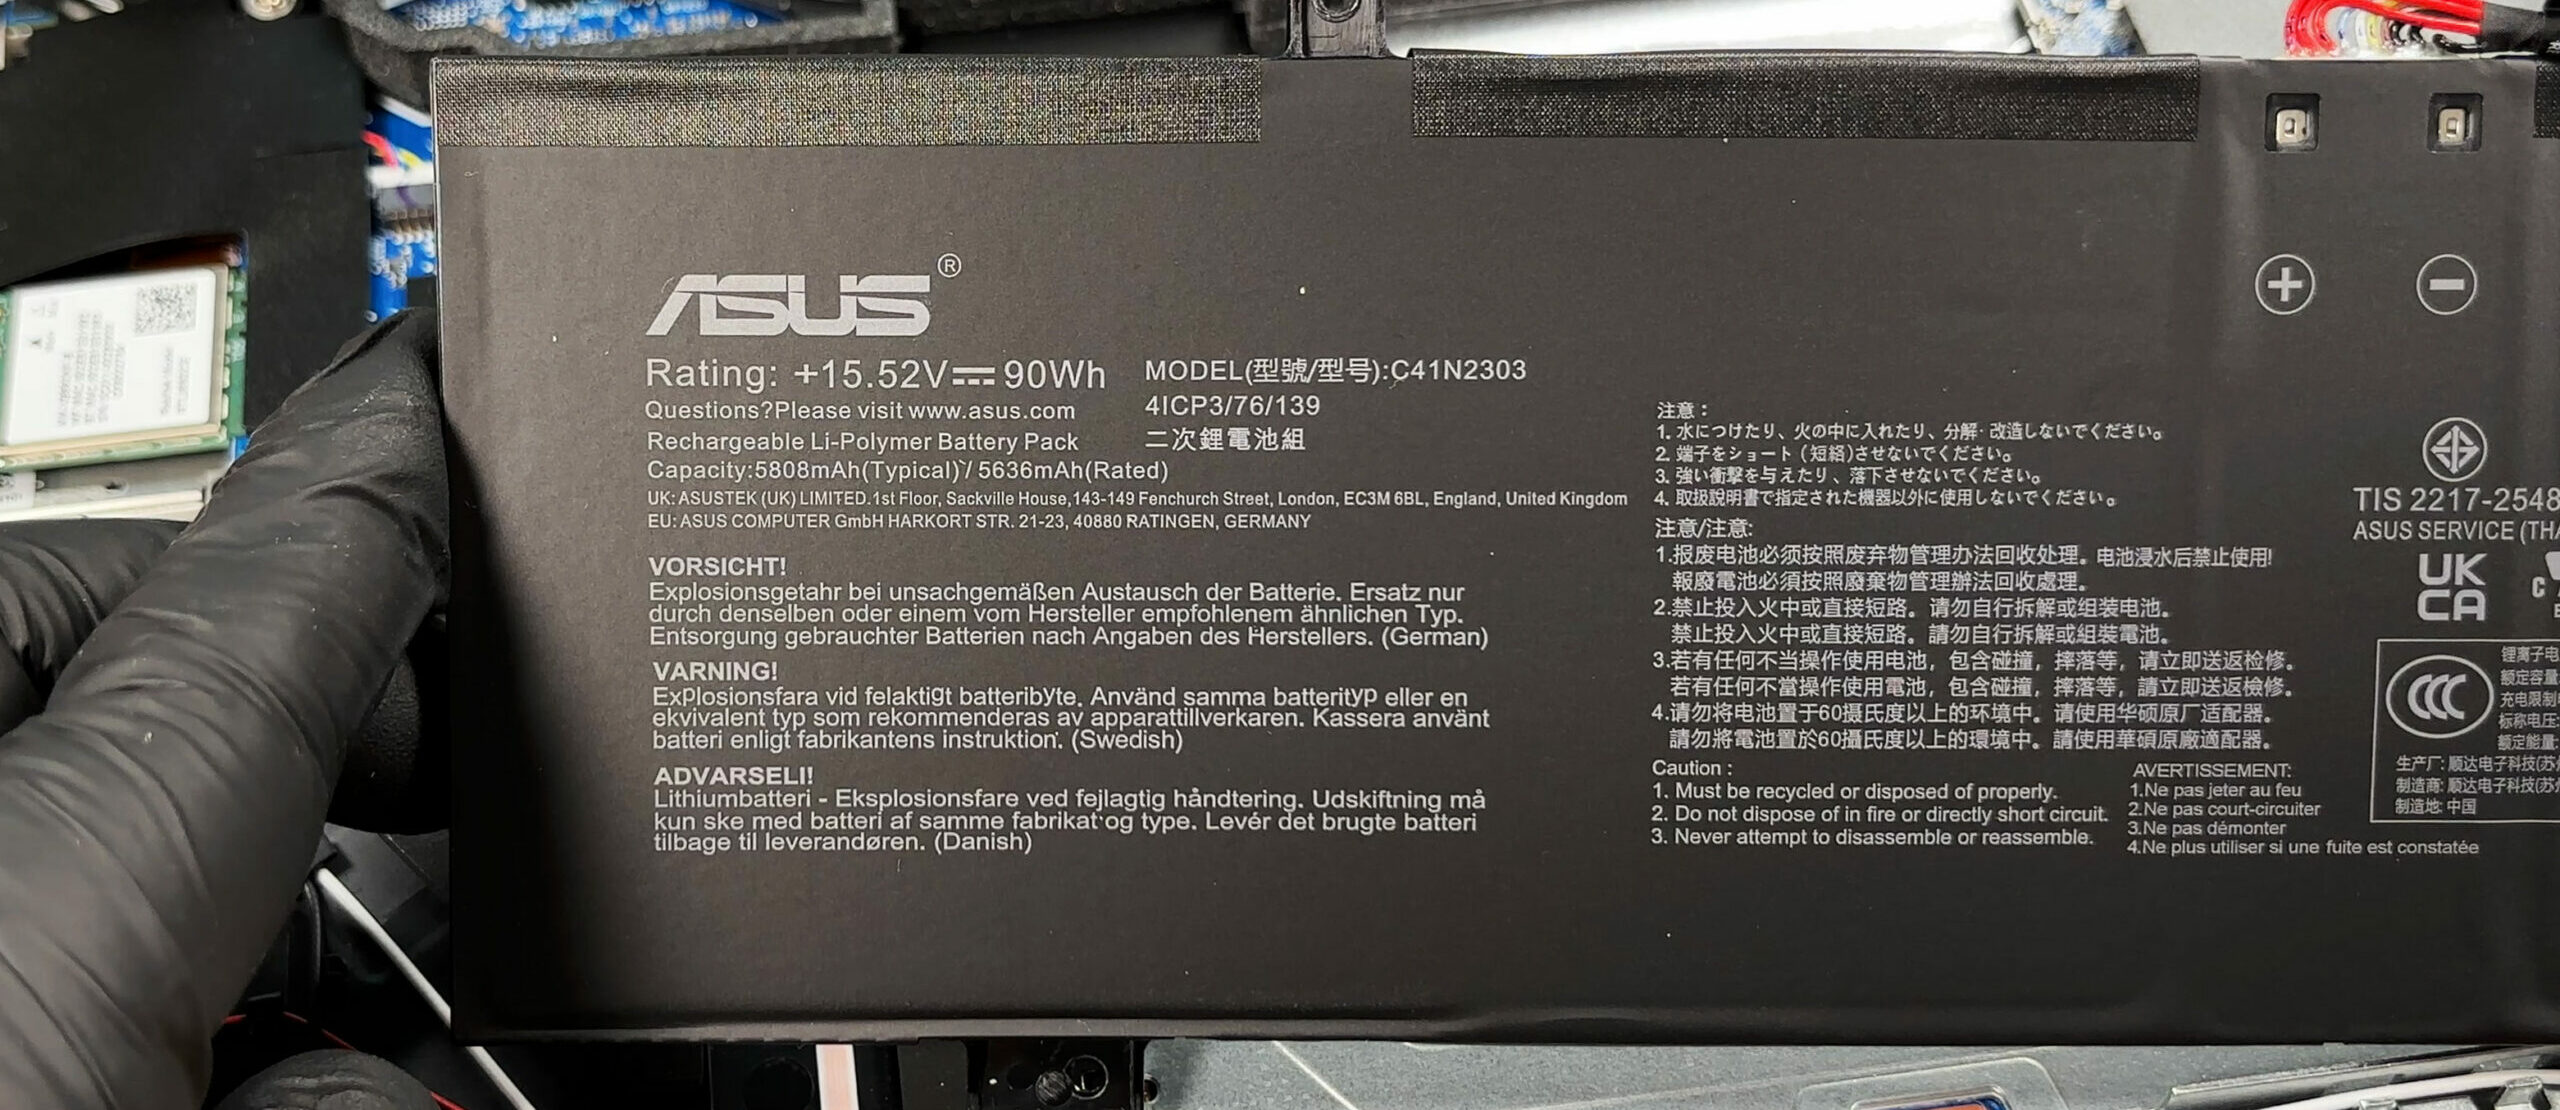
- Undo the fixing screws that secure the 90Wh, 4-cell Li-ion battery.
- Lift the battery out of the chassis.
More info: The battery is fully removable, which is great for long-term serviceability and makes future replacement easier.
Memory Upgrade
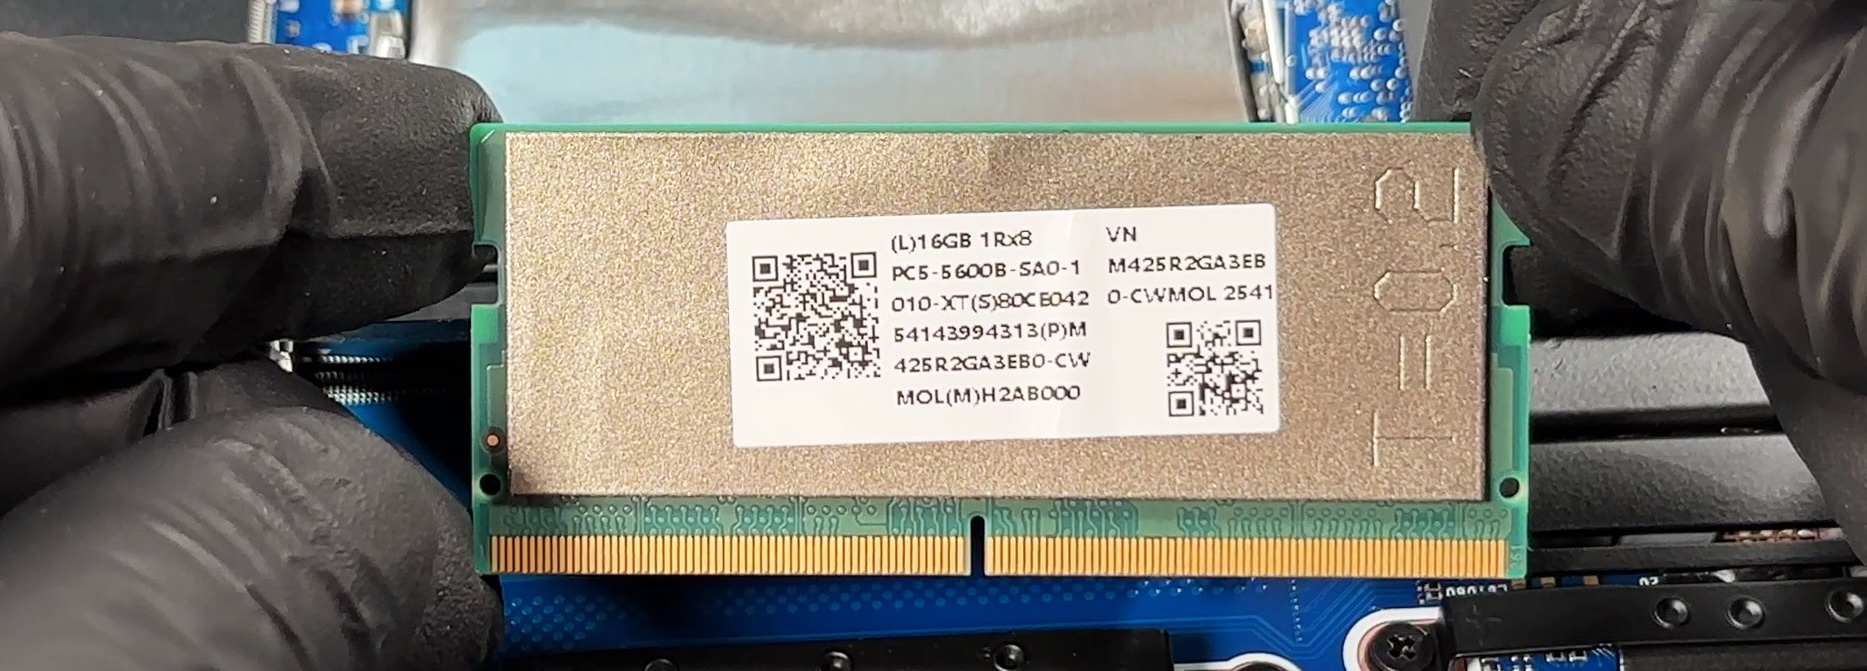
- The laptop offers two DDR5 SO-DIMM slots for memory upgrades.
- Our unit comes with a single 16GB DDR5-5600 module installed, leaving the second slot free for an easy dual-channel upgrade.
- According to ASUS, the platform supports up to 64GB of RAM, so there is plenty of room for future expansion.
- To install a new module, insert it at an angle into the slot, then press it down until the side clips lock it in place.
You can buy DDR5 RAM modules here: Buy from Amazon.com (#CommissionsEarned)
Storage Upgrade
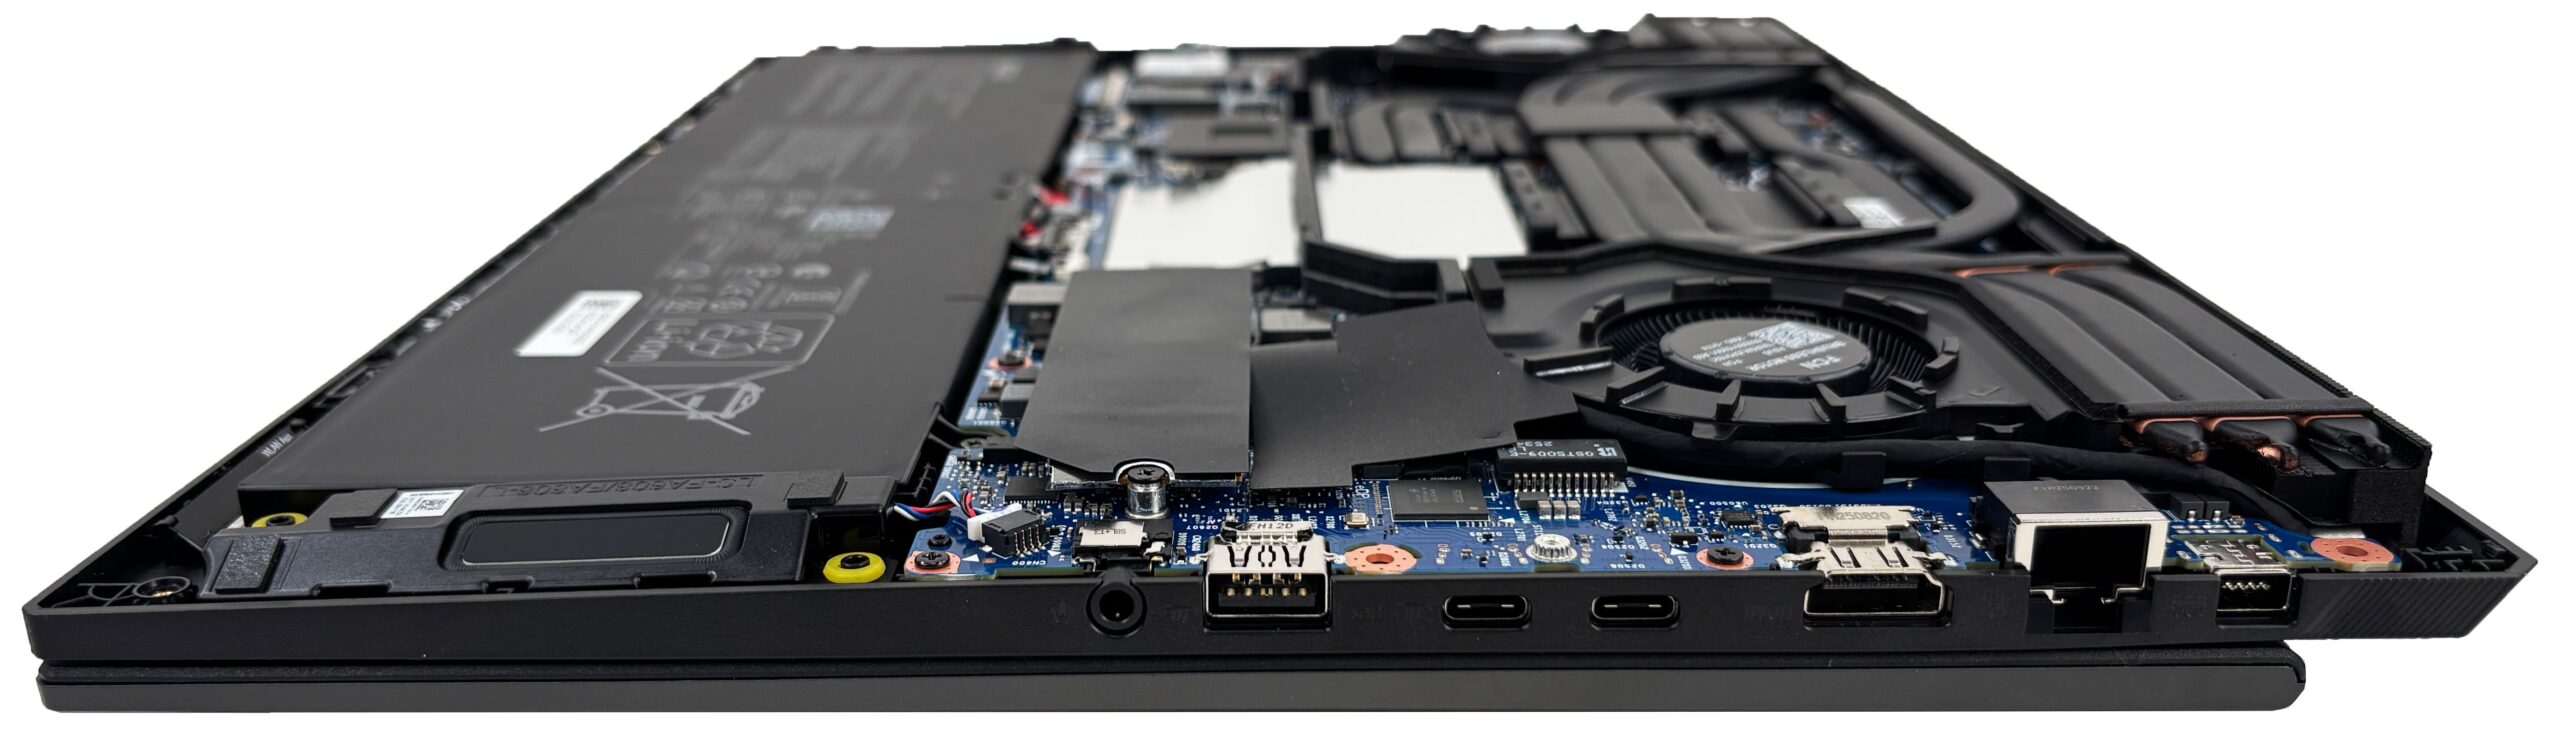
- The ASUS TUF Gaming F16 FX608 features two M.2 PCIe slots for NVMe SSDs.
- The primary SSD in our configuration is installed under an EMI/RFI shield with an additional heat-spreading layer, which helps with temperatures and signal stability.
- Depending on the exact SKU, ASUS offers 512GB, 1TB, or 2TB PCIe 4.0 NVMe SSDs from the factory.
- The second M.2 slot is free, making future storage expansion quick and easy.
You can buy Gen 4 M.2 SSDs here: Buy from Amazon.com (#CommissionsEarned)
Hint: Don’t forget to check out our Top M.2 SSDs Performance Rankings for insights on the best storage options available.
Step 3: Cooling System Overview
- The cooling system uses two fans, a shared heatpipe network, and large heatsinks.
- This setup is designed to cool both the processor and the discrete graphics chip under sustained load.
- Basic dust cleaning is easy once the bottom cover is removed.
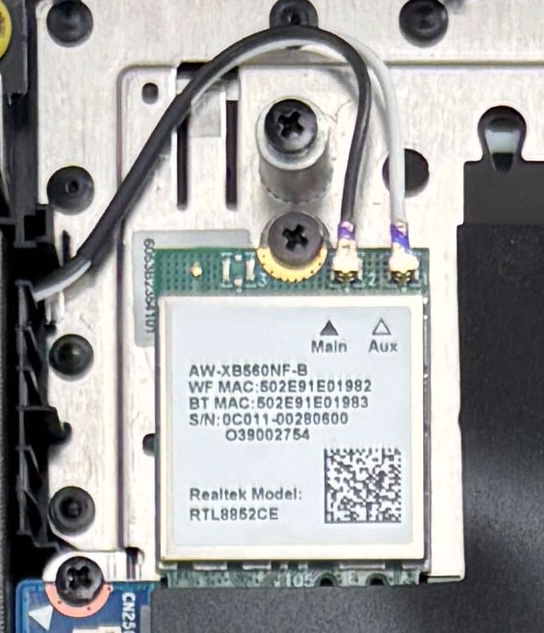
More info: The Wi-Fi card is also replaceable. Our unit uses a Realtek RTL8852CE module, and it can be swapped if needed, as long as the antenna leads are handled carefully.
More info: The CPU and GPU are soldered to the motherboard, so the practical long-term upgrade path is focused on memory, storage, the battery, and the wireless card.
ASUS TUF Gaming F16 FX608 in-depth review
The ASUS TUF Gaming F16 FX608 is a laptop that knows exactly what it is: a gaming machine built to survive the rigors of daily use while delivering reliable performance. With its military-grade chassis, excellent cooling, and a surprisingly good display, it ticks almost every box for the practical gamer. But in the world of tech, context is everything. While the F16 is an impressive machine on its own, it faces its toughest competition from within its own family. With an AMD-powered twin that offers double the battery life, does this Intel version still have enough unique strengths to just[...]

Pros
- Excellent thermal management with very cool GPU temps
- Robust, military-grade build quality with fingerprint resistance
- Great 165Hz display with accurate colors and no PWM
- Full-sized arrow keys and comfortable keyboard
- Fantastic upgradeability with two RAM and two M.2 slots
- Thunderbolt 4 support and high-speed USB ports
Cons
- Battery life of the AMD version is much longer
- Fans are audible even at idle
- No physical privacy shutter or fingerprint reader
 Author: Dimitar Stalev

![[June 2026] Best-Selling Laptop Brands on Amazon Global – Apple’s Unrivaled Dominance in Units and Revenue](https://laptopmedia.com/wp-content/uploads/2026/07/GLOBAL-Best-Brands-400x225.jpg)
![[June 2026] Amazon Global: Top 10 Best-Selling Laptops – Apple’s New MacBook Neo Storms to #1, Reshaping the Market with Affordability](https://laptopmedia.com/wp-content/uploads/2026/07/Best-Selling-Laptops-GLOBAL-Top-10-400x225.jpg)
![[June 2026] Amazon Global: Top 10 Best-Selling Gaming Laptops – Acer’s Nitro V 16S AI Dominates Sales, While ASUS Leads Overall Revenue](https://laptopmedia.com/wp-content/uploads/2026/07/Best-Selling-Gaming-Laptops-GLOBAL-Top-10-400x225.jpg)
![[June 2026] Global Ranking of Best-Selling Laptop GPUs on Amazon – NVIDIA RTX 5060 is the Top-Selling Dedicated GPU](https://laptopmedia.com/wp-content/uploads/2026/07/Best-Selling-GPUs-GLOBAL-Top-10-400x225.jpg)
![[June 2026] Global Ranking of Best-Selling Laptop CPUs on Amazon – Apple M5 Dominates, AMD Ryzen 7 260 Gets Solid Premium Share](https://laptopmedia.com/wp-content/uploads/2026/07/Best-Selling-CPUs-GLOBAL-Top-10-400x225.jpg)