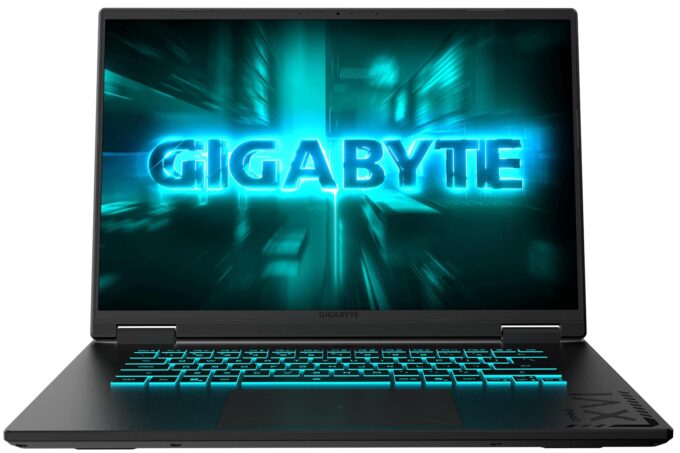
GIGABYTE GAMING A16
- Date Published: 30 Jun 2025
- AMD Ryzen 7 260
- NVIDIA GeForce RTX 5060 (Laptop)
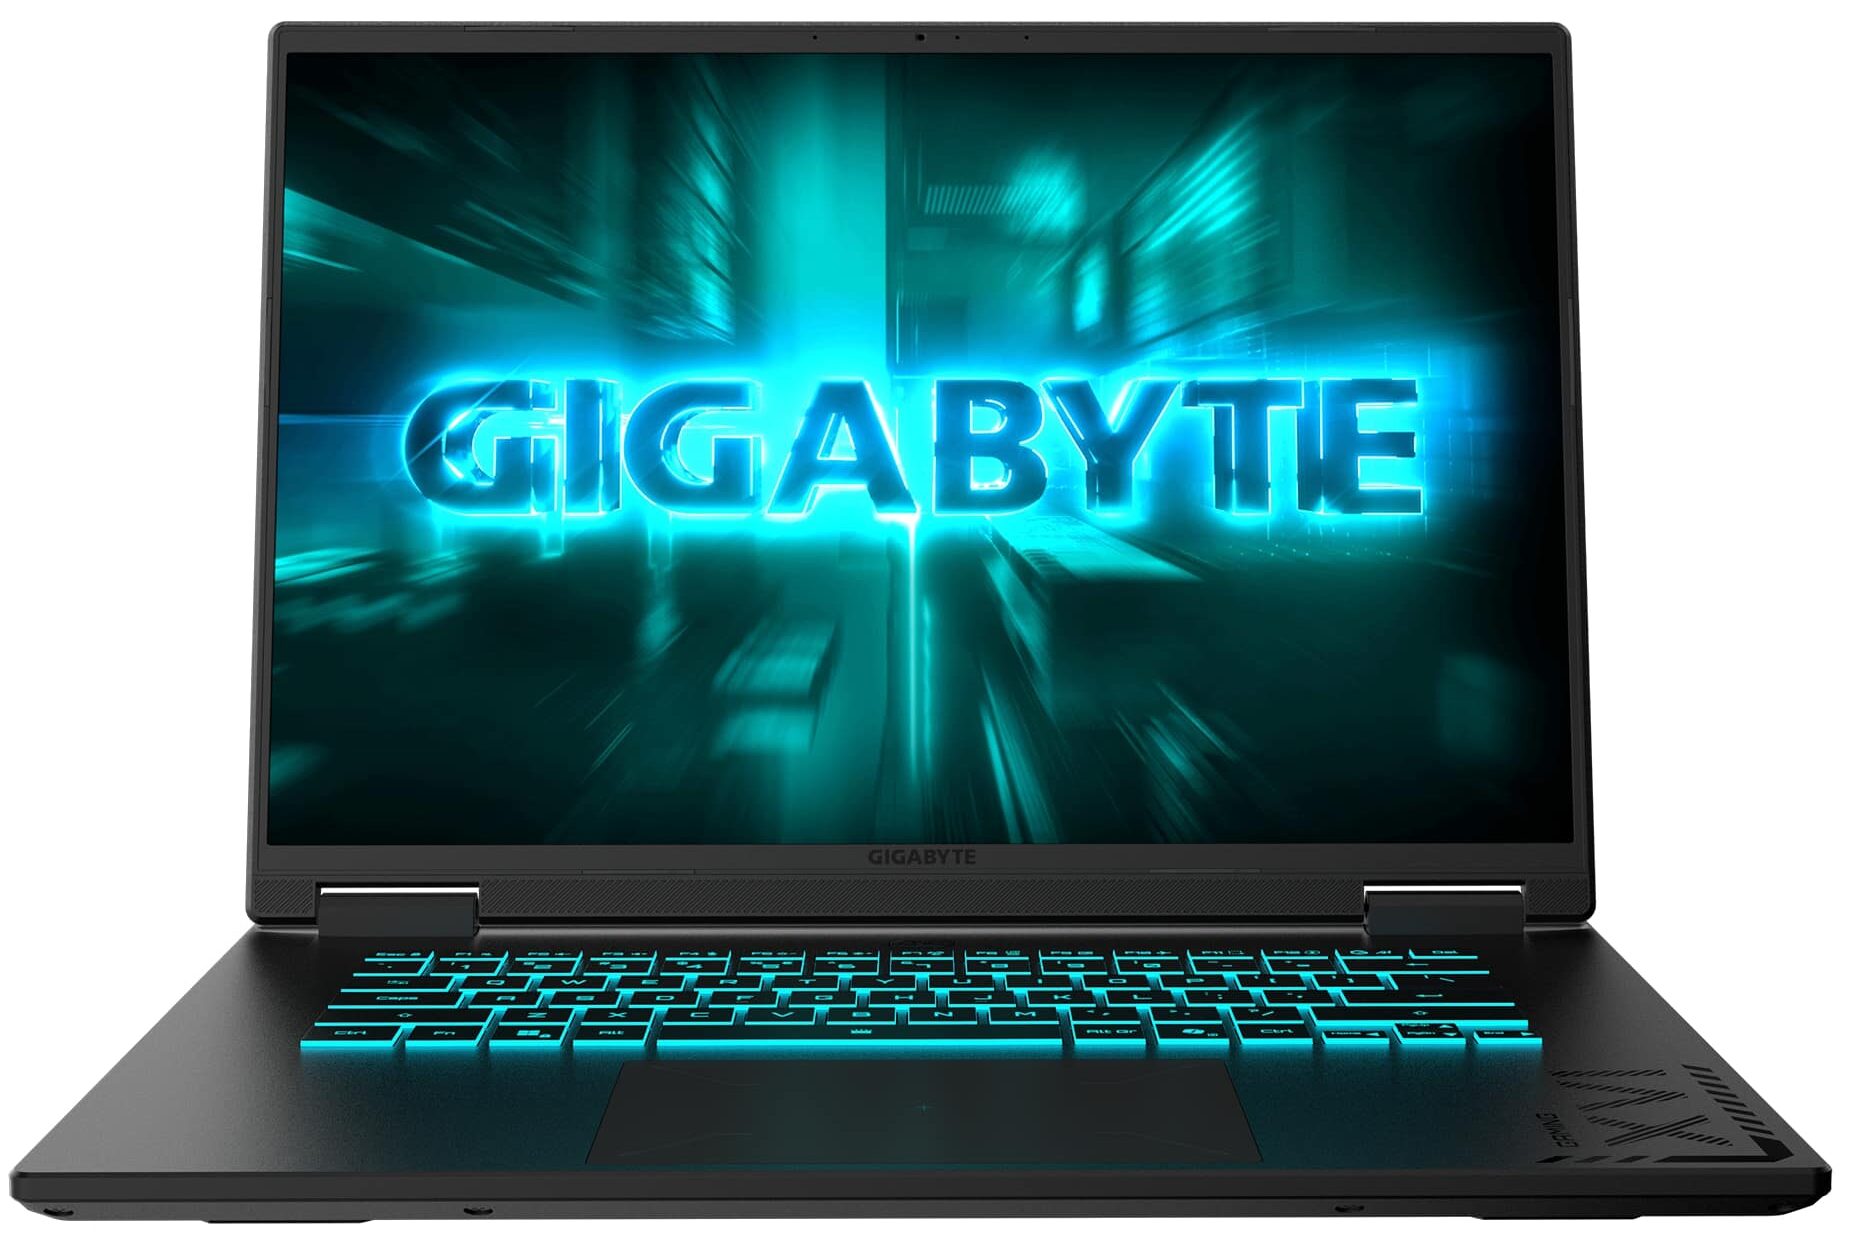
- 16.0", WQXGA (2560 x 1600), 165 Hz, IPS
- 4000GB SSD
- 64GB RAM
- 2.20 kg (4.9 lbs)
Review
GIGABYTE GAMING A16 in-depth review
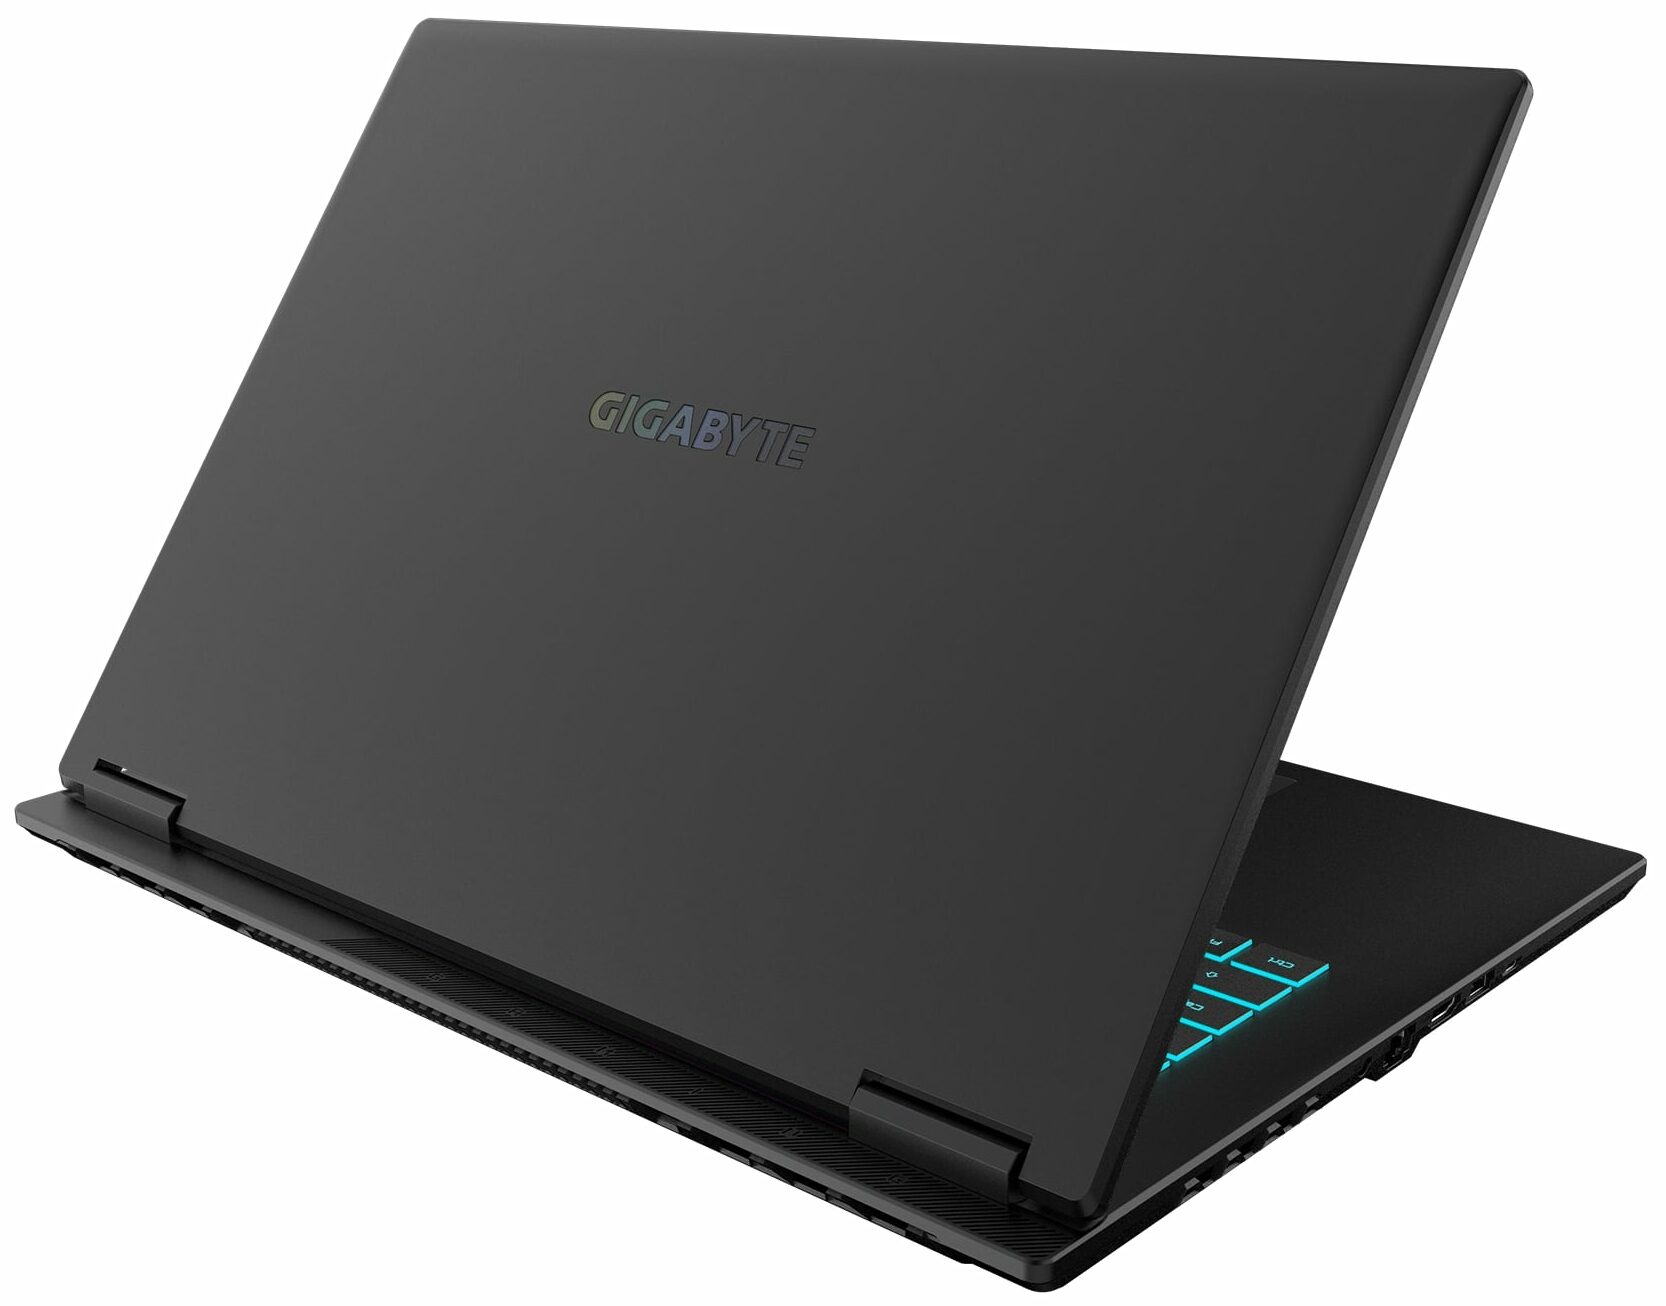
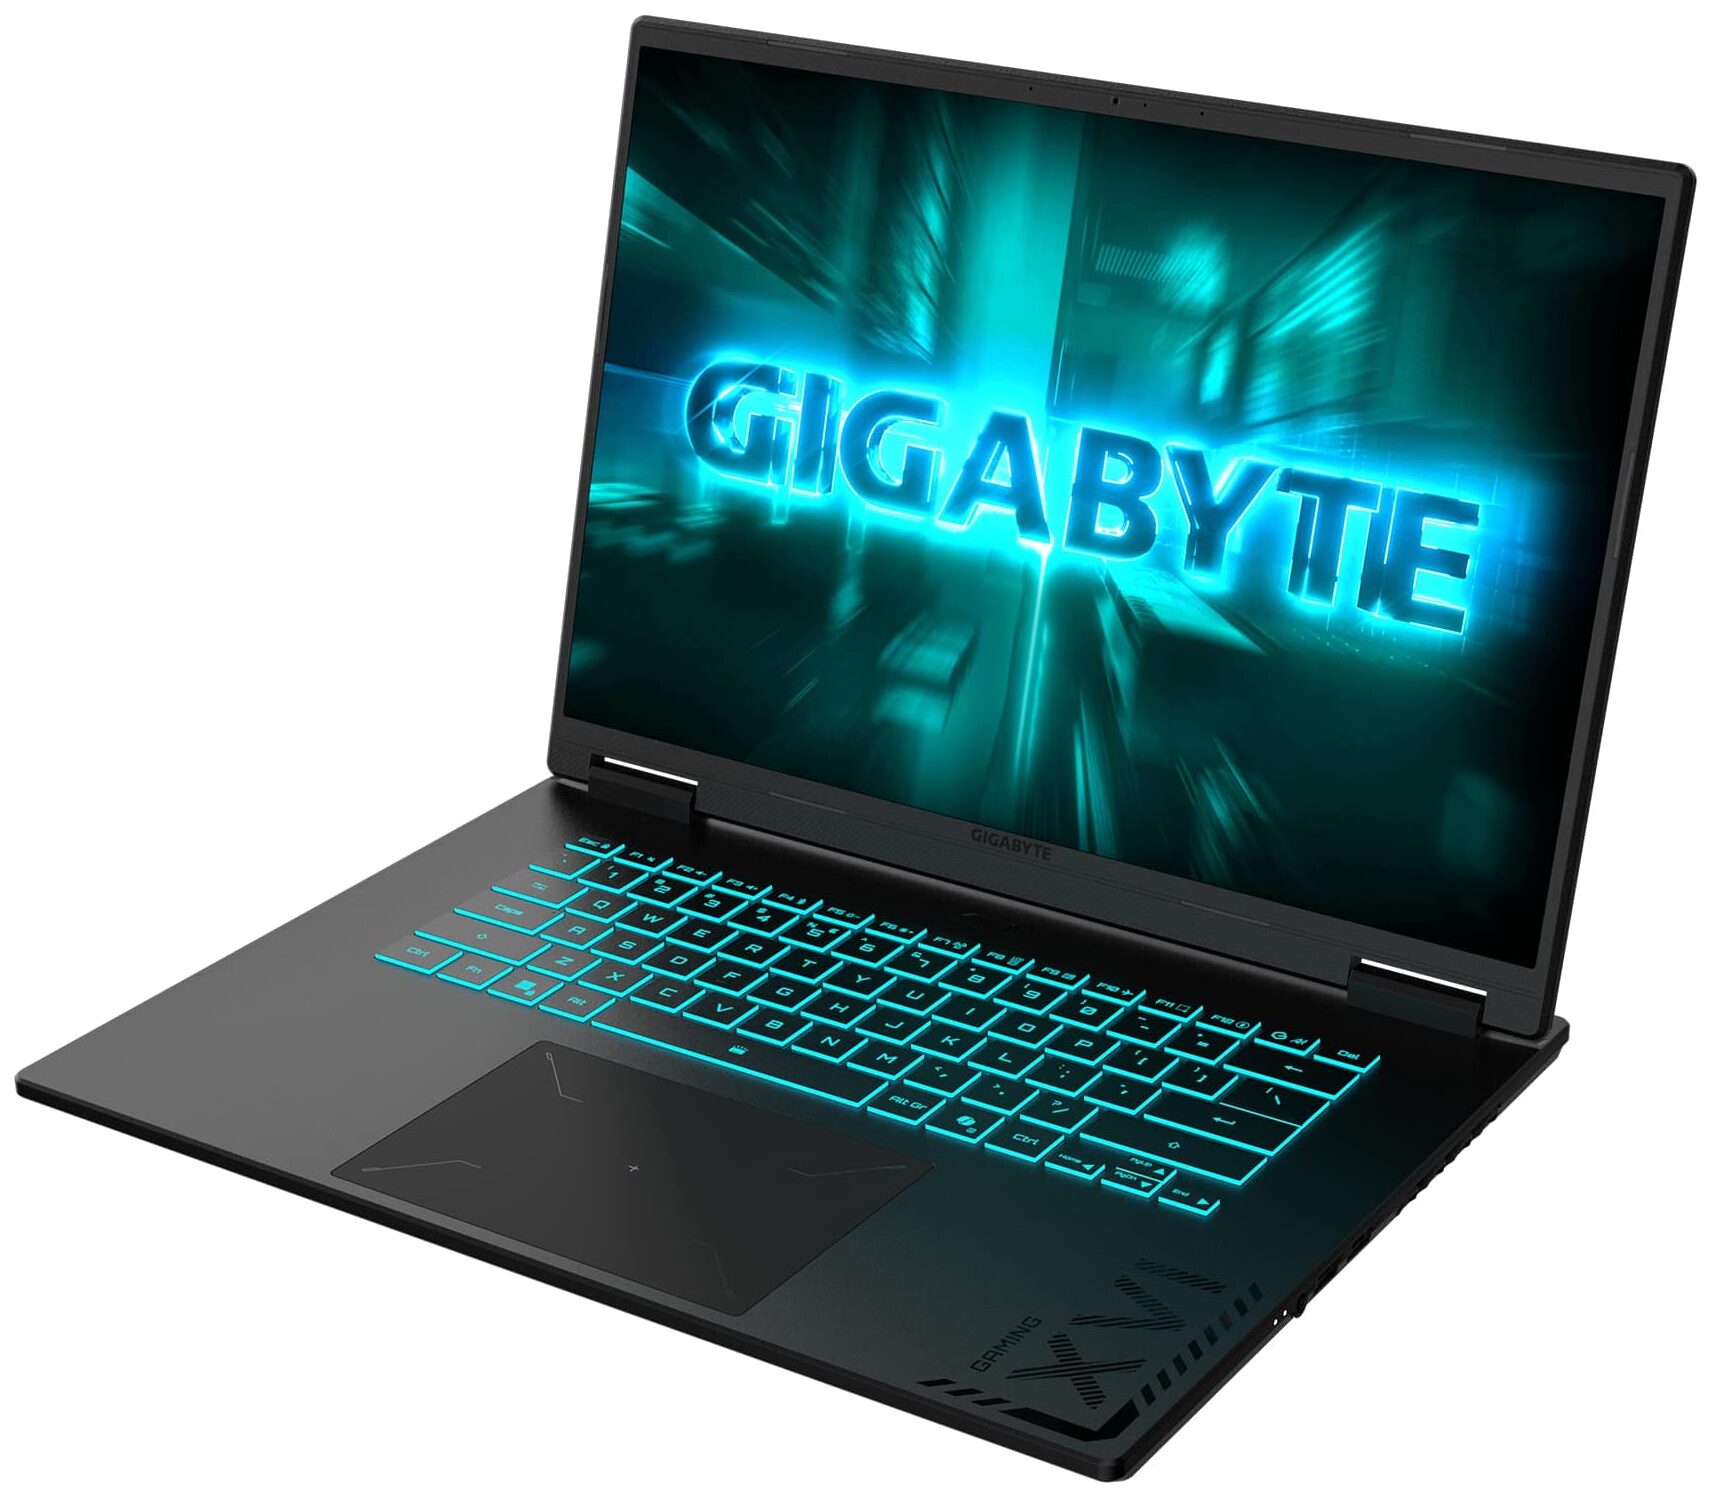
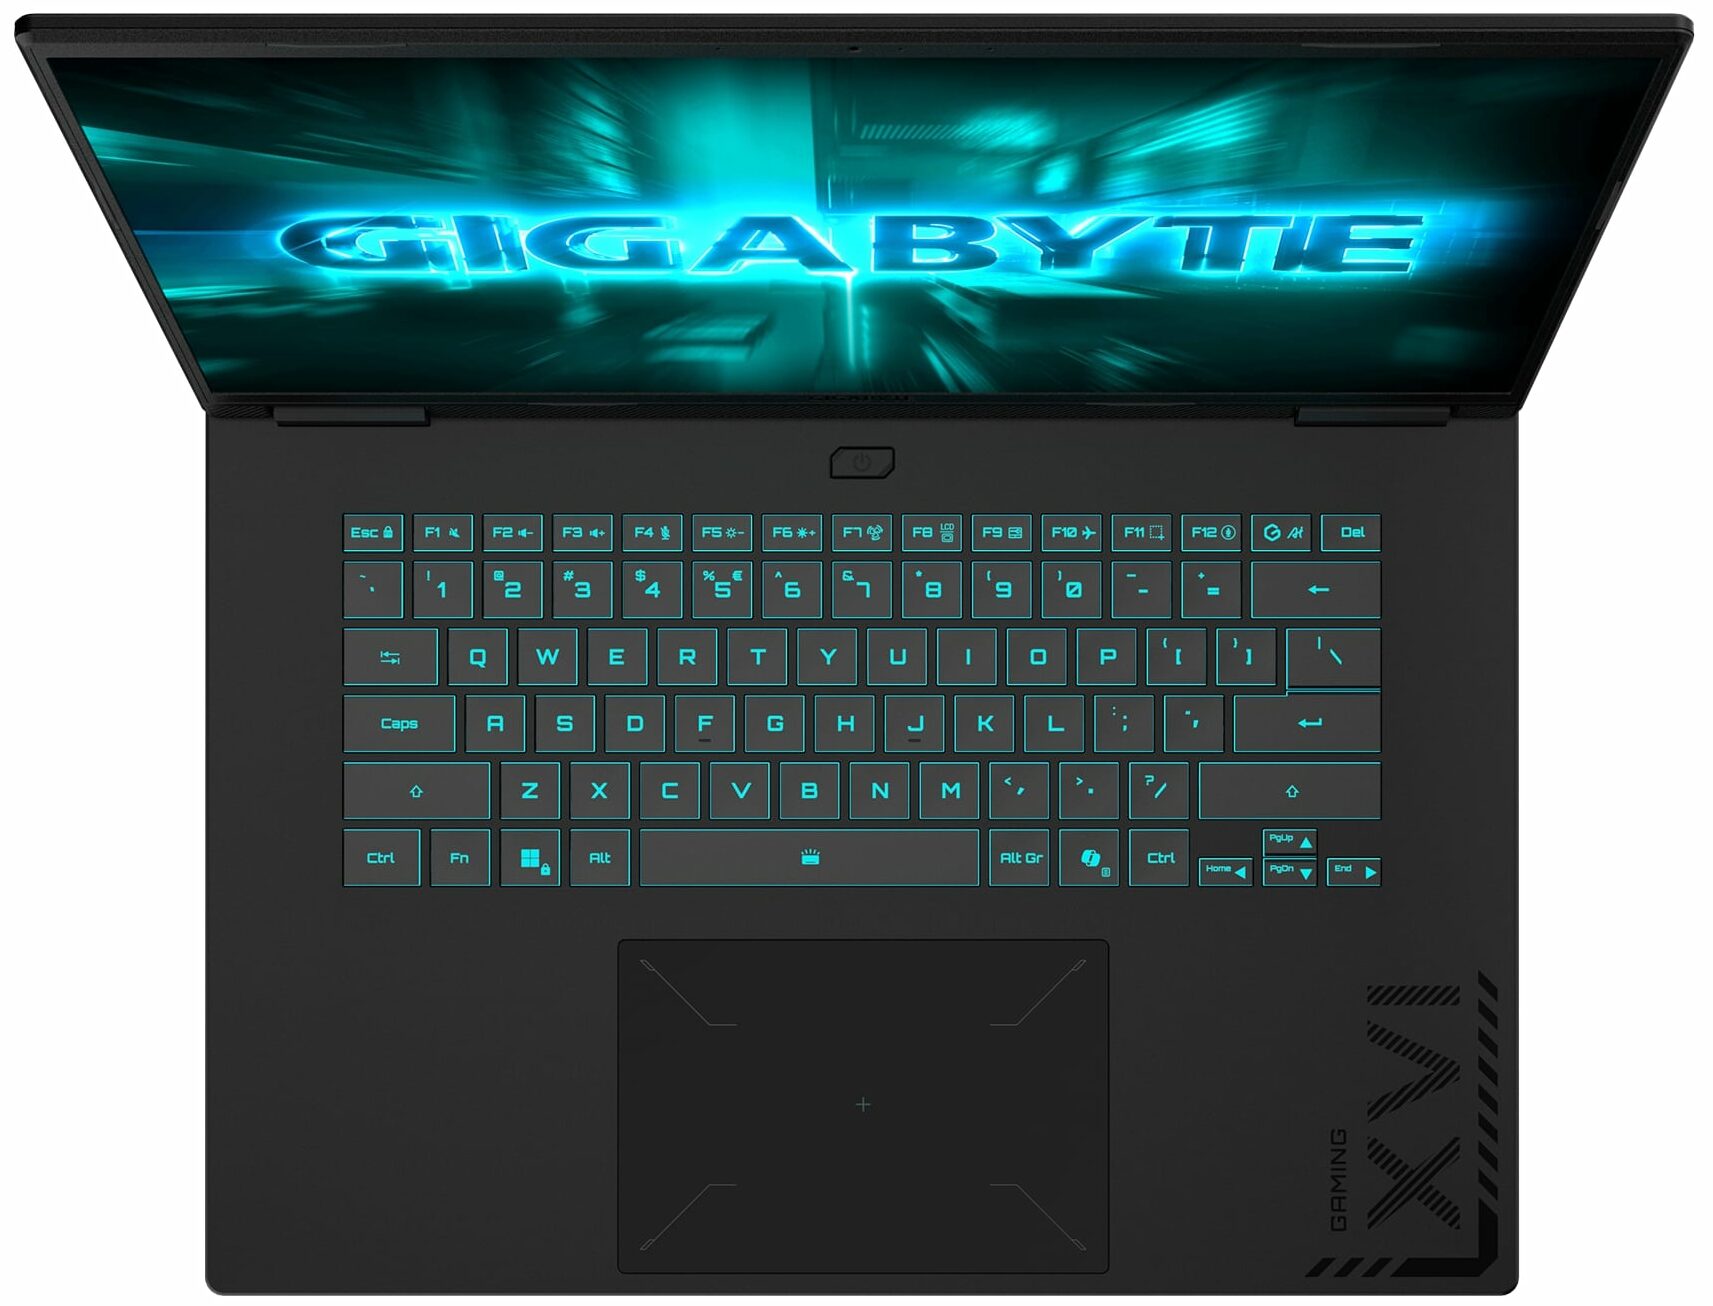
The 16-inch gaming laptop market is often dominated by bulky, max-TGP beasts designed to push the absolute limits of performance. The GIGABYTE GAMING A16 GA63H, however, takes a different path. It's a relatively thin and light machine that opts for a more moderate, power-efficient approach to its graphics card rather than brute force. Wrapped in a stealthy, professional design, it aims to be a versatile daily driver rather than just a stationary gaming rig. Interestingly, this AMD-powered GA63H variant holds a significant hidden advantage over its Intel sibling (the GA6H) - the inclusion of a full-fledged USB4 port, adding a layer of future-proofing to its connectivity.But does this balanced, endurance-focused philosophy pay off, or has Gigabyte sacrificed too much raw power in the[...]
Read the full review
Pros
- Class-leading battery life for a gaming laptop (nearly 8 hours)
- Excellent GPU thermal management keeps the system cool and stable
- Fantastic upgradeability with two RAM and two M.2 slots
- PWM-free display is great for eye comfort
- Modern port selection including a versatile USB4 port
- Stealthy, professional design that blends in anywhere
Cons
- Severely power-limited GPU results in lower gaming performance
- Base model display has very poor color coverage (52% sRGB)
- CPU runs hot (94°C) under sustained heavy load
- Second M.2 slot is limited to slower PCIe 4.0 x2 speeds
Disassembly, maintenance and upgrade options
Step 1: Opening the laptopPower off the laptop and place it on a soft, clean surface. Remove the bottom-panel screws and carefully pry the panel off with a thin plastic tool. Once the cover is removed, the internal layout is easy to follow, with the cooling system at the top and the battery and speakers in the lower section.More info: The cooling assembly covers most of the upper half of the chassis, while the upgradeable parts are positioned in the middle for easy access.Step 2: Battery RemovalDisconnect the battery cable from the motherboard before touching [...]
Read more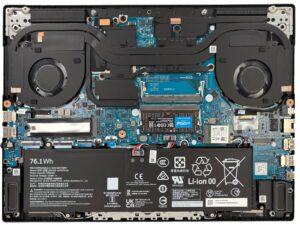


![[June 2026] Best-Selling Laptop Brands on Amazon Global – Apple’s Unrivaled Dominance in Units and Revenue](https://laptopmedia.com/wp-content/uploads/2026/07/GLOBAL-Best-Brands-400x225.jpg)
![[June 2026] Amazon Global: Top 10 Best-Selling Laptops – Apple’s New MacBook Neo Storms to #1, Reshaping the Market with Affordability](https://laptopmedia.com/wp-content/uploads/2026/07/Best-Selling-Laptops-GLOBAL-Top-10-400x225.jpg)
![[June 2026] Amazon Global: Top 10 Best-Selling Gaming Laptops – Acer’s Nitro V 16S AI Dominates Sales, While ASUS Leads Overall Revenue](https://laptopmedia.com/wp-content/uploads/2026/07/Best-Selling-Gaming-Laptops-GLOBAL-Top-10-400x225.jpg)
![[June 2026] Global Ranking of Best-Selling Laptop GPUs on Amazon – NVIDIA RTX 5060 is the Top-Selling Dedicated GPU](https://laptopmedia.com/wp-content/uploads/2026/07/Best-Selling-GPUs-GLOBAL-Top-10-400x225.jpg)
![[June 2026] Global Ranking of Best-Selling Laptop CPUs on Amazon – Apple M5 Dominates, AMD Ryzen 7 260 Gets Solid Premium Share](https://laptopmedia.com/wp-content/uploads/2026/07/Best-Selling-CPUs-GLOBAL-Top-10-400x225.jpg)