Acer Swift Go 16 (SFG16-71) review – Ready! Swift! Go!
Disassembly, Upgrade options, and Maintenance
To access this notebook’s internals, you need to undo a total of 10 Torx-head screws. Then, pry the bottom panel with a plastic tool and lift it away from the chassis.
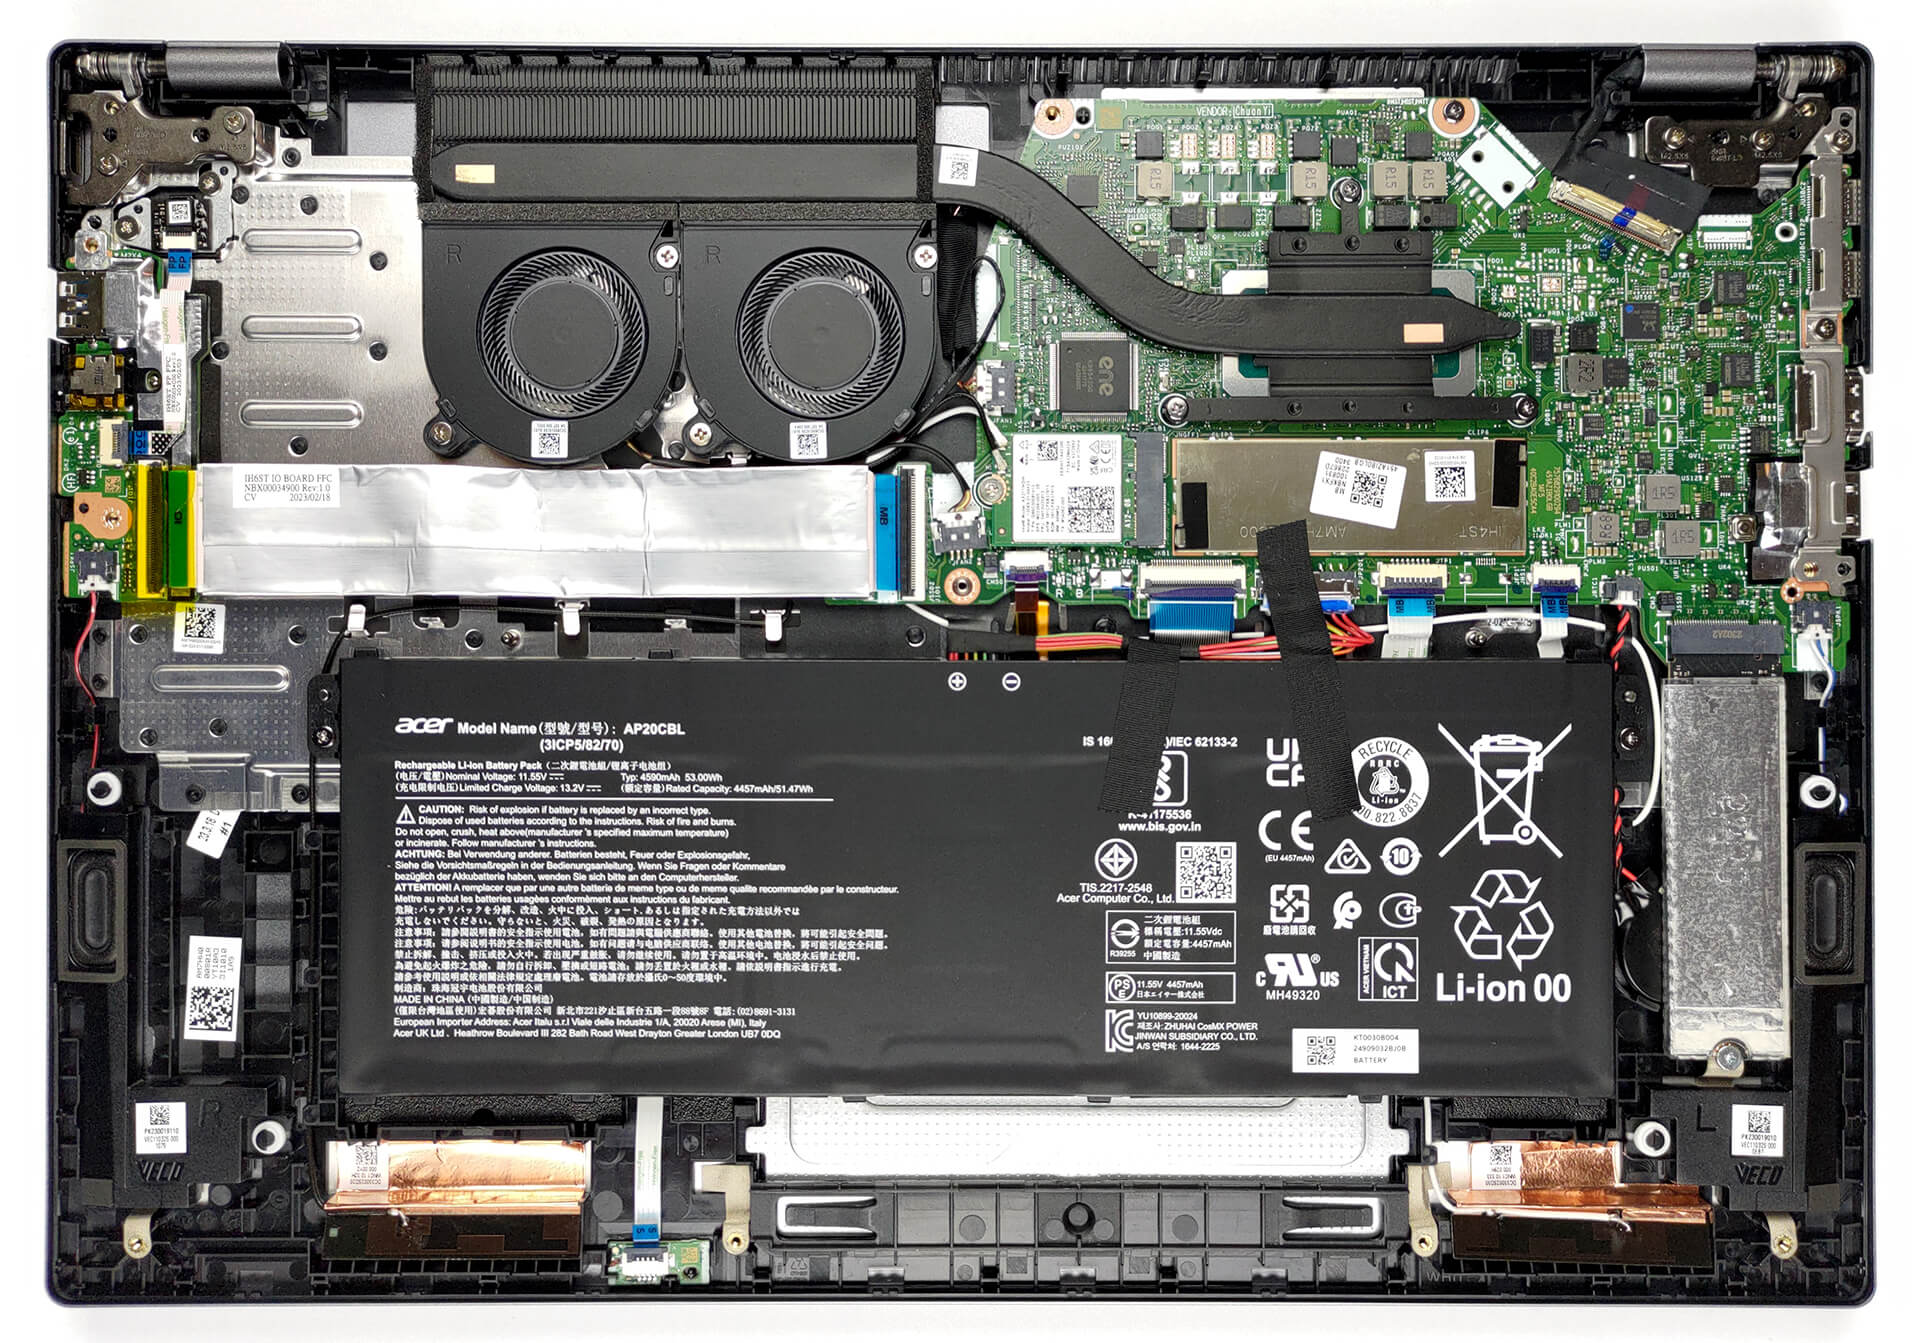
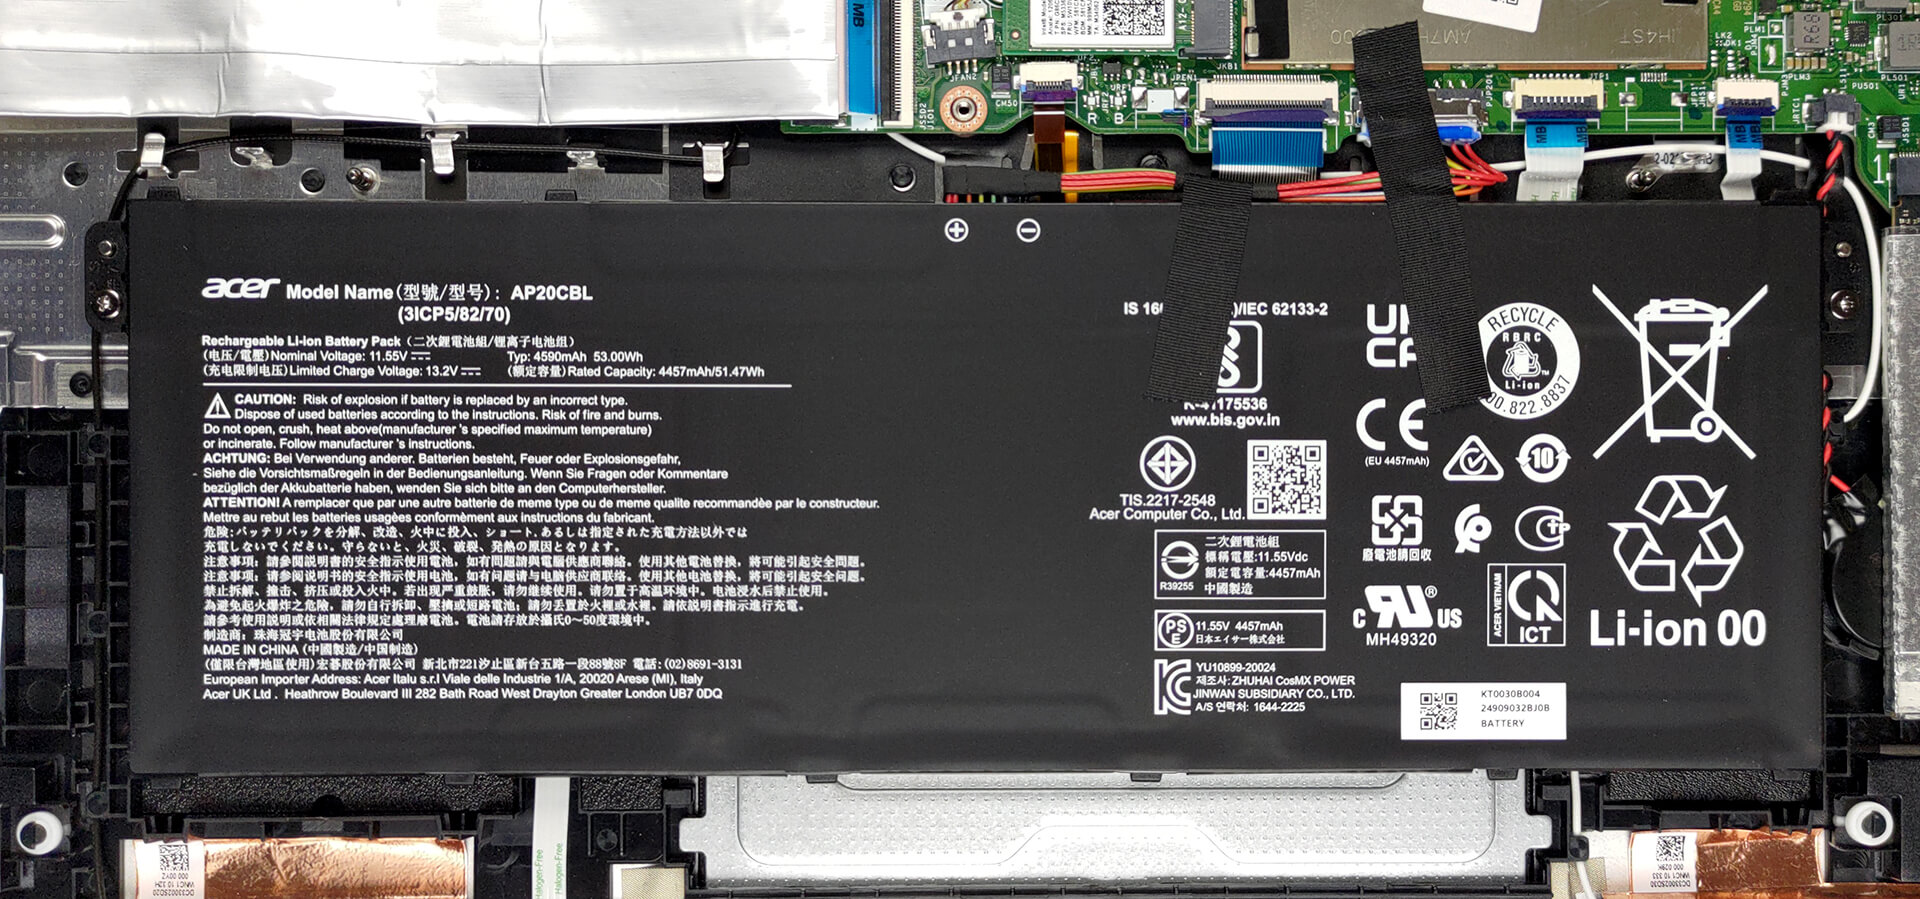
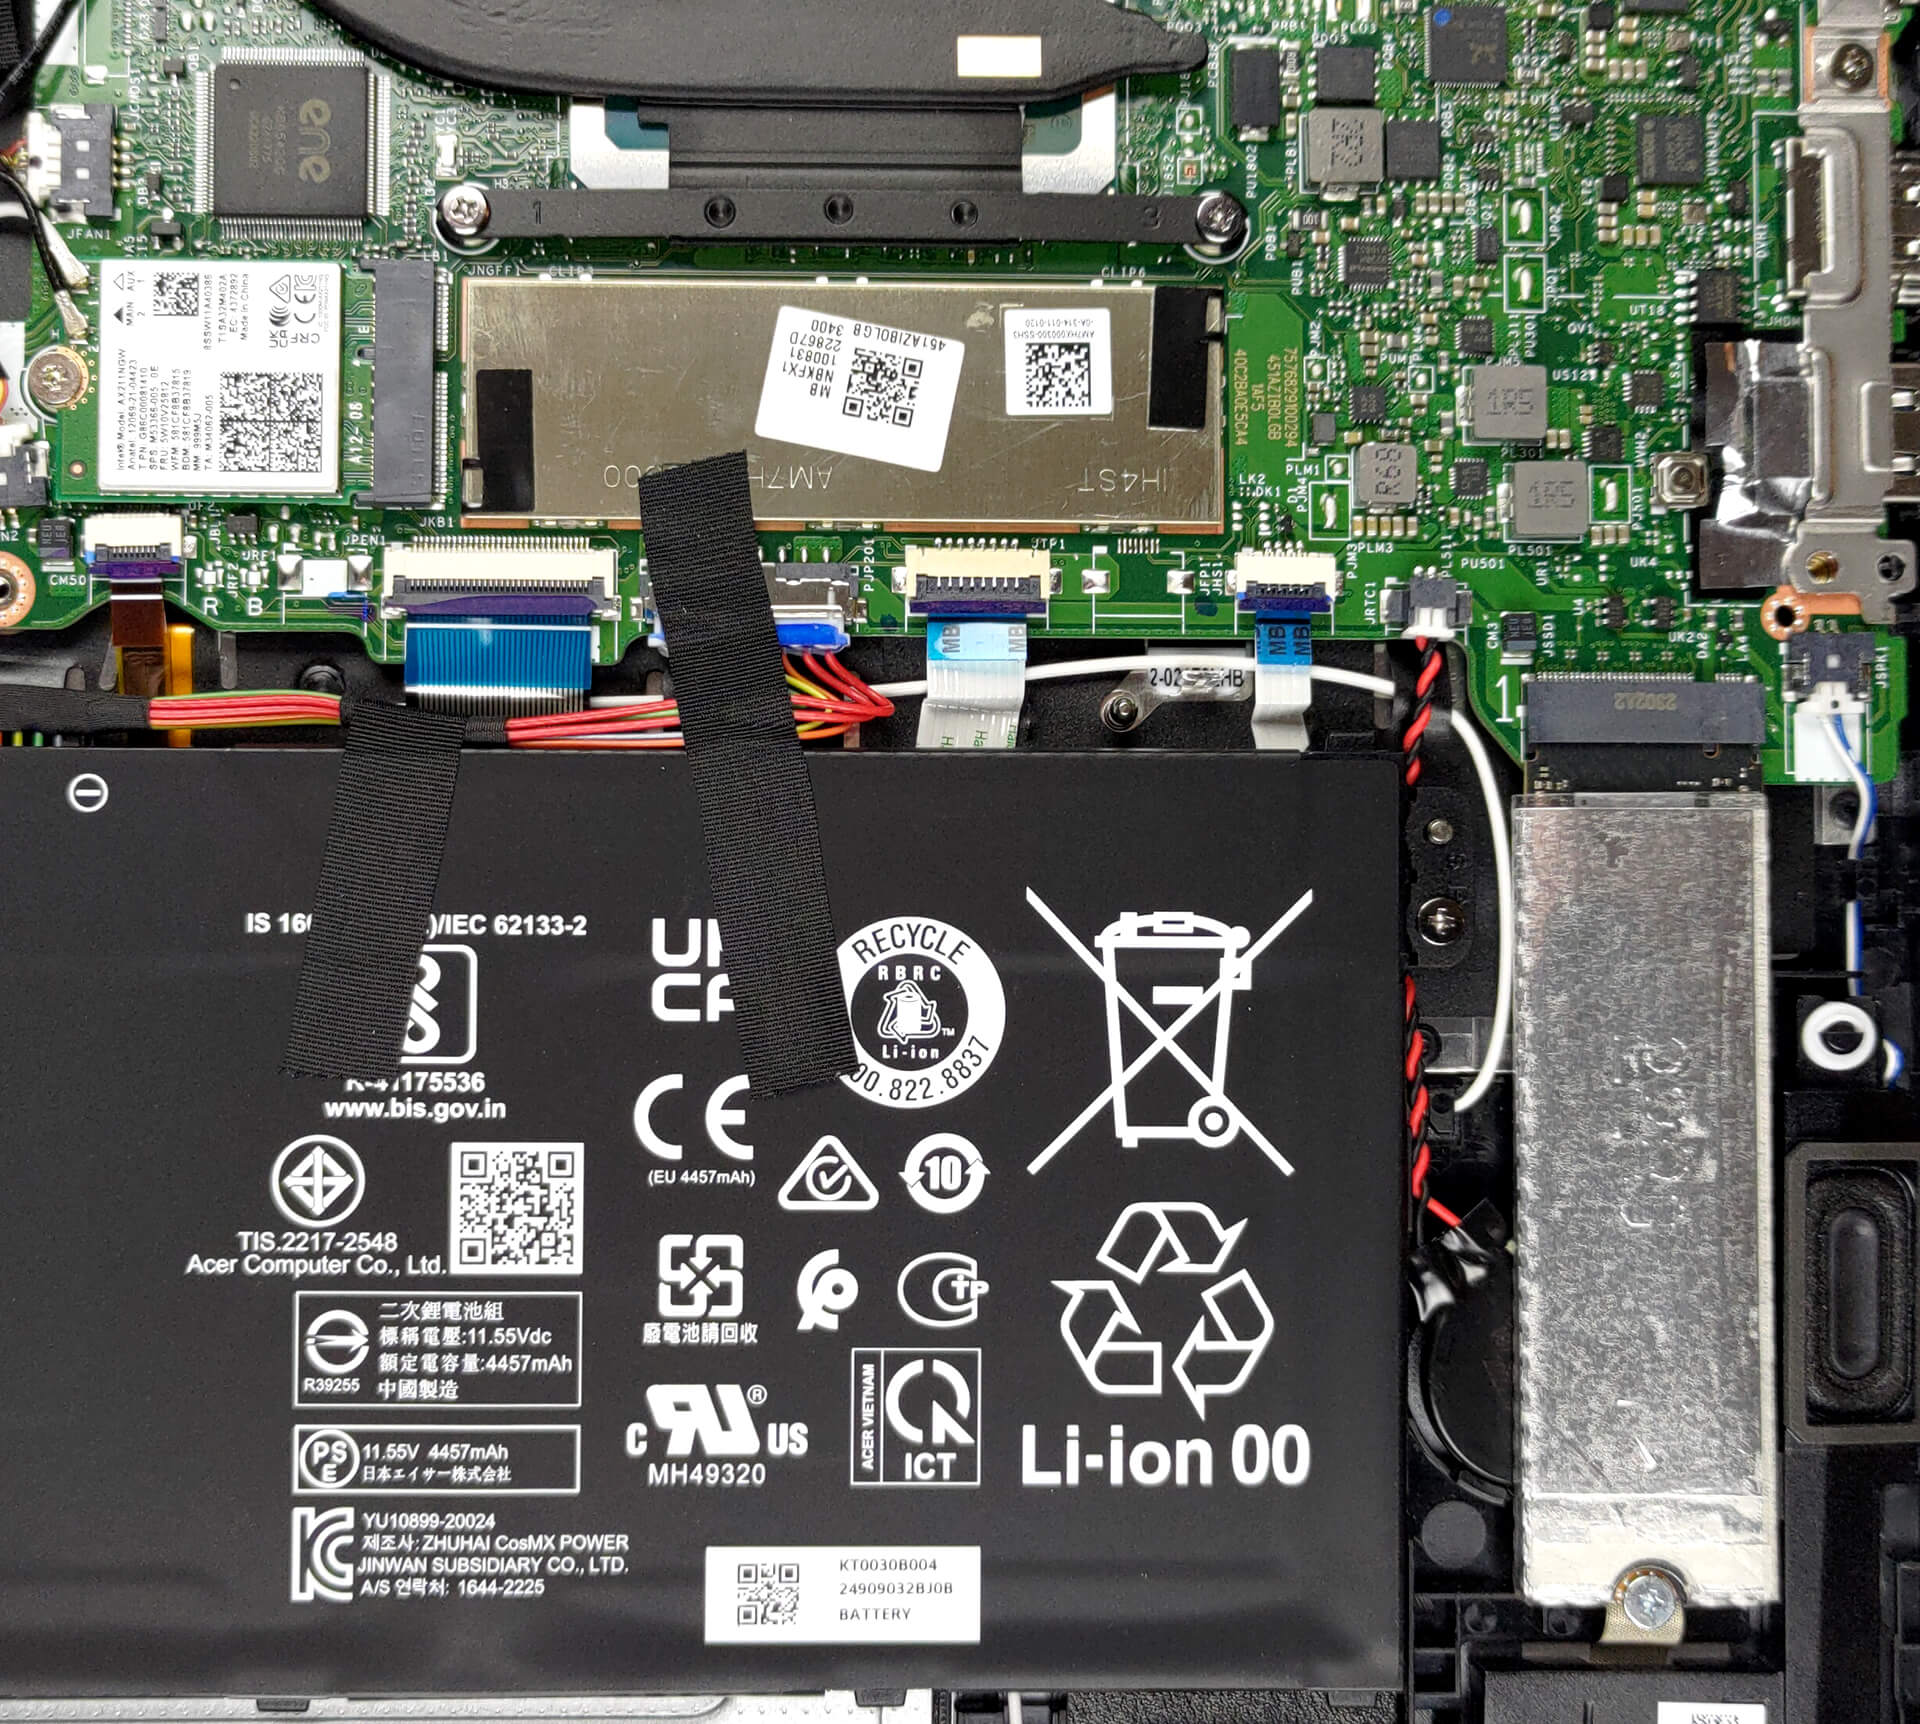
Inside, we see a 53Wh battery pack. To remove it, unplug the battery connector, and undo the two Phillips-head screws that hold the battery in place.
Here, the memory is soldered to the motherboard. You can get the notebook with either 8 or 16GB of LPDDR5 RAM. As for the storage, there is one M.2 PCIe x4 slot, which works with Gen 4 SSDs.
Cooling-wise, there is one heat pipe that connects to a long heat sink, where two small fans blow the heat away from the chassis.

Subscribe
0 Comments


![[June 2026] Best-Selling Laptop Brands on Amazon Global – Apple’s Unrivaled Dominance in Units and Revenue](https://laptopmedia.com/wp-content/uploads/2026/07/GLOBAL-Best-Brands-400x225.jpg)
![[June 2026] Amazon Global: Top 10 Best-Selling Laptops – Apple’s New MacBook Neo Storms to #1, Reshaping the Market with Affordability](https://laptopmedia.com/wp-content/uploads/2026/07/Best-Selling-Laptops-GLOBAL-Top-10-400x225.jpg)
![[June 2026] Amazon Global: Top 10 Best-Selling Gaming Laptops – Acer’s Nitro V 16S AI Dominates Sales, While ASUS Leads Overall Revenue](https://laptopmedia.com/wp-content/uploads/2026/07/Best-Selling-Gaming-Laptops-GLOBAL-Top-10-400x225.jpg)
![[June 2026] Global Ranking of Best-Selling Laptop GPUs on Amazon – NVIDIA RTX 5060 is the Top-Selling Dedicated GPU](https://laptopmedia.com/wp-content/uploads/2026/07/Best-Selling-GPUs-GLOBAL-Top-10-400x225.jpg)
![[June 2026] Global Ranking of Best-Selling Laptop CPUs on Amazon – Apple M5 Dominates, AMD Ryzen 7 260 Gets Solid Premium Share](https://laptopmedia.com/wp-content/uploads/2026/07/Best-Selling-CPUs-GLOBAL-Top-10-400x225.jpg)
