How to open Acer Swift Edge (SFE16-43) – disassembly and upgrade options
Removing the Bottom Plate
- Turn off the device and unplug all connected peripherals.
- Remove the 10 Torx-head screws securing the bottom panel.
- Using a plastic tool, carefully pry up the bottom panel starting from one of the zones beneath the hinges.
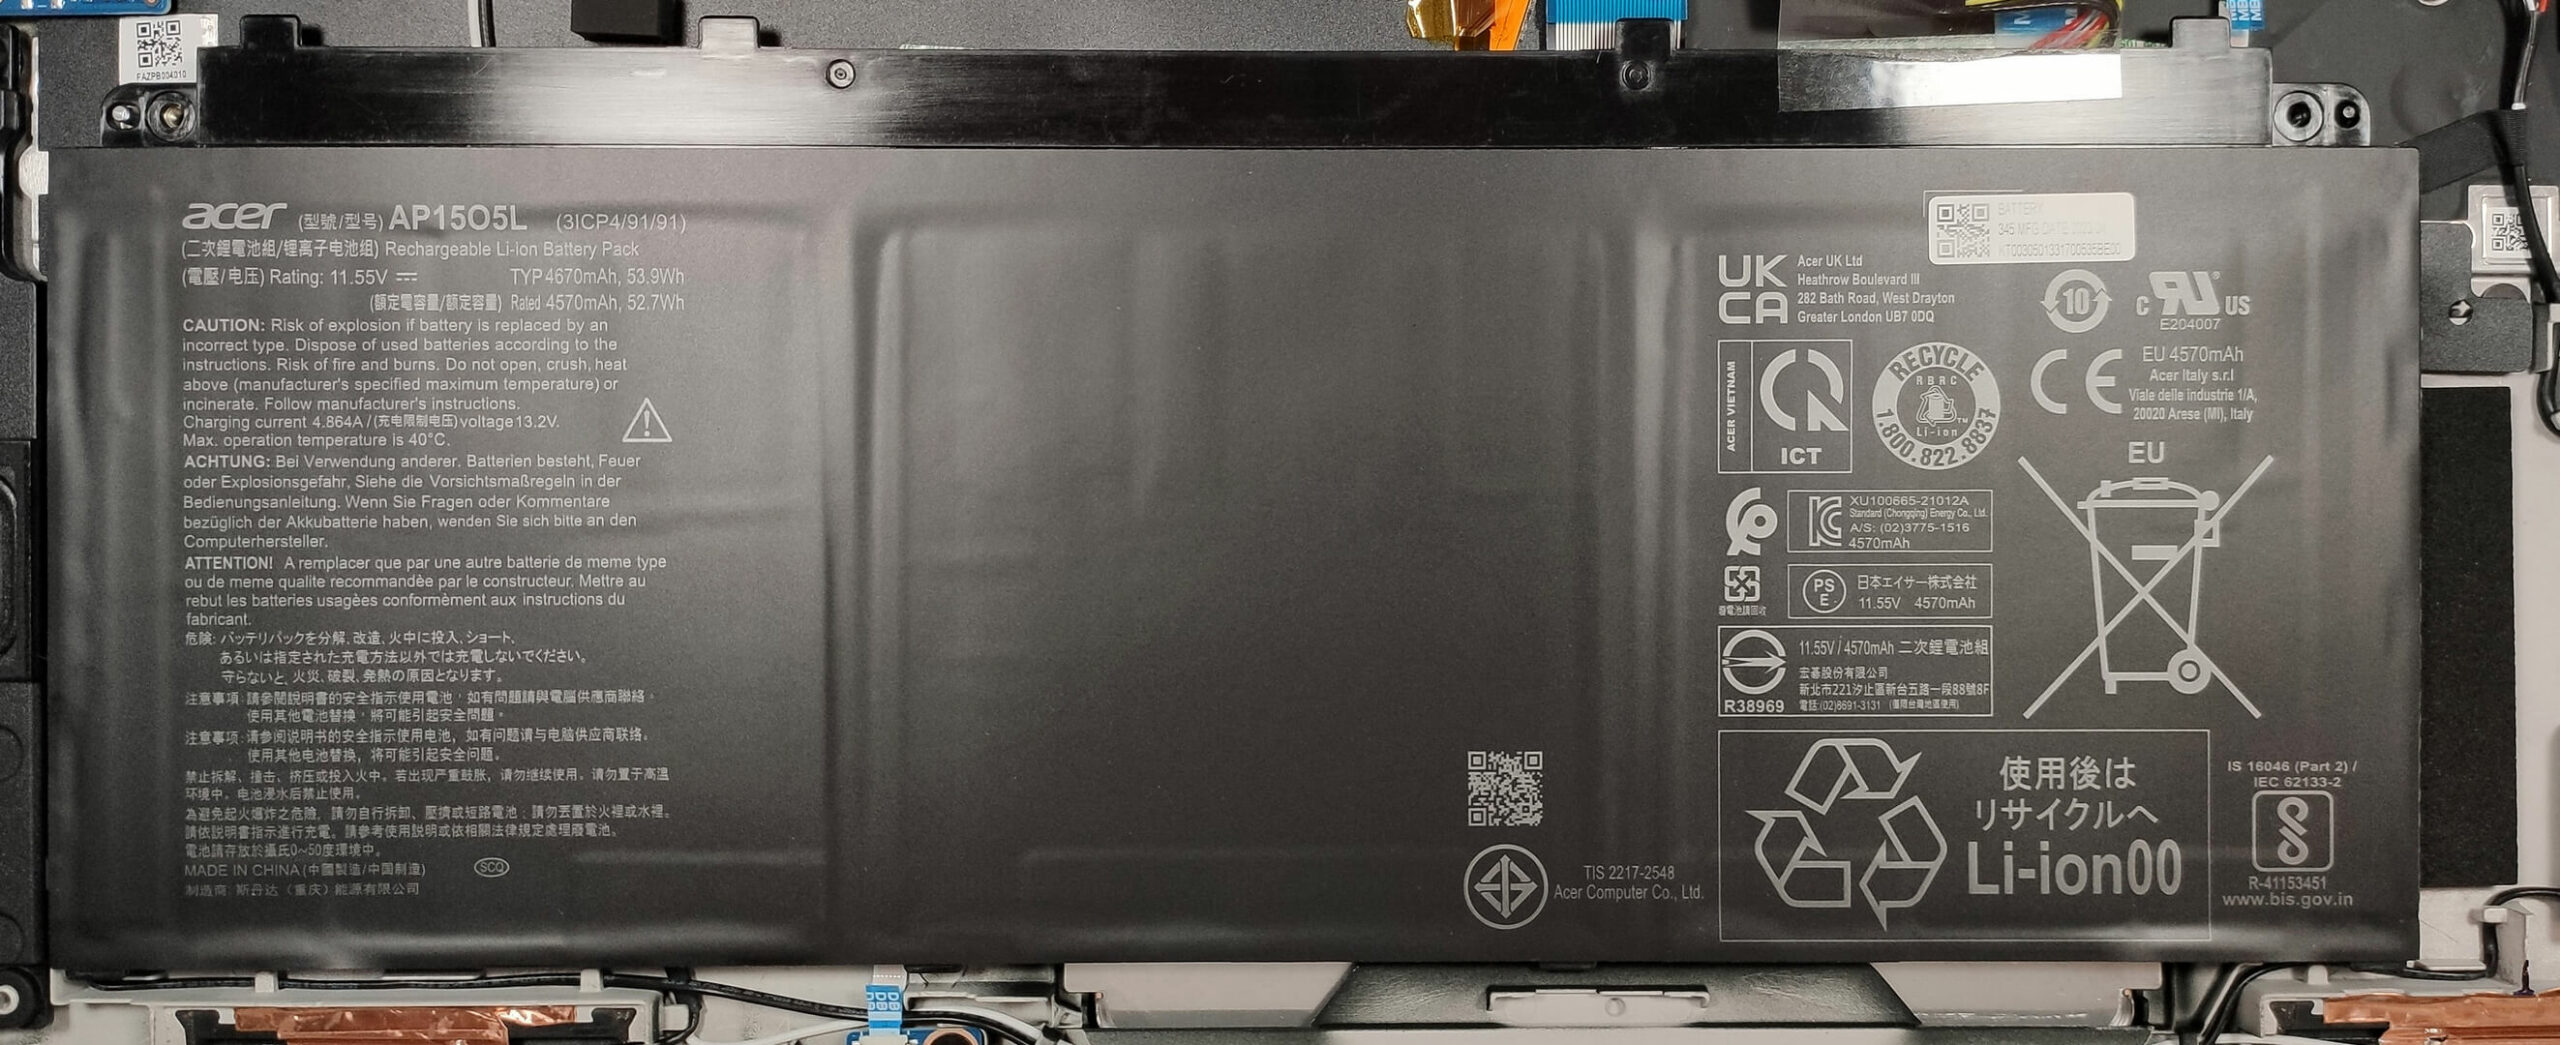
Battery
Caution: The battery is glued to the base with strong adhesive, making removal risky. Detaching the battery by force may cause it to bend or damage, so it’s advised not to attempt removing it.
Note: The Acer Swift Edge features a 54Wh battery capable of up to 6 hours and 40 minutes of web browsing or 5 hours and 53 minutes of video playback.
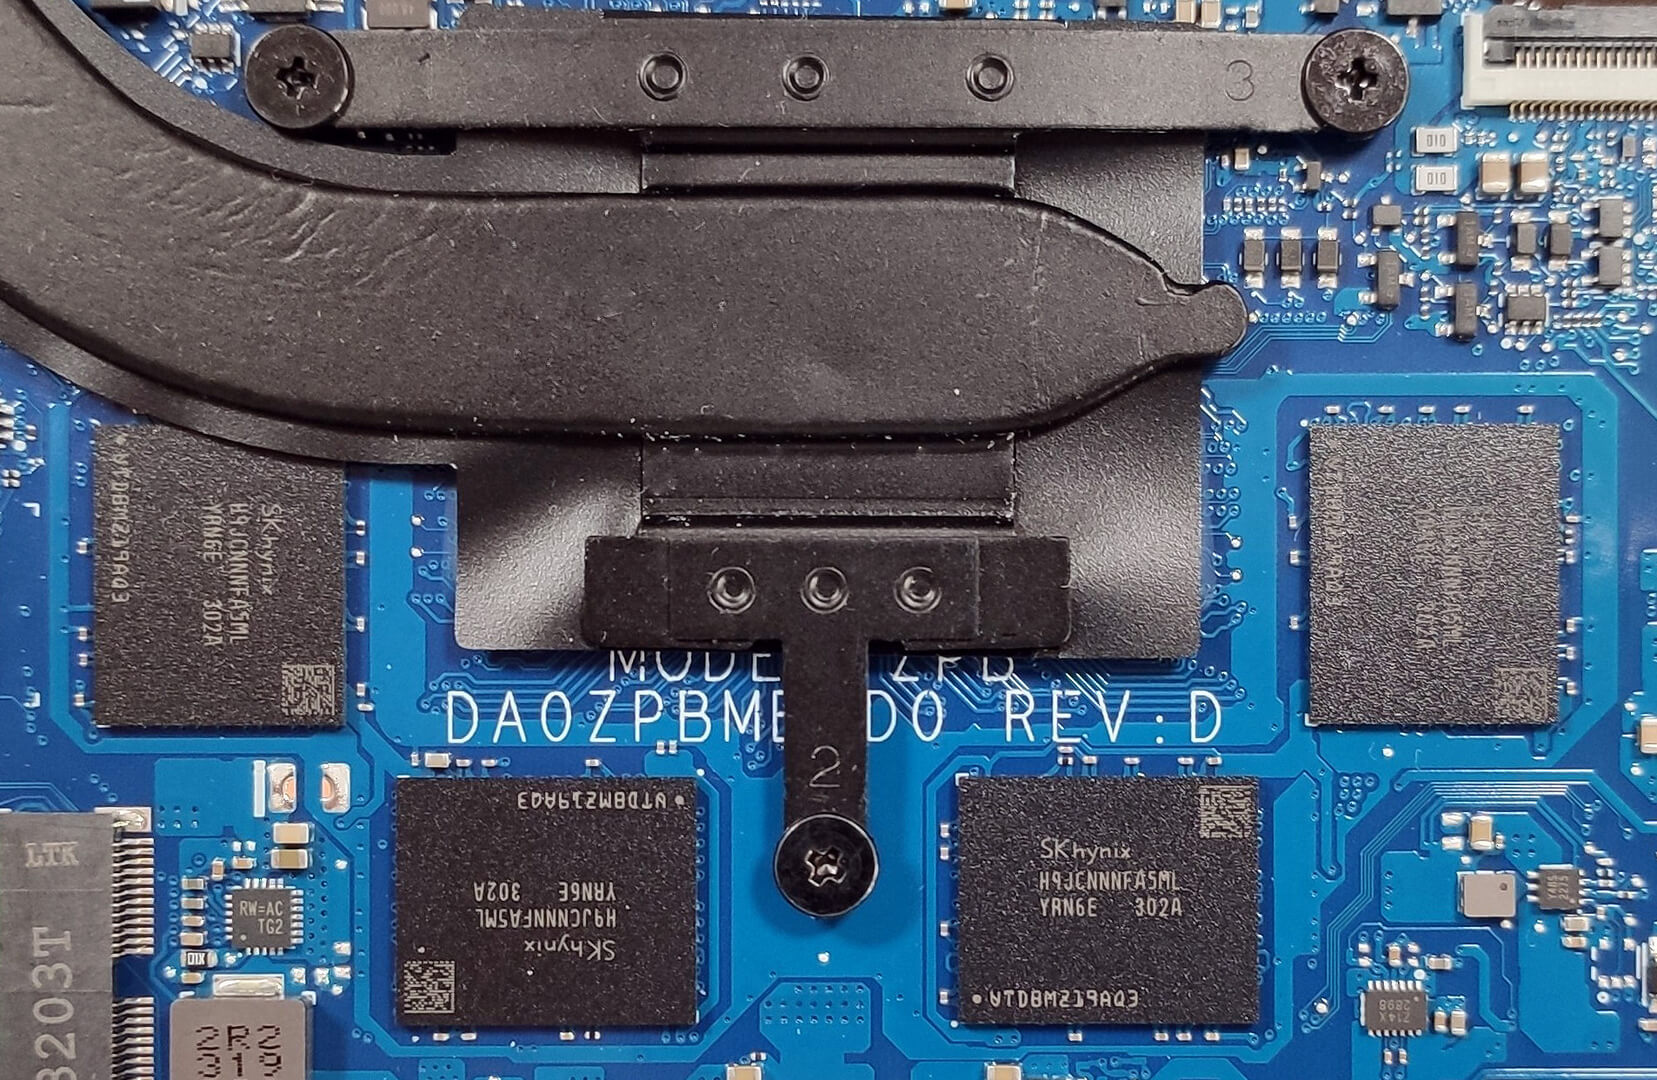
Memory Upgrade
The Acer Swift Edge comes with soldered memory and does not support RAM upgrades. The device is equipped with up to 32GB of LPDDR5 RAM in dual-channel configuration, providing good future-proofing.
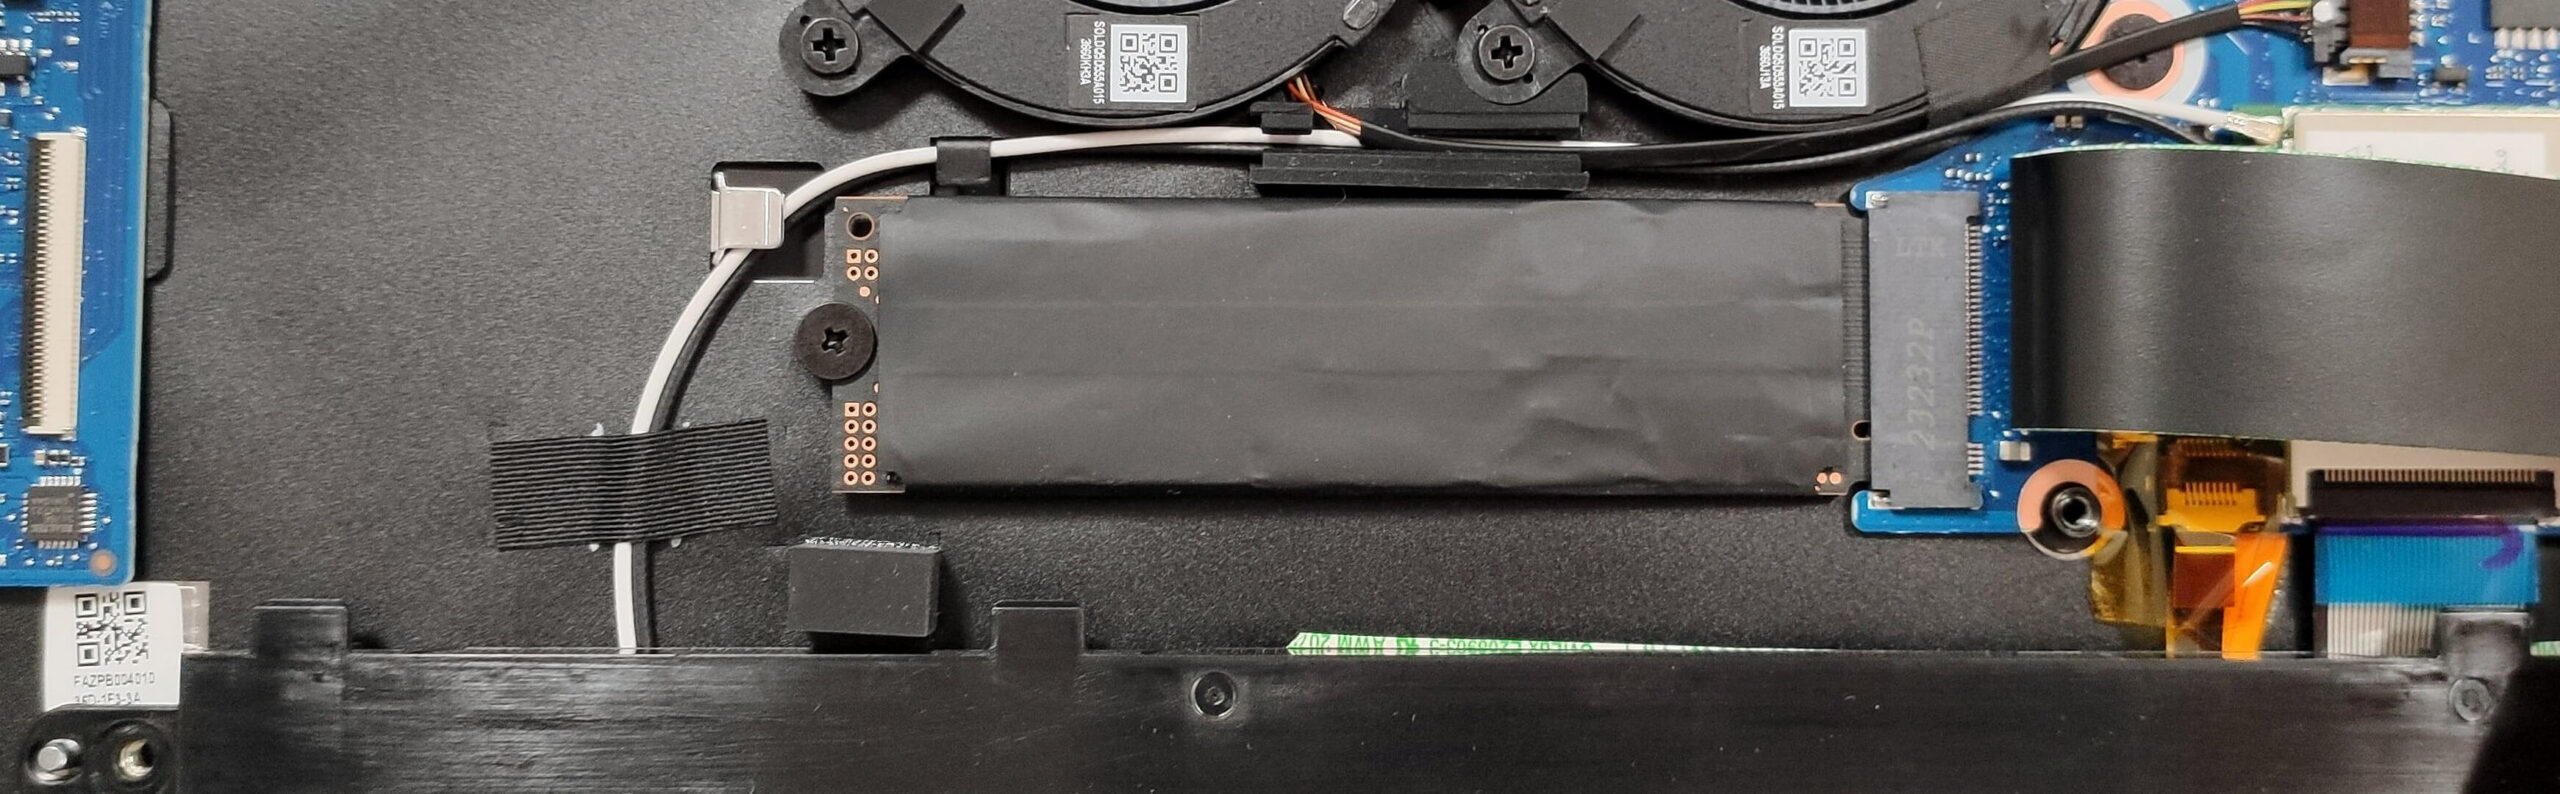
Storage Upgrade
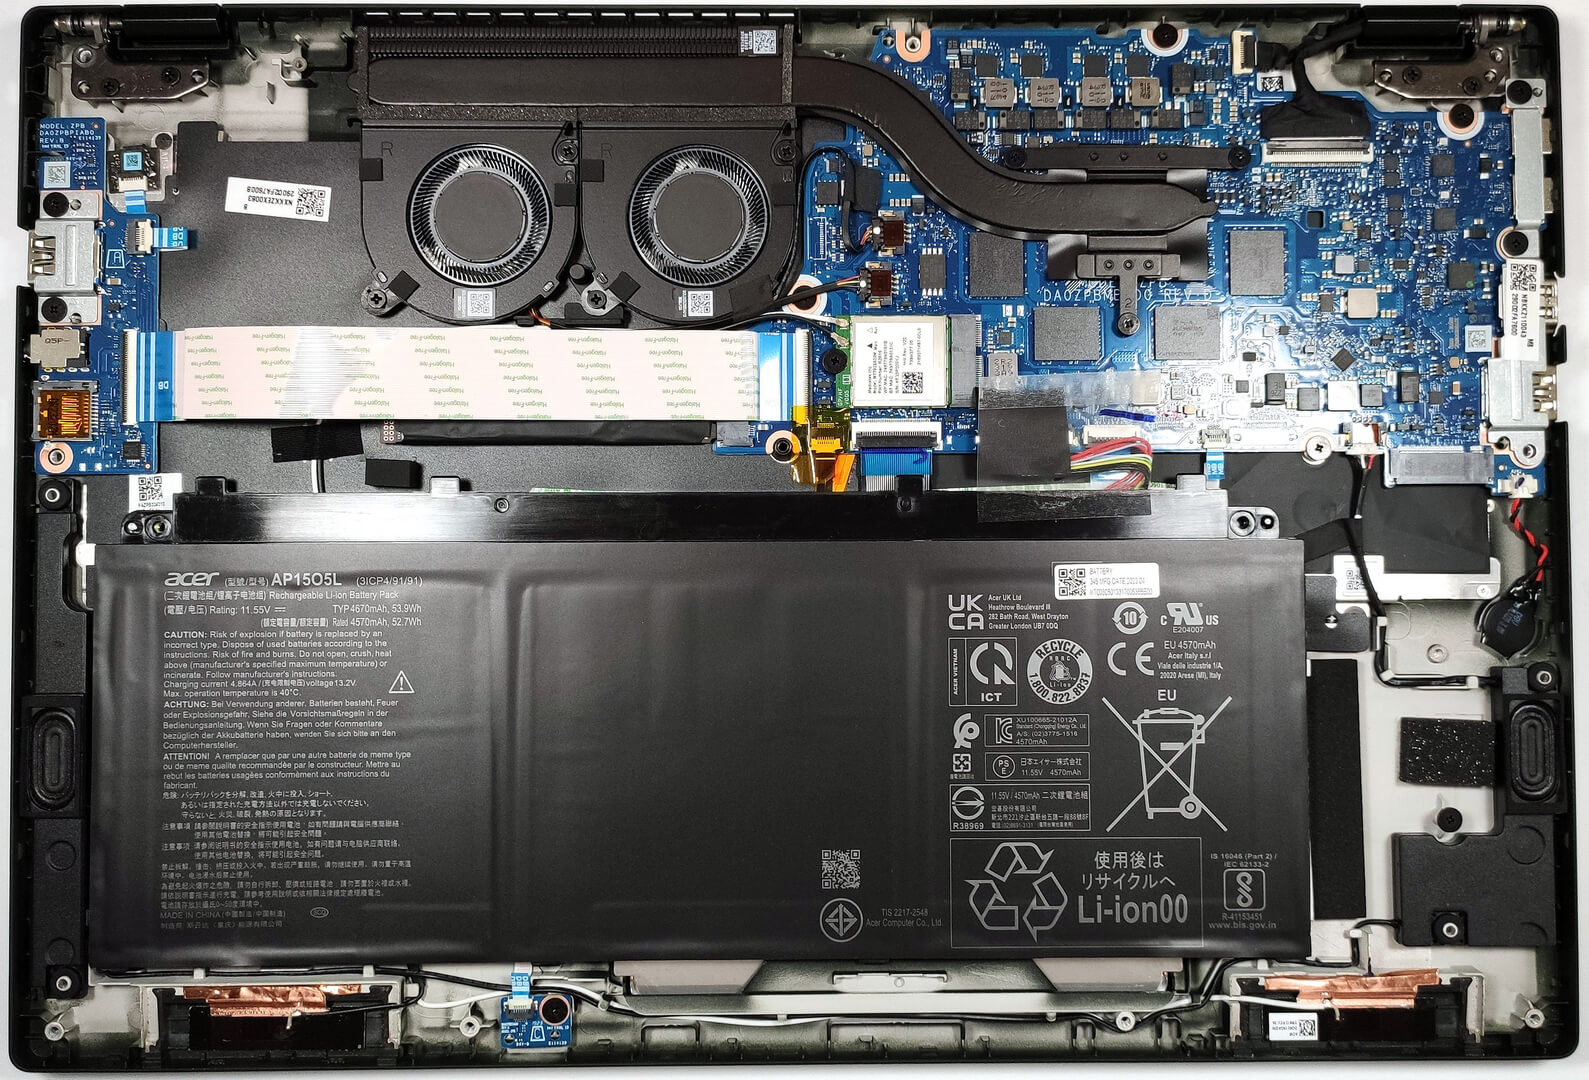
- Locate the two M.2 slots on the motherboard. One is easily visible, while the other is concealed beneath a ZIF ribbon connector.
- Carefully disconnect the ZIF ribbon connector to access the hidden M.2 slot.
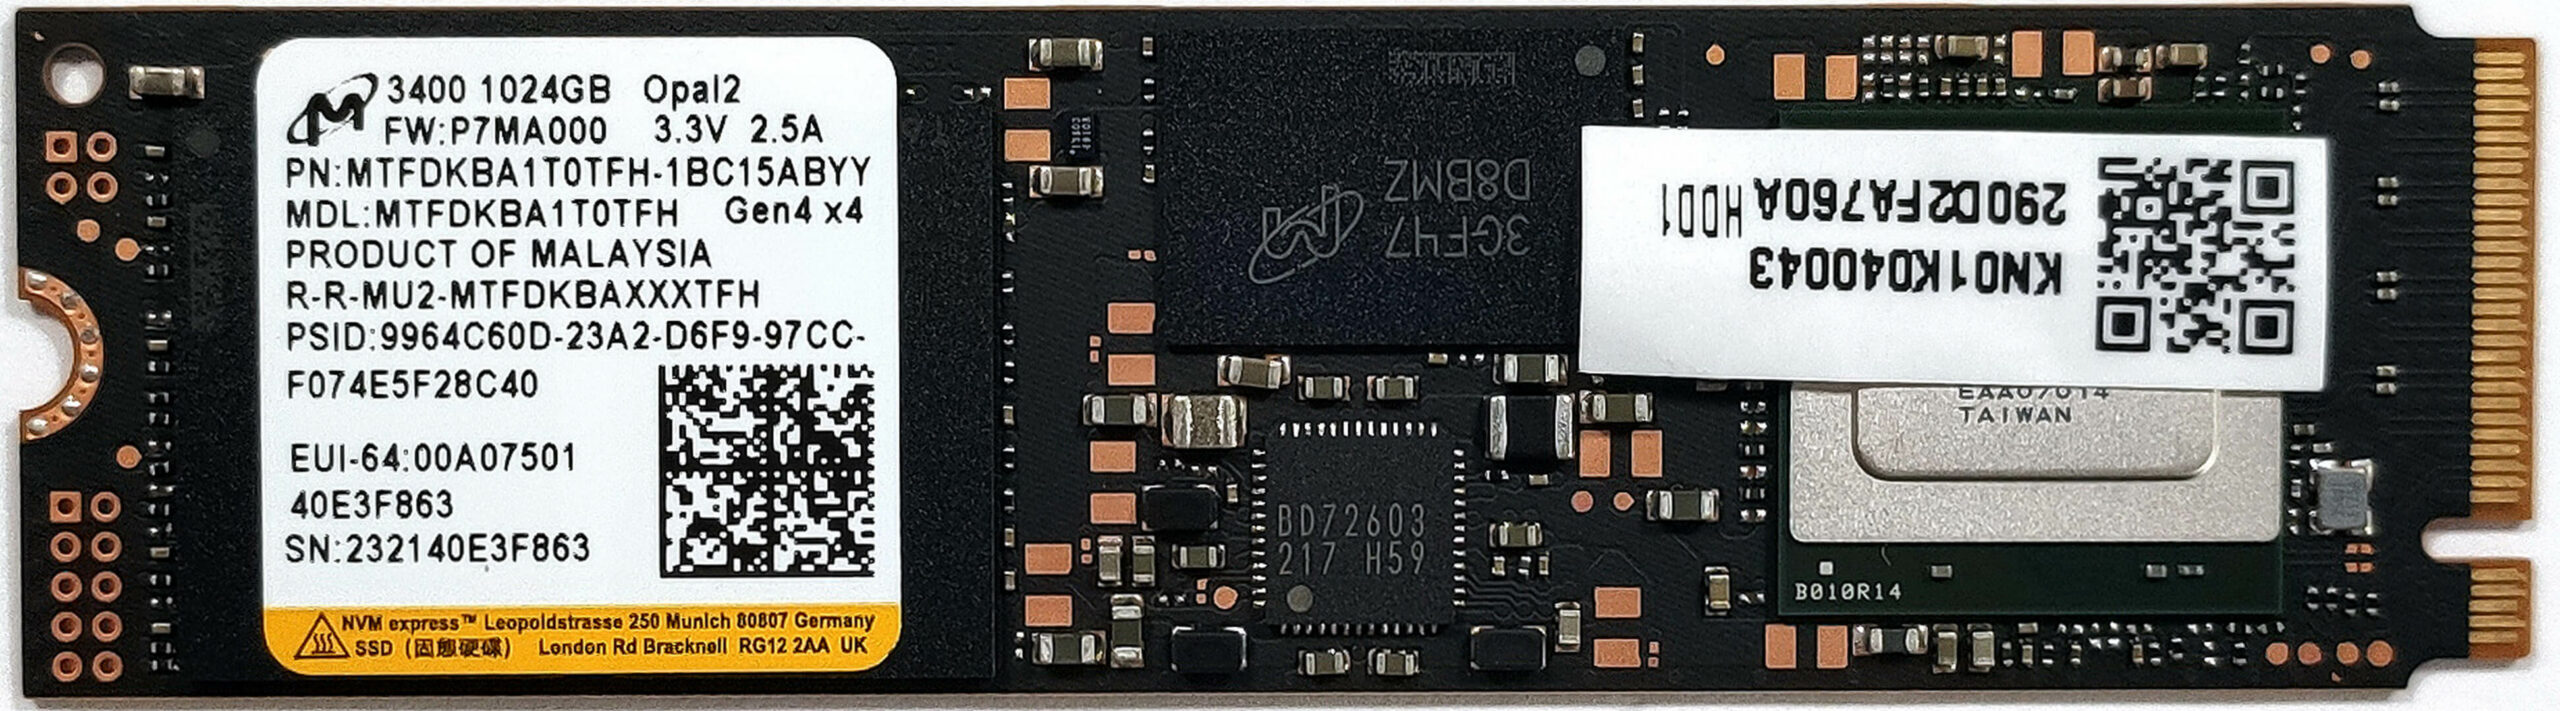
- Proceed to upgrade or add a new SSD as needed.
Hint: Don’t forget to check out our Top M.2 SSDs Performance Rankings for advice on choosing the best SSD.
You can buy Gen 4 SSDs here: Buy from Amazon.com (#CommissionsEarned)
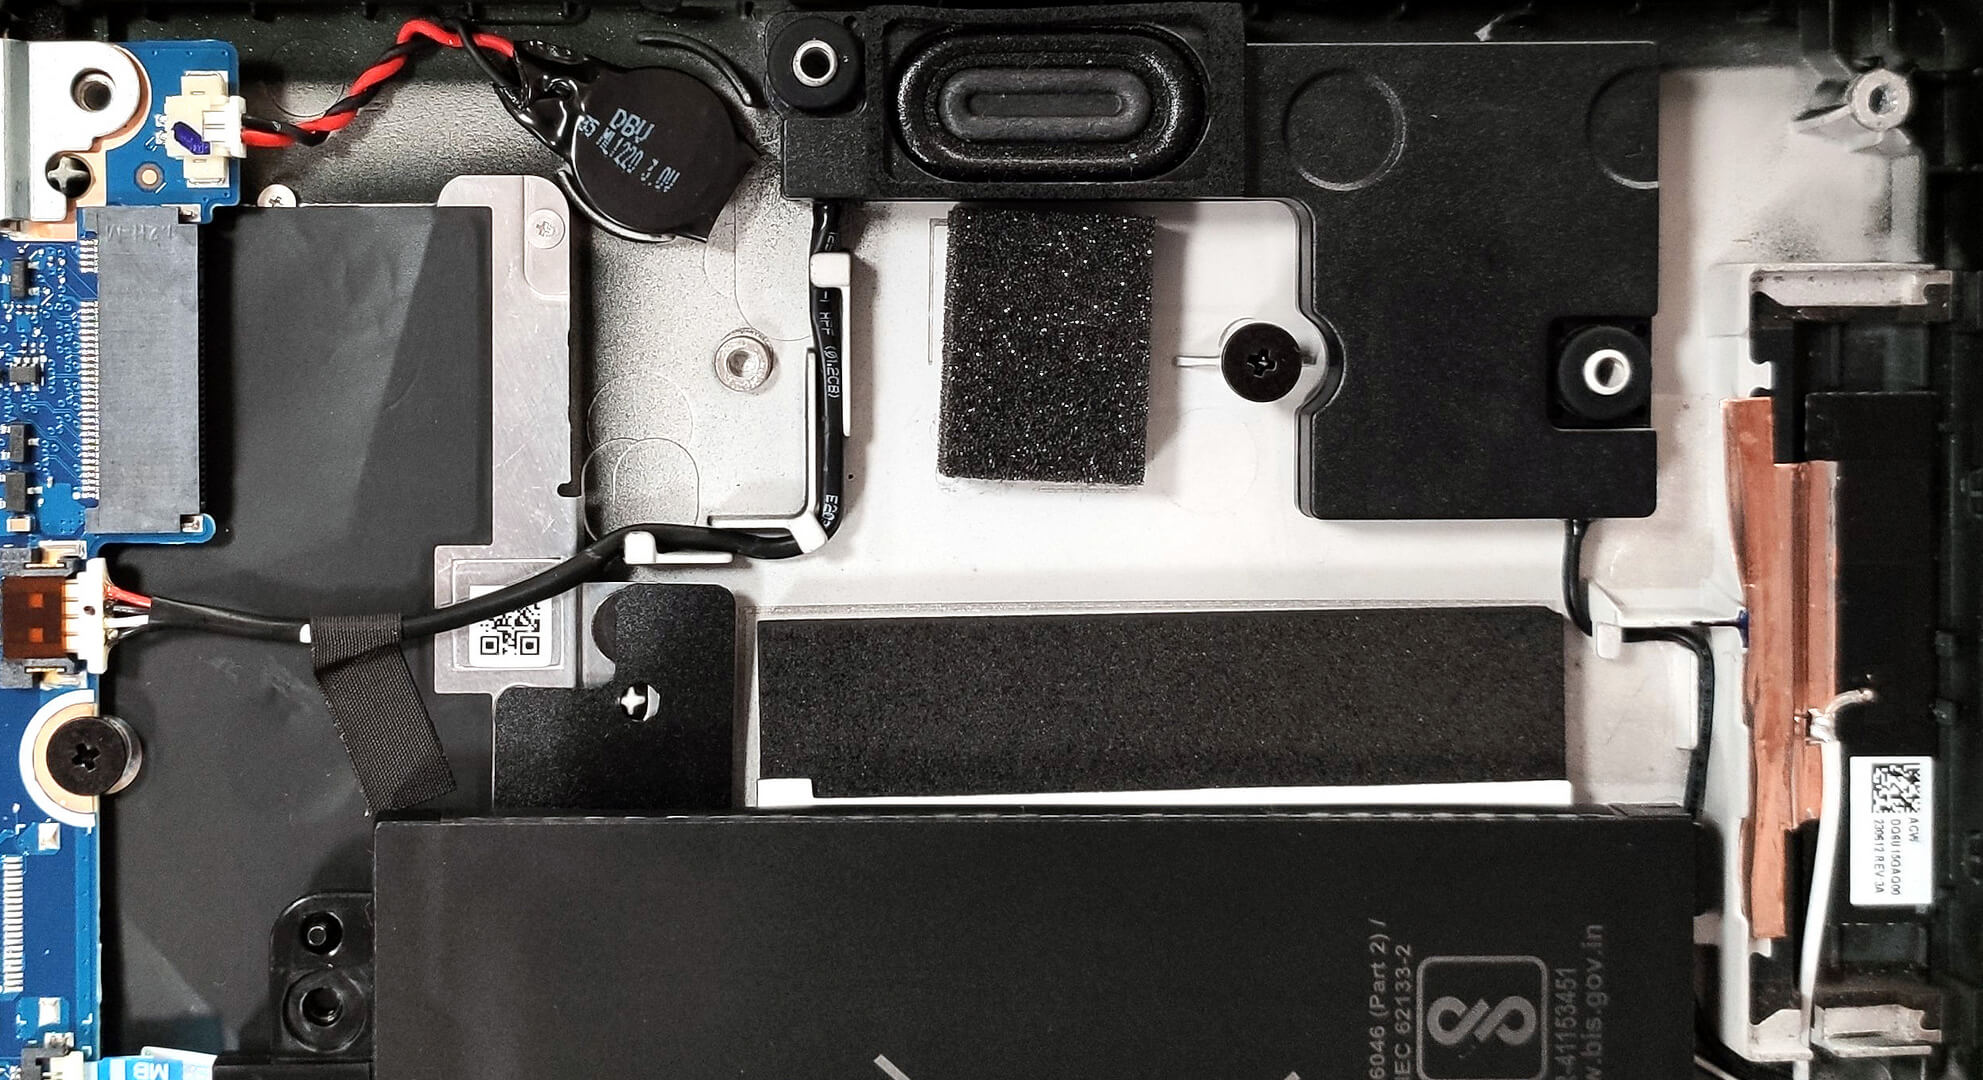
Cooling System
The cooling system includes two small fans, a single heat pipe, one heat sink, and a heat spreader for effective heat dissipation.


![[June 2026] Best-Selling Laptop Brands on Amazon Global – Apple’s Unrivaled Dominance in Units and Revenue](https://laptopmedia.com/wp-content/uploads/2026/07/GLOBAL-Best-Brands-400x225.jpg)
![[June 2026] Amazon Global: Top 10 Best-Selling Laptops – Apple’s New MacBook Neo Storms to #1, Reshaping the Market with Affordability](https://laptopmedia.com/wp-content/uploads/2026/07/Best-Selling-Laptops-GLOBAL-Top-10-400x225.jpg)
![[June 2026] Amazon Global: Top 10 Best-Selling Gaming Laptops – Acer’s Nitro V 16S AI Dominates Sales, While ASUS Leads Overall Revenue](https://laptopmedia.com/wp-content/uploads/2026/07/Best-Selling-Gaming-Laptops-GLOBAL-Top-10-400x225.jpg)
![[June 2026] Global Ranking of Best-Selling Laptop GPUs on Amazon – NVIDIA RTX 5060 is the Top-Selling Dedicated GPU](https://laptopmedia.com/wp-content/uploads/2026/07/Best-Selling-GPUs-GLOBAL-Top-10-400x225.jpg)
![[June 2026] Global Ranking of Best-Selling Laptop CPUs on Amazon – Apple M5 Dominates, AMD Ryzen 7 260 Gets Solid Premium Share](https://laptopmedia.com/wp-content/uploads/2026/07/Best-Selling-CPUs-GLOBAL-Top-10-400x225.jpg)
