How to open Lenovo ThinkPad L14 Gen 4 (Intel) – disassembly and upgrade options
Step 1: Opening the Laptop
- Ensure the Lenovo ThinkPad L14 Gen 4 (Intel) is powered off and placed on a soft, clean surface to prevent scratches or damage.
- Remove the 11 Phillips-head screws from the bottom of the laptop. Note that the screws on the bottom are captive, which will slightly raise the panel.
- Eject the SIM card tray before prying the bottom panel.
- Use a plastic tool to gently work your way around the sides and the back to remove the panel.
Hint: Proceed with caution to avoid damaging the internal clips or the laptop casing.
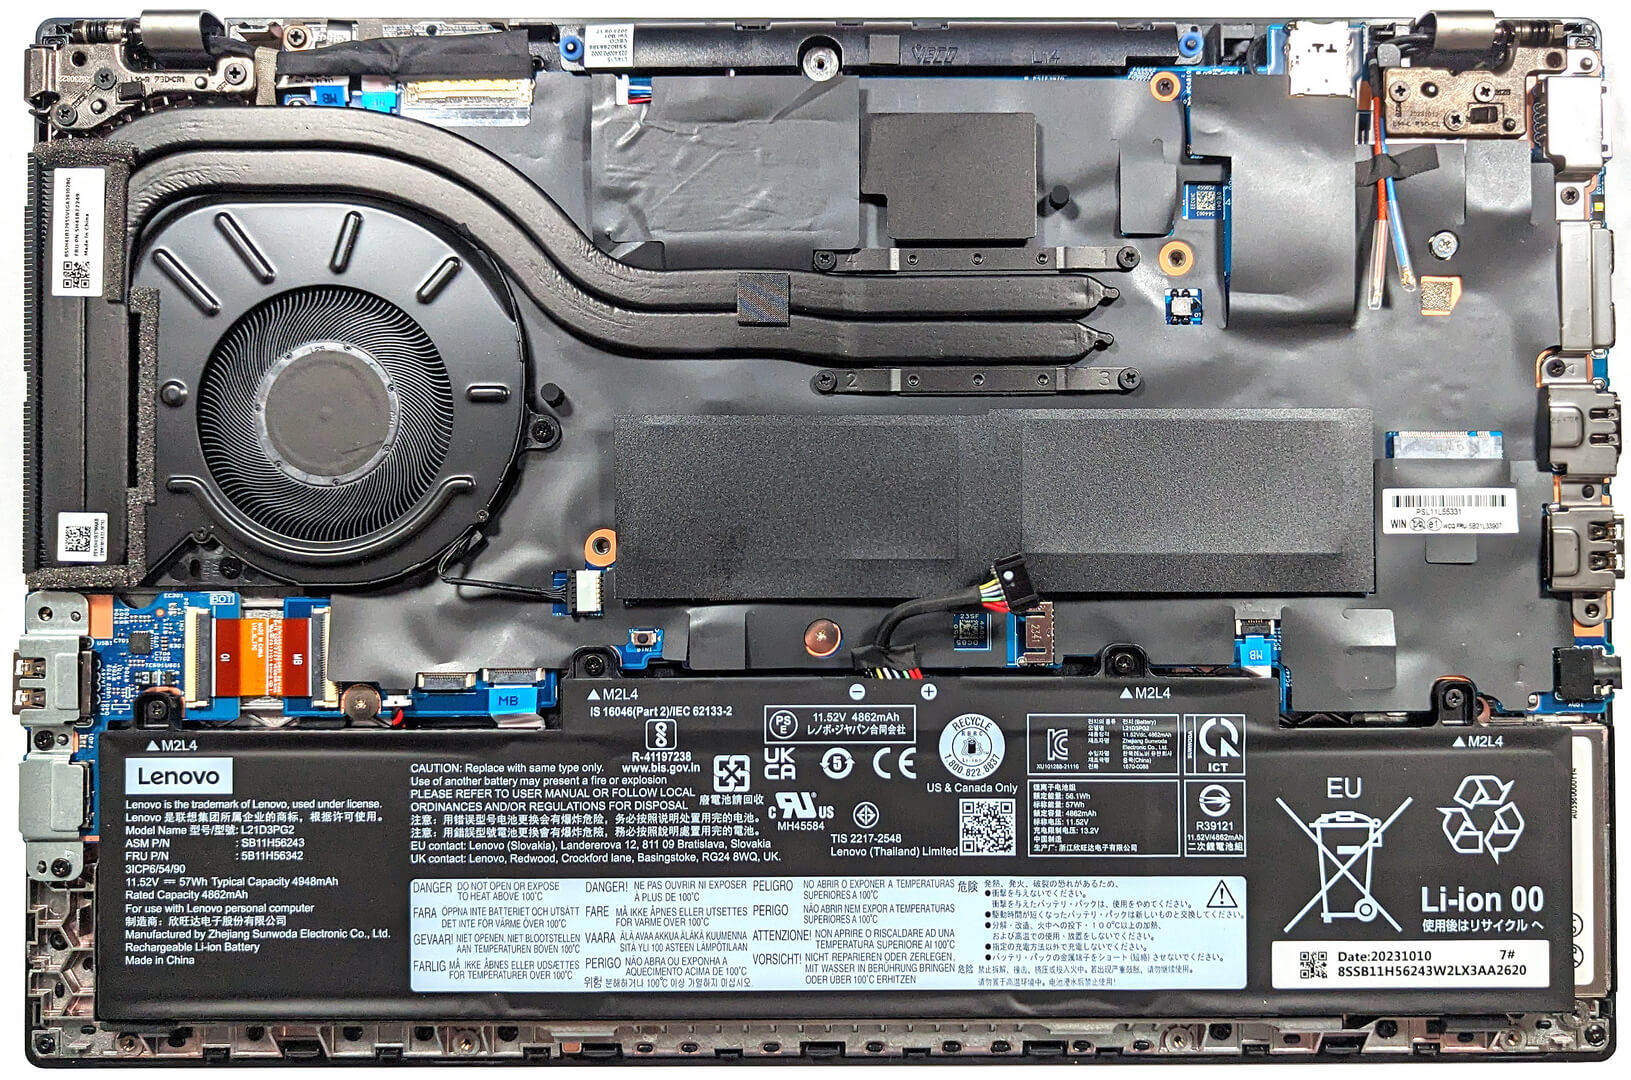
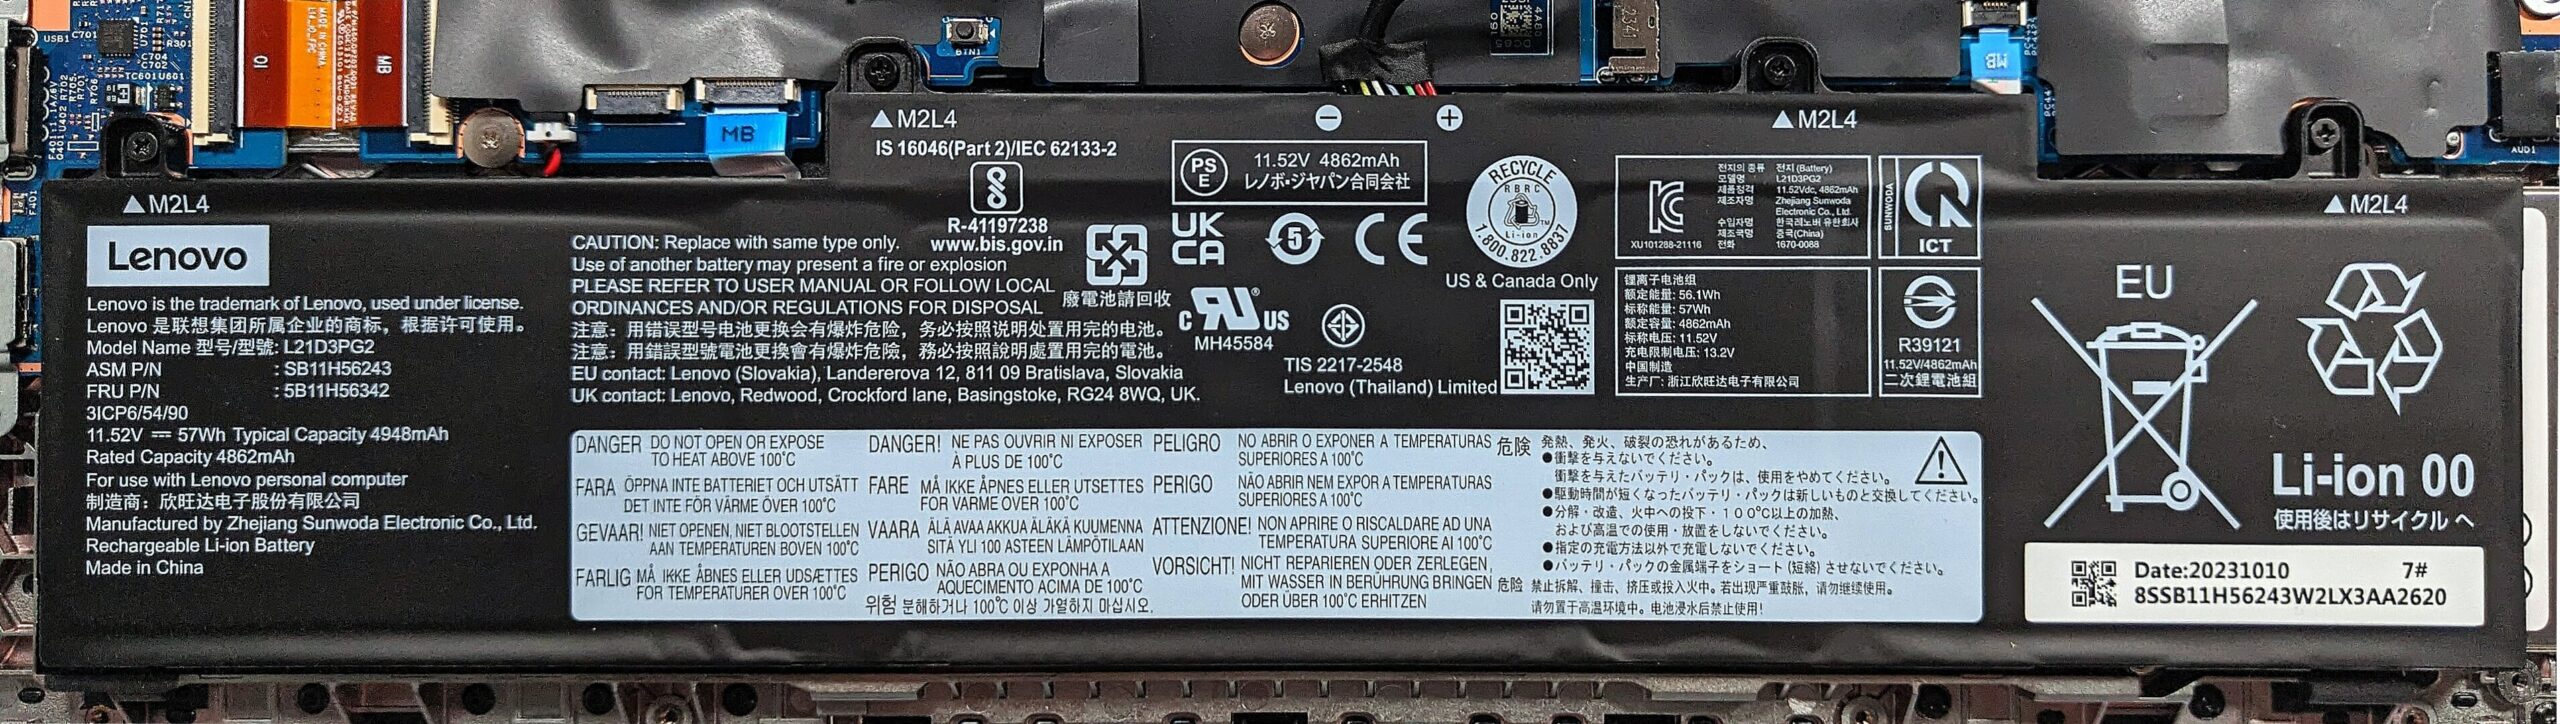
Step 2: Removing the Battery
- Disconnect the battery by detaching its connector from the motherboard.
- Undo the four Phillips-head screws securing the battery to the laptop’s chassis, then remove the optional 57Wh battery from the device.
Caution: Handle the battery and its connector with care to avoid any damage.
More info: The laptop comes with a choice of batteries: a 46.5Wh default version, an optional 57Wh, or a top-tier 63Wh variant, each providing different levels of battery life.
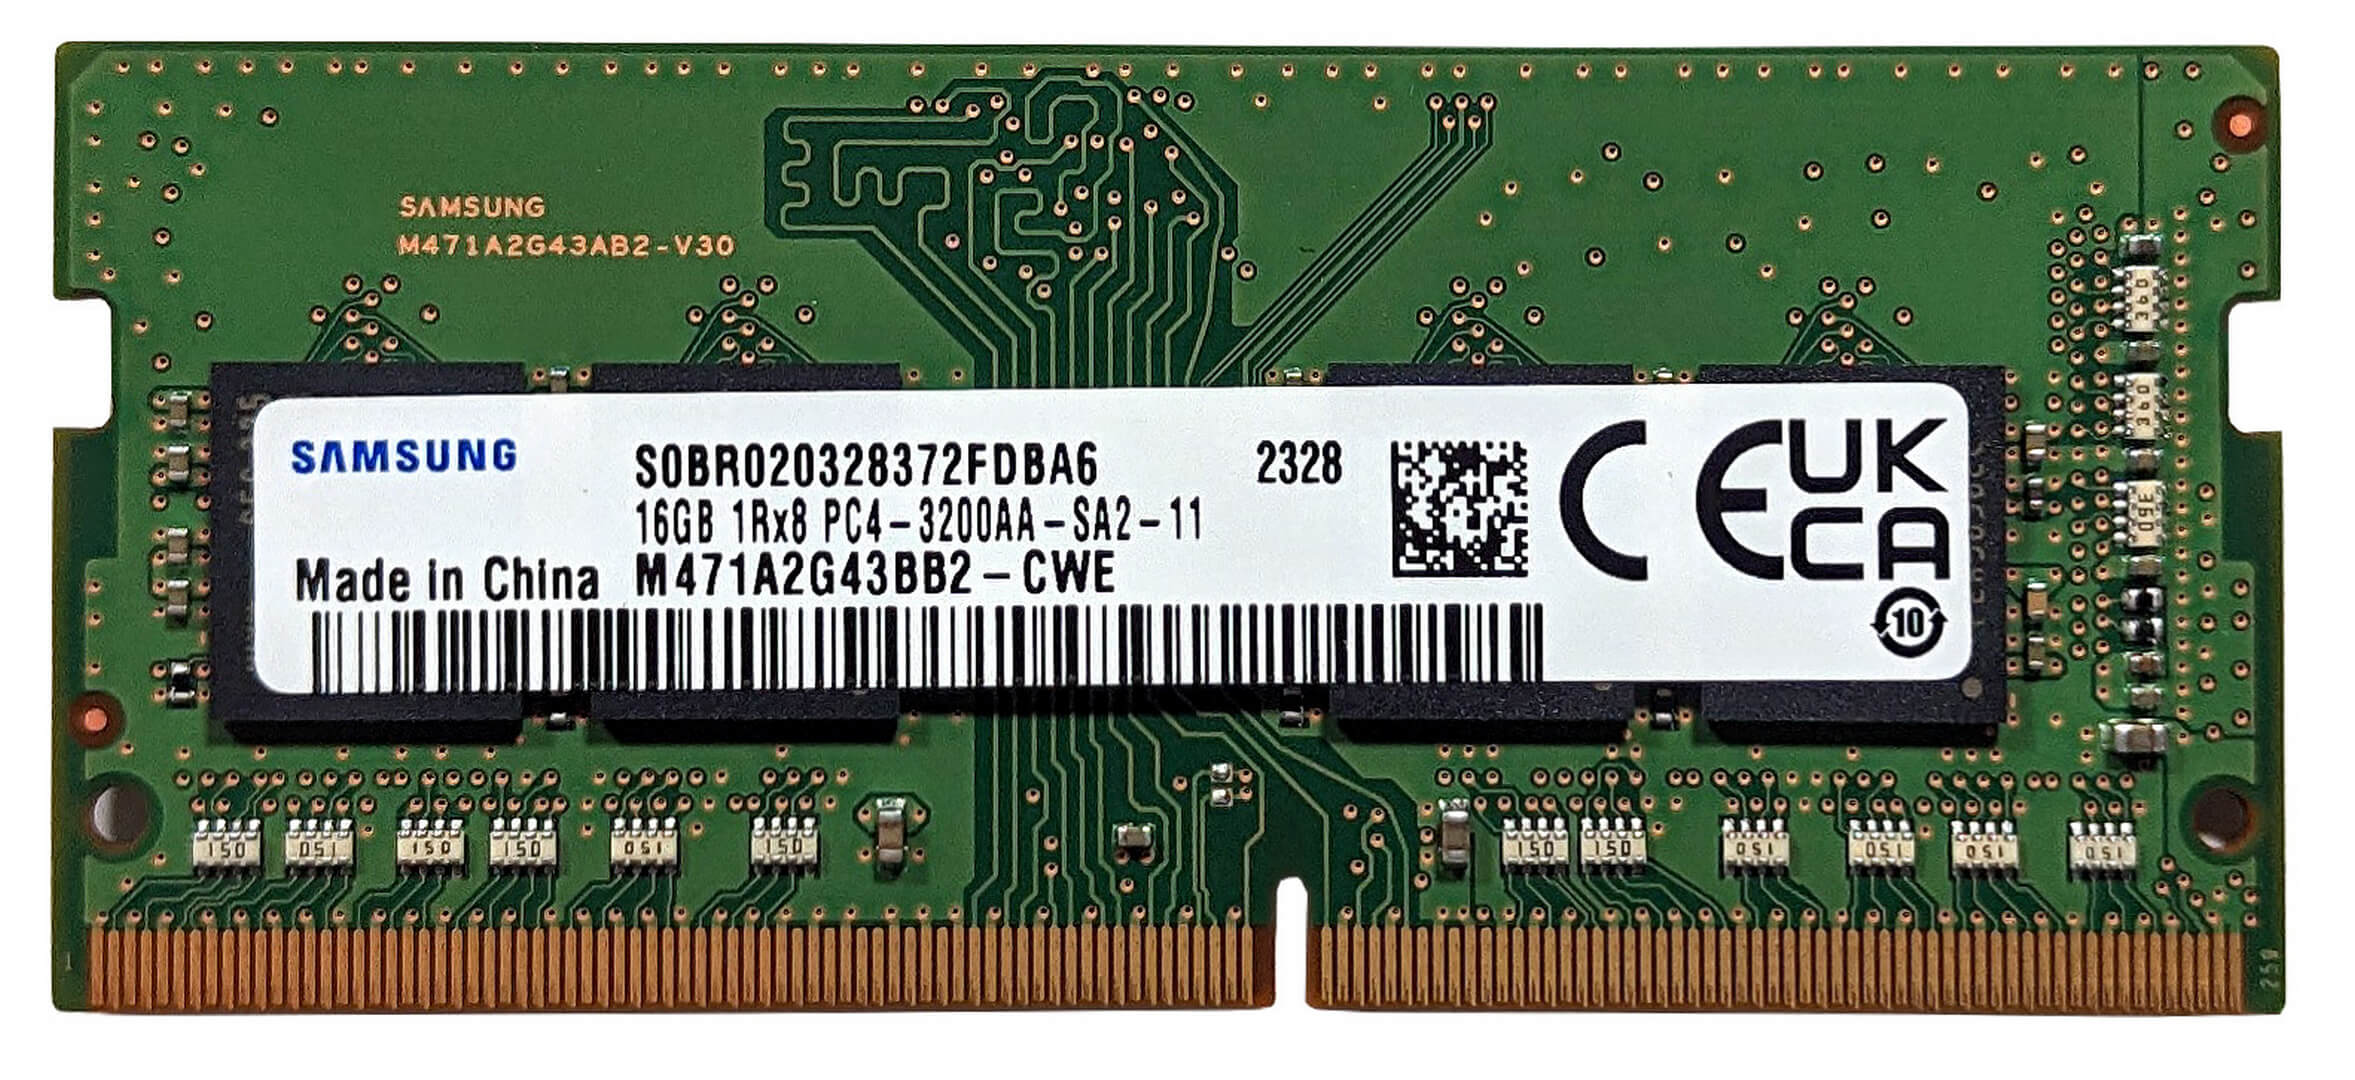
Memory Upgrade
- Locate the two SODIMM slots that support up to 64GB of DDR4-3200 MHz RAM in dual-channel mode.
- Consider upgrading the RAM to maximize performance, especially for multitasking and demanding applications.
Hint: Maximizing RAM in dual-channel mode can significantly enhance system performance.
You can buy DDR4 RAM modules here: Buy from Amazon.com (#CommissionsEarned)

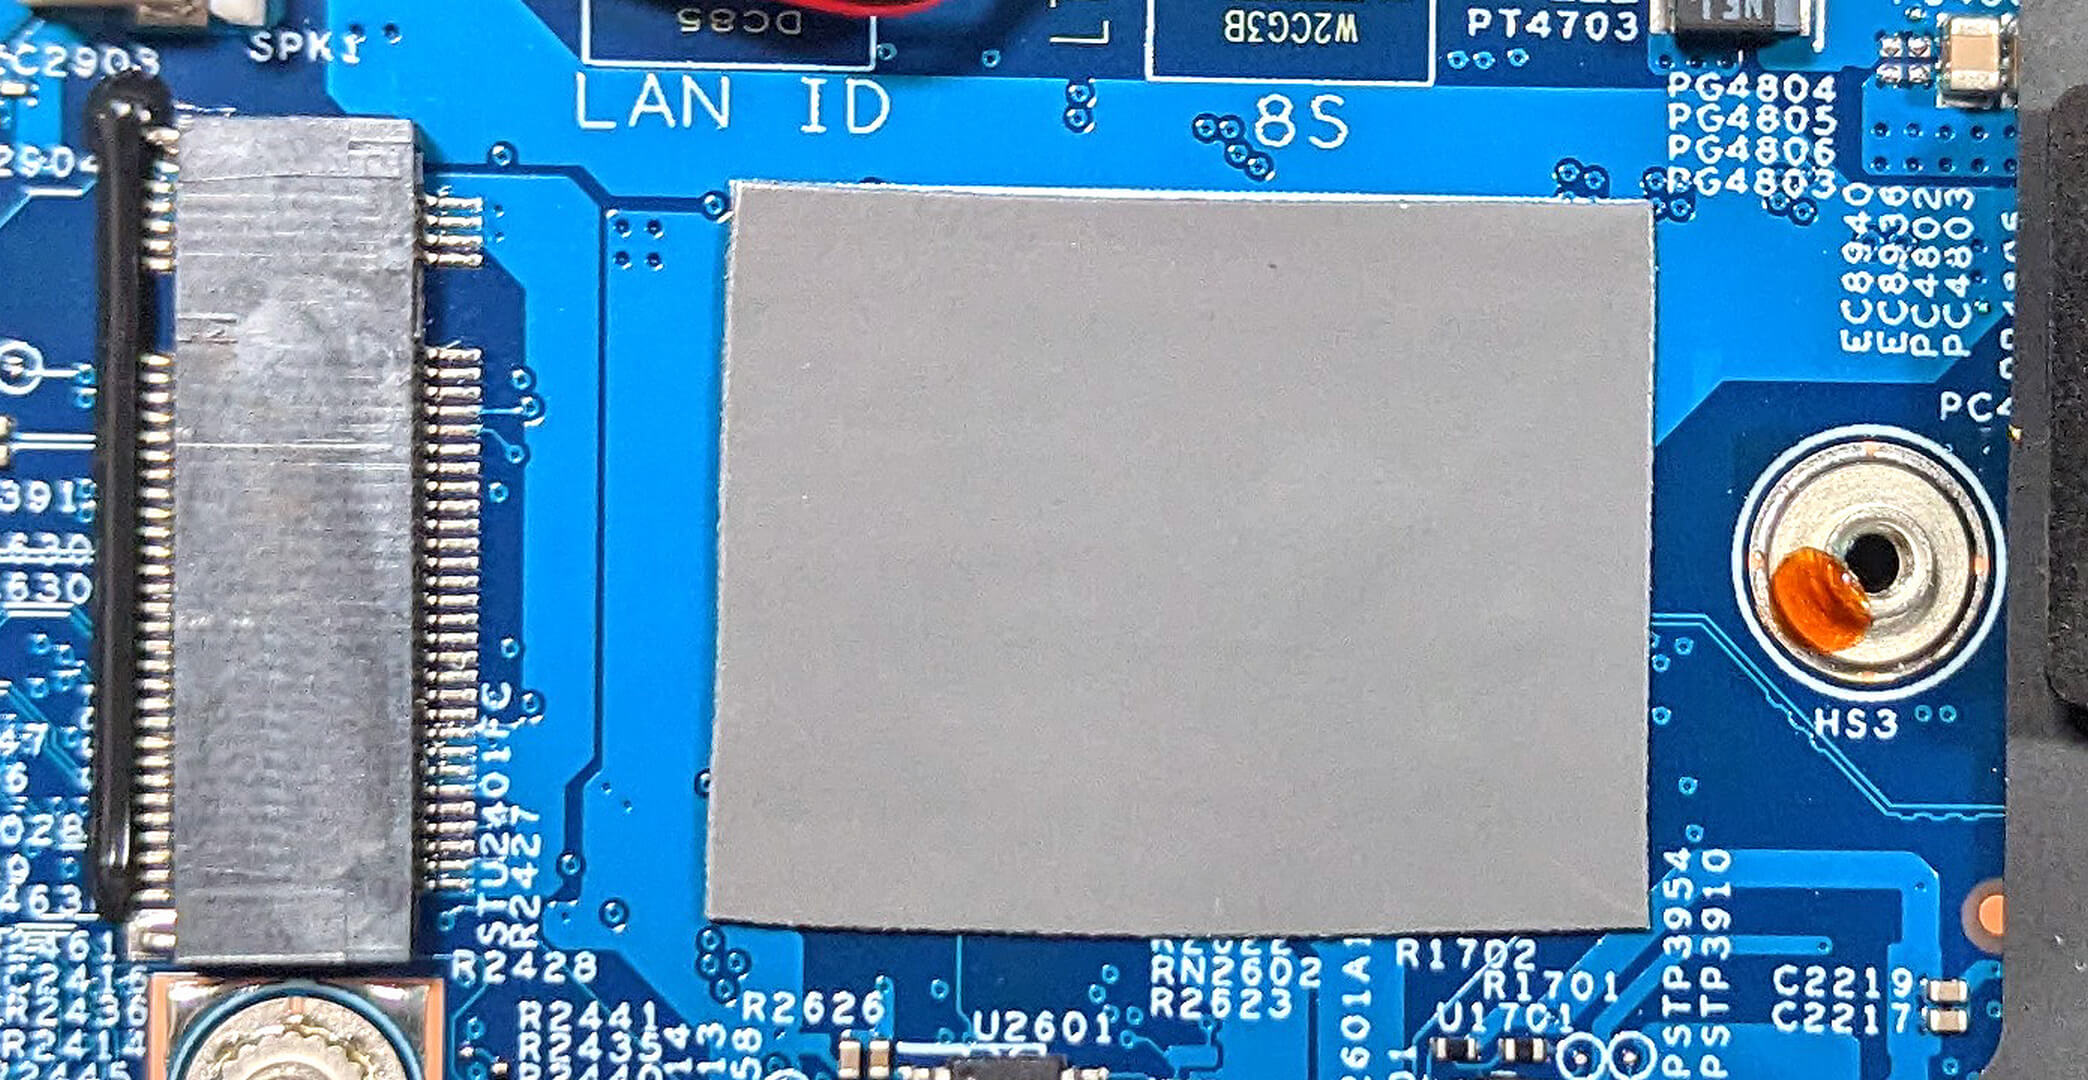
Storage Upgrade
- Identify the single M.2 slot compatible with 2242 Gen 4 SSDs for a potential storage upgrade.
- Note the presence of a metal plate with a thermal pad on the inside for cooling the NVMe SSD, along with an additional pad below the SSD for enhanced thermal management.
You can buy Gen 4 M.2 SSD modules here: Buy from Amazon.com (#CommissionsEarned)


Examining the Cooling System
Inspect the cooling system, which includes one large fan, two long heat pipes, a heat sink, and a heat spreader. Note that the area where the heat sink attaches to the pipes is not directly fixed to the chassis, allowing for some movement of the pipes.
Caution: Be careful when handling the heat pipes to avoid any potential damage.