Inside Dell Vostro 3591 – disassembly and upgrade options
A dated look of a 2020 device is nothing uncommon. In order to keep the budget low-enough, manufacturers use well-polished several generations-old chassis. However, inside we find an Ice Lake processor with some decent upgradability options – take a look.
Check out all Dell Vostro 3591 prices and configurations in our Specs System or read more in our In-Depth review.
1. Remove the bottom plate
Getting inside of this laptop is fairly easy. It requires a Phillips screwdriver, as well as a plastic pry tool. First, you need to unscrew all 10 of the screws, holding the bottom plate onto the chassis. Then, turn the laptop around and open the lid. Here, you would like to start the prying process around the touchpad area. Then slowly make your way around the device. After that, just turn it upside down and lift the bottom plate away.

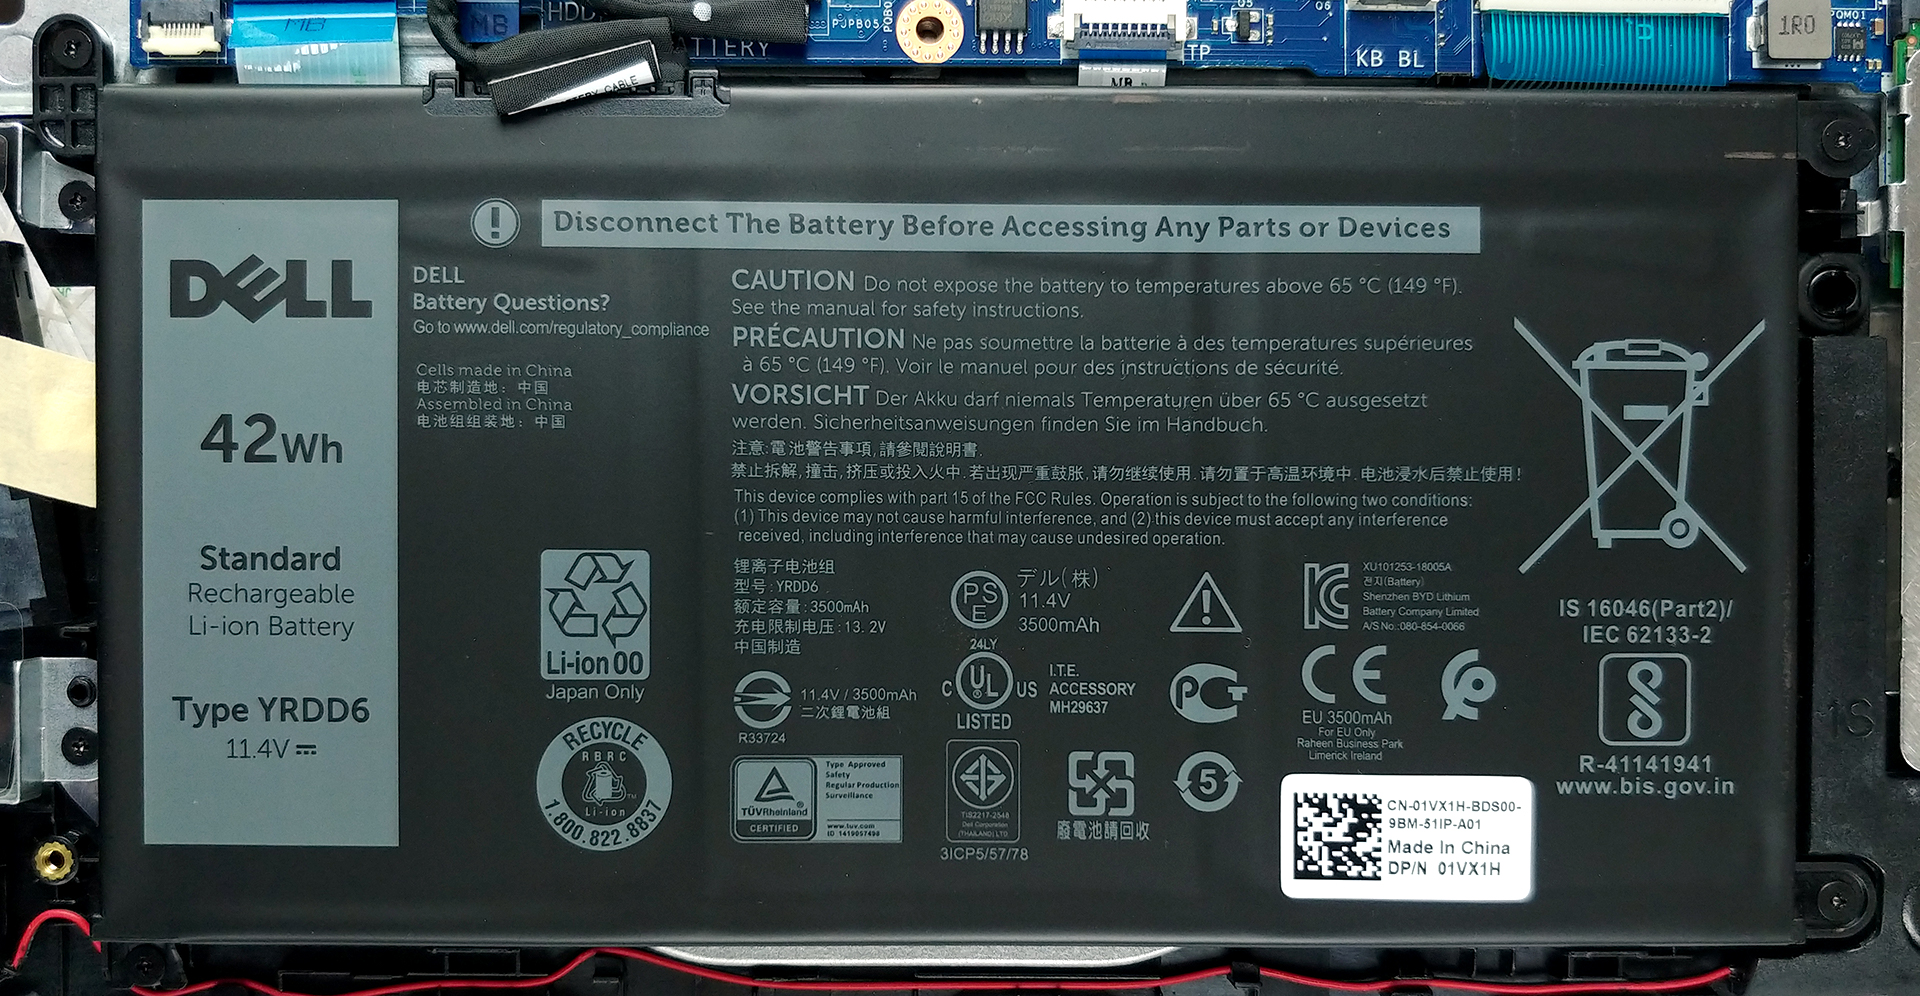
2. Battery
First, there is a 42Wh battery pack powering the notebook, when you don’t have it connected to the wall.
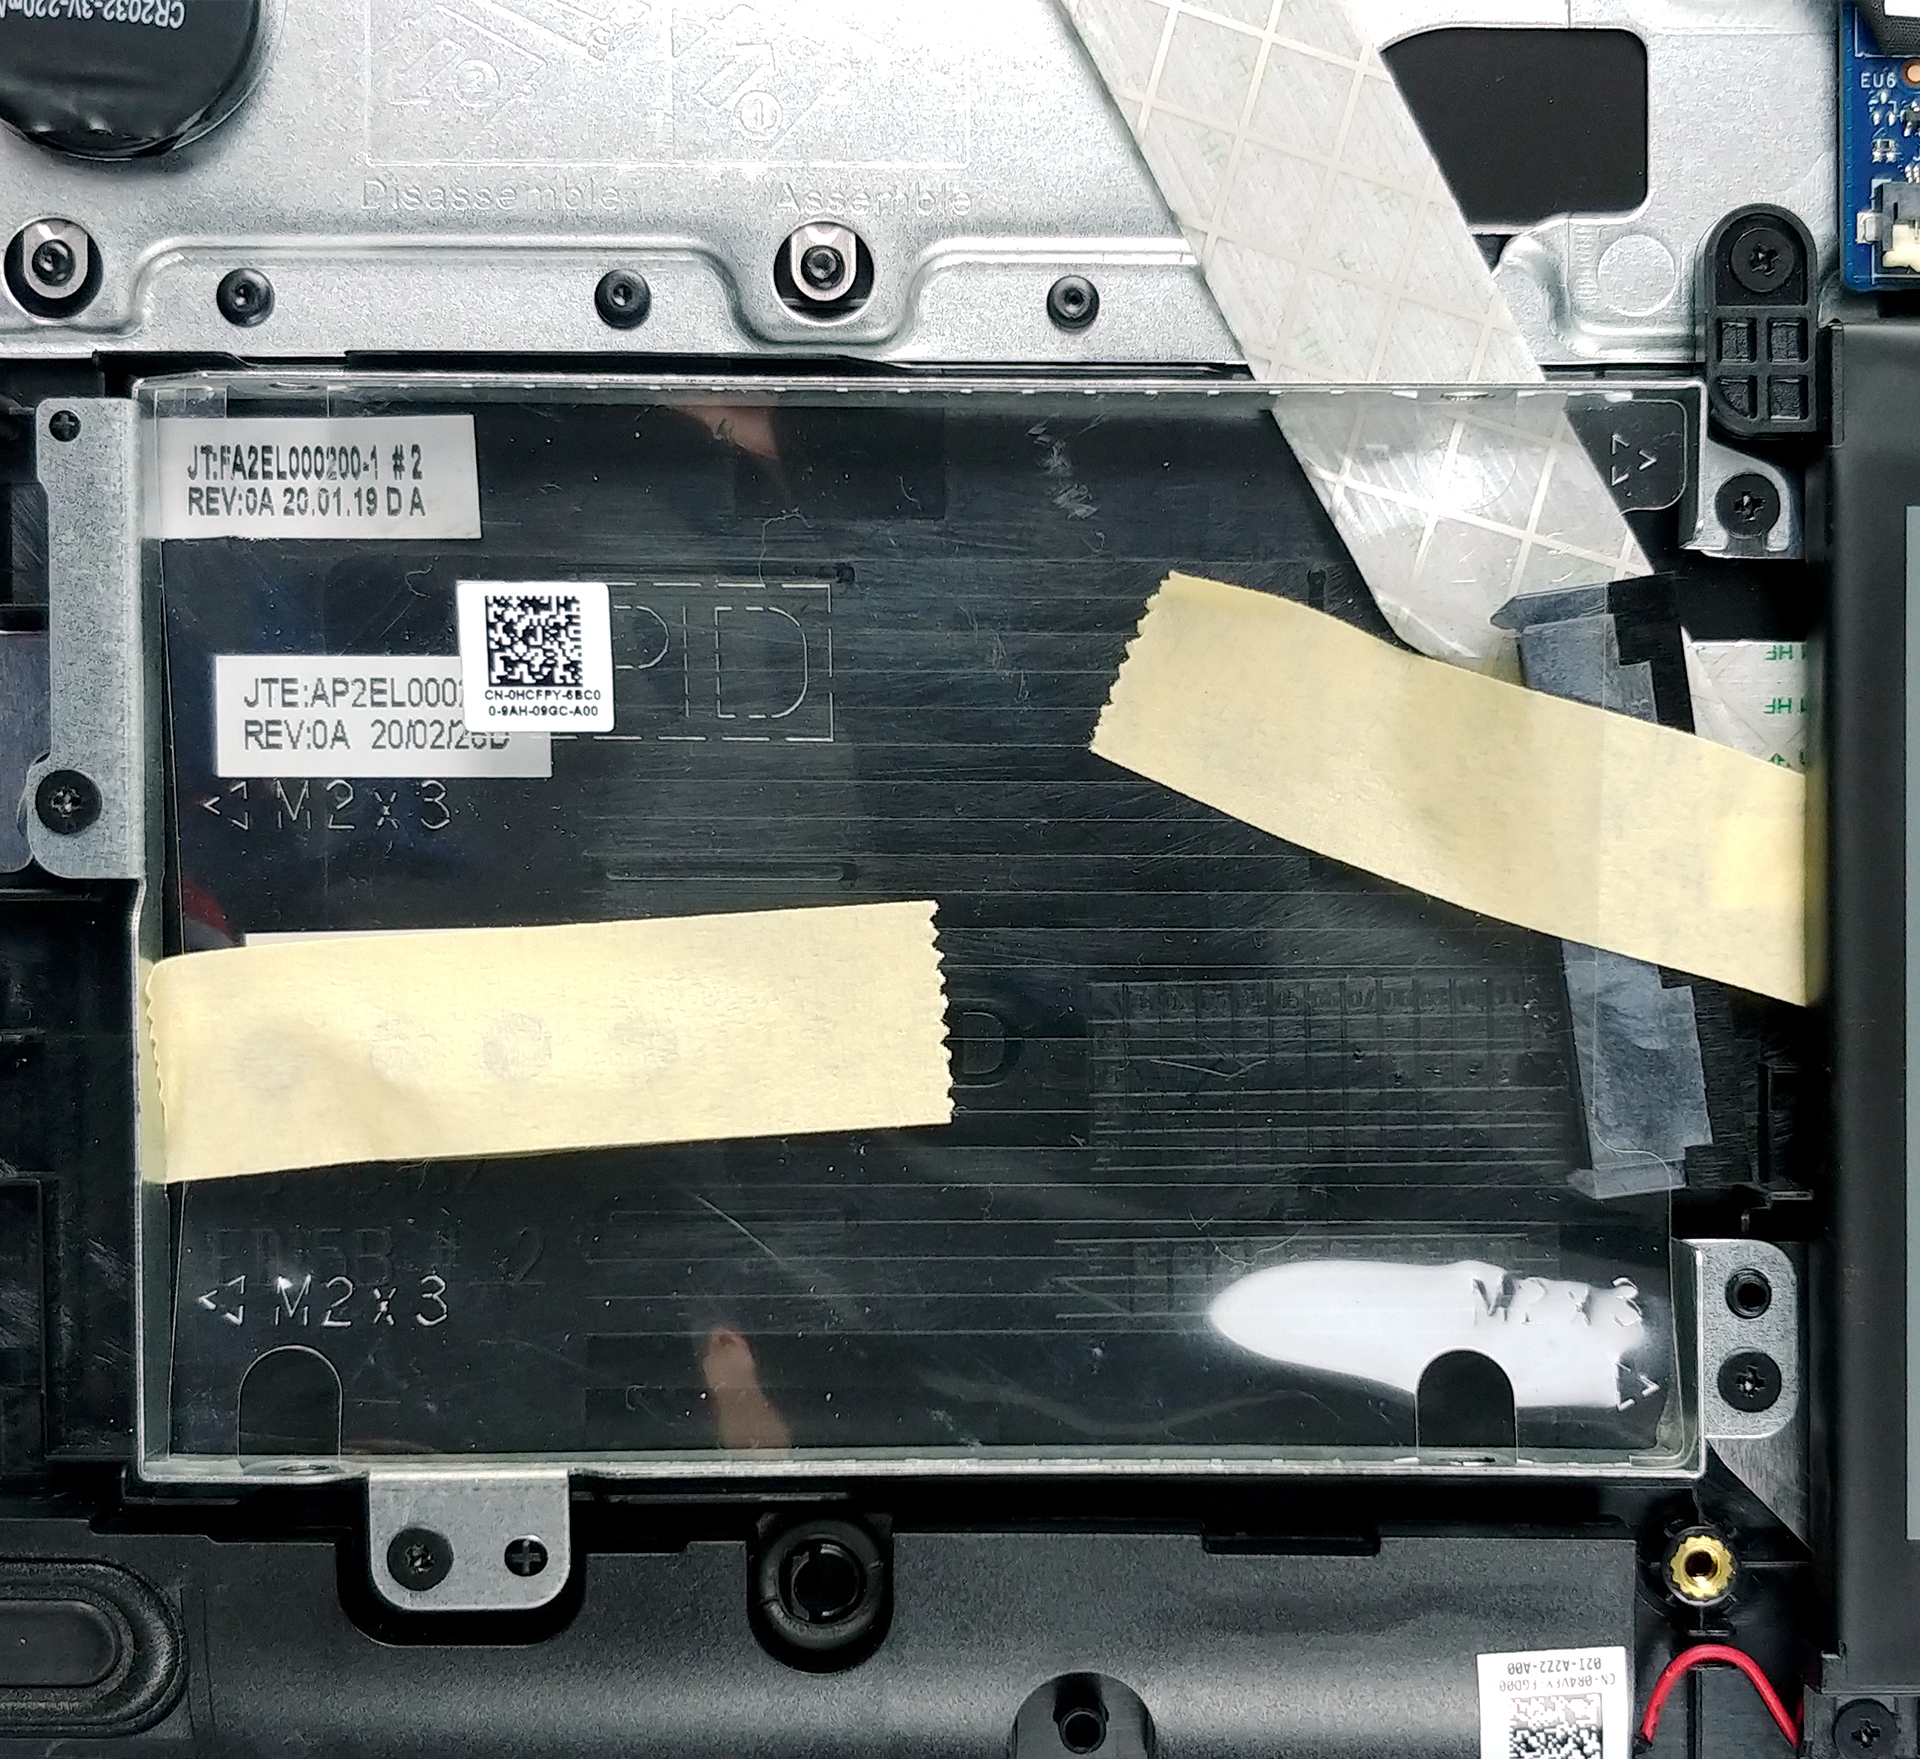
3. Memory and storage
Upgradability looks great here – there are two storage options. An M.2 PCIe x4 slot and a 2.5″ SATA drive bay, flanking the battery. As of the memory – you get two RAM SODIMM slots that support up to 16GB of DDR4 memory, working at 2666 MHz. By the way, Dell’s official specs sheet shows support of 3200 MHz RAM as well.
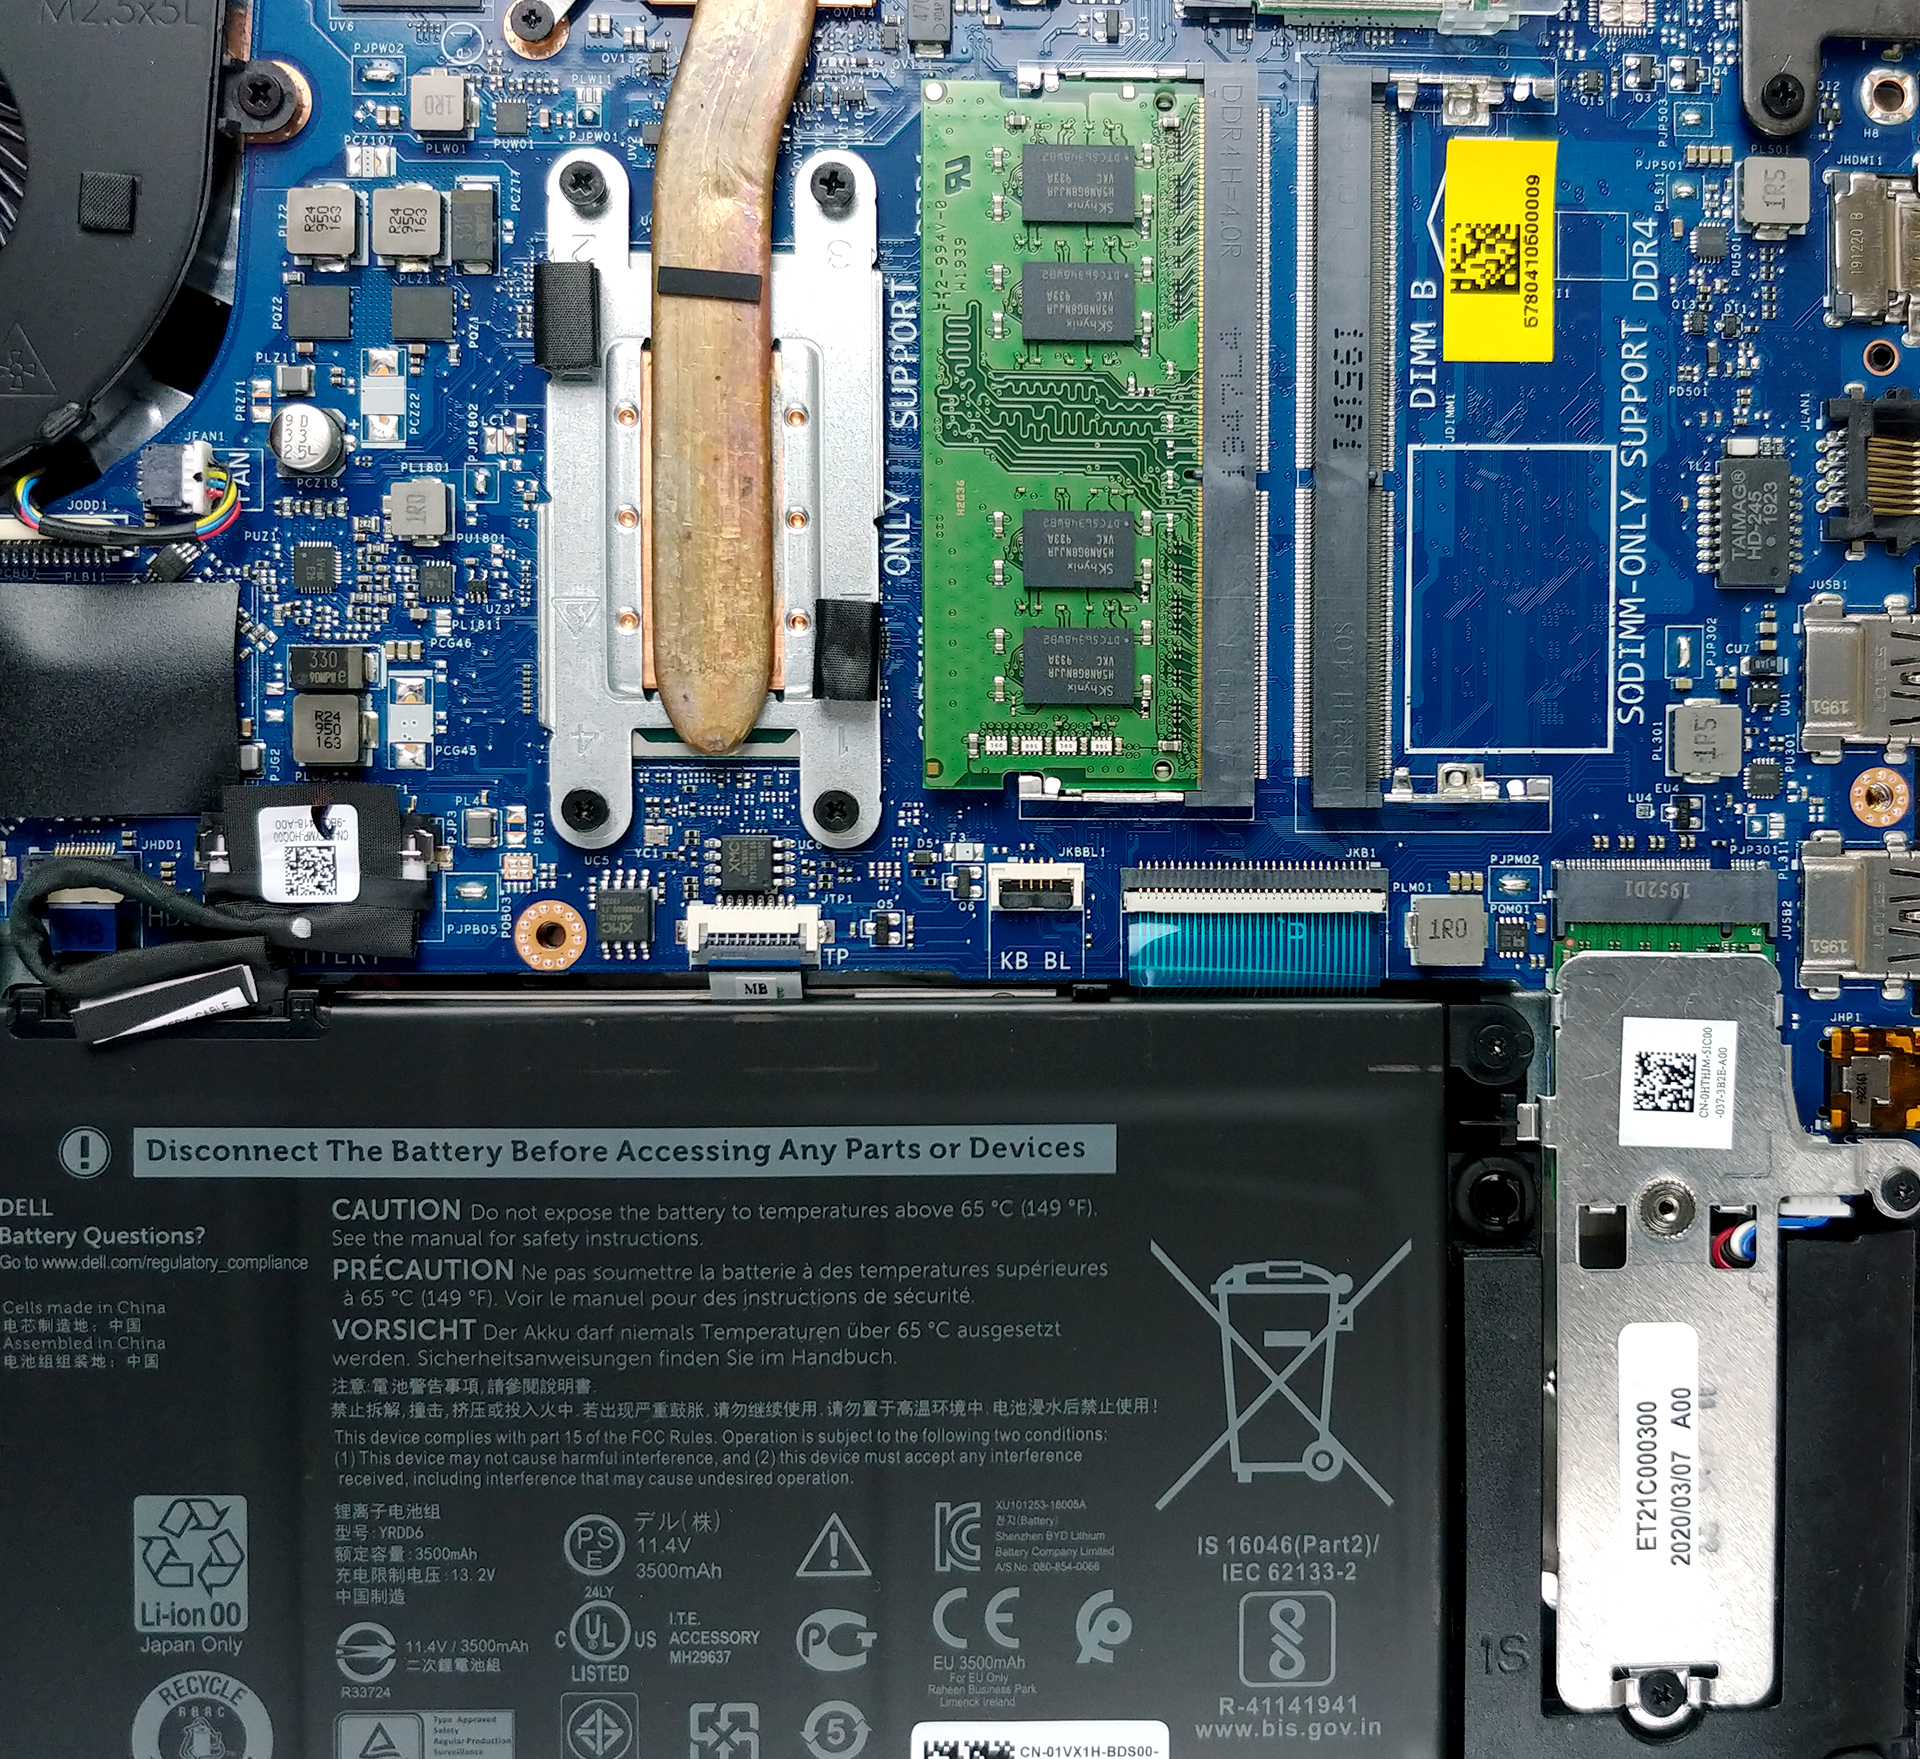
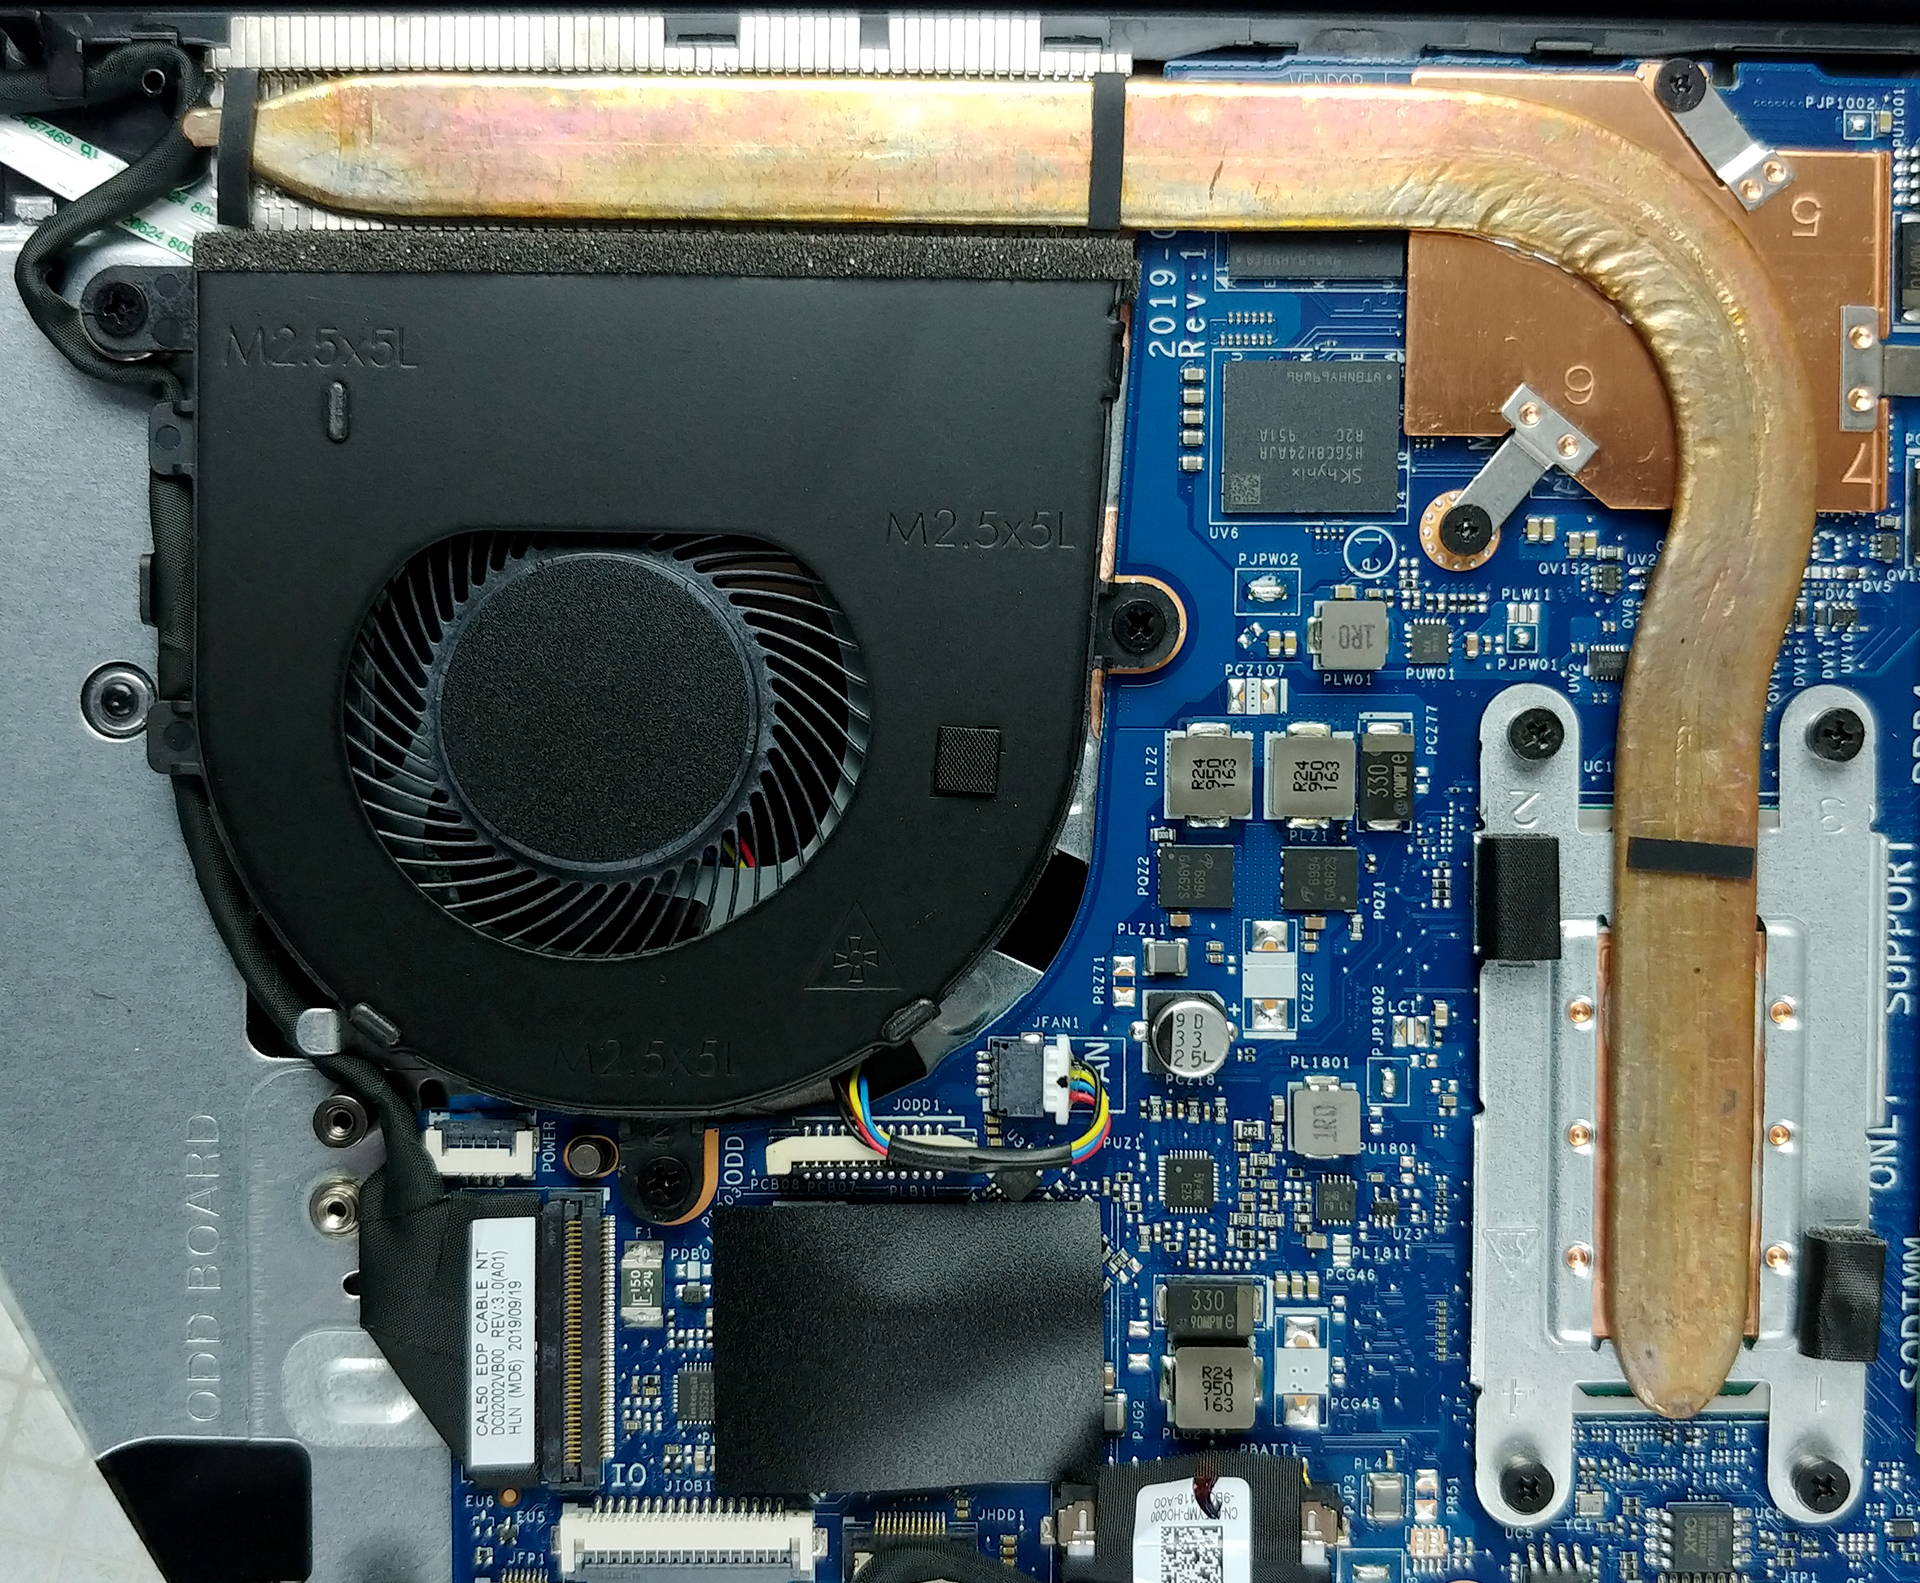
4. Cooling system
In terms of cooling, there is a single, yet thick heat pipe, which drives the heat away from both the processor and the graphics card. It is a common solution but honestly, it is not a great idea to connect your two main heat sources, especially when there is only one heat spreader.
Check out all Dell Vostro 3591 prices and configurations in our Specs System or read more in our In-Depth review.


![[June 2026] Best-Selling Laptop Brands on Amazon Global – Apple’s Unrivaled Dominance in Units and Revenue](https://laptopmedia.com/wp-content/uploads/2026/07/GLOBAL-Best-Brands-400x225.jpg)
![[June 2026] Amazon Global: Top 10 Best-Selling Laptops – Apple’s New MacBook Neo Storms to #1, Reshaping the Market with Affordability](https://laptopmedia.com/wp-content/uploads/2026/07/Best-Selling-Laptops-GLOBAL-Top-10-400x225.jpg)
![[June 2026] Amazon Global: Top 10 Best-Selling Gaming Laptops – Acer’s Nitro V 16S AI Dominates Sales, While ASUS Leads Overall Revenue](https://laptopmedia.com/wp-content/uploads/2026/07/Best-Selling-Gaming-Laptops-GLOBAL-Top-10-400x225.jpg)
![[June 2026] Global Ranking of Best-Selling Laptop GPUs on Amazon – NVIDIA RTX 5060 is the Top-Selling Dedicated GPU](https://laptopmedia.com/wp-content/uploads/2026/07/Best-Selling-GPUs-GLOBAL-Top-10-400x225.jpg)
![[June 2026] Global Ranking of Best-Selling Laptop CPUs on Amazon – Apple M5 Dominates, AMD Ryzen 7 260 Gets Solid Premium Share](https://laptopmedia.com/wp-content/uploads/2026/07/Best-Selling-CPUs-GLOBAL-Top-10-400x225.jpg)
