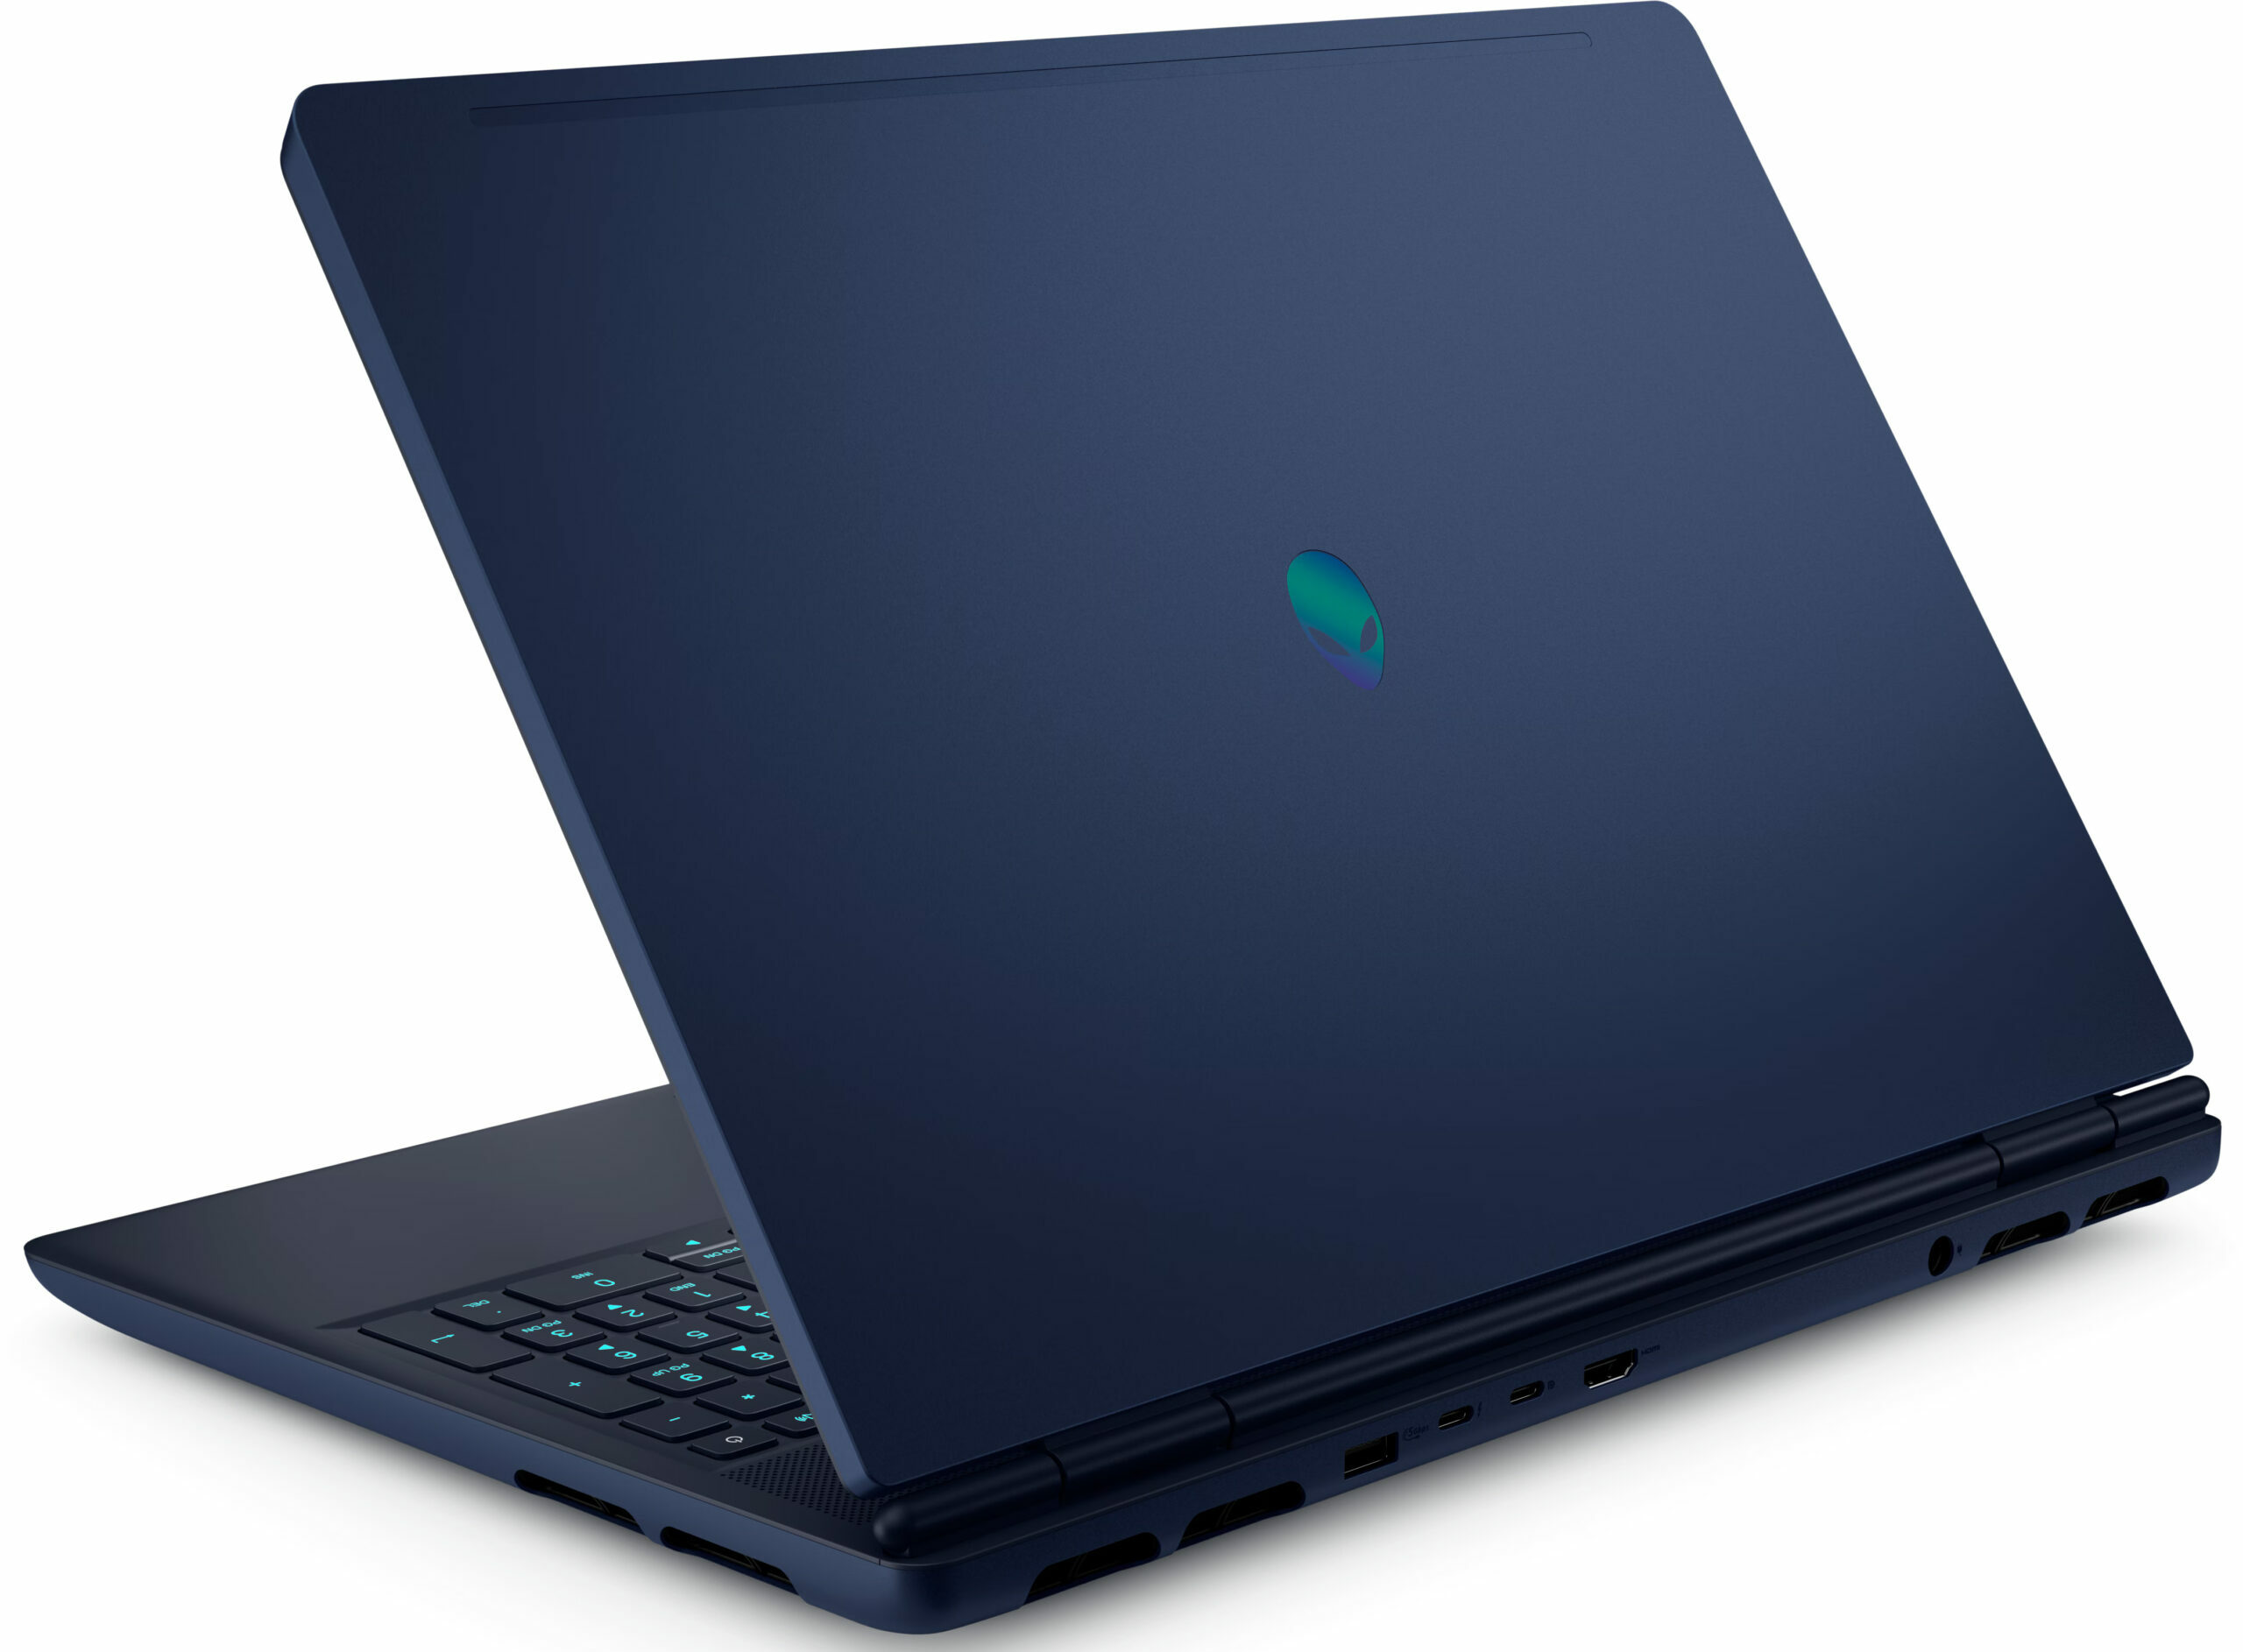
Alienware 16X Aurora
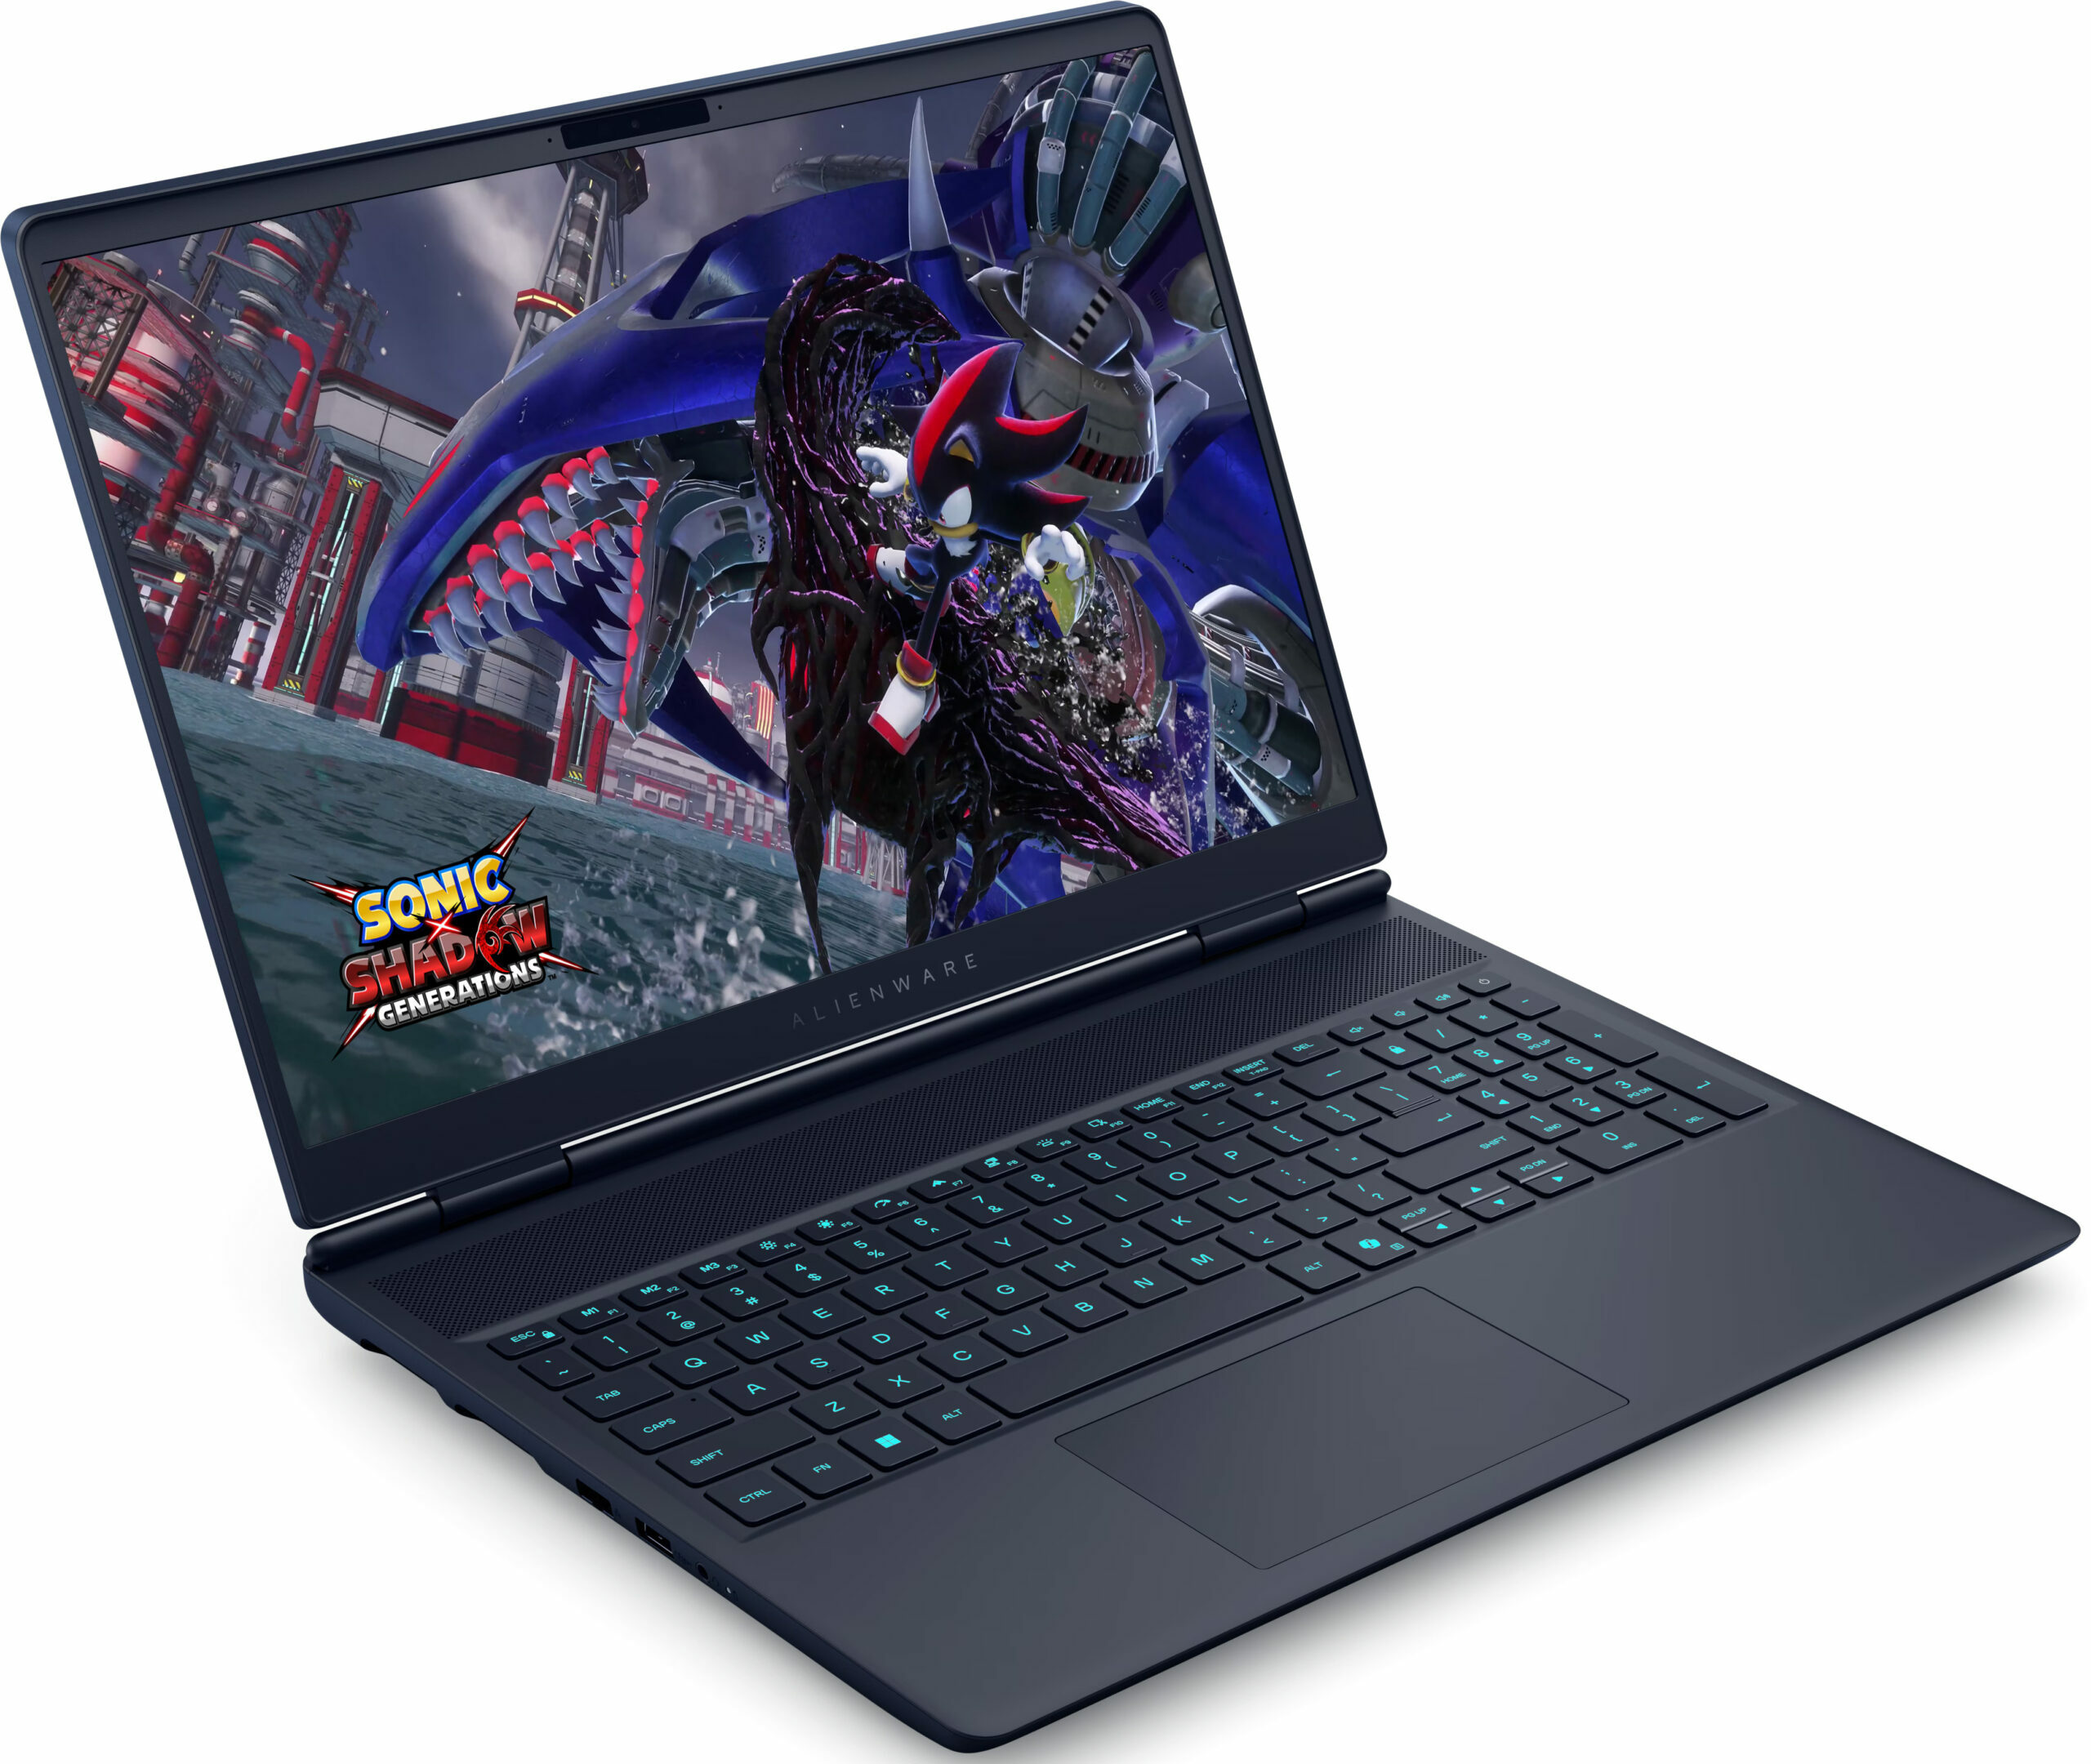
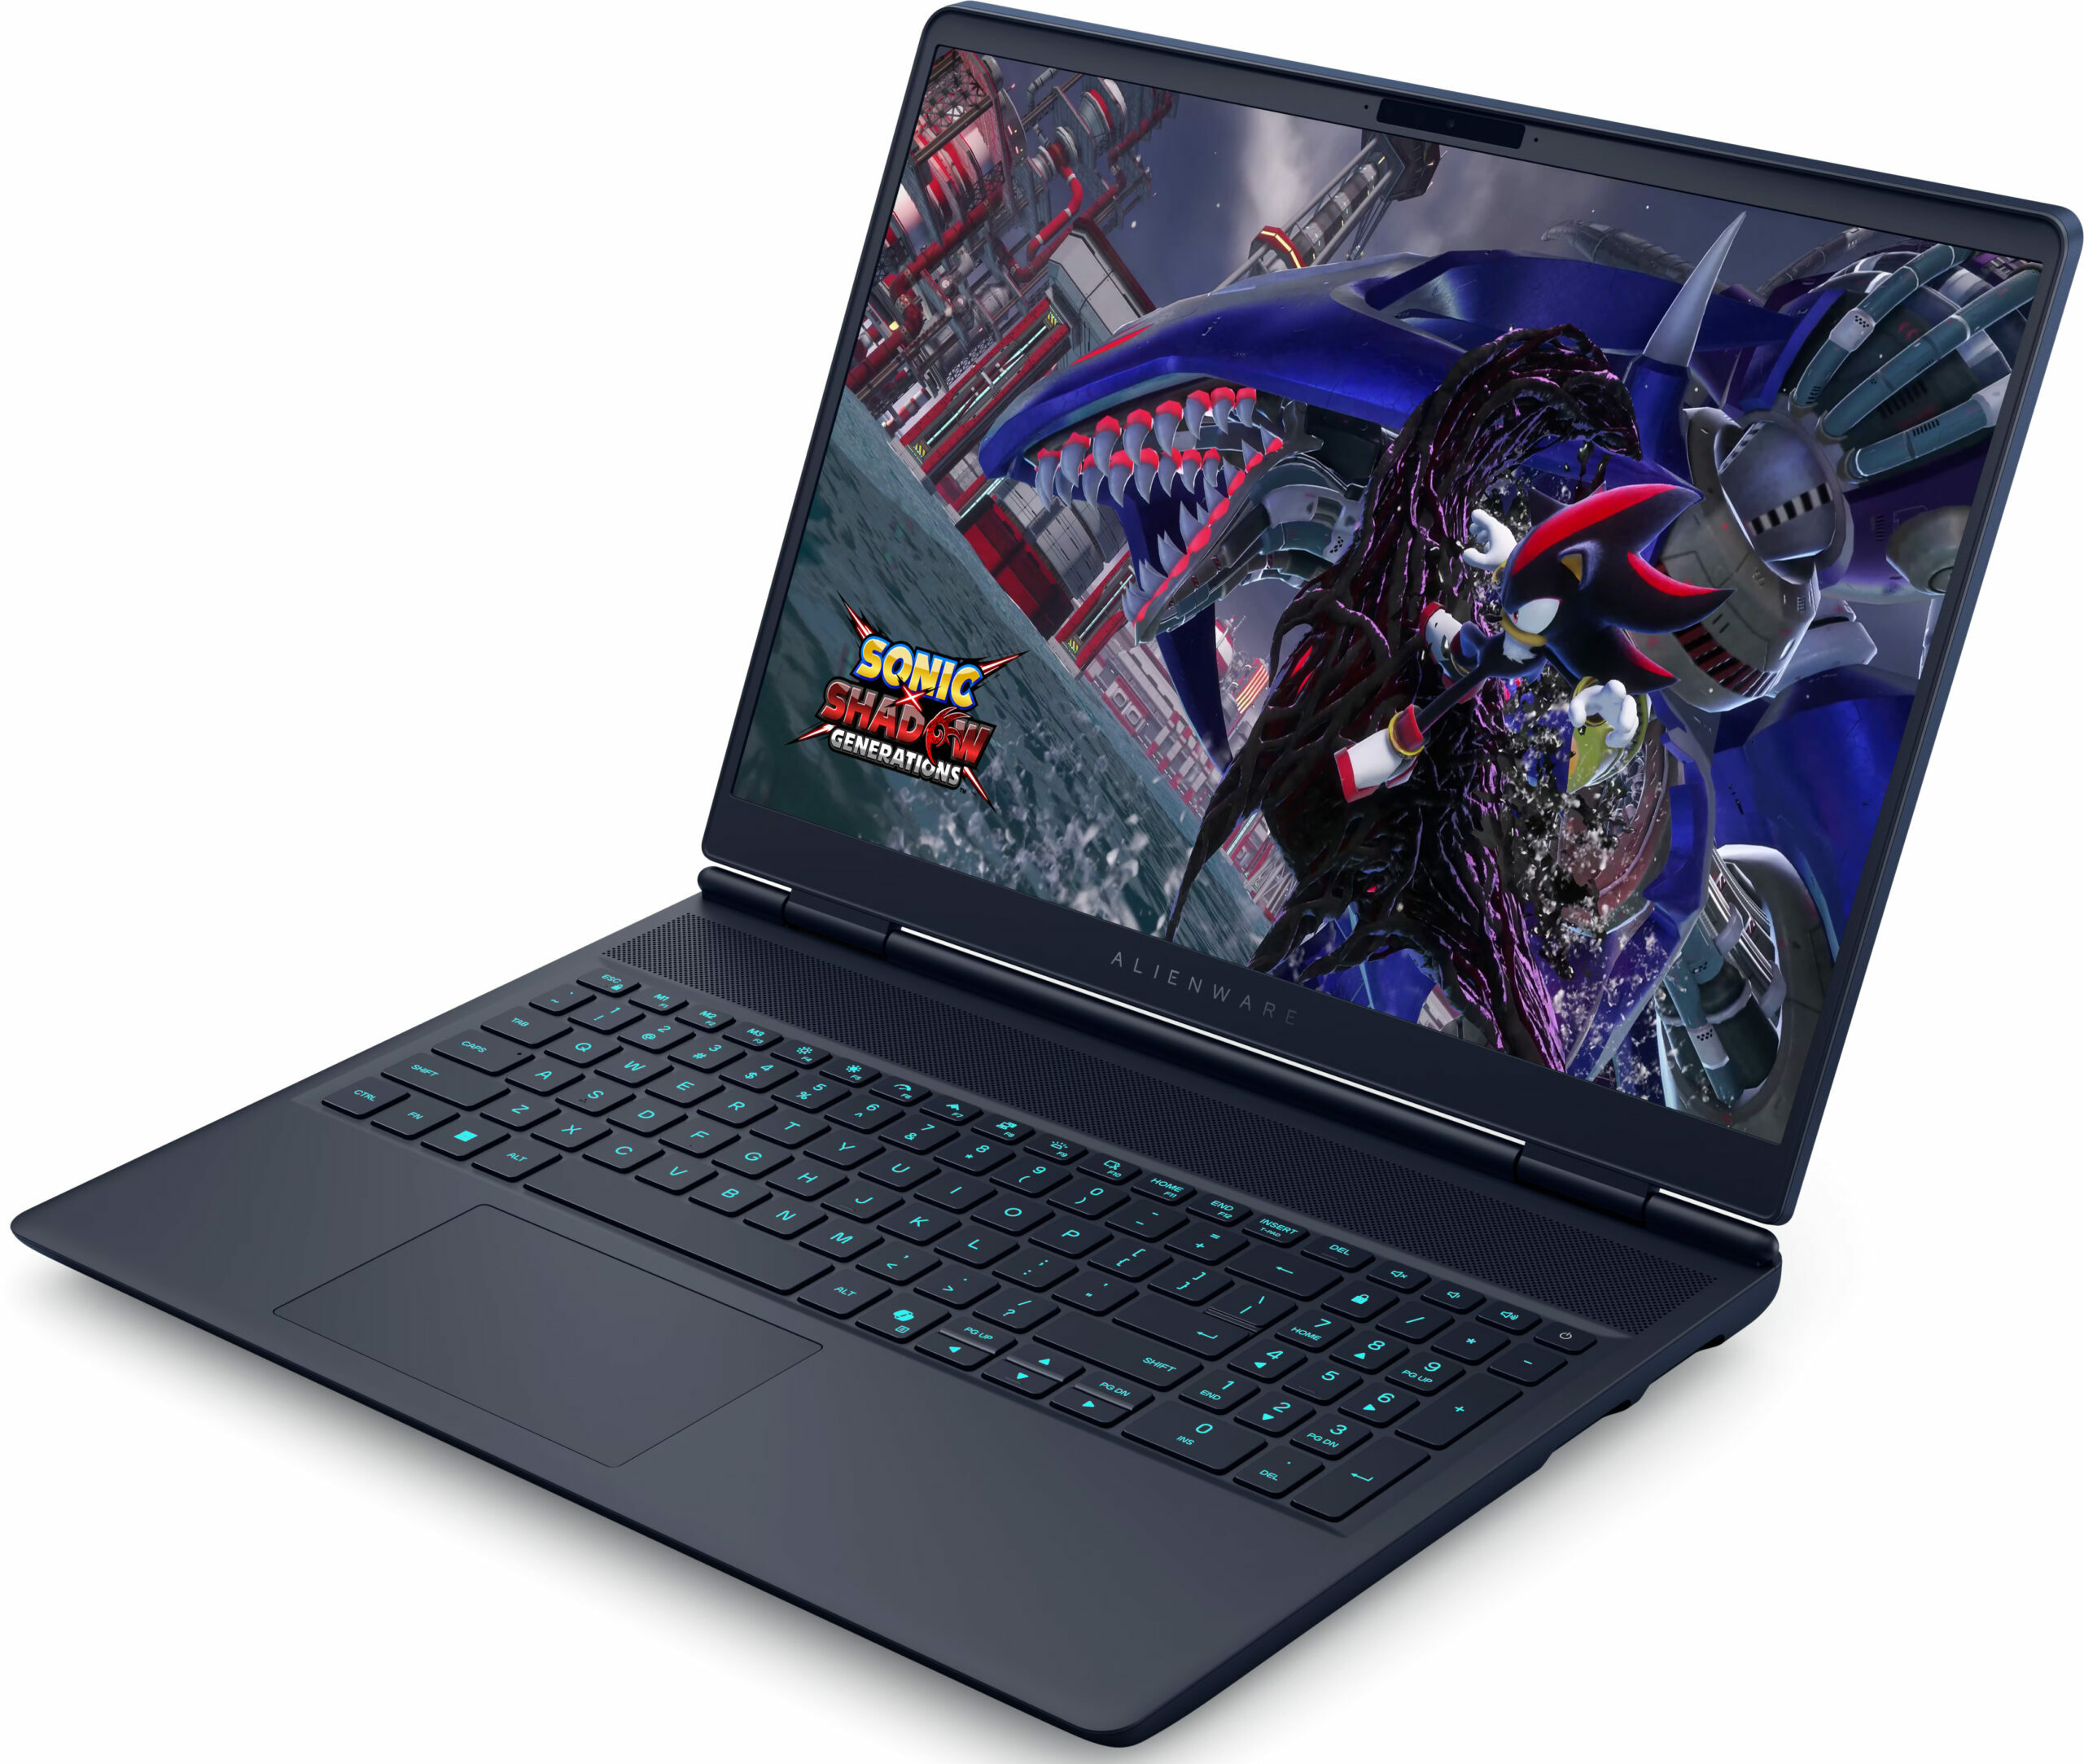
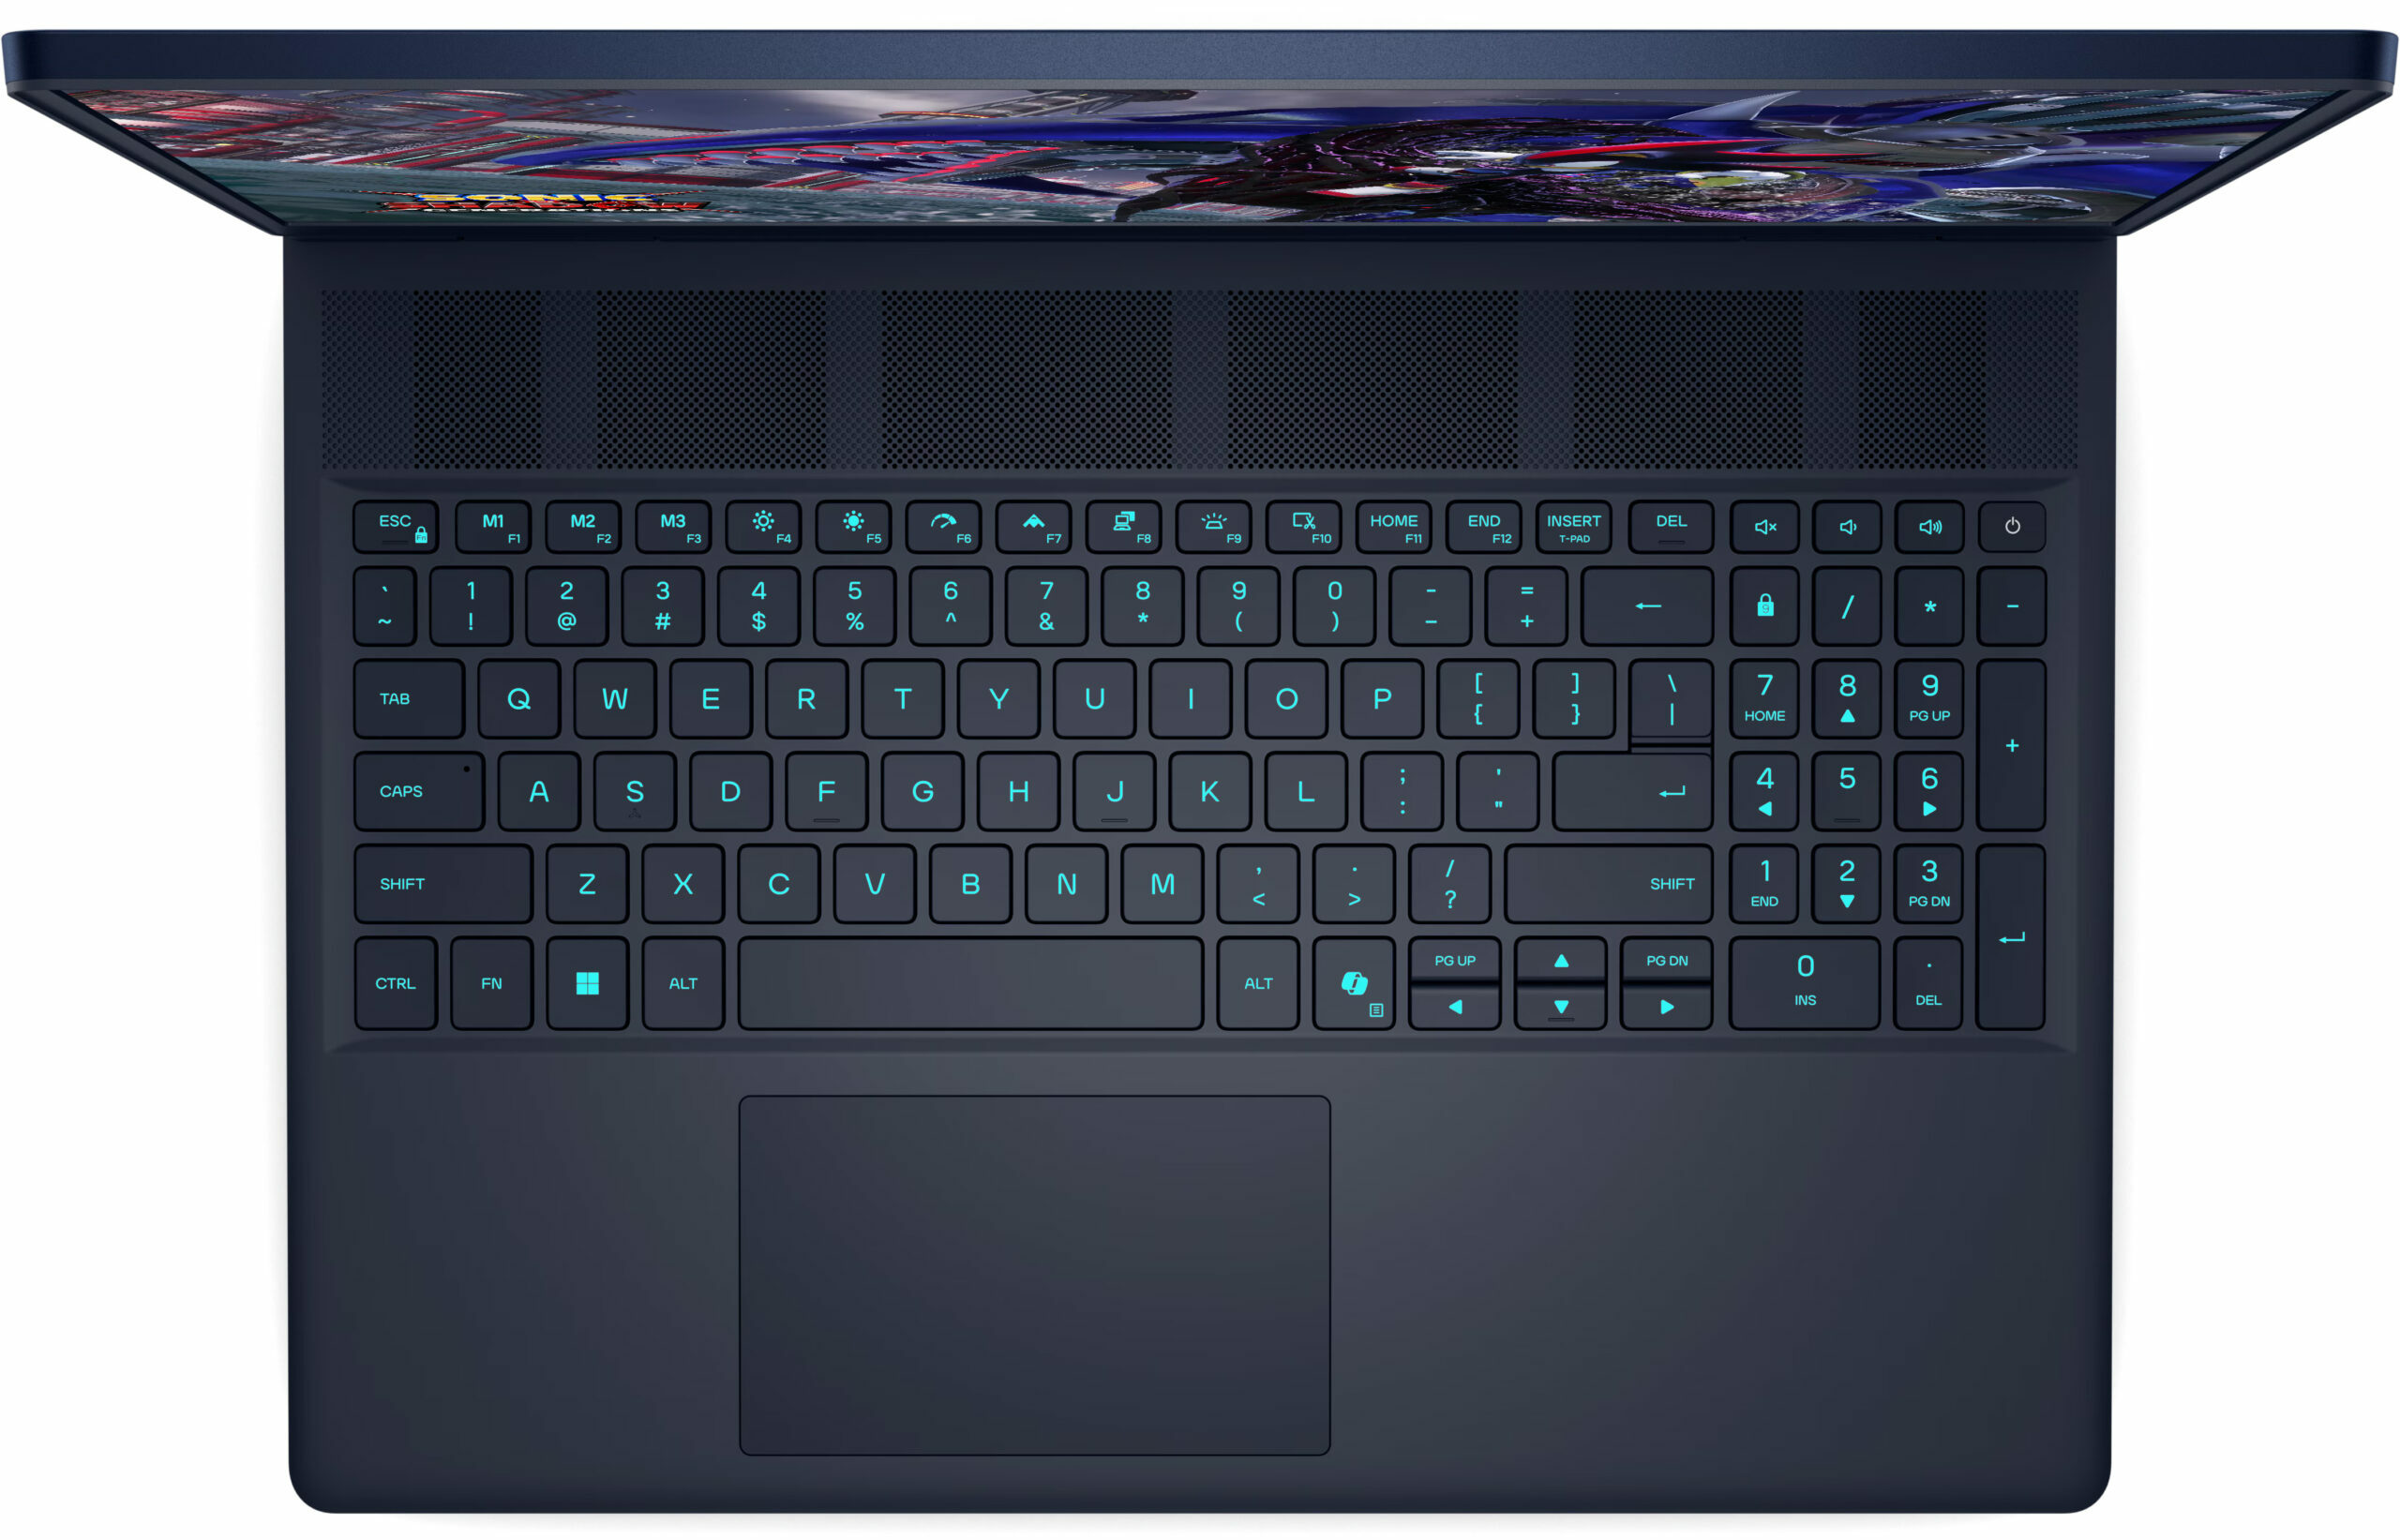
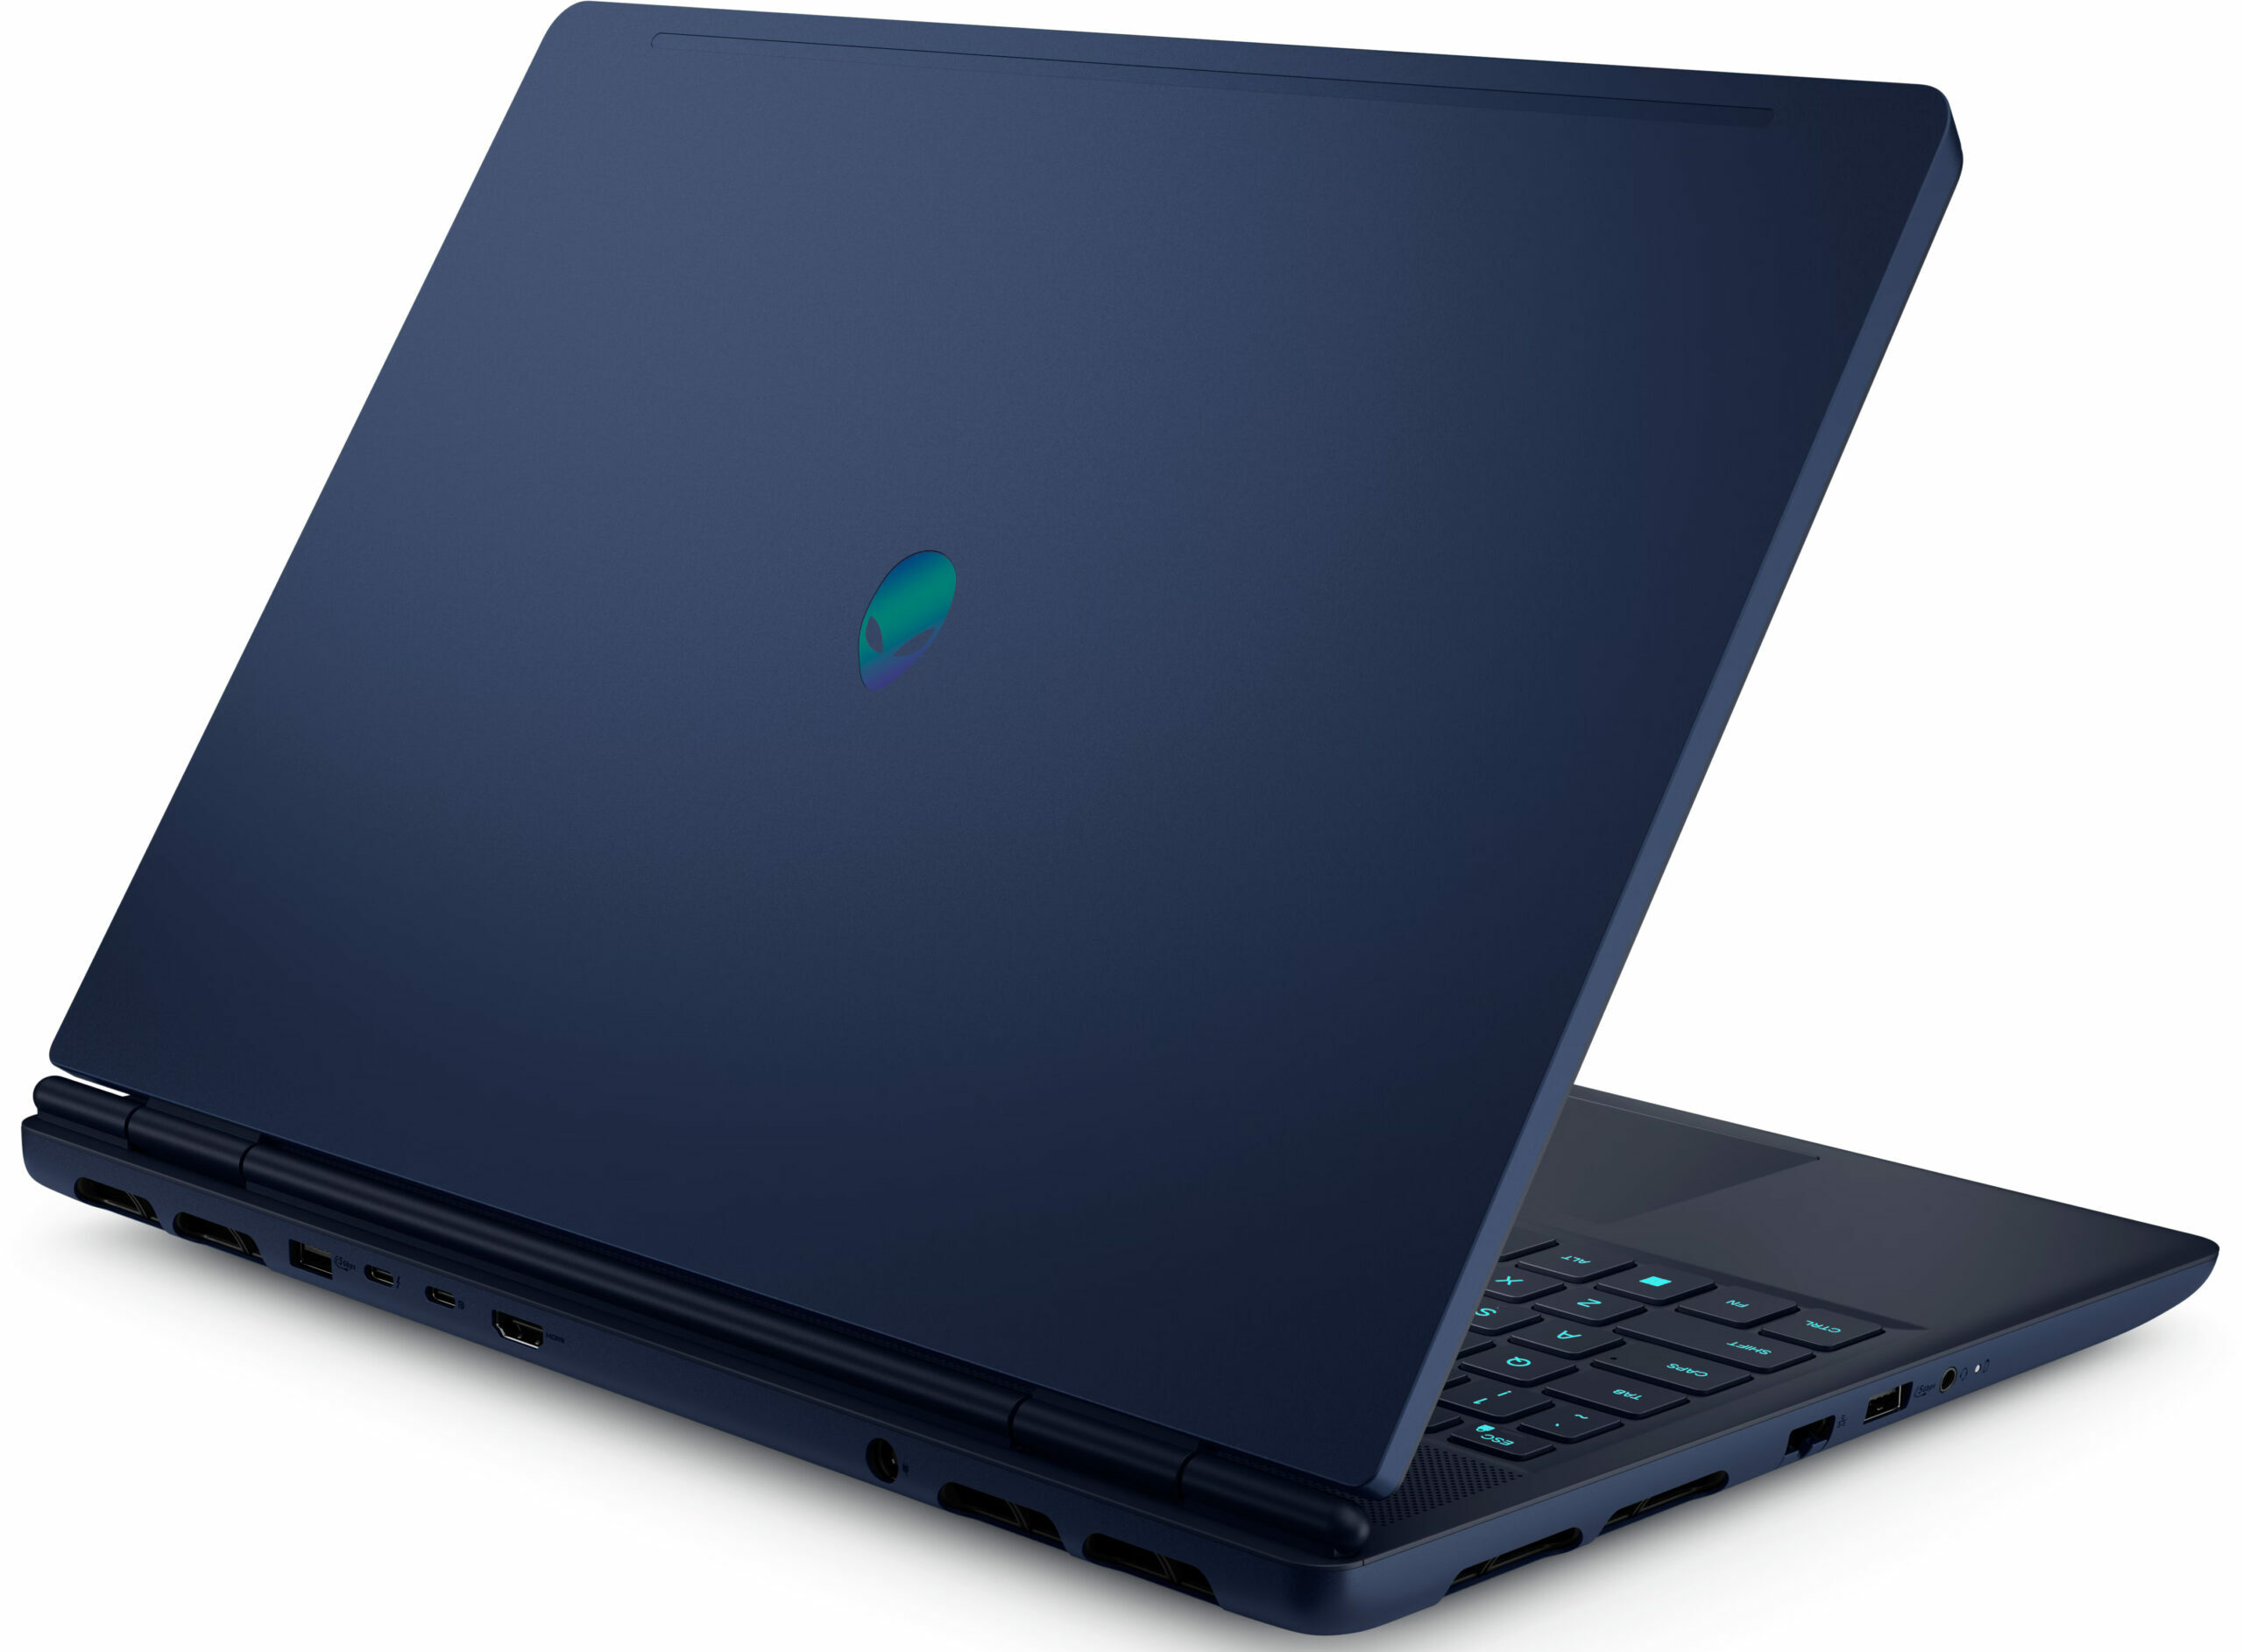

- Date Published: 10 Dec 2025
- Intel Core Ultra 9 275HX
- NVIDIA GeForce RTX 5070 (Laptop, 8GB GDDR7)
- 16.0", WQXGA (2560 x 1600), 240 Hz, IPS
- 2000GB SSD
- 64GB RAM
- 2.66 kg (5.9 lbs)

Review
Alienware 16X Aurora in-depth review
The Alienware 16X Aurora (AC16251) arrives with the confidence of a premium contender, flaunting a sleek aluminium and magnesium chassis that feels every bit as expensive as it looks. It promises a top-tier experience with a stunning 240Hz QHD+ display and powerful internals designed to crush modern games. But as we dug deeper into our testing, a stark contrast emerged. While the exterior is cool and composed, the internal reality is a different story entirely. This is a laptop of extreme highs and lows, where exceptional build quality and display performance clash with thermal management issues that simply cannot be ignored. Should they be a deal-breaker for you? Read on and you'll find out!You can check the prices and configurations in our Specs System: https://laptopmedia.com/se[...]
Read the full review
Pros
- Premium aluminium and magnesium build with no flex
- Excellent 240Hz QHD+ display with accurate colors and no PWM
- Stable GPU gaming performance with good thermals
- Two user-accessible RAM slots for upgrades
- Modern connectivity with Thunderbolt 4 and Wi-Fi 7
- Distinctive and stylish design
Cons
- CPU runs dangerously hot (100°C+) and throttles heavily
- Storage limited to small M.2 2230 SSDs
- Very poor battery life (approx. 4 hours)
- Half-height arrow keys
- No physical privacy shutter
Disassembly, maintenance and upgrade options
Before you start: Shut the laptop down completely, unplug the charger and peripherals, and hold the power button for a few seconds to discharge residual power. Work on a clean surface and use ESD protection if available. Opening the bottom panelRemove the eight bottom screws. Two are captive and can help lift the panel slightly to create a starting gap. Use a thin plastic pick to release the perimeter clips. Start near the area where the panel naturally lifts. Important: Insert the tool shallowly. Some entry points sit close to the cooling radiators, [...]
Read more


![[June 2026] Best-Selling Laptop Brands on Amazon Global – Apple’s Unrivaled Dominance in Units and Revenue](https://laptopmedia.com/wp-content/uploads/2026/07/GLOBAL-Best-Brands-400x225.jpg)
![[June 2026] Amazon Global: Top 10 Best-Selling Laptops – Apple’s New MacBook Neo Storms to #1, Reshaping the Market with Affordability](https://laptopmedia.com/wp-content/uploads/2026/07/Best-Selling-Laptops-GLOBAL-Top-10-400x225.jpg)
![[June 2026] Amazon Global: Top 10 Best-Selling Gaming Laptops – Acer’s Nitro V 16S AI Dominates Sales, While ASUS Leads Overall Revenue](https://laptopmedia.com/wp-content/uploads/2026/07/Best-Selling-Gaming-Laptops-GLOBAL-Top-10-400x225.jpg)
![[June 2026] Global Ranking of Best-Selling Laptop GPUs on Amazon – NVIDIA RTX 5060 is the Top-Selling Dedicated GPU](https://laptopmedia.com/wp-content/uploads/2026/07/Best-Selling-GPUs-GLOBAL-Top-10-400x225.jpg)
![[June 2026] Global Ranking of Best-Selling Laptop CPUs on Amazon – Apple M5 Dominates, AMD Ryzen 7 260 Gets Solid Premium Share](https://laptopmedia.com/wp-content/uploads/2026/07/Best-Selling-CPUs-GLOBAL-Top-10-400x225.jpg)