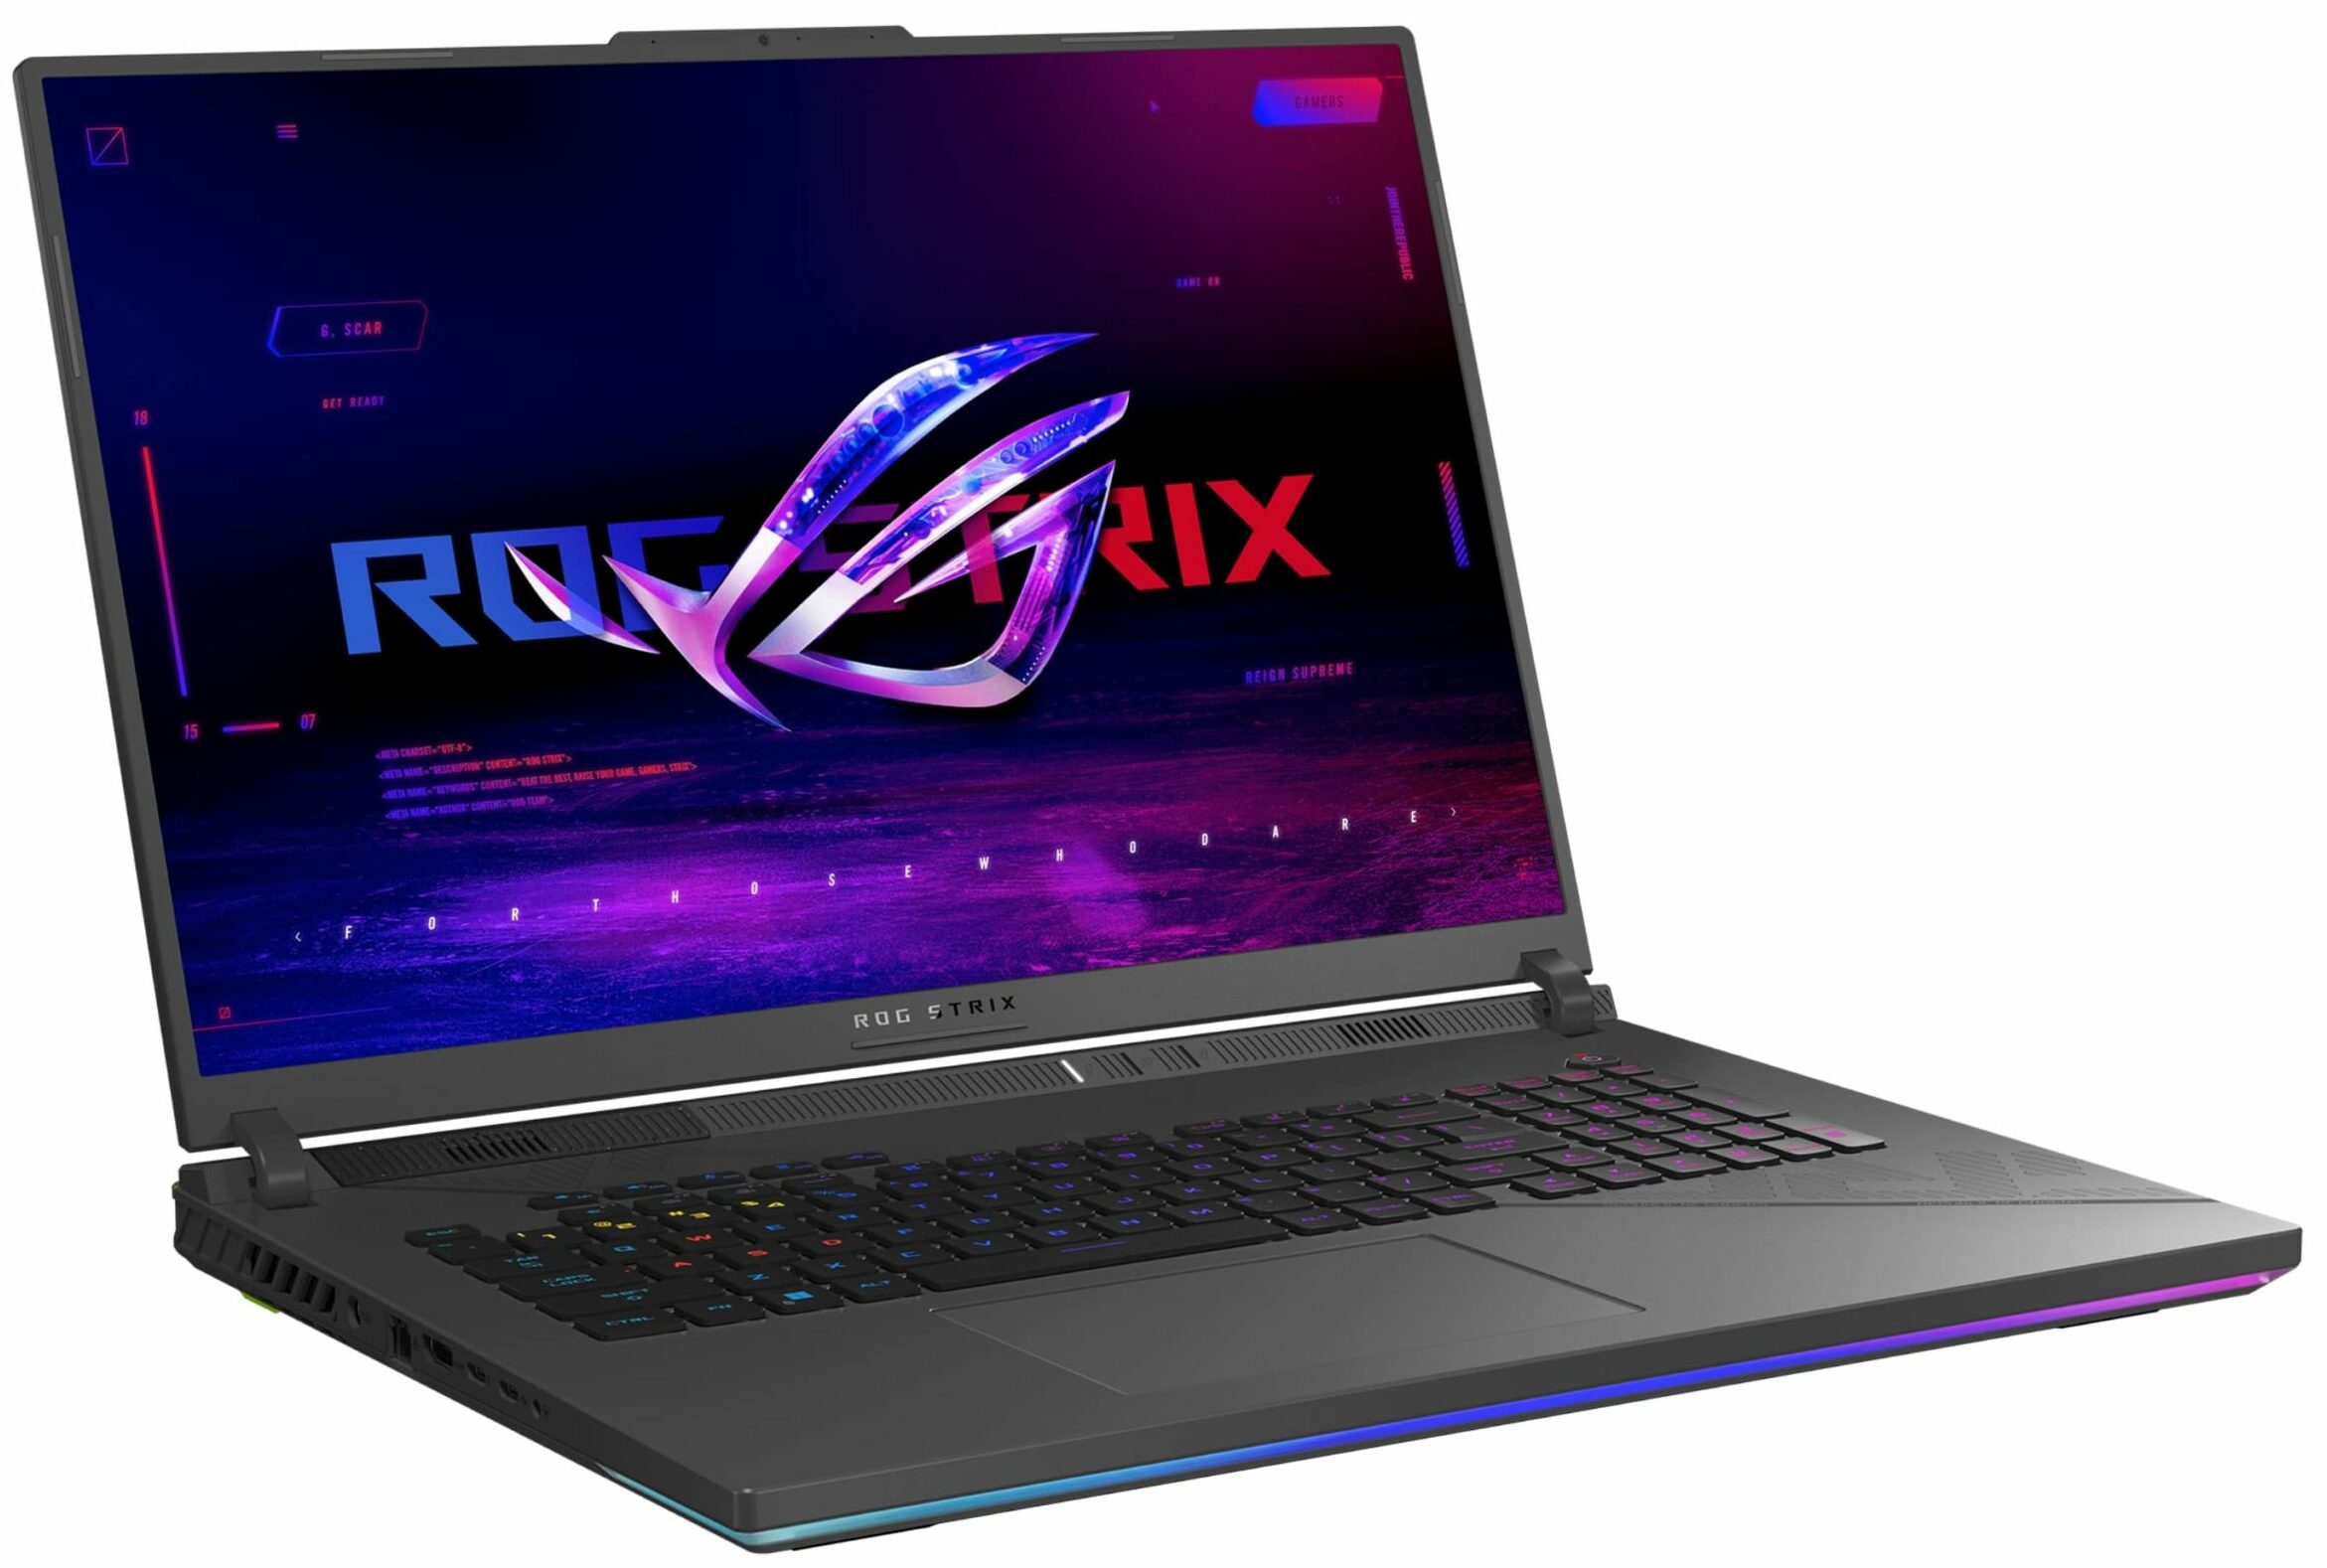
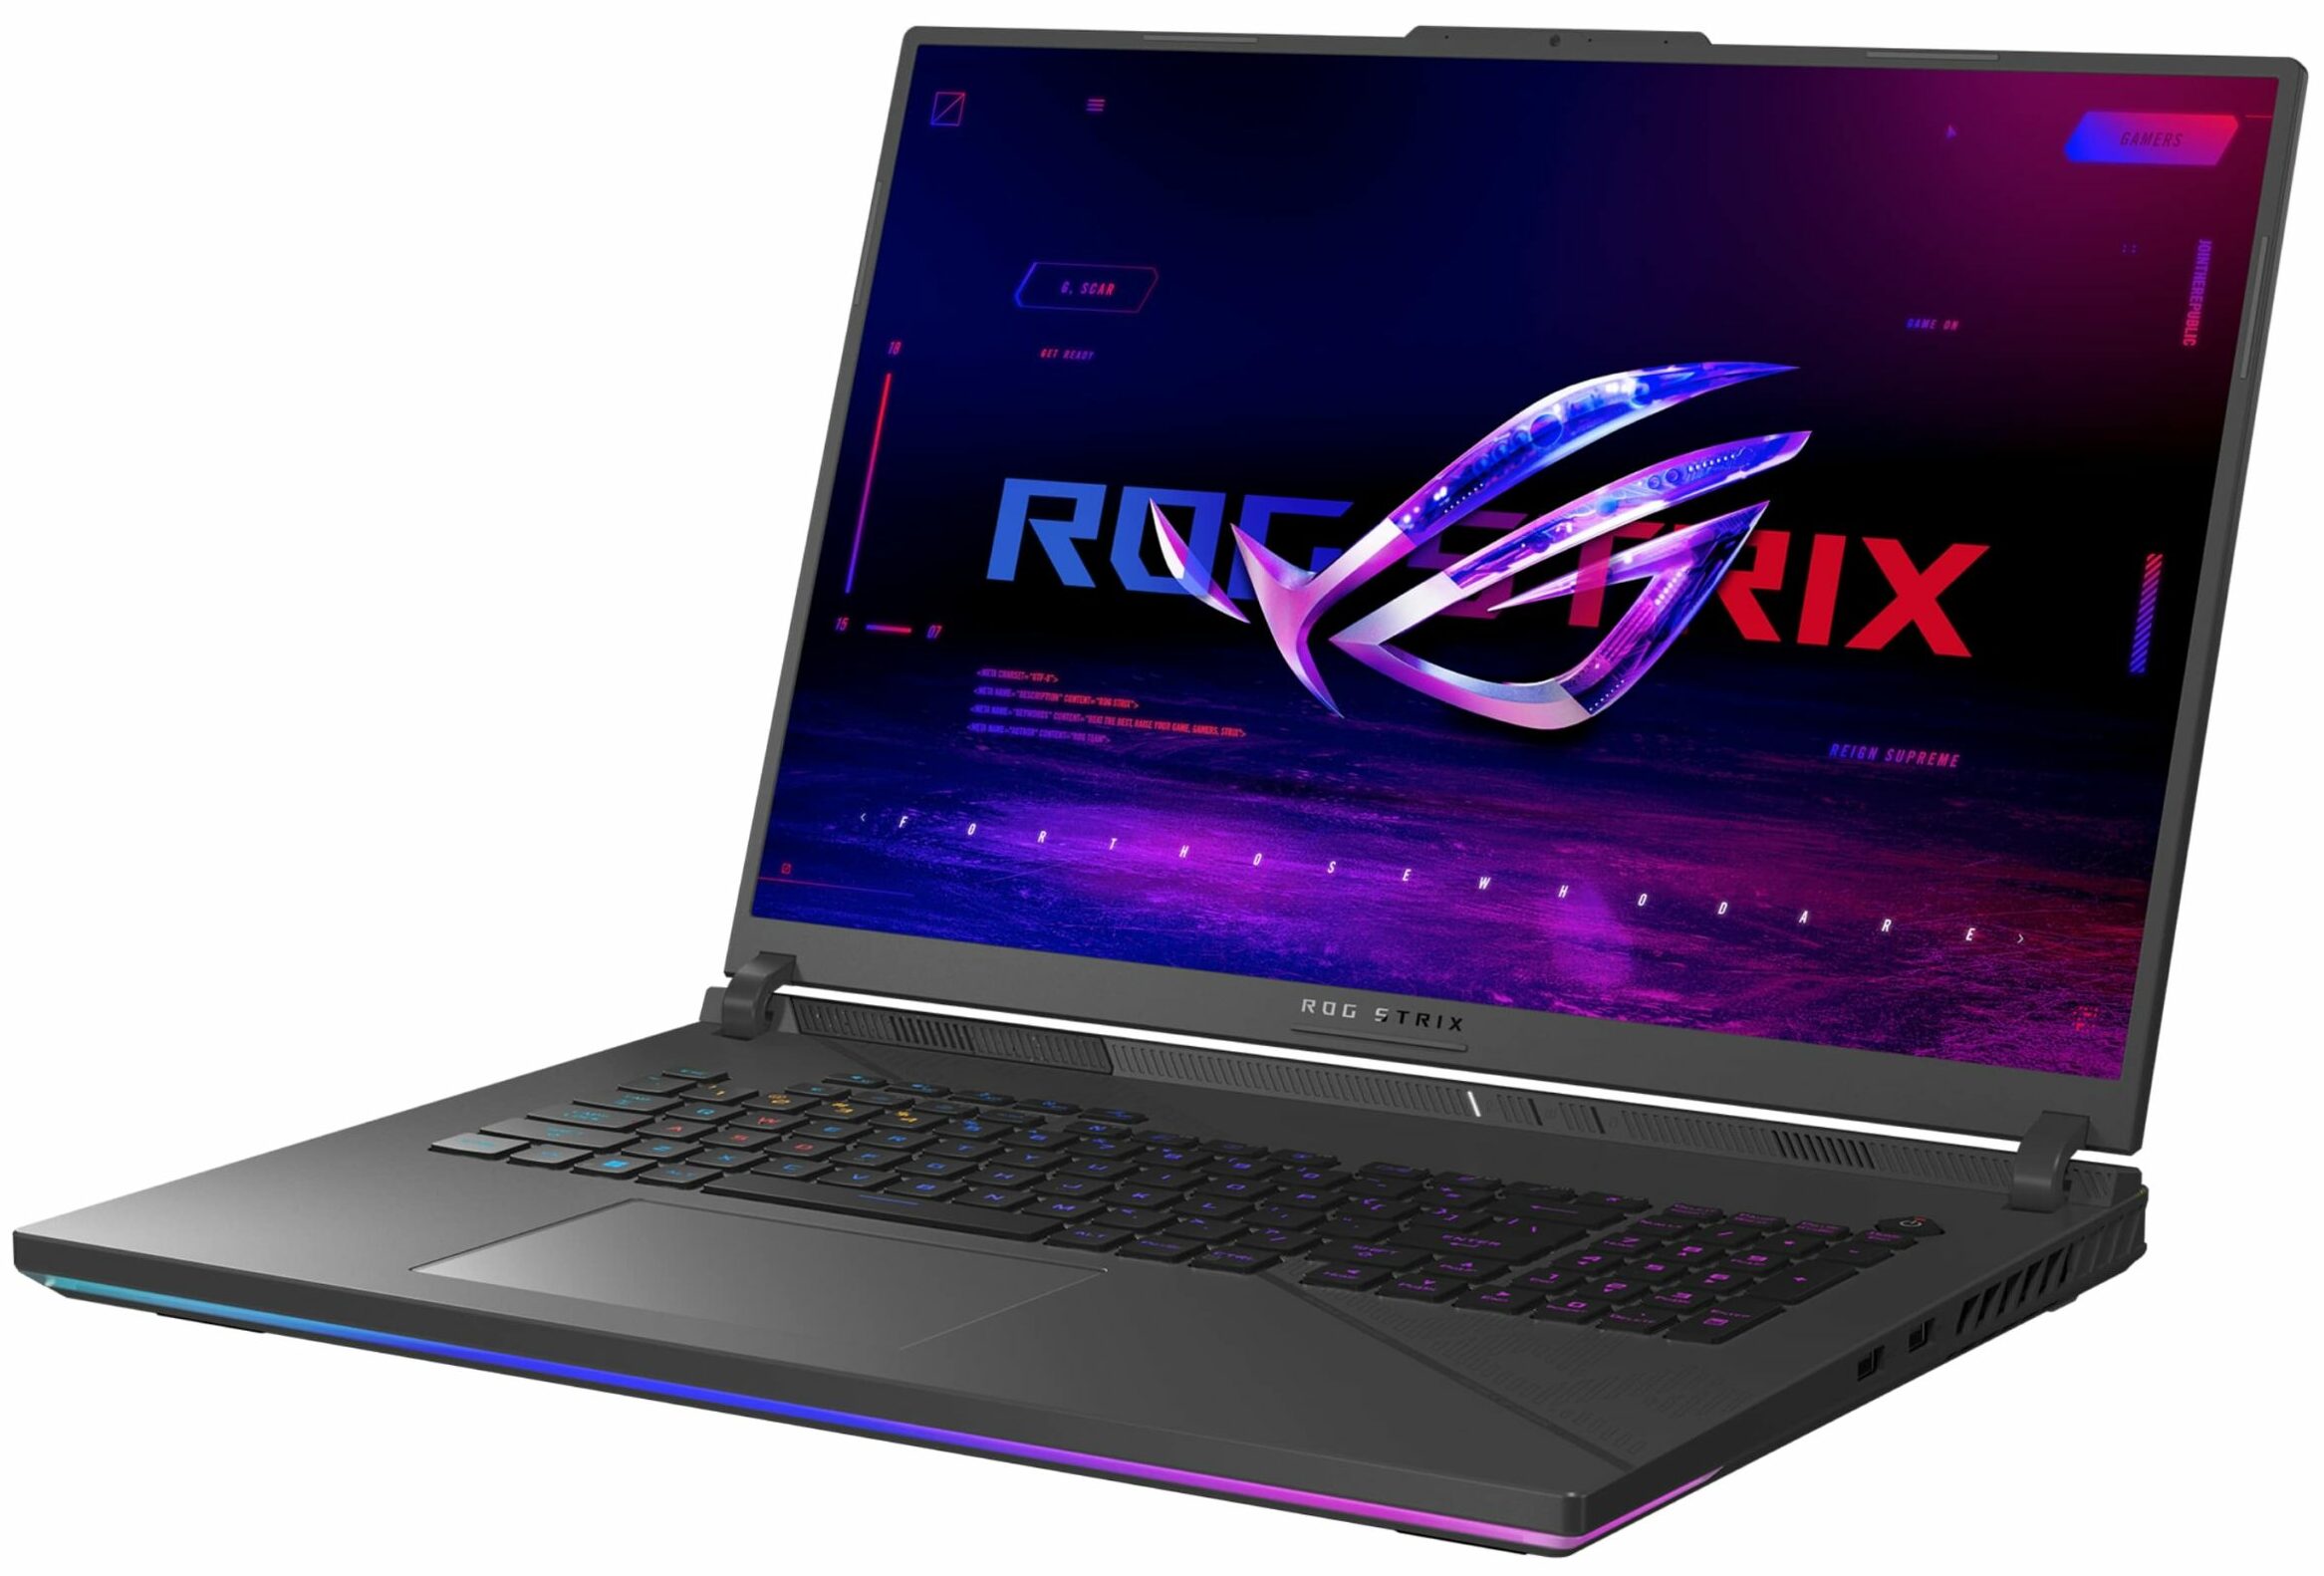
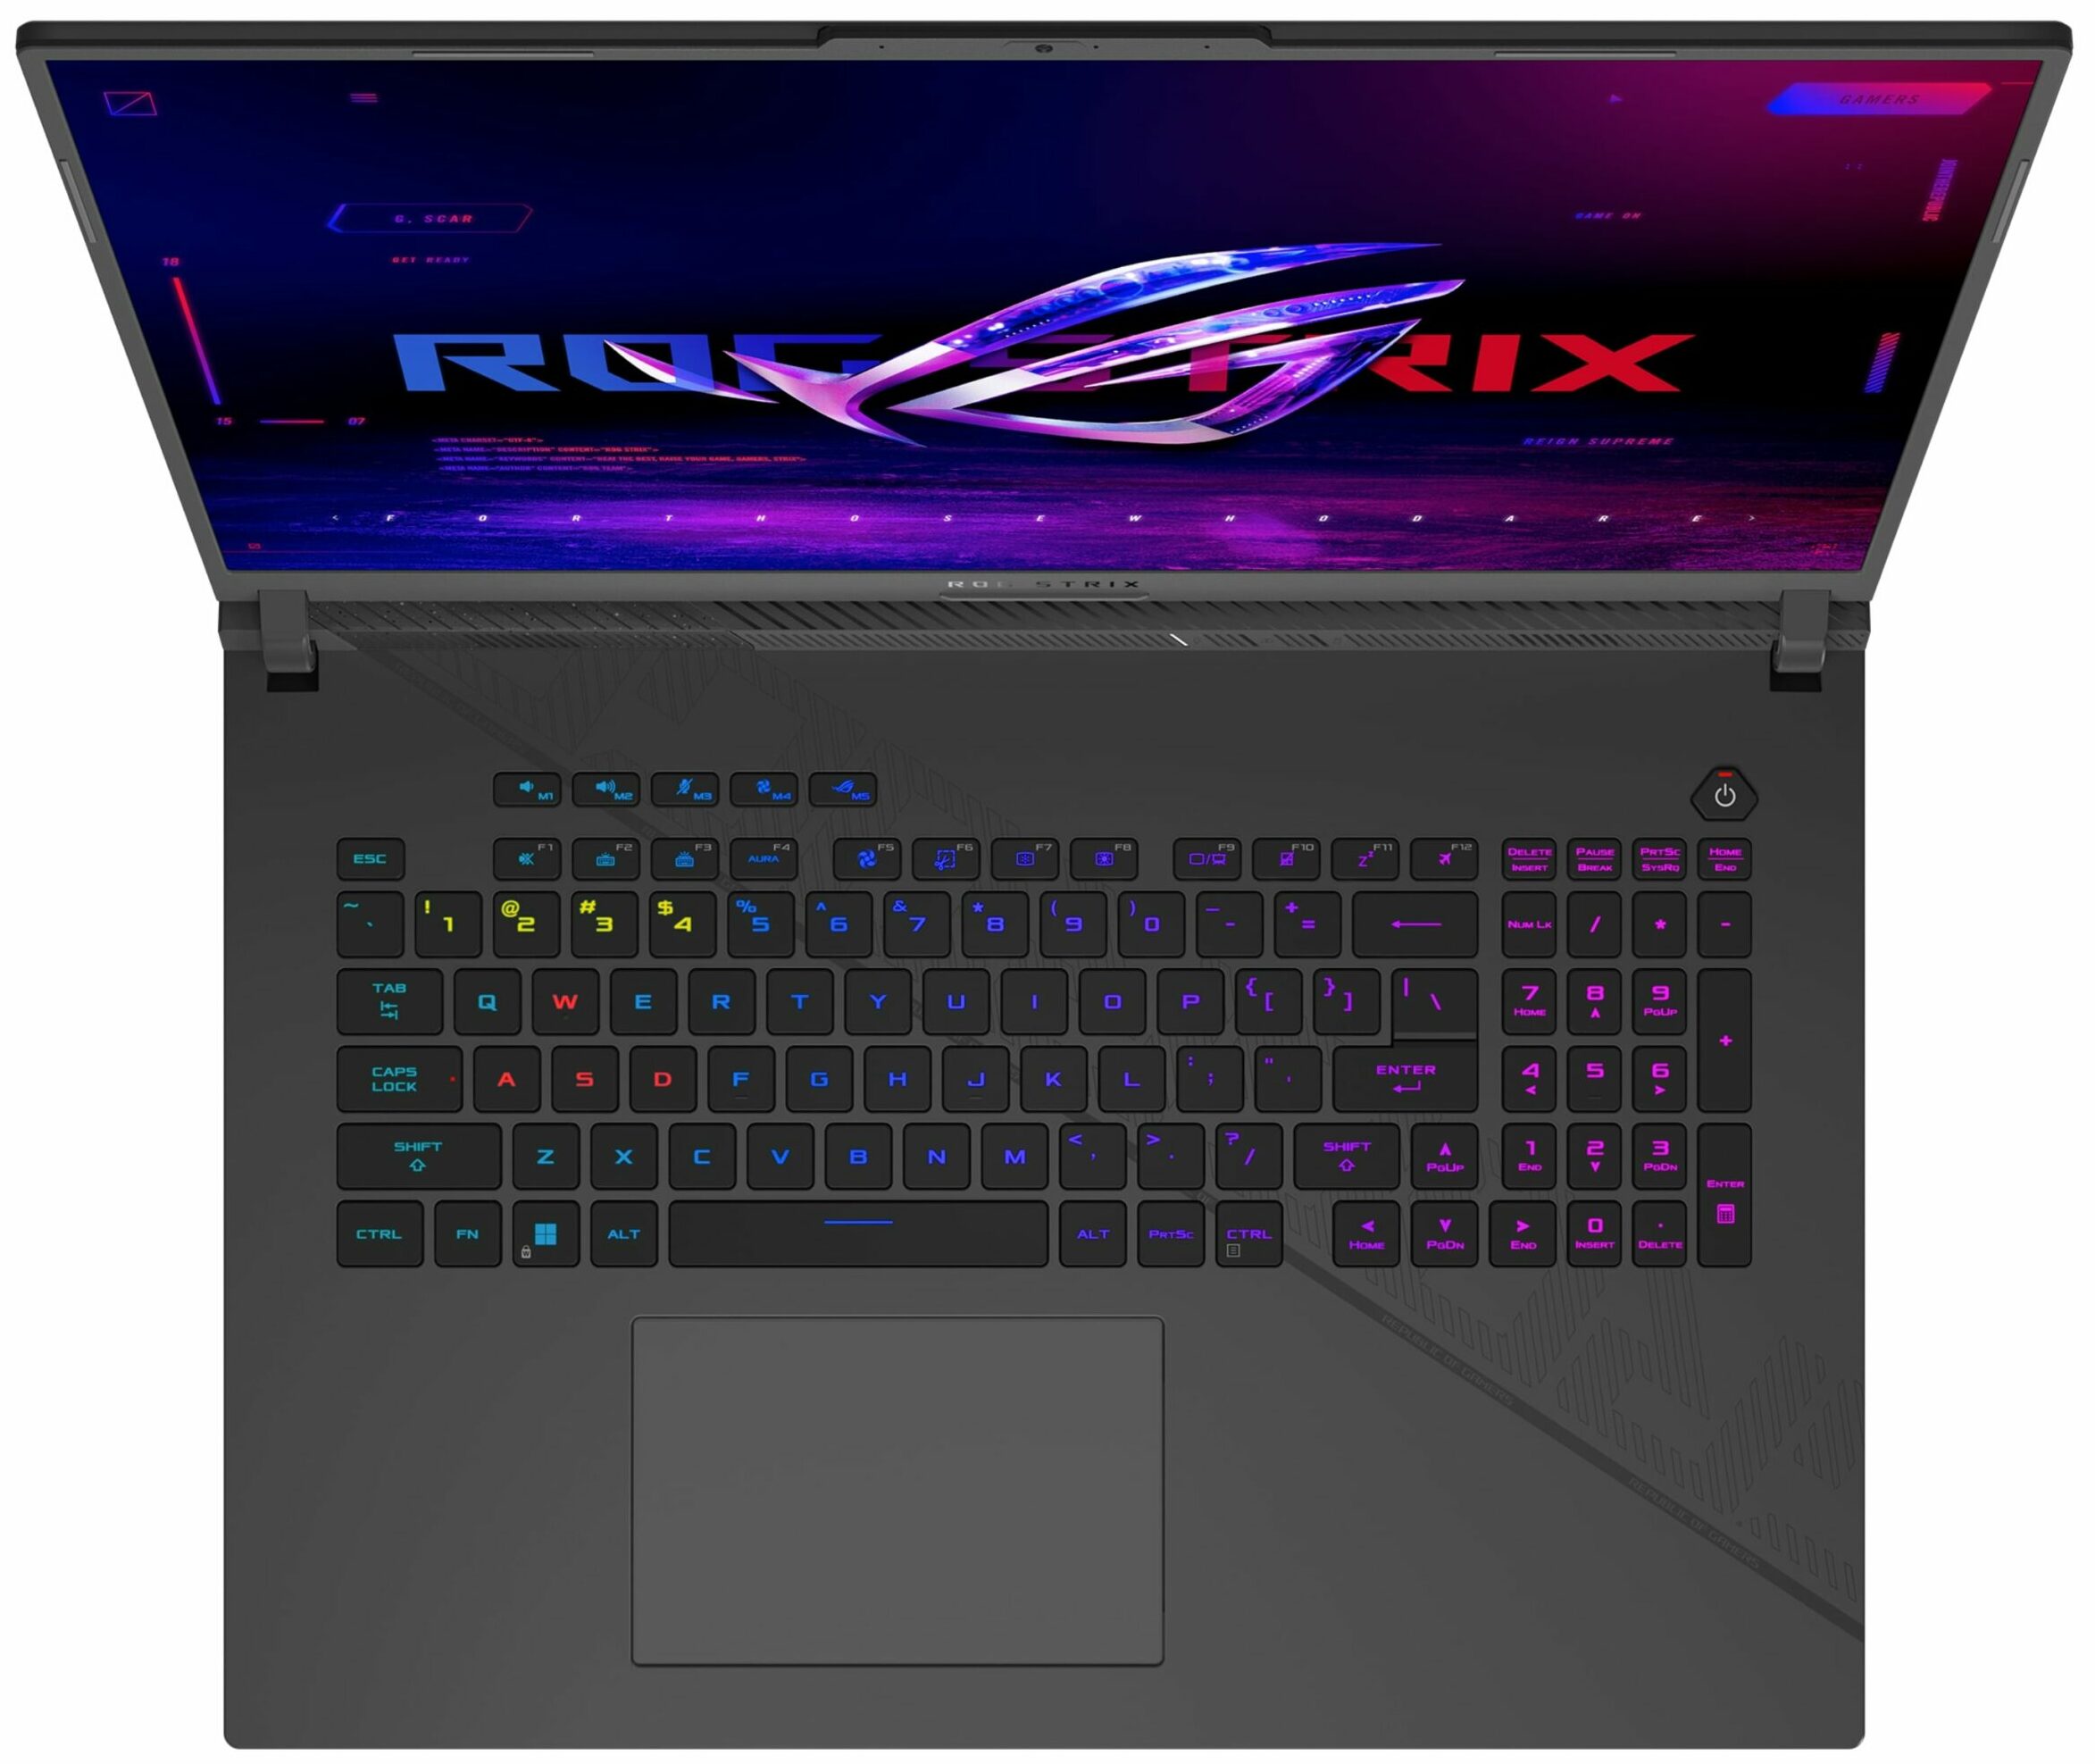
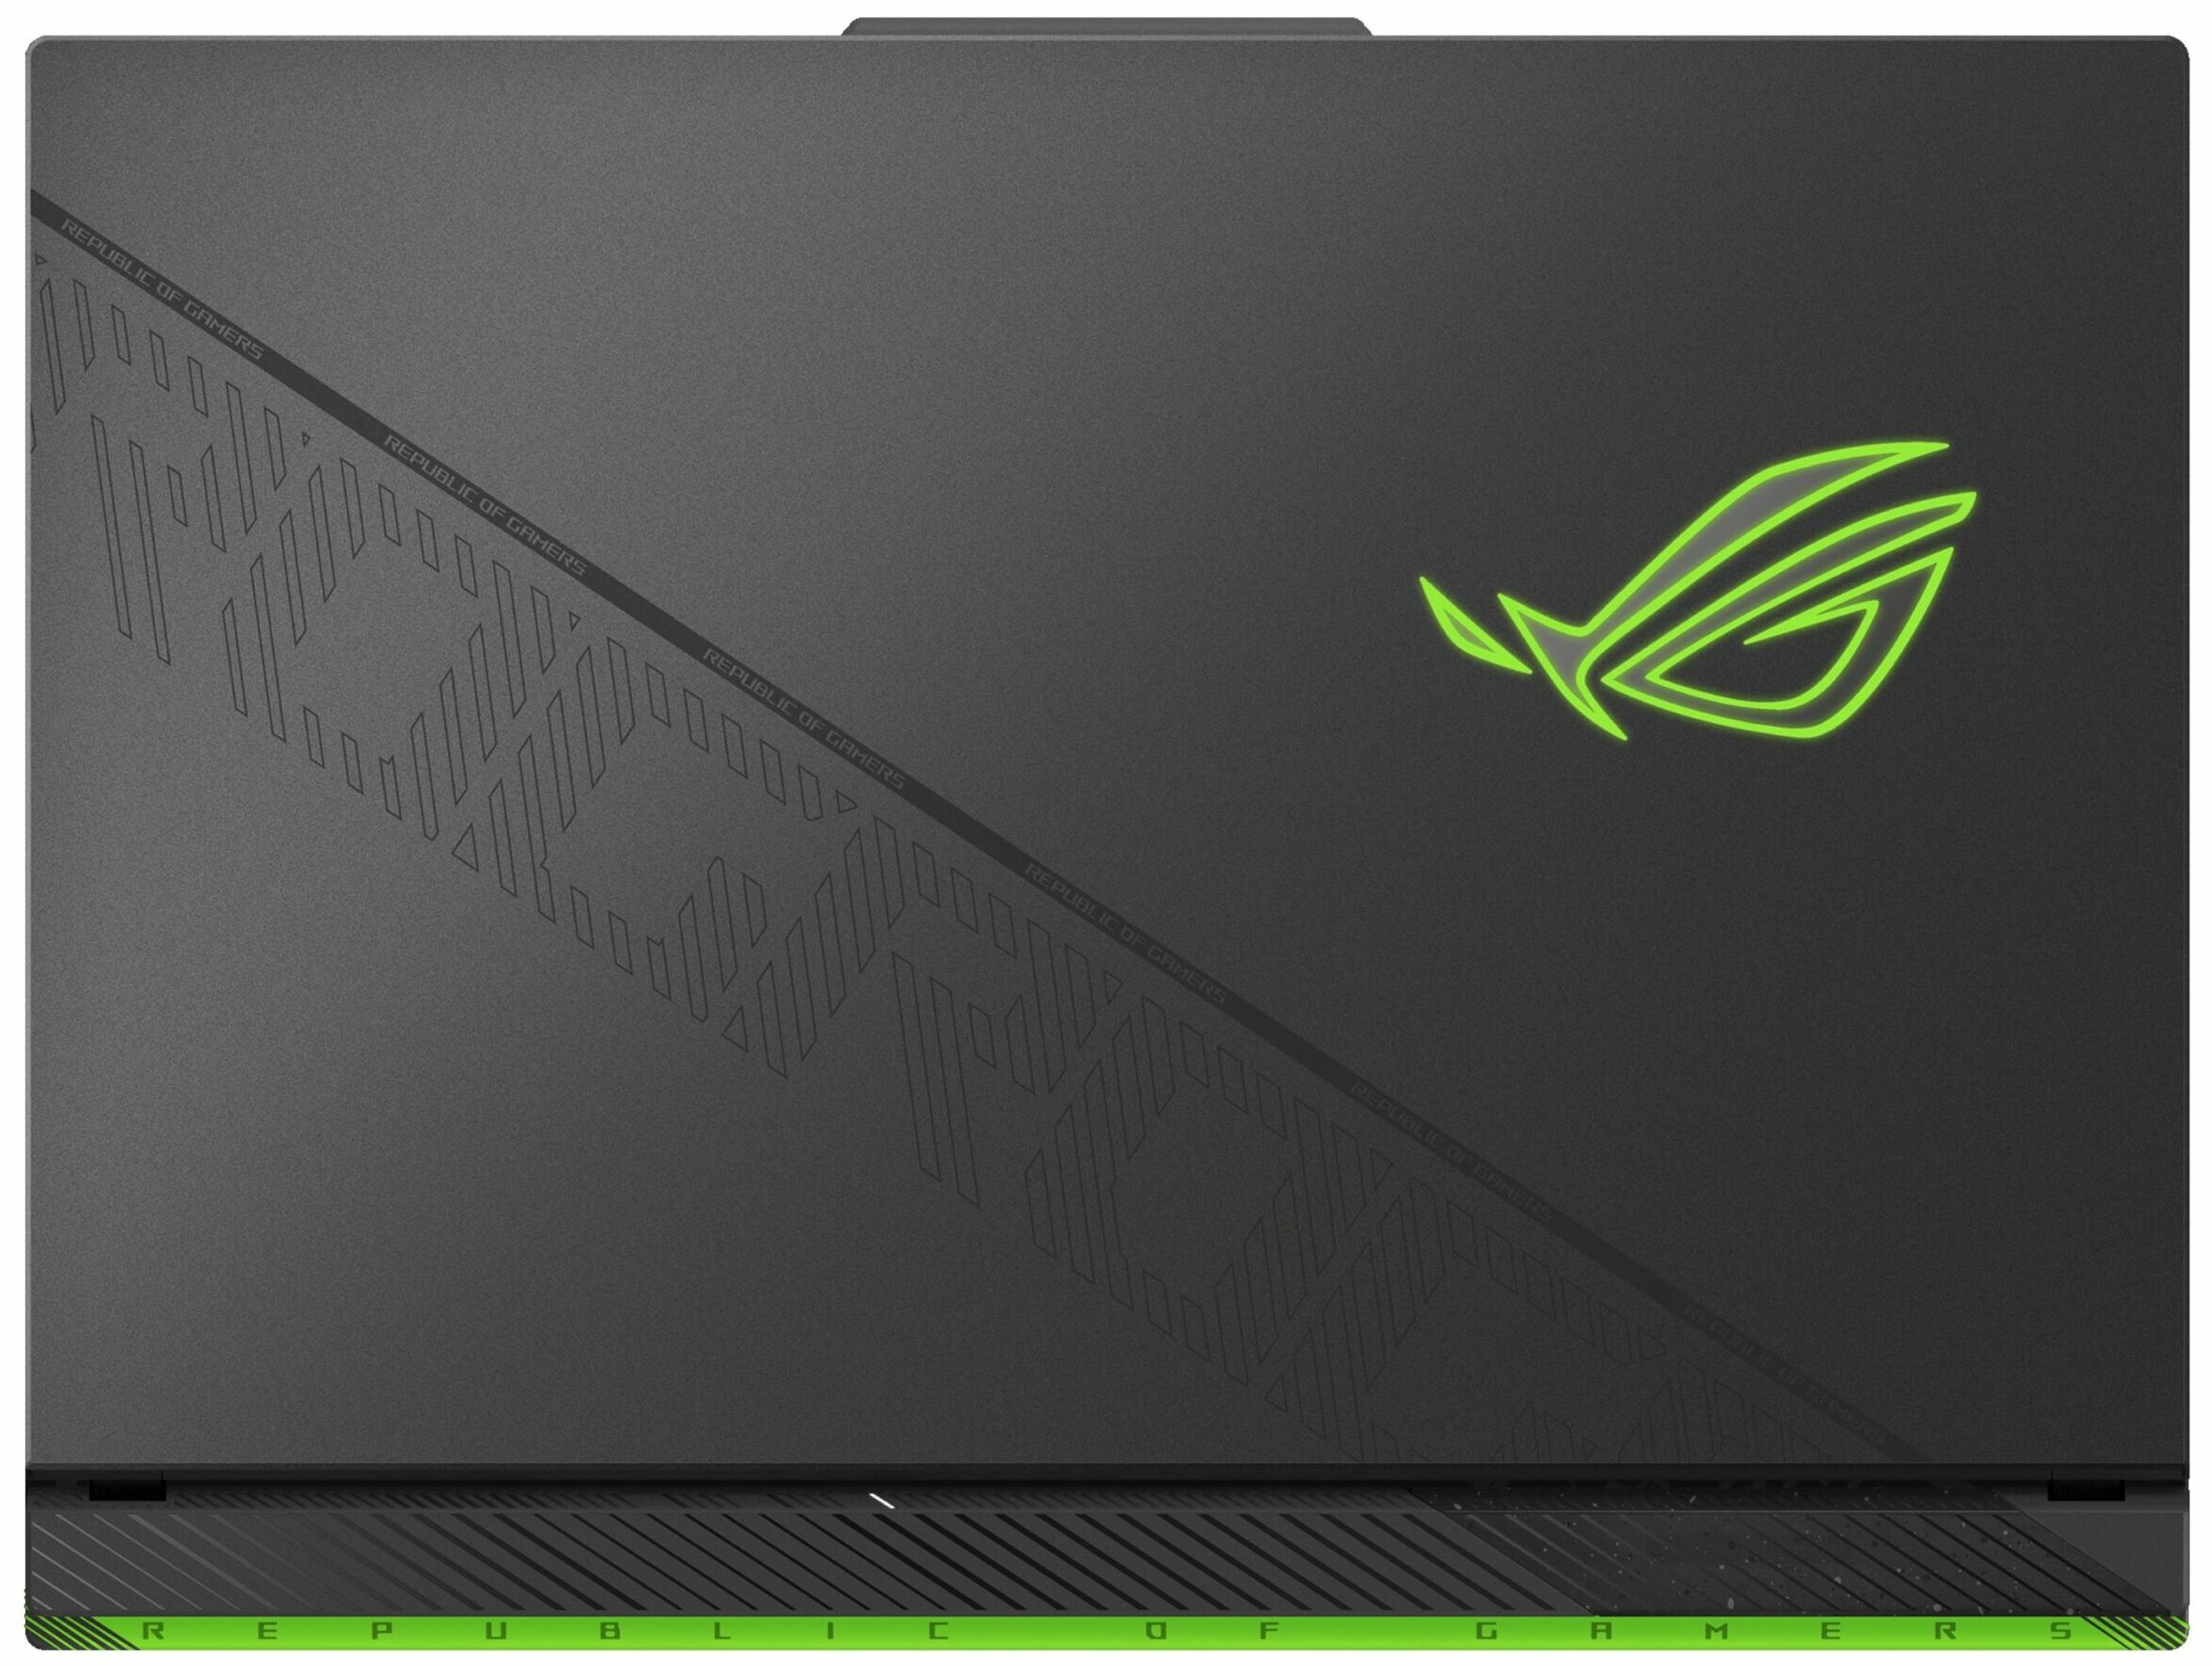
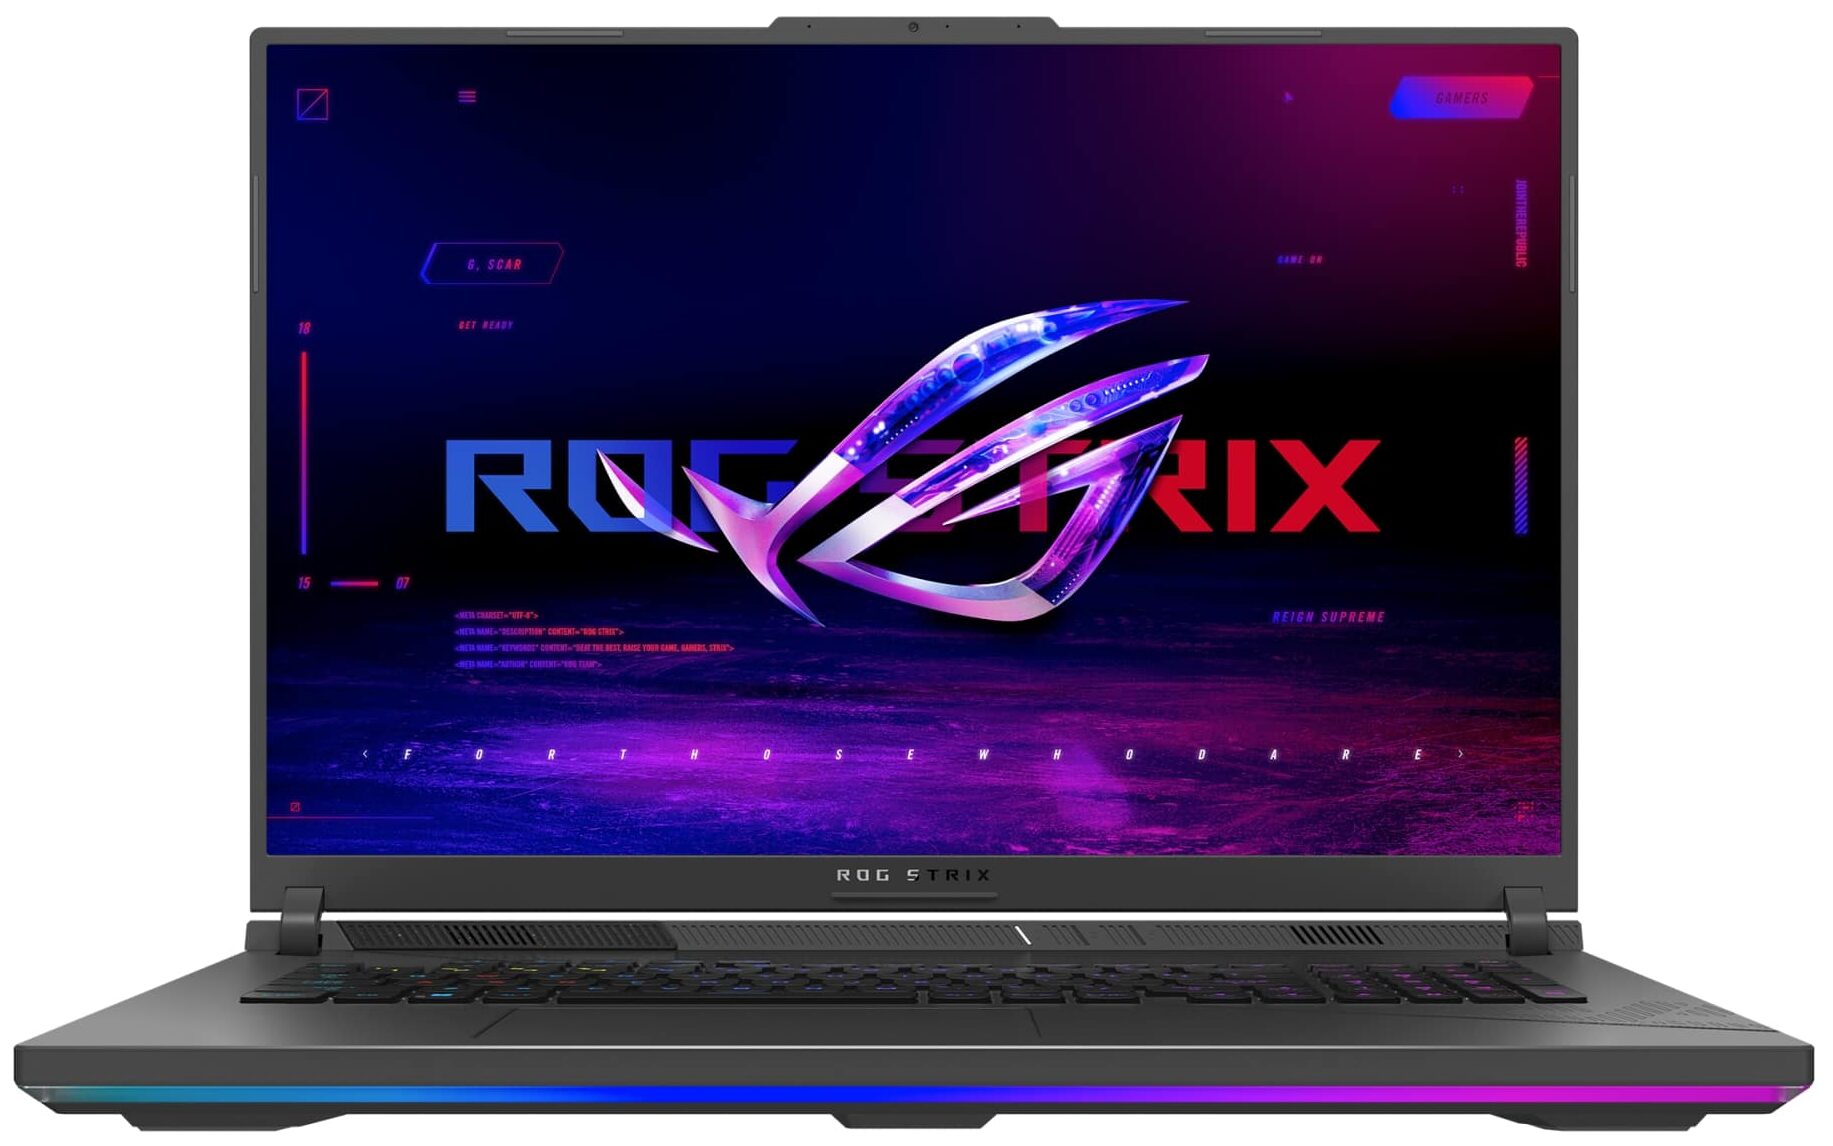
ASUS ROG Strix G18

- Date Published: 02 Oct 2024
- Intel Core i9-14900HX
- NVIDIA GeForce RTX 4060 (Laptop, 140W)
- 18.0", WQXGA (2560 x 1600), 240 Hz, IPS
- 4000GB SSD
- 64GB RAM
- 3.00 kg (6.6 lbs)
Specs

- HDD/SSD
- 4000GB SSD
- M.2 Slot
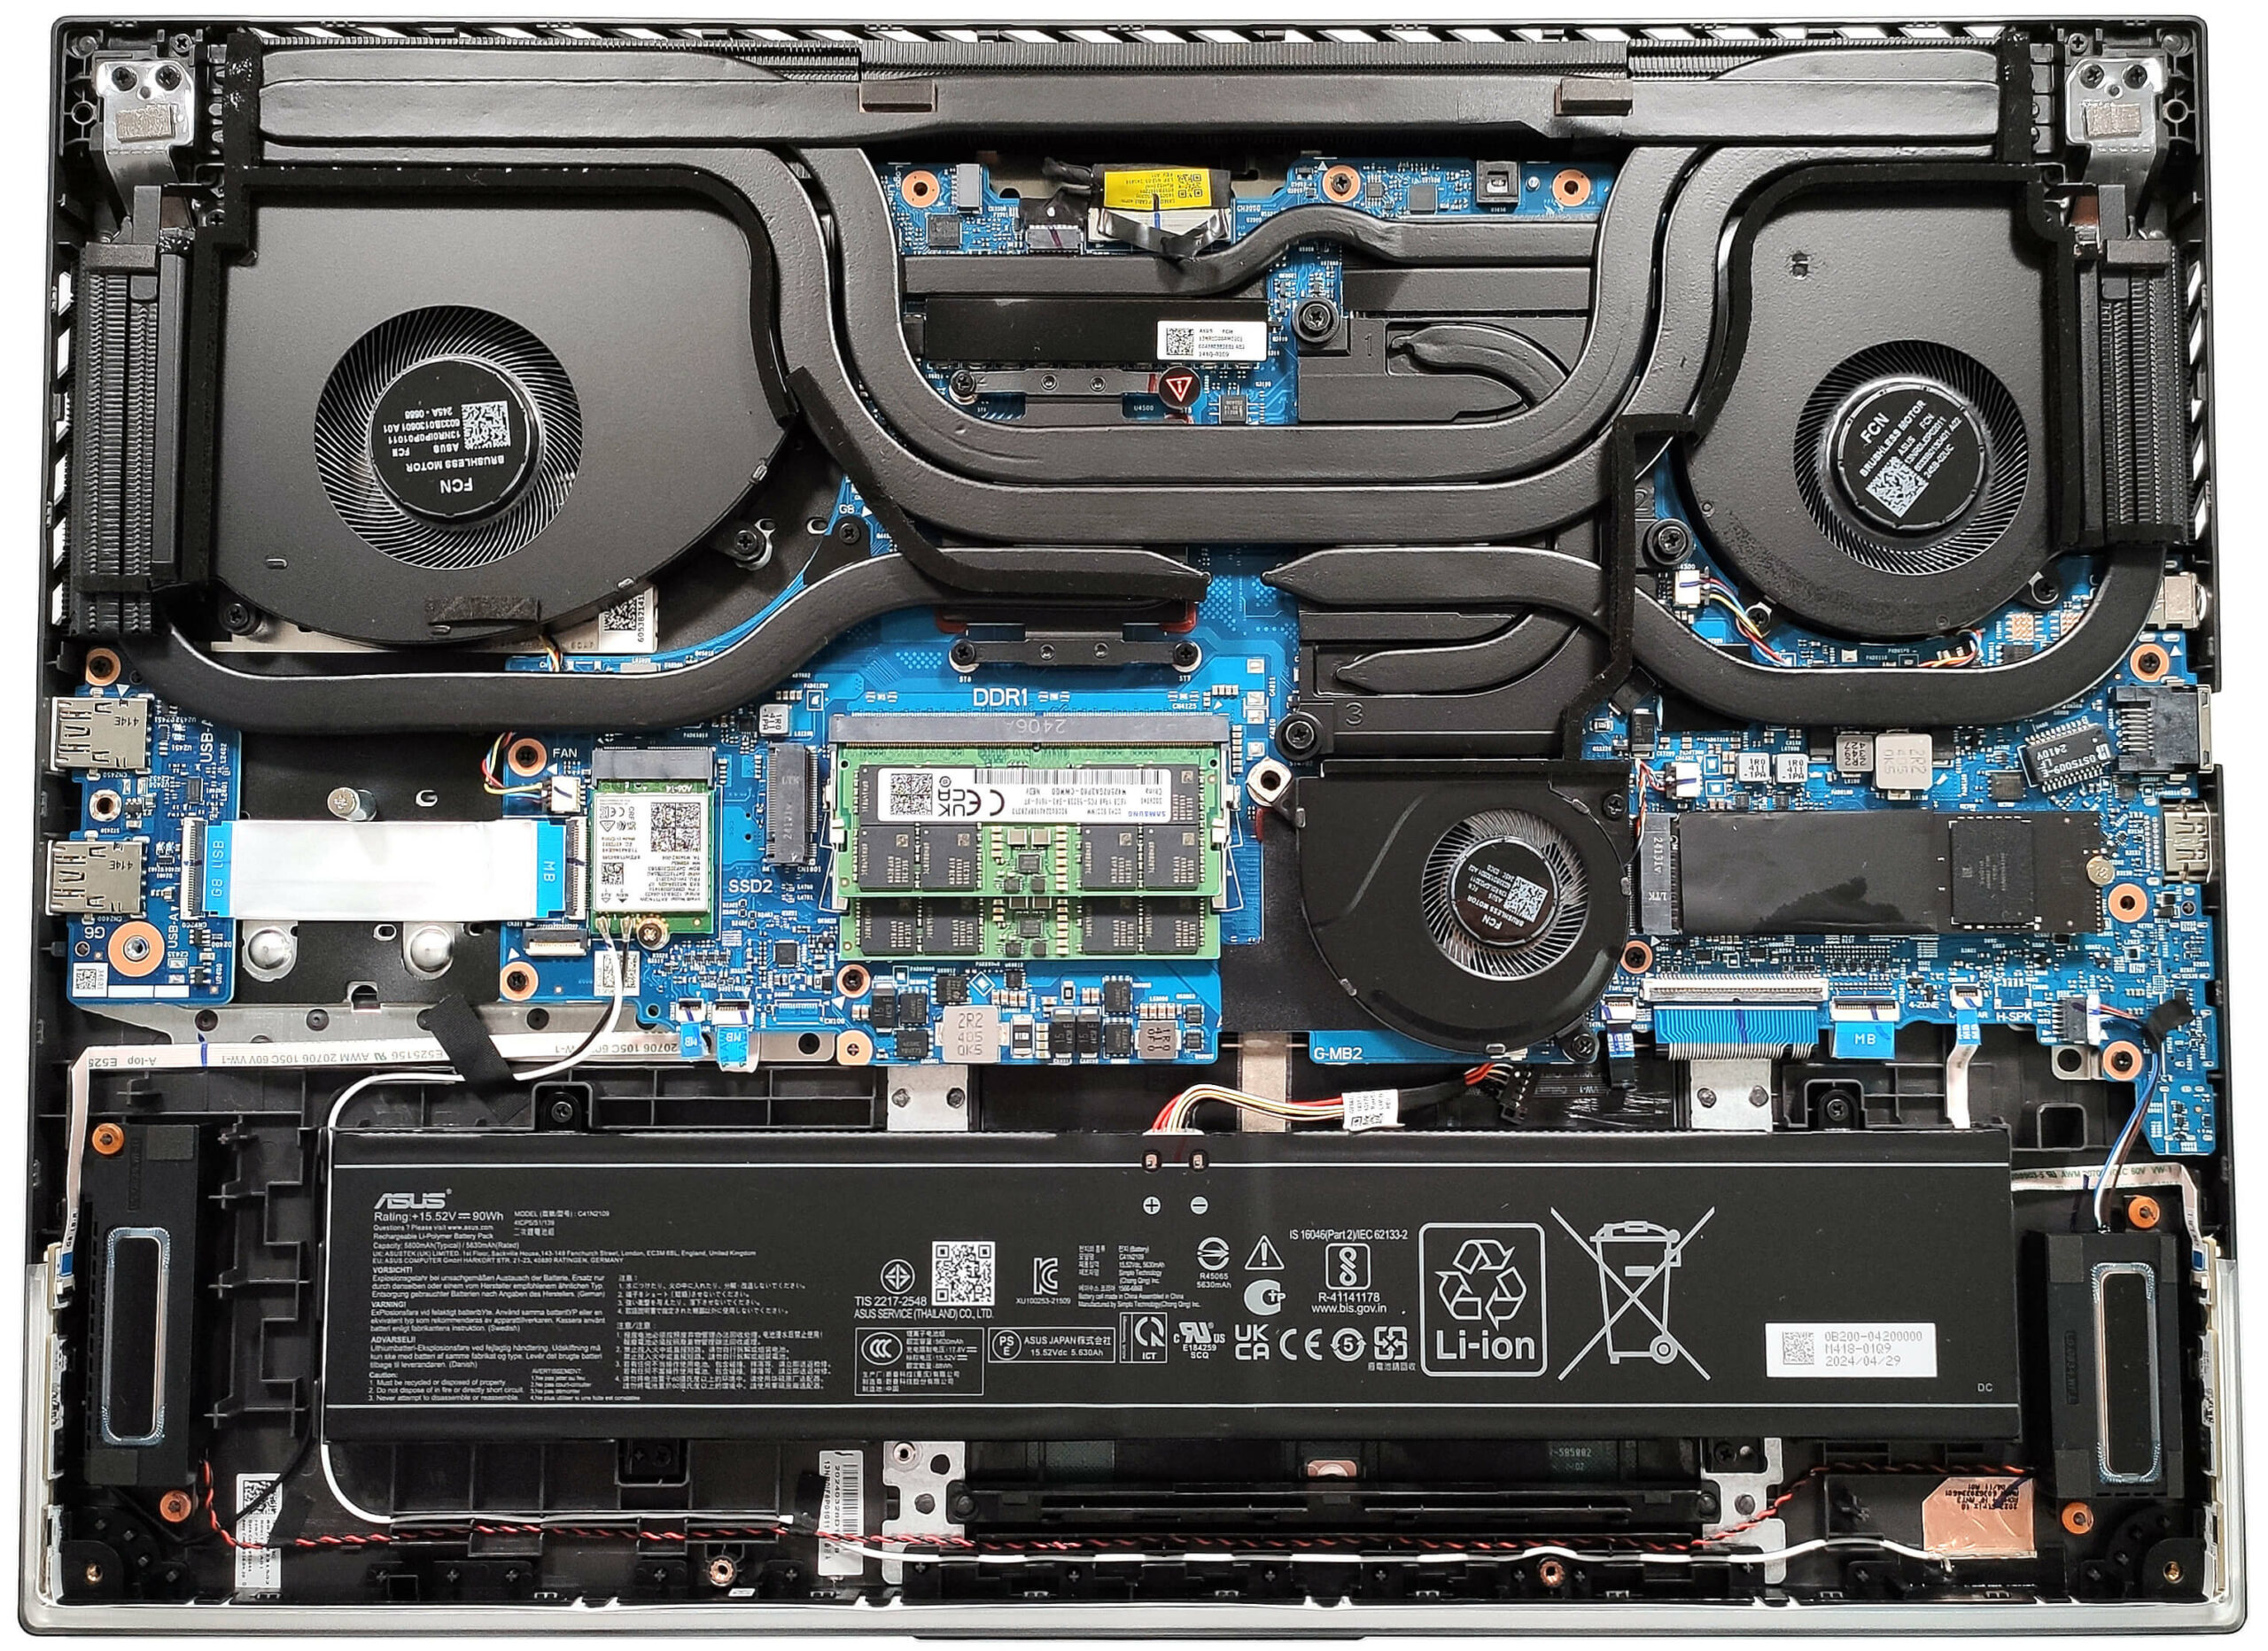
- 2x 2280 M.2 NVMe PCIe 4.0 x4 See photo
- RAM
- 64GB RAM
- OS
- Windows 11 Pro
- Body Material
- Plastic / Polycarbonate, Aluminum
- Dimensions
- 399 x 294 x 23.1 x 30.8 mm (15.71" x 11.57" x 0.91")
- Weight
- 3.00 kg (6.6 lbs)
- Ports and connectivity
- 2x USB Type-A
- 3.2 Gen 2 (10 Gbps)
- 1x USB Type-C
- 3.2 Gen 2 (10 Gbps)
- 1x USB Type-C
- Thunderbolt 4, DisplayPort
- HDMI
- 2.1
- Card Reader
- Ethernet LAN
- 10, 100, 1000 Mbit/s
- Wi-Fi
- 802.11ax
- Bluetooth
- 5.3
- Audio jack
- 3.5mm Combo Jack
- Features
- Fingerprint reader
- Web camera
- HD
- Backlit keyboard
- Microphone
- Array Microphone with AI Noise Cancelling
- Speakers
- 2x Stereo Speakers, Smart Amp, Dolby Atmos
- Security Lock slot
- Gifts
- Microsoft Office Lifetime License
Portability
Review
ASUS ROG Strix G18 in-depth review
The ROG Strix G18 G814 boasts similar hardware and cooling as the more expensive G834 model. Of course, the manufacturer has to cut corners here and there. That's why the G814 model isn't offered with a mini LED display and the most powerful GPU option here is the RTX 4080. "Big deal", if you ask us. The RTX 4080 performance isn't too far behind the RTX 4090 levels, especially if you undervolt and overclock the chip. The CPU is the same 32-thread Core i9-14900HX. The 3-fan cooling with seven heat pipes and five heatsinks seems identical to the one in the G834 version. Only the top-tier models come with preapplied Conductonaut Extreme liquid metal on both the CPU and GPU.The regular non-mini LED IPS display here still has a 1600p resolution as well as great color accuracy and 240Hz refr[...]
Read the full review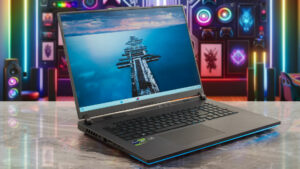
Pros
- 2x SODIMMs + 2x 2280 Gen 4 slots
- Very good overall performance
- High CPU clocks and power limits during heavy stress in "Turbo" mode (3.37 GHz P-core clock + 135W)
- Capable "Performance" preset that offers lower fan noise and the 2.8 GHz P-core clock + 120W GPU TGP for the RTX 4070
- G-Sync + MUX Switch + NVIDIA Advanced Optimus
- Rich port selection
- Full sRGB and 99% DCI-P3 coverage + accurate color with our "Design and Gaming" profile (BOE0G64)
- 240Hz refresh rate and 1600p resolution (BOE0G64)
- High max brightness of 524 nits (BOE0G64)
- The Armoury crate app offers tons of customization options
- Comfortable and quiet RGB backlit keyboard + accurate glass touchpad
- Good battery life considering the thirsty hardware and the high-res panel (~8 hours of videos)
- The fans aren't that noisy even in "Turbo mode"
- Stable metal lid
- Capable 3-fan cooling
- Solid chassis
Cons
- Hefty (23.1 - 30.8 mm / 3.00 kg)
- High SSD temperatures during benchmarking
- Lacks goodies such as Wi-Fi 7, Gen 5 SSD slot, cooling pad for the memory, and bigger pads for the SSDs
- The battery connector is placed below the lower fan
- Plastic base
- The Wi-Fi card is positioned in front of the left SSD slot which is unlogical
Disassembly, maintenance and upgrade options
Opening the Device Hint: Ensure the laptop is powered off and disconnected from any power source before starting.Undo the eleven captive Phillips-head screws on the bottom of the laptop. Lift the panel using the captive screw located in the bottom right corner. Begin prying the front panel from the lifted panel. Pop the plate above the LED strap carefully, avoiding the LED slash itself. Lift the front and the parts of the sides where the strap ends. Insert a thin plastic tool between the plate and the end of the LED slash to create a gap. Pry the sides and the ba[...]
Read more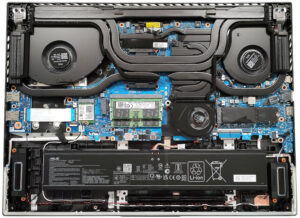


![[June 2026] Best-Selling Laptop Brands on Amazon Global – Apple’s Unrivaled Dominance in Units and Revenue](https://laptopmedia.com/wp-content/uploads/2026/07/GLOBAL-Best-Brands-400x225.jpg)
![[June 2026] Amazon Global: Top 10 Best-Selling Laptops – Apple’s New MacBook Neo Storms to #1, Reshaping the Market with Affordability](https://laptopmedia.com/wp-content/uploads/2026/07/Best-Selling-Laptops-GLOBAL-Top-10-400x225.jpg)
![[June 2026] Amazon Global: Top 10 Best-Selling Gaming Laptops – Acer’s Nitro V 16S AI Dominates Sales, While ASUS Leads Overall Revenue](https://laptopmedia.com/wp-content/uploads/2026/07/Best-Selling-Gaming-Laptops-GLOBAL-Top-10-400x225.jpg)
![[June 2026] Global Ranking of Best-Selling Laptop GPUs on Amazon – NVIDIA RTX 5060 is the Top-Selling Dedicated GPU](https://laptopmedia.com/wp-content/uploads/2026/07/Best-Selling-GPUs-GLOBAL-Top-10-400x225.jpg)
![[June 2026] Global Ranking of Best-Selling Laptop CPUs on Amazon – Apple M5 Dominates, AMD Ryzen 7 260 Gets Solid Premium Share](https://laptopmedia.com/wp-content/uploads/2026/07/Best-Selling-CPUs-GLOBAL-Top-10-400x225.jpg)