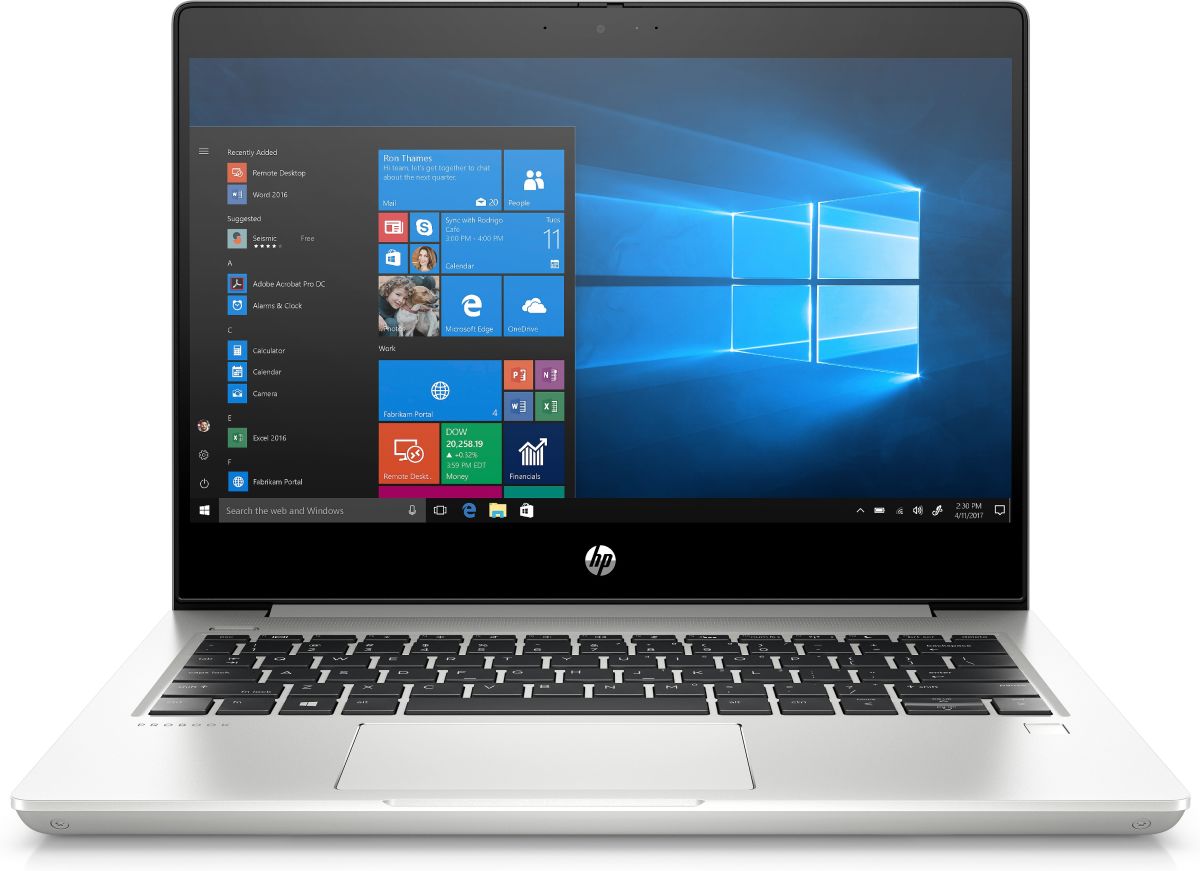
HP ProBook 430 G7
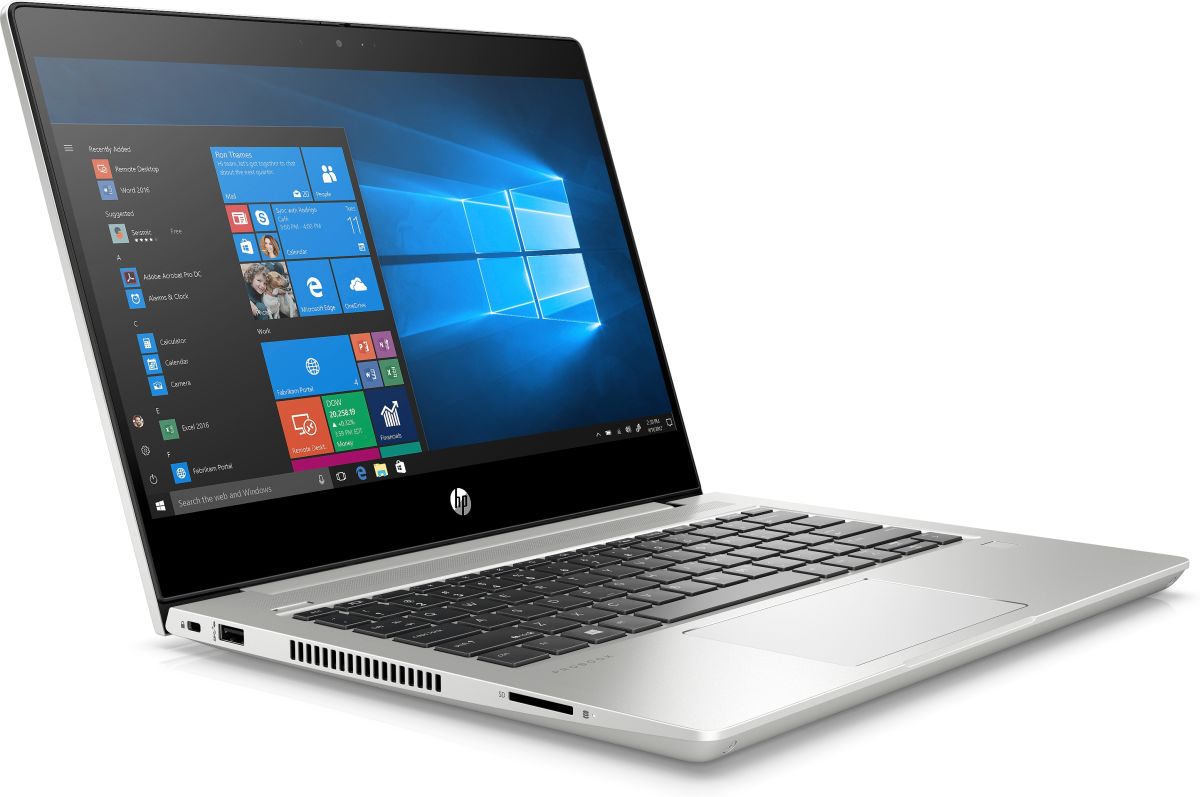
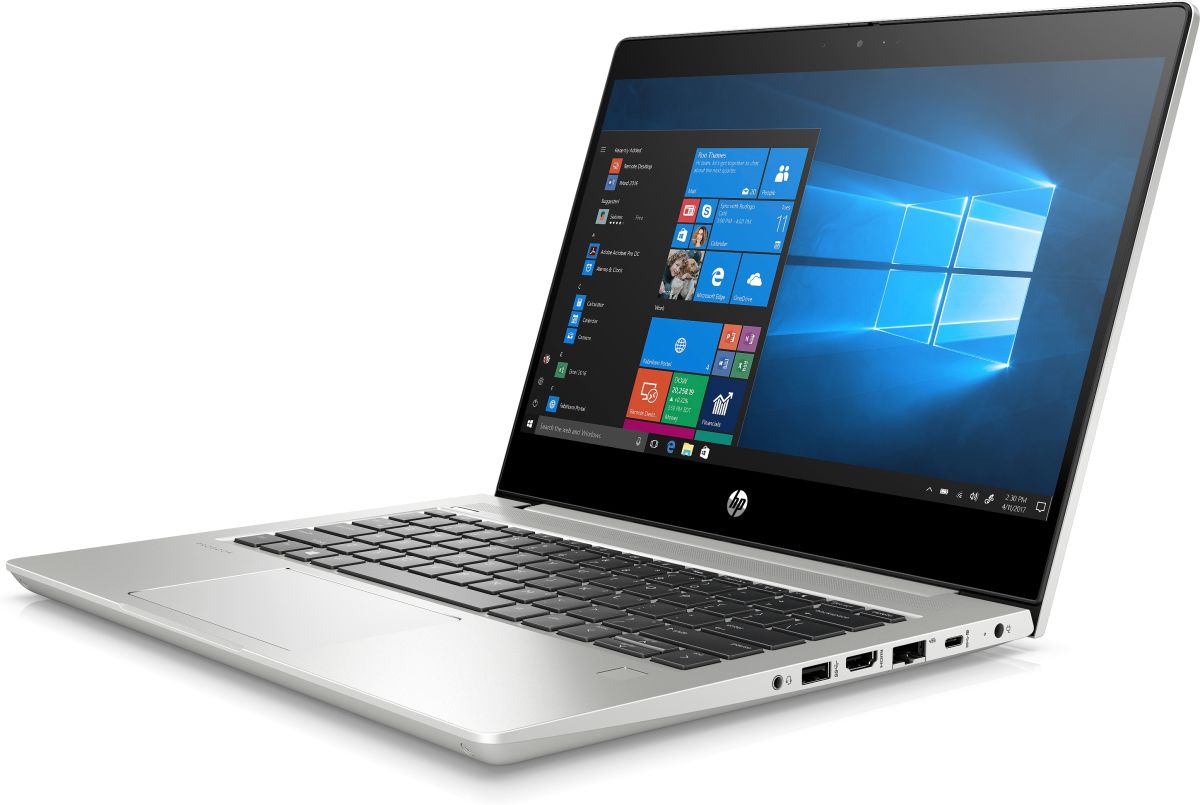
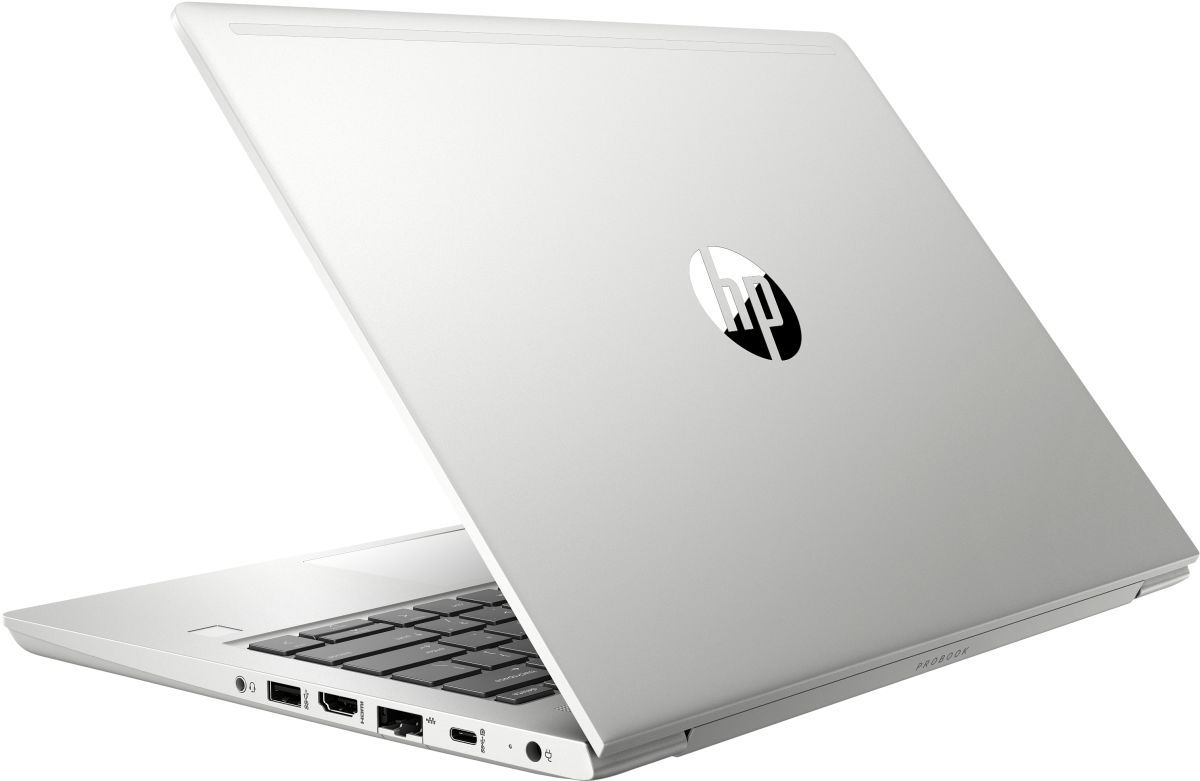


- Date Published: 17 Jan 2020
- Intel Core i5-10210U
- Intel UHD Graphics
- 13.3”, Full HD (1920 x 1080), IPS
- 512GB SSD + 1000GB HDD
- 32GB DDR4
- 1.49 kg (3.3 lbs)
Review
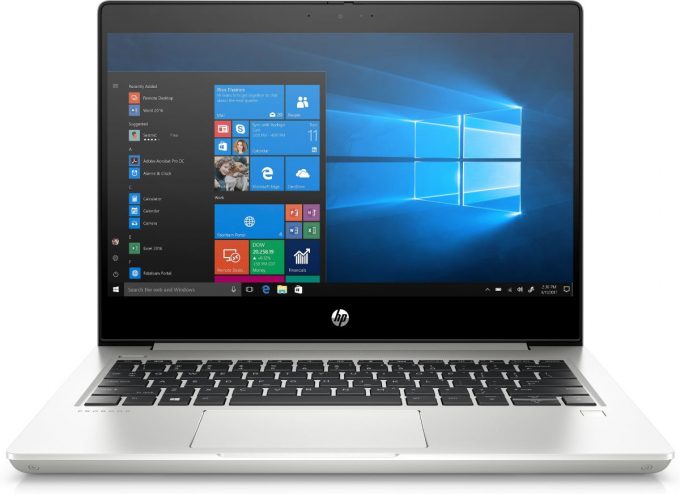
HP ProBook 430 G7 in-depth review
Another day, another ProBook. This time, we got the 13-inch version of the 7th Generation of ProBook 400s. In terms of looks, it almost fully resembles its predecessor and similarly to its larger brothers, presents a slight upgrade on the hardware front.This time, the laptop comes with a choice of a dual-core and two quad-core Comet Lake processors. Essentially, they should provide a marginal performance and efficiency boost over the Whiskey Lake devices.Additionally, looking at the specs sheet, we see wide upgradability, as well as Wi-Fi 6 certification on some models. Last year, we said that having no Thunderbolt support is a downside, and it doesn't seem like HP has "fixed" that on the new device. However, the presence of a Privacy Shutter, fingerprint reader, and all of the ne[...]
Read the full review
Pros
- Spill-resistant (optionally) backlit keyboard
- Decent build quality
- Good battery life
- Upgradability is on point and its parts are easy to access
- Doesn't use PWM to adjust its brightness levels (Chie Mei CMN1375)
- Comfortable viewing angles and good contrast ratio
Cons
- No Thunderbolt support
- Covers only 55% of sRGB (Chie Mei CMN1375)
- Only a refreshed copy of its predecessor
Disassembly, maintenance and upgrade options
Once again, HP has produced a strong 13-inch ProBook. While it is largely unchanged from last year, it is good that the manufacturer was able to retain the performance in almost every department.Check out all HP ProBook 430 G7 prices and configurations in our Specs System or read more in our In-Depth review.1. Remove the bottom plate Disassembling this device is pretty straightforward. There are 7 Phillips-head screws you need to remove and five of them will remain attached to the bottom panel after they are unscrewed. Then pry your way around the panel and lift the plate away. [...]
Read more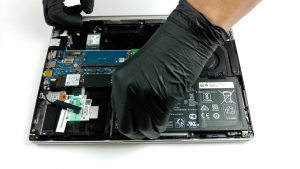


![[June 2026] Best-Selling Laptop Brands on Amazon Global – Apple’s Unrivaled Dominance in Units and Revenue](https://laptopmedia.com/wp-content/uploads/2026/07/GLOBAL-Best-Brands-400x225.jpg)
![[June 2026] Amazon Global: Top 10 Best-Selling Laptops – Apple’s New MacBook Neo Storms to #1, Reshaping the Market with Affordability](https://laptopmedia.com/wp-content/uploads/2026/07/Best-Selling-Laptops-GLOBAL-Top-10-400x225.jpg)
![[June 2026] Amazon Global: Top 10 Best-Selling Gaming Laptops – Acer’s Nitro V 16S AI Dominates Sales, While ASUS Leads Overall Revenue](https://laptopmedia.com/wp-content/uploads/2026/07/Best-Selling-Gaming-Laptops-GLOBAL-Top-10-400x225.jpg)
![[June 2026] Global Ranking of Best-Selling Laptop GPUs on Amazon – NVIDIA RTX 5060 is the Top-Selling Dedicated GPU](https://laptopmedia.com/wp-content/uploads/2026/07/Best-Selling-GPUs-GLOBAL-Top-10-400x225.jpg)
![[June 2026] Global Ranking of Best-Selling Laptop CPUs on Amazon – Apple M5 Dominates, AMD Ryzen 7 260 Gets Solid Premium Share](https://laptopmedia.com/wp-content/uploads/2026/07/Best-Selling-CPUs-GLOBAL-Top-10-400x225.jpg)