How to open ASUS ROG Strix G16 G614 (2025) – disassembly and upgrade options
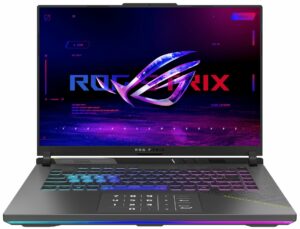
How to open the bottom panel
- Shut down the laptop completely and unplug the charger and all peripherals.
- Place the device upside down on a soft, clean surface to avoid scratching the lid.
- Undo the eleven Phillips-head screws securing the bottom panel.
- One of the screws near the hinge is captive and stays attached to the panel.
- Insert a thin plastic pry tool between the bottom cover and the chassis near the hinge area and gently release the plastic clips around the perimeter. Work slowly along all sides to avoid bending the panel.
- Lift the bottom panel away from the chassis and set it aside.
Hint: Keep track of the captive screw near the hinge – it doesn’t come out fully, so don’t force it.
Battery
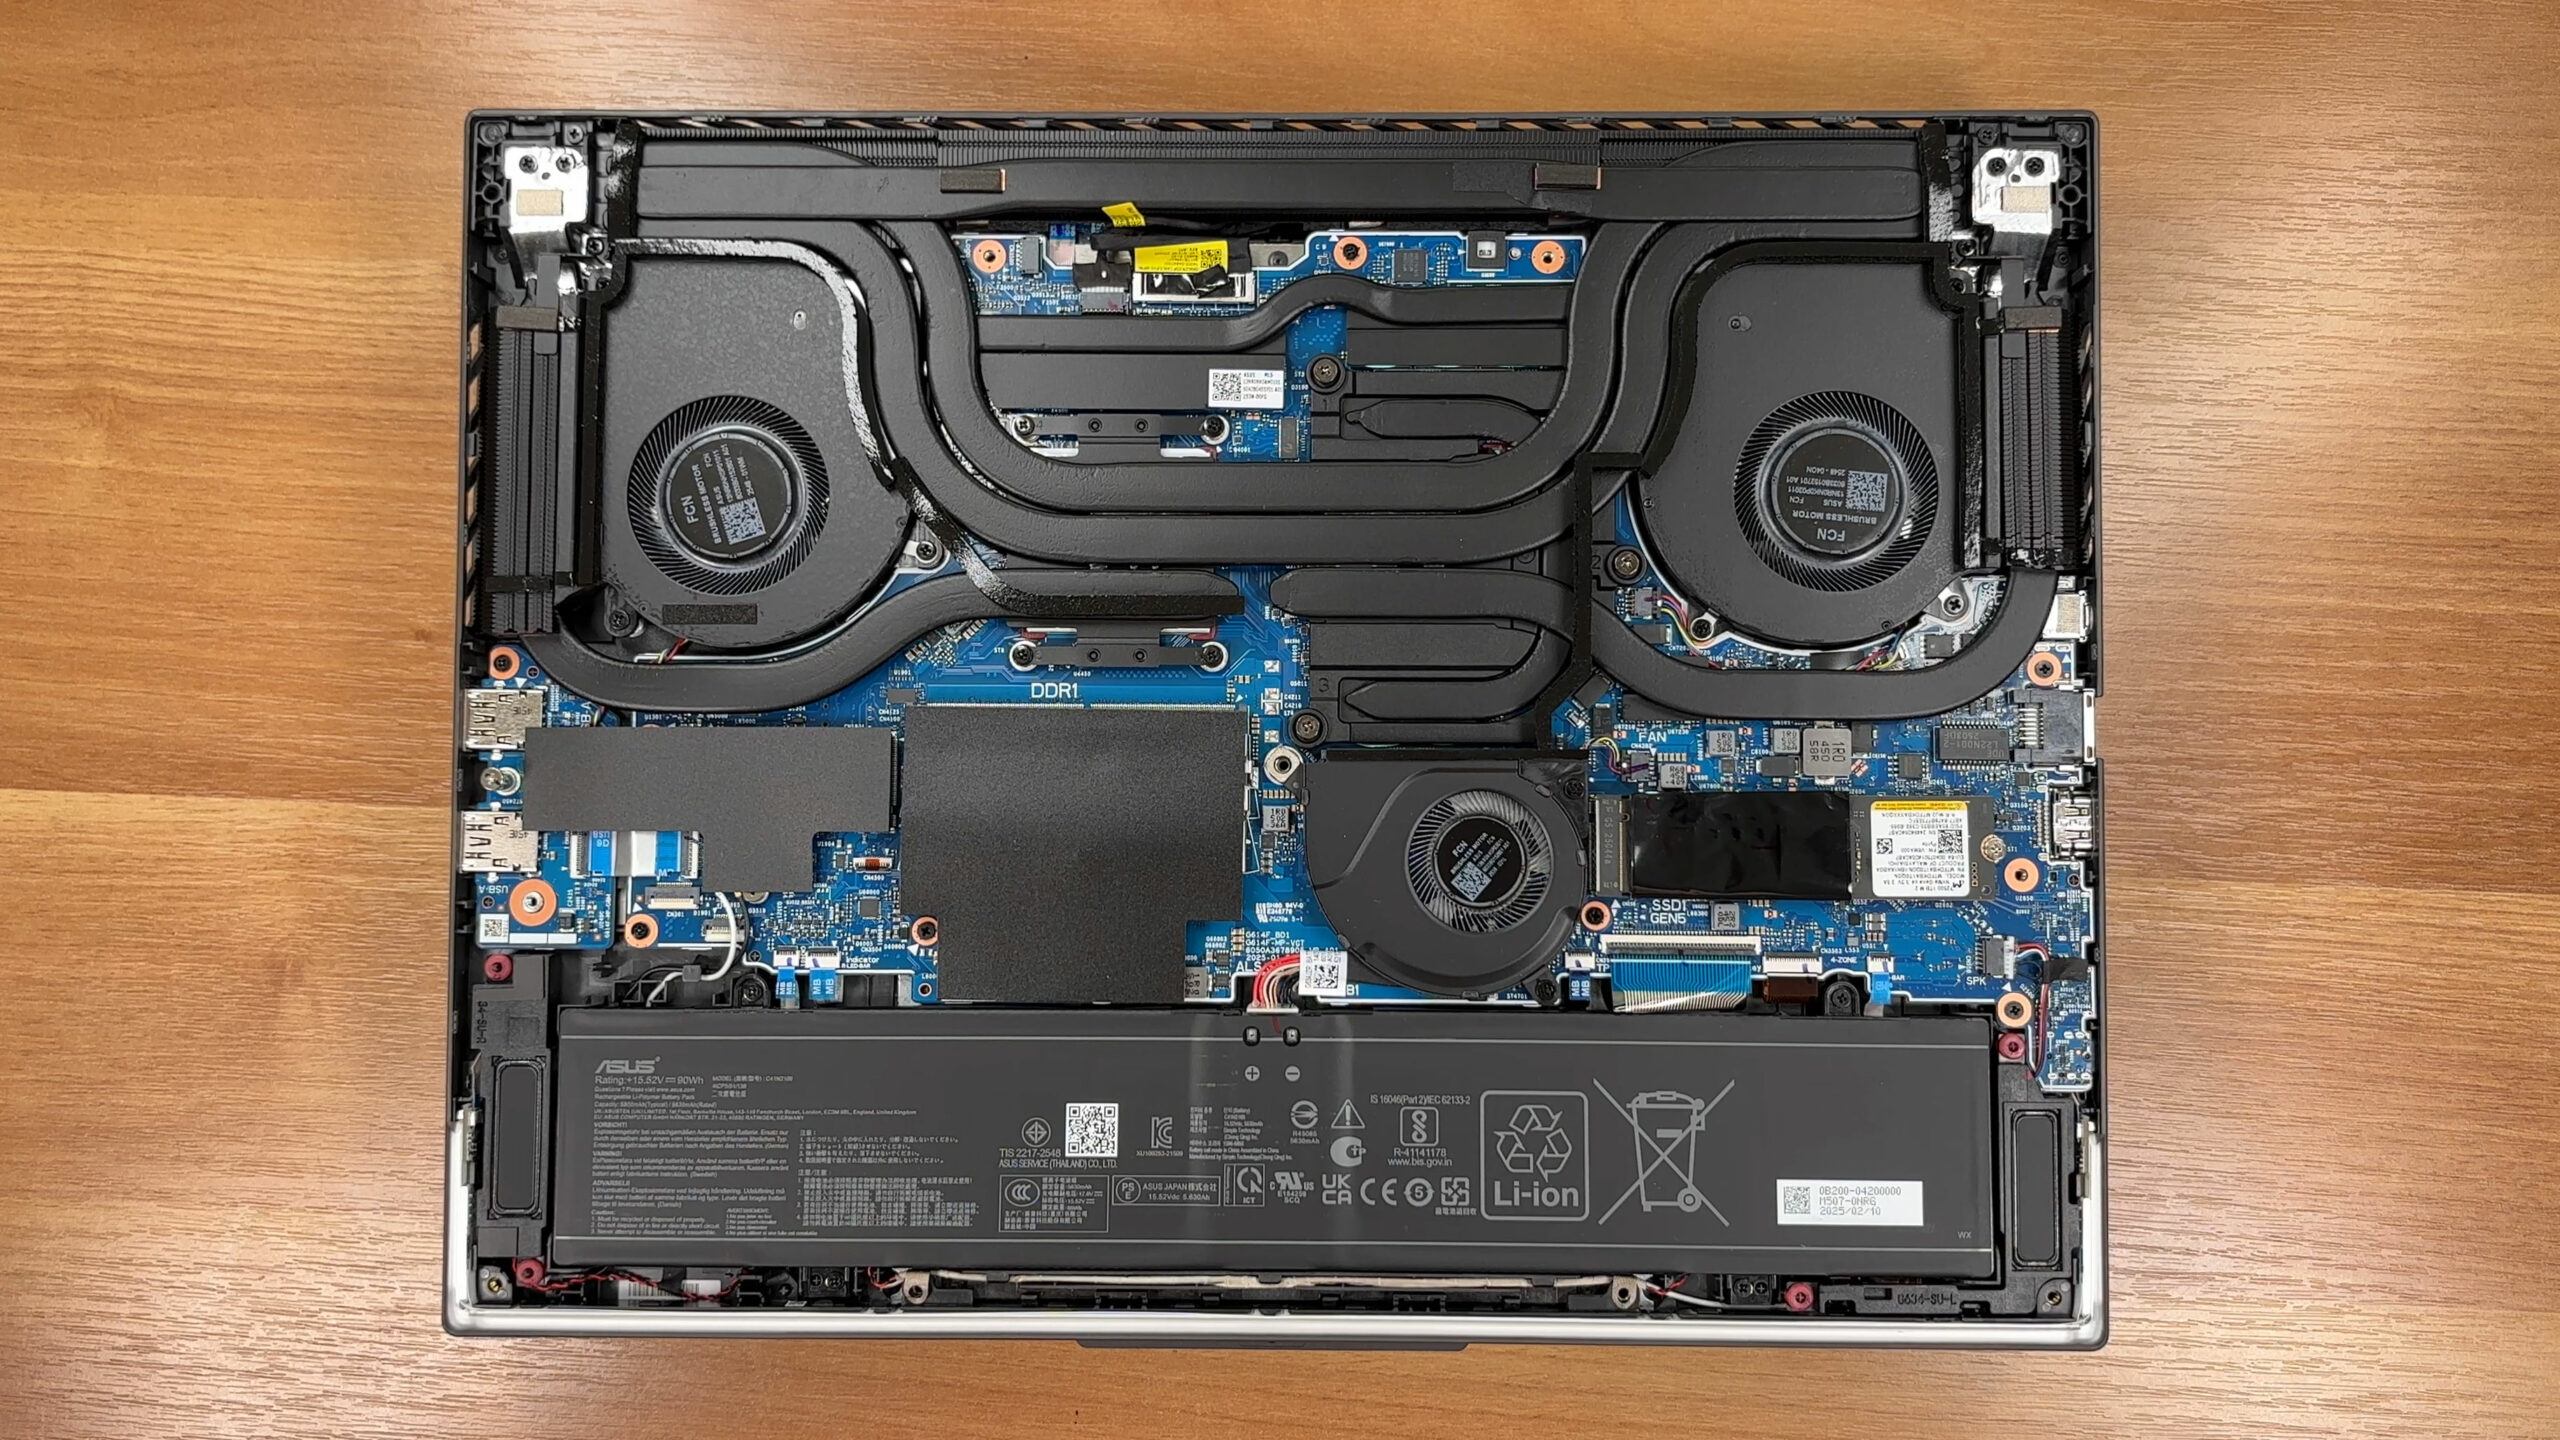
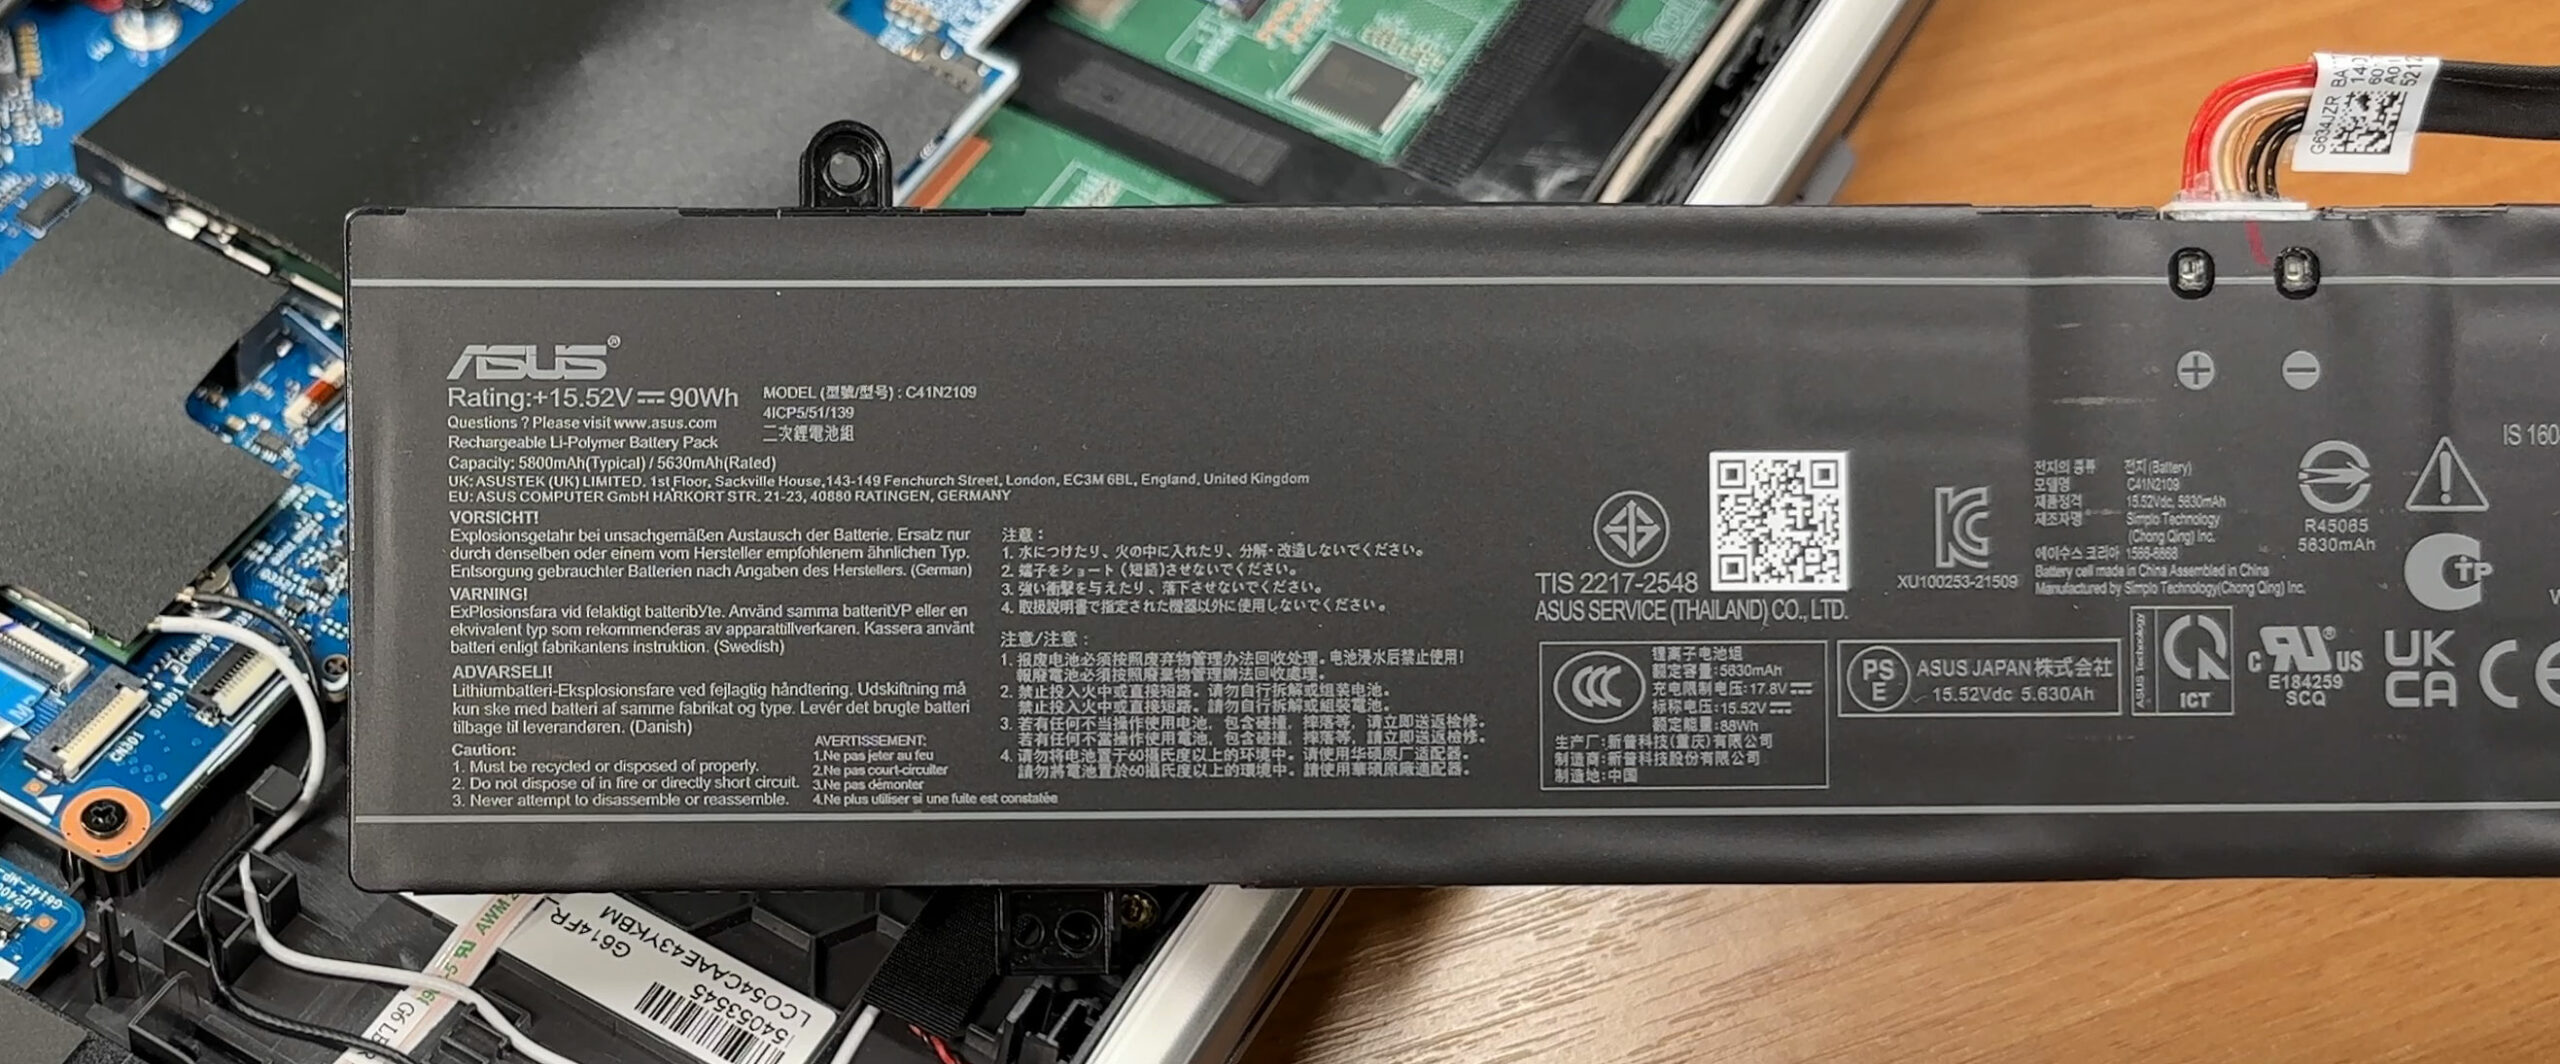
- Locate the 90 Wh 4-cell Li-ion battery (model C41N2109) along the front edge of the chassis.
- Disconnect the battery cable from the motherboard by gently pulling the connector straight out of its socket. Avoid lifting it vertically to prevent damage.
- Undo the screws that secure the battery to the chassis.
- Lift the battery out of the laptop from the front edge.
- When installing a replacement battery, position it flat in its recess, reinstall all screws, and firmly reconnect the battery cable.
More info: The 90 Wh pack supports fast charging, with a claimed charge to around 50% in approximately 40 minutes.
Memory (RAM) upgrade
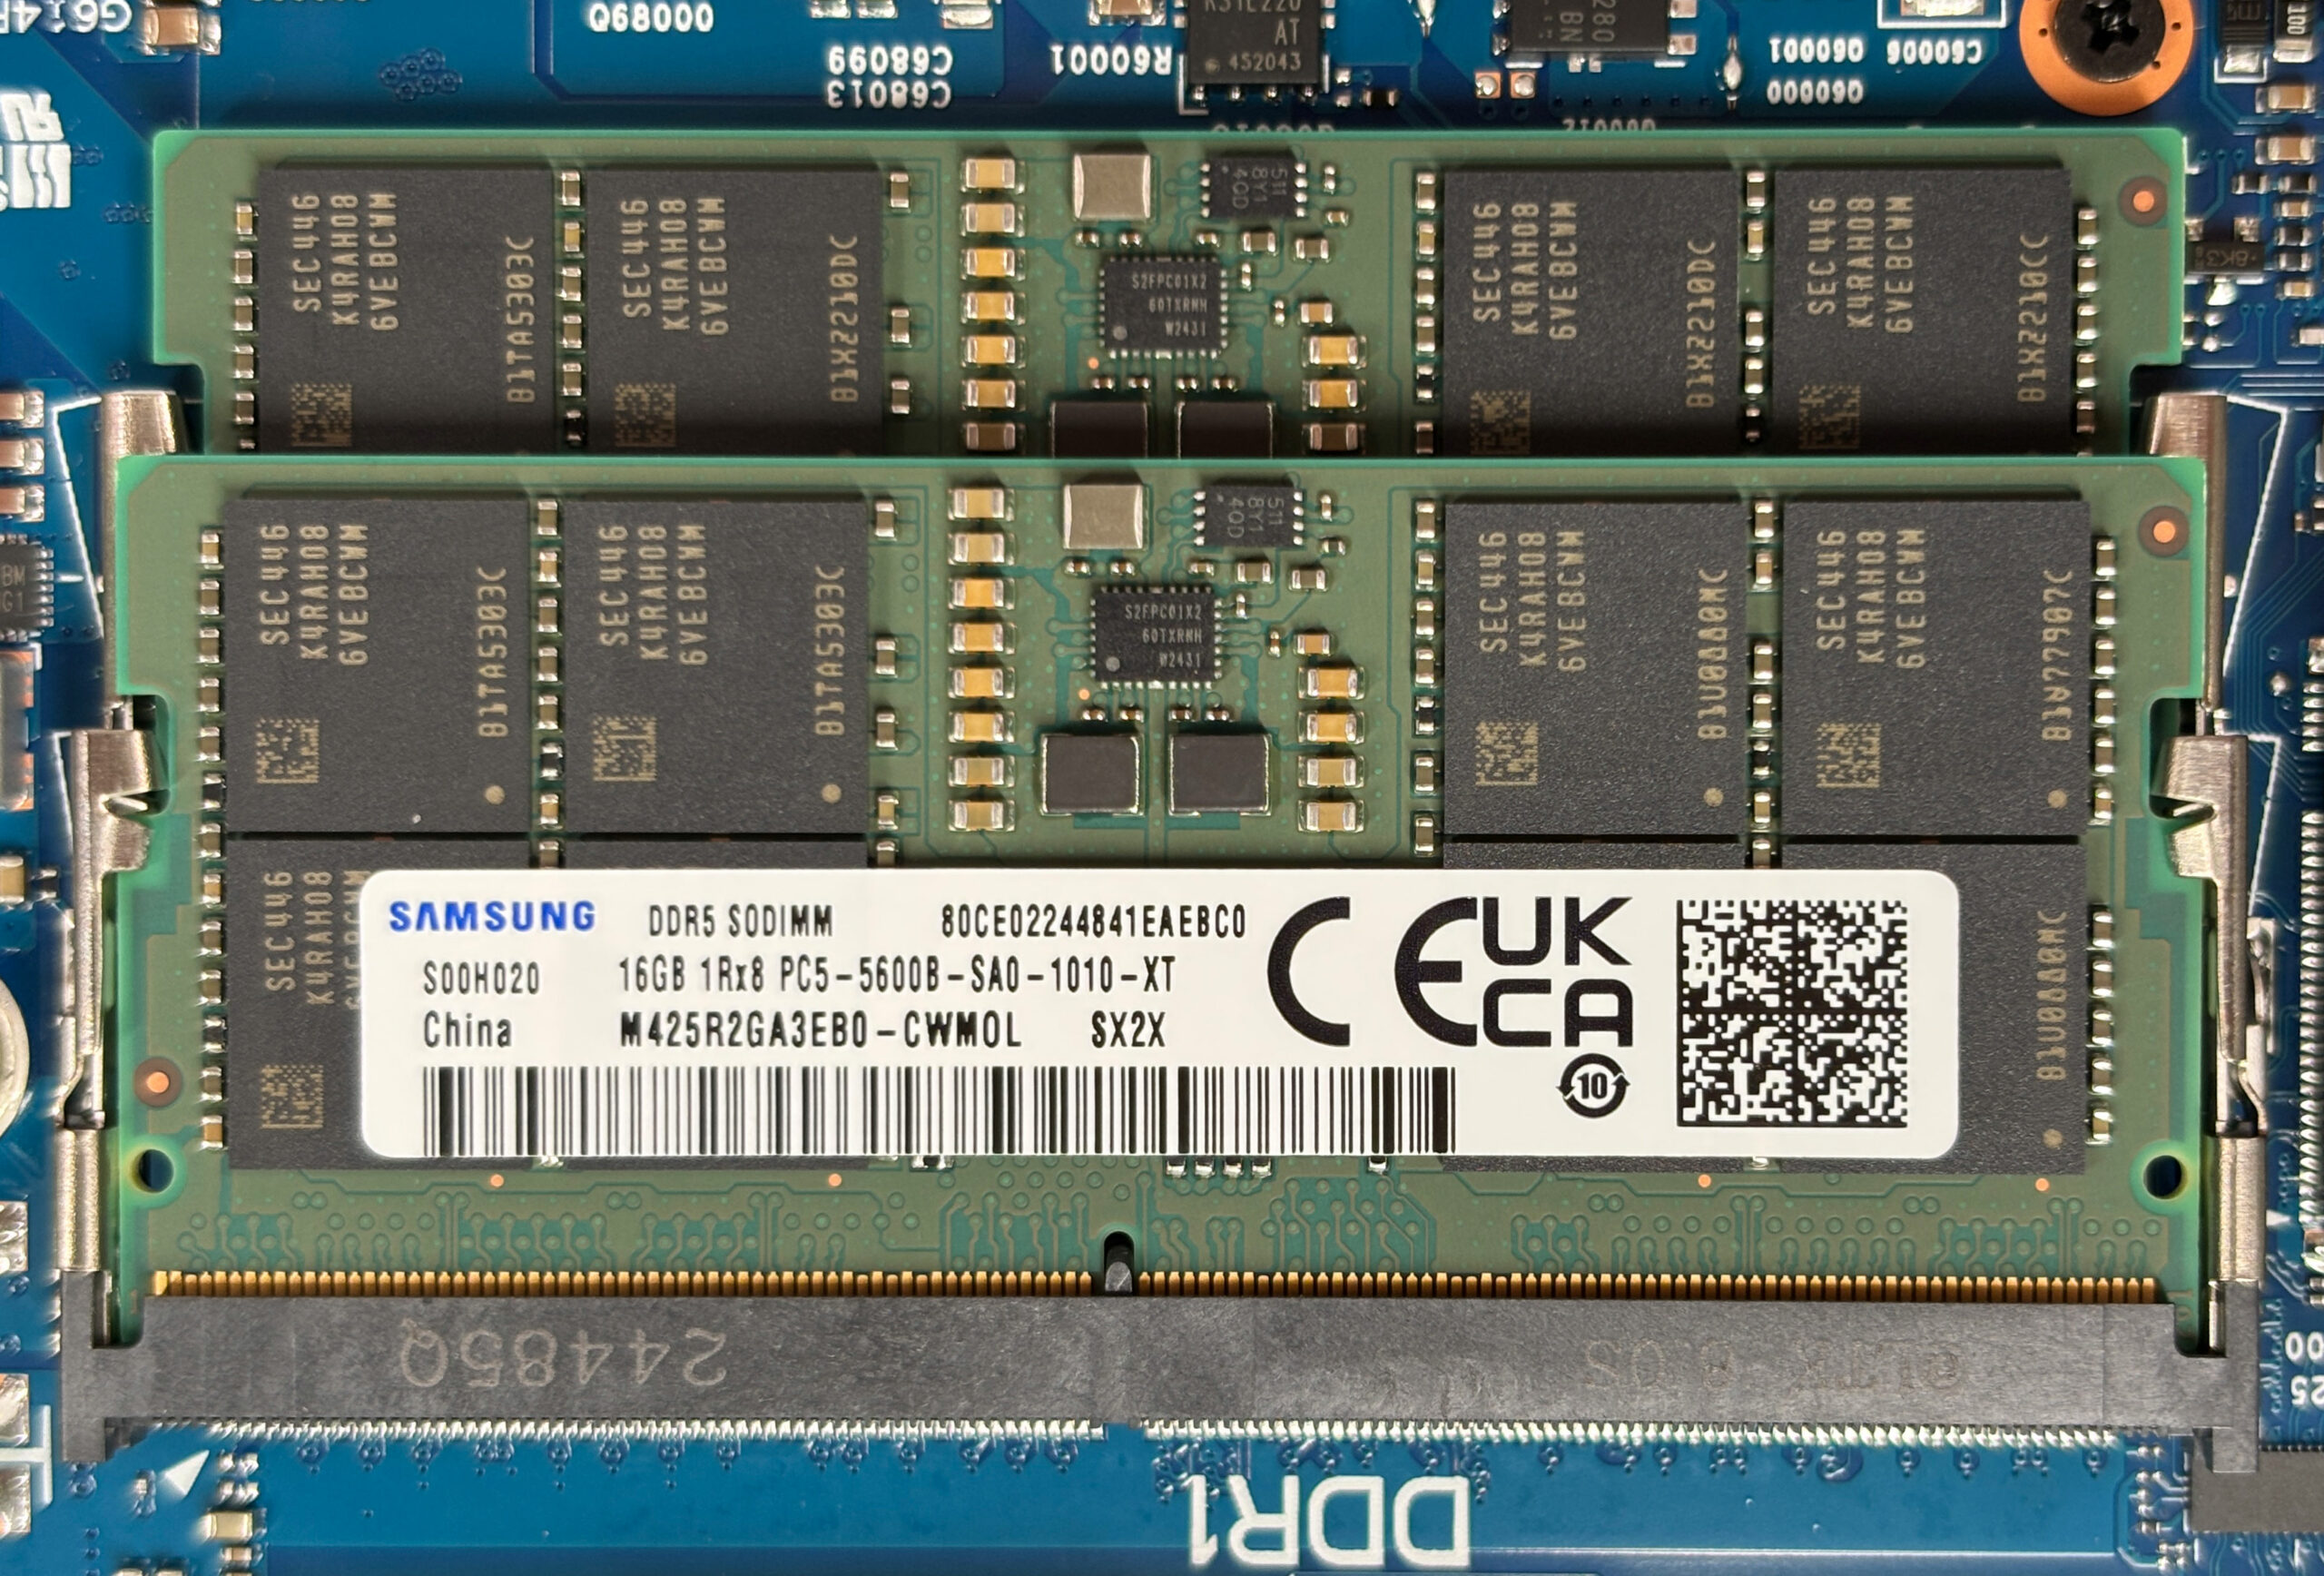
- Locate the two DDR5 SO-DIMM slots near the center of the motherboard.
- If a module is already installed, gently push the metal retention clips on both sides outward. The module will pop up at an angle.
- Pull the RAM stick out of the slot along the same angle.
- Align the notch of the new DDR5 module with the key in the slot and insert it at about a 30° angle until the contacts are fully seated.
- Press the module down gently until both side clips click into place.
- Repeat for the second slot if you are installing two modules for dual-channel operation.
More info: ASUS officially supports up to 64 GB of DDR5-5600 memory in dual-channel mode (2 x 32 GB). The reviewed configuration uses two 16 GB Samsung modules (32 GB total).
You can buy DDR5 SO-DIMM RAM modules here: Buy from Amazon.com (#CommissionsEarned)
Storage upgrade
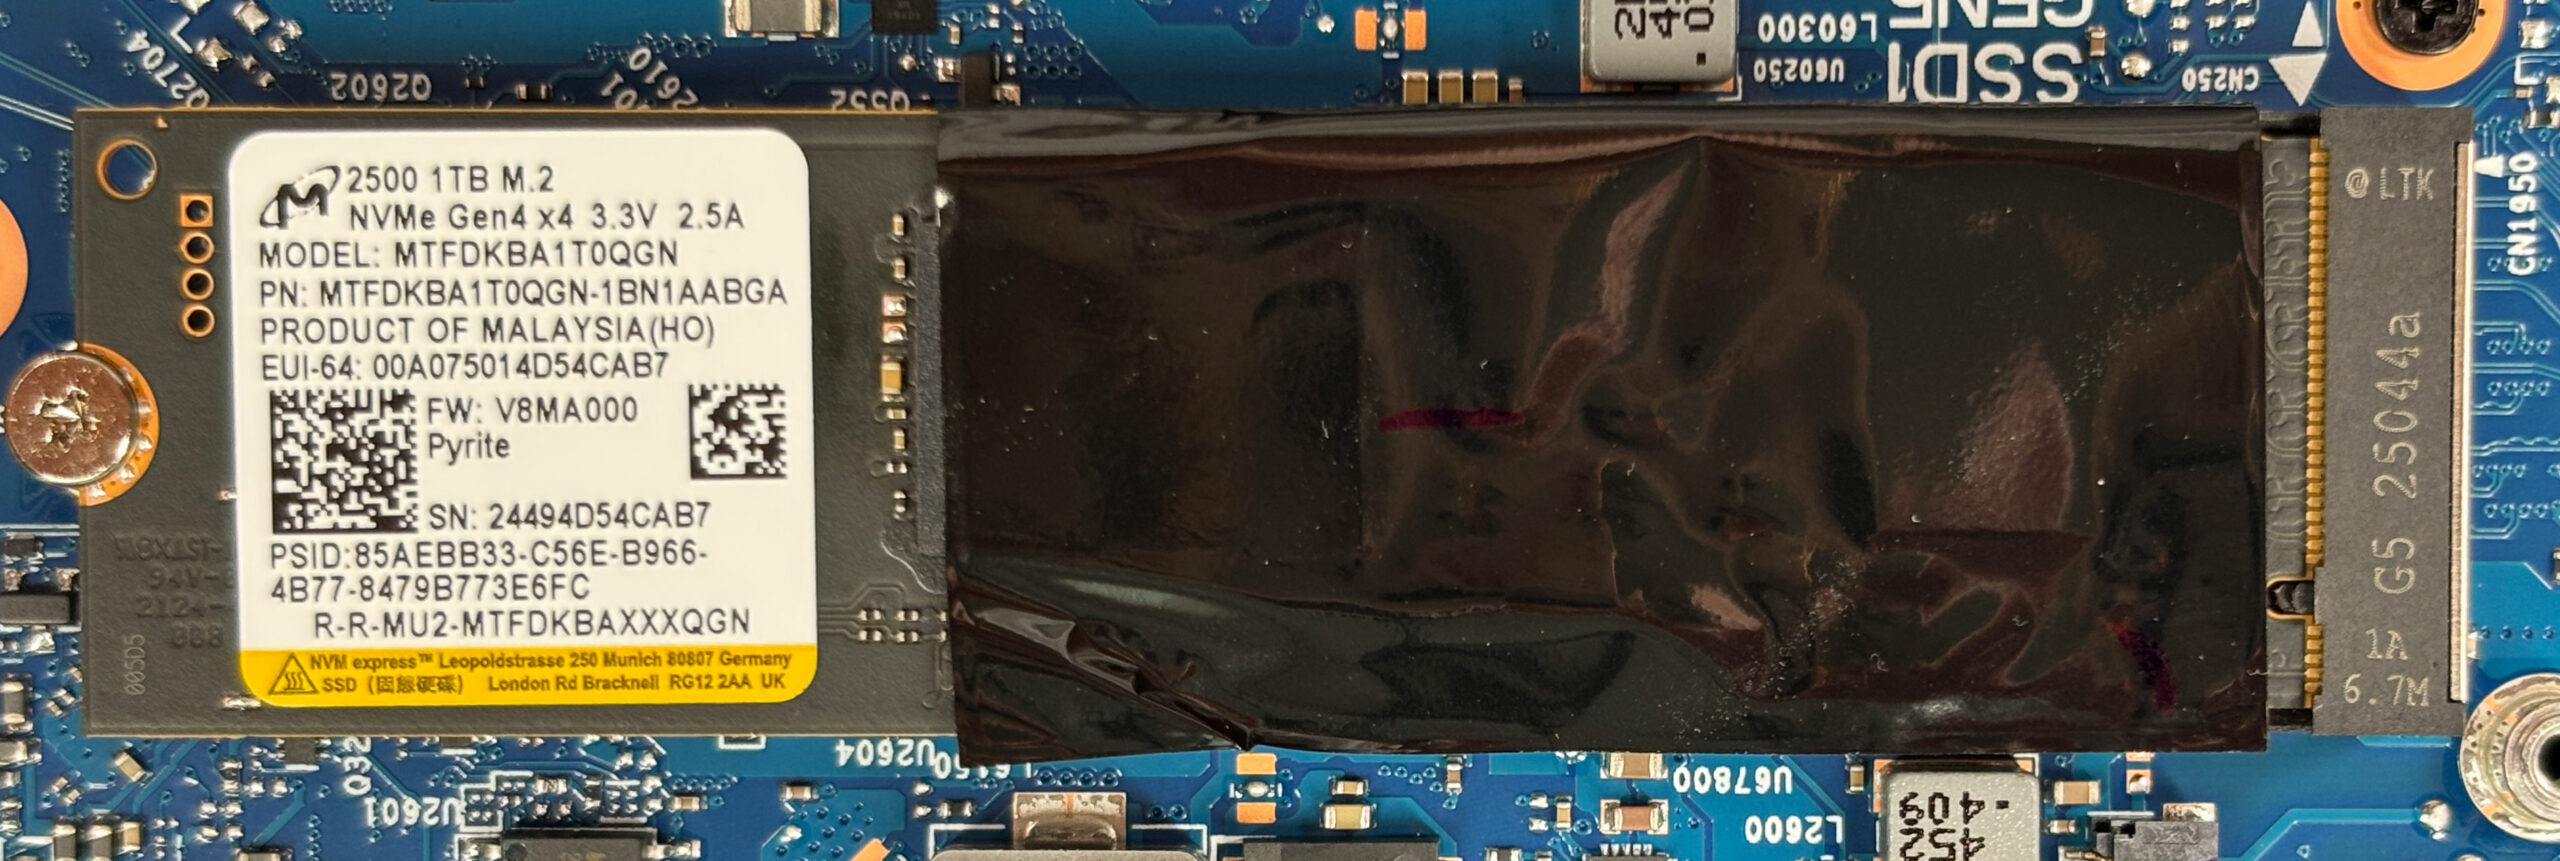
- Locate the two M.2 2280 PCIe Gen 4 x4 NVMe slots.
- The primary slot is typically populated with the factory SSD (e.g. Micron 2500 1 TB).
- The secondary slot sits near the RAM area, above the wireless card.
- To remove an existing SSD:
- Undo the mounting screw at the end of the drive.
- Allow the SSD to spring up slightly, then pull it out of the connector at an angle.
- To install a new SSD:
- Insert a 2280-length PCIe Gen 4 NVMe module into the slot at about 30°.
- Push the drive down gently and secure it with the mounting screw.
- Repeat the procedure for the second slot if you are adding another drive or configuring RAID.
More info: Both M.2 slots support PCIe Gen 4 x4 drives with RAID 0/1 capability and an official total capacity of up to 4 TB (2 TB per slot). Avoid very thick aftermarket SSD heatsinks in the secondary bay because the wireless card sits directly beneath it.
You can buy Gen 4 NVMe SSDs here: Buy from Amazon.com (#CommissionsEarned)
Hint: Don’t forget to check out our Top M.2 SSDs Performance Rankings for insights on the best storage options available.
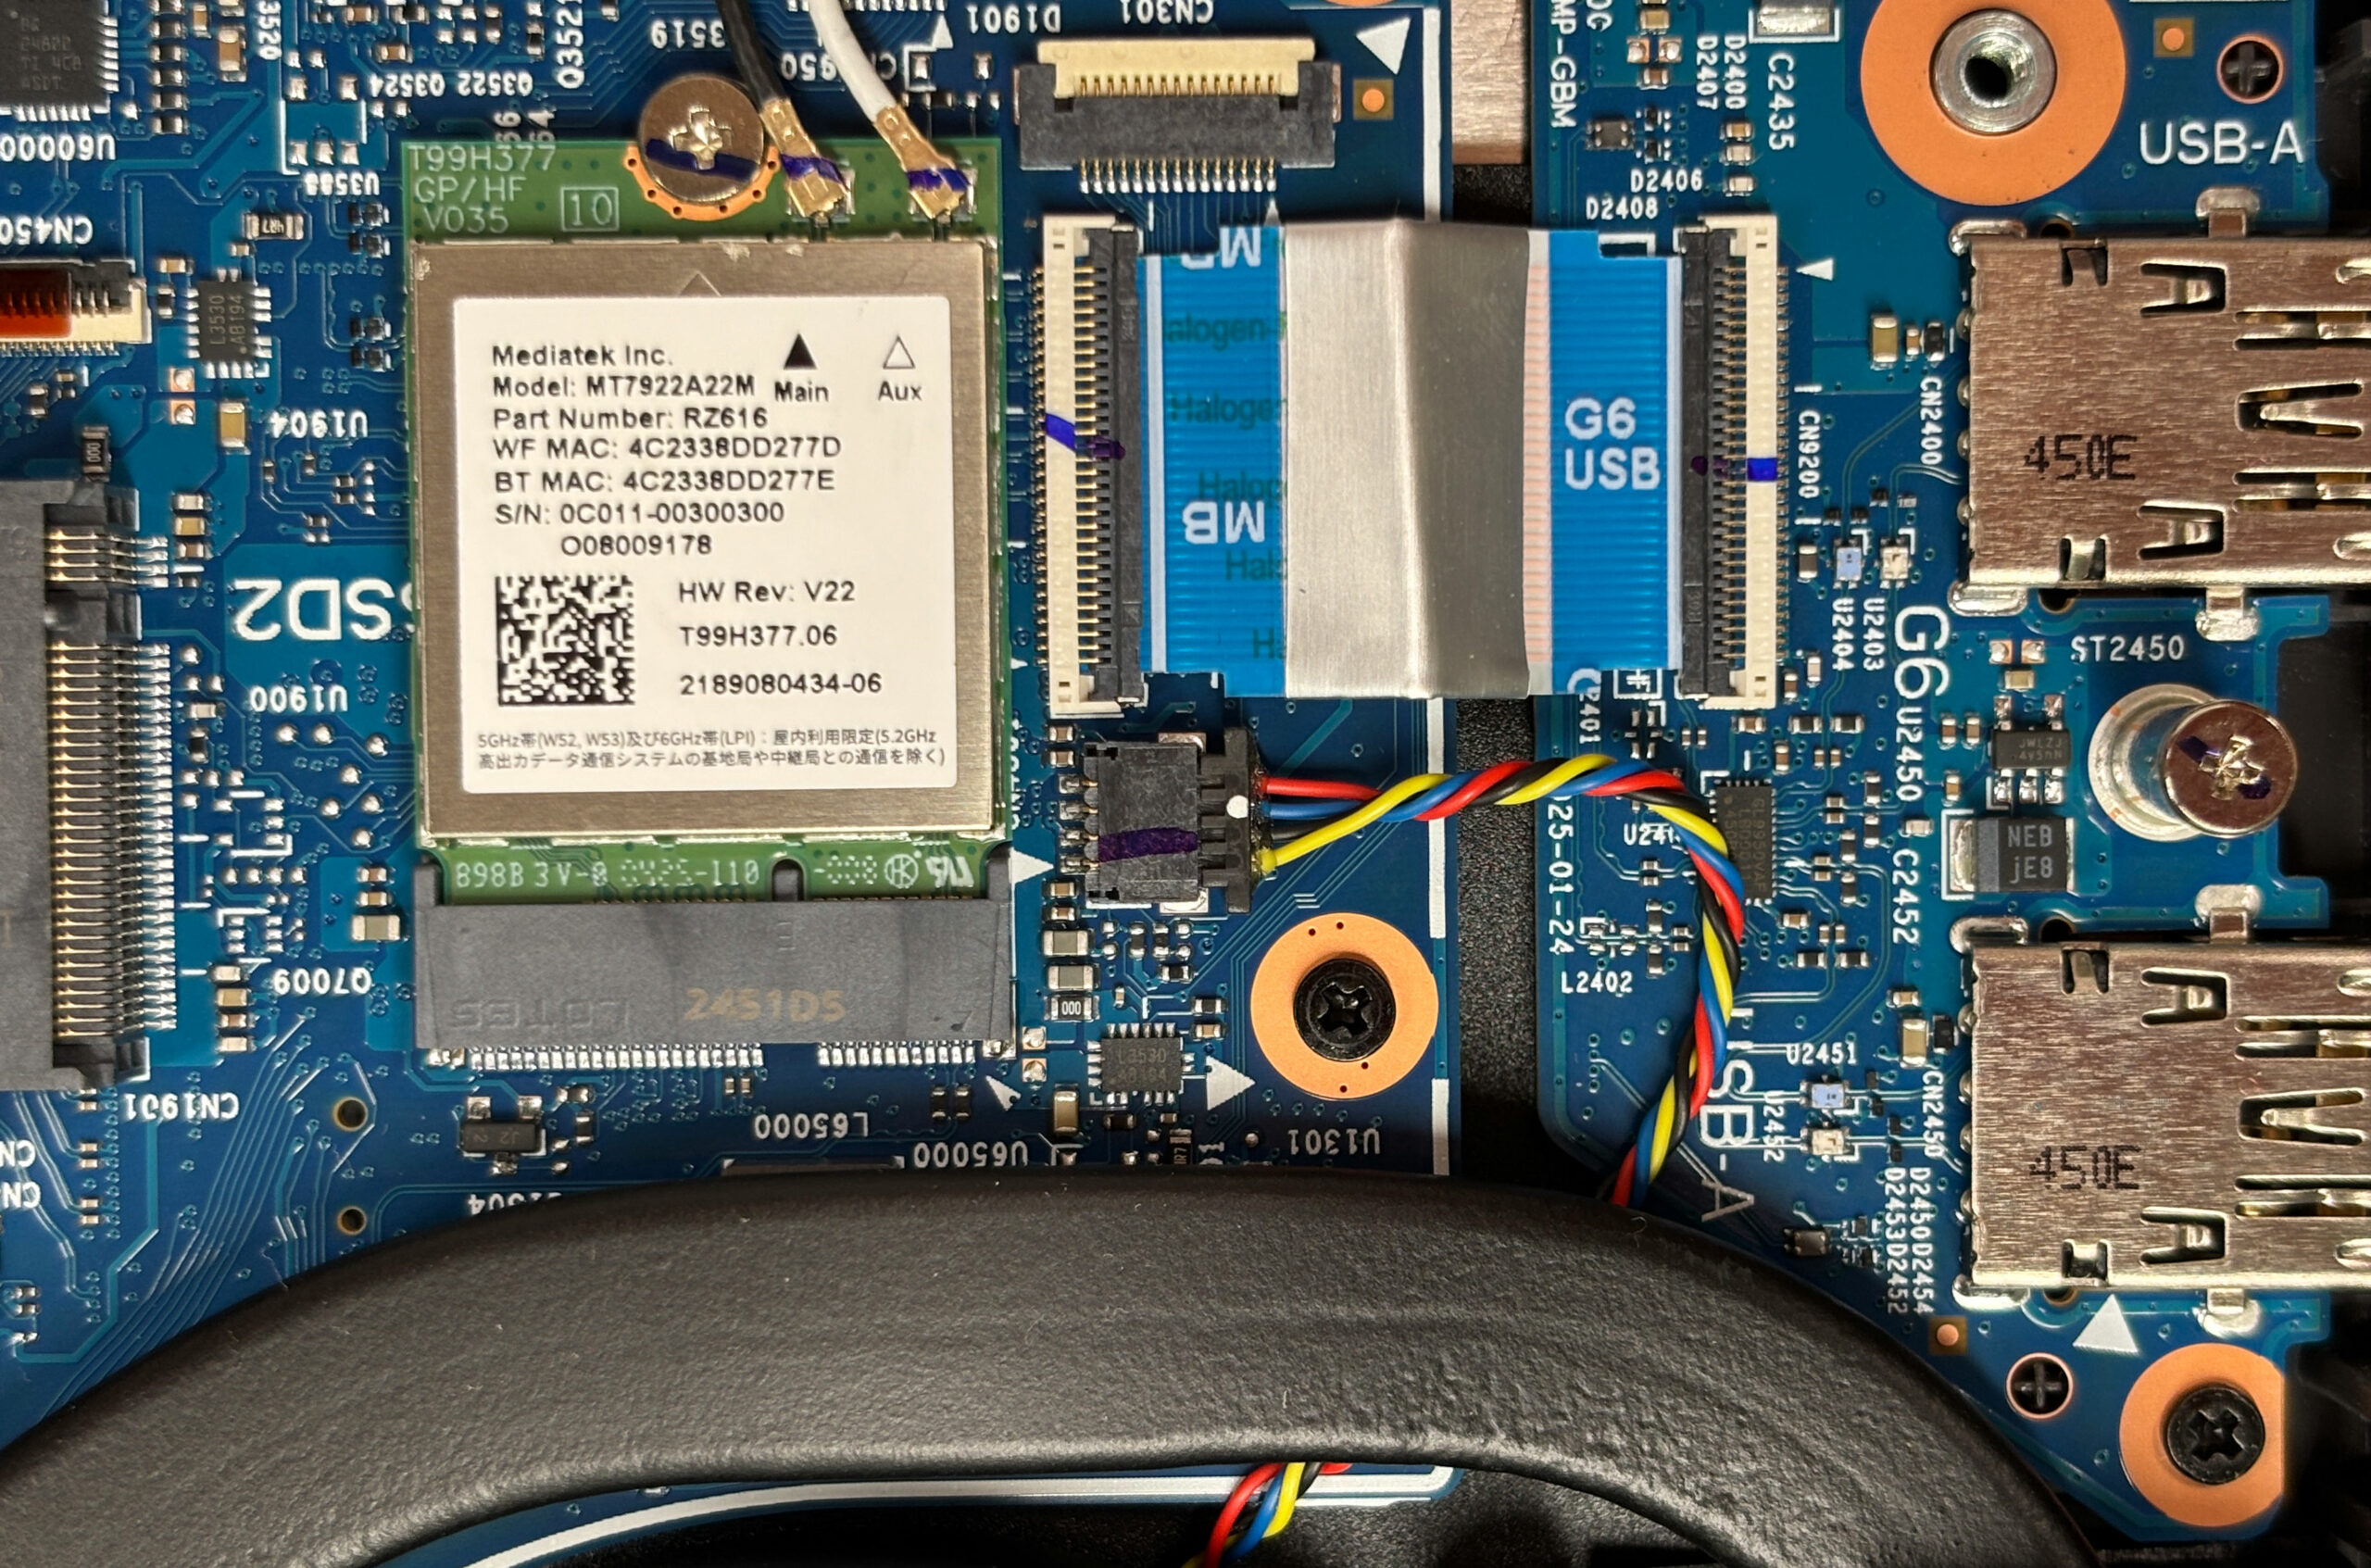
Wireless card and other replaceable components
- Locate the MediaTek RZ616 (MT7922) Wi-Fi 6E / Bluetooth 5.3 card in its M.2 2230 slot near the storage area.
- To replace the wireless module:
- Carefully disconnect the two antenna cables (Main and Aux) by lifting them straight up.
- Undo the single mounting screw and let the card lift up at an angle.
- Pull the card out of the slot and install the replacement in reverse order, then reconnect both antennas.
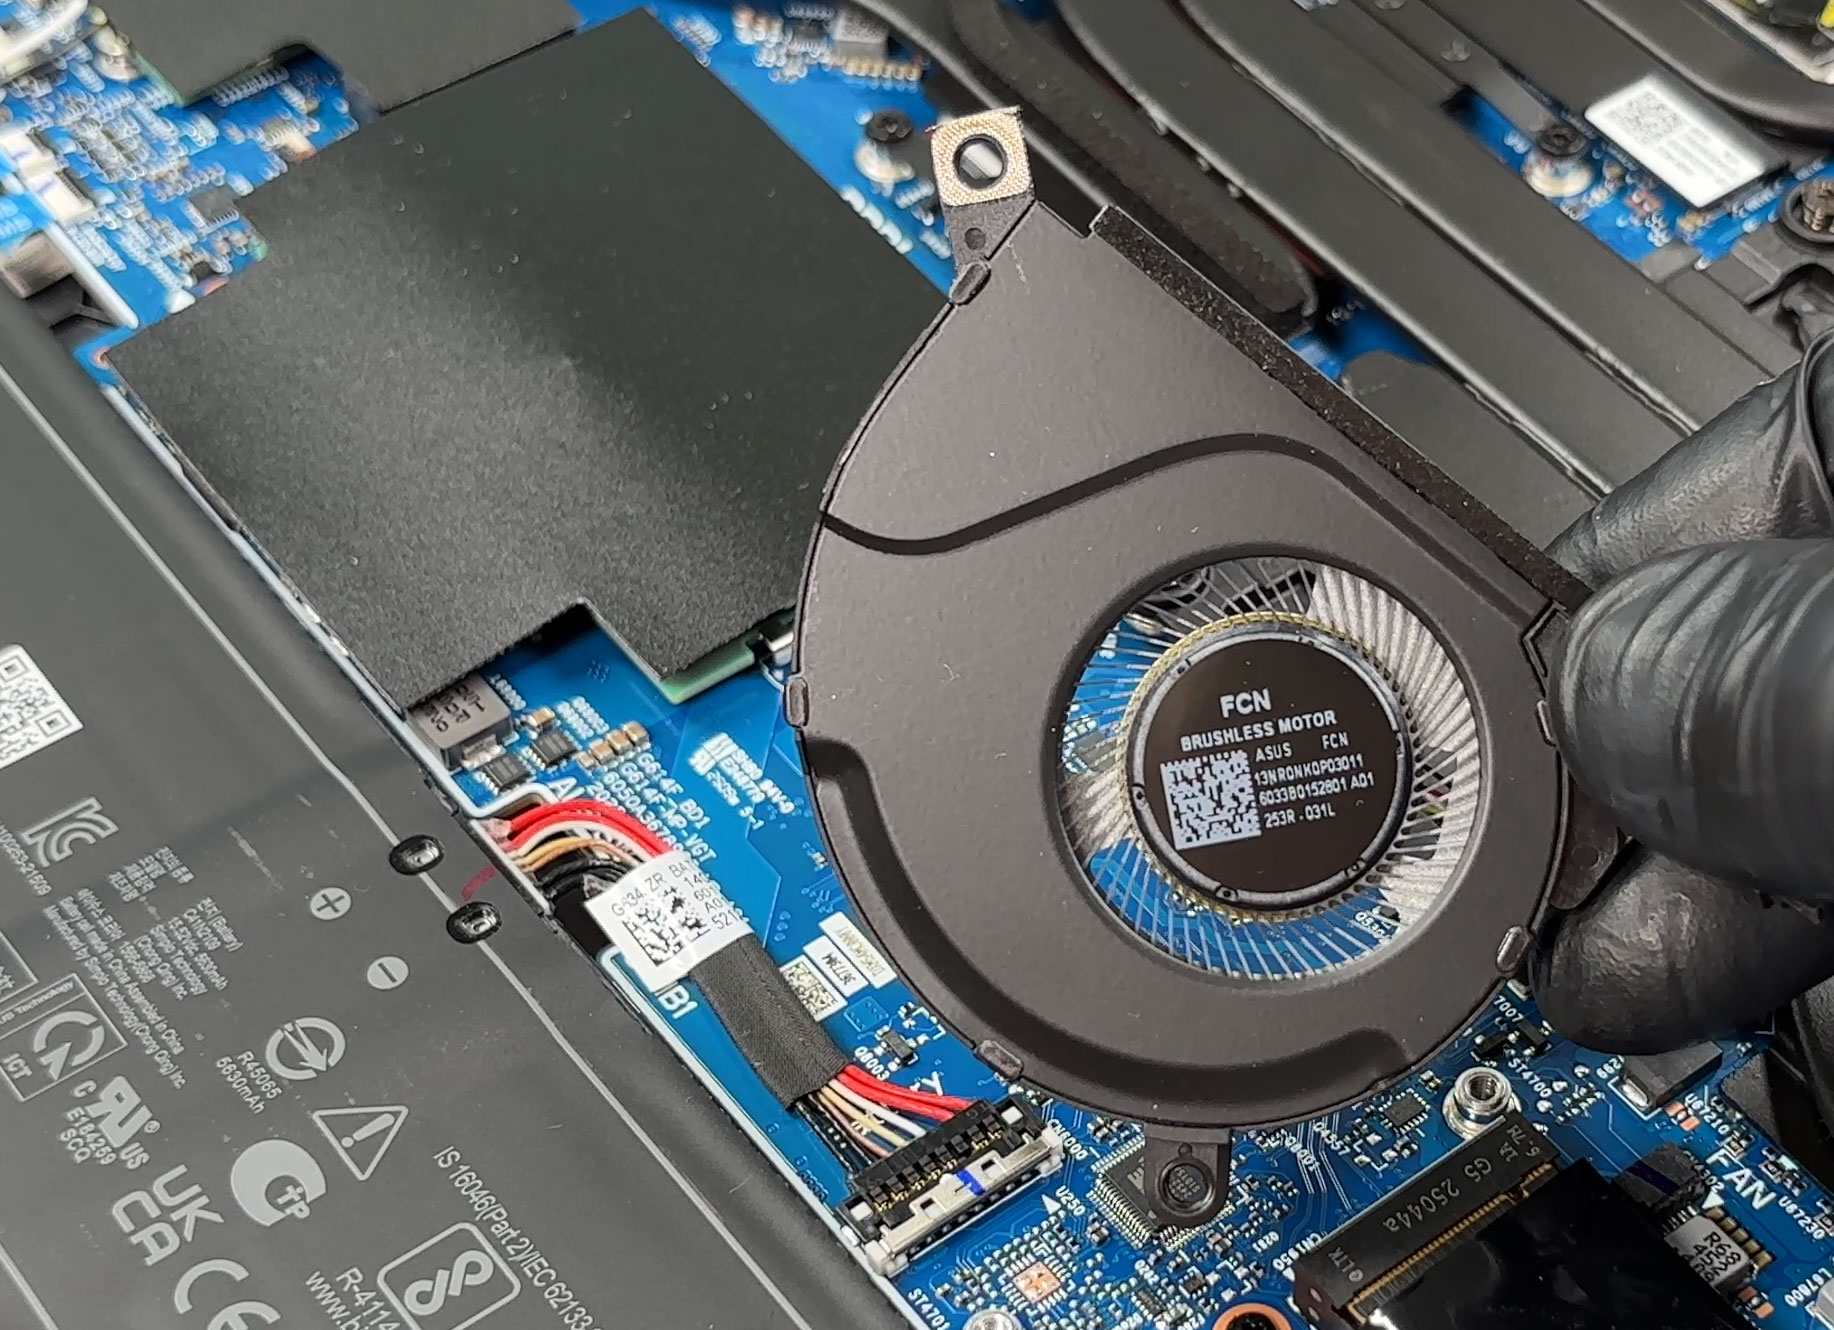
- The three cooling fans can be serviced or replaced by undoing their screws and disconnecting their power cables from the motherboard.
- The speakers and the clickpad daughterboard with its ribbon cables are also screwed in place and can be replaced if needed once the bottom cover is removed.
Cooling system
- The cooling solution uses three fans working together with an active vapor chamber and seven heat pipes that span the CPU, GPU, and power-delivery components.
- Large fin stacks at the sides and rear of the chassis exhaust hot air away from the user.
- Liquid-metal thermal compound is factory-applied to both the CPU and GPU for improved heat transfer.
- If you plan to clean the system, you can:
- Hold the fan blades in place and blow compressed air through the heatsinks to remove dust.
- Avoid spinning the fans excessively with compressed air to prevent damage to the bearings.
- Any heatsink removal for repasting should follow the screw numbering pattern (if printed) and the screws should be tightened gradually in a cross pattern during reassembly.
Summary: The ASUS ROG Strix G16 G614 (2025) provides very good serviceability with two DDR5 SO-DIMM slots, dual Gen 4 NVMe bays, a replaceable Wi-Fi card, three serviceable fans, and a screwed-in 90 Wh battery, all accessible once the bottom cover is removed.
ASUS ROG Strix G16 (G614, 2025) in-depth review
In a market crowded with powerful contenders, it's rare to find a machine that feels like a true champion. The ASUS ROG Strix G16 (G614, 2025) is one of those rare machines. By pairing AMD's most powerful mobile CPU with a top-tier NVIDIA GPU and backing it with a masterclass in thermal engineering, ASUS hasn't just built a fast laptop; they've crafted one of the most balanced and complete gaming packages we've ever tested. It's a device that gets so much right - from its performance to its display to its battery life, that our review process became less about finding its strengths and mor[...]

Pros
- Class-leading CPU and GPU performance, the fastest in its category
- Excellent thermal management allows for high, stable clock speeds
- Superb QHD+ 240Hz display with great colors and low glare
- Completely PWM-free screen is fantastic for eye comfort
- Great battery life for a high-performance gaming laptop
- Fantastic upgradeability with two RAM and two M.2 slots
Cons
- No physical privacy shutter for the webcam
- No biometric login options (fingerprint or IR camera)
- CPU still runs hot under sustained heavy load
 Author: Dimitar Stalev

![[August 2026] Amazon Global: Top 10 Best-Selling Laptops – Apple MacBook Neo Dominates the Charts as Budget and Mid-Range Windows Portables Fight for Volume](https://laptopmedia.com/wp-content/uploads/2026/09/Best-Selling-Laptops-GLOBAL-Top-10-400x225.jpg)
![[August 2026] Best-Selling Laptop Brands on Amazon Global – Apple Dominates Revenue While HP Leads in Model Variety](https://laptopmedia.com/wp-content/uploads/2026/09/GLOBAL-Best-Brands-400x225.jpg)
![[August 2026] Amazon Global: Top 10 Best-Selling Gaming Laptops – HP Victus 15 Captures the Crown as Budget-Friendly Models Dominate the Charts](https://laptopmedia.com/wp-content/uploads/2026/09/Best-Selling-Gaming-Laptops-GLOBAL-Top-10-400x225.jpg)
![[August 2026] Best-Selling Laptop Brands on Amazon Japan – Apple Dominates Market Share and Revenue Led by Strong Unit Sales](https://laptopmedia.com/wp-content/uploads/2026/09/CO.JP-Best-Brands-1-400x225.jpg)
![[August 2026] Best-Selling Laptop Brands on Amazon USA – Apple Dominates Market Revenue and Volume Despite Lower Model Diversity](https://laptopmedia.com/wp-content/uploads/2026/09/COM-Best-Brands-1-400x225.jpg)