How to open Lenovo Legion 7i (16”, Gen 10 / 16IAX10) – disassembly and upgrade options
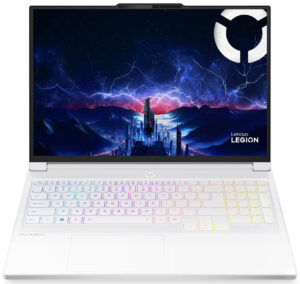
Before you start: Shut the laptop down completely, unplug the charger and all peripherals, and hold the power button for a few seconds to discharge residual power. Work on a clean, non-conductive surface and, if possible, use an anti-static wrist strap.
Opening the bottom panel
- Place the laptop upside down with the rear vents facing away from you.
- Undo all visible screws that secure the bottom panel to the chassis. Keep track of their positions and lengths for easier reassembly.
- Insert a thin plastic pry tool between the bottom plate and the base near one of the side edges.
- Gently twist the tool to release the first plastic clip, then work your way along the sides and the front, popping the clips one by one.
- Finish by releasing the clips near the rear vents. Once all clips are loose, lift the bottom panel away and set it aside.
Battery removal
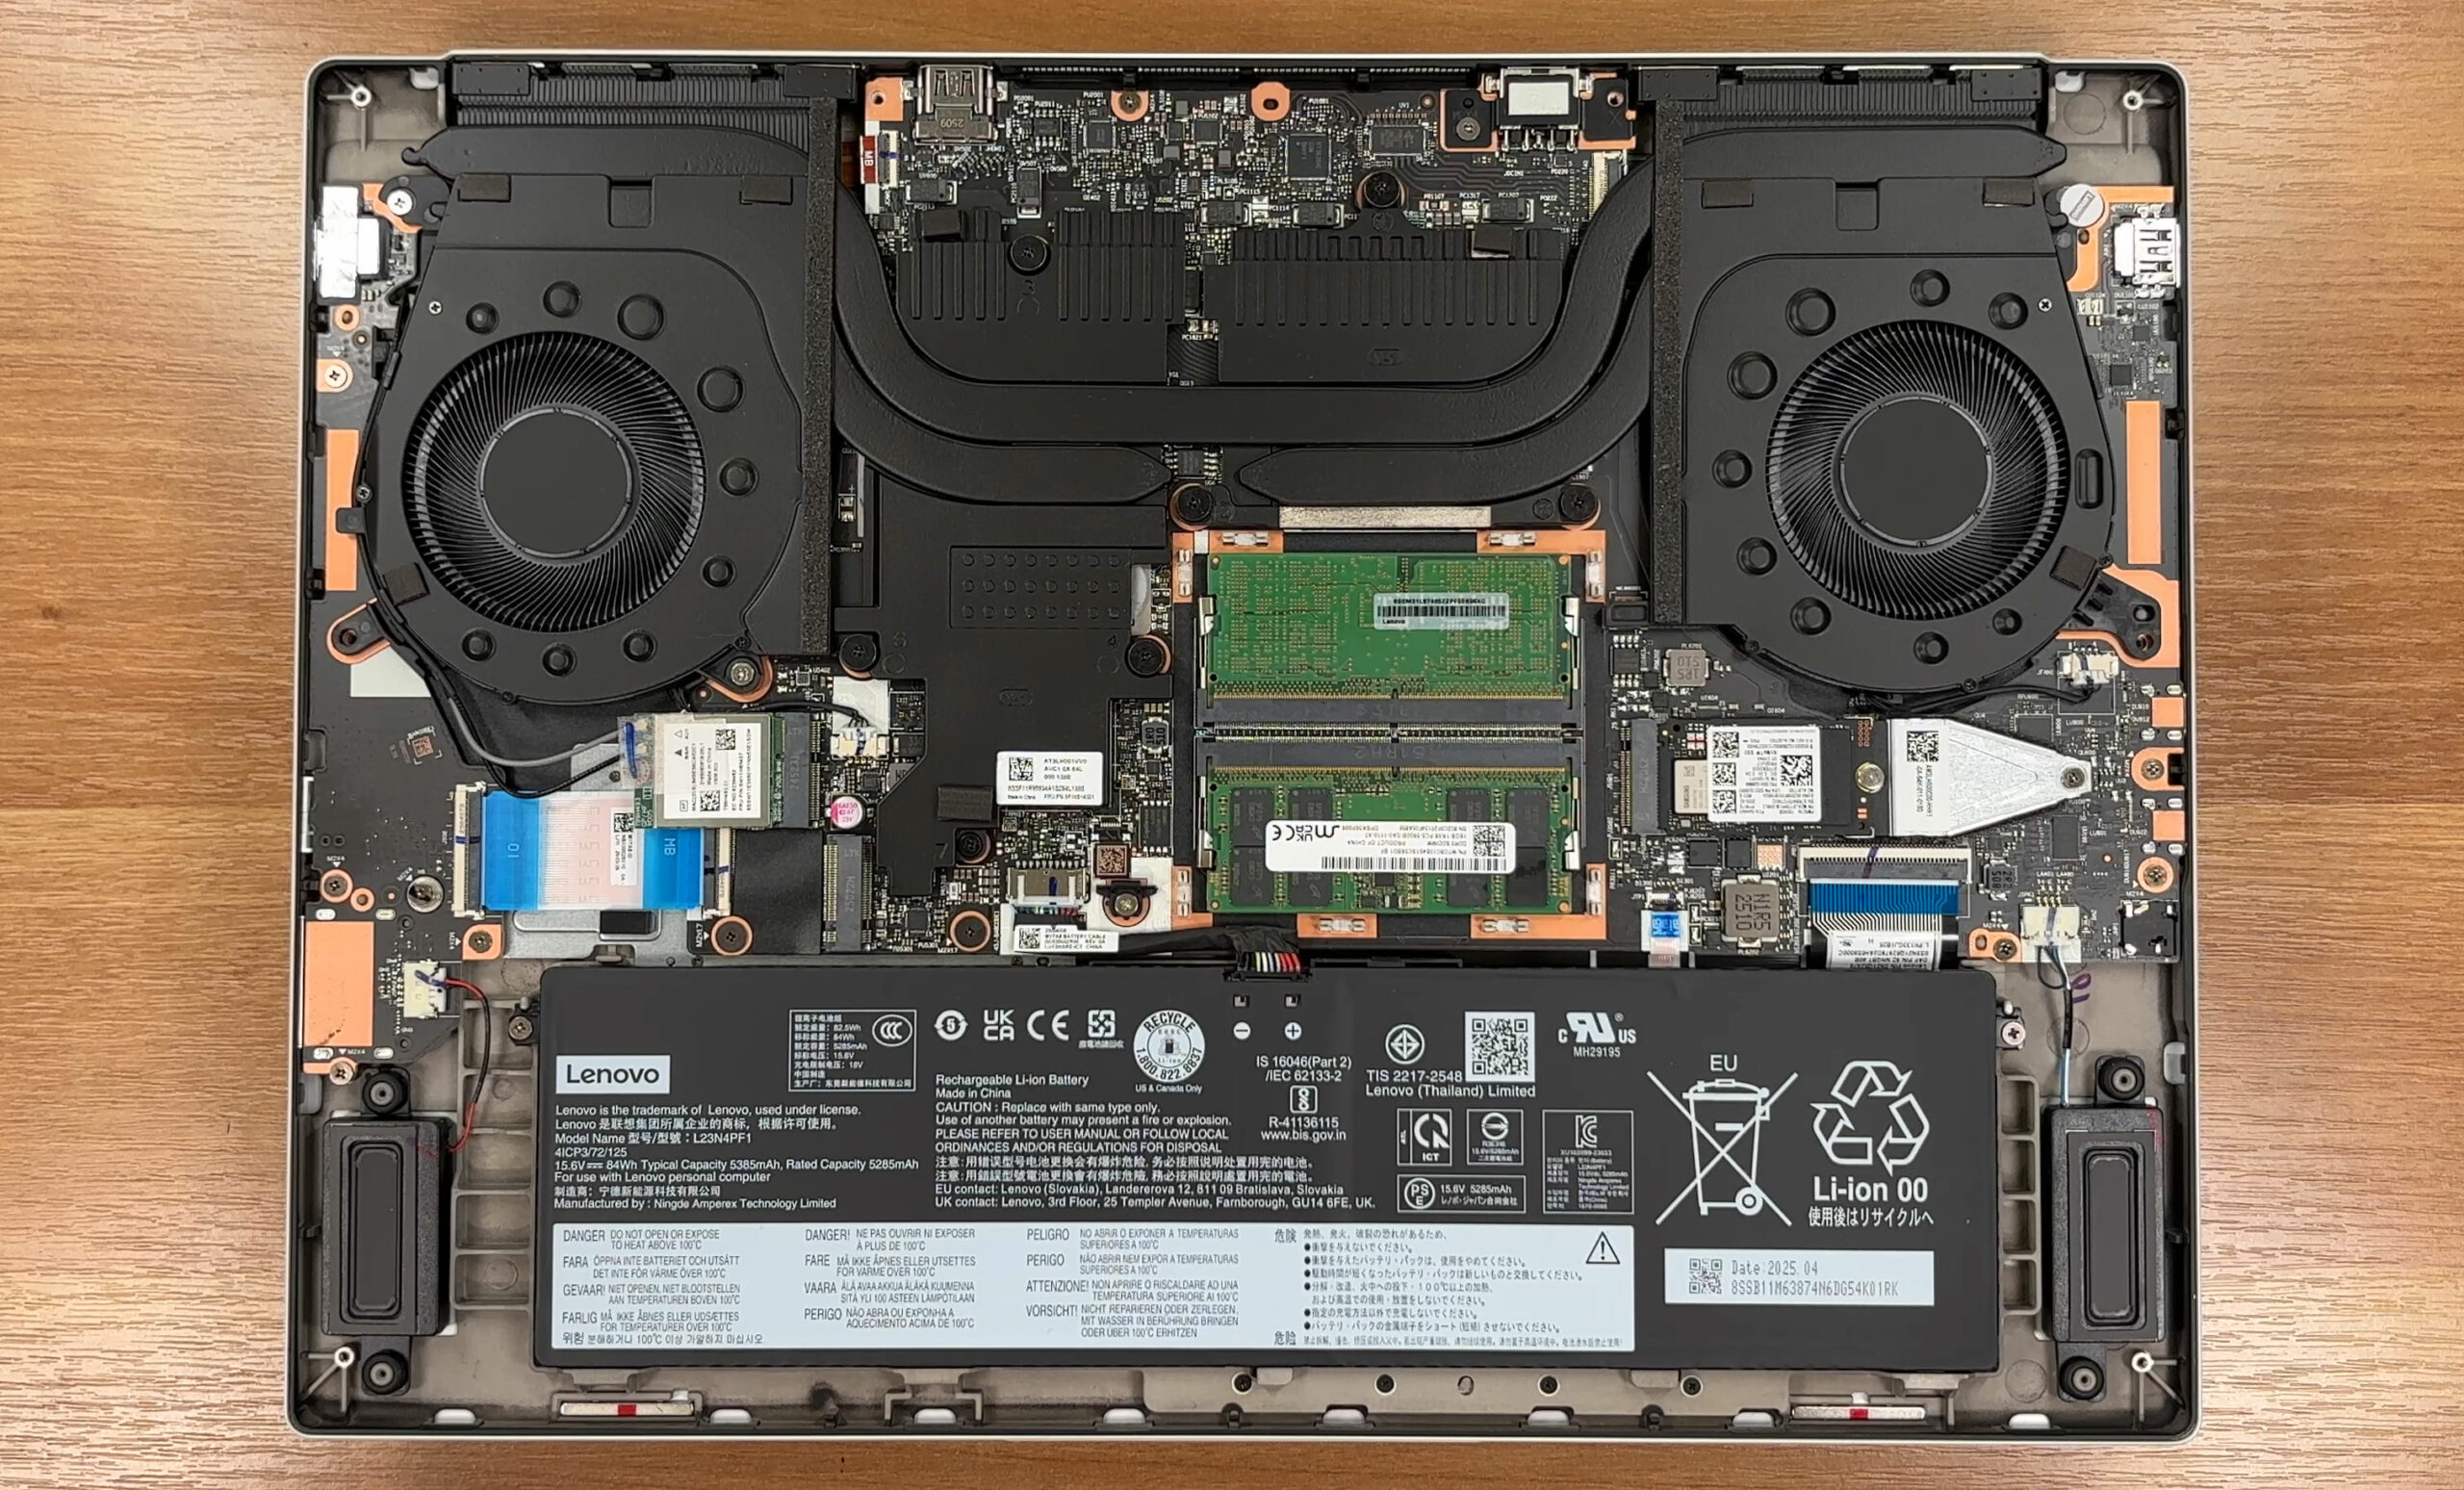
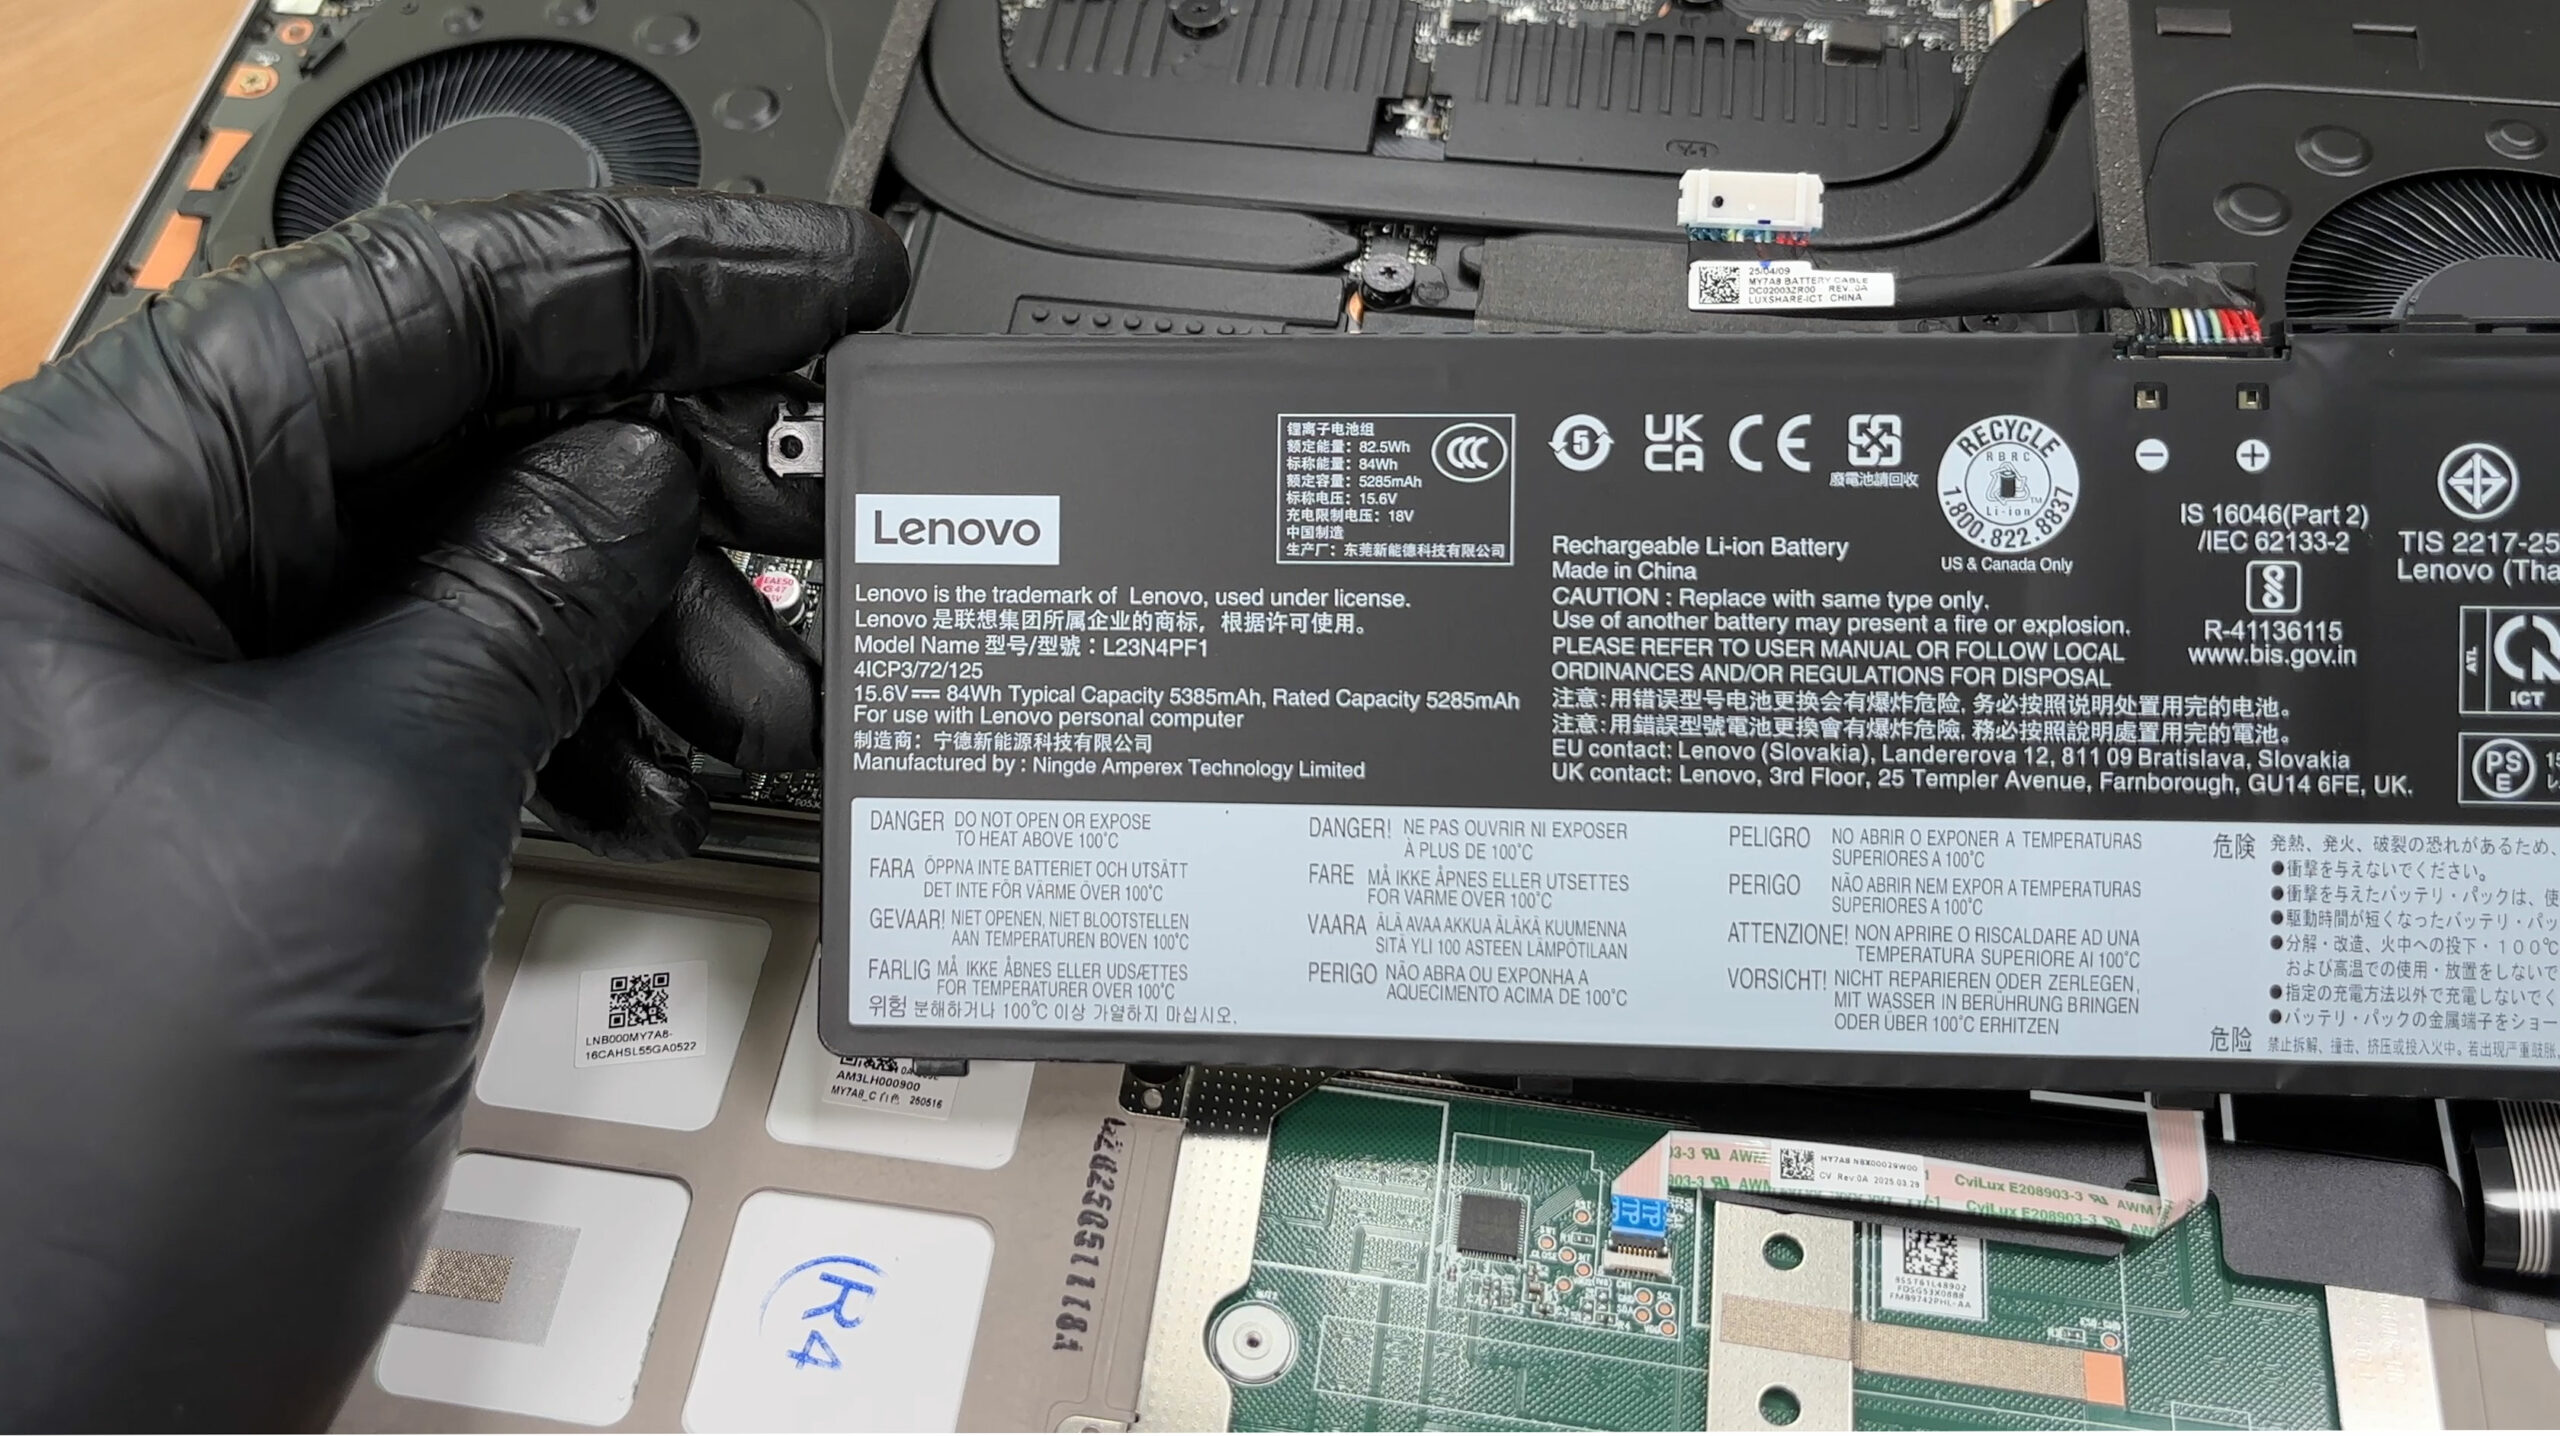
- Locate the 84Wh battery pack along the front edge of the chassis.
- Before touching any other components, disconnect the battery. Grip the board connector evenly on both sides and pull it straight out of its socket.
- Undo the two Phillips-head screws that secure the battery to the chassis.
- Lift the battery out of its bay, making sure you don’t snag any speaker or Wi-Fi antenna cables routed nearby.
- When reinstalling, place the battery back in position, tighten the two screws, and reconnect the battery cable firmly.
Memory (RAM) upgrade options
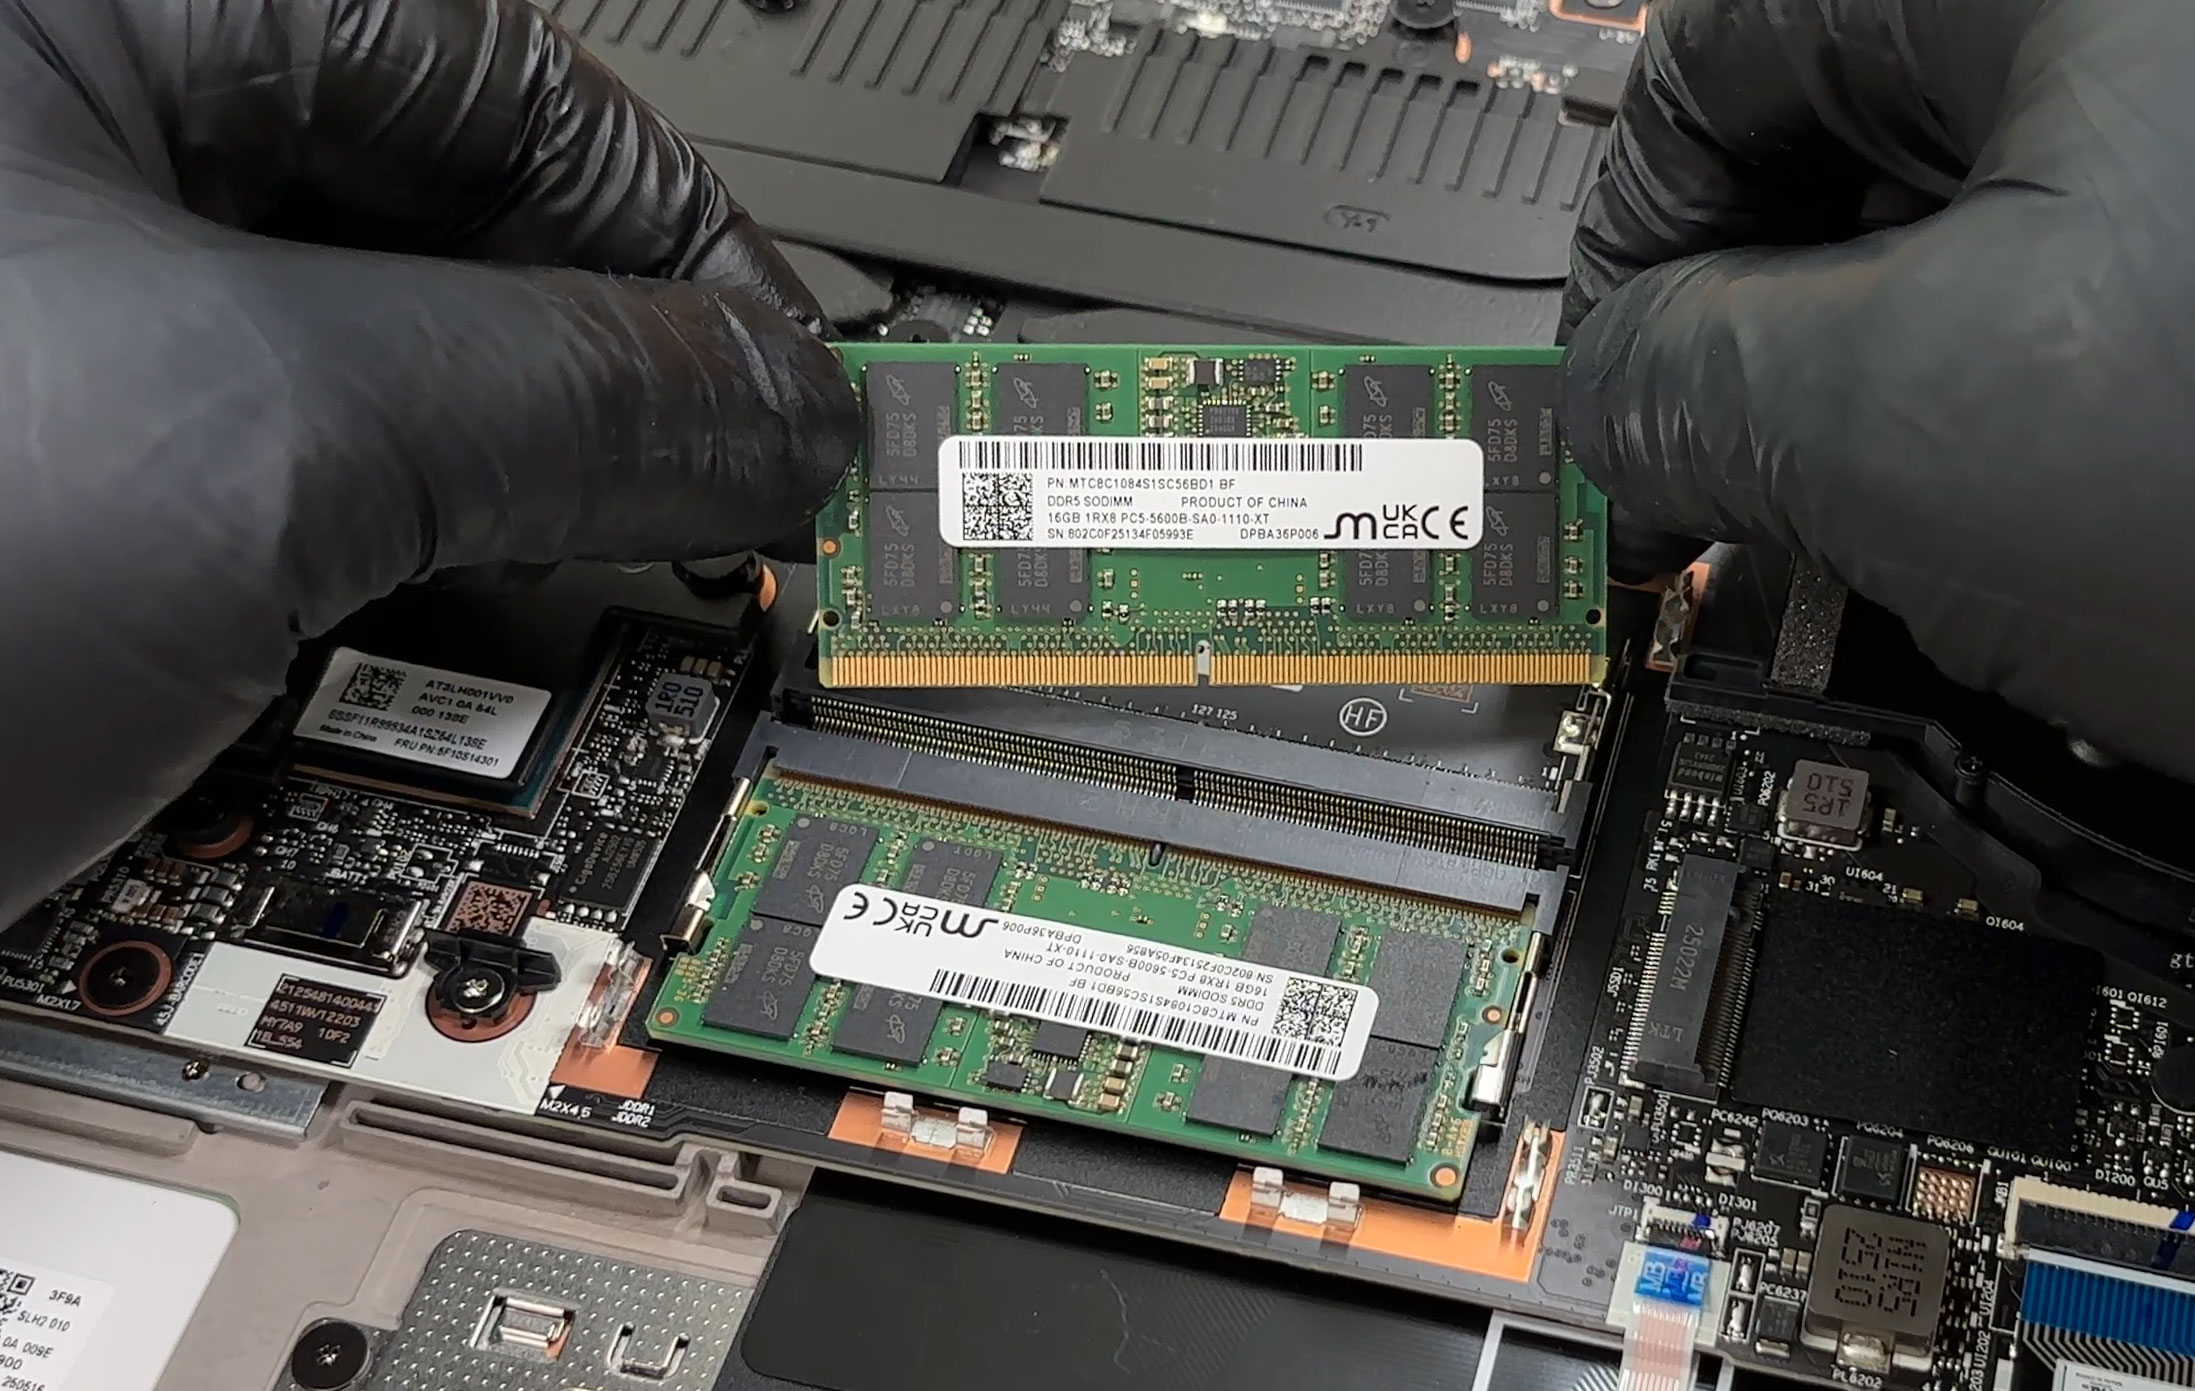
- The Legion 7i uses two DDR5 SO-DIMM slots for system memory. They are located under a metal shield near the center of the motherboard.
- To access them, gently peel up the thin adhesive strip and lift the metal shield; keep the strip intact so you can press it back down later.
- Our configuration comes with 2×16GB DDR5-5600 modules in dual-channel mode. The platform supports dual-channel operation and higher capacities, depending on the modules used.
- To replace a module, push the side retention clips outward until the stick pops up at an angle, then pull it straight out of the slot.
- Insert the new DDR5 SO-DIMM at the same angle, slide it fully into the connector, then press it down until both clips lock in place and the module sits flat.
- Reinstall the metal shield and press the adhesive strip back down so it sits securely and doesn’t rattle.
You can buy DDR5 RAM modules here: Buy from Amazon.com (#CommissionsEarned)
Storage upgrade options
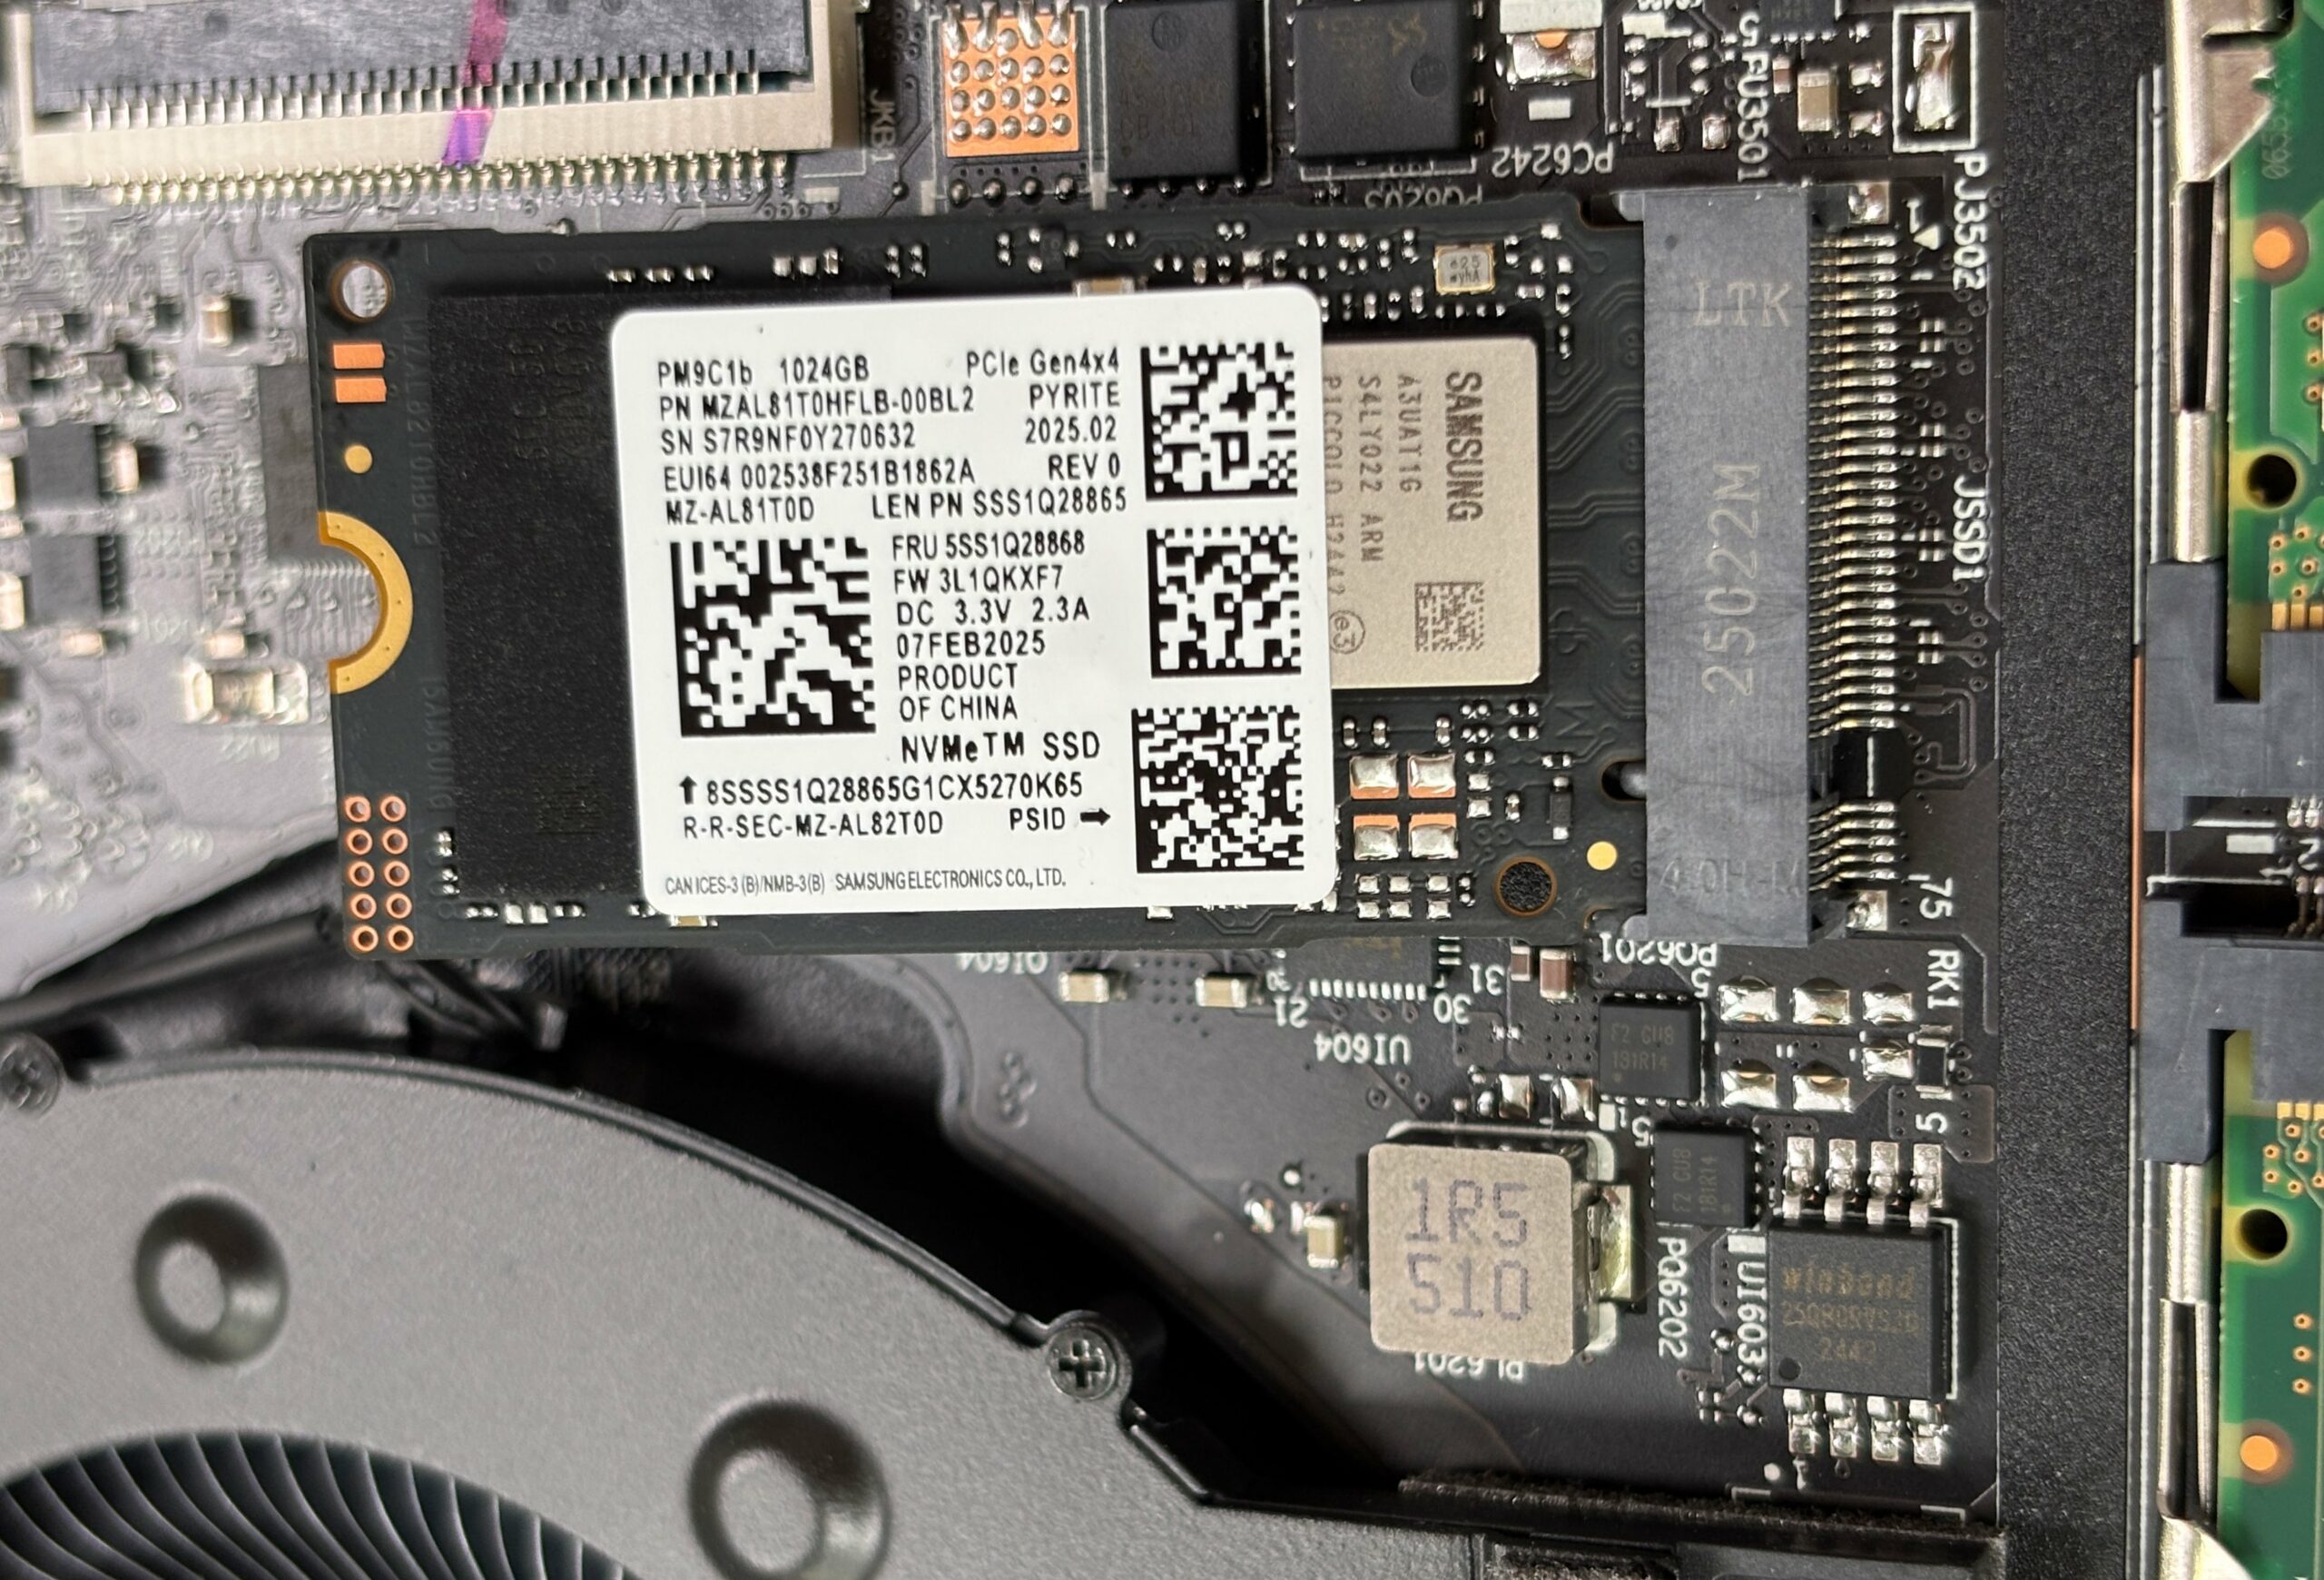
- This laptop offers two M.2 2280 PCIe 4.0 x4 slots for NVMe SSDs.
- The primary slot comes populated with a Samsung PM9C1b 1TB drive in our unit. Both bays feature proper standoffs and thermal pads for better heat dissipation.
- To replace or add an SSD, locate the desired M.2 slot and remove any metal cover or label if present, lifting it carefully to preserve the thermal pad.
- Undo the single screw that secures the SSD. The drive will tilt up at an angle.
- Pull the SSD straight out of the connector. To install a new drive, insert it at a shallow angle, slide it fully into the socket, press it down, and secure it with the screw.
- Ensure the thermal pad or shield makes good contact with the top of the SSD before reassembly.
You can buy PCIe 4.0 NVMe SSDs here: Buy from Amazon.com (#CommissionsEarned)
Hint: Consider reviewing our Top M.2 SSDs Performance Rankings to select the best storage solution for your needs.
Wireless module
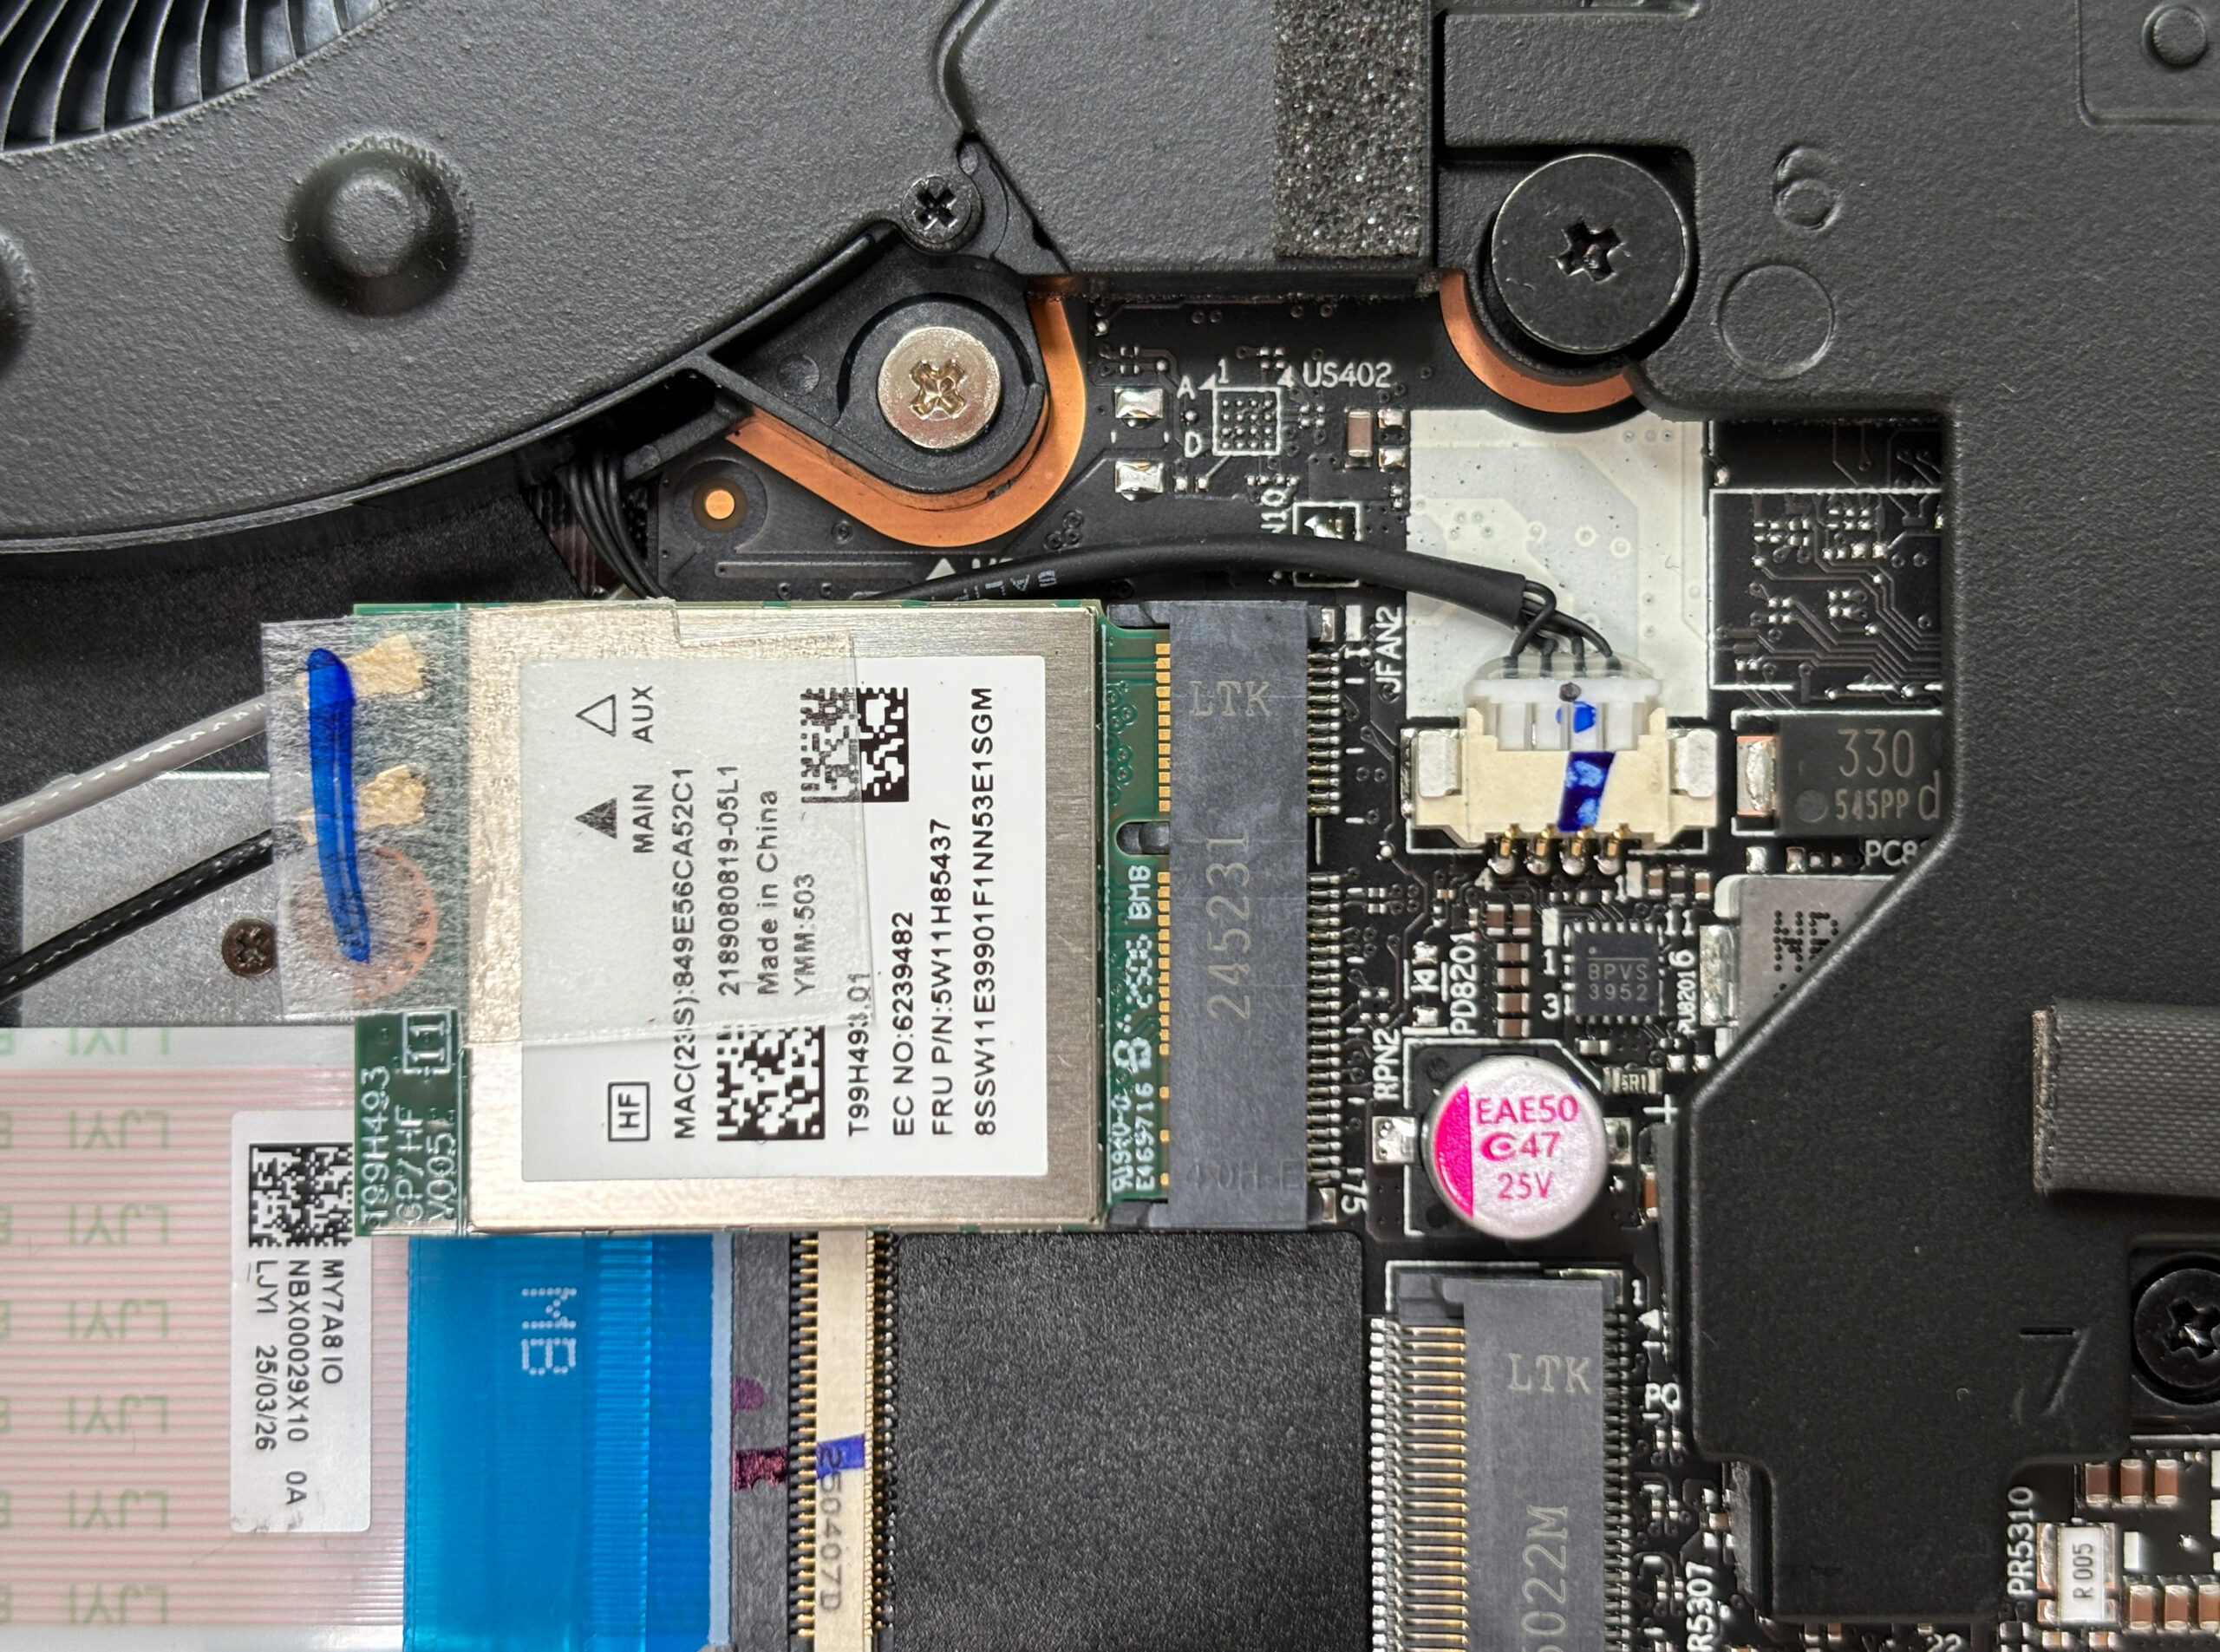
- The Legion 7i is equipped with a replaceable Wi-Fi 7 2×2 card with Bluetooth 5.4, installed in an M.2 slot near one of the fans.
- To remove it, first disconnect the “Main” and “Aux” antenna leads by lifting them straight up from the connectors.
- Undo the single screw that holds the wireless card in place; it will rise at an angle.
- Slide the card out of the socket. Insert the replacement card at the same angle, push it fully into the slot, press it down, and secure it with the screw.
- Reconnect the antenna leads, matching each cable to its labeled connector.
Cooling system and maintenance
- The cooling system consists of two large radial fans and several heat pipes feeding fin stacks on both sides, with foam isolation and shielding to direct airflow over the VRMs and memory area.
- For routine cleaning, ensure the battery is disconnected. Hold each fan gently in place and use short bursts of compressed air to blow dust out of the heatsinks from both intake and exhaust sides.
- Check that the foam barriers and metal shields sit properly and haven’t shifted, as they help guide airflow across hot components.
- If you remove a fan for deeper cleaning or replacement, disconnect its cable from the motherboard, undo its mounting screws, and lift it straight out. Reinstall in the same orientation and reconnect the cable securely.
Reassembly tips
- Before closing the laptop, confirm that the battery is connected, RAM modules and SSDs are fully seated and secured, and all cables (fans, speakers, Wi-Fi) are plugged in.
- Place the bottom panel back on the chassis, aligning the edges and ports.
- Press around the perimeter until all clips snap into place.
- Reinstall all screws in their original positions and tighten them evenly, without overtightening.
- Power on the laptop and verify that the system boots correctly and that new memory or storage is detected in BIOS/Windows.
More info: The Lenovo Legion 7i (16”, Gen 10 / 16IAX10) is easy to maintain, offering two DDR5 SO-DIMM slots, dual PCIe 4.0 x4 M.2 bays, a replaceable Wi-Fi 7 card, and a screw-in 84Wh battery, all backed by a robust dual-fan cooling solution that’s straightforward to clean and service.
Lenovo Legion 7i (16″, Gen 10) in-depth review
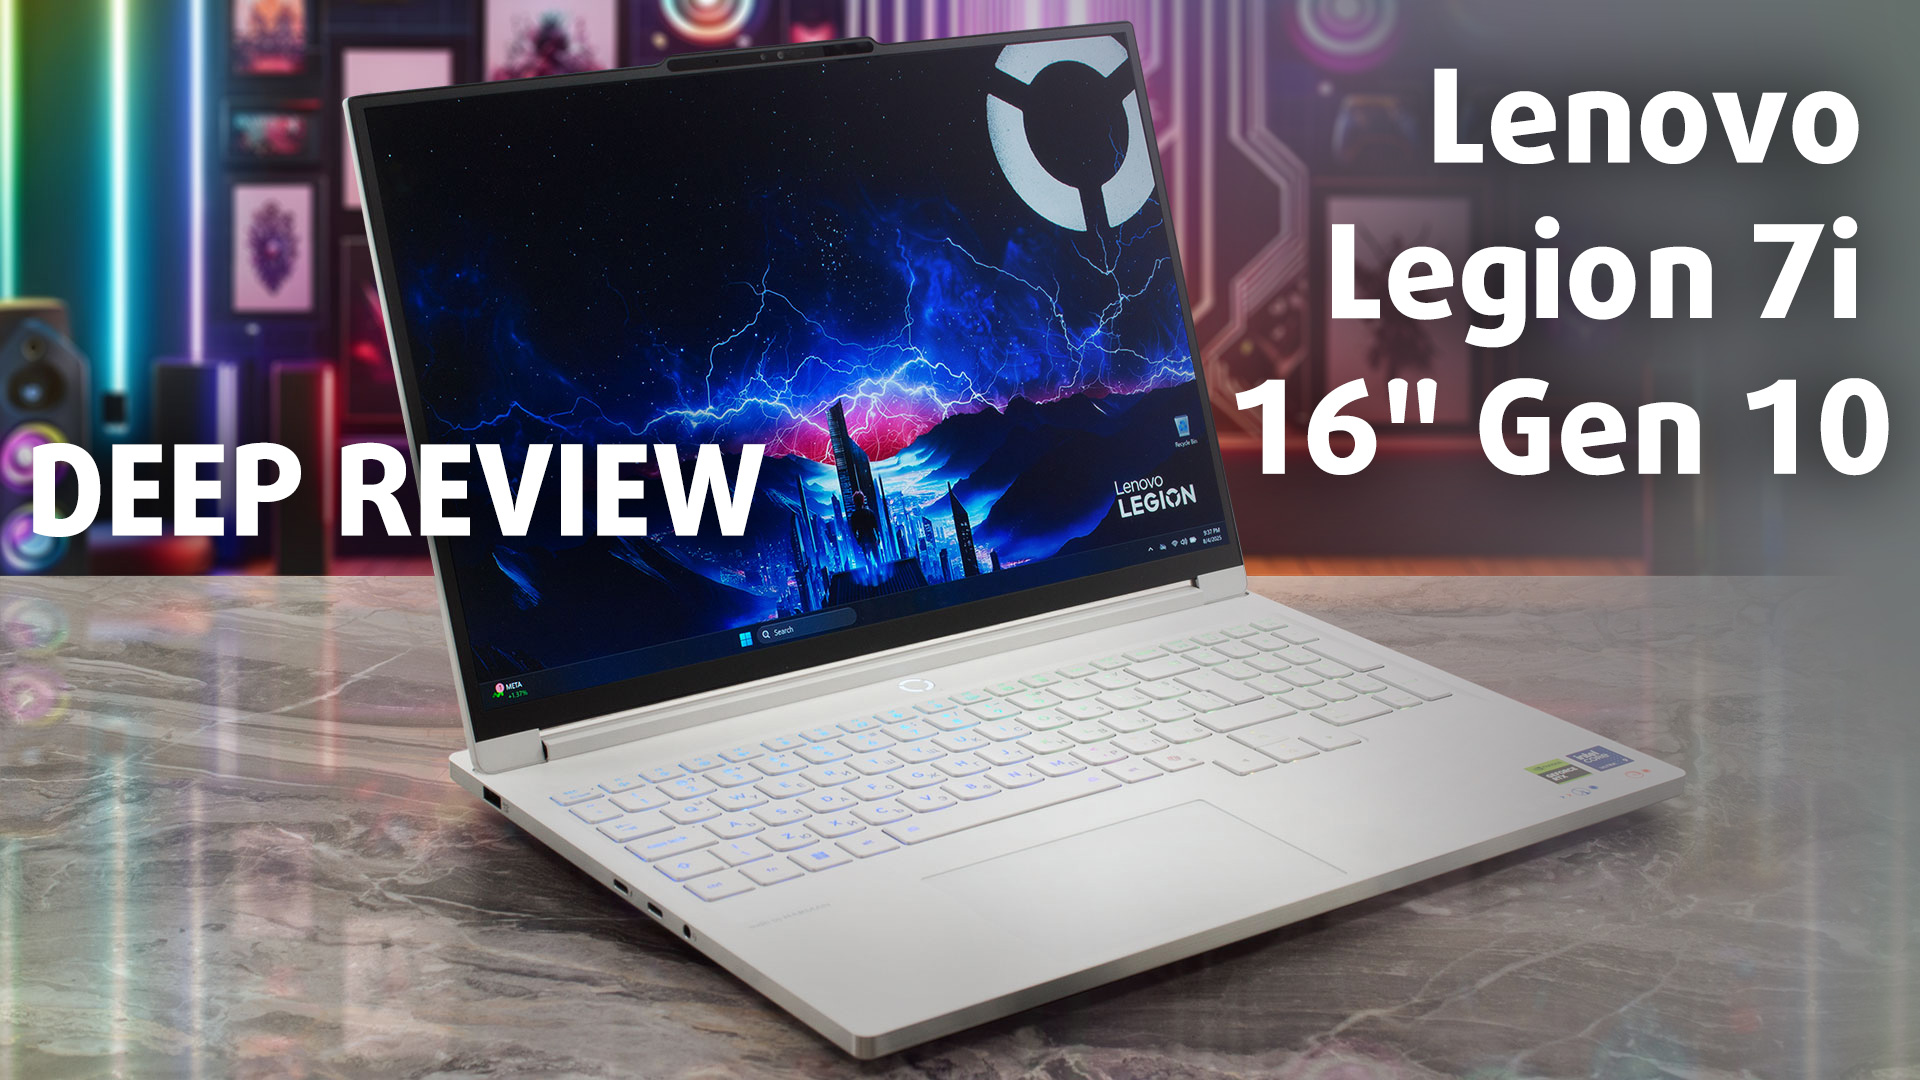
The Lenovo Legion 7i (16", Gen 10) is, without a doubt, one of the most beautiful gaming laptops we have ever seen. Its stunningly thin, light, and elegant all-aluminium design feels more like a high-end ultrabook than a powerful gaming rig. We were initially in awe of its form factor, but that awe quickly turned to concern. Can a chassis this slim truly handle the heat generated by its high-performance components? The answer, unfortunately, is the central story of this laptop. It's a tale of a breathtaking design that comes at a direct and significant cost to both performance and enduranc[...]
Pros
- Stunningly thin, light, and elegant all-aluminium design
- Breathtaking 240Hz OLED display with 100% DCI-P3 coverage
- Excellent keyboard with a great layout and full-sized arrow keys
- Fantastic upgradeability with two RAM and two M.2 slots
- Great future-proof port selection including Thunderbolt 4 and Wi-Fi 7
- Premium build quality and fingerprint-resistant finish
Cons
- Throttled CPU and GPU performance due to slim design
- Very poor battery life, one of the worst in its class
- Highly reflective glossy screen
- Runs hot under sustained load
 Author: Dimitar Stalev

![[August 2026] Best-Selling Laptop Brands on Amazon USA – Apple Dominates Market Revenue and Volume Despite Lower Model Diversity](https://laptopmedia.com/wp-content/uploads/2026/09/COM-Best-Brands-1-400x225.jpg)
![[August 2026] Amazon USA: Top 10 Best-Selling Laptops – Apple MacBook Neo Dominates the Market with Massive Unit Sales!](https://laptopmedia.com/wp-content/uploads/2026/09/Best-Selling-Laptops-COM-Top-10-400x225.jpg)
![[August 2026] Amazon USA: Top 10 Best-Selling Gaming Laptops – ASUS ROG Strix G16 Dominates the Market with Massive Unit Sales](https://laptopmedia.com/wp-content/uploads/2026/09/Best-Selling-Gaming-Laptops-COM-Top-10-400x225.jpg)
![[July 2026] Amazon Global: Top 10 Best-Selling Laptops – Apple MacBook Neo Dominates the Charts as Budget and Premium Notebooks Split the Market](https://laptopmedia.com/wp-content/uploads/2026/08/Best-Selling-Laptops-GLOBAL-Top-10-400x225.jpg)
![[July 2026] Amazon Global: Top 10 Best-Selling Gaming Laptops – ASUS ROG Strix G16 Dominates the Global Market with Record-Breaking Unit Sales](https://laptopmedia.com/wp-content/uploads/2026/08/Best-Selling-Gaming-Laptops-GLOBAL-Top-10-400x225.jpg)