Inside HP EliteBook 840 G7 – disassembly and upgrade options
Here, you get typical high-profile upgradability, inside of a pretty thin and light notebook.
Check out all HP EliteBook 840 G7 prices and configurations in our Specs System or read more in our In-Depth review.

1. Remove the bottom plate
Thankfully, there are only five Phillips-head captive screws you need to undo before you get inside of the laptop. After that, just pry the panel with a sharp plastic tool.

2. Battery
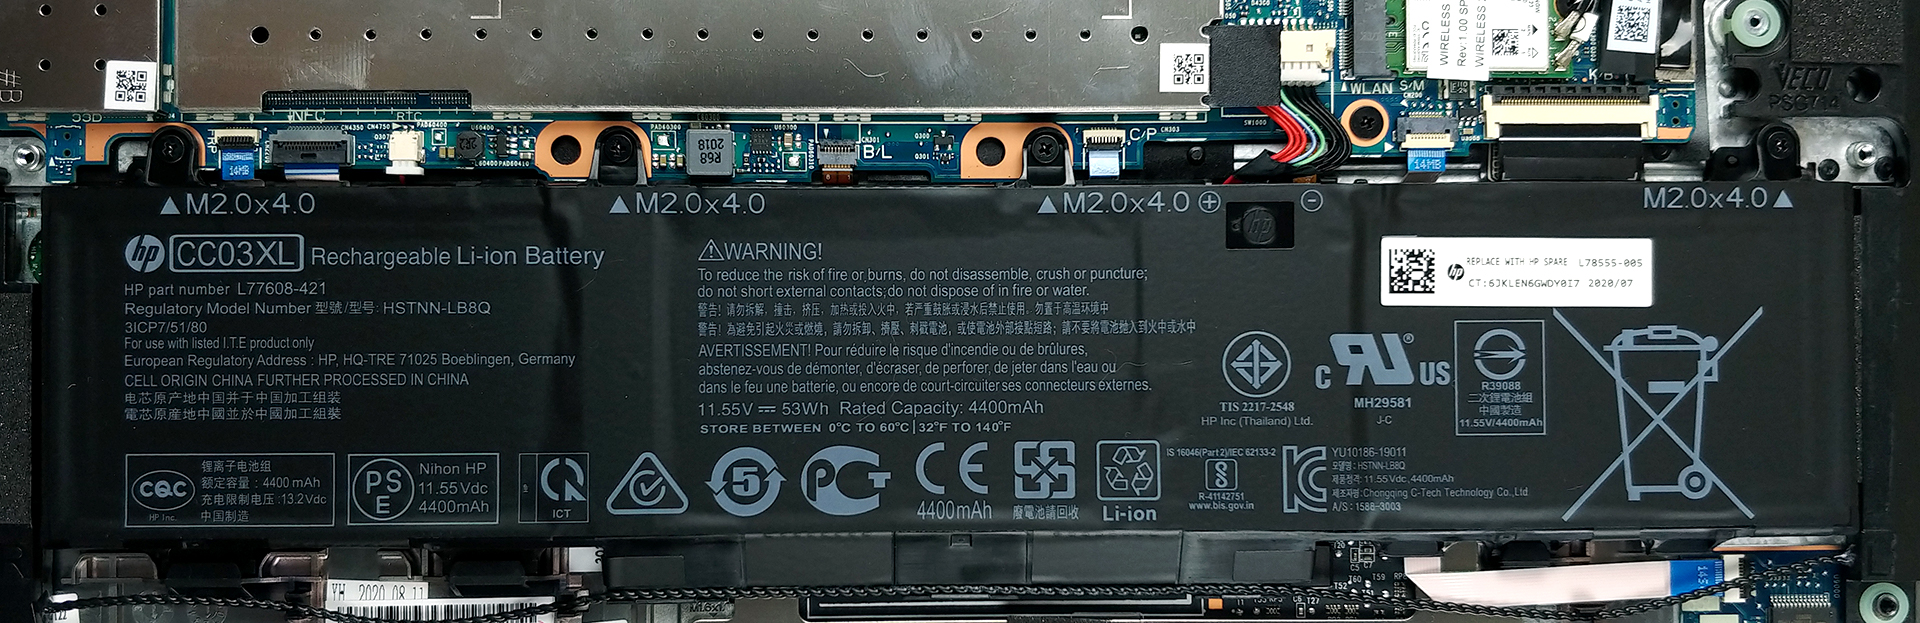
By the way, the first thing you need to unplug before you start messing with the internals is the battery. Here, the unit has a 53Wh capacity.
3. Memory and storage
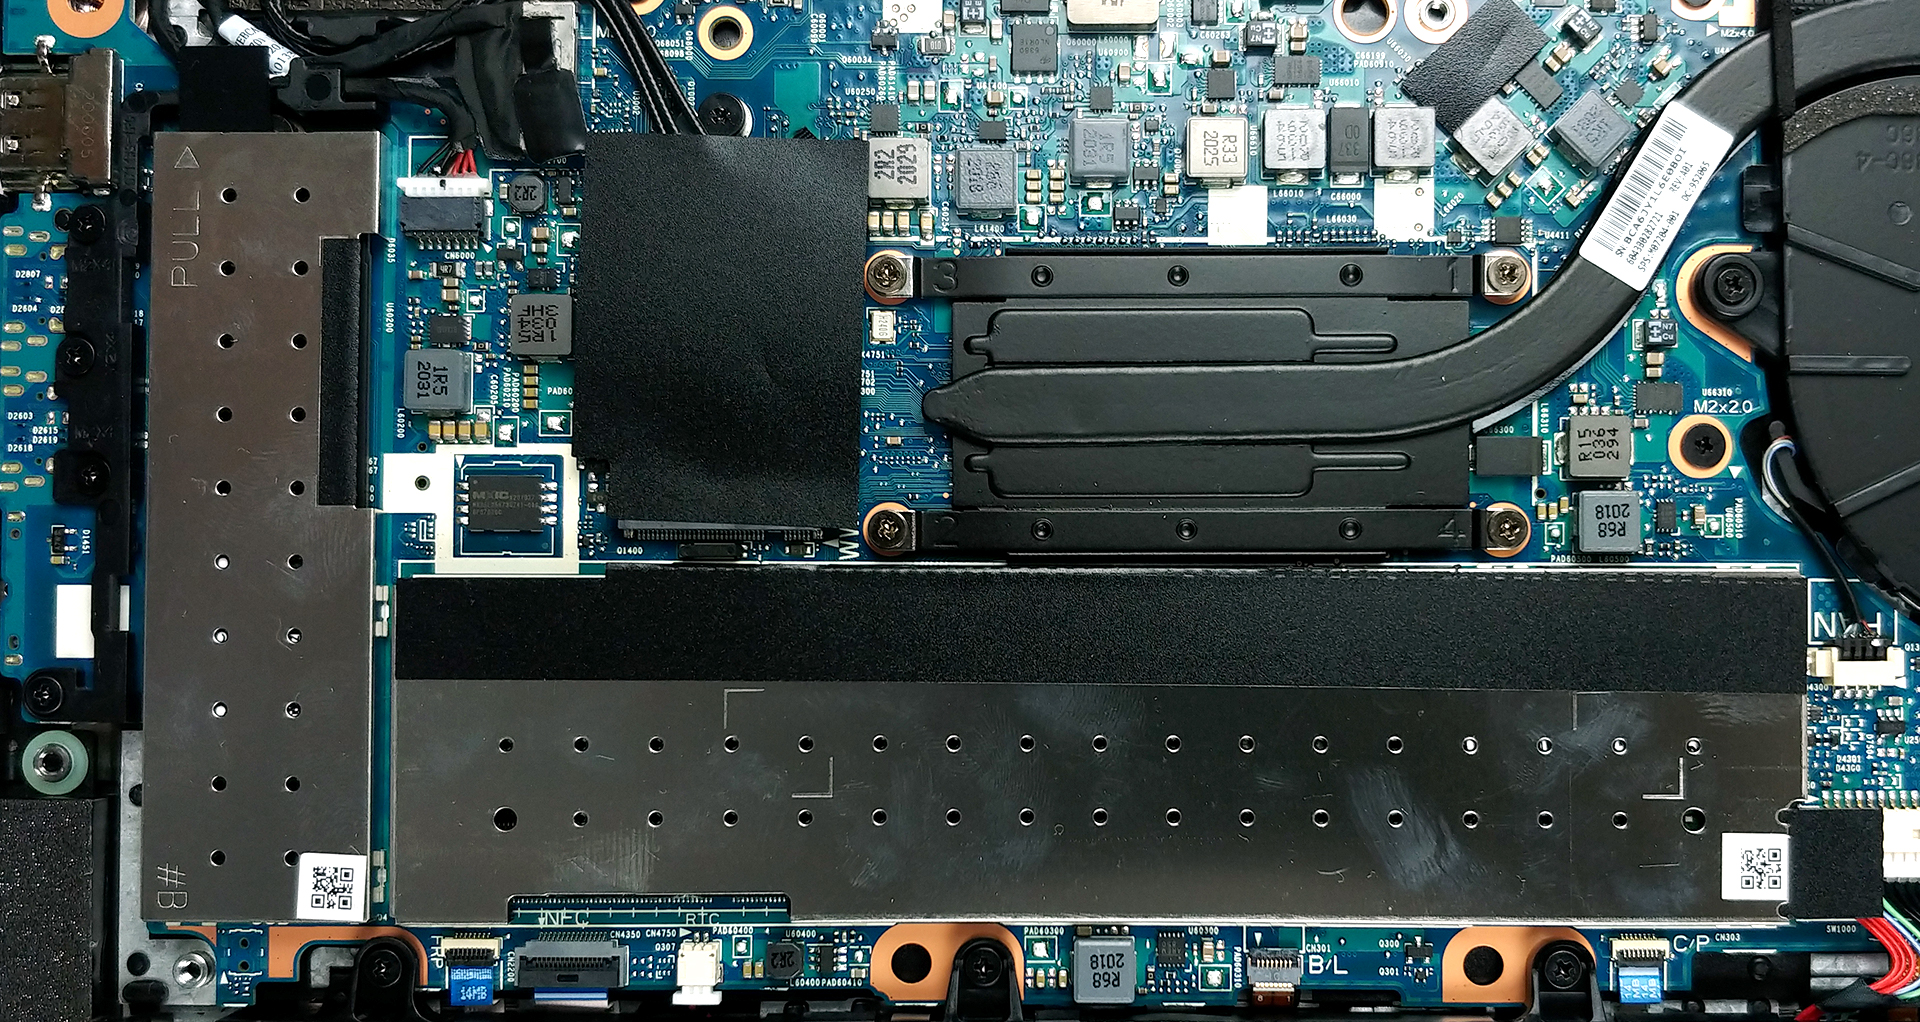
Upgradability, though, is where this guy gets us impressed. There are two RAM SODIMM slots, which support up to 64GB of DDR4 memory. And as for the storage – there is one M.2 PCIe x4 slot.
4. Cooling system
In this case, the cooling consists of a thin heat pipe, and a medium-sized fan.

Check out all HP EliteBook 840 G7 prices and configurations in our Specs System or read more in our In-Depth review.
 Author: Alex Iliev

![[August 2026] Amazon Italy: Top 10 Best-Selling Laptops – Apple MacBook Neo Claims the Crown as Budget and Mid-Range Windows Machines Dominate Volume](https://laptopmedia.com/wp-content/uploads/2026/09/Best-Selling-Laptops-IT-Top-10-400x225.jpg)
![[August 2026] Amazon Italy: Top 7 Best-Selling Gaming Laptops – ASUS V16 Claims the #1 Spot Amid Strong Mid-Range Demand](https://laptopmedia.com/wp-content/uploads/2026/09/Best-Selling-Gaming-Laptops-IT-Top-10-400x225.jpg)
![[August 2026] Best-Selling Laptop Brands on Amazon Italy – Lenovo Dominates Market Share and Revenue Leadership](https://laptopmedia.com/wp-content/uploads/2026/09/IT-Best-Brands-400x225.jpg)
![[August 2026] Amazon India: Top 10 Best-Selling Laptops – Apple MacBook Neo Dominates the Charts with Massive Sales Lead](https://laptopmedia.com/wp-content/uploads/2026/09/Best-Selling-Laptops-IN-Top-10-400x225.jpg)
![[August 2026] Amazon India: Top 10 Best-Selling Gaming Laptops – HP Victus 15 Dominates the Market with Massive Unit Lead](https://laptopmedia.com/wp-content/uploads/2026/09/Best-Selling-Gaming-Laptops-IN-Top-10-400x225.jpg)