Inside Acer Spin 5 (SP513-54N) – disassembly and upgrade options
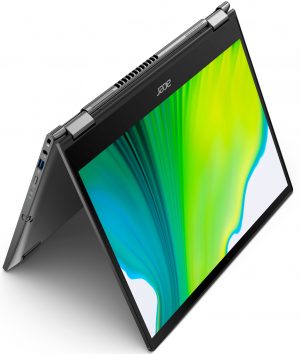
Ever since narrower screens started to become more trending on productivity notebooks, most manufacturers began releasing more and more laptops sporting the 3:2 aspect ratio.
Check out all Acer Spin 5 (SP513-54N) prices and configurations in our Specs System or read more in our In-Depth review.
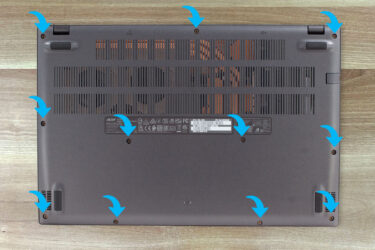
1. Remove the bottom plate
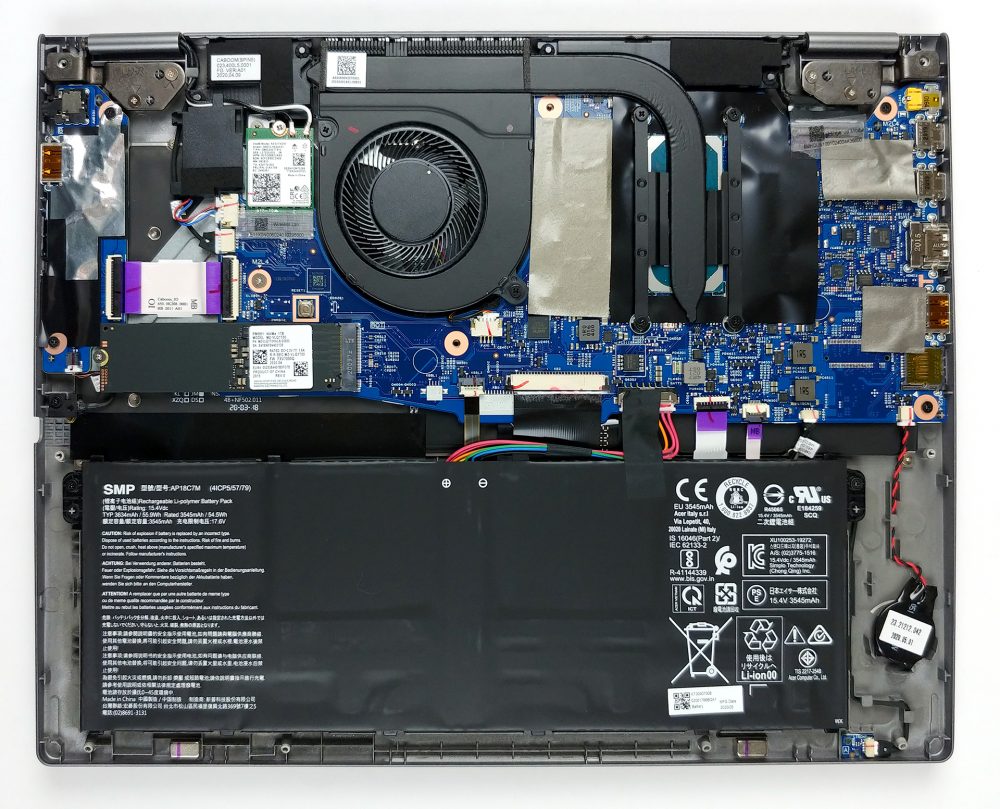
For your inconvenience, Acer uses 10 Torx-head screws to attach the bottom panel of this device to its chassis. After you find the appropriate screwdriver and undo the screws, you need to pry the plate away with a plastic tool.
2. Battery
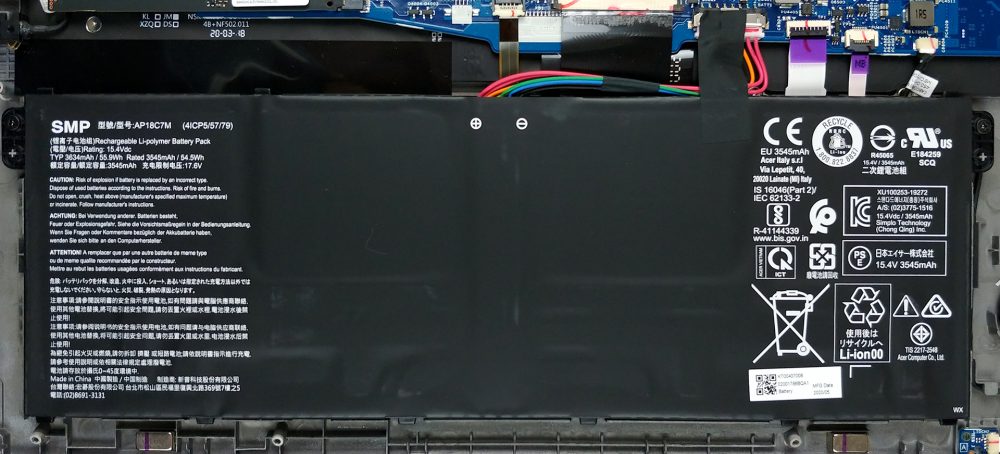
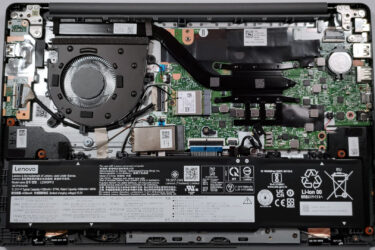
First, there is the 55.9Wh battery pack.
3. Memory and storage
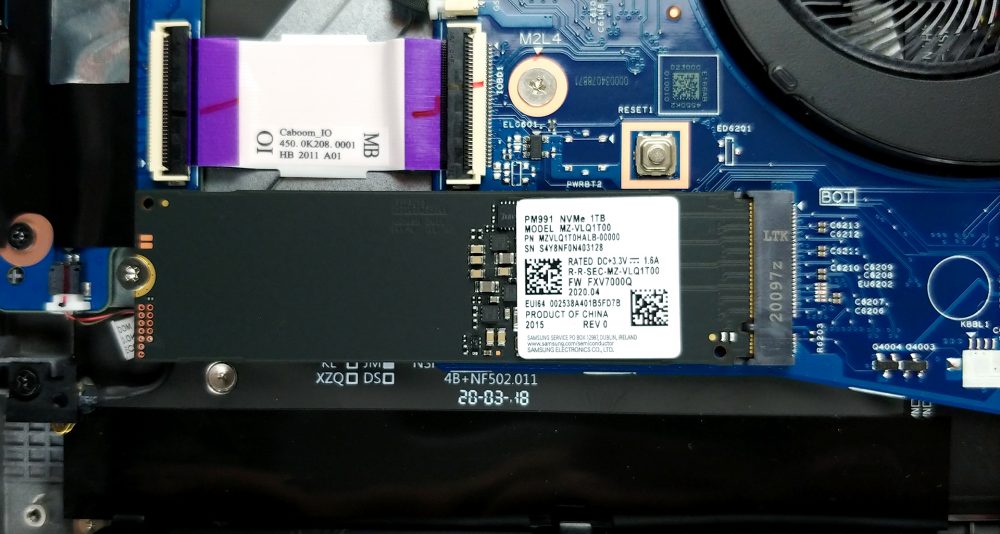
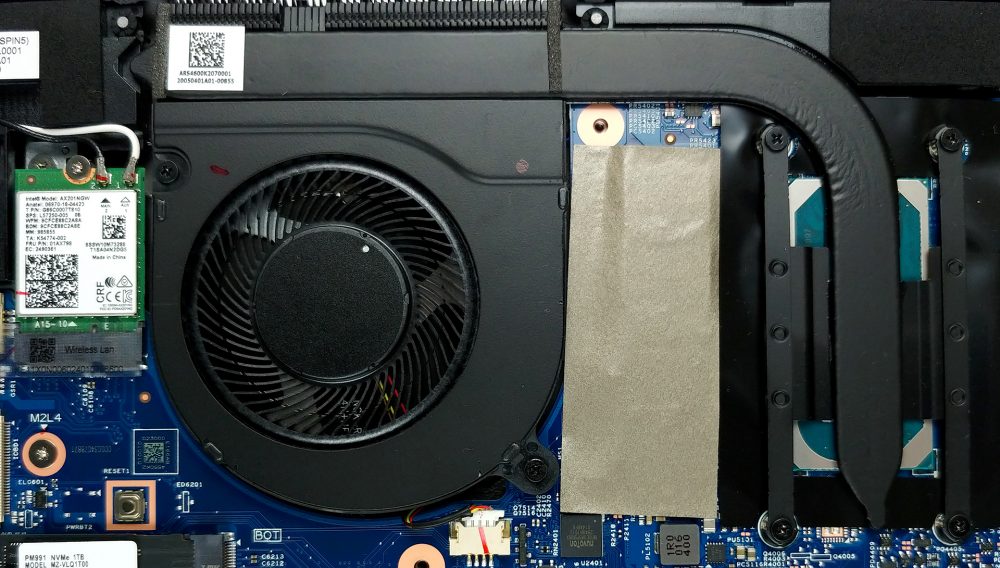
Sadly, the upgradability of this notebook is limited to a single M.2 PCIe x4 slot. This means that all of the memory is soldered to the motherboard. However, the good thing about it, is that it can work at higher frequencies – 3733 MHz.
4. Cooling system
Once inside, you’ll see that the cooling comprises a single fan, as well as a rather thick, but short heat pipe, which looks like the tail of a rat.
Check out all Acer Spin 5 (SP513-54N) prices and configurations in our Specs System or read more in our In-Depth review.





Is the nvme upgradeable? If so, is there a specific type that’s required?