Inside ASUS K550JX – disassembly, internal photos and upgrade options
If you still haven’t read our full review of the ASUS K550JX, we suggest you head over here and do it. The notebook offers superb performance for the given price, despite some of its drawbacks. We were also pretty bold with the statement that the K550JX is a substitute for the ROG GL552JX, but there are some things that cannot be overlooked. However, we are here to take a closer look at the internals of the notebook and how to properly disassemble the machine.
If you are interested in the availability of the notebook, follow this link: http://amzn.to/1H4zfxH
1. Accessing the HDD and RAM slots
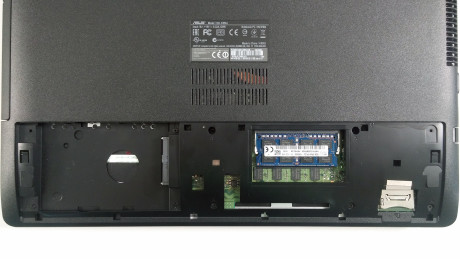
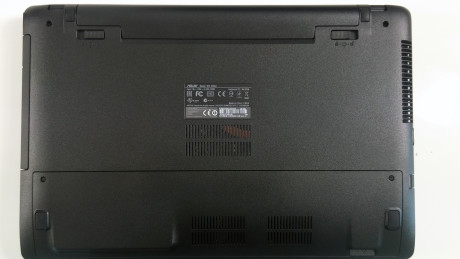
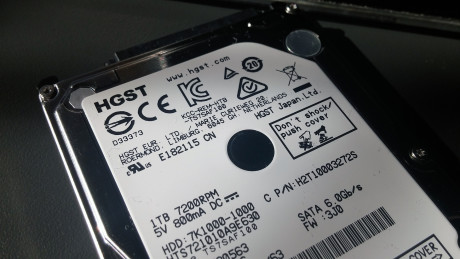
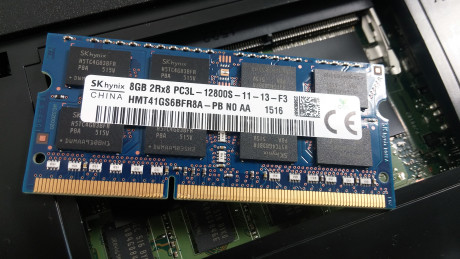
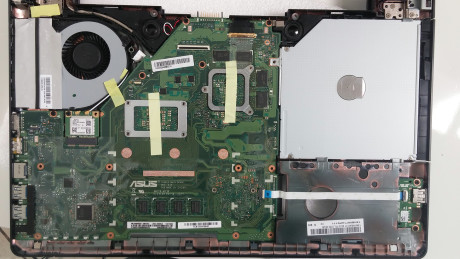
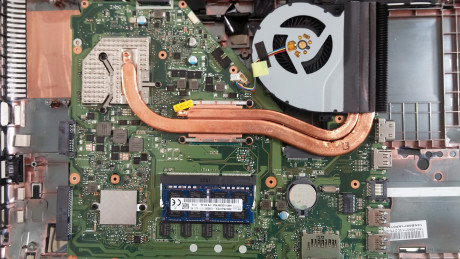
Fortunately, it’s not that big of a deal if you want to simply change the HDD or upgrade your RAM, but the same cannot be said about the full disassembly. There’s a small service cover that hides the 2.5-inch drive slot, which in our case is occupied by a 1TB HGST HDD, and the only RAM slot is taken as well. There are 4GB of RAM soldered to the motherboard and our configuration came with another 8GB chip by SK Hynix. This can be considered as a small drawback if you are aiming for higher amounts of RAM for your system. Anyway, the upgrade is easy as one, two, three…
2. Removing the battery
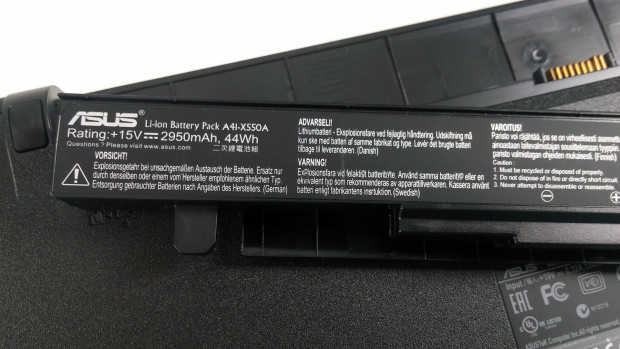
Before proceeding with the full disassembly, we strongly recommend removing the battery. Two small switches release the battery, which is rated at 44Wh (2950 mAh) manufactured by ASUS, and when removed you will find two screws that need to be removed.
The majority of the screws are located under the service lid, so be careful not to miss one.
3. Removing the bottom cover
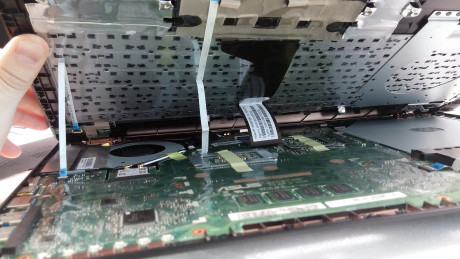
When you removed all the screws, you can continue with the lid, but once you lift it up be careful with all the cables attached to the motherboard.
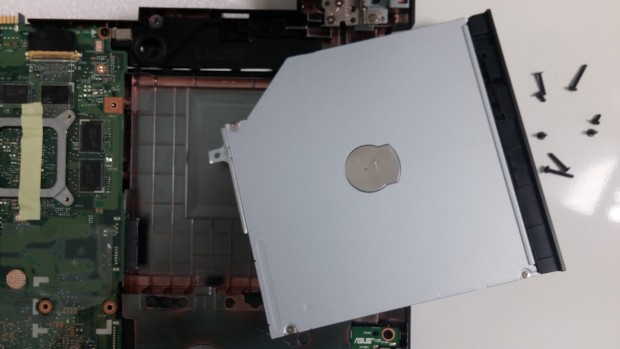
Once removed, you can detach the optical drive and even swap it for an additional 2.5-inch HDD.
4. Cleaning the fans
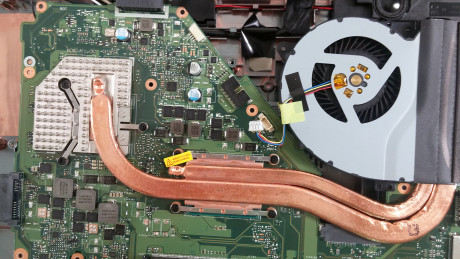
If you need to clean the fans or change the thermal paste, you should remove the whole motherboard and turn it around. Again, be careful with all the cables attached to the visible side of the chipset. There’s a cable for the fan and one for the display.


tanks if i add 8giga dual channel work?
In3. Removing the bottom cover, only has 3 flat cables to be careful with they?