Inside ASUS N552VX – disassembly, internal photos and upgrade options
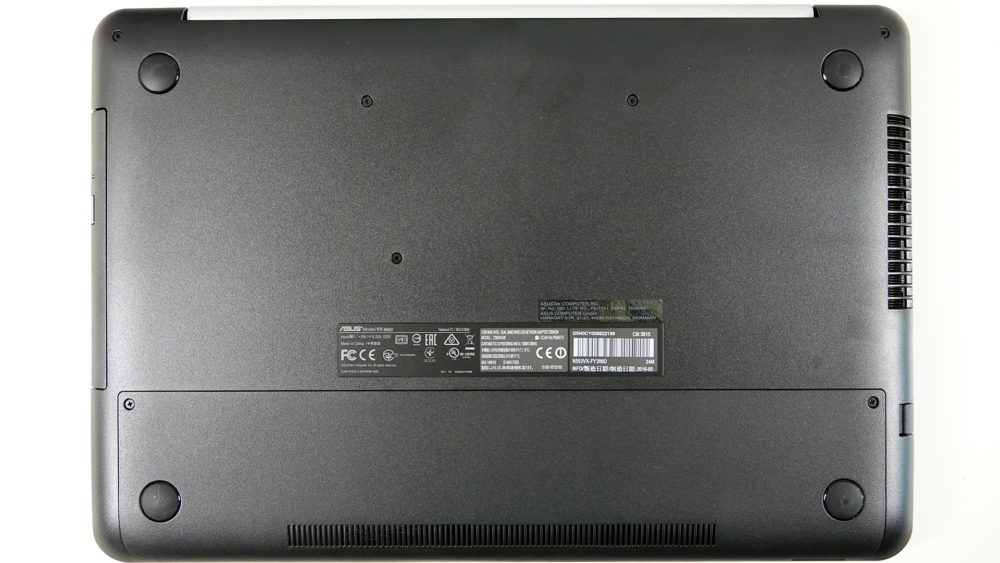
After our quick look at the ASUS N552VX we decided to take it apart and see what the chassis hides. The disassembly turned out to be almost hassle-free and that’s a good thing since the M.2 SSD slot isn’t accessible by removing the service lid and you will have to detach the whole bottom piece instead. Here’s how to perform all this and what hardware we found inside.
You can look for more information about pricing and configurations here: http://amzn.to/1Zfh56b
1. Service lid
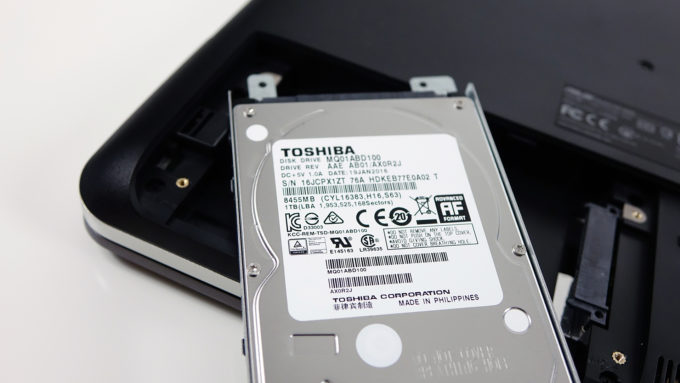
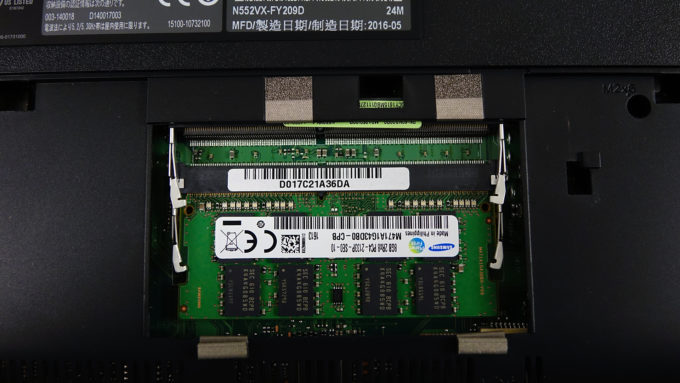
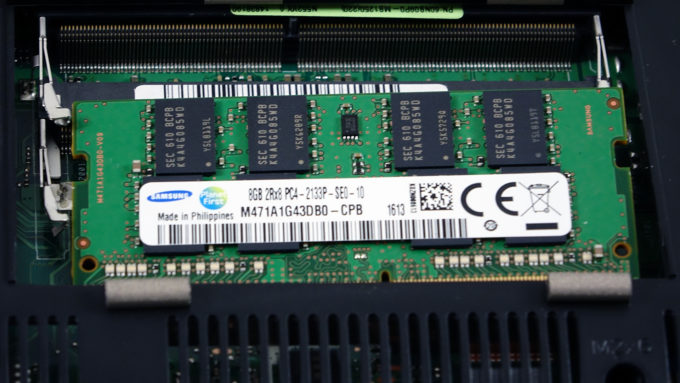
The service lid is easy to remove and you can find the 2.5-inch HDD, which is Toshiba with 1TB of capacity spinning at 5400 rpm and also two RAM slots, which are taken by 2x 4GB DDR4-2133 Samsung chips. And as we said earlier, if you want to insert an M.2 SSD stick, you will have to detach the whole bottom cover.

2. Removing the bottom piece
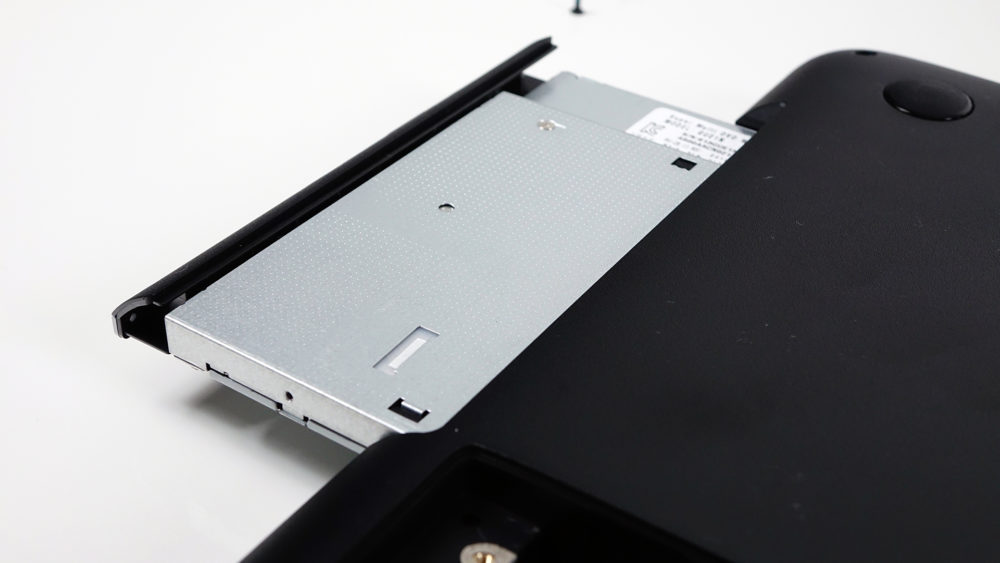
After the service lid is out of the way, continue unscrewing all bolts around the chassis and don’t forget to remove the optical drive along with the screws underneath. Then you are free to pry up the bottom.
3. M.2 SSD slot, battery, Wi-Fi modlue
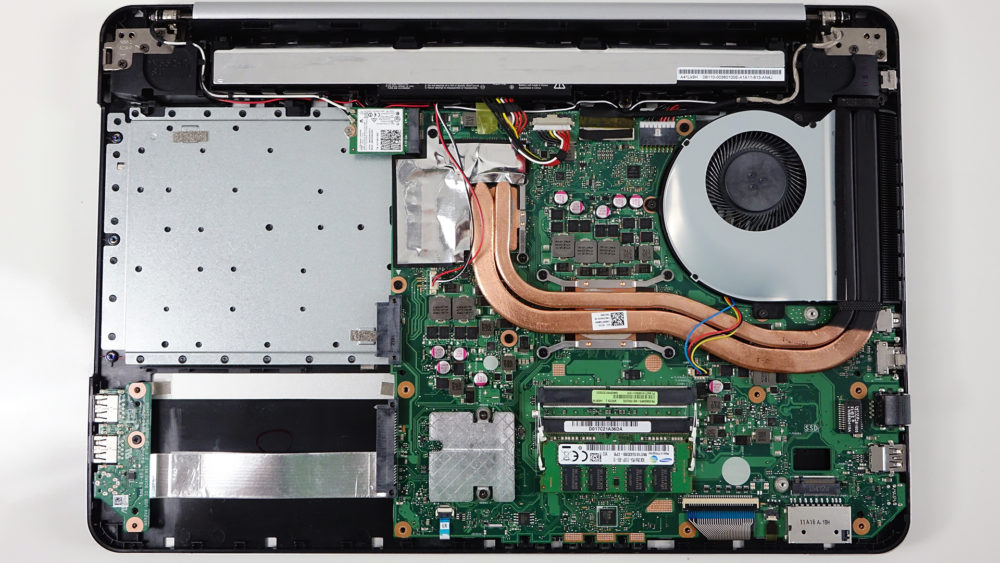
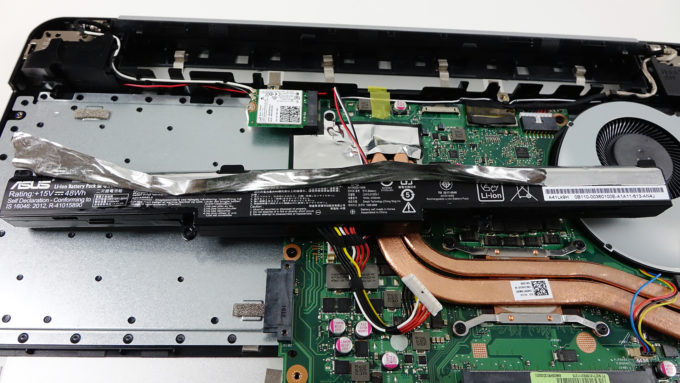
When the bottom piece is removed, you will see the rest of the “important” hardware.
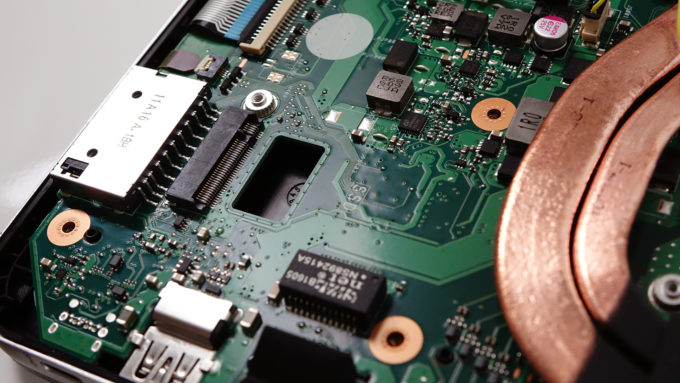
There’s the M.2 PCIe NVMe SSD slot supporting 2280 sticks with B&M or with just M-edge key connector.
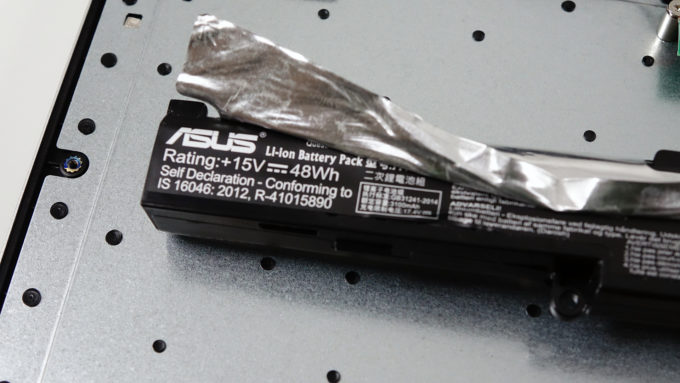
The battery, which isn’t user-replaceable anymore, is rated at 44Wh – a decline compared to the old N551VW with 56Wh unit. Right next to the unit, you will also find the Wi-Fi module – Intel Dual Band Wireless-AC 7265 supporting 802.11ac, 2 x 2 Wi-Fi and Bluetooth 4.0.
4. Cooling system
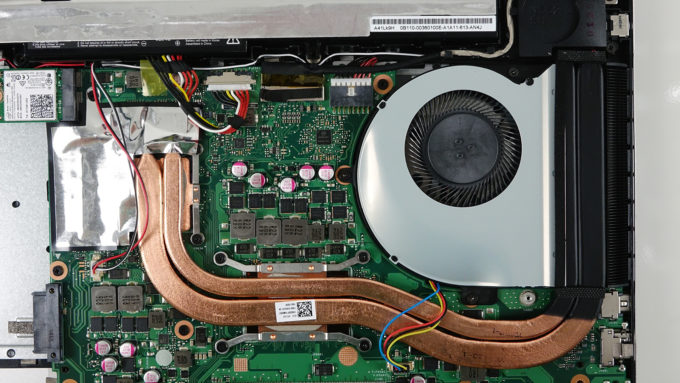
As you can see in the photo below, the cooling system isn’t much different from the old design on the N551VW but why change something that clearly works just fine. Our temperature tests showed this design works just flawlessly even in extreme conditions and we expect the same from the N552VX.
