Inside Dell Inspiron 15 7567 – disassembly, internal photos and upgrade options
We have some really good news and some not so bad news. The good news is that the Inspiron 15 7567 offers super easy upgrade and access to most of the hardware. However, if you ever need to perform a full disassembly, it’s going to be a big hassle for you.
And some of the available configurations can be found here: http://amzn.to/2mQUGQK
1. Removing the bottom piece
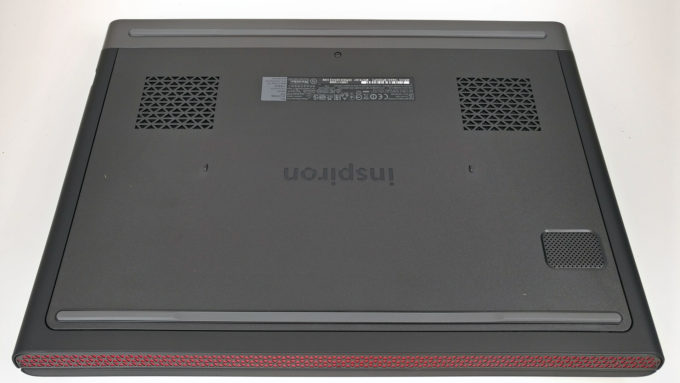
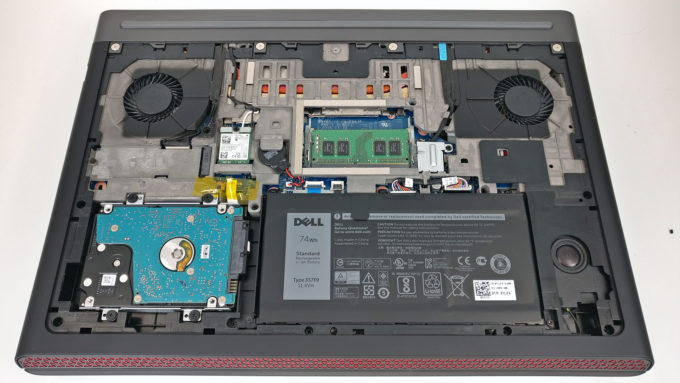
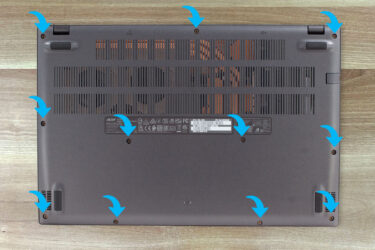
The bottom piece is easily removed and requires only one bolt to be unscrewed. Then just pry up the plate and you will see most of the components.
2. Storage
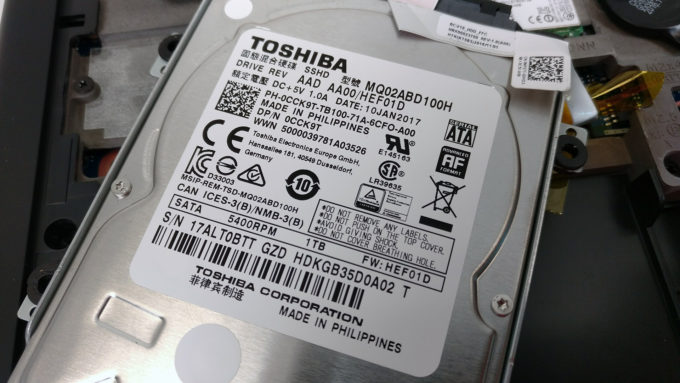
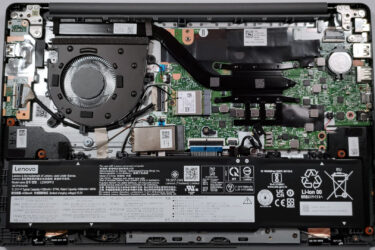
As usual, the mainboard supports a single 2.5-inch drive (either HDD or SSD) and an additional M.2 PCIe NVMe SSD as well. Since the unit we’ve ordered is the base configuration, it has only a standard Toshiba 1TB HDD while the M.2 SSD slot is empty. The size is the most commonly found 2280.
3. Memory, battery and Wi-Fi card
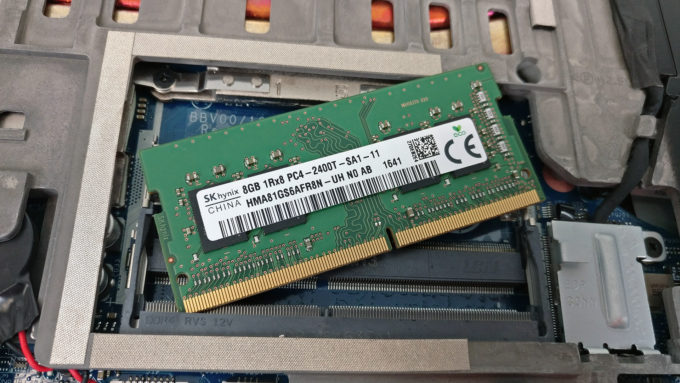
The motherboard has two RAM slots with, one of which in our case is taken by an SK Hynix 8GB DDR4-2400 chip and the other one remains free for an upgrade.
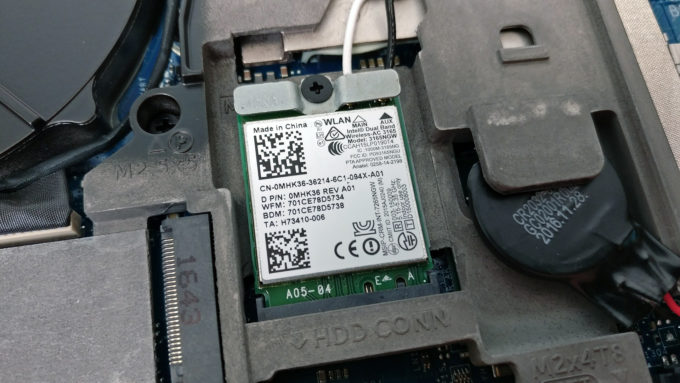
The Wi-Fi card is located near one of the cooling fans and it’s an Intel 3165NGW.
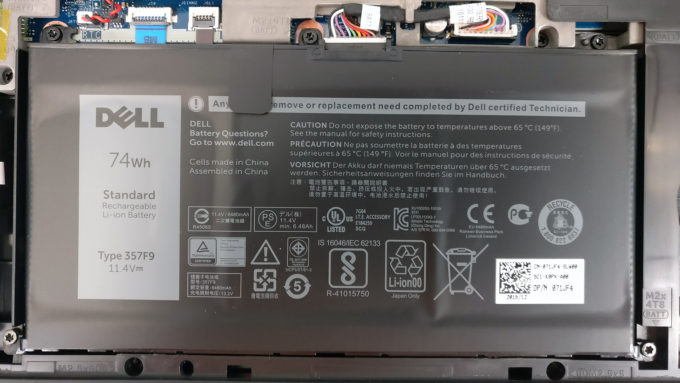
What took us by surprise is the huge battery that the laptop carries. The unit is rated at 74Wh resulting in record-breaking battery runtimes.
4. Cooling system
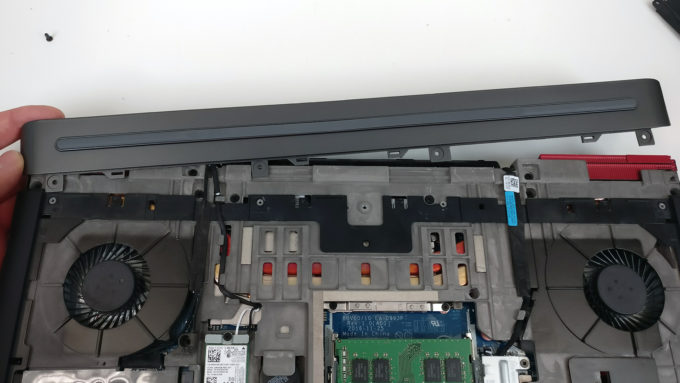
To gain full access to the cooling system, you need to perform a full disassembly. First, you have to pop open the plastic piece on the back as shown in the photos below. This will require a thin plastic tool and you also have to remove all of the screws around the chassis.
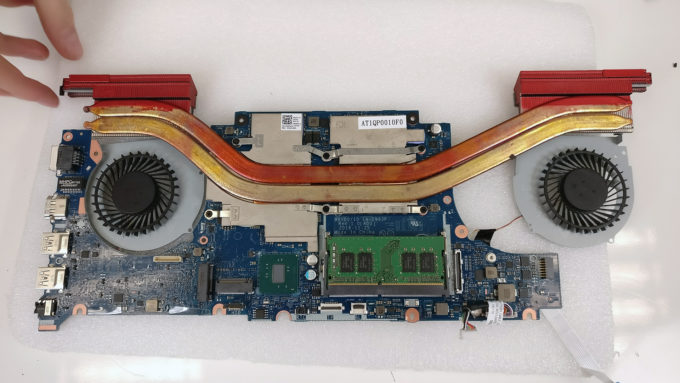
The cooling design consists of two big fans and two heat pipes going across the CPU and GPU heatsinks and the two radiators.
You can read the full review of the Dell Inspiron 15 7567 here.
And some of the available configurations can be found here: http://amzn.to/2mQUGQK



Is that some kind of a metal chassis that is adding rigidity to the device?
I think.
So i cant replace the gpu and cpu only the ram ,hdd/ssd ,fans ,battery ,internet card ,whole motherboard with remaining parted
Excuse me do you know the screwdriver sizes required to remove the back cover and hdd bracket? Any link to buy some?
phillips 1.2mm, make sure u ground yourself before touching the internal.
You will need a couple different sizes of Philips head and you’ll also need a T8 for the battery screws… Guess nobody wanted to bother mentioning that in the 2+ years this post existed. Get a precision screwdriver kit. Problem solved.
Can anyone reply asap about what size of hard drive i can put in this laptop what mm of thickness?
I have a segate hdd which is 7 point something mm, any more and it wouldn’t fit.
Is it really that tight? I just bought a 2.5 WD Blue hdd, you’re making me nervous. I need to install it myself and see if it fits.
Late reply, yes… But… I feel necessary considering the amount of misinformation on this forum. The 7567 accepts 2.5″ HDD/SSHD in addition to having a separate port for m.2 sata SSD. Please find better means of getting the information you need. The people responding on this site seem to be a bit clueless.
that whole damn thing with the fans is the freaking graphics card????
motherboard/cpu/vid card all in one
When it comes to laptops/notebooks it is much easier for manufacturers to solder the GPU to the MOBO. The last photo above, which is poorly described like this entire post, is the entire innards of the laptop. It includes the mobo, cooling system, processor, graphics processor, etc. This is how the majority of laptops are manufactured. This is simple information that can be found anywhere.
Which size of screw driver is required..
The 7567 requires multiple precision screwdriver sizes. I recommend a precision screwdriver set as you will need multiple sizes of phillips head as well as a T8 in order to fully disassemble. I also recommend plastic prying tools in order to pop pieces apart without breaking anything.
Can you help me…I have hinge issue – its realy hard to open and close display, how to loose the hinge? thanks;)
hello i have a question.i spilled soda on my keyboard(including left side of the touchpad and towards the esc button).i sent it to the service and they said only the keyboard is sticky and there is no liquid damage inside.but when i got back my laptop there is a 5mm bump next to the left side of the touchpad.there seems to be battery under there.could it be that battery contacted the liquid and making the bump?
There are no batteries under the touchpad lol… Take it apart and look. Smh.
Can someone tell me what thermal pad sizes are used? I’ve ordered new thermal paste, but I can’t find the thermal pad sizes anywhere, even in the service manual.
how to adapt a ssd drive on this notebook? thanks.
The 7567 includes an m.2 SATA SSD port so why exactly do you think you need to adapt anything? On top of that you can also purchase a 2.5“ SSHD (which stands for solid state hybrid drive) which is faster than a standard 2.5″ HDD. This is information that is readily available from Dell and anywhere online. Stop being lazy and look it up.