Inside Dell Inspiron 17 3793 – disassembly and upgrade options
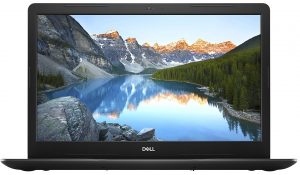
Do you need a 17-inch laptop that is most probably never going to leave your home? Well, the Inspiron 17 3793 is a very appropriate device in this perspective. However, how much versatility does it offer you post-purchase?
Check out all Dell Inspiron 17 3793 prices and configurations in our Specs System or read more in our In-Depth review.
1. Remove the bottom plate
When it comes to usability, the Inspiron 17 3793 is one optical reader ahead of most of the modern devices. This is the reason you first need to remove it, before proceeding with the teardown. After you unscrew the screw that holds it in place, just pull it outwards and it should be able to come off easily. Then, remove further 14 more Phillips-head screws out of your way, and pry the panel open.

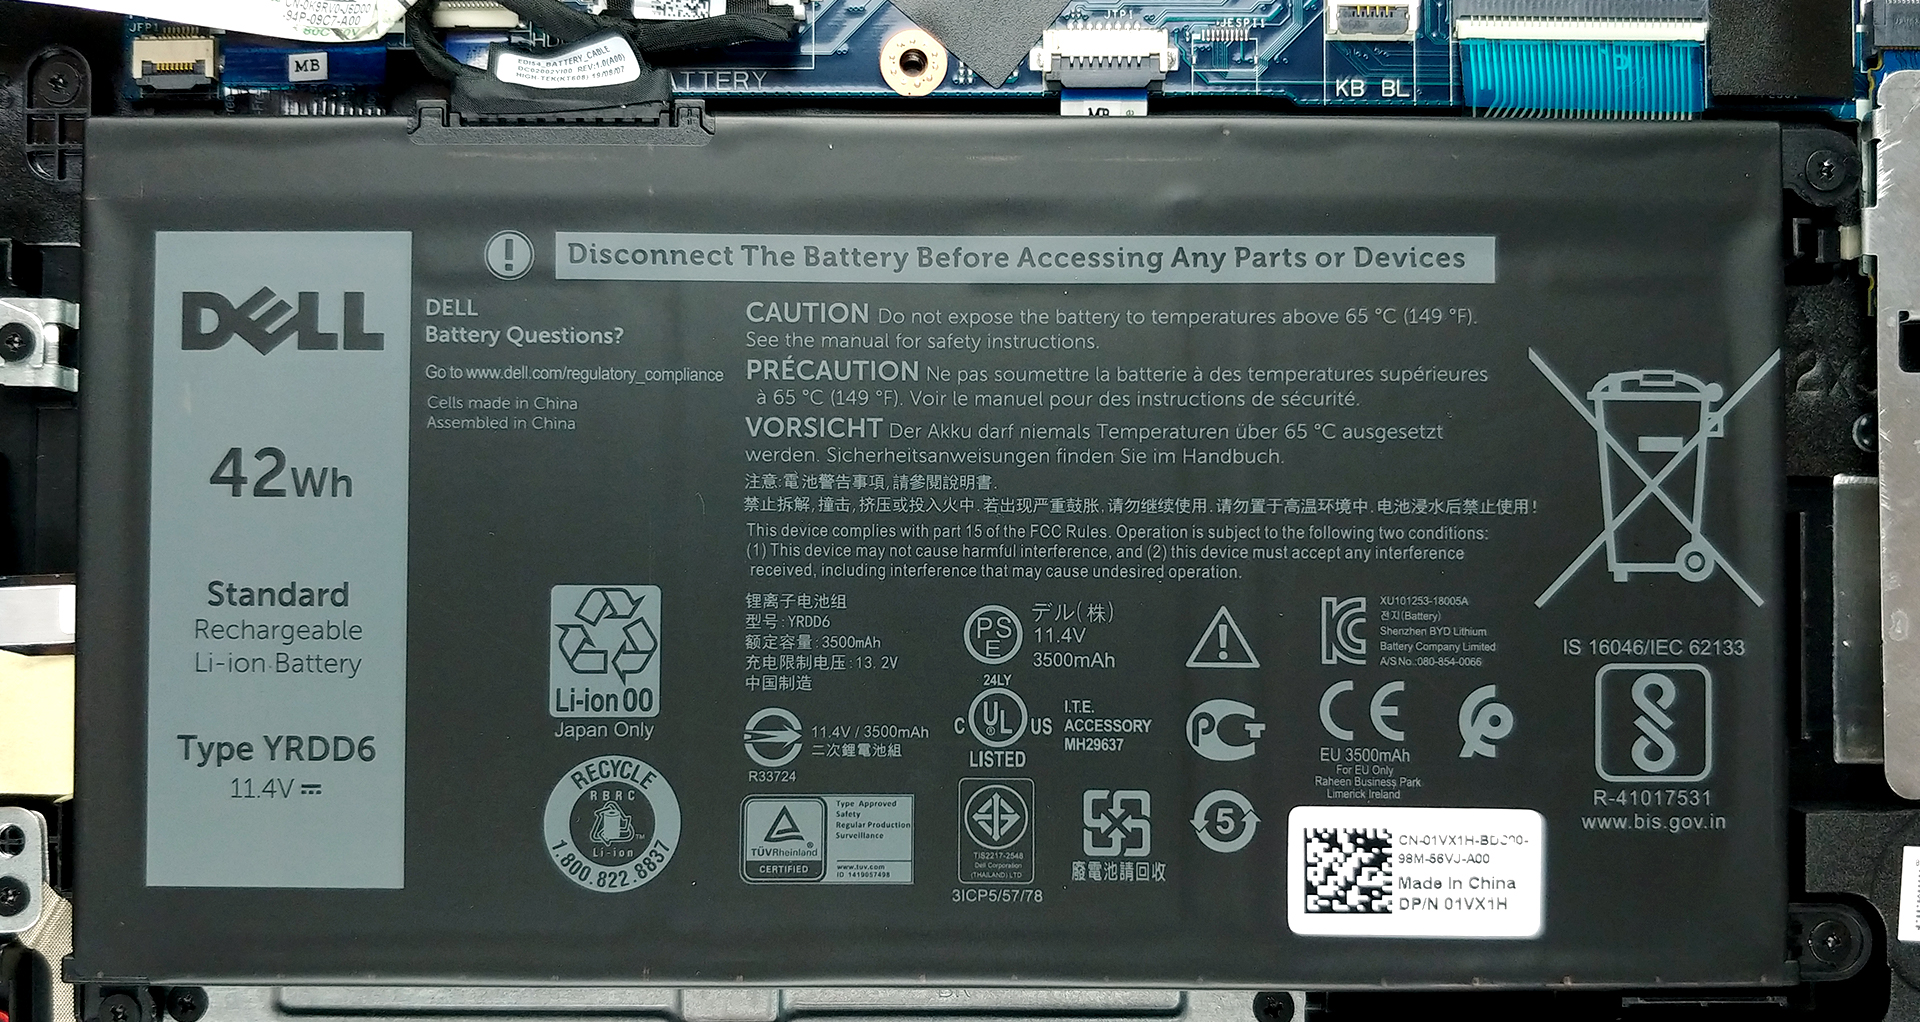
2. Battery
Now, we were kind of disappointed when we saw the 42Wh battery when there is so much free space inside. Nevertheless, if you ever wish to change it, there are four Phillips-head screws that prevent you from doing so. By the way, don’t forget to remove the battery connector, before anything else.
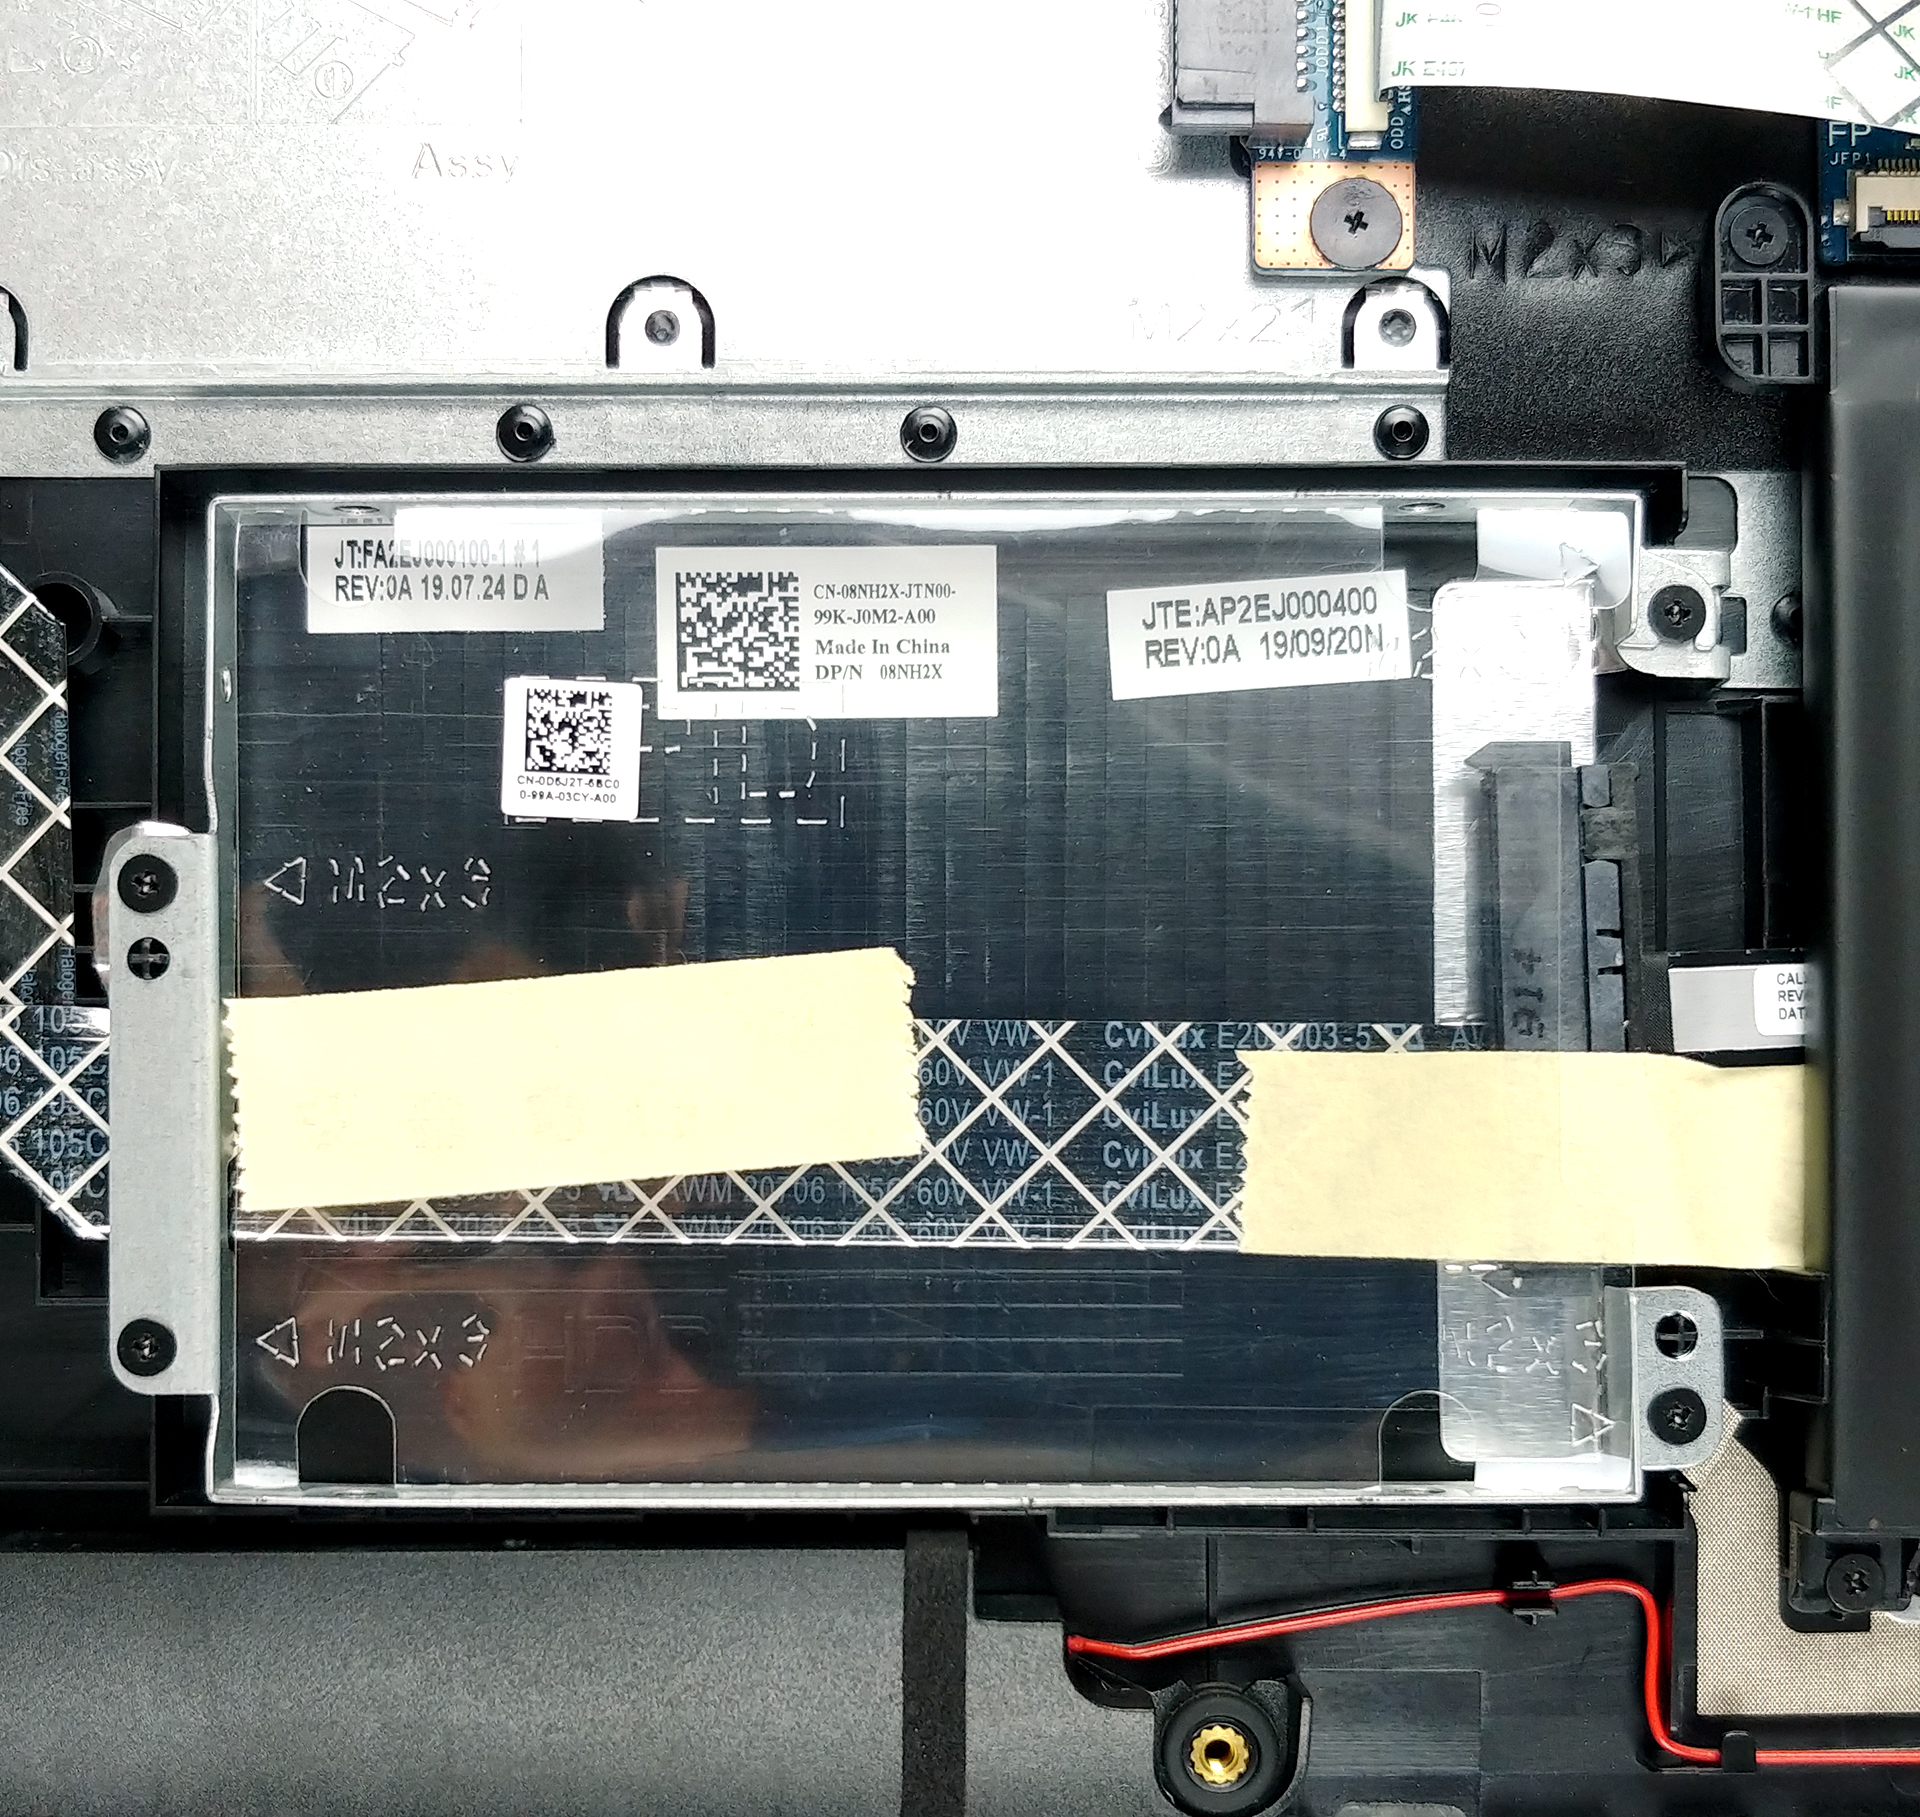
3. Memory and storage
On the bright side, there are two RAM DIMMs that support up to 16GB of DDR4 memory in total. Moreover, it has an M.2 slot that supports PCIe x4 speeds and up to 512GB capacity, as well as a 2.5″ SATA drive that can fit a 2TB HDD.

4. Cooling system
As far as the cooling goes, it is not the most sophisticated out there, to be honest – just a single heat pipe and a rather small fan.

Check out all Dell Inspiron 17 3793 prices and configurations in our Specs System or read more in our In-Depth review.


![[June 2026] Best-Selling Laptop Brands on Amazon Global – Apple’s Unrivaled Dominance in Units and Revenue](https://laptopmedia.com/wp-content/uploads/2026/07/GLOBAL-Best-Brands-400x225.jpg)
![[June 2026] Amazon Global: Top 10 Best-Selling Laptops – Apple’s New MacBook Neo Storms to #1, Reshaping the Market with Affordability](https://laptopmedia.com/wp-content/uploads/2026/07/Best-Selling-Laptops-GLOBAL-Top-10-400x225.jpg)
![[June 2026] Amazon Global: Top 10 Best-Selling Gaming Laptops – Acer’s Nitro V 16S AI Dominates Sales, While ASUS Leads Overall Revenue](https://laptopmedia.com/wp-content/uploads/2026/07/Best-Selling-Gaming-Laptops-GLOBAL-Top-10-400x225.jpg)
![[June 2026] Global Ranking of Best-Selling Laptop GPUs on Amazon – NVIDIA RTX 5060 is the Top-Selling Dedicated GPU](https://laptopmedia.com/wp-content/uploads/2026/07/Best-Selling-GPUs-GLOBAL-Top-10-400x225.jpg)
![[June 2026] Global Ranking of Best-Selling Laptop CPUs on Amazon – Apple M5 Dominates, AMD Ryzen 7 260 Gets Solid Premium Share](https://laptopmedia.com/wp-content/uploads/2026/07/Best-Selling-CPUs-GLOBAL-Top-10-400x225.jpg)

You say it supports an M.2 slot that supports PCIe x4 speeds and up to 512GB capacity. If you put a 1tb NVME SSD in that slot would it work?