Inside Dell Vostro 5459 – disassembly, internal photos and upgrade options
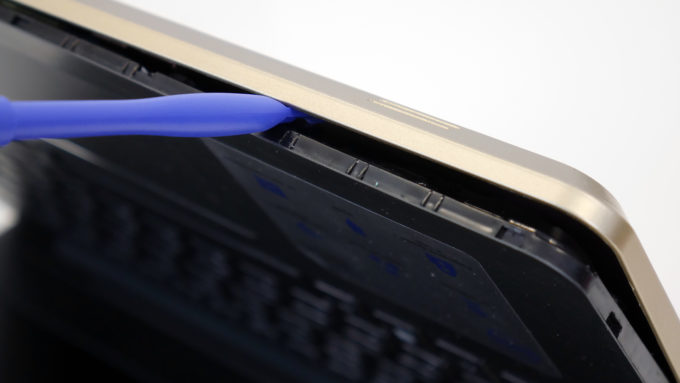
Dell’s 14-inch budget business solution offers fairly easy access to the internals and probably the only tricky part is the prying up. You should find a really thin plastic tool in order to separate the keyboard tray from the bottom piece. Anything other than that is a piece of cake.
You can find some of the available configurations here: http://amzn.to/2bQp4V0
1. Removing the bottom piece
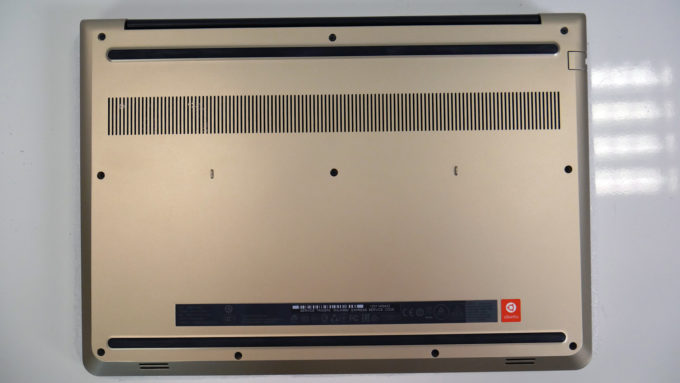
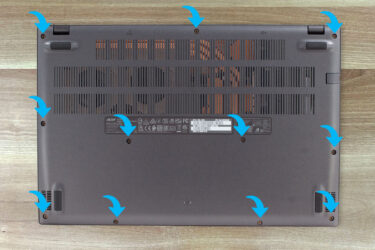
All you need to do is remove the screws around the chassis and then pry up the bottom using a thin plastic tool as shown in the photo below.
2. Storage and RAM
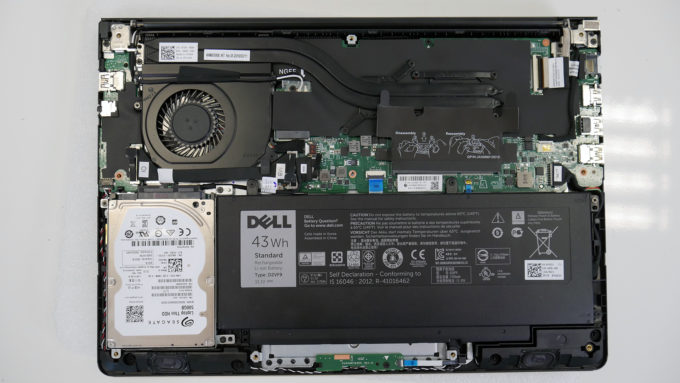
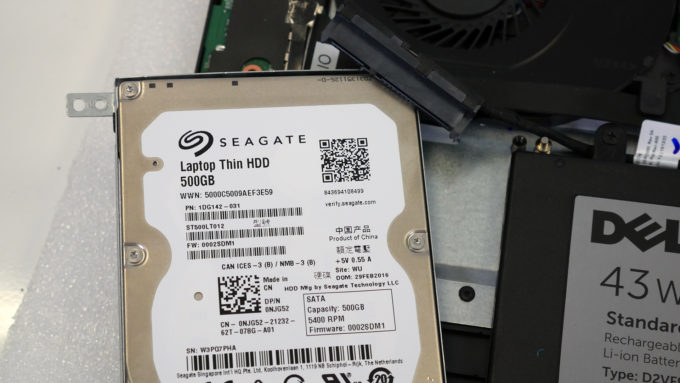
The notebook uses only one 2.5-inch slot and in our case, it’s taken by a 500GB Seagate HDD.
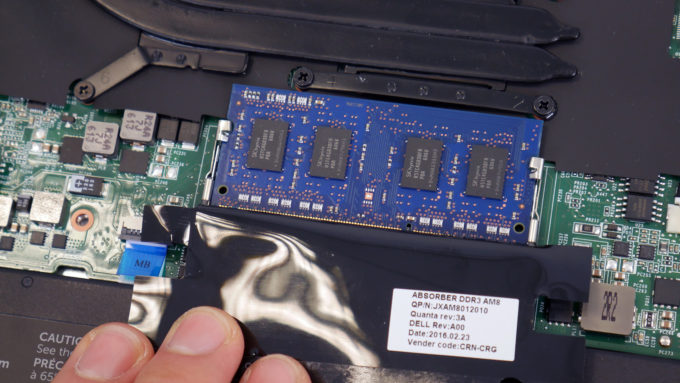
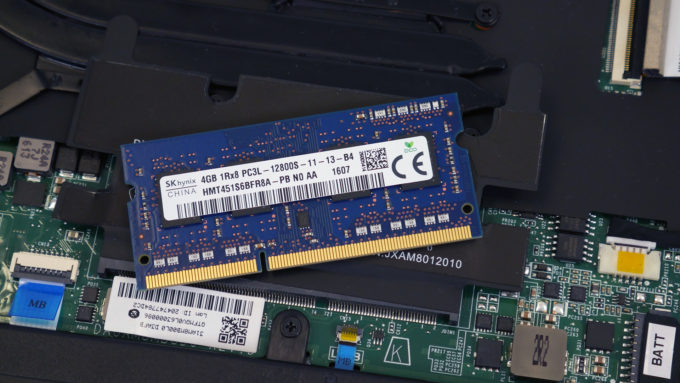
Unfortunately, there’s only one RAM slot so the system can be configured up to 8GB of DDR3L although our unit features only 4GB.
3. Battery and Wi-Fi card
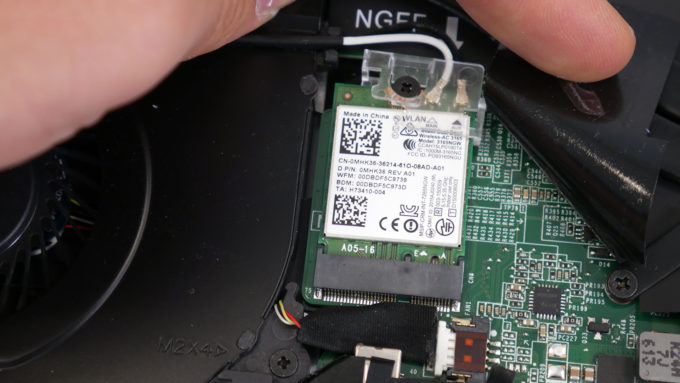
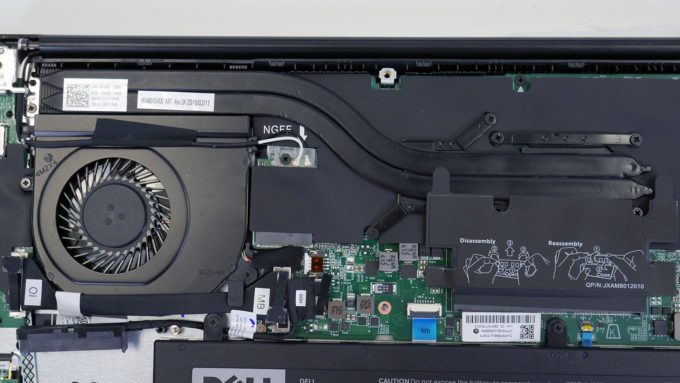
The Wi-Fi card is located right next to the cooling fan and it’s covered in black tape. As you can see below, it’s manufactured by Intel with model number 3165NGW.
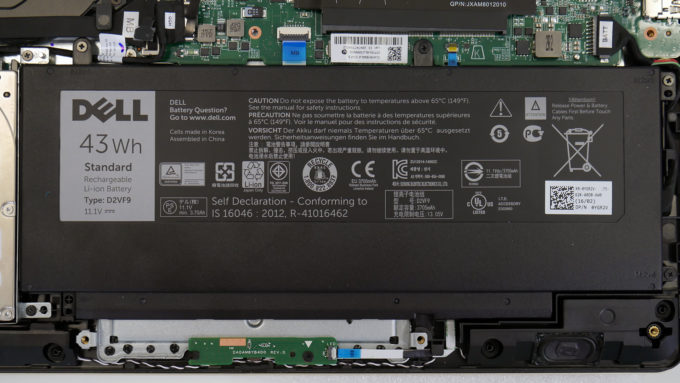
And as for the battery, it takes a good chunk of the internal space and it’s rated at 43Wh so we expect some decent battery runtimes.
4. Cooling system
There’s not much we can talk about the cooling system. At first glance, it seems sufficient to support both chips (the Core i3-6100U CPU and the GeForce 930M GPU) by using two heat pipes connected to the radiator and the cooling fan. The hot air is pushed out of the chassis via the main exhaust vent located right in front of the hinge.
You can find some of the available configurations here: http://amzn.to/2bQp4V0



My screen stays blank does nnot turn on please help ????
I find this awkwardly helpful and detailed. I’m myself having an opened Vostro 5459 in front of me and this page really helps!