Inside HP ProBook 450 G6 – disassembly and upgrade options
In a world of business notebooks, the HP ProBook 450 G6 is probably one of the best-balanced challengers.
Check out all HP ProBook 450 G6 prices and configurations in our Specs System or read more in our In-Depth review.
1. Remove the bottom plate
HP has been very lenient on screws with this one, as there are only 7 in place. After you remove them, you only need to pop the plate open with a plastic pry tool. If we can give you any advice on that, make sure you start from the backside, as it is significantly easier to insert the pry tool there.
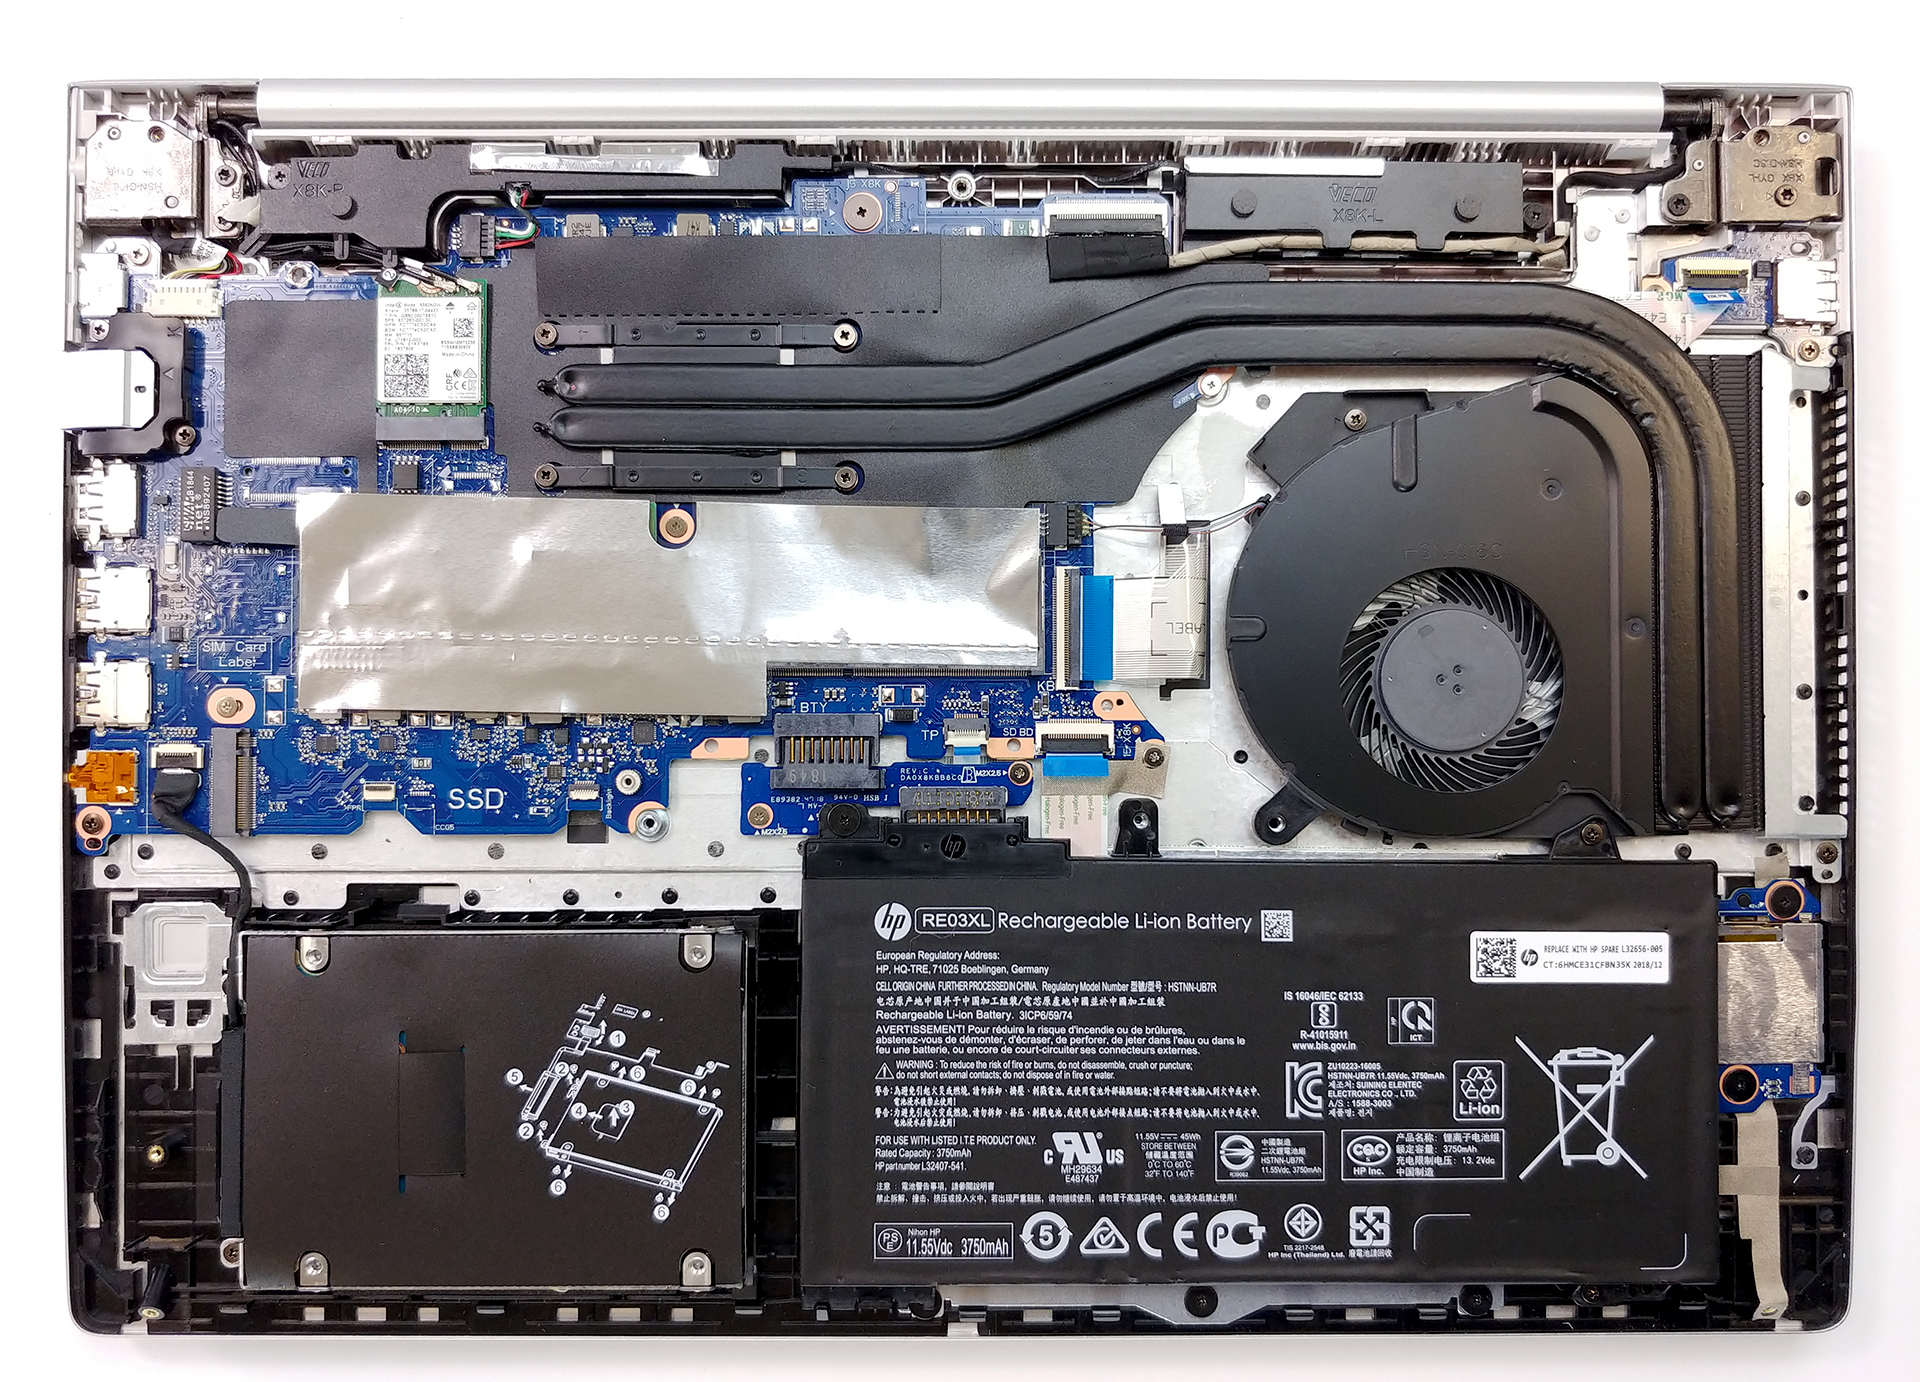
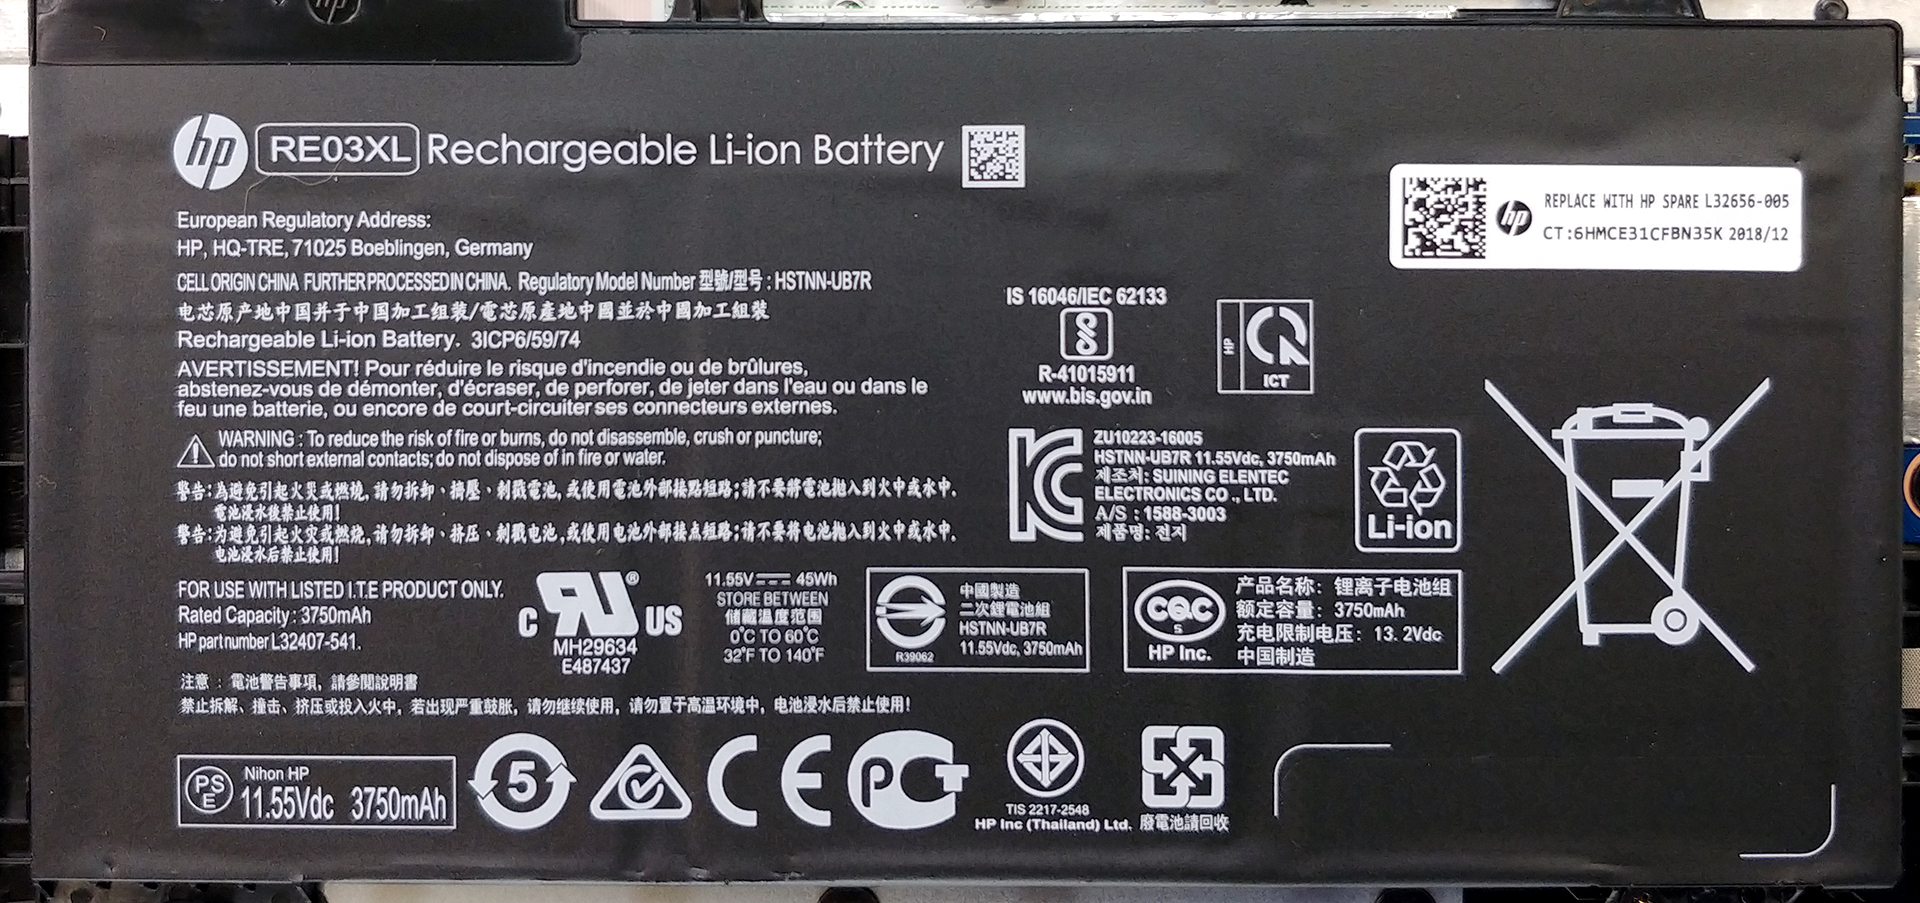
2. Battery
While the battery pack is not the largest out there, only reaching a 45Wh capacity, we found out that the battery life is relatively normal. As of usual – the first thing you need to do when you open your machine is to disconnect the battery connector from the motherboard.
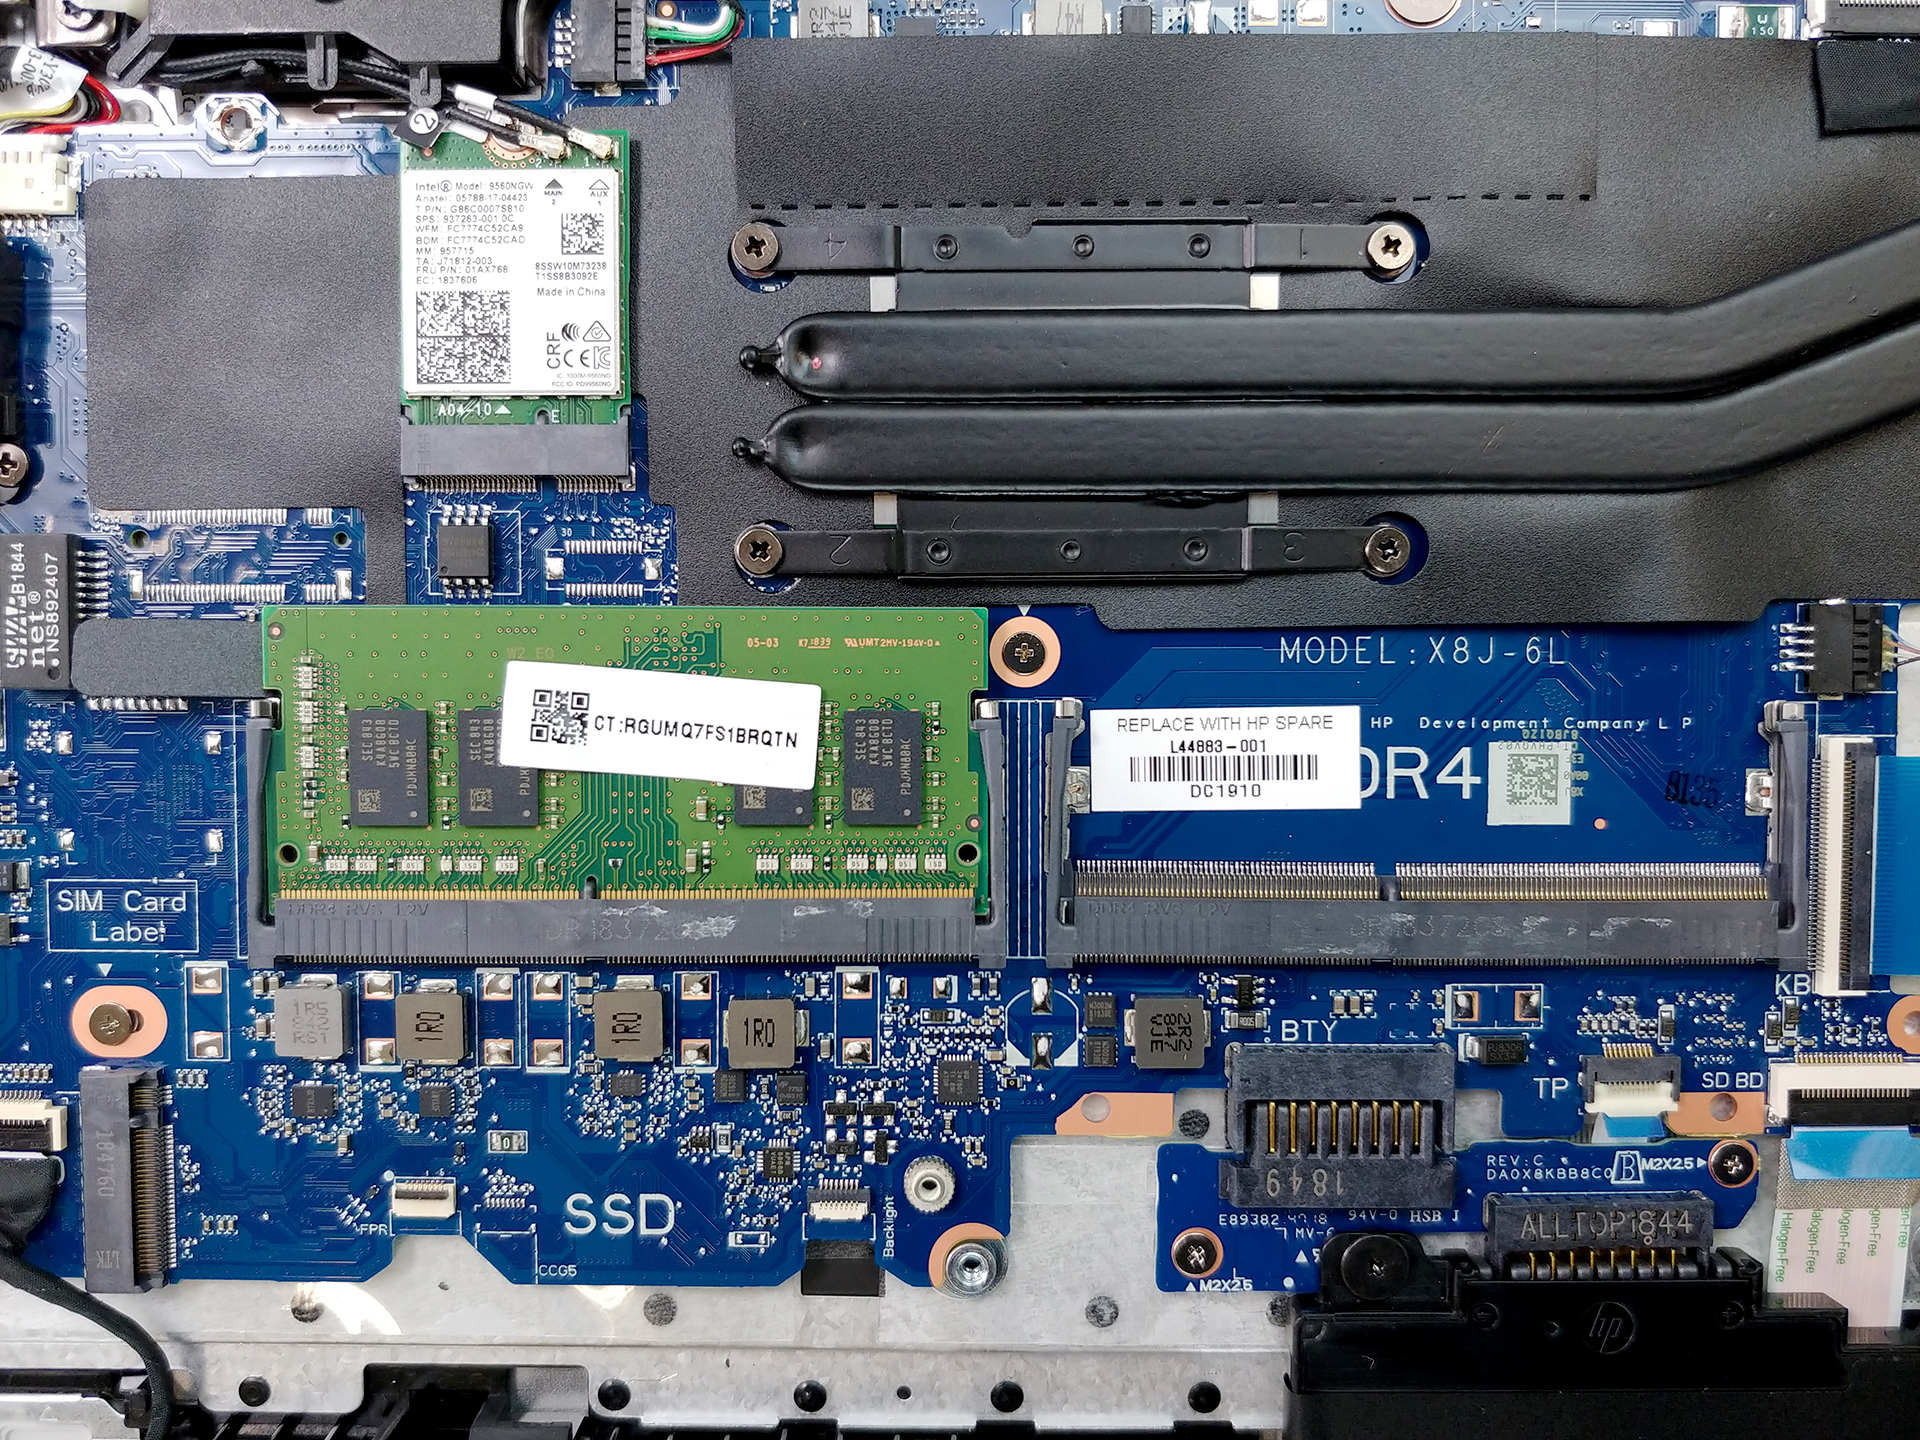
3. Memory and storage
Memory-wise, there are two RAM DIMMs, covered by a plastic protective sleeve. Again, the type of memory is DDR4 with a maximum speed of 2667 MHz and topping at 32 GB. Its storage options include an M.2 slot with NVMe support and a SATA connector, just on the left to the battery.

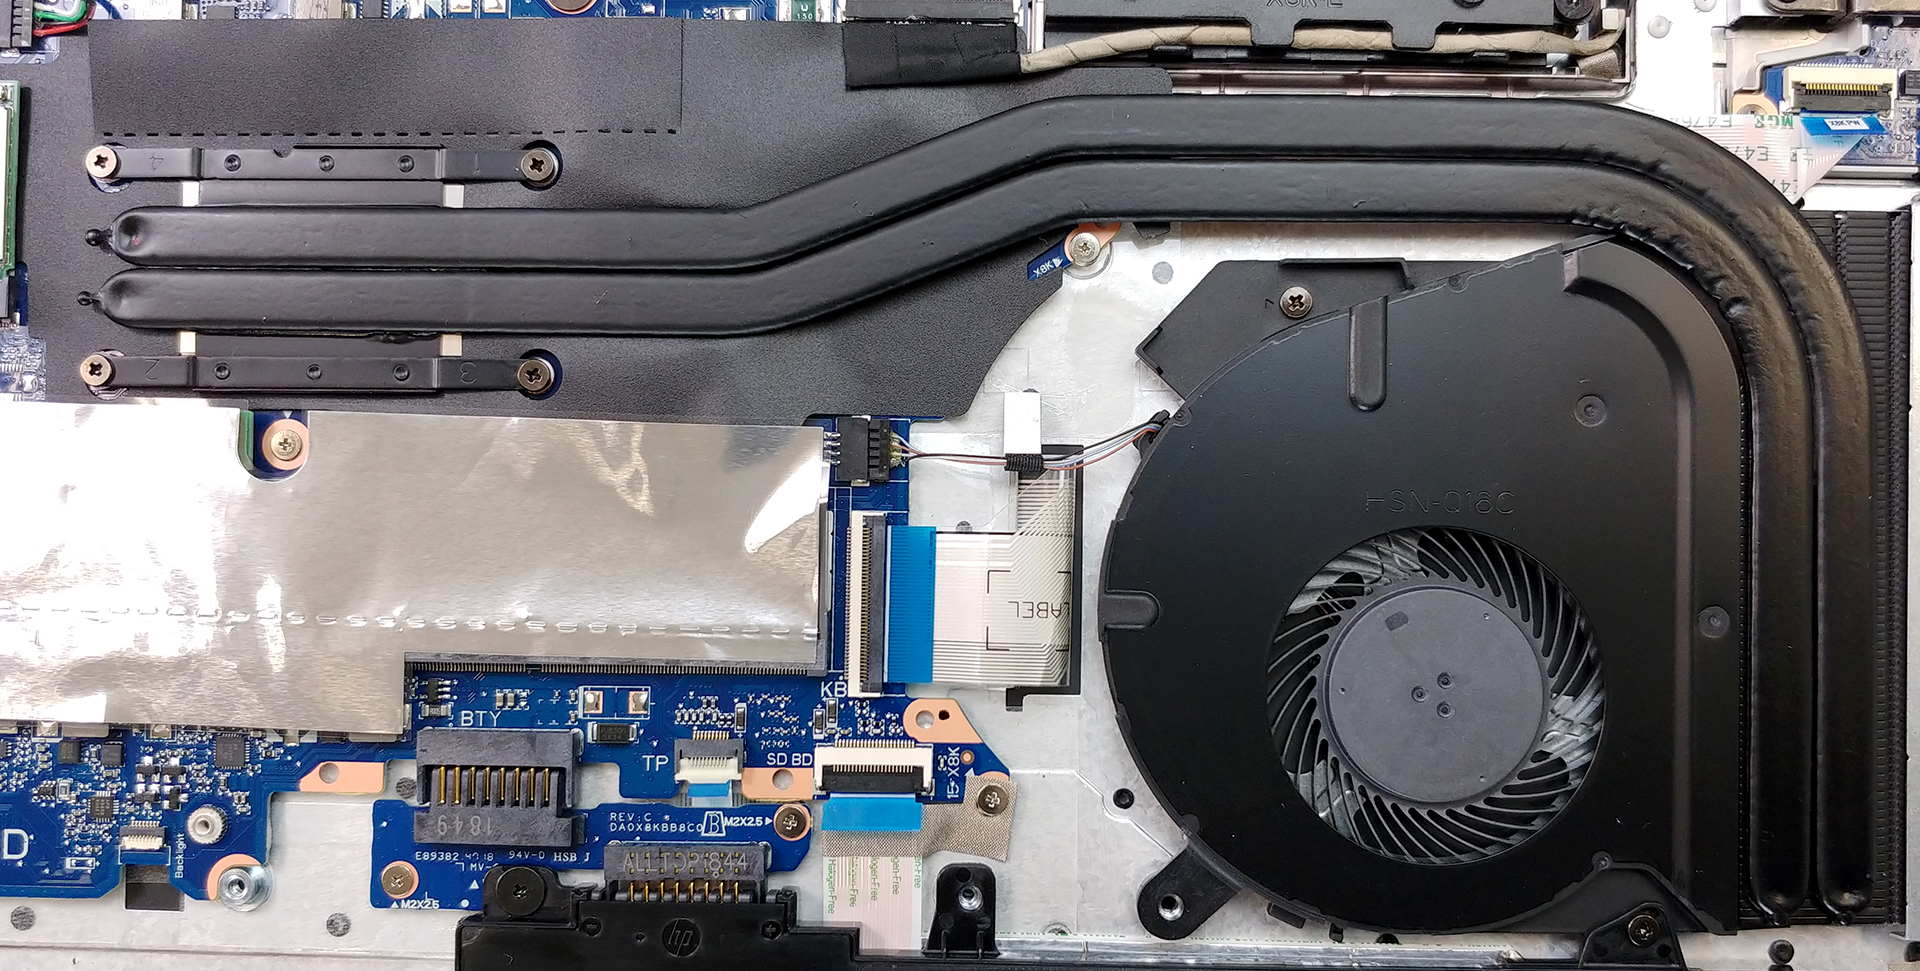
4. Cooling system
There are two heat pipes running directly from the CPU towards the heatsink. We should note that the heat pipes are extremely long, running almost through 70% of the length of the laptop, and then making a sharp 90-degree turn.
Check out all HP ProBook 450 G6 prices and configurations in our Specs System or read more in our In-Depth review.


![[June 2026] Best-Selling Laptop Brands on Amazon Global – Apple’s Unrivaled Dominance in Units and Revenue](https://laptopmedia.com/wp-content/uploads/2026/07/GLOBAL-Best-Brands-400x225.jpg)
![[June 2026] Amazon Global: Top 10 Best-Selling Laptops – Apple’s New MacBook Neo Storms to #1, Reshaping the Market with Affordability](https://laptopmedia.com/wp-content/uploads/2026/07/Best-Selling-Laptops-GLOBAL-Top-10-400x225.jpg)
![[June 2026] Amazon Global: Top 10 Best-Selling Gaming Laptops – Acer’s Nitro V 16S AI Dominates Sales, While ASUS Leads Overall Revenue](https://laptopmedia.com/wp-content/uploads/2026/07/Best-Selling-Gaming-Laptops-GLOBAL-Top-10-400x225.jpg)
![[June 2026] Global Ranking of Best-Selling Laptop GPUs on Amazon – NVIDIA RTX 5060 is the Top-Selling Dedicated GPU](https://laptopmedia.com/wp-content/uploads/2026/07/Best-Selling-GPUs-GLOBAL-Top-10-400x225.jpg)
![[June 2026] Global Ranking of Best-Selling Laptop CPUs on Amazon – Apple M5 Dominates, AMD Ryzen 7 260 Gets Solid Premium Share](https://laptopmedia.com/wp-content/uploads/2026/07/Best-Selling-CPUs-GLOBAL-Top-10-400x225.jpg)
