Inside Lenovo Ideapad V110 – disassembly, internal photos and upgrade options
The disassembly of the notebook is pretty easy and doesn’t require the keyboard to be removed like in other similarly built models.
You can find some of the available models here: http://amzn.to/2msRH2h
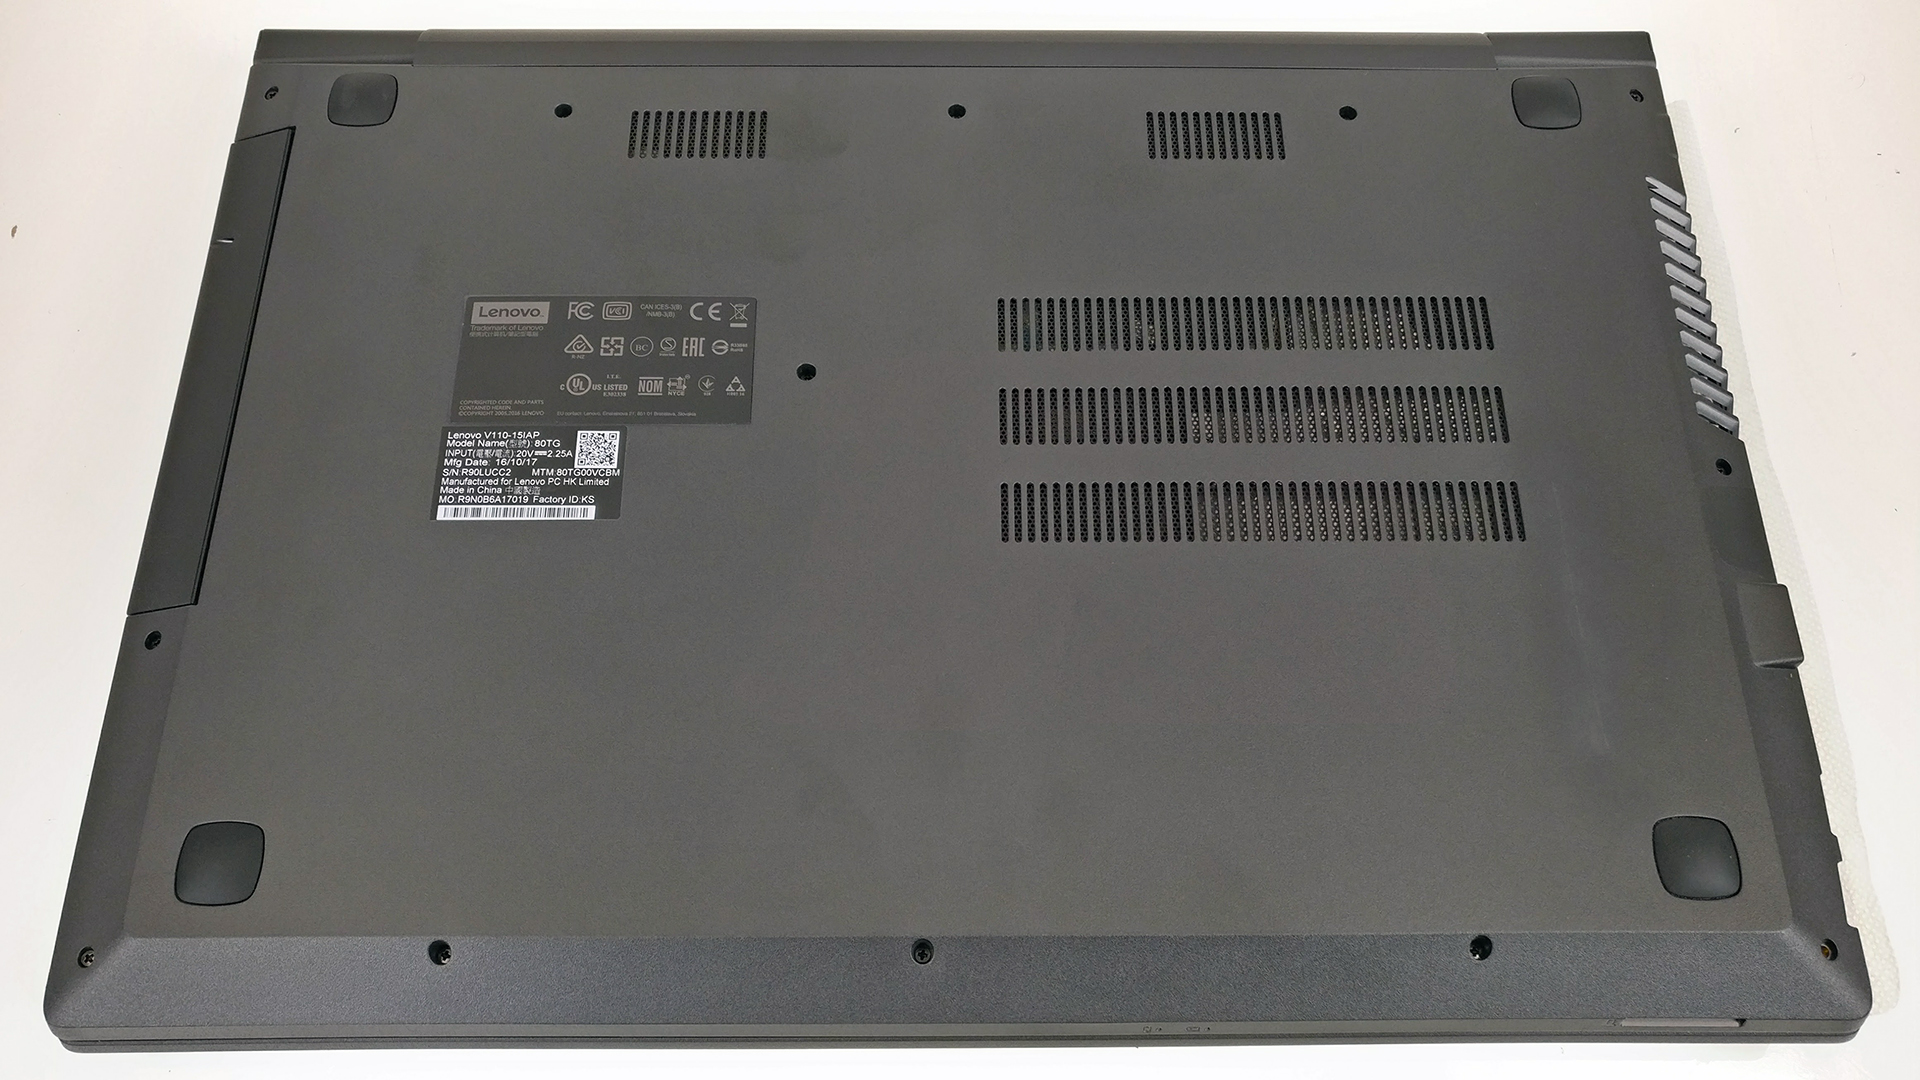
1. Removing the backplate
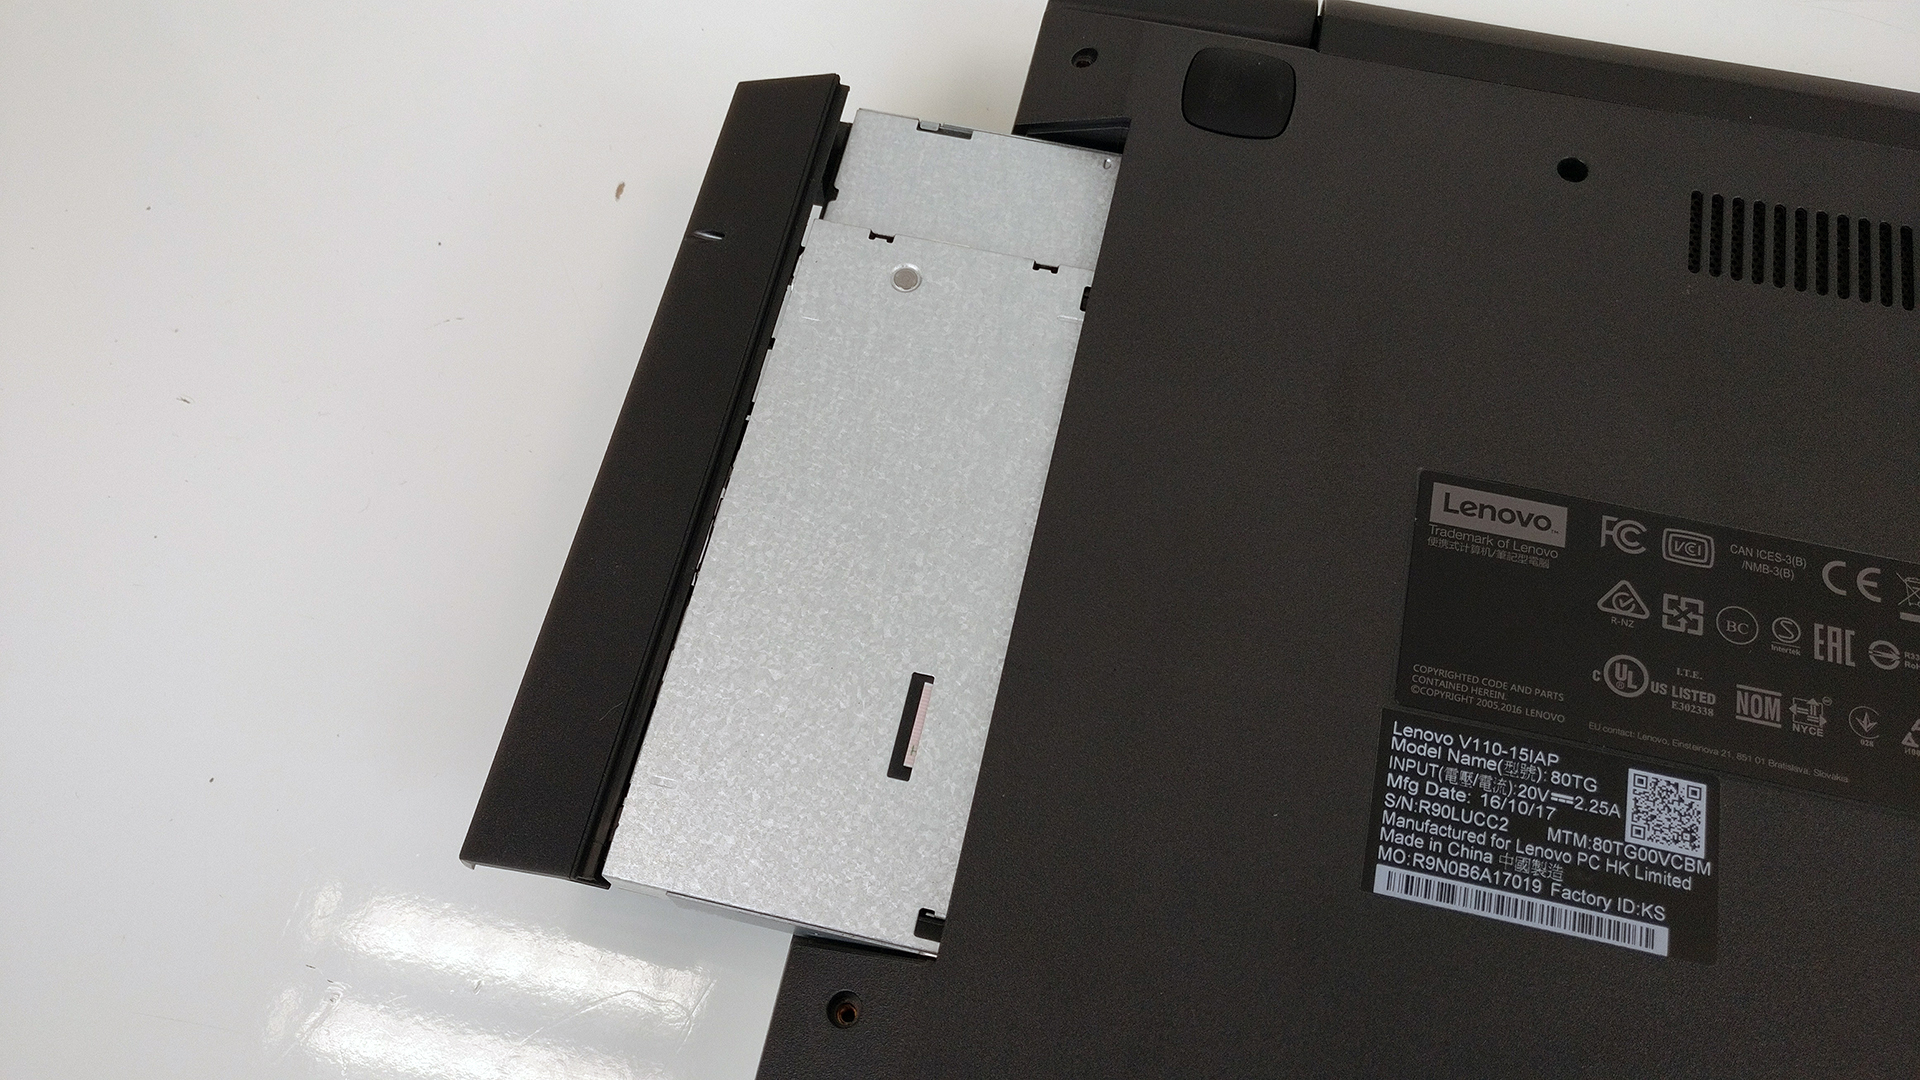
The backplate can be easily removed by removing all the screws around the edges and then getting out the optical drive with a gentle pull as shown in the photos below.

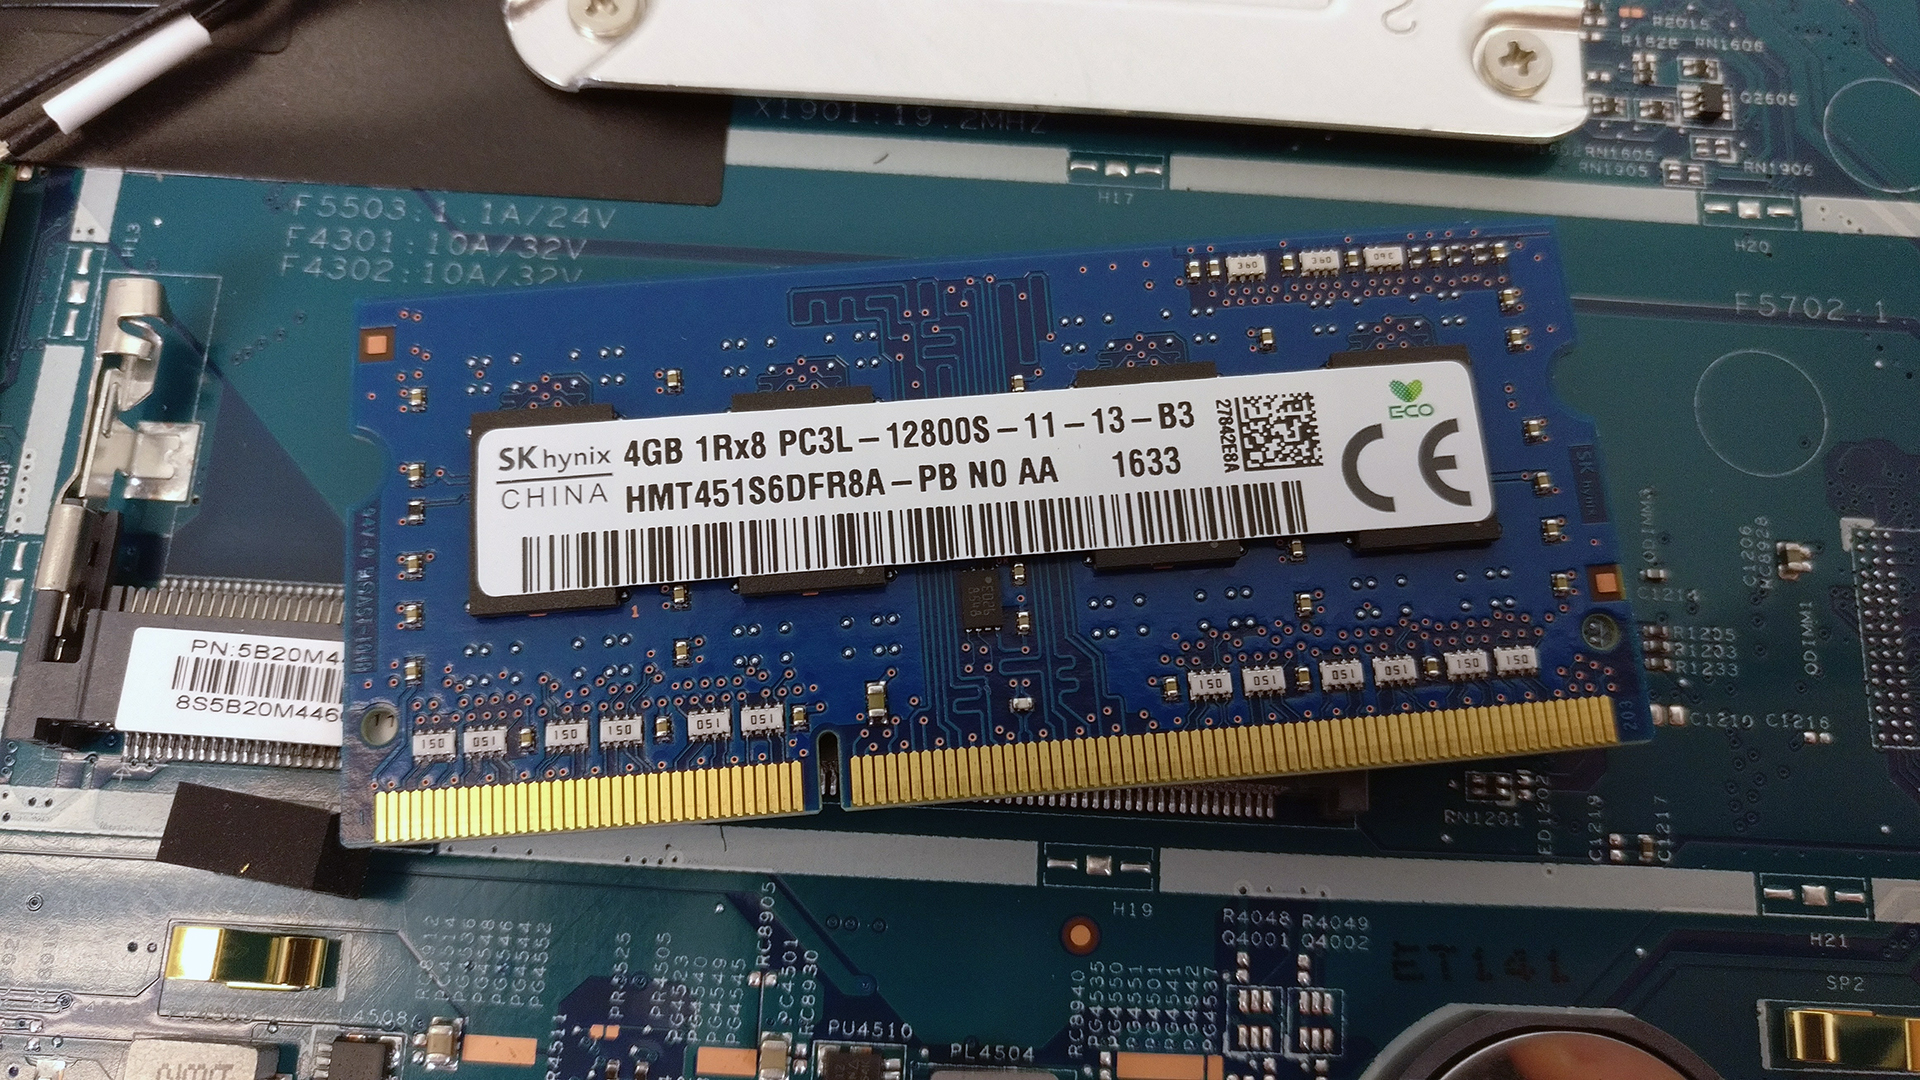
2. Storage and RAM
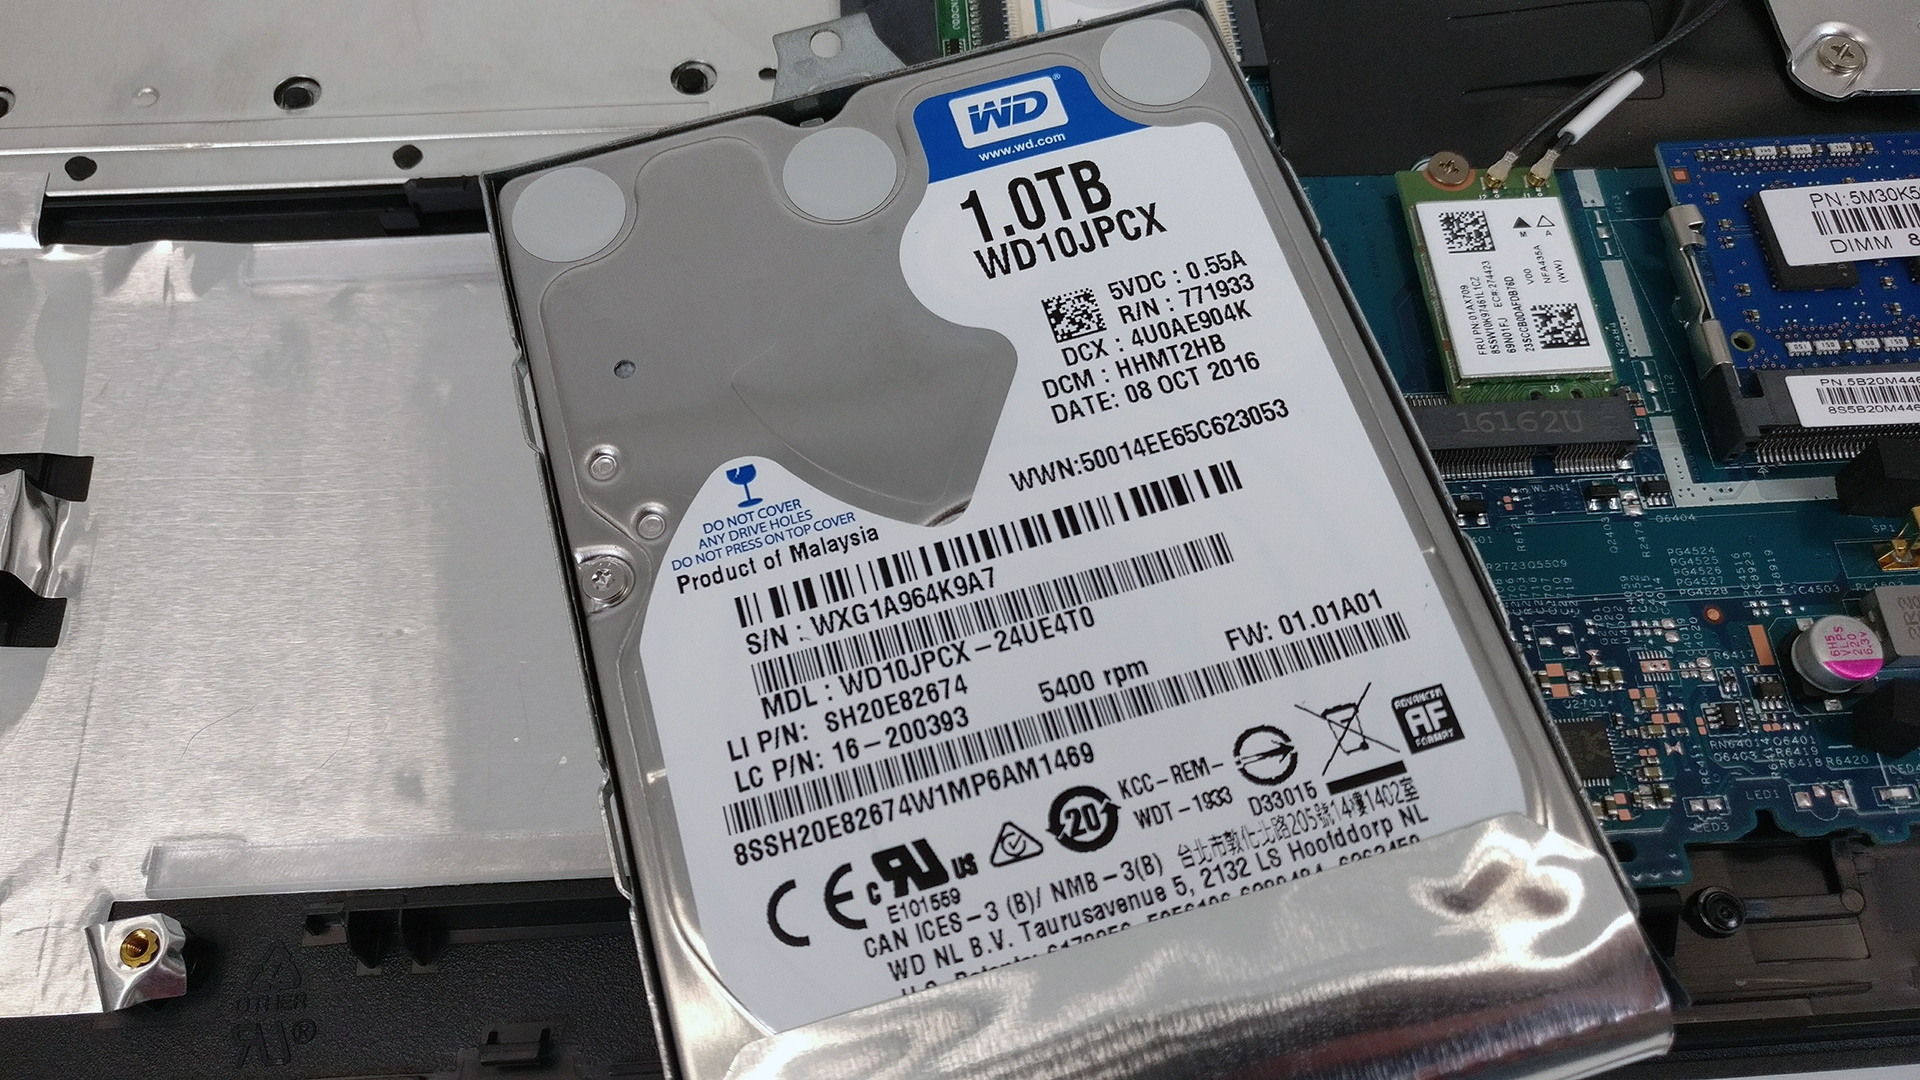
As expected, the laptop has only one 2.5-inch HDD but if that’s not enough for you, the optical drive can be swapped for a caddy with a second drive. Anyway, our unit came with a WD Blue with 1TB capacity spinning at 5400 rpm.
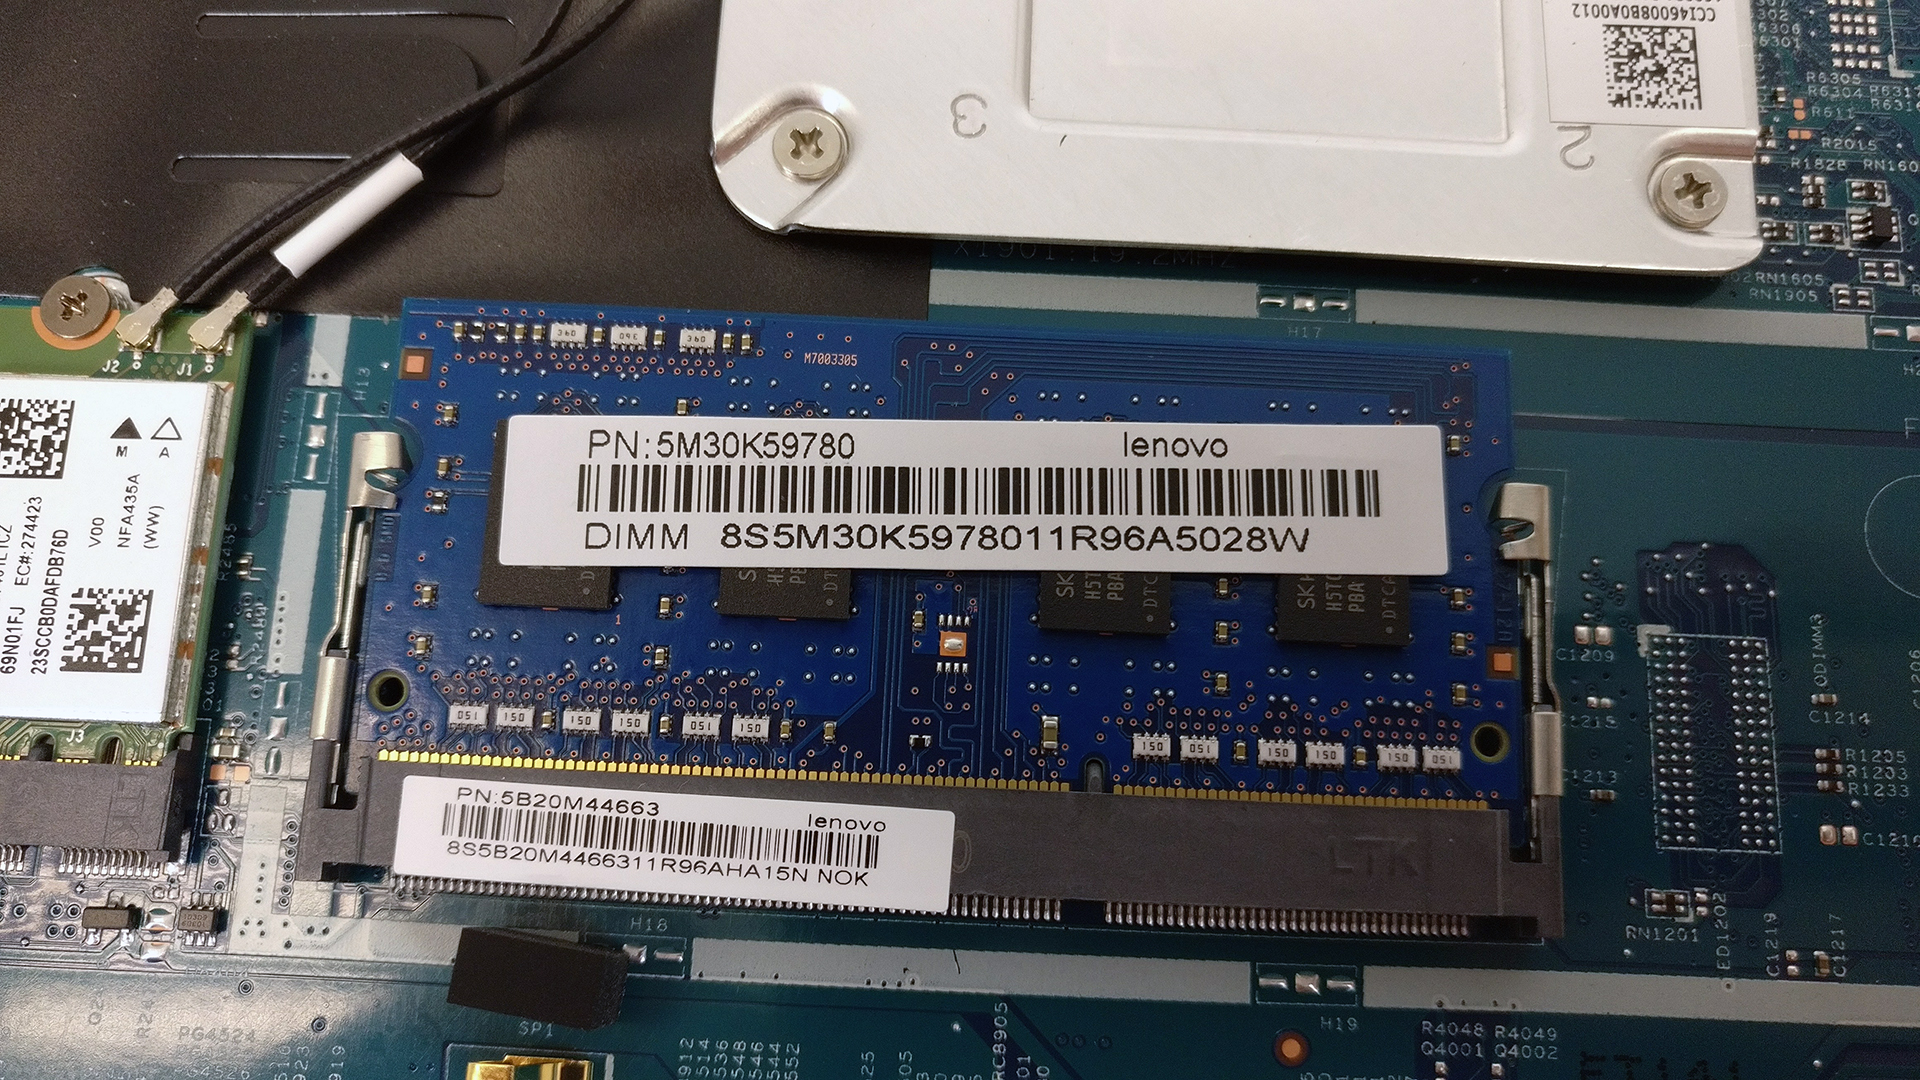
And as for the RAM slots, there’s only one. In our case, it’s taken by a 4GB SK Hynix 4GB DDR3L-1600 unit.
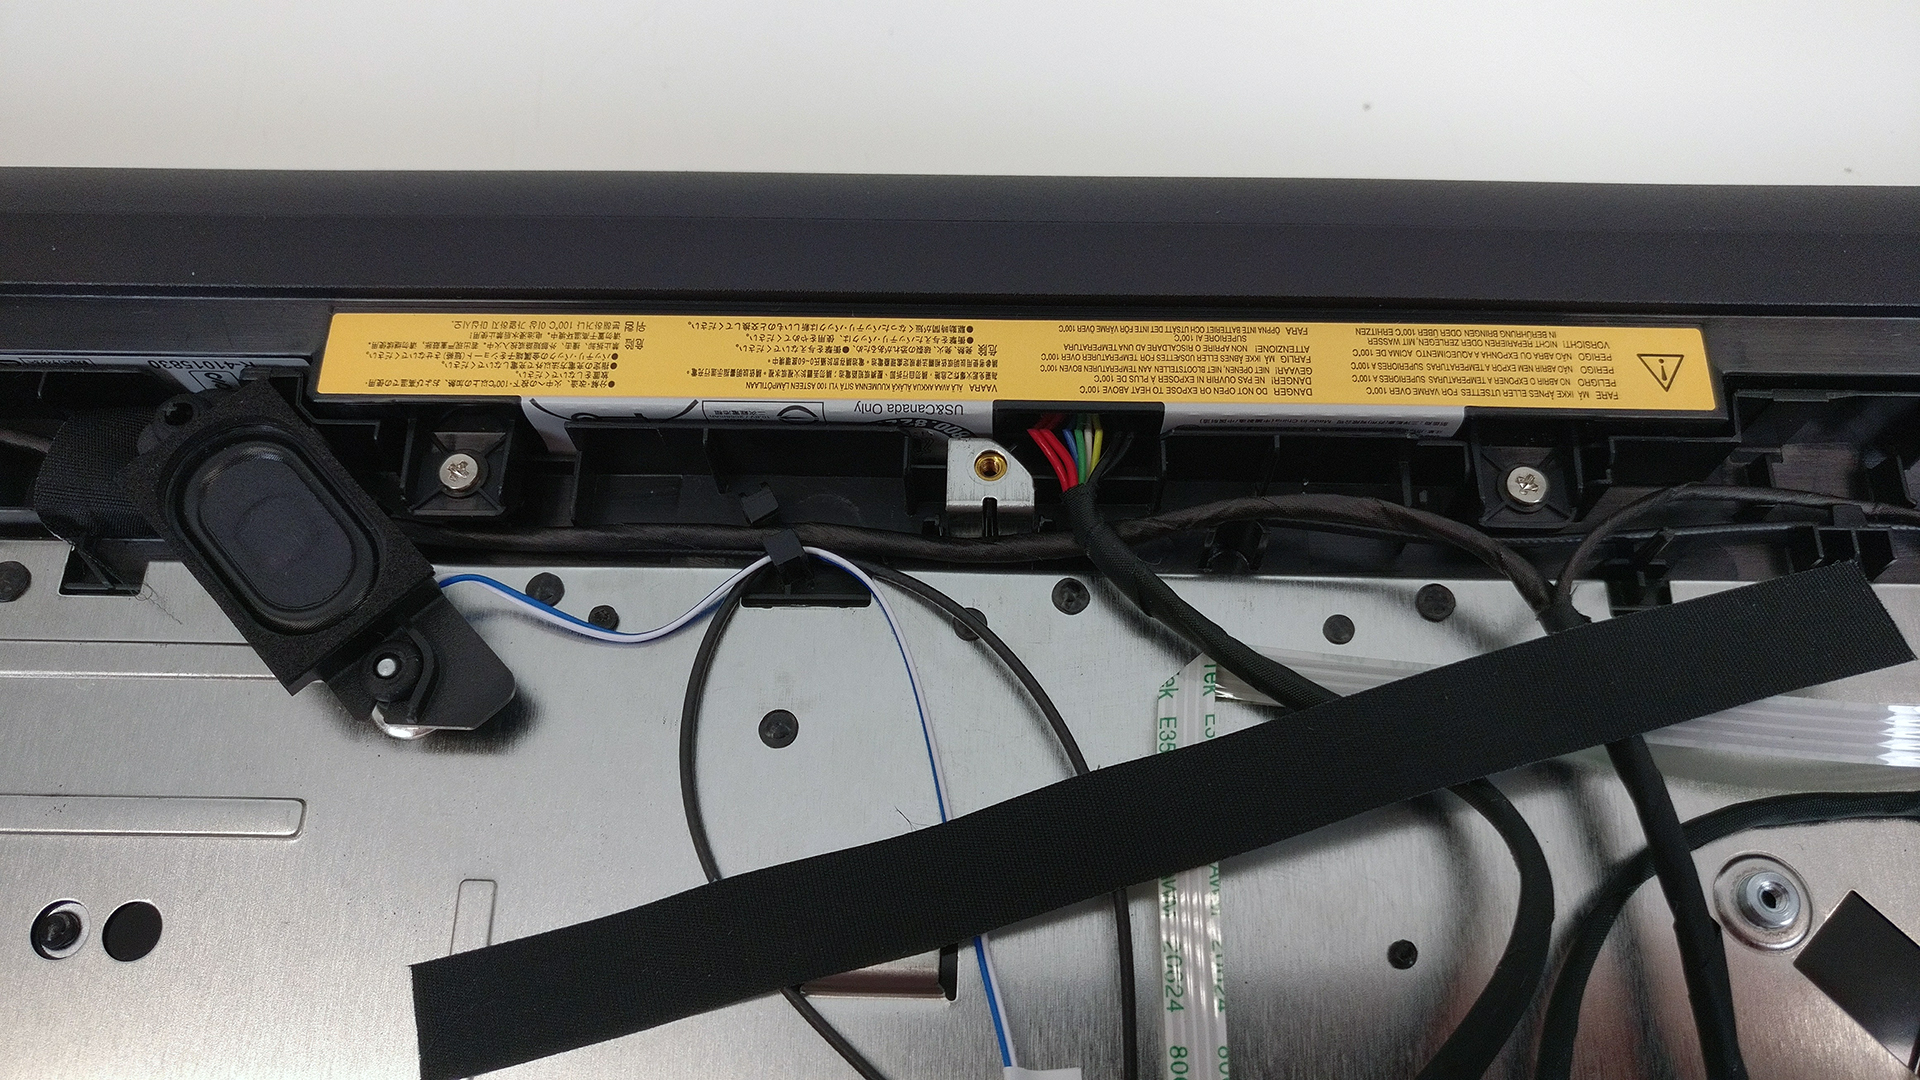
3. Wi-Fi card and battery
The Wi-Fi card is located right next to the RAM chip…

…while the battery is held by a couple of screws between the screen hinges. The unit is rated at 24Wh.
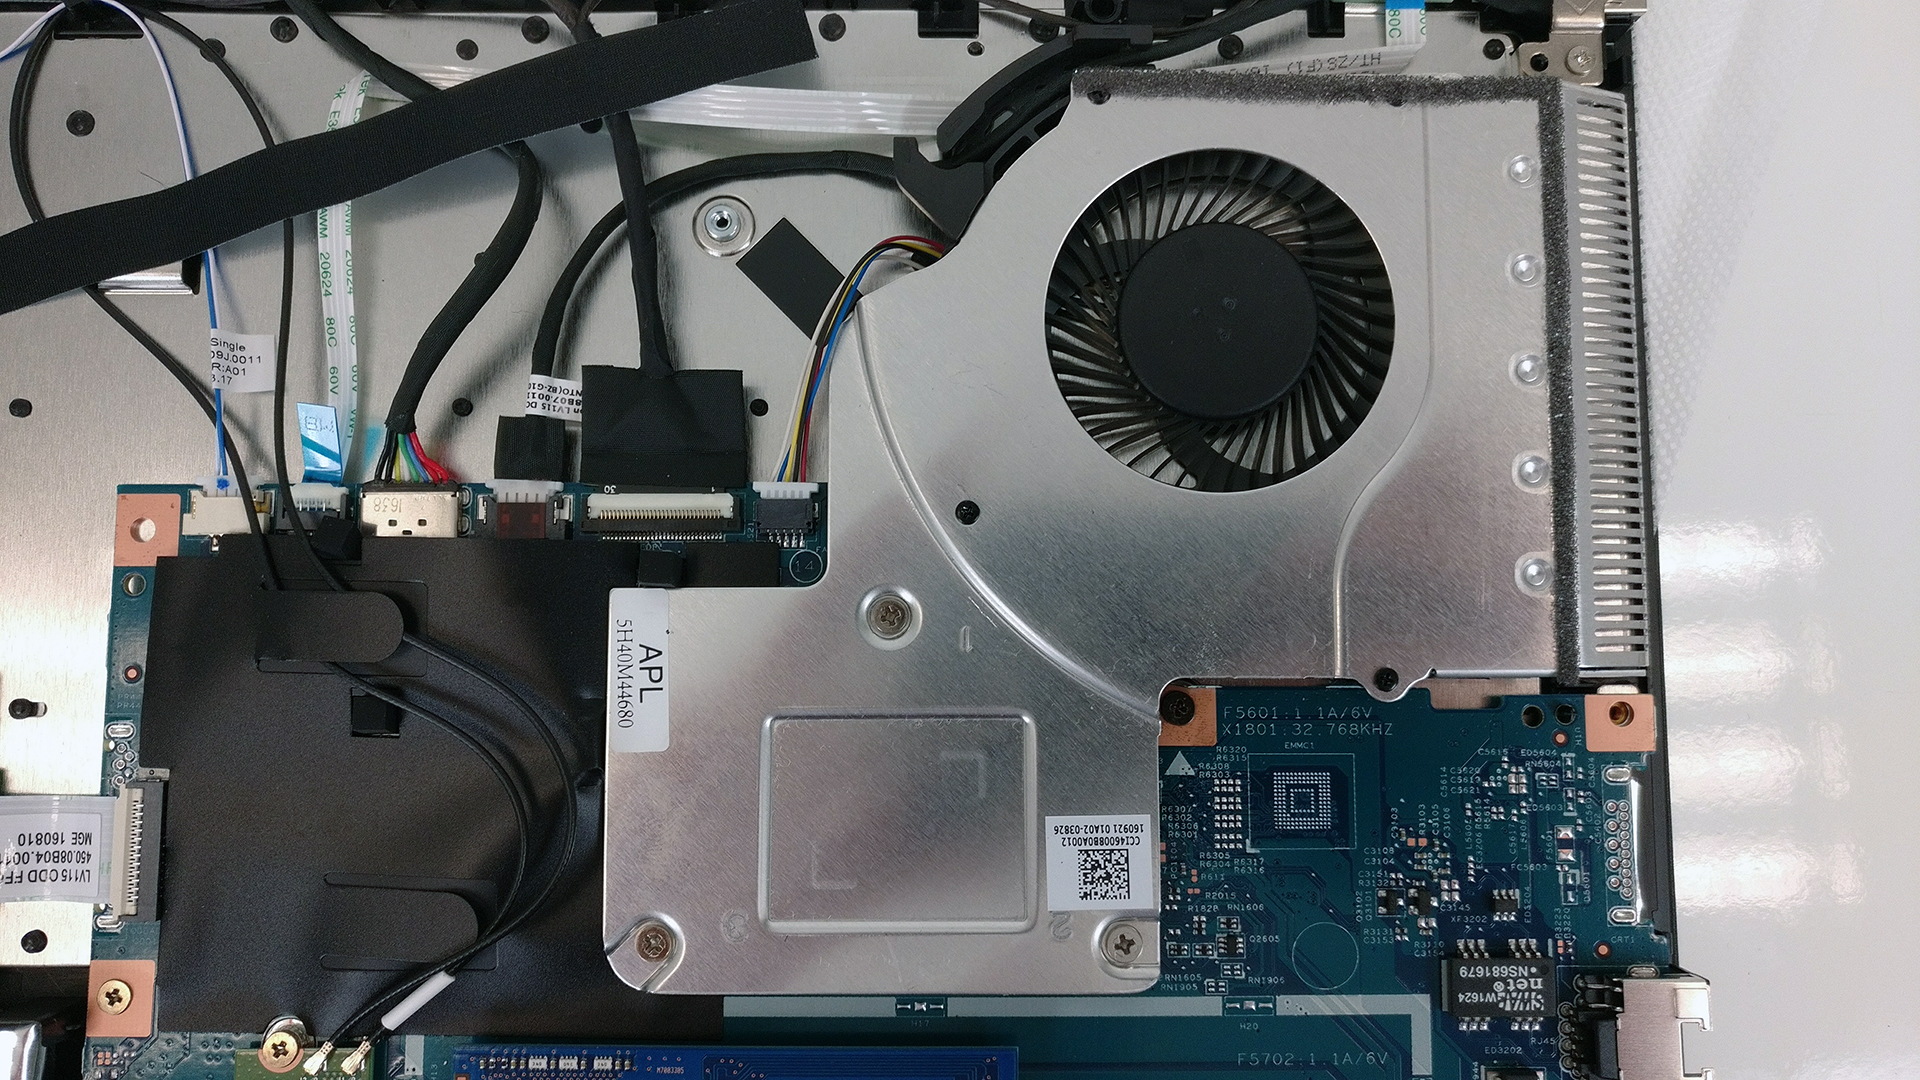
4. Cooling system
The cooling design is simple as it gets – a big metal plate for dispersing the heat and a small fan placed on the side of the notebook pushing the hot air out.
You can find some of the available models here: http://amzn.to/2msRH2h
You can read the full review of the Lenovo Ideapad V110 here.


![[June 2026] Best-Selling Laptop Brands on Amazon Global – Apple’s Unrivaled Dominance in Units and Revenue](https://laptopmedia.com/wp-content/uploads/2026/07/GLOBAL-Best-Brands-400x225.jpg)
![[June 2026] Amazon Global: Top 10 Best-Selling Laptops – Apple’s New MacBook Neo Storms to #1, Reshaping the Market with Affordability](https://laptopmedia.com/wp-content/uploads/2026/07/Best-Selling-Laptops-GLOBAL-Top-10-400x225.jpg)
![[June 2026] Amazon Global: Top 10 Best-Selling Gaming Laptops – Acer’s Nitro V 16S AI Dominates Sales, While ASUS Leads Overall Revenue](https://laptopmedia.com/wp-content/uploads/2026/07/Best-Selling-Gaming-Laptops-GLOBAL-Top-10-400x225.jpg)
![[June 2026] Global Ranking of Best-Selling Laptop GPUs on Amazon – NVIDIA RTX 5060 is the Top-Selling Dedicated GPU](https://laptopmedia.com/wp-content/uploads/2026/07/Best-Selling-GPUs-GLOBAL-Top-10-400x225.jpg)
![[June 2026] Global Ranking of Best-Selling Laptop CPUs on Amazon – Apple M5 Dominates, AMD Ryzen 7 260 Gets Solid Premium Share](https://laptopmedia.com/wp-content/uploads/2026/07/Best-Selling-CPUs-GLOBAL-Top-10-400x225.jpg)
