Inside Lenovo ThinkPad L590 – disassembly and upgrade options
Stuff like a spill-resistant keyboard, wide I/O selection, and a reasonable price tag may be good enough for you to buy this notebook. However, keep in mind that its body is made entirely out of plastic and has no Thunderbolt connectivity.
Check out all Lenovo ThinkPad L590 prices and configurations in our Specs System or read more in our In-Depth review.
1. Remove the bottom plate
Getting inside this laptop requires the unscrewing of its nine Phillips-head screws. The good thing about it is that Lenovo designed the laptop in such a way, that they stay attached to the bottom panel.
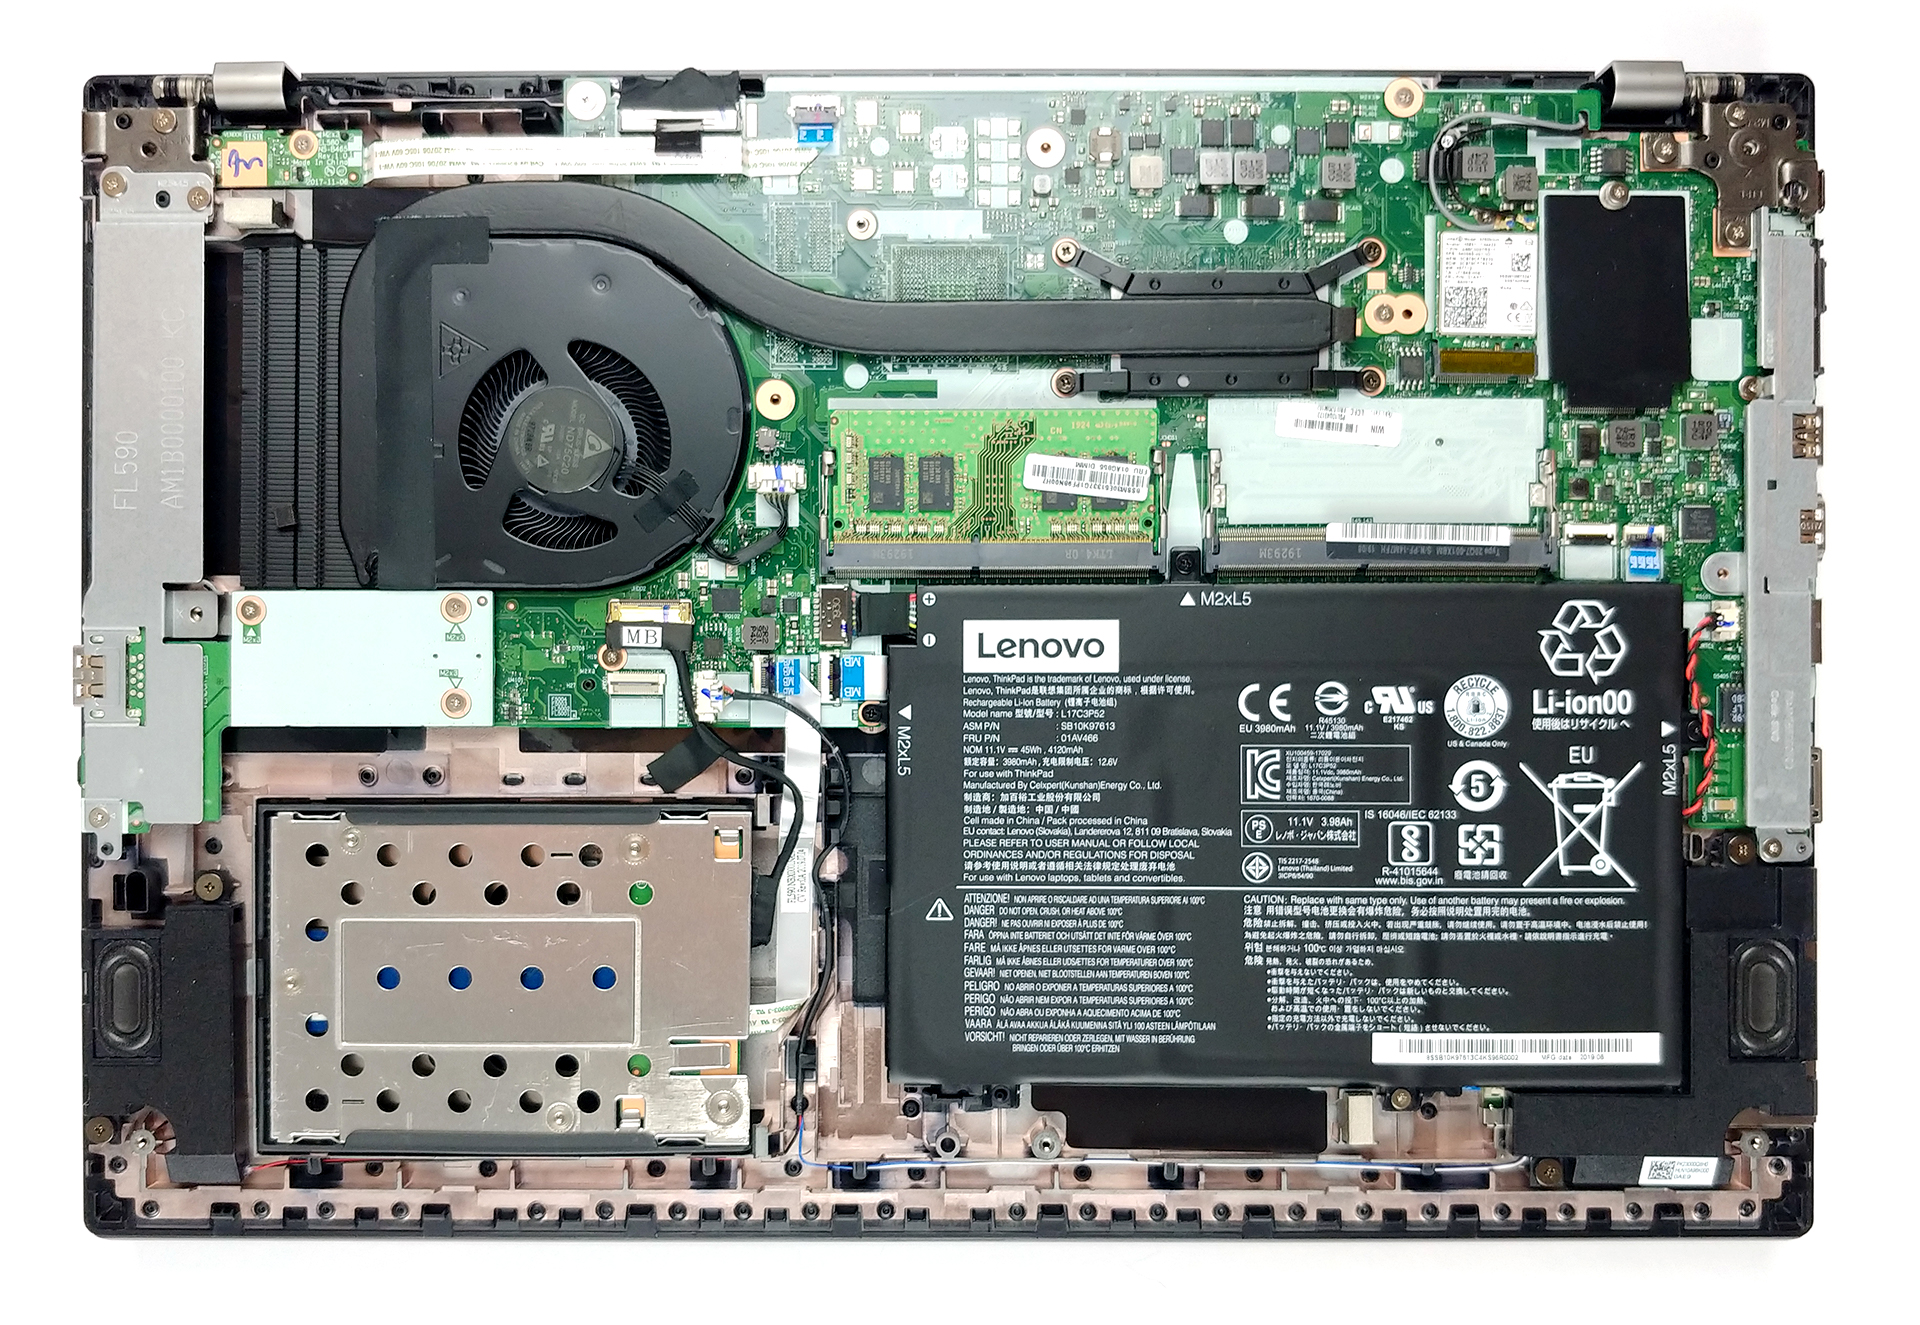
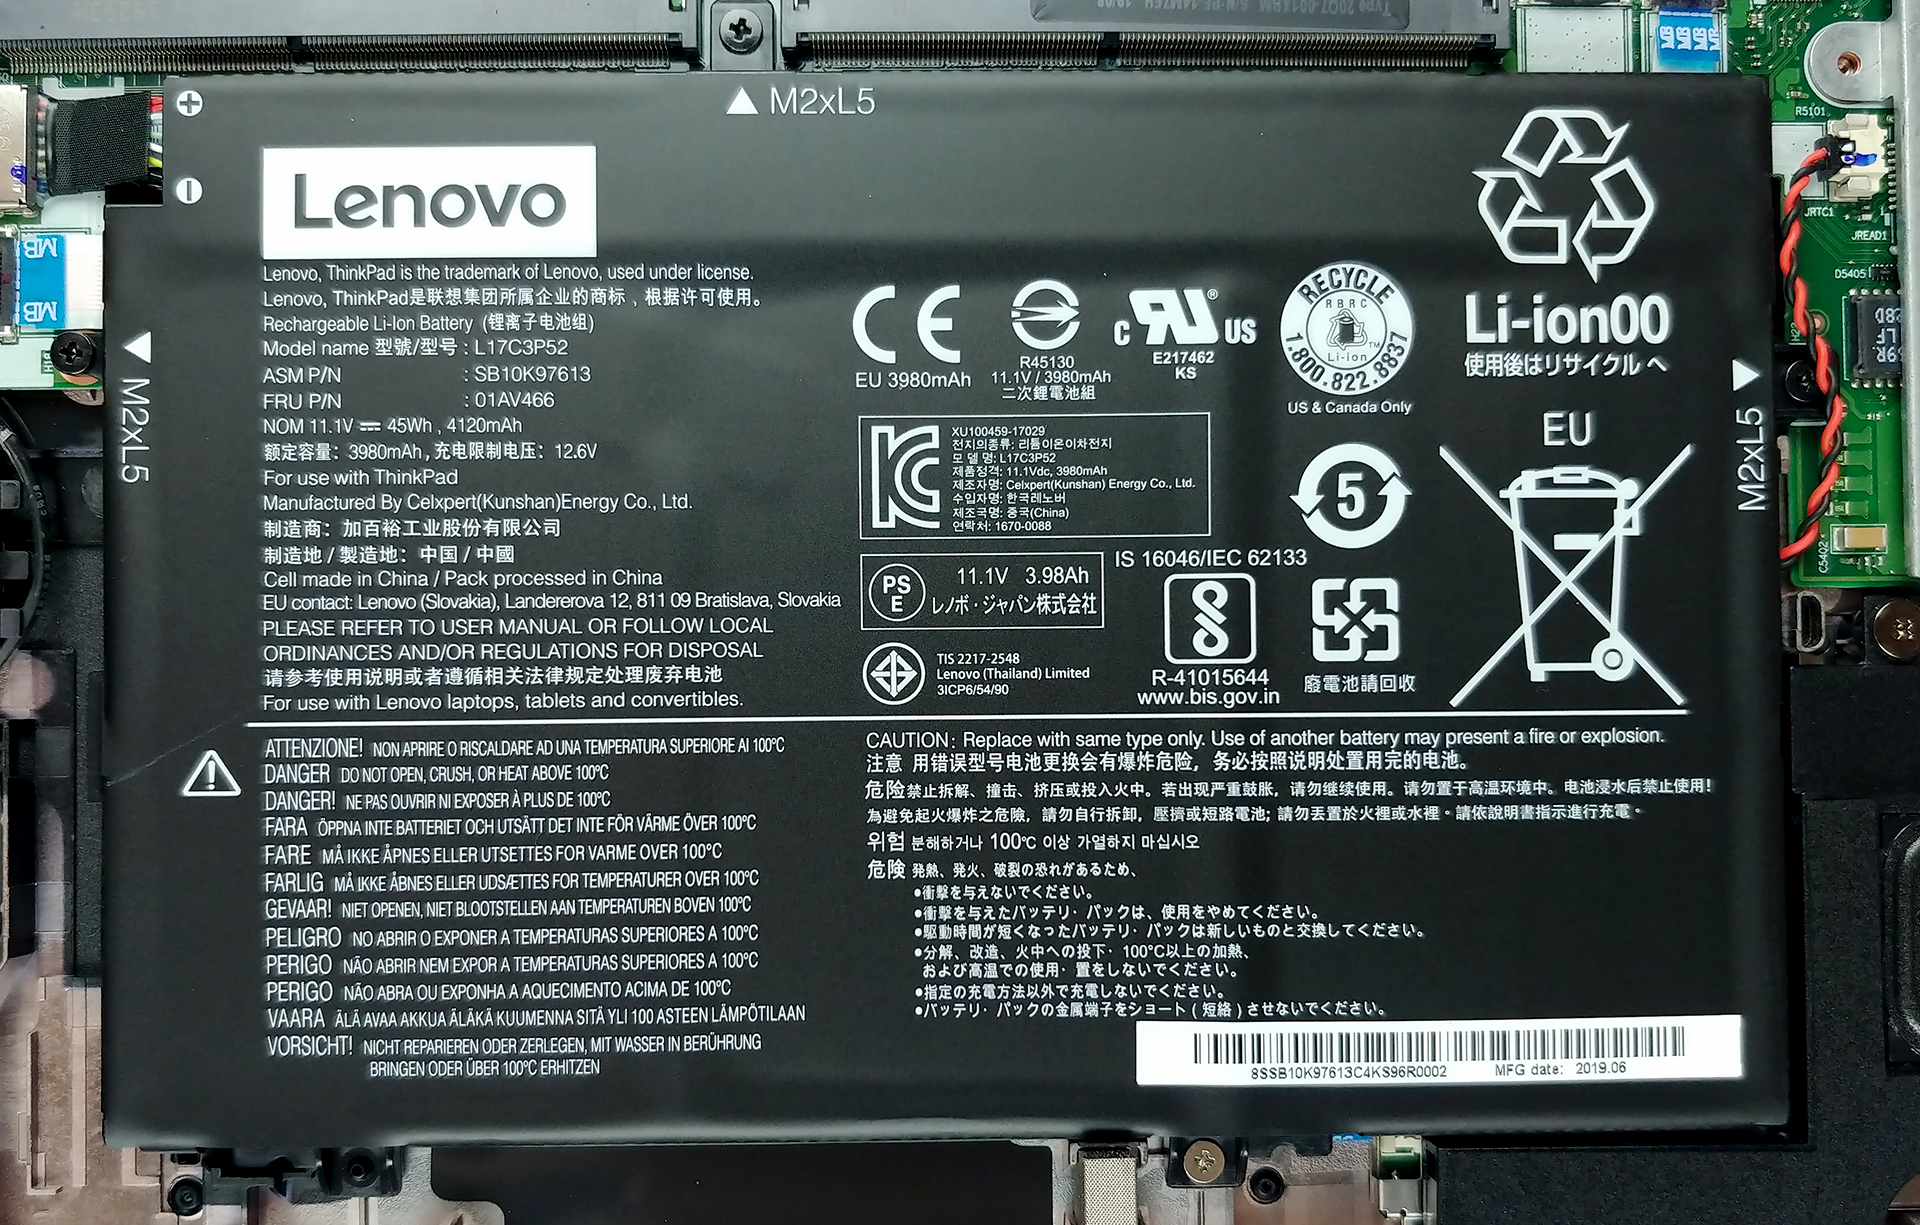
2. Battery
Despite the modest 45Wh capacity, we found out that the battery life on this device is more than acceptable. Should you need to change it, there are three marked Phillips-head screws that keep it in place.
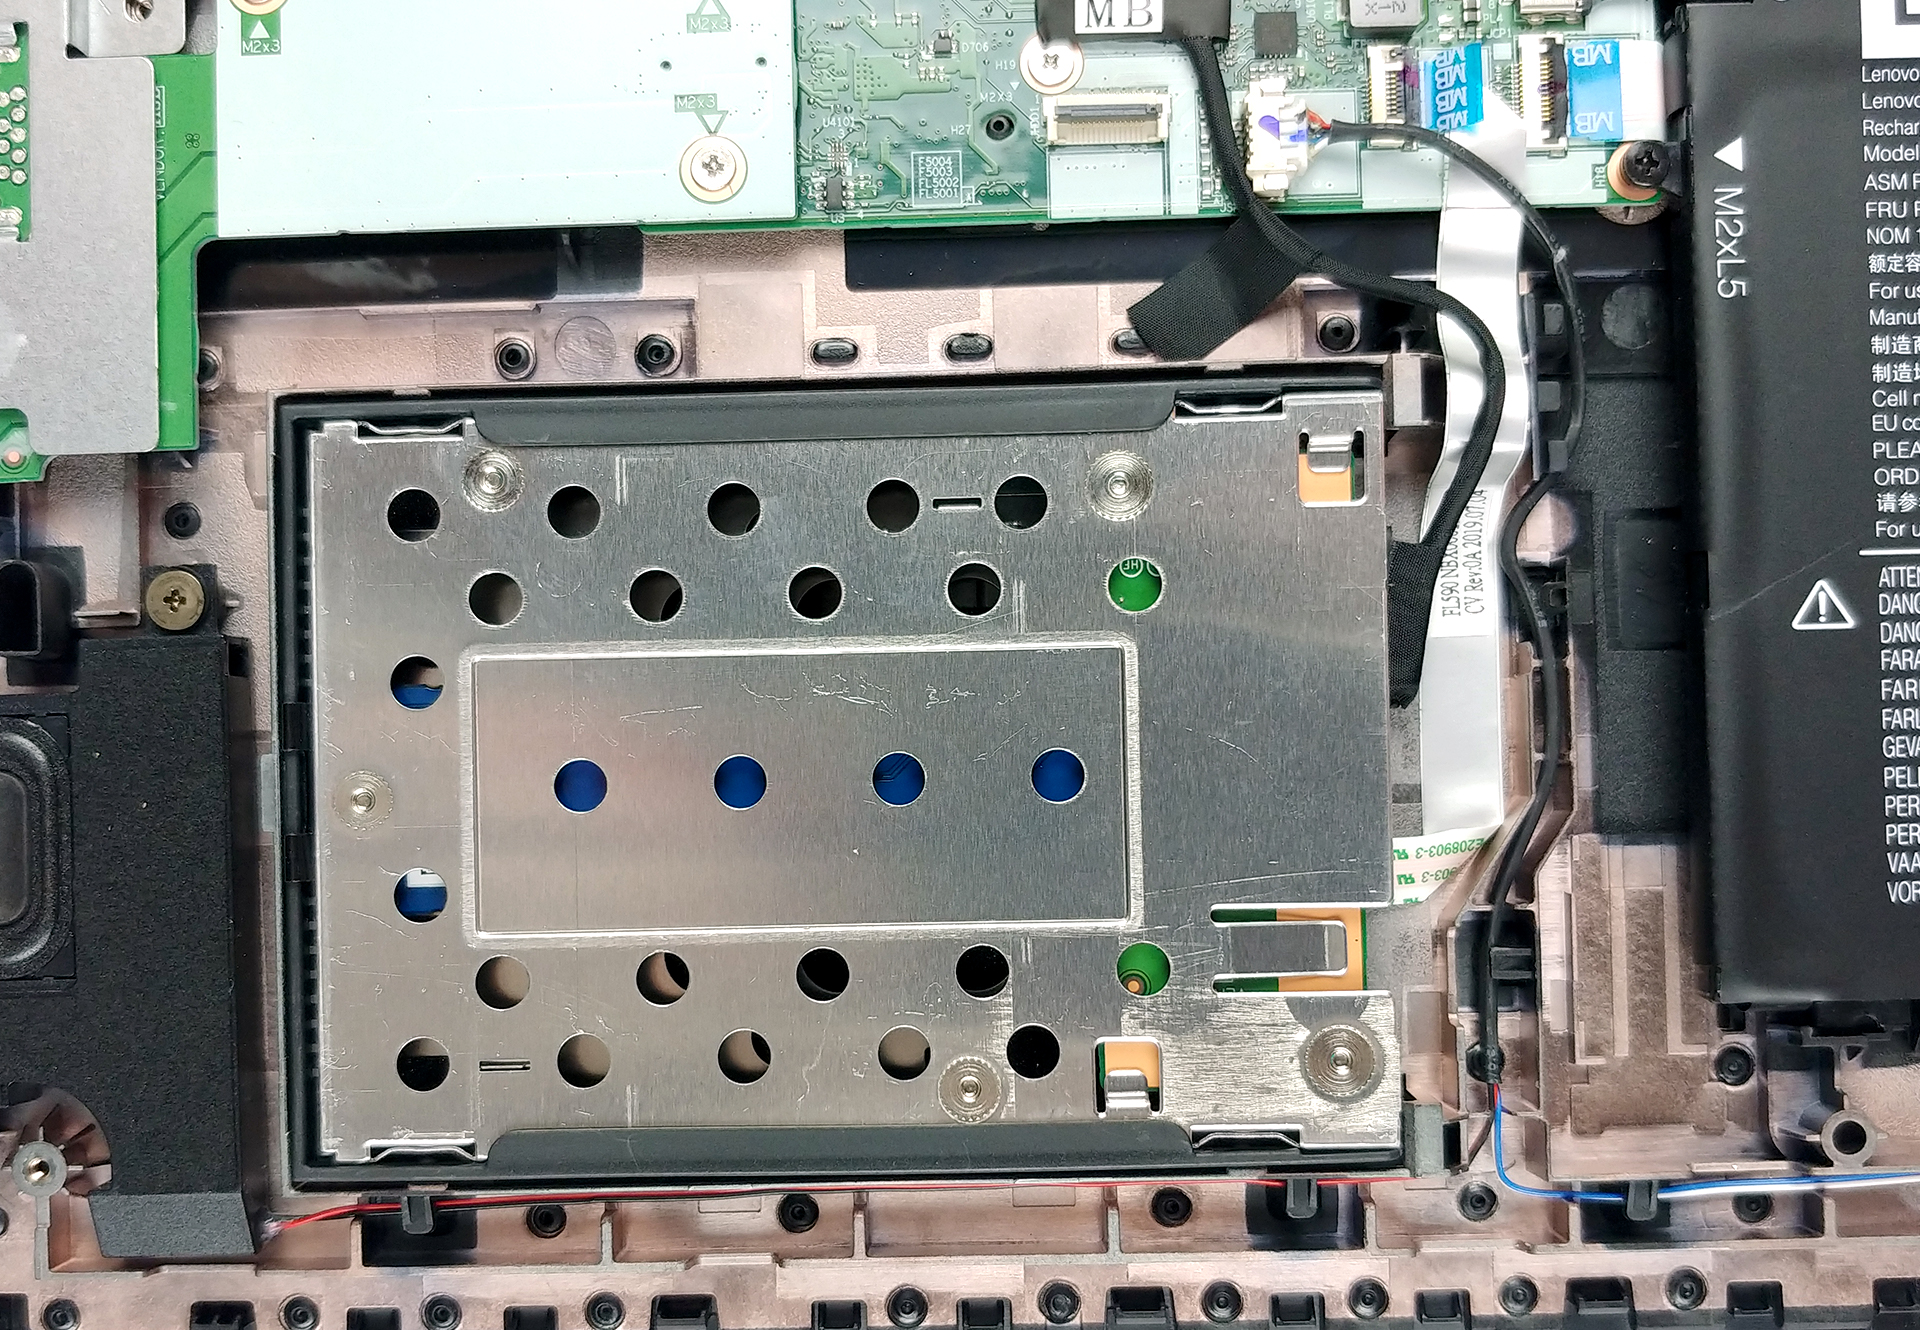
3. Memory and storage
Thankfully, Lenovo provides you with two RAM DIMMs that support up to 32GB of DDR4 memory. As of the storage – well, our unit had an M.2 SSD that is mounted inside of the 2.5″ drive tray. If you need to switch it for a SATA disk you need to get rid of the M.2 device… or it just seems like that.
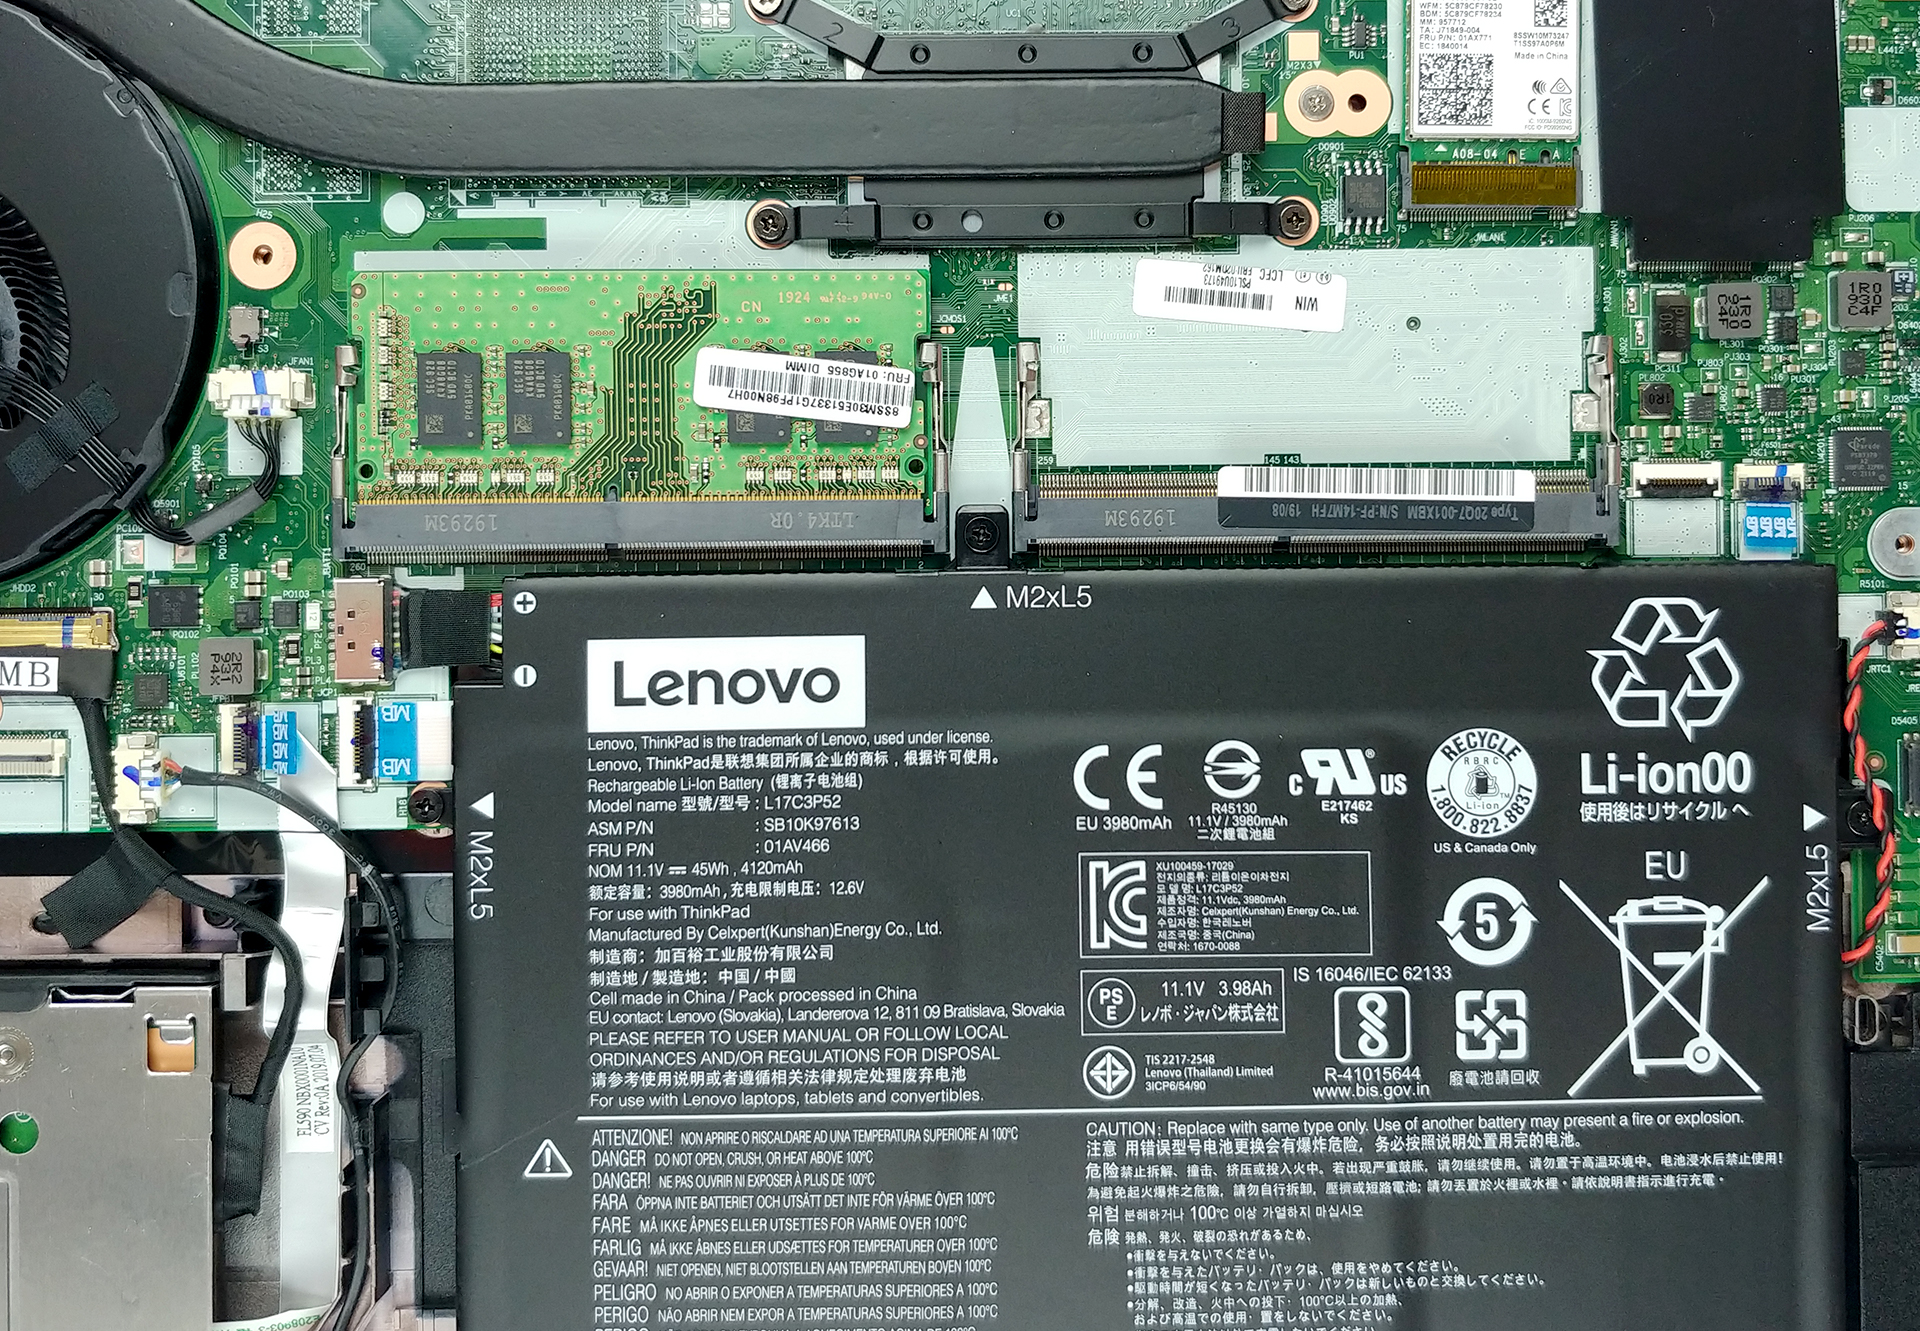
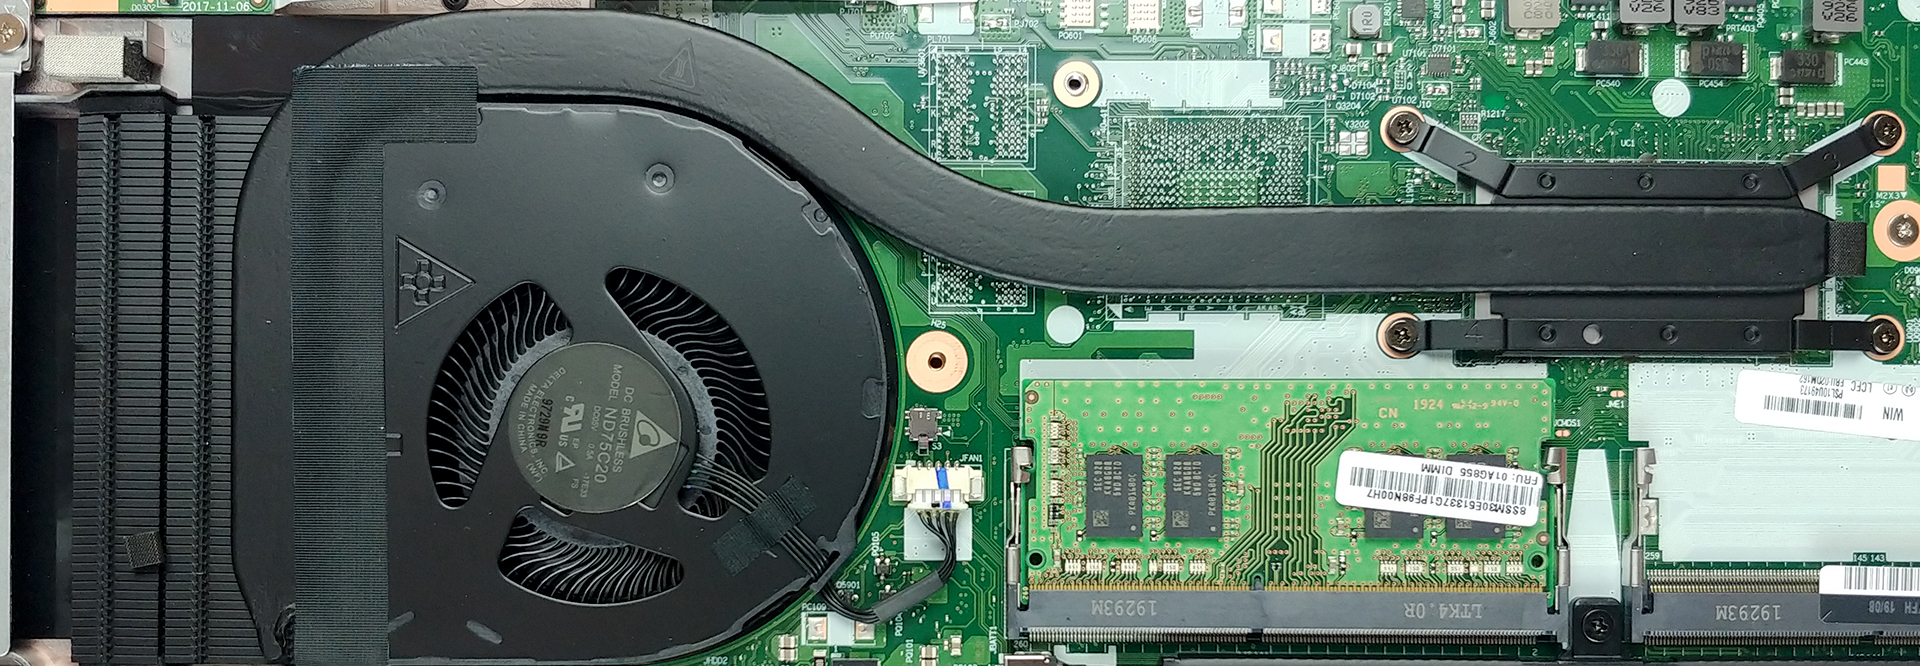
4. Cooling system
Expectedly, the cooling solution does not present anything interesting – just a single heat pipe that goes all the way around the fan, to help it push air from the side of the chassis.
Check out all Lenovo ThinkPad L590 prices and configurations in our Specs System or read more in our In-Depth review.


![[June 2026] Best-Selling Laptop Brands on Amazon Global – Apple’s Unrivaled Dominance in Units and Revenue](https://laptopmedia.com/wp-content/uploads/2026/07/GLOBAL-Best-Brands-400x225.jpg)
![[June 2026] Amazon Global: Top 10 Best-Selling Laptops – Apple’s New MacBook Neo Storms to #1, Reshaping the Market with Affordability](https://laptopmedia.com/wp-content/uploads/2026/07/Best-Selling-Laptops-GLOBAL-Top-10-400x225.jpg)
![[June 2026] Amazon Global: Top 10 Best-Selling Gaming Laptops – Acer’s Nitro V 16S AI Dominates Sales, While ASUS Leads Overall Revenue](https://laptopmedia.com/wp-content/uploads/2026/07/Best-Selling-Gaming-Laptops-GLOBAL-Top-10-400x225.jpg)
![[June 2026] Global Ranking of Best-Selling Laptop GPUs on Amazon – NVIDIA RTX 5060 is the Top-Selling Dedicated GPU](https://laptopmedia.com/wp-content/uploads/2026/07/Best-Selling-GPUs-GLOBAL-Top-10-400x225.jpg)
![[June 2026] Global Ranking of Best-Selling Laptop CPUs on Amazon – Apple M5 Dominates, AMD Ryzen 7 260 Gets Solid Premium Share](https://laptopmedia.com/wp-content/uploads/2026/07/Best-Selling-CPUs-GLOBAL-Top-10-400x225.jpg)
