Inside Lenovo ThinkPad P70 – disassembly, internal photos and upgrade options
Shortly after we spent some time with Lenovo’s heavy duty workstation, the ThinkPad P70, we were just unable to resist disassembling it. We weren’t disappointed. The notebook offers exceptionally easy access to all upgradeable hardware and a lot of configurations.
You can find the notebook’s price and configurations here: http://amzn.to/2b4gvo6
1. Service hatch
The service lid is held by several screws and can be easily removed without the need of any tools, except for a screwdriver, of course.
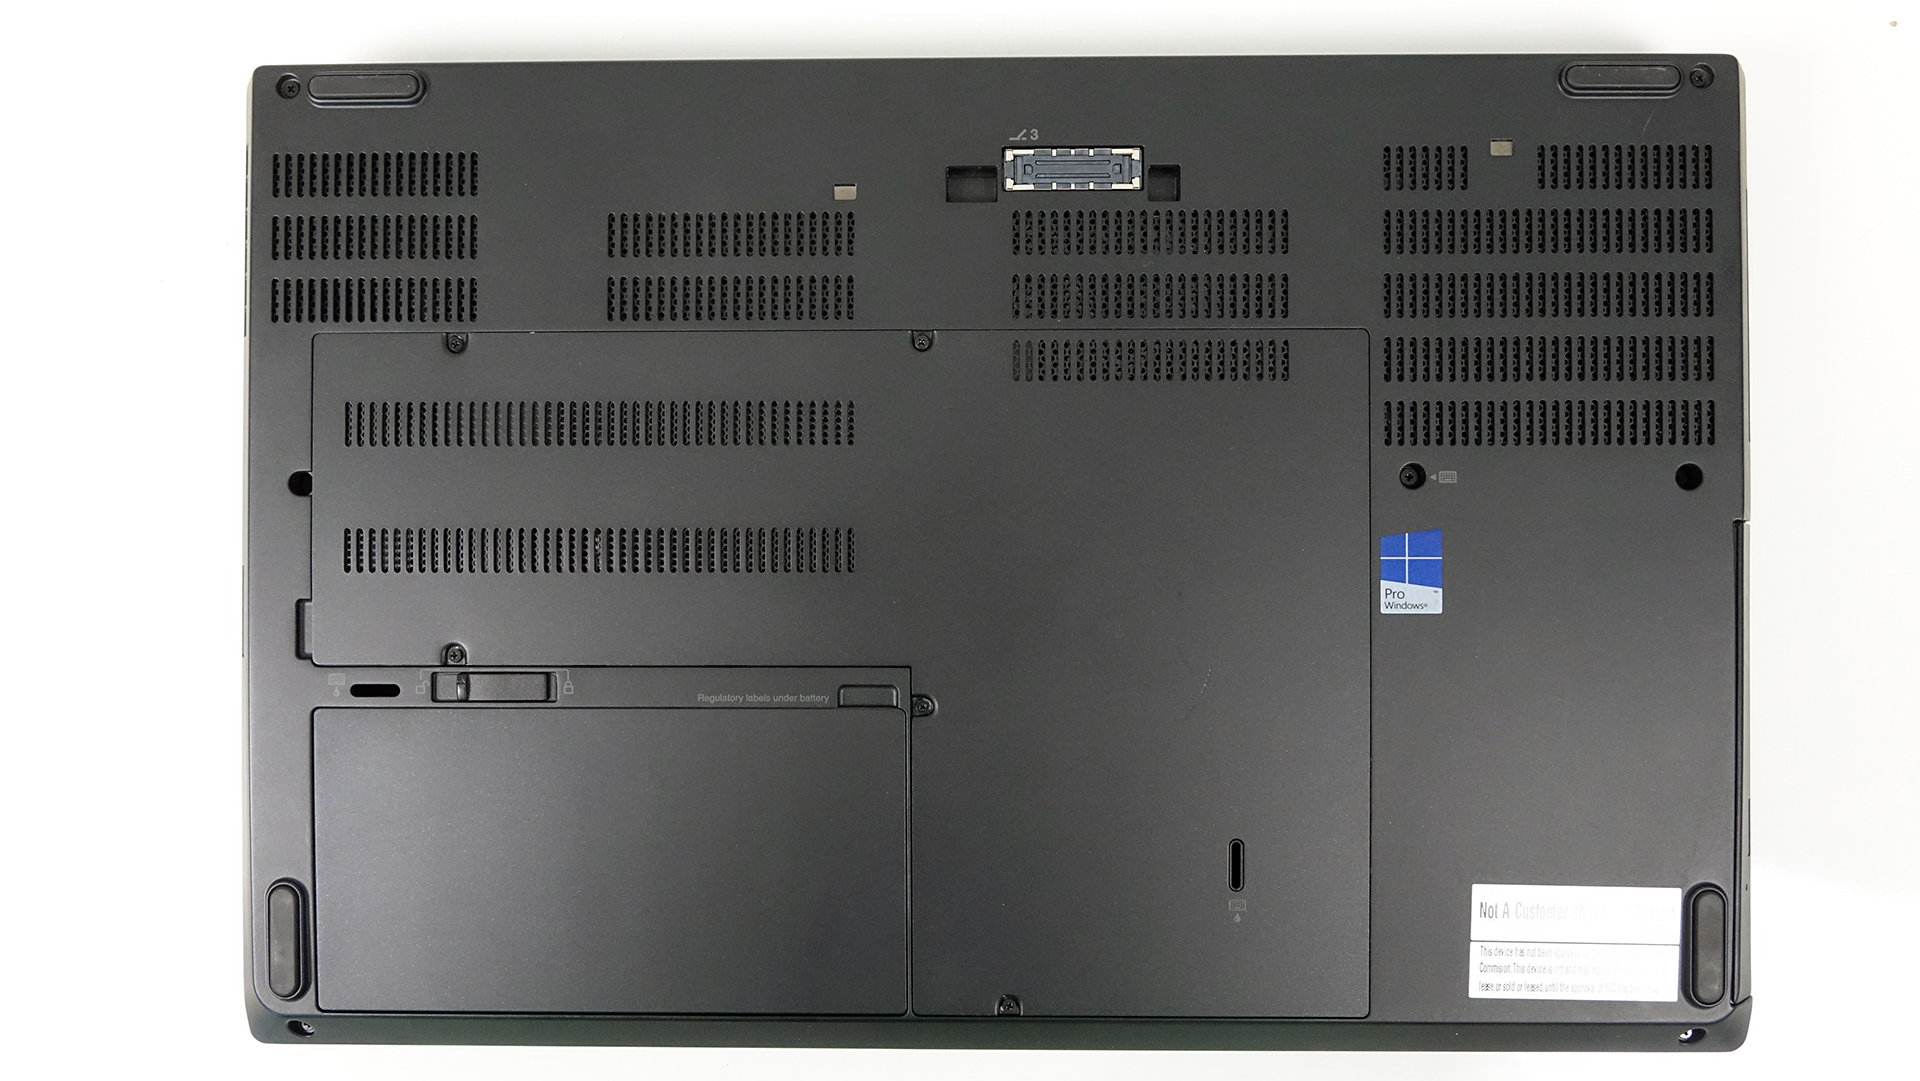
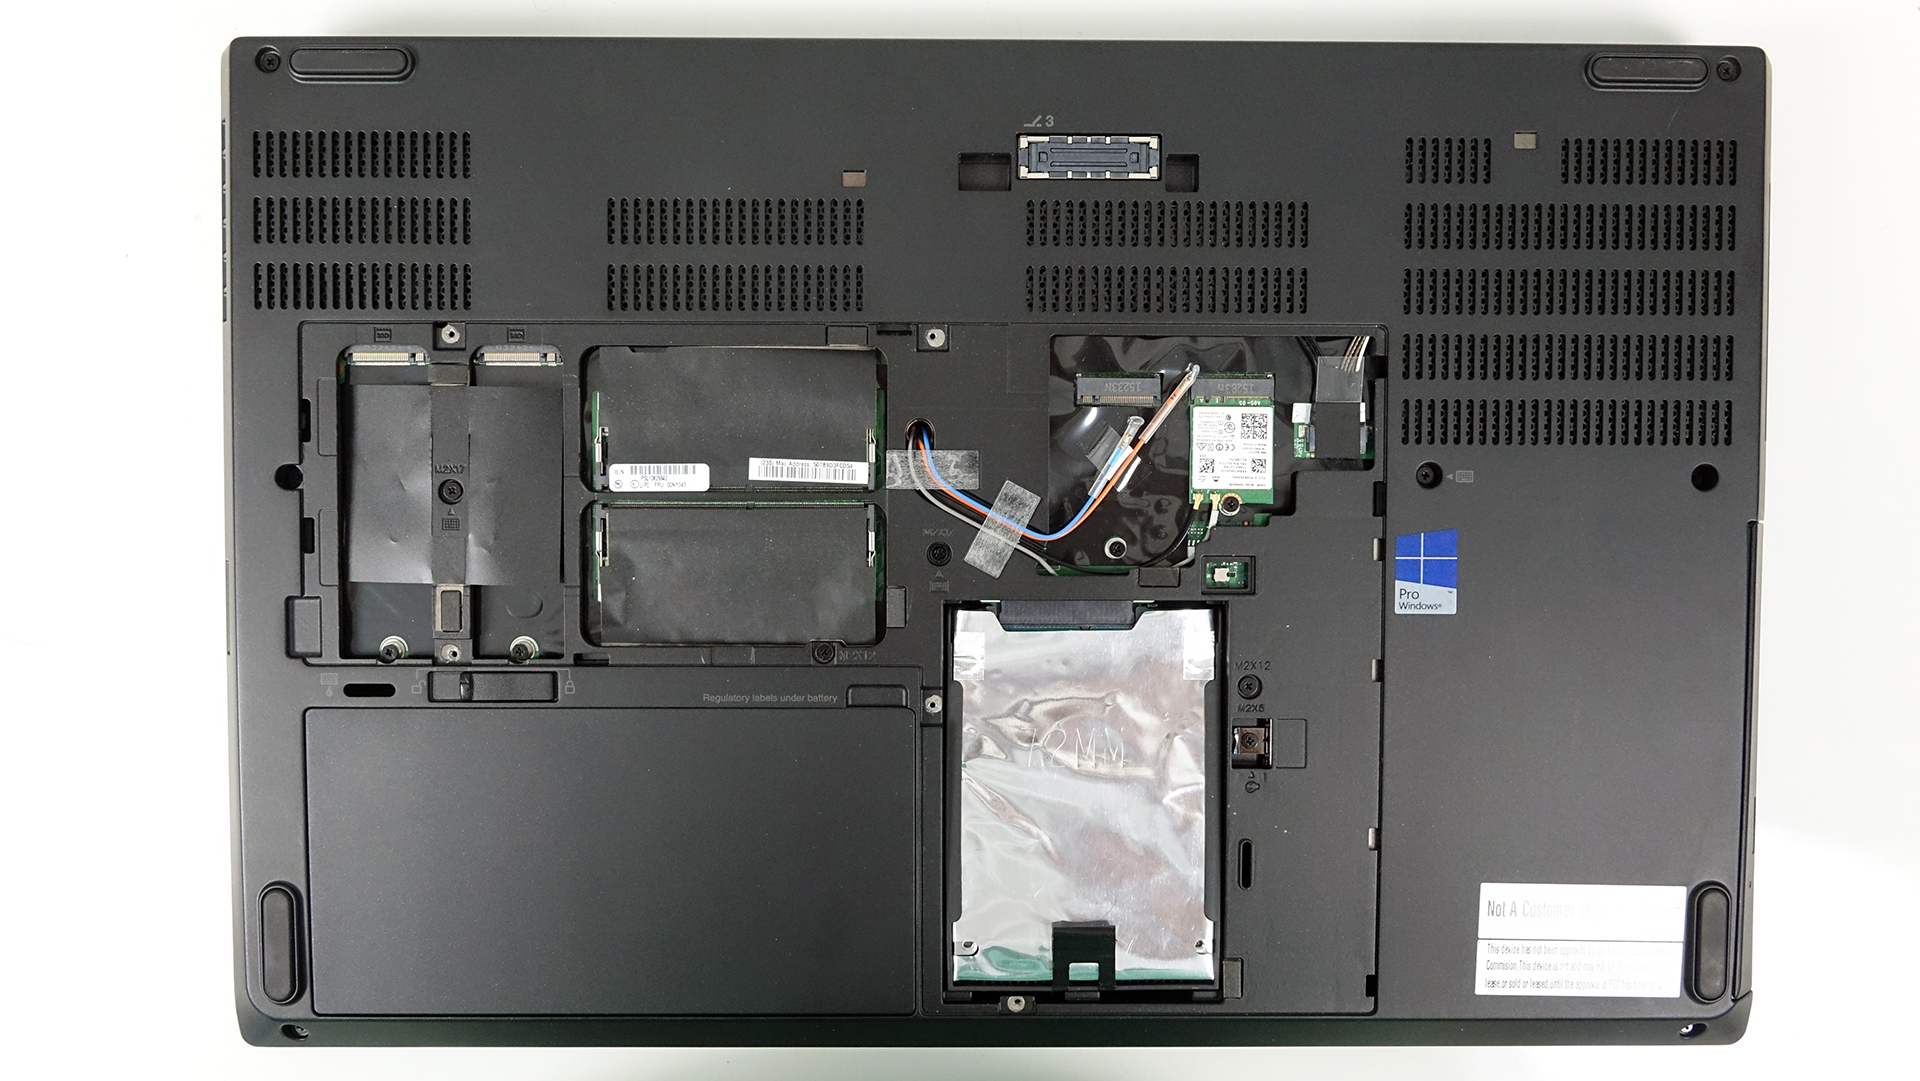
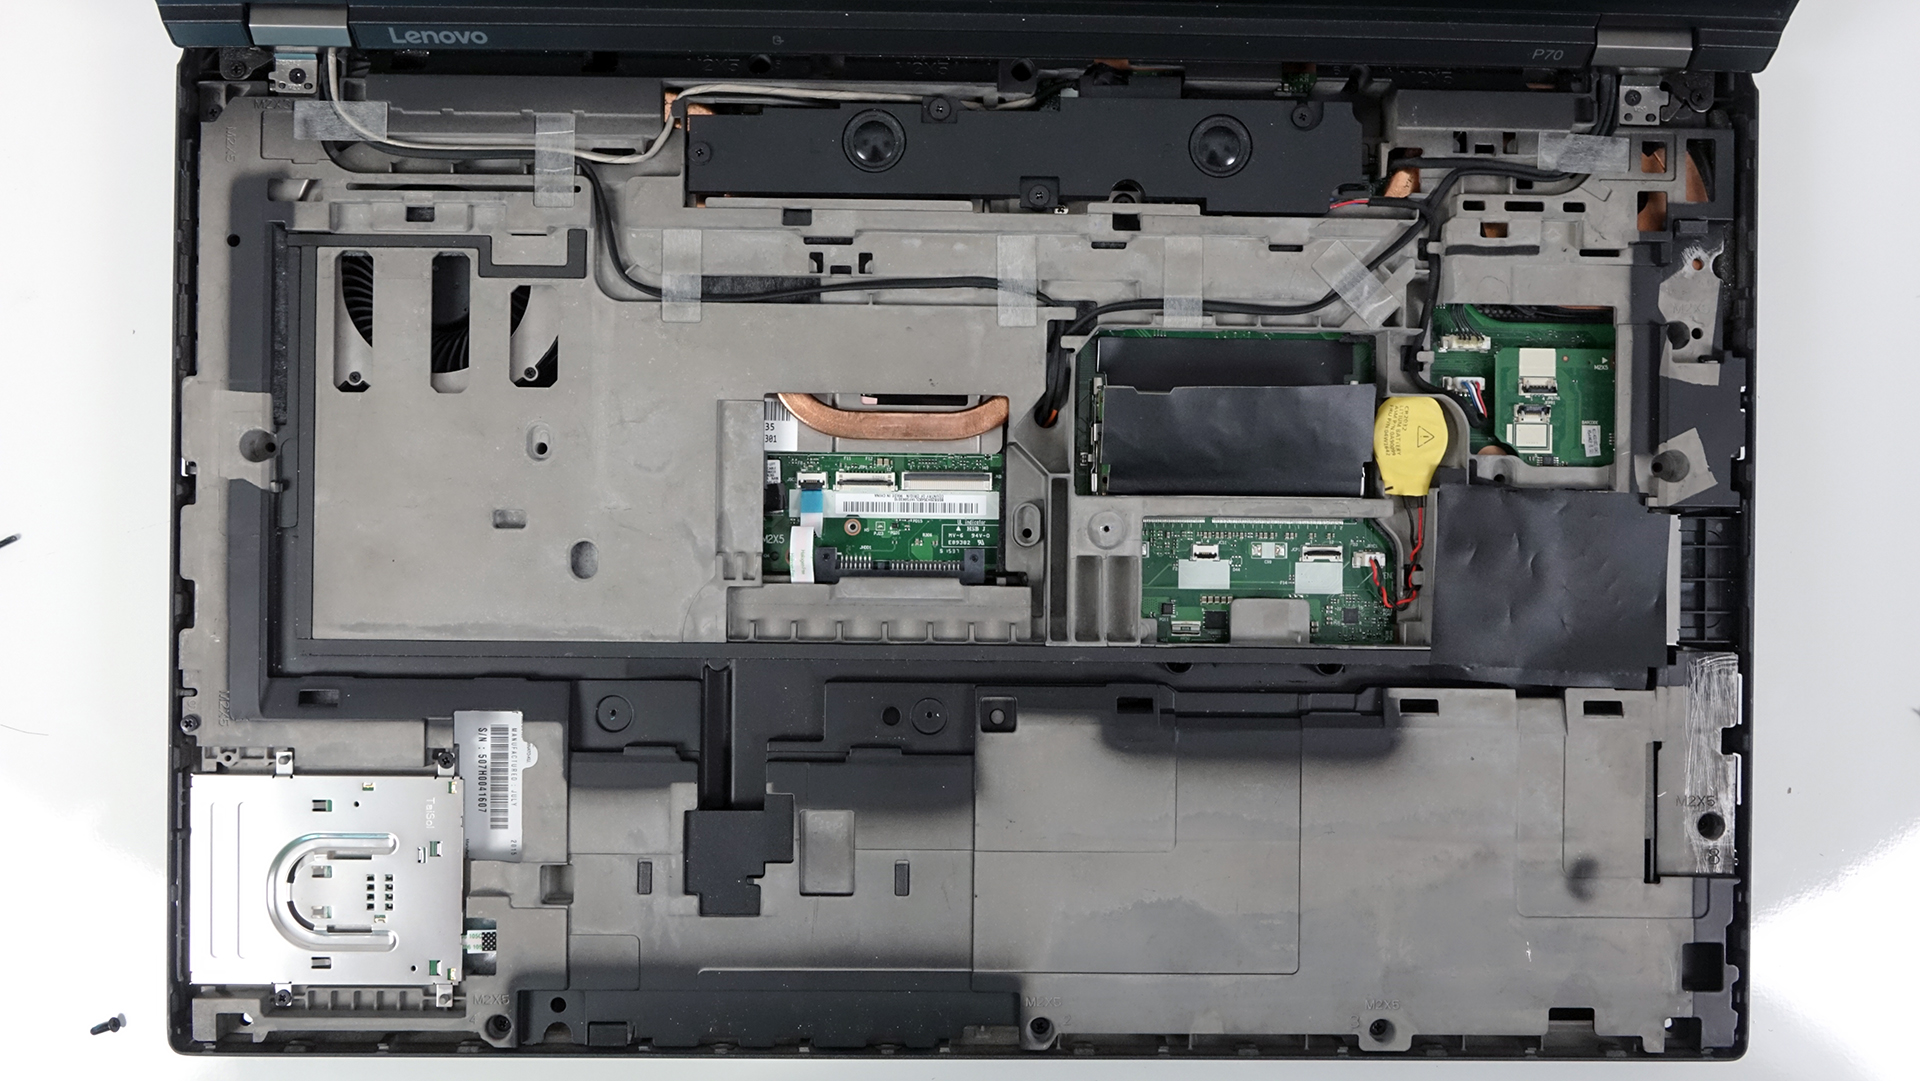
Opening it will reveal most of the upgradeable hardware – 2 RAM slots, 2.5-inch HDD and two M.2 SSD slots.
2. Storage options
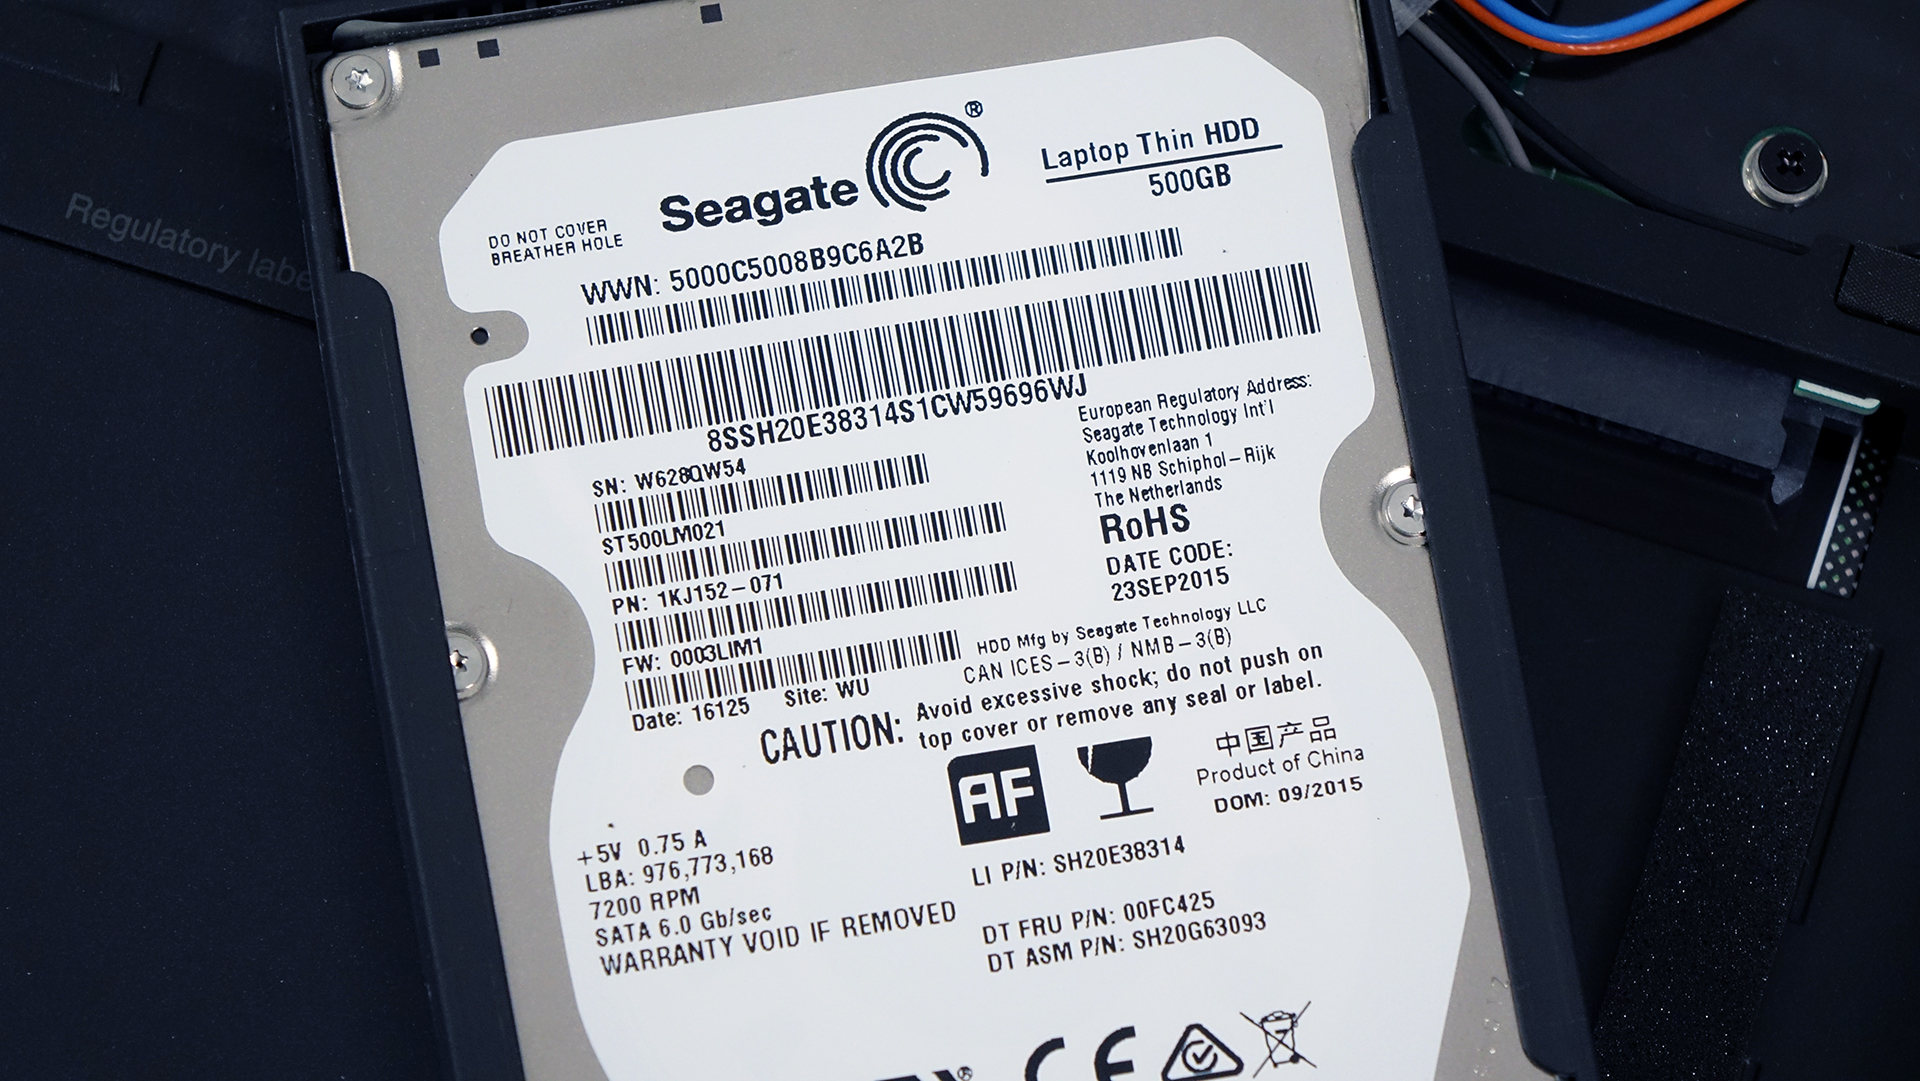
Let’s start with the most interesting aspect of the device. It offers a 2.5-inch SATA III slot, which in our case is taken by a 500GB Seagate HDD.
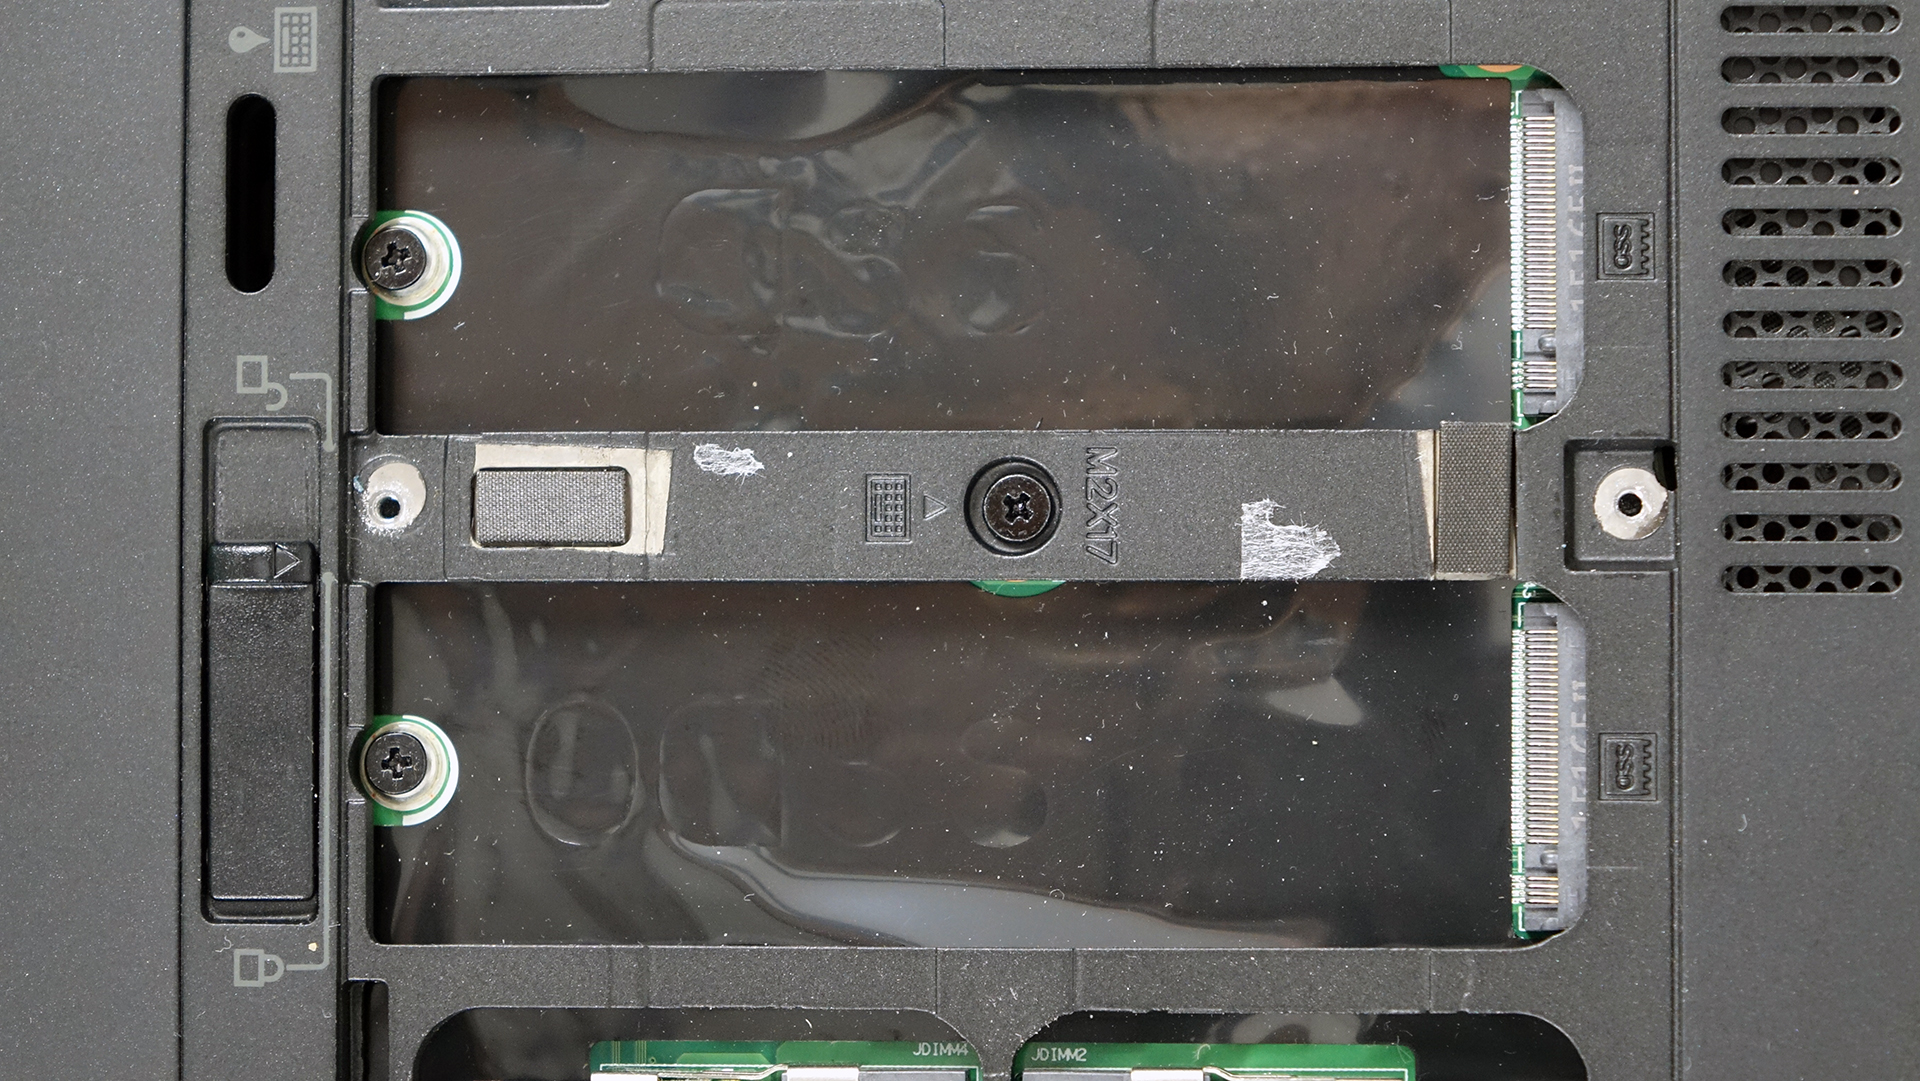
Right next to the RAM slots, you will also find two M.2 slots compatible with SATA and PCIe NVMe sticks in 2280 sizes. As you can see in the photos below, both M.2 connectors feature M key connector. Moreover, Lenovo has listed in the notebook’s specifications that the motherboard supports RAID 0 and RAID 1 configurations, although some selected models don’t come with this perk.

3. RAM and Wi-Fi
The Wi-Fi module is located under the service hatch for easier access. It’s manufactured by Intel with model number 8260NGW and right next to it you will find the 4G LTE card but as you can see, our sample was lacking the latter.
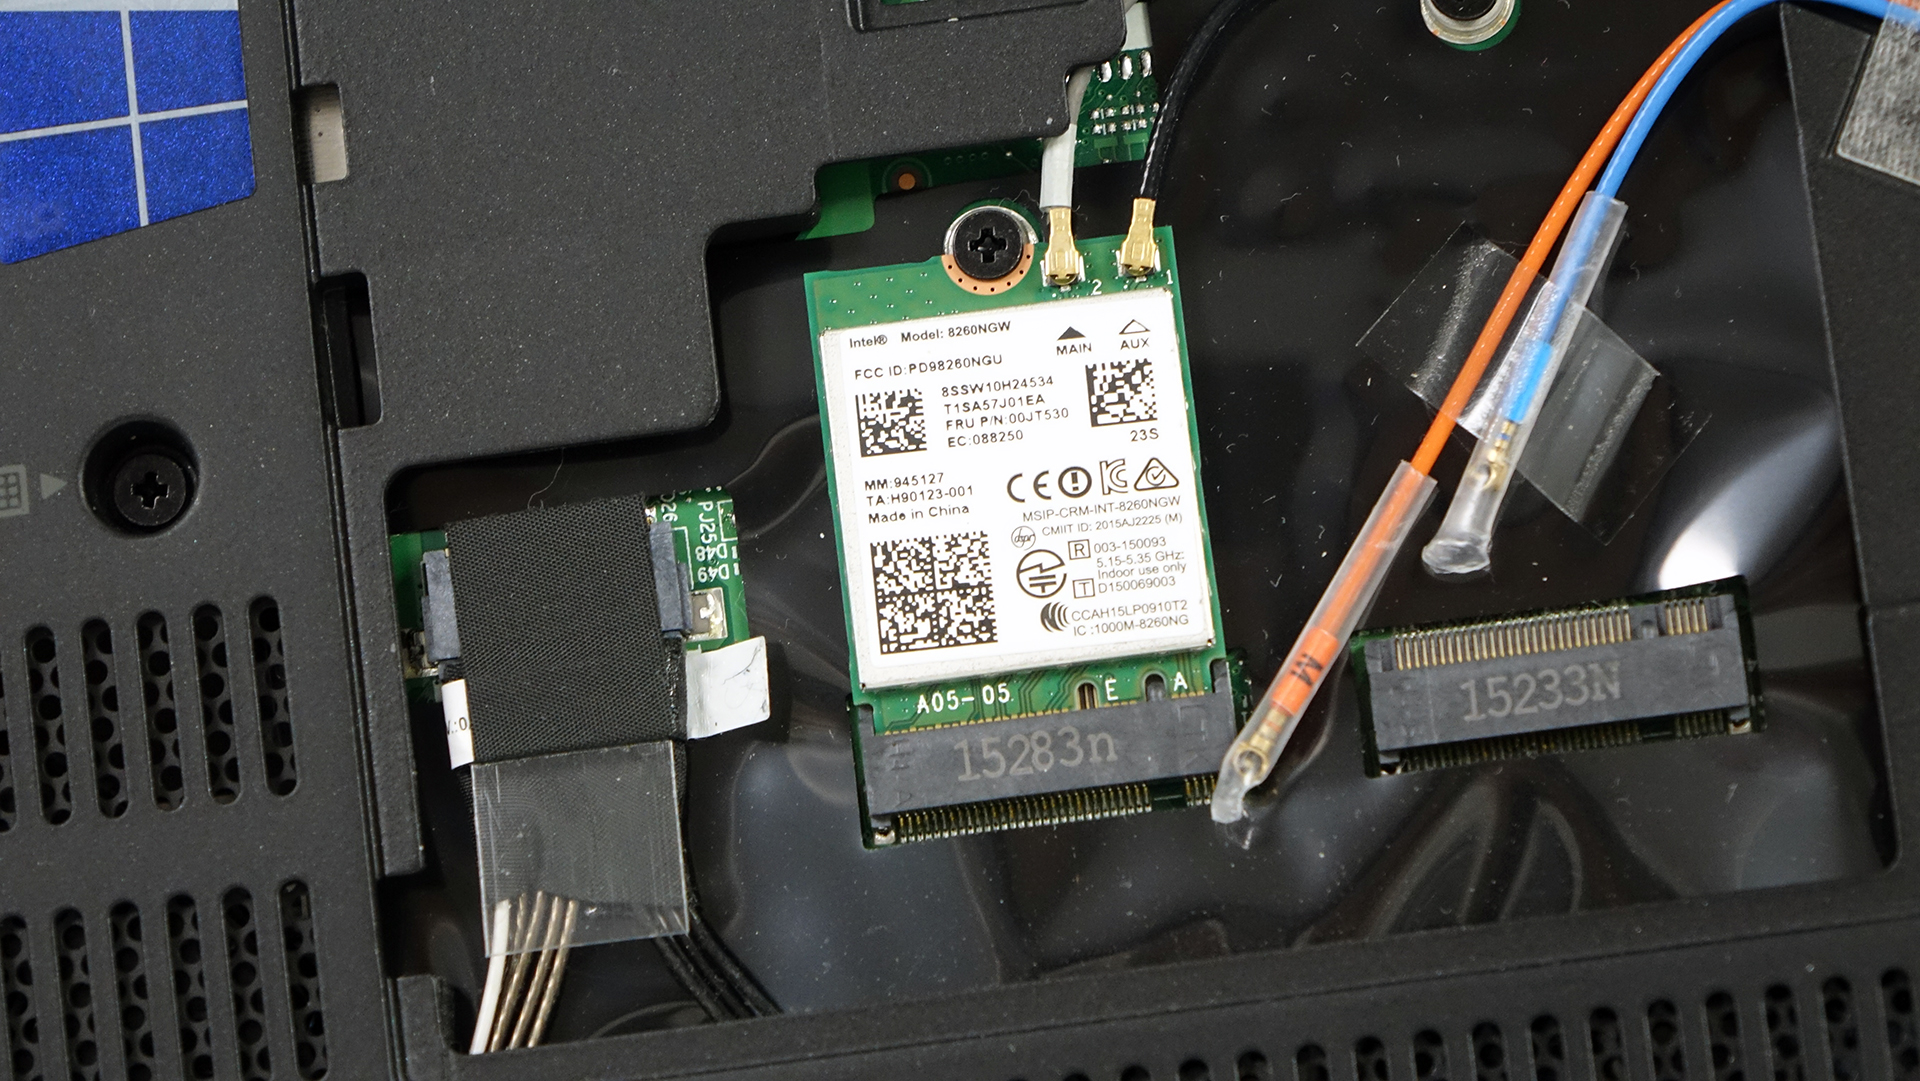

The service lid provides access to only two of the available RAM slots while the other two are positioned below the keyboard. The maximum supported RAM is 64GB using DDR4-2133 chips. If you want to take advantage of all RAM slots, you will need to remove the keyboard first.
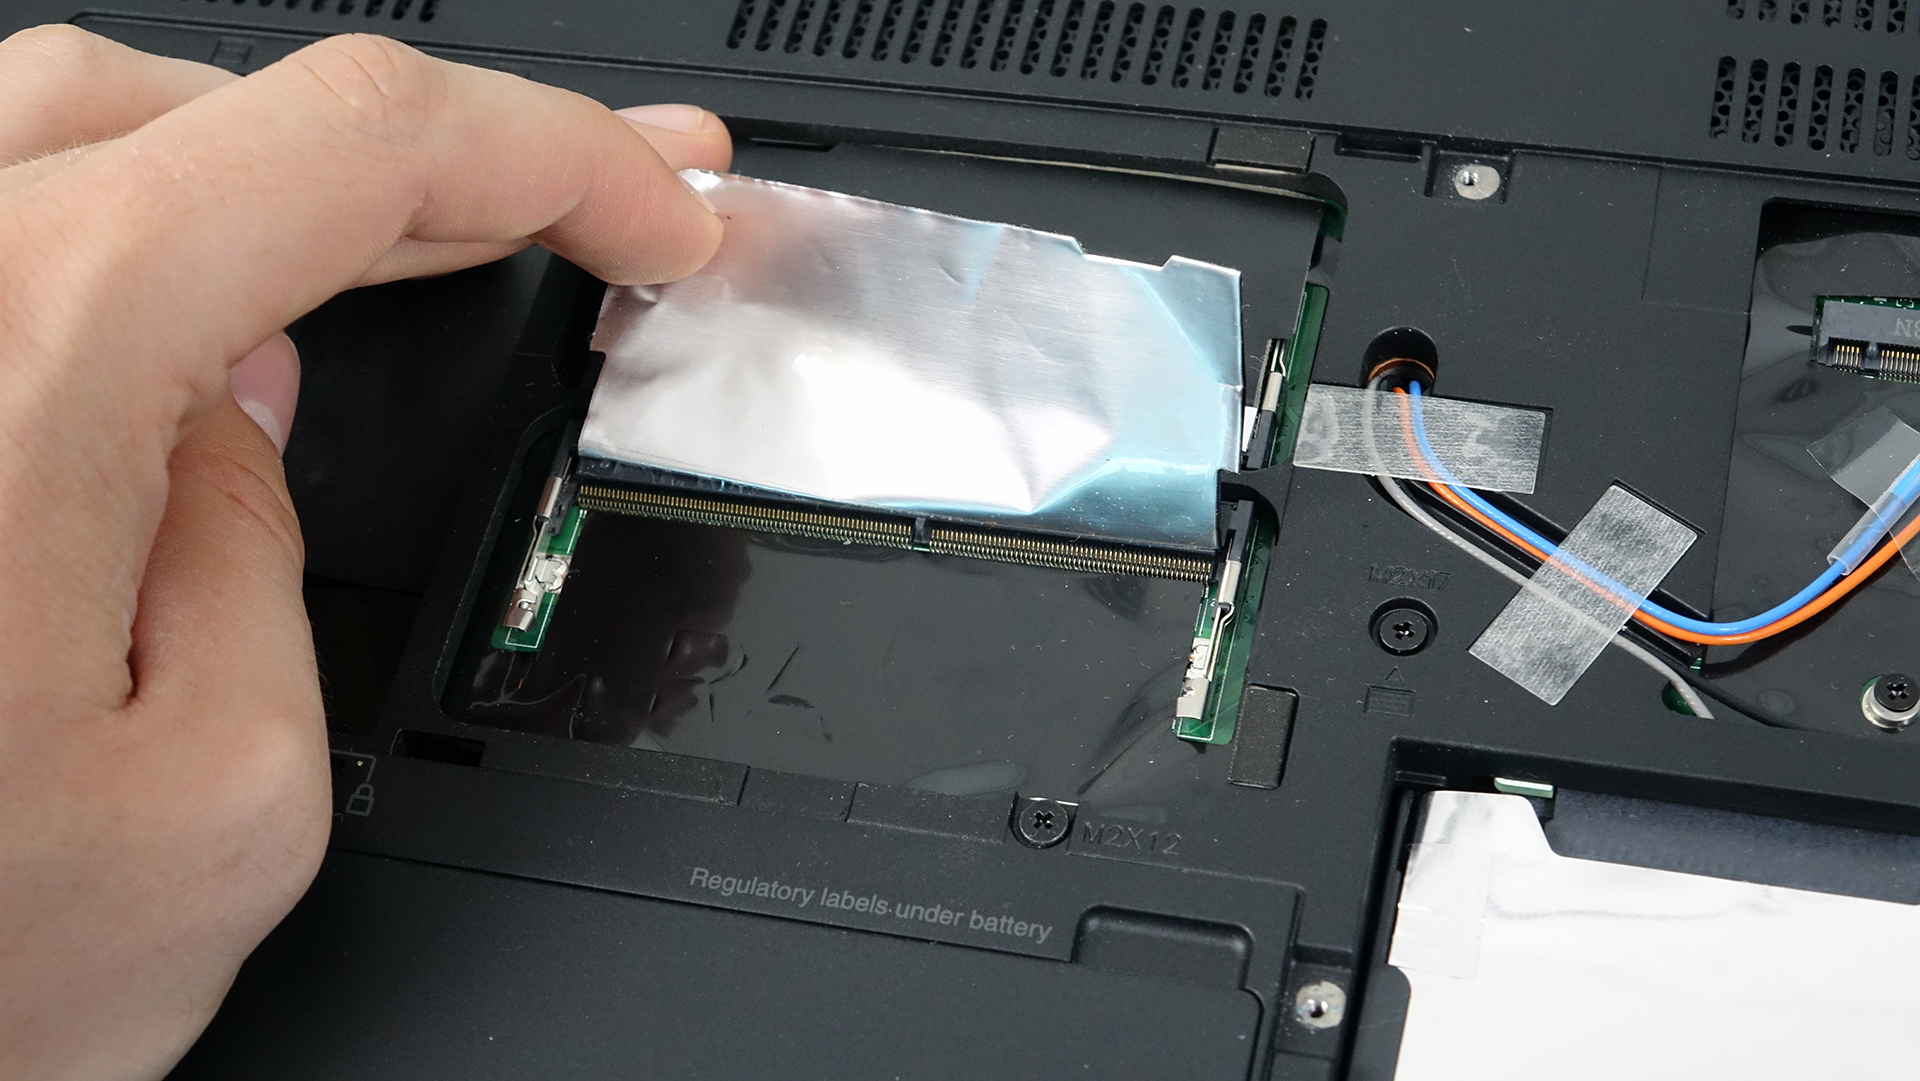
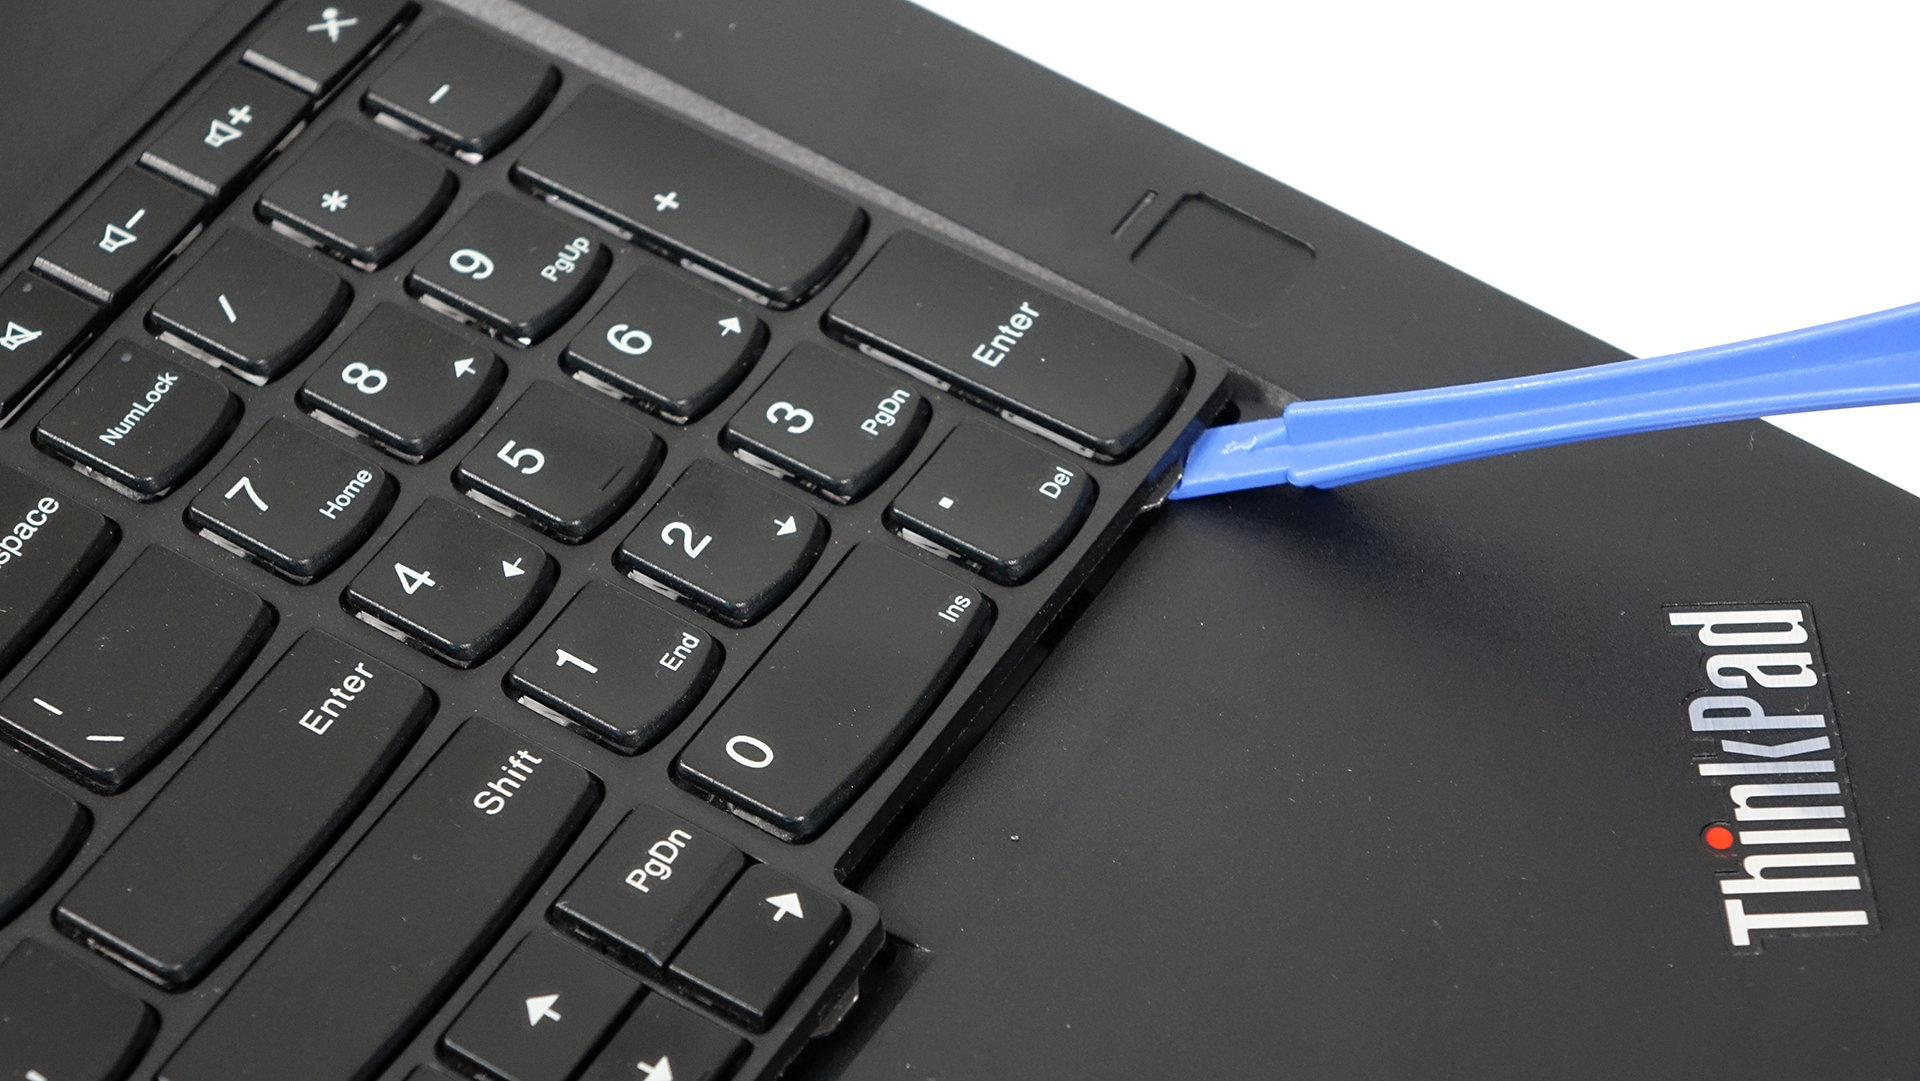
This might sound like a hassle but it’s actually not that big of a deal. Make sure you removed all screws that hold the keyboard on the bottom. They are marked with a little keyboard next to them. Then using some kind of plastic tool, pry up the keyboard and it will come off pretty easily. Then, you will see a metallic plate covering up the RAM chips, so you will have to remove that as well.
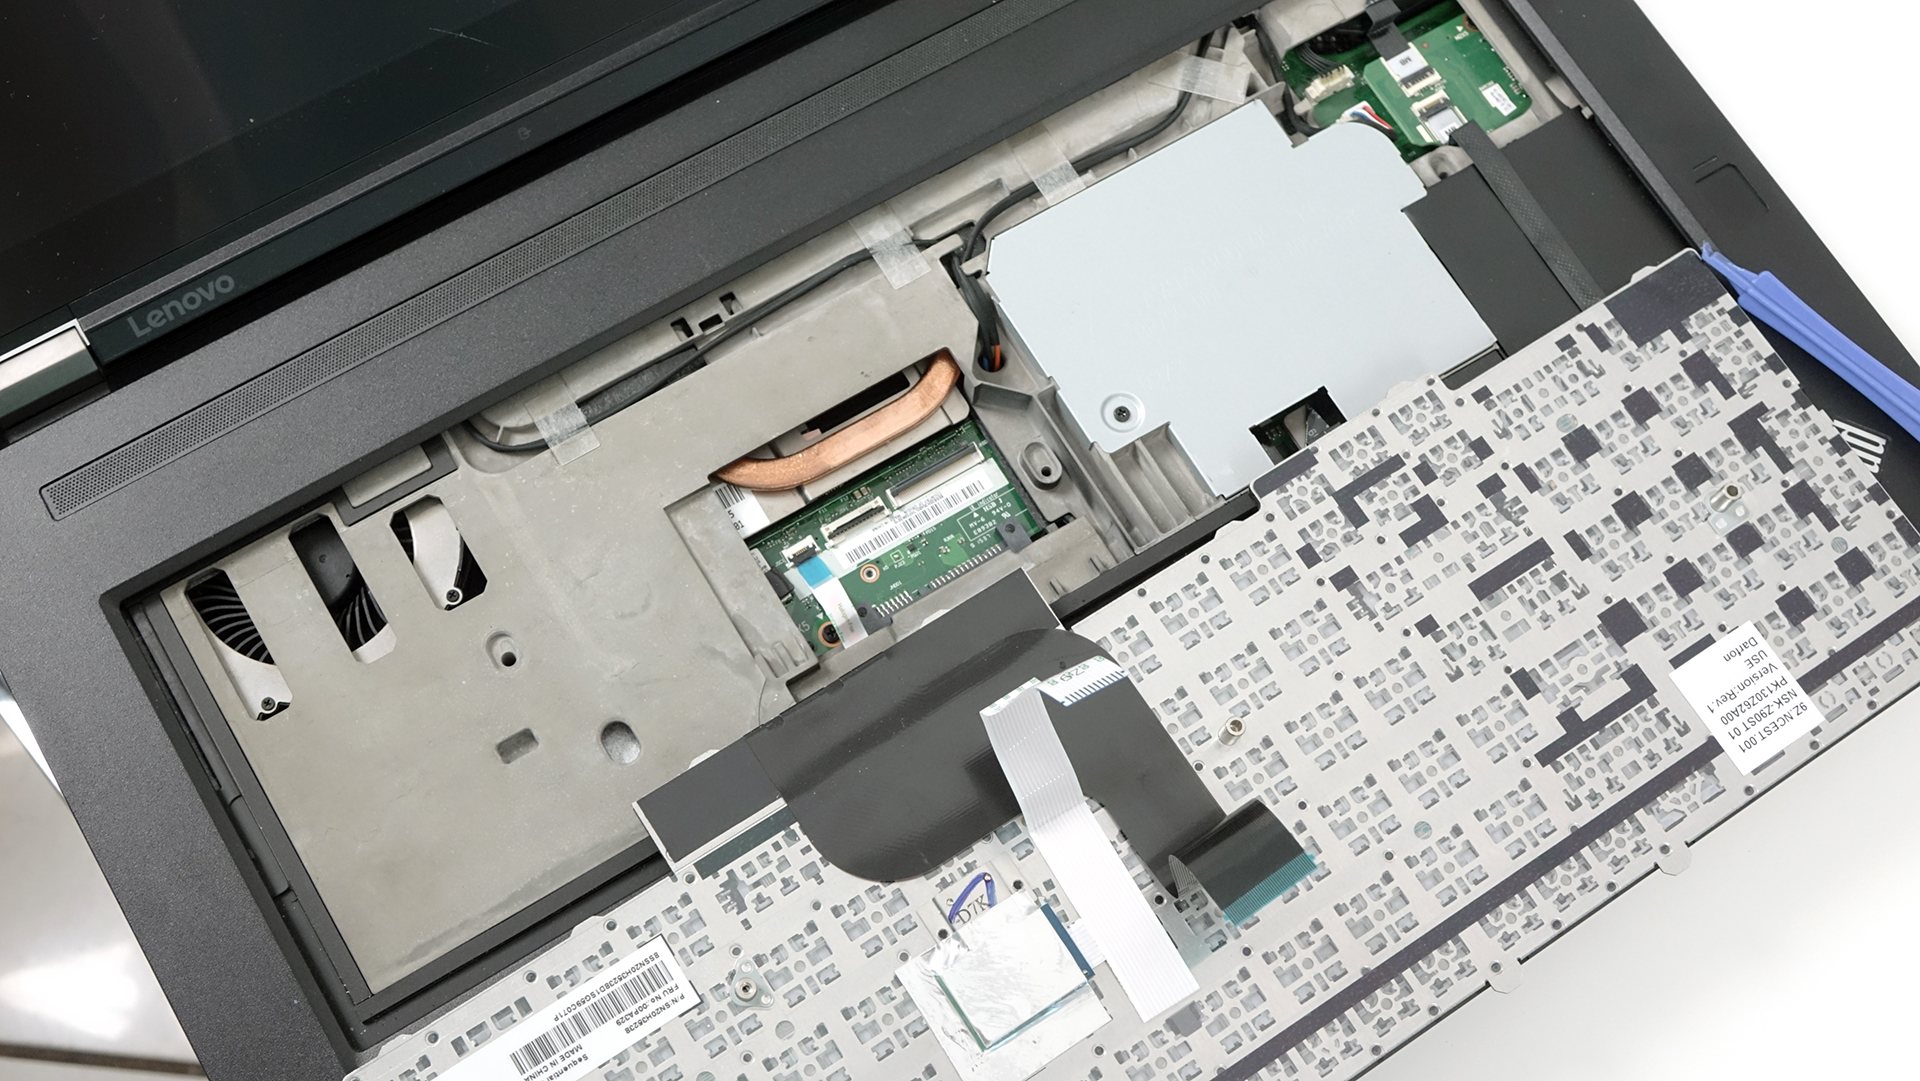

Along with the RAM chips, we found out that the laptop has an inner solid metal construction. That’s why this notebook feels rigid as hell.
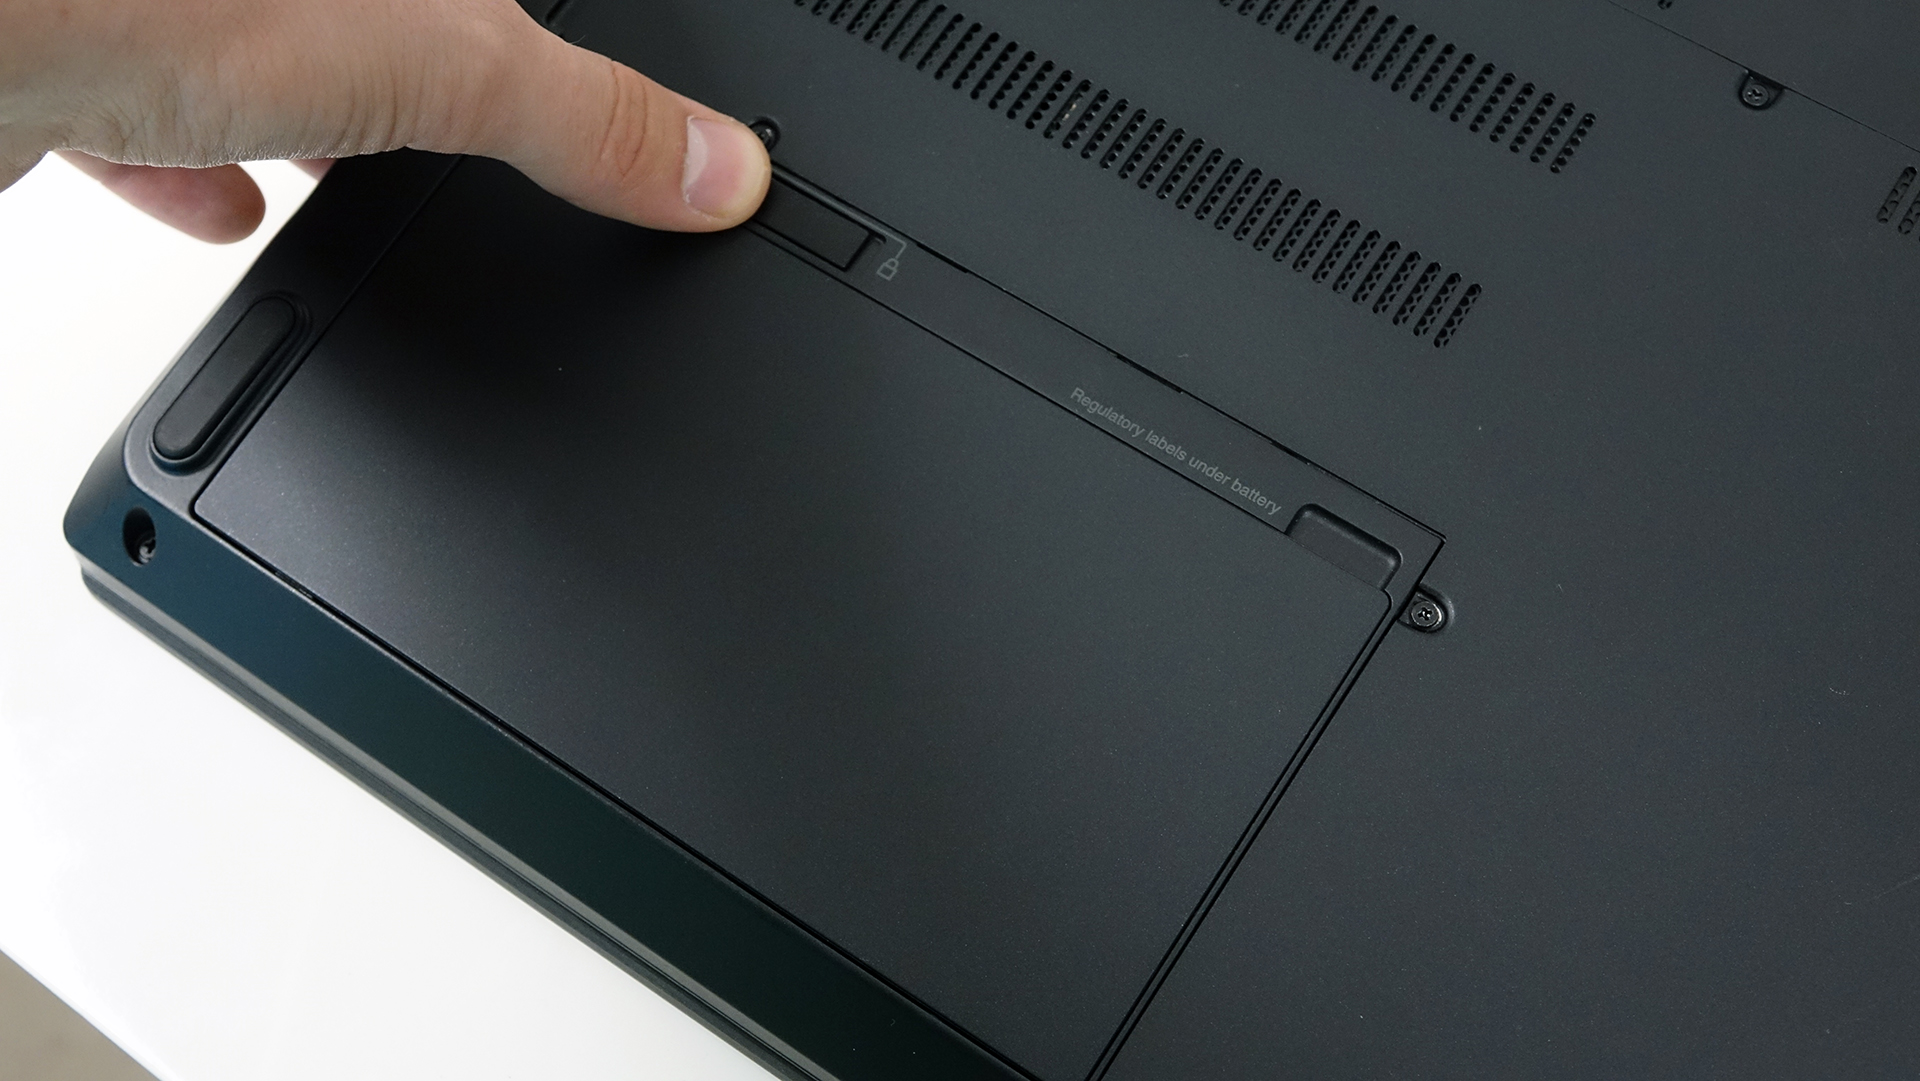
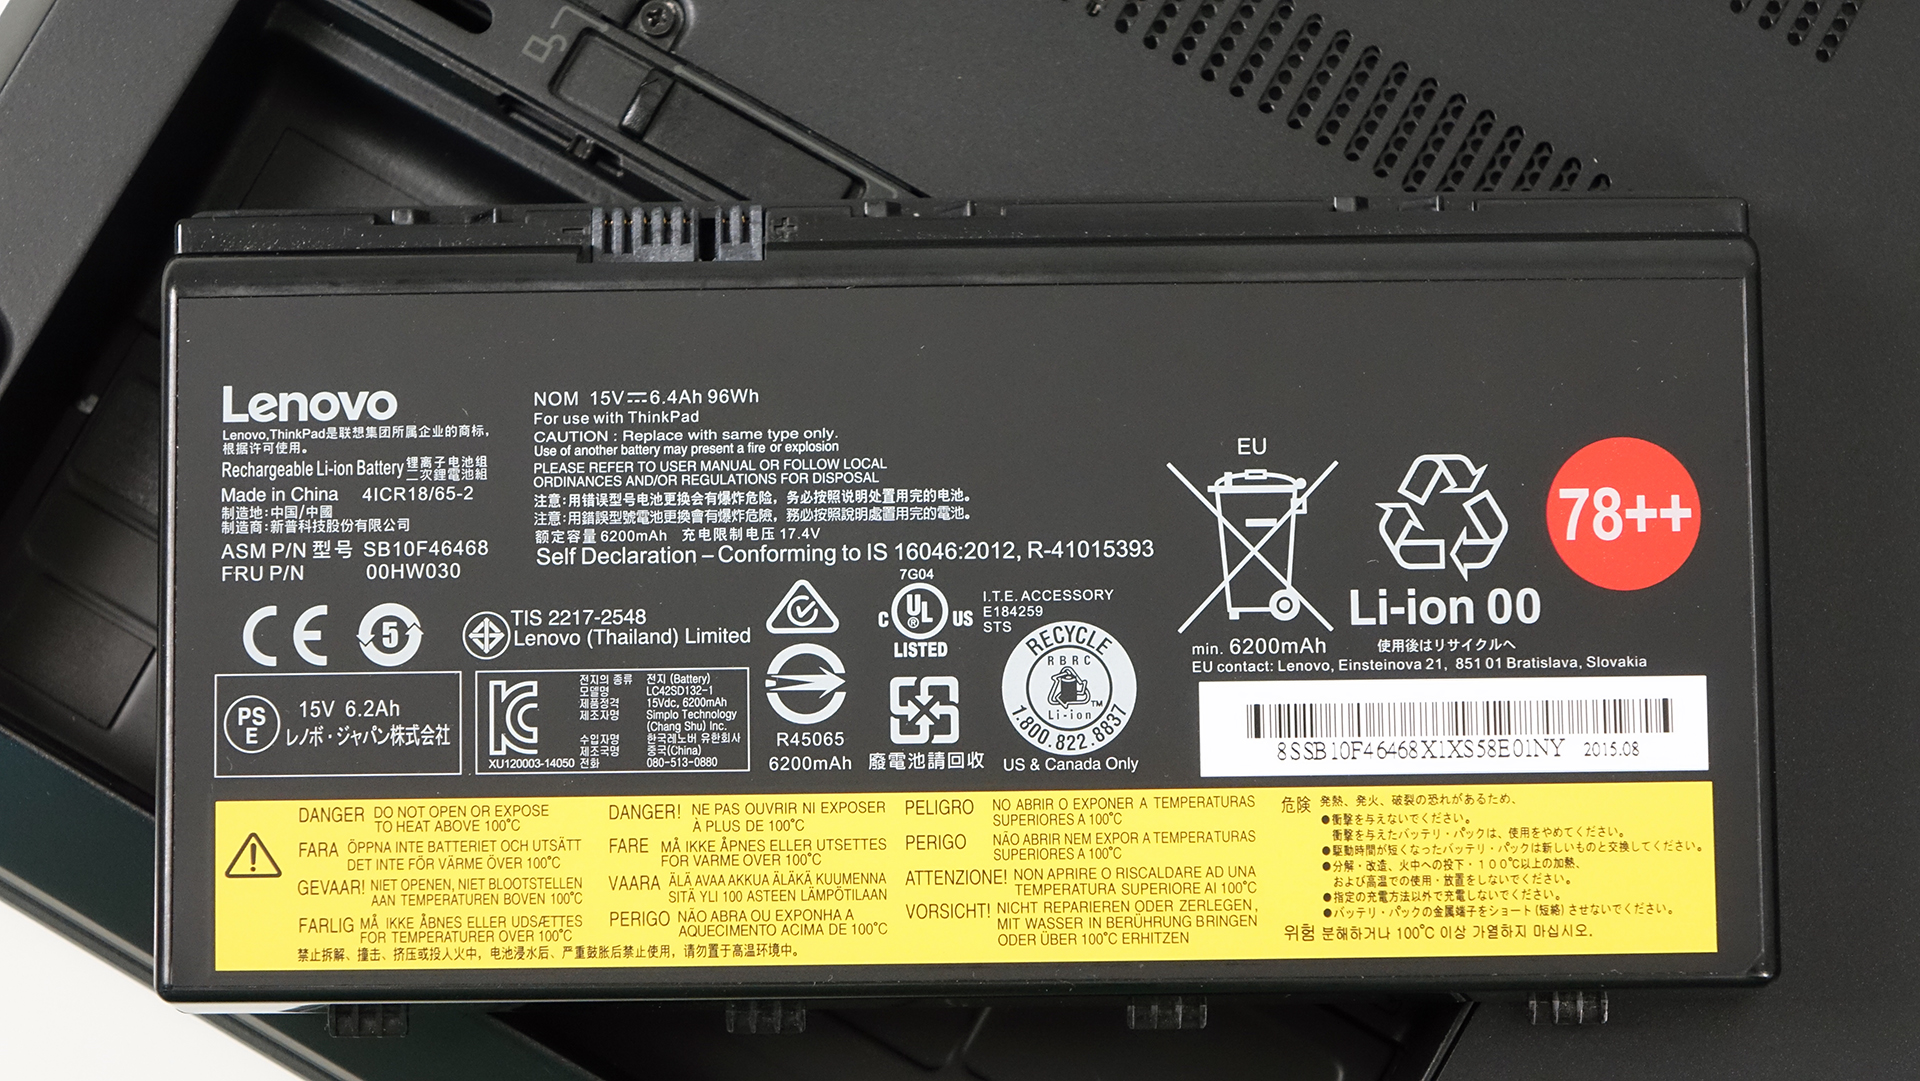
4. Battery
Fortunately, the battery is on a convenient place and can be replaced by a user. It’s locked using a lever mechanism as you can see in the photo below. The battery itself is rated at 96Wh and should deliver exceptional runtimes.
You can find the notebook’s price and configurations here: http://amzn.to/2b4gvo6


![[June 2026] Best-Selling Laptop Brands on Amazon Global – Apple’s Unrivaled Dominance in Units and Revenue](https://laptopmedia.com/wp-content/uploads/2026/07/GLOBAL-Best-Brands-400x225.jpg)
![[June 2026] Amazon Global: Top 10 Best-Selling Laptops – Apple’s New MacBook Neo Storms to #1, Reshaping the Market with Affordability](https://laptopmedia.com/wp-content/uploads/2026/07/Best-Selling-Laptops-GLOBAL-Top-10-400x225.jpg)
![[June 2026] Amazon Global: Top 10 Best-Selling Gaming Laptops – Acer’s Nitro V 16S AI Dominates Sales, While ASUS Leads Overall Revenue](https://laptopmedia.com/wp-content/uploads/2026/07/Best-Selling-Gaming-Laptops-GLOBAL-Top-10-400x225.jpg)
![[June 2026] Global Ranking of Best-Selling Laptop GPUs on Amazon – NVIDIA RTX 5060 is the Top-Selling Dedicated GPU](https://laptopmedia.com/wp-content/uploads/2026/07/Best-Selling-GPUs-GLOBAL-Top-10-400x225.jpg)
![[June 2026] Global Ranking of Best-Selling Laptop CPUs on Amazon – Apple M5 Dominates, AMD Ryzen 7 260 Gets Solid Premium Share](https://laptopmedia.com/wp-content/uploads/2026/07/Best-Selling-CPUs-GLOBAL-Top-10-400x225.jpg)
