Inside Lenovo ThinkPad X390 Yoga – disassembly and upgrade options
ThinkPad X390 Yoga is the latest 2-in-1 laptop, that is appealing to both business people on the go, and artists, that need a robust device for their purposes.
Check out all Lenovo ThinkPad X390 Yoga prices and configurations in our Specs System or read more in our In-depth Review.

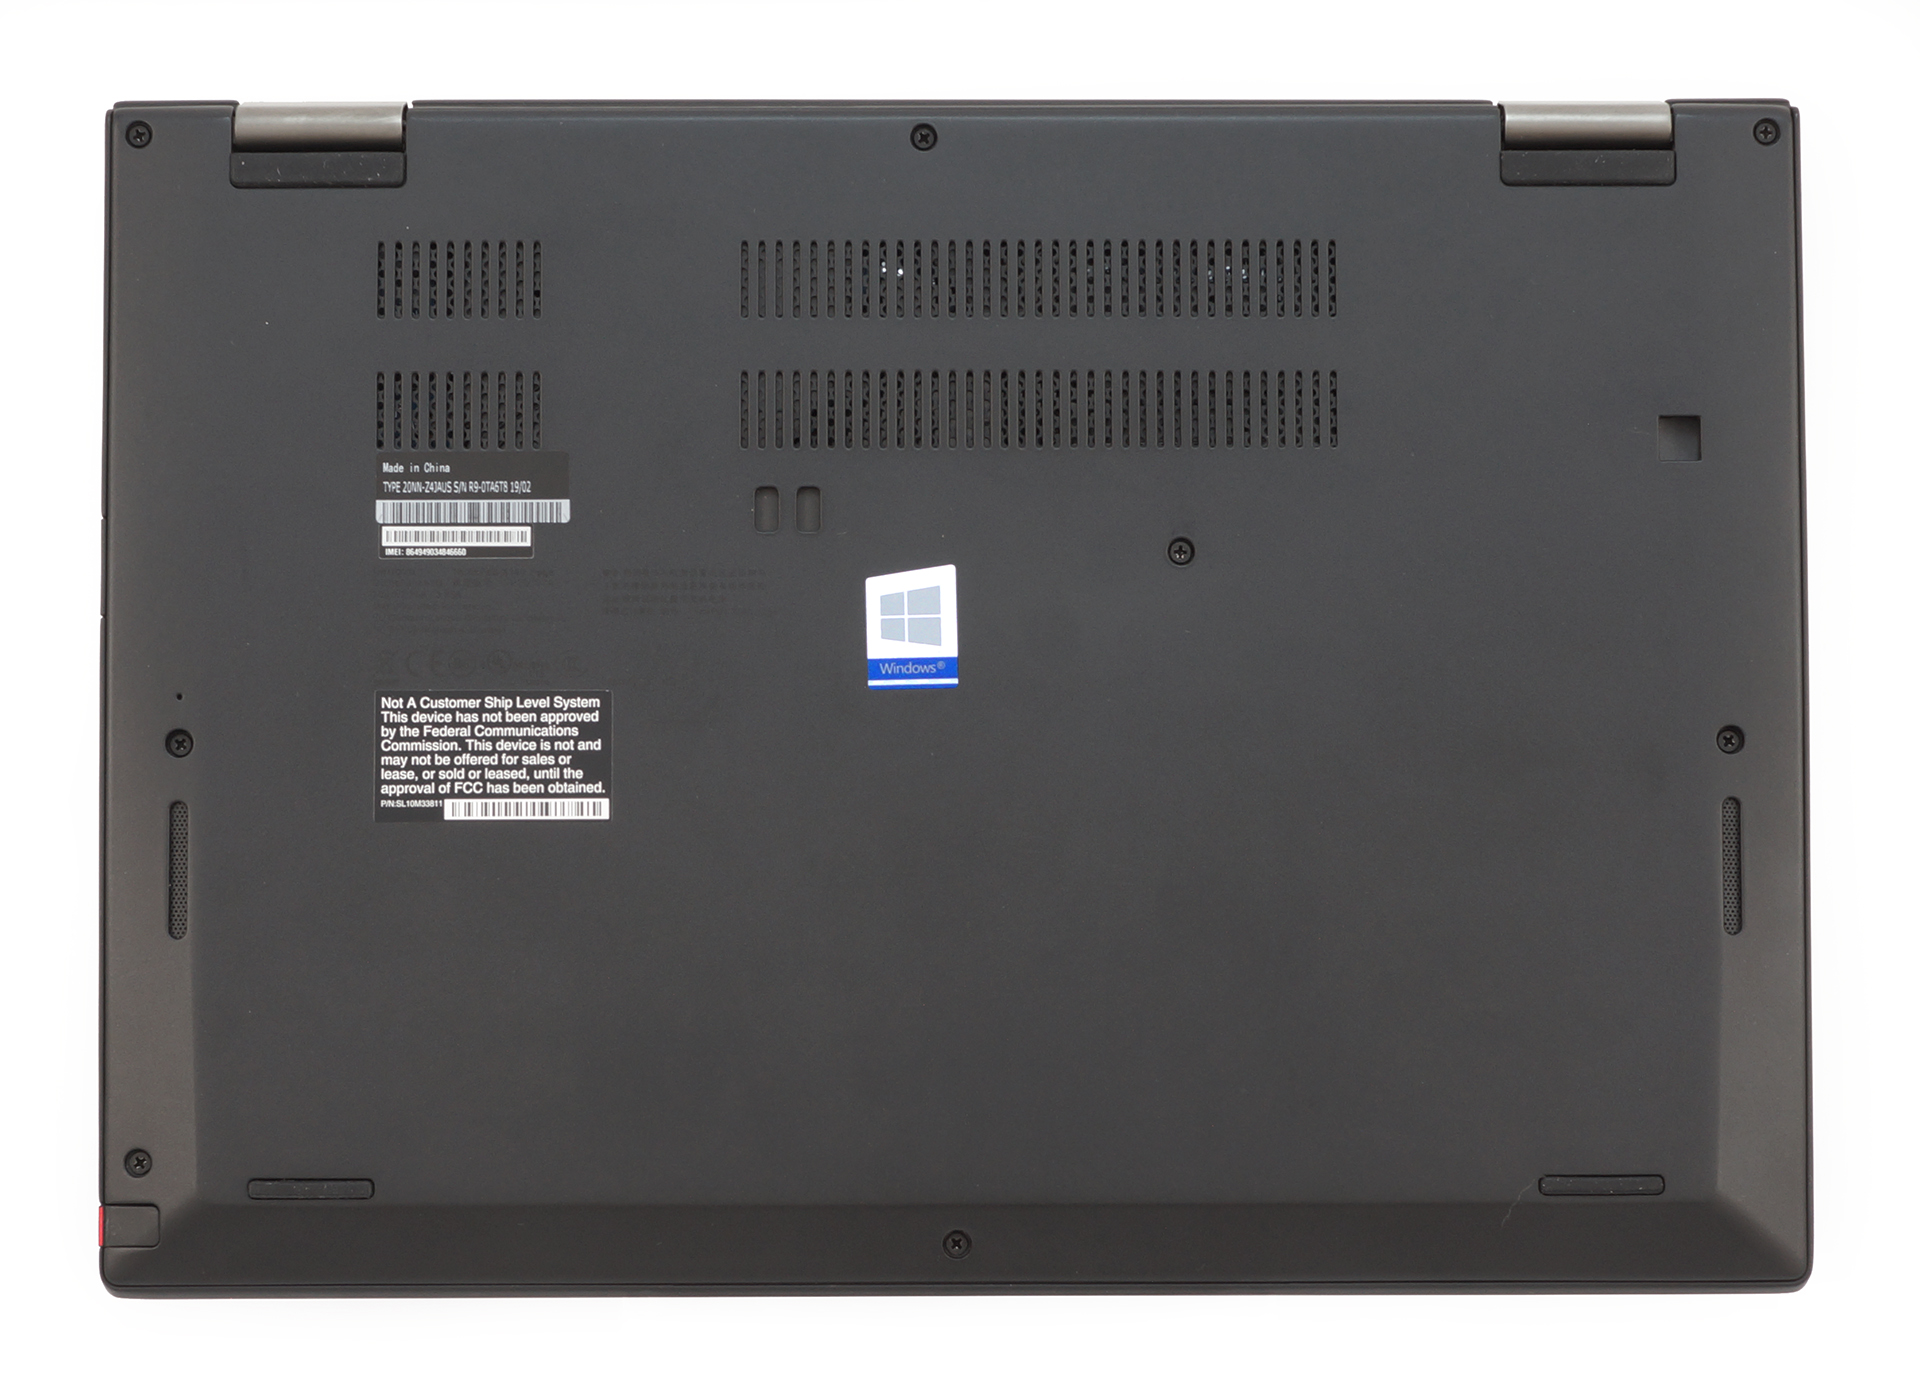
1. Remove the bottom plate
All of the eight Phillips-head screws remain attached to the bottom plate after you undo them. This is very useful for clumsy people (like us) that not once or twice have lost half an hour searching for a screw under the desk or even the carpet.
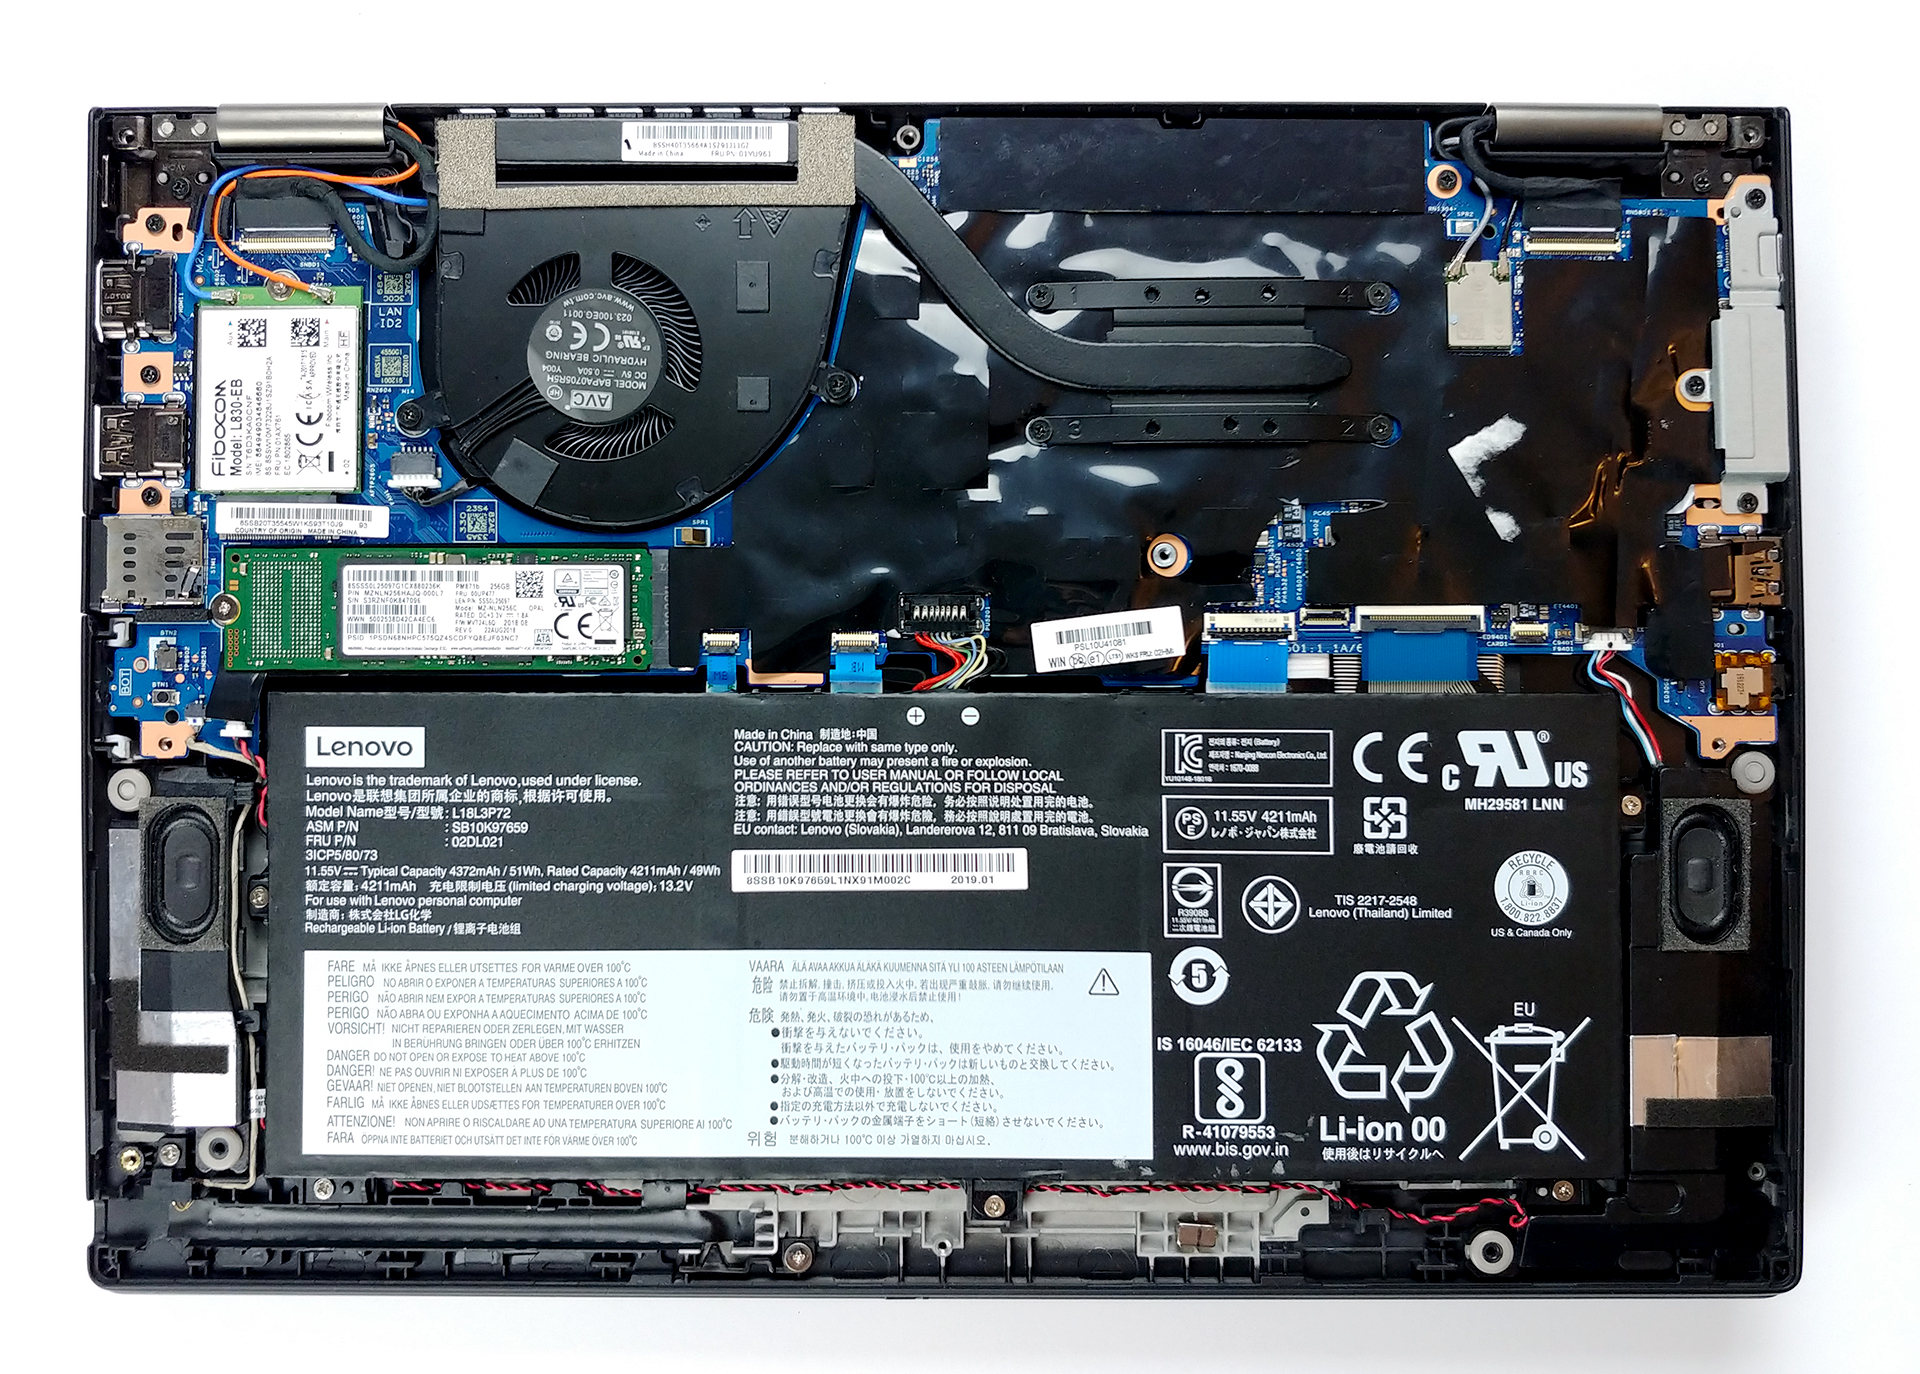
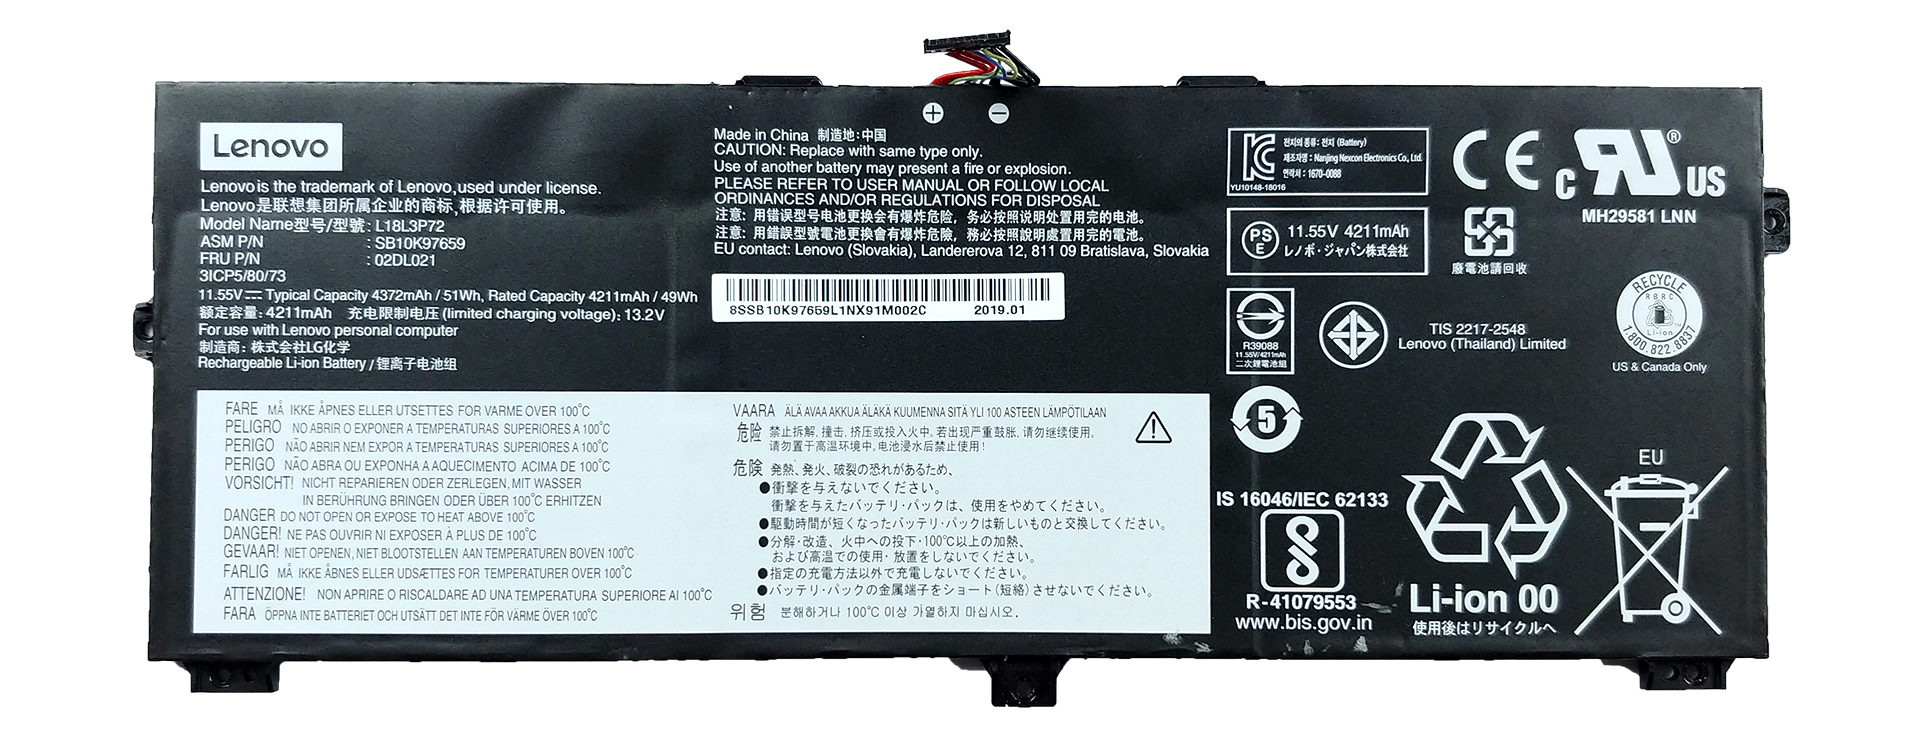
2. Battery
ThinkPad X390 Yoga is equipped with a hefty for the form factor 51Wh battery. Bear in mind that if you want to upgrade your laptop, first you should disconnect the battery connector. On the other side, if you want to change the battery itself, there are five Phillips-head screws that hold it in place. As far as battery life is concerned – we were able to get between 10 and 11 hours of web browsing and video playback.
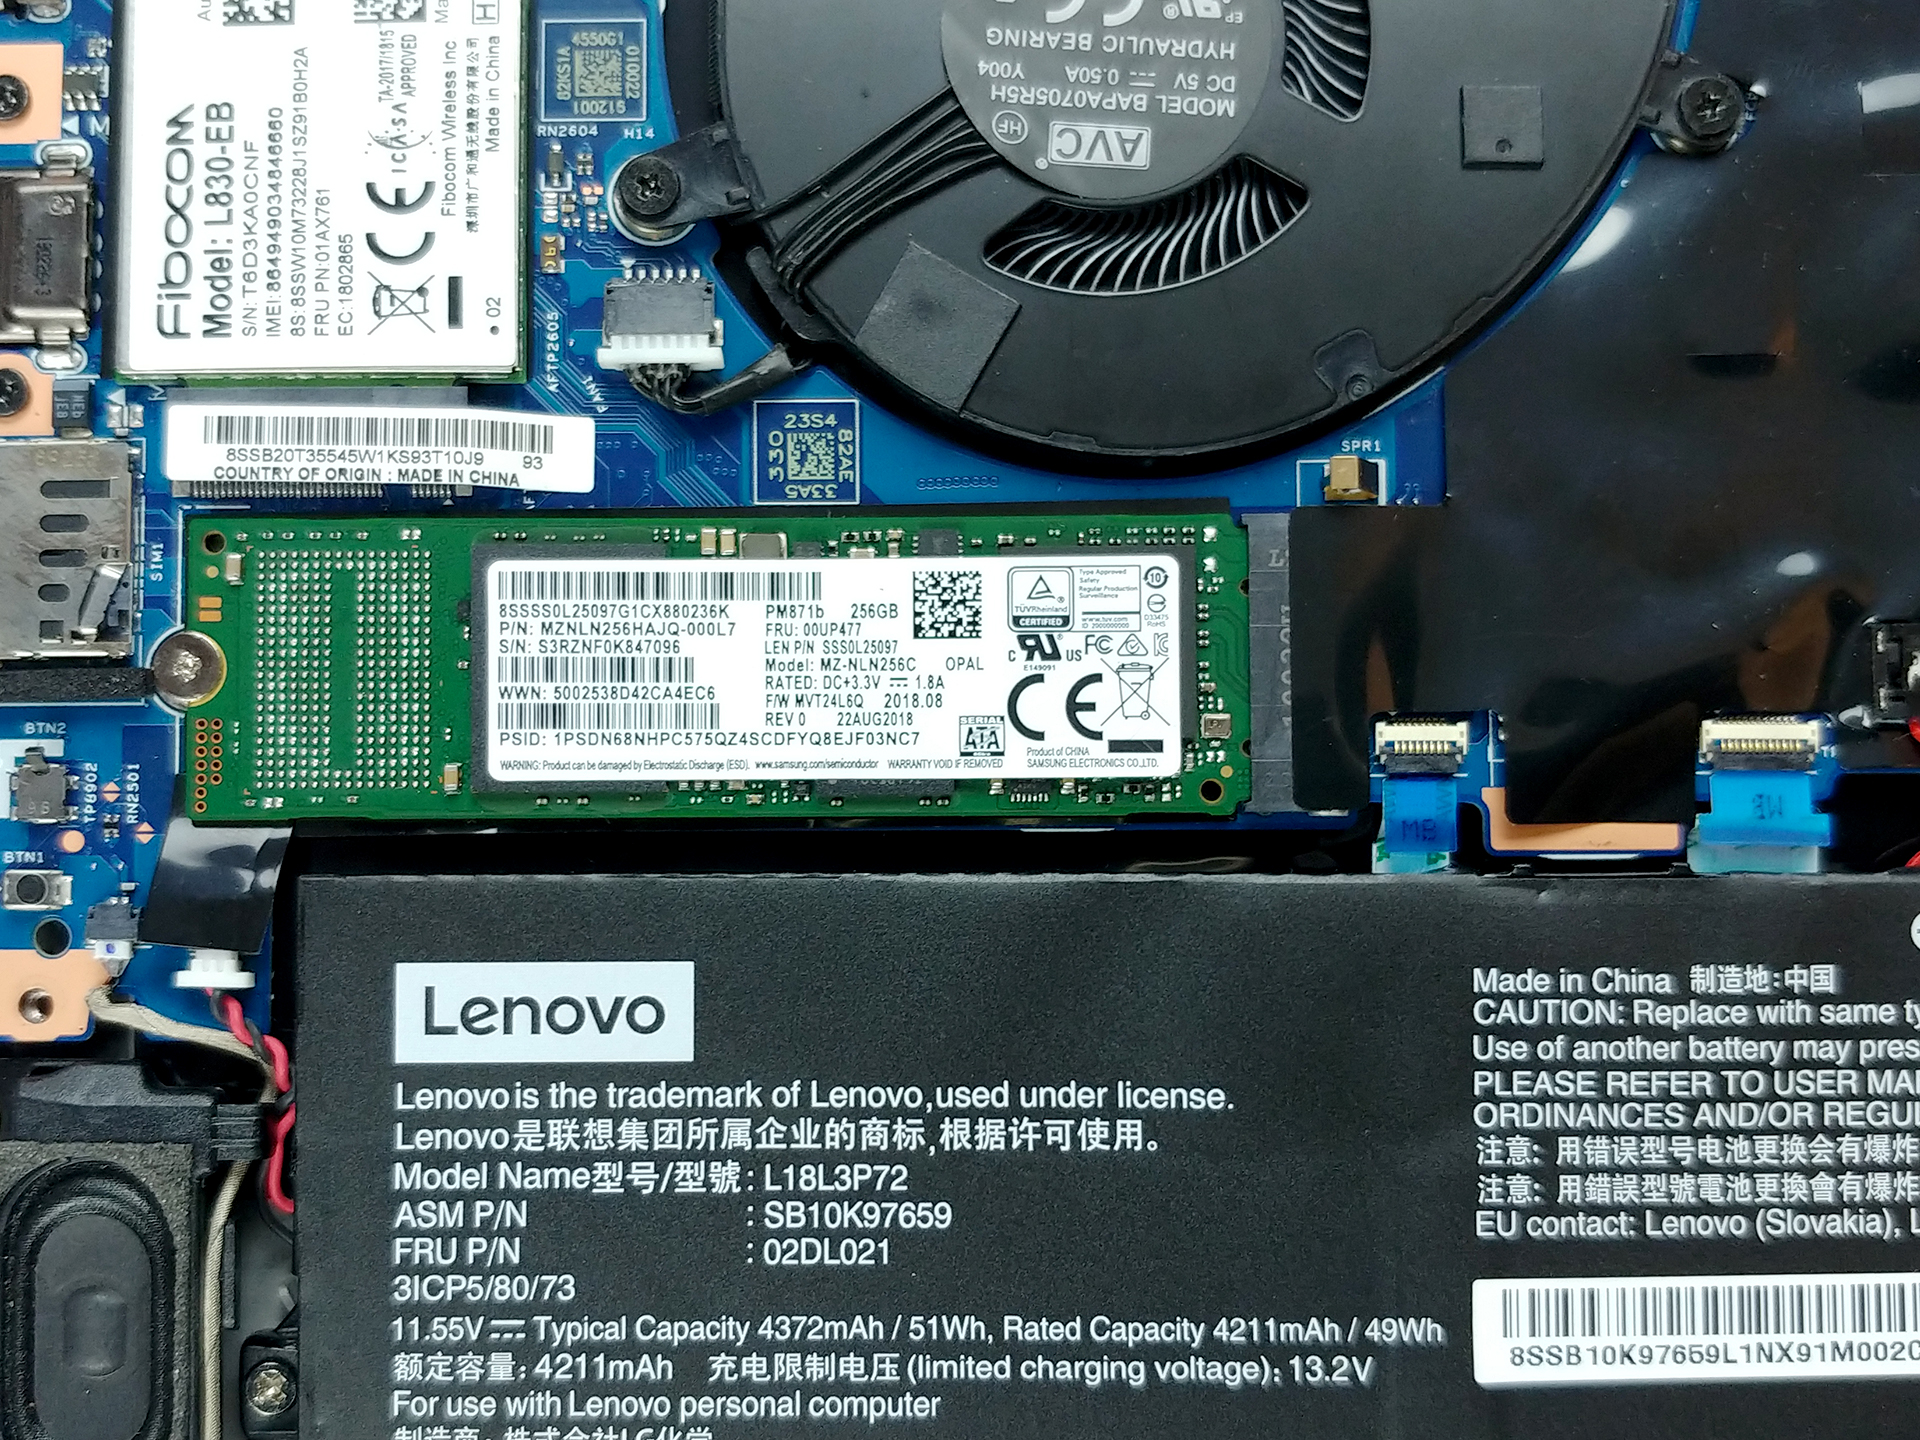
3. Memory and storage
Unfortunately, the RAM on this laptop is soldered to the motherboard. This means, that there is no way of upgrading it. Well… probably resoldering chips with higher capacity can do the job, but it is certainly not for anyone. Thankfully, though, you can upgrade your storage via the M.2 slot (it supports NVMe drives as well).
4. Cooling system
There are no surprises in the cooling design. Lenovo has chosen not to take a path of implementing crazy innovative solutions, but instead went for the classic single heat pipe, attached to a heatsink. Additionally, the fan is not one of the largest ones.

Check out all Lenovo ThinkPad X390 Yoga prices and configurations in our Specs System or read more in our In-depth Review.


![[June 2026] Best-Selling Laptop Brands on Amazon Global – Apple’s Unrivaled Dominance in Units and Revenue](https://laptopmedia.com/wp-content/uploads/2026/07/GLOBAL-Best-Brands-400x225.jpg)
![[June 2026] Amazon Global: Top 10 Best-Selling Laptops – Apple’s New MacBook Neo Storms to #1, Reshaping the Market with Affordability](https://laptopmedia.com/wp-content/uploads/2026/07/Best-Selling-Laptops-GLOBAL-Top-10-400x225.jpg)
![[June 2026] Amazon Global: Top 10 Best-Selling Gaming Laptops – Acer’s Nitro V 16S AI Dominates Sales, While ASUS Leads Overall Revenue](https://laptopmedia.com/wp-content/uploads/2026/07/Best-Selling-Gaming-Laptops-GLOBAL-Top-10-400x225.jpg)
![[June 2026] Global Ranking of Best-Selling Laptop GPUs on Amazon – NVIDIA RTX 5060 is the Top-Selling Dedicated GPU](https://laptopmedia.com/wp-content/uploads/2026/07/Best-Selling-GPUs-GLOBAL-Top-10-400x225.jpg)
![[June 2026] Global Ranking of Best-Selling Laptop CPUs on Amazon – Apple M5 Dominates, AMD Ryzen 7 260 Gets Solid Premium Share](https://laptopmedia.com/wp-content/uploads/2026/07/Best-Selling-CPUs-GLOBAL-Top-10-400x225.jpg)
