MSI PX60 6QE – disassembly, internal photos and upgrade options
The MSI PX60 might lack some essential features but it sure does compensate with others. And as usual, we took apart one of these so you don’t have to go through the process alone. We took it apart only to find out that not all upgrade options are placed conveniently so you will have to get quite busy to access some of them. Also, it’s important to note that the notebook has a warranty sticker on one of the screws so depending on your retailer, it’s not possible to open the laptop for service without voiding the warranty.
You can find some of the available models here: http://amzn.to/2hdr4Nb
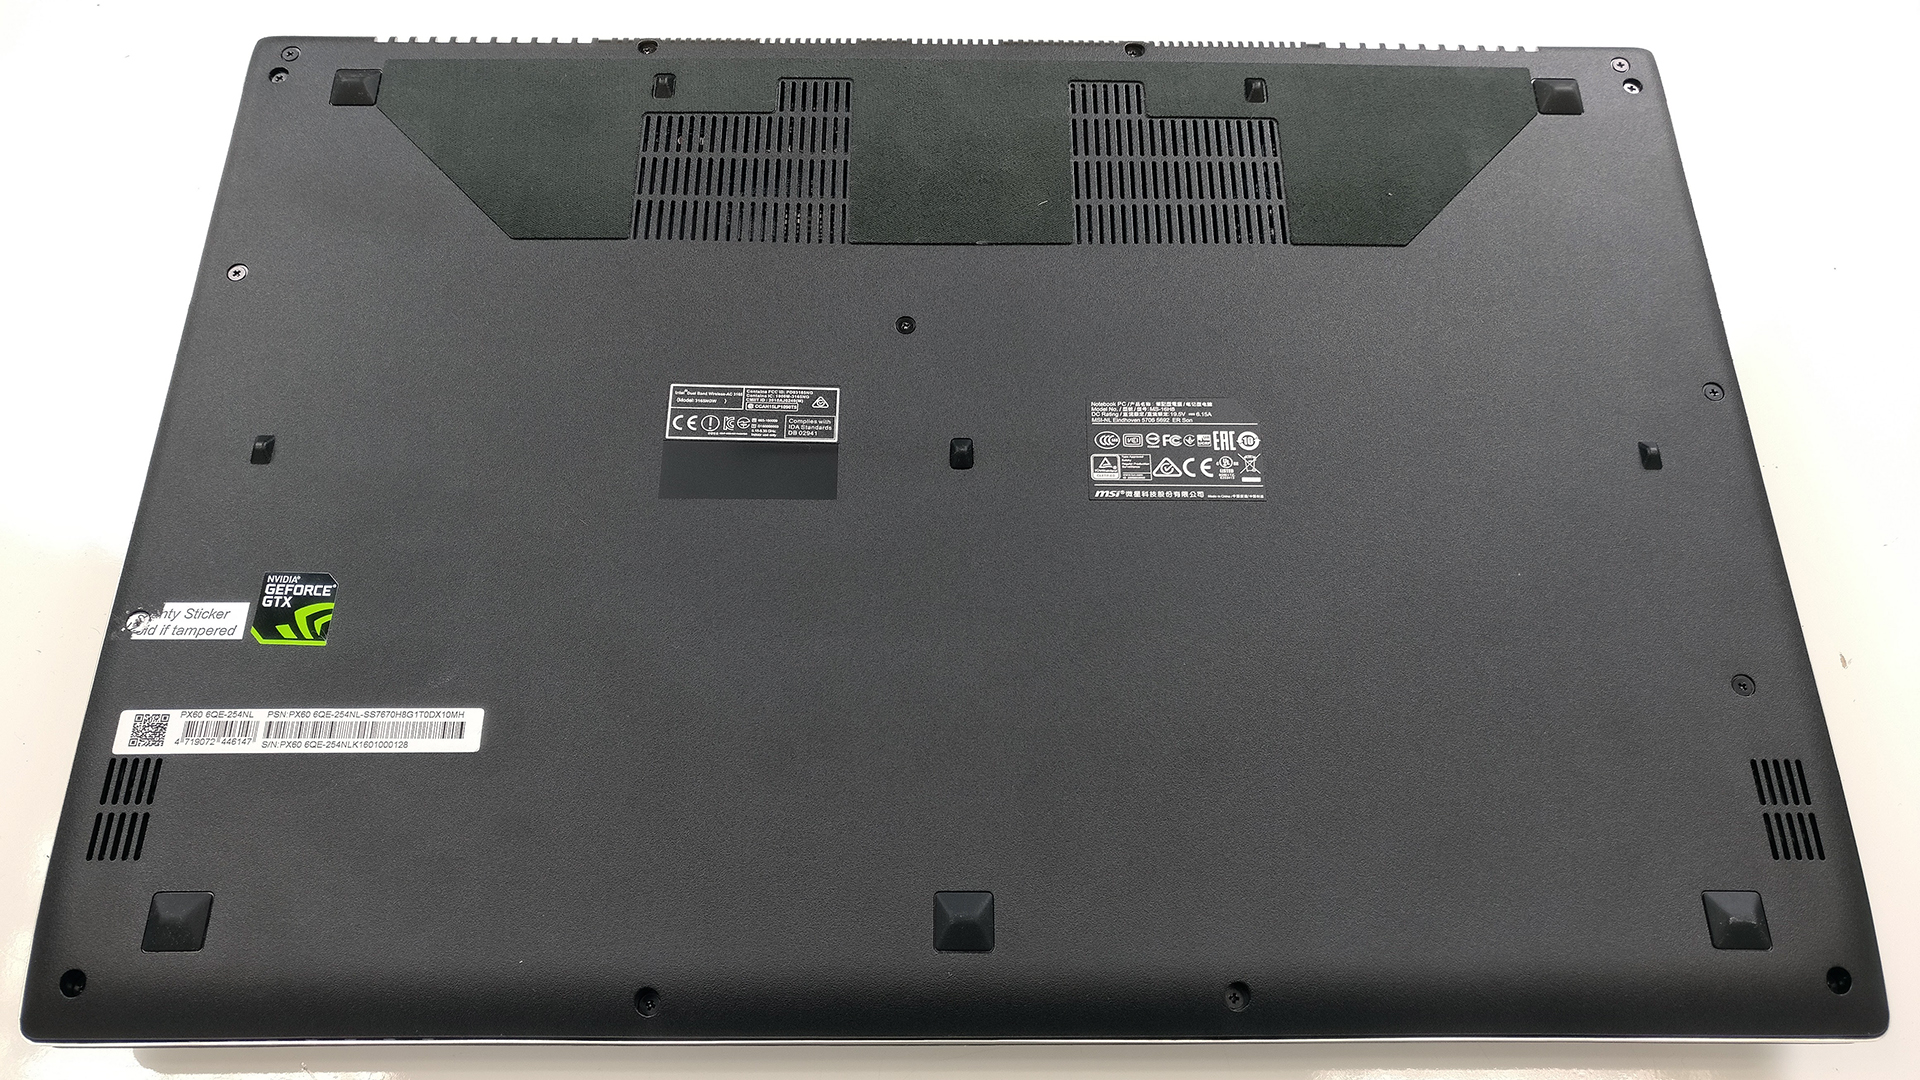
1. Removing the bottom cover
This one goes off quite easy. You only need to remove all the screws and carefully pop open the piece. Using thin plastic tools is preferable.
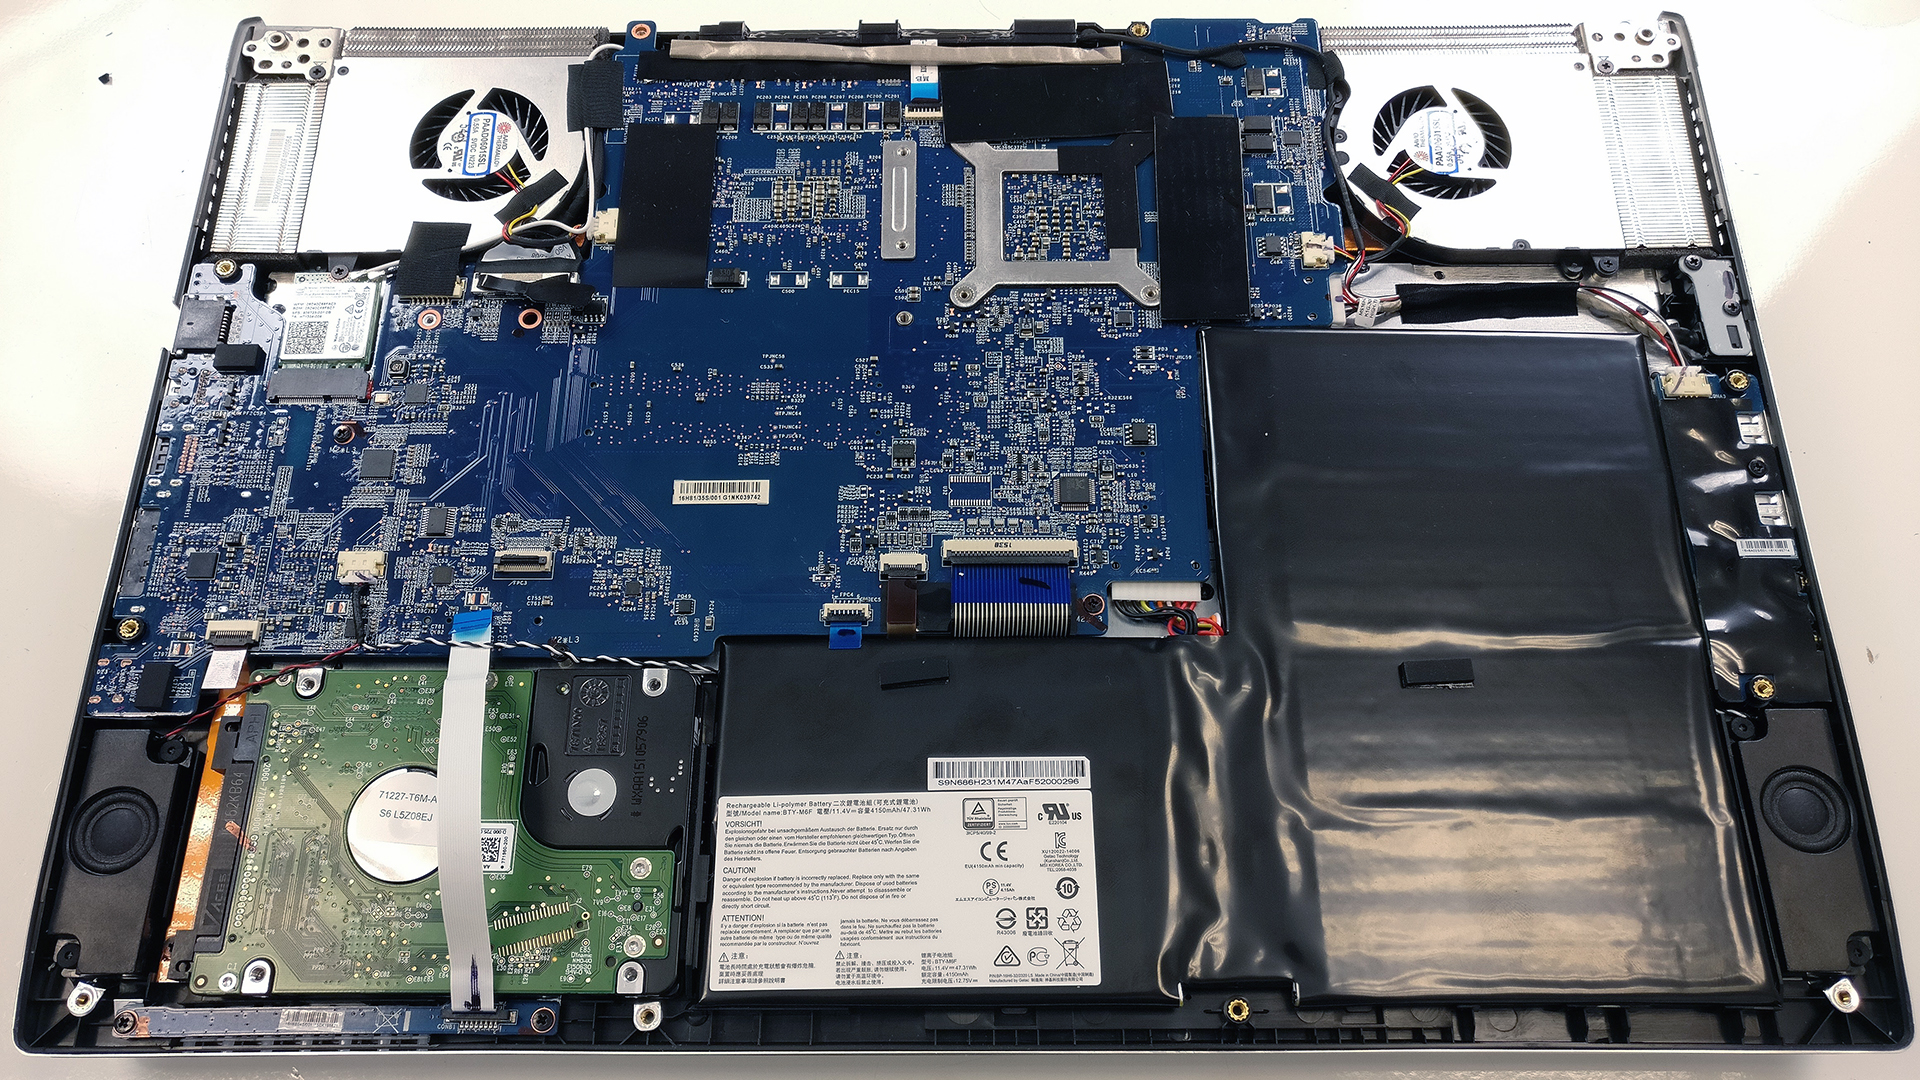
2. Accessing the 2.5-inch drive and battery
So here’s the first challenge. If you want to access the storage, you will have to go through some work in order to upgrade/replace/install an M.2 SSD. But as far as the 2.5-inch drive is concerned, it’s super easy to access. It’s located in the lower left corner and it’s not even held by screws. In our case, the HDD is manufactured by WD in 1TB flavor spinning at 5400 rpm.

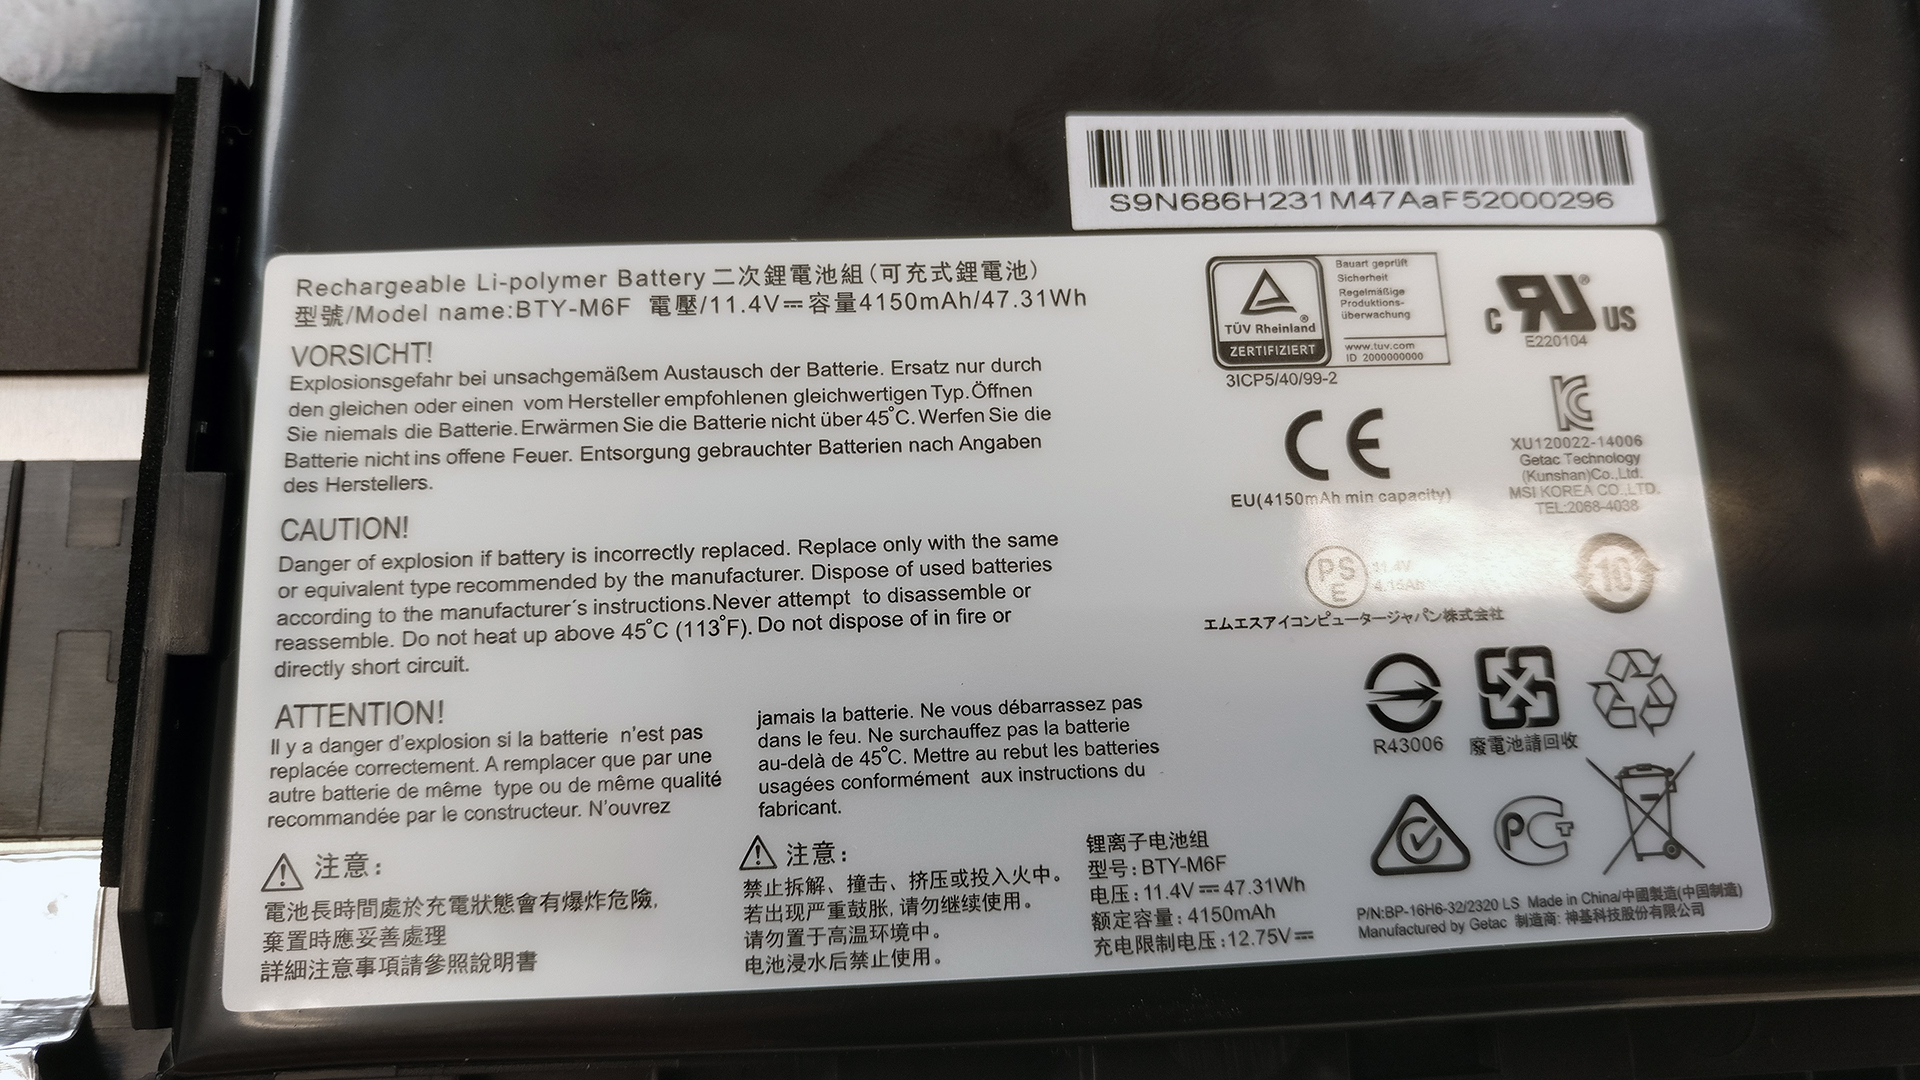
The battery is not easy to miss. It takes a strange shape around the motherboard and it’s also pretty easy to detach. Just follow the cable connected to the motherboard and pull it out. The unit is rated at 47.31Wh.

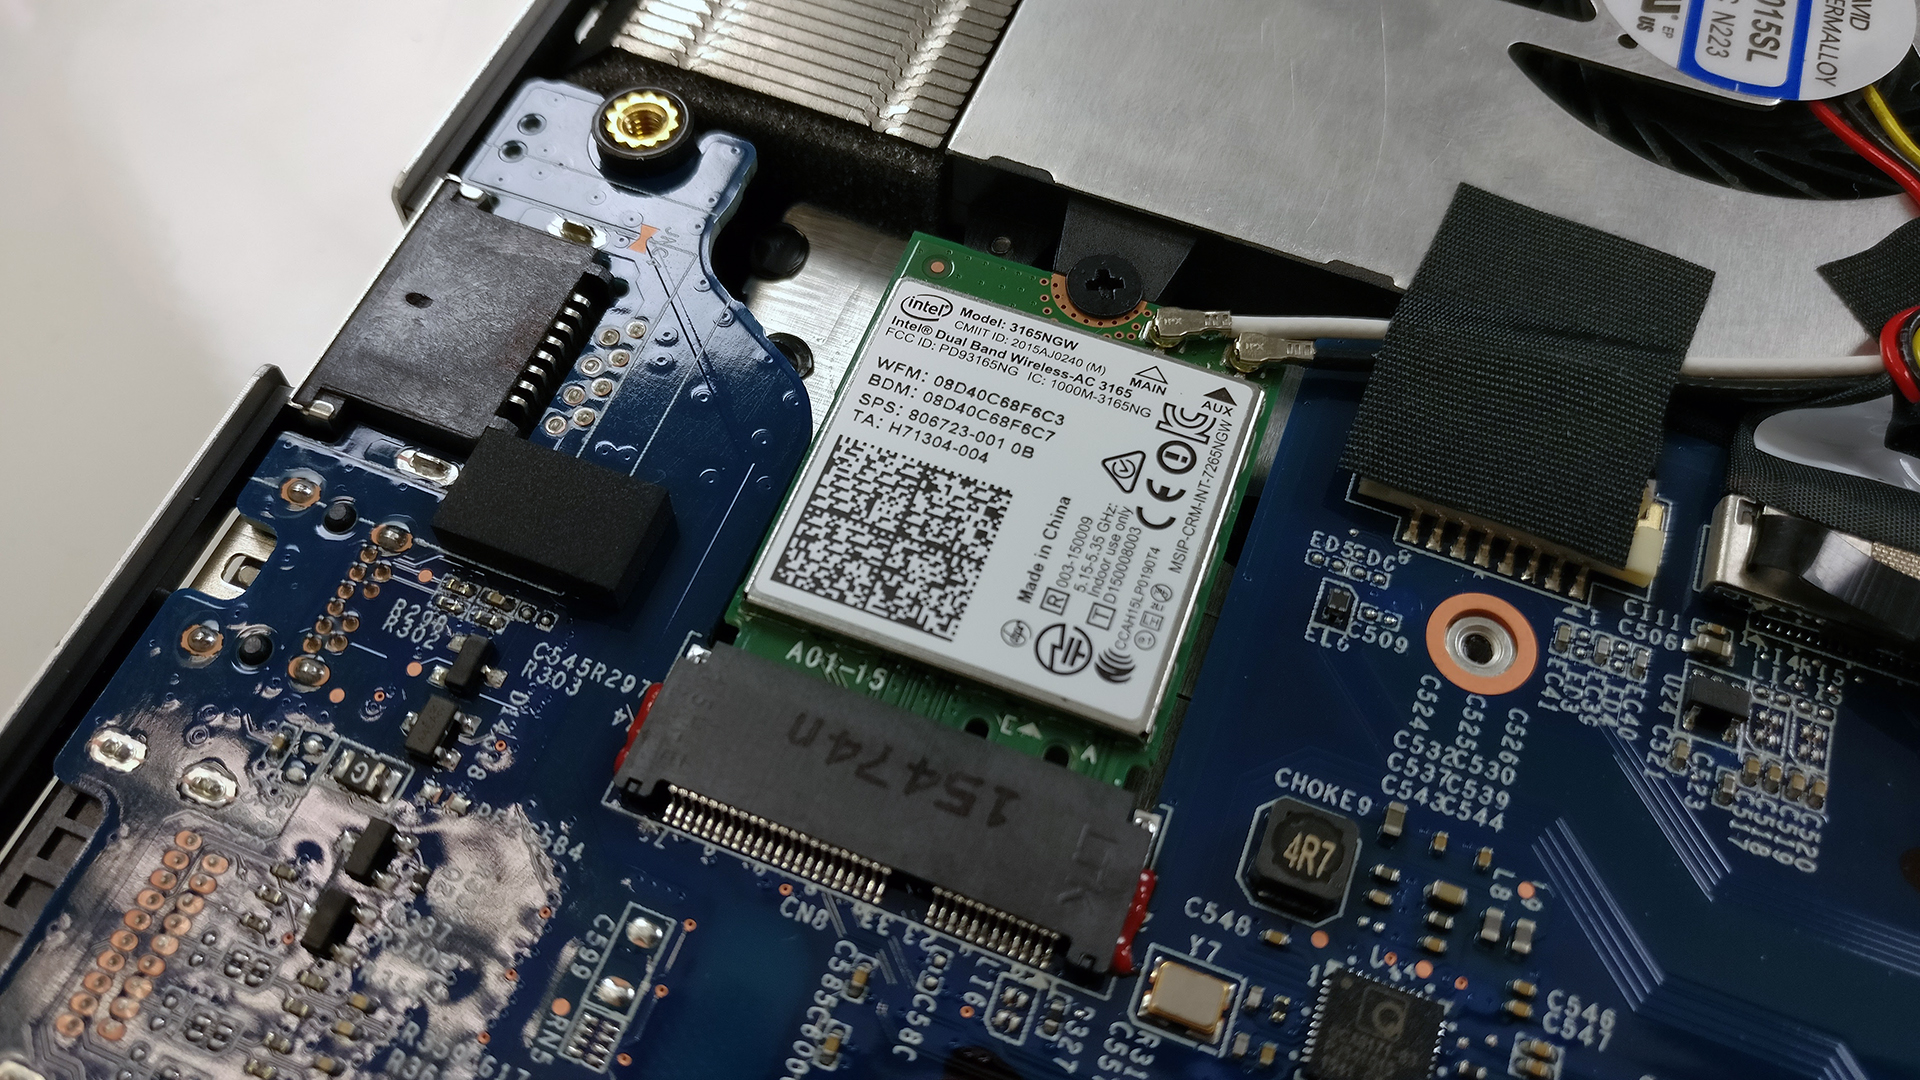
There’s also easy access to the Wi-Fi card – Intel 3165NGW.
3. Flipping the motherboard
If upgrading RAM or accessing the M.2 SSD is the reason for your disassembly, then ready your patience.
Carefully unscrew the few screws around on the motherboard along with the cooling fans on the sides. Then detach all the cables and make sure you don’t miss something. Then you can flip the motherboard.

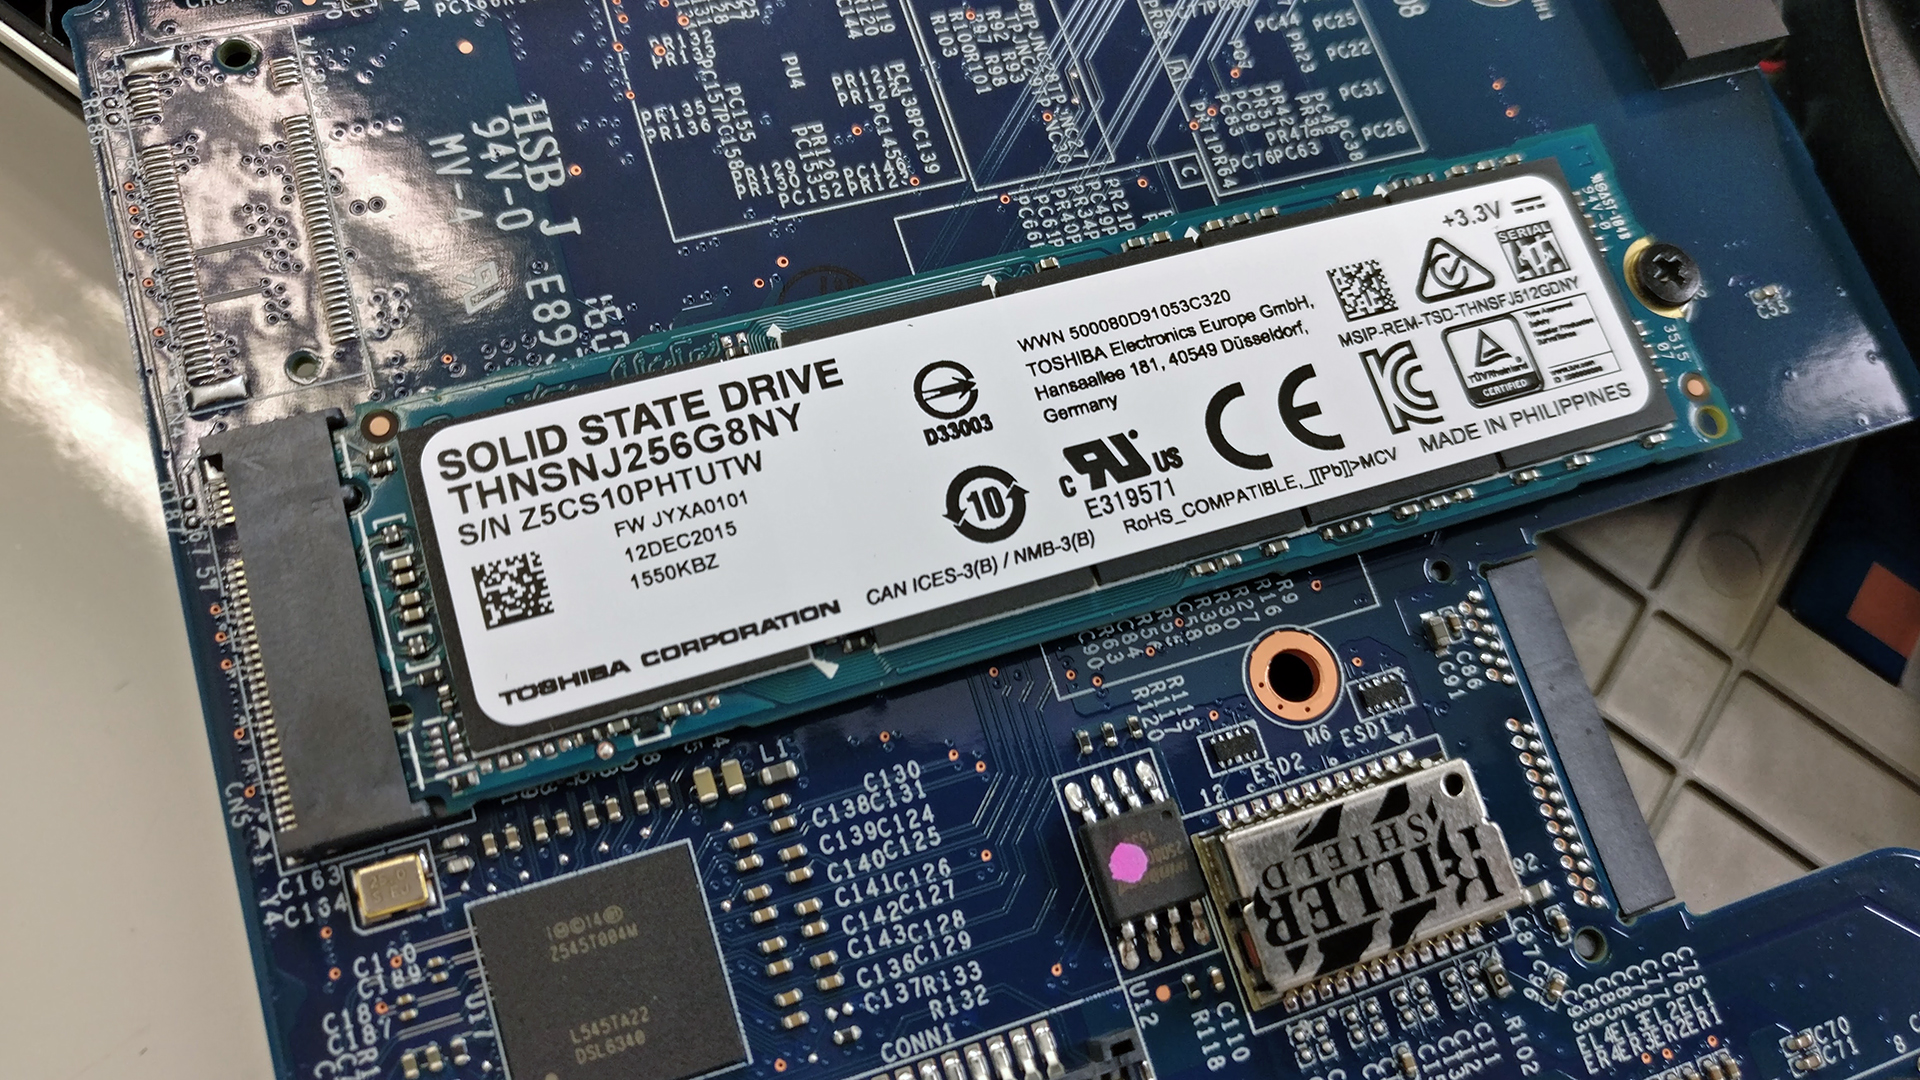
You can see the M.2 SSD stick. In our case, the unit ships with a Toshiba THNSNJ256G8NY with 256GB capacity supporting SATA interface. Keep in mind, though, that more expensive configurations can ship with M.2 PCIe NVMe SSD or you can simply put one yourself.
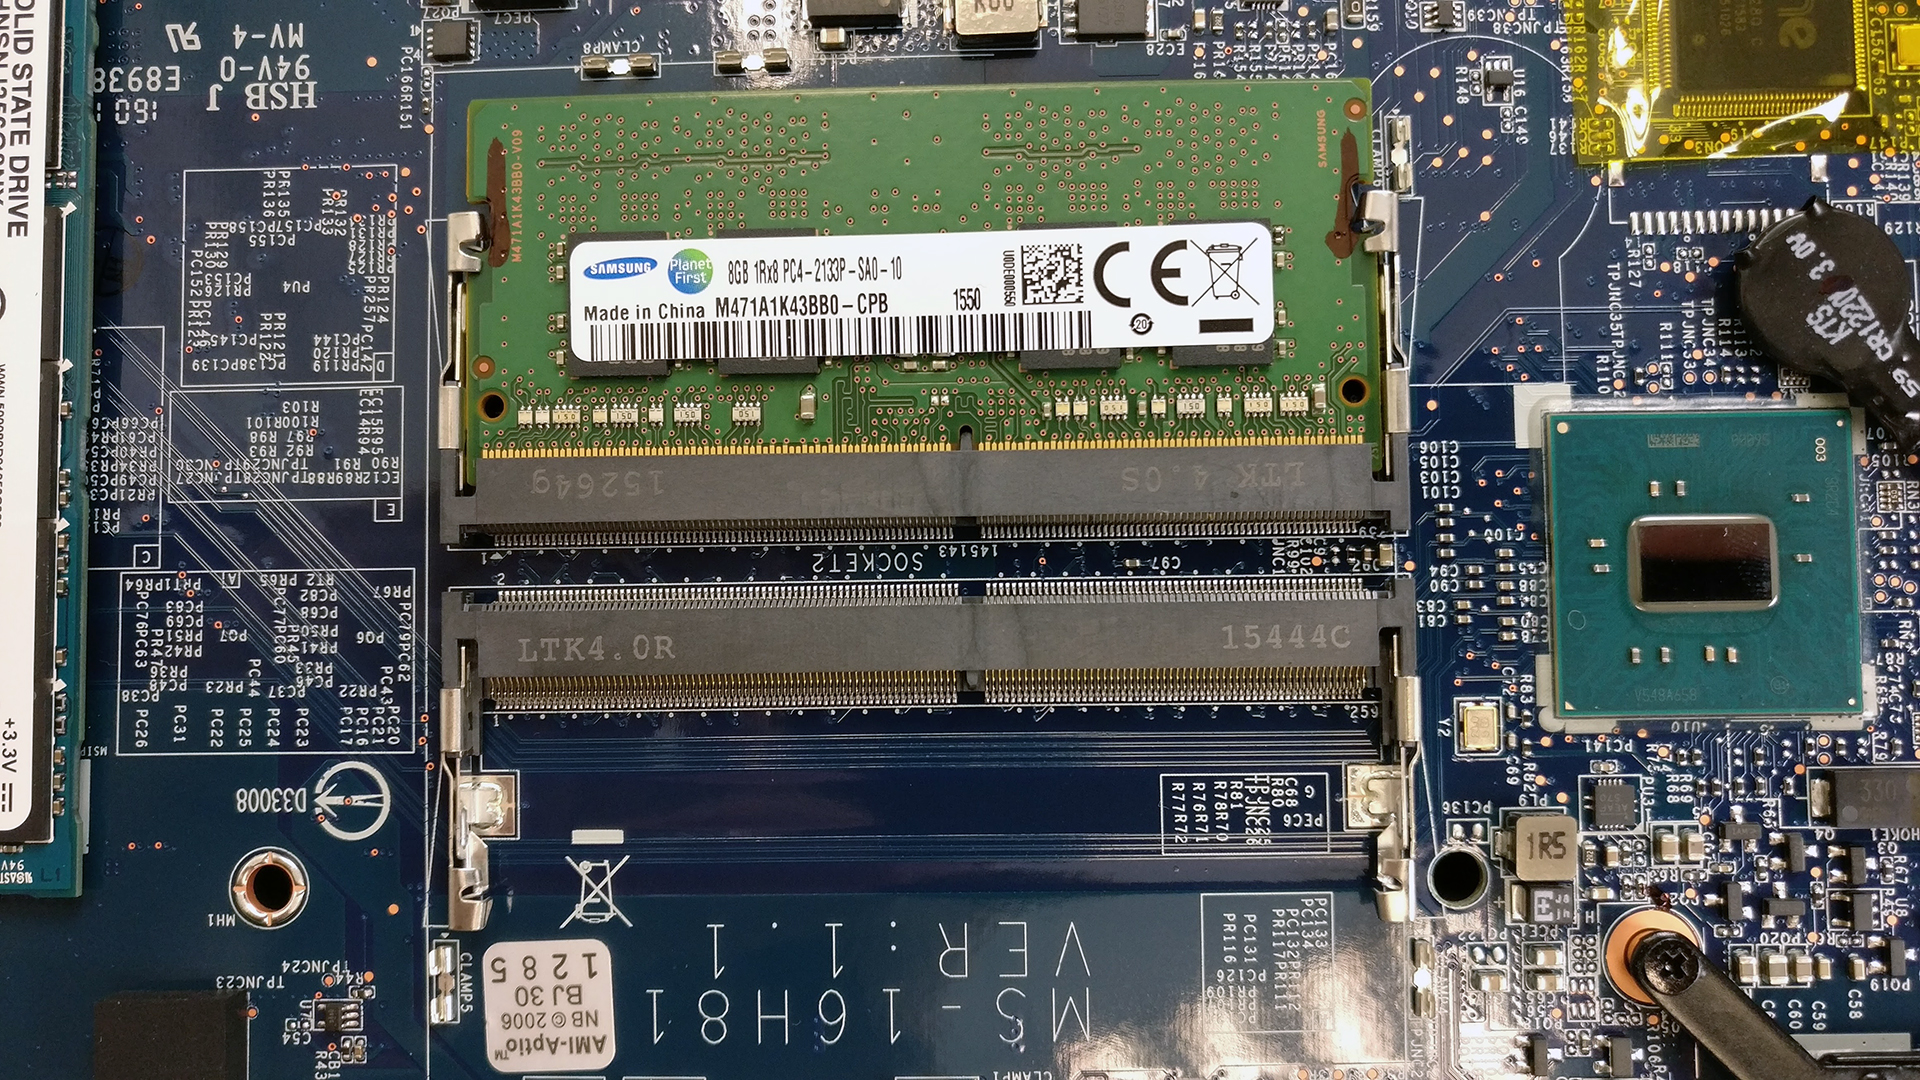
The RAM slots are tucked under a metal plate and as you can see from the image below, one of the slots is taken by a Samsung DDR4-2133 8GB stick.
4. Cooling system
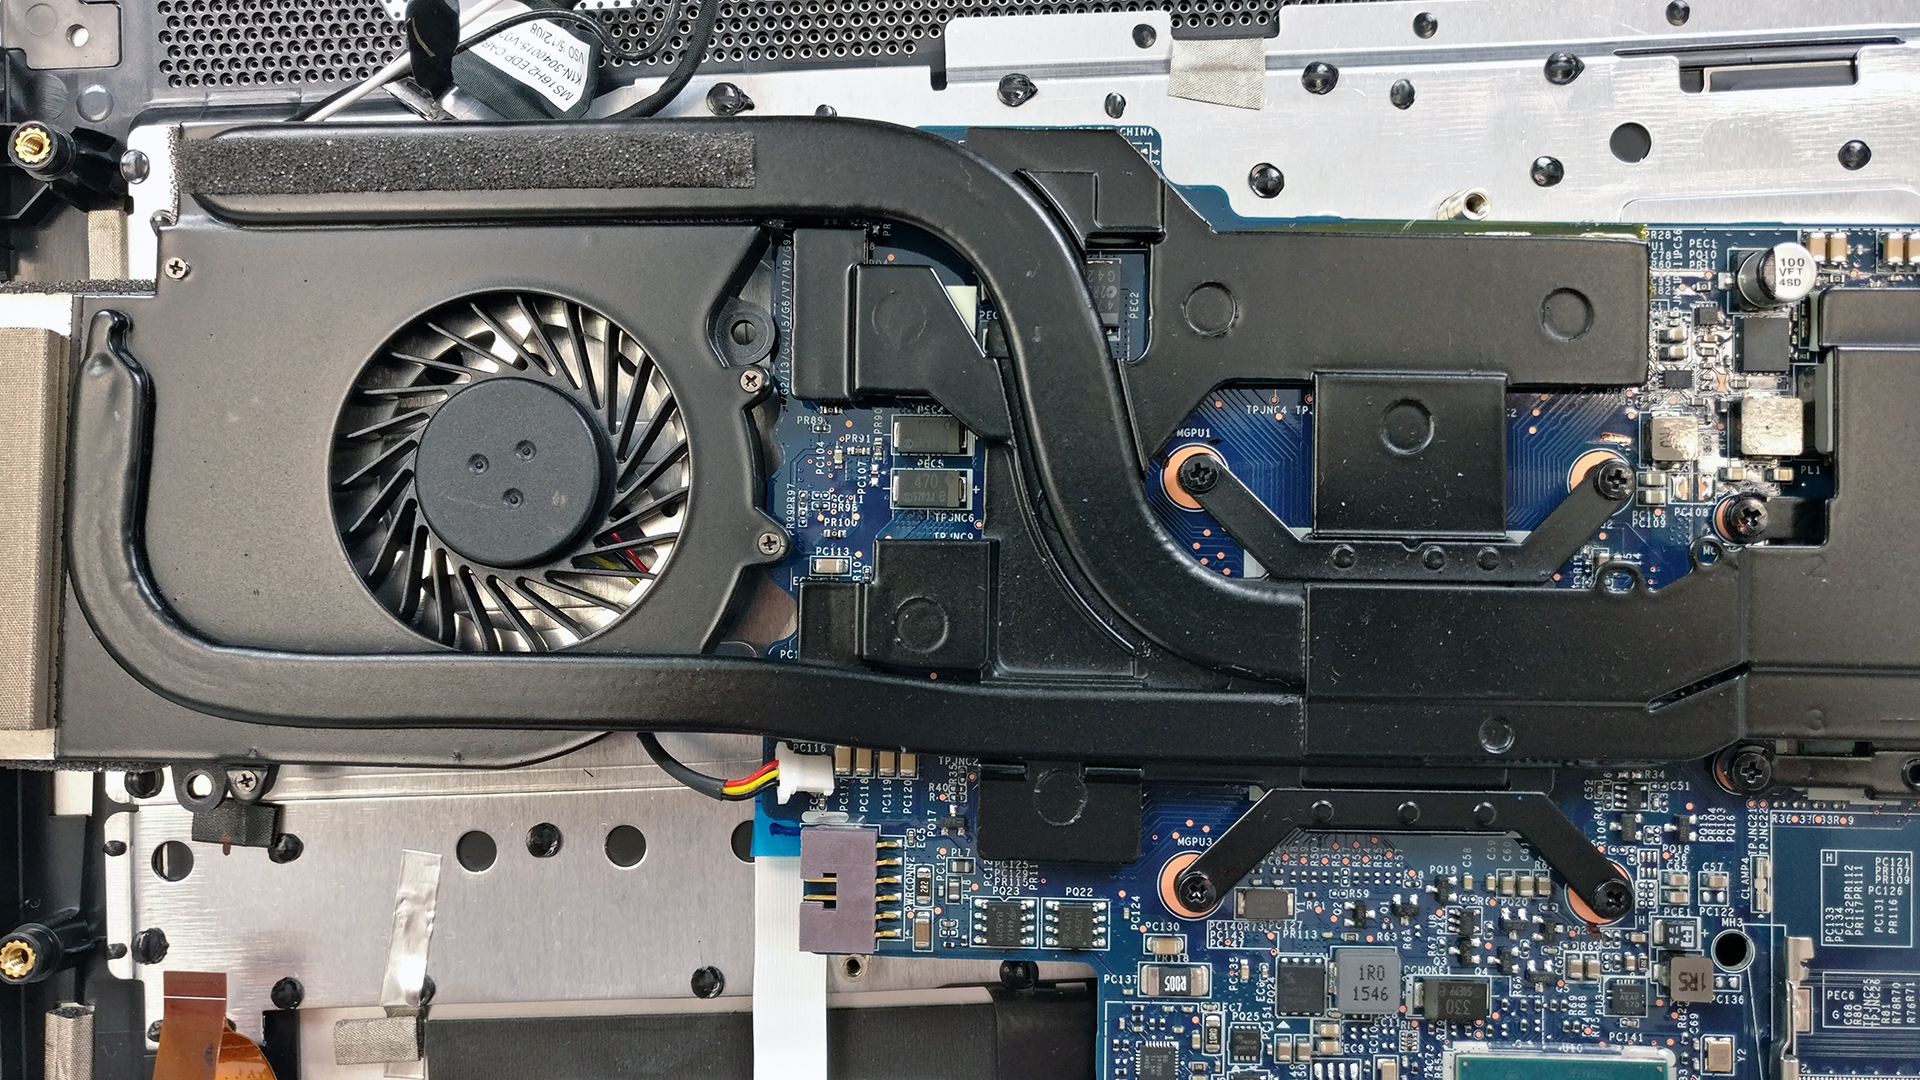
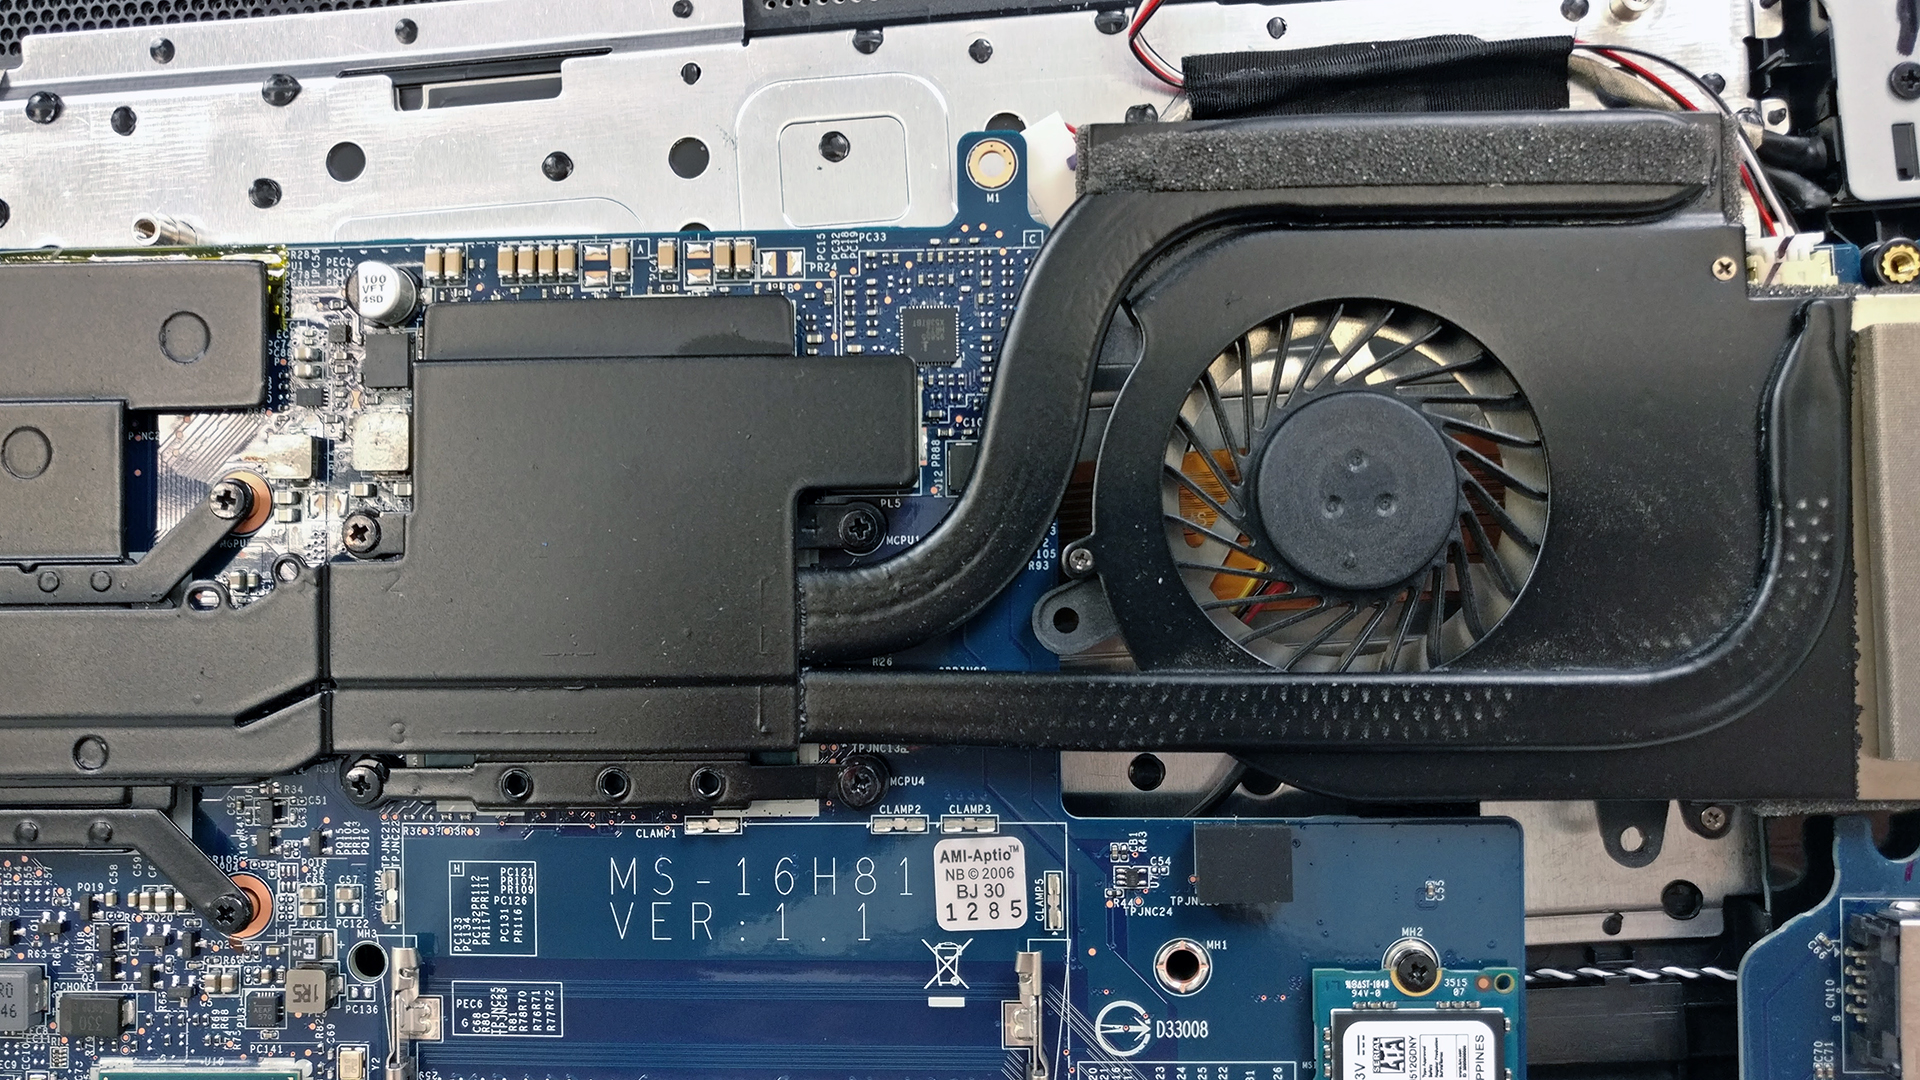
The cooling system is nowhere close to anything we’ve seen in this price range. Usually, they are made more compact with less exhaust vents but the MSI PX60’s cooling design reminds us of high-end gaming laptops. We’ve got two heat pipes going across the motherboard, and heat sinks for bot chips, leading to the two cooling fans positioned on both sides of the machine. We expect good cooling performance just by the looks of it.
You can find some of the available models here: http://amzn.to/2hdr4Nb


![[June 2026] Best-Selling Laptop Brands on Amazon Global – Apple’s Unrivaled Dominance in Units and Revenue](https://laptopmedia.com/wp-content/uploads/2026/07/GLOBAL-Best-Brands-400x225.jpg)
![[June 2026] Amazon Global: Top 10 Best-Selling Laptops – Apple’s New MacBook Neo Storms to #1, Reshaping the Market with Affordability](https://laptopmedia.com/wp-content/uploads/2026/07/Best-Selling-Laptops-GLOBAL-Top-10-400x225.jpg)
![[June 2026] Amazon Global: Top 10 Best-Selling Gaming Laptops – Acer’s Nitro V 16S AI Dominates Sales, While ASUS Leads Overall Revenue](https://laptopmedia.com/wp-content/uploads/2026/07/Best-Selling-Gaming-Laptops-GLOBAL-Top-10-400x225.jpg)
![[June 2026] Global Ranking of Best-Selling Laptop GPUs on Amazon – NVIDIA RTX 5060 is the Top-Selling Dedicated GPU](https://laptopmedia.com/wp-content/uploads/2026/07/Best-Selling-GPUs-GLOBAL-Top-10-400x225.jpg)
![[June 2026] Global Ranking of Best-Selling Laptop CPUs on Amazon – Apple M5 Dominates, AMD Ryzen 7 260 Gets Solid Premium Share](https://laptopmedia.com/wp-content/uploads/2026/07/Best-Selling-CPUs-GLOBAL-Top-10-400x225.jpg)

Where is the CMOS battery in this?, my laptop doesn’t keep correct time and it’s driving me Crazy!, I assume the CMOS battery is dead.
Hey, Barry. Check out the picture of the RAM – the battery is located on the right side of the image – the black coin-sized thingie.
Is there any way to remove the keyboard on this laptop?
Is there any way to remove the keyboard on this laptop?