Lenovo Yoga Pro 9i


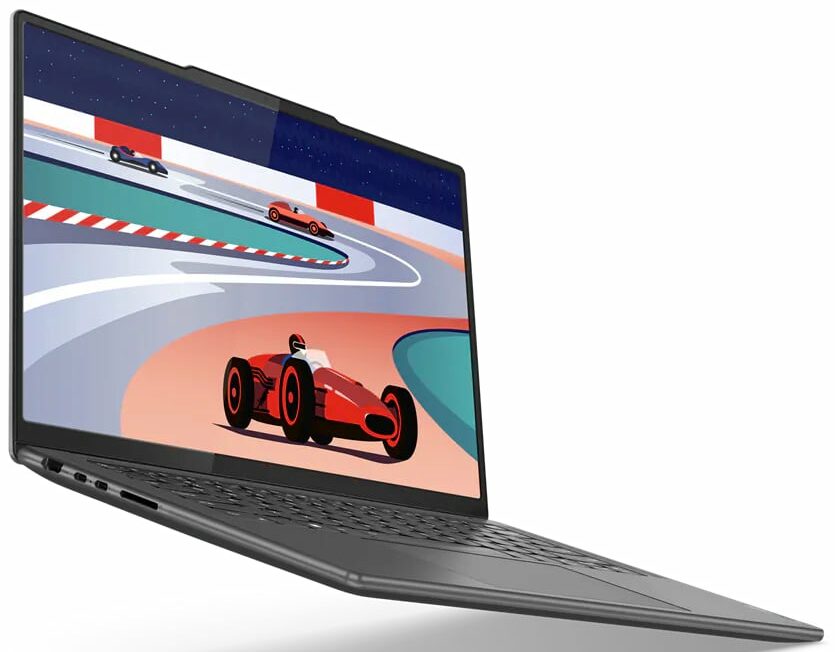


- Date Published: 12 Sep 2024
- Intel Core i7-13705H
- NVIDIA GeForce RTX 4050 (Laptop, 80W)
- 14.5”, 3K (3072 x 1920), 120 Hz, IPS
- 512GB SSD
- 16GB RAM
- 1.65 kg (3.6 lbs)
Review
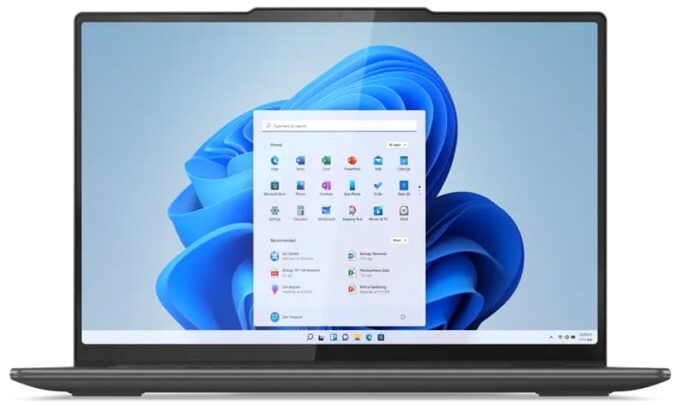
Lenovo Yoga Pro 9i in-depth review
Lenovo definitely knows how to make compact and powerful devices. With the Lenovo Yoga 9 (14″, 2023) they showed a strong contender in the 2-in-1 category while the extravagant Lenovo Yoga Book 9 is a curious light machine with two displays and many extras.Still, if you prefer a more traditional design but you still need high-end hardware in a compact and light chassis, the Lenovo Yoga Pro 9i (14", Gen 8) is one of the best possible options. This fella comes with a choice of three 3K display options - two of them have touch support and the top model is a Mini LED panel. We picked a device with the latter because we like to test new tech and we want to see how good this high-res display is.The main event is hidden under the bonnet. There, you can find power Raptor Lake-H CPUs and NV[...]
Read the full review
Pros
- Strong and stylish aluminum chassis
- Very good cooling and performance
- 99% sRGB and 96% DCI-P3 coverage (CSOT MNE507HZ2-1 (CSO1418))
- Has accurate color representation with our “Gaming and Web design profile” (CSOT MNE507HZ2-1 (CSO1418))
- Great contrast ratio (CSOT MNE507HZ2-1 (CSO1418))
- High resolution and 16:10 aspect ratio (CSOT MNE507HZ2-1 (CSO1418))
- IR camera with E-shutter
- 4-in-1 card reader
- Supports Advanced Optimus
- Comfortable input devices
Cons
- Soldered memory and just one M.2 slot
- Lacks a fingerprint reader
- Average battery life
- Three 5Gbps ports
Disassembly, maintenance and upgrade options
Step 1: Opening the Lenovo Yoga Pro 9i (14, Gen 8)Ensure the Lenovo Yoga Pro 9i (14, Gen 8) is powered off and placed on a soft, clean surface to prevent scratches or damage. Remove the five Torx-head screws from the bottom of the laptop. Use a plastic tool to pry open the bottom panel or carefully lift the plate by holding the central part to pop it up.Hint: Be cautious when lifting the panel to avoid damaging any internal components or the clips holding the panel in place.Step 2: Battery RemovalDisconnect the battery by pulling out its connector from the mot[...]
Read more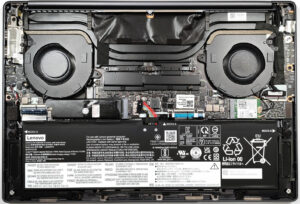


![[June 2026] Best-Selling Laptop Brands on Amazon Global – Apple’s Unrivaled Dominance in Units and Revenue](https://laptopmedia.com/wp-content/uploads/2026/07/GLOBAL-Best-Brands-400x225.jpg)
![[June 2026] Amazon Global: Top 10 Best-Selling Laptops – Apple’s New MacBook Neo Storms to #1, Reshaping the Market with Affordability](https://laptopmedia.com/wp-content/uploads/2026/07/Best-Selling-Laptops-GLOBAL-Top-10-400x225.jpg)
![[June 2026] Amazon Global: Top 10 Best-Selling Gaming Laptops – Acer’s Nitro V 16S AI Dominates Sales, While ASUS Leads Overall Revenue](https://laptopmedia.com/wp-content/uploads/2026/07/Best-Selling-Gaming-Laptops-GLOBAL-Top-10-400x225.jpg)
![[June 2026] Global Ranking of Best-Selling Laptop GPUs on Amazon – NVIDIA RTX 5060 is the Top-Selling Dedicated GPU](https://laptopmedia.com/wp-content/uploads/2026/07/Best-Selling-GPUs-GLOBAL-Top-10-400x225.jpg)
![[June 2026] Global Ranking of Best-Selling Laptop CPUs on Amazon – Apple M5 Dominates, AMD Ryzen 7 260 Gets Solid Premium Share](https://laptopmedia.com/wp-content/uploads/2026/07/Best-Selling-CPUs-GLOBAL-Top-10-400x225.jpg)