Inside Lenovo Legion Y540 – disassembly and upgrade options
Here is the successor of one of the most popular mid-tier gaming devices from 2018 (Legion Y530) – the Lenovo Legion Y540. Now with more powerful hardware. It is of most interest, how Lenovo has managed to deal with the amount of power and what type of compromises were made in order to keep the price down.
Check out all Lenovo Legion Y540 prices and configurations in our Specs System, while our In-Depth review is coming soon.
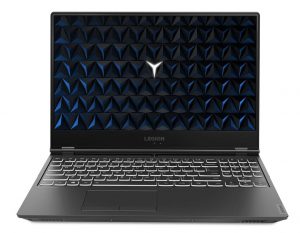
1. Remove the bottom plate
Similarly to its predecessor, there are no service lids – you have to take the entire bottom panel to access the internals. On the bright side, though, you can easily do it at home with a simple Phillips-head screwdriver – remove a total of 11 screws and pry the bottom plate with a guitar pick or another plastic tool.
Interestingly, the insides show almost the exact same layout to the Legion Y530.

2. Battery
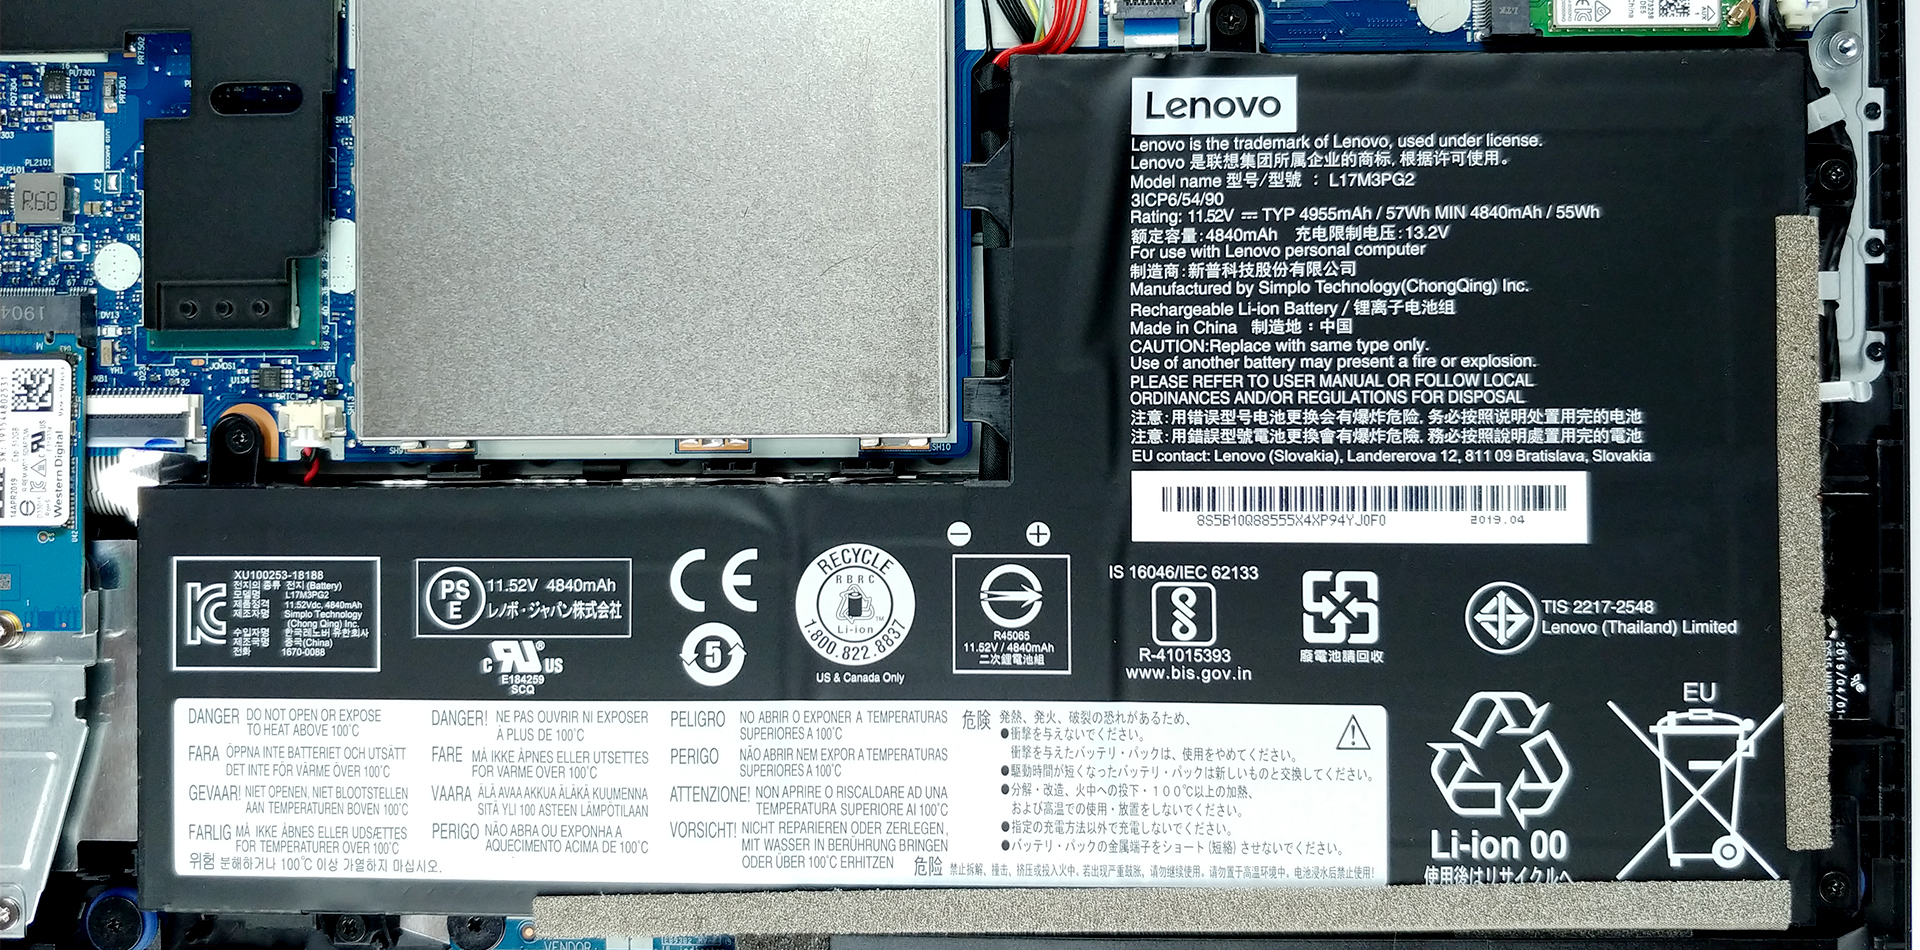
Its battery has a 57Wh capacity and in order to continue with the disassembly, you should unplug it from the motherboard. The battery itself is held in place by five Phillips-head screws.
3. Memory and storage
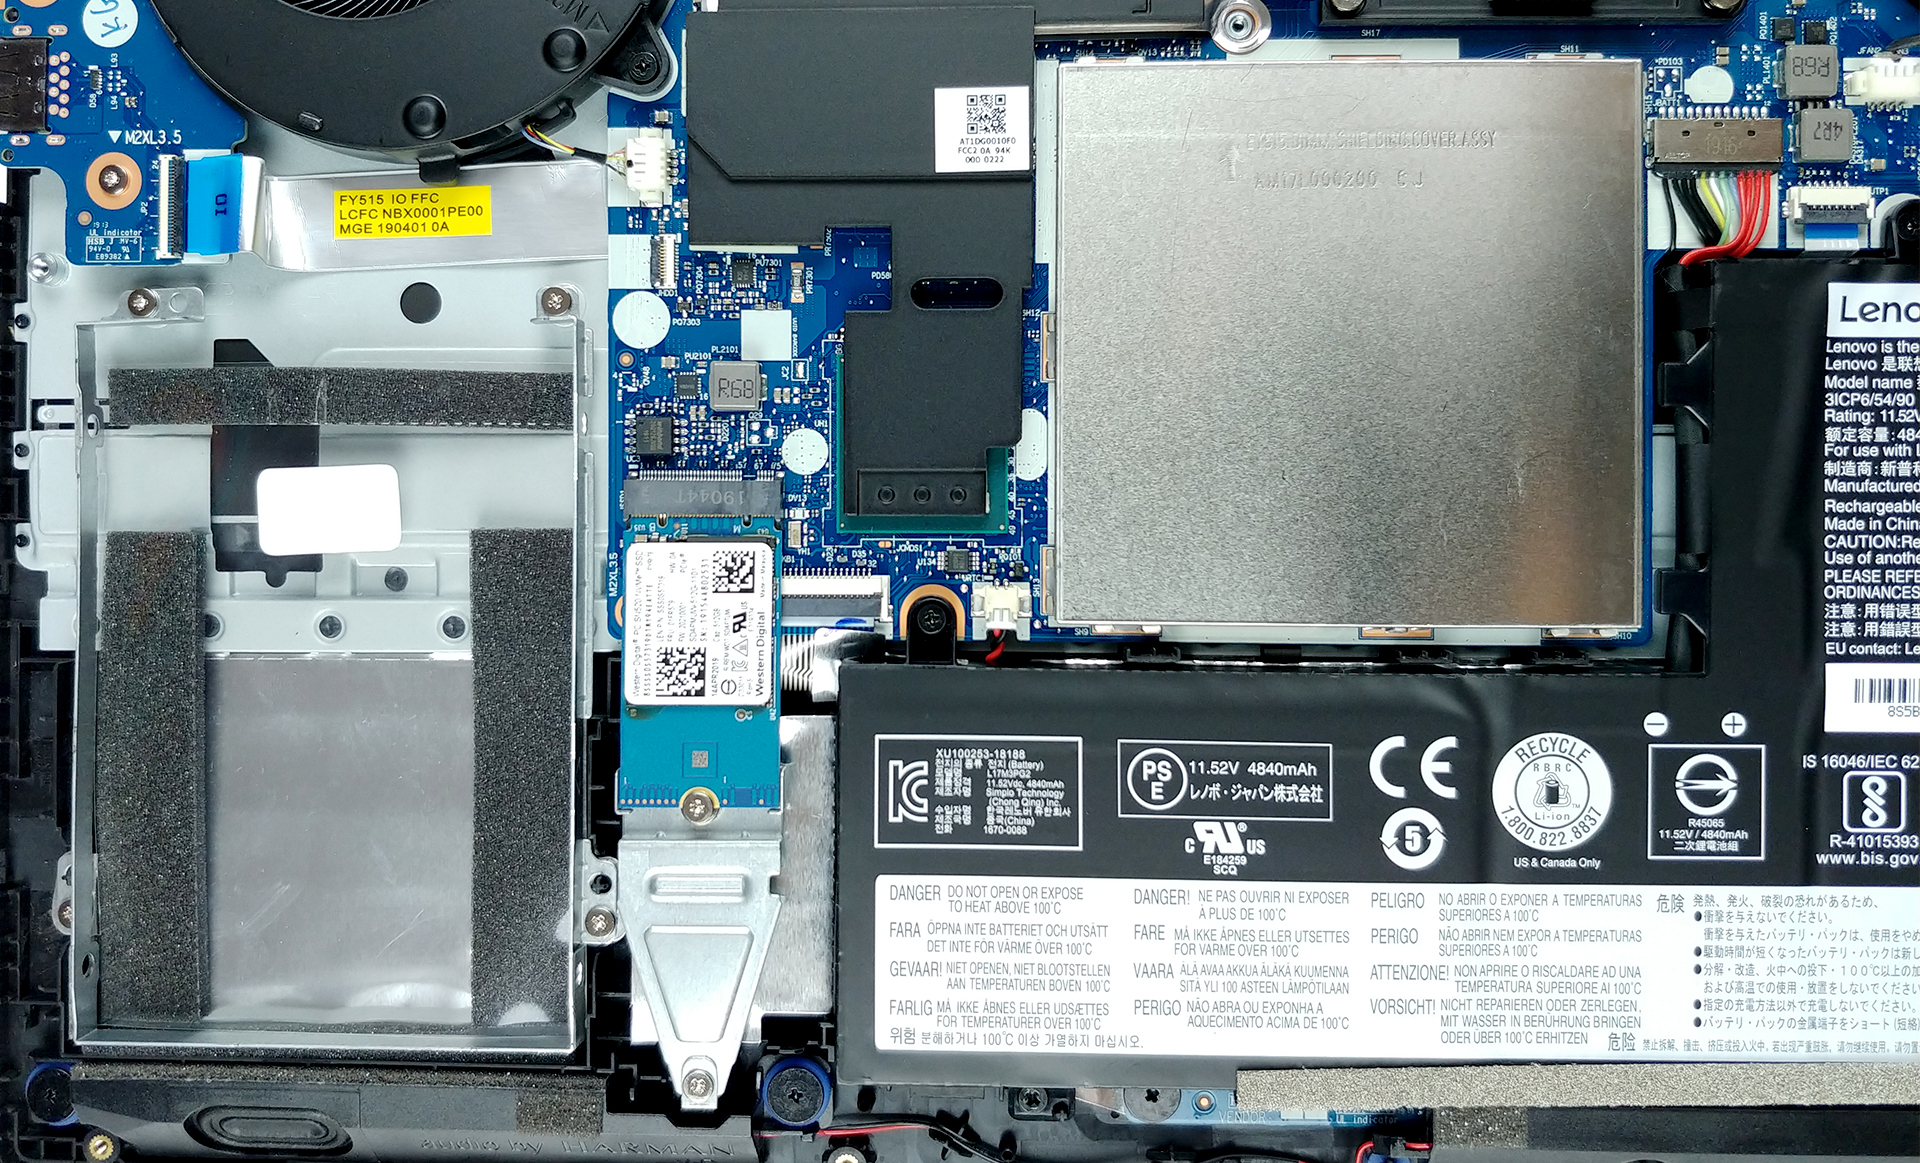
In terms of memory and storage, the Legion Y540 has a single M.2 PCIe slot and a single SATA drive slot. Then there are the two RAM DIMMs, able to pack up to 32GB of DDR4 memory. In fact, they are covered by the same metal plate as last year.
4. Cooling system
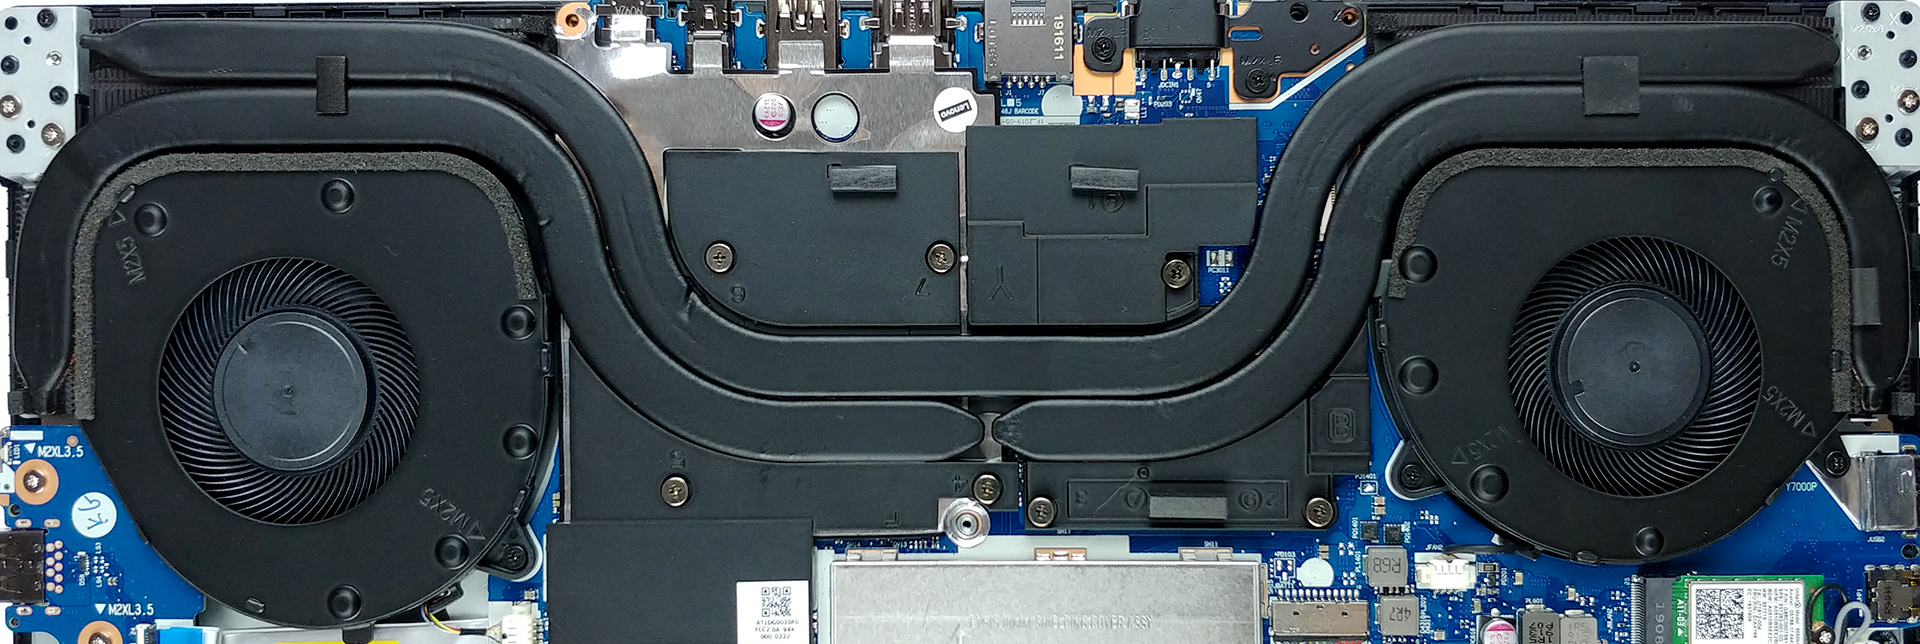
As we mentioned, the cooling solution didn’t see any significant changes as well. There are a total of three heat pipes in use here. All of them are rather thick with one of them cooling off both of the chips and one more for each of them. We are not seeing the intricate metal plate game we saw on the Legion Y740, so we expect a little less effectiveness of the cooling altogether – courtesy of the cost-cutting.
Check out all Lenovo Legion Y540 prices and configurations in our Specs System, while our In-Depth review is coming soon.
 Author: Alex Iliev

![[August 2026] Best-Selling Laptop Brands on Amazon Japan – Apple Dominates Market Share and Revenue Led by Strong Unit Sales](https://laptopmedia.com/wp-content/uploads/2026/09/CO.JP-Best-Brands-1-400x225.jpg)
![[August 2026] Best-Selling Laptop Brands on Amazon USA – Apple Dominates Market Revenue and Volume Despite Lower Model Diversity](https://laptopmedia.com/wp-content/uploads/2026/09/COM-Best-Brands-1-400x225.jpg)
![[August 2026] Amazon Germany: Top 8 Best-Selling Gaming Laptops – Acer Dominates the Market as the Premium Nitro V 17 AI Takes the #1 Spot](https://laptopmedia.com/wp-content/uploads/2026/09/Best-Selling-Gaming-Laptops-DE-Top-10-1-400x225.jpg)
![[August 2026] Best-Selling Laptop Brands on Amazon France – Apple Dominates Revenue Despite Lenovo and HP Leading in Catalog Breadth and Volume](https://laptopmedia.com/wp-content/uploads/2026/09/FR-Best-Brands-1-400x225.jpg)
![[August 2026] Amazon Italy: Top 10 Best-Selling Laptops – Apple MacBook Neo Claims the Crown as Budget and Mid-Range Windows Machines Dominate Volume](https://laptopmedia.com/wp-content/uploads/2026/09/Best-Selling-Laptops-IT-Top-10-400x225.jpg)

After upgrading with the hdd the back panel doesn’t close properly(a bump on the keyboard panel). Had to remove the hdd after a while was getting worried that it would damage the casing. Any fix for this?
You should use slim hdd (7mm), I think you have 9,5mm hdd
Any way to upgrade the cooling system? Honestly, it is pretty horrible at dissipating heat and it’s causing my games to stutter (ie. Dishonored 2, CoD WWII).
Yes try using a cooling pad or some sort of cooling fan you can put under it, it drops the internal temp by a lot and helps out they’re like $20-$25 for a good one on amazon. Since it will connect to a USB port you can get power supply right then and there.
You can also undervolt the CPU, this dropped my y540 by ~15 C and it performs better since it is not thermal throttling at all.
Added these to the bottom along the back side . slants the whole laptop and increases the airflow availability on the bottom side.
Grant it , I don’t play games on mine but do video editing etc so I did see an improvement in temps after adding these.
https://www.amazon.com/Platinum-Silicone-Hemisphere-Non-Skid-Isolation/dp/B08GNV4BV1/ref=sr_1_14?keywords=rubber%2Bfeet%2Bstick%2Bon&qid=1639608849&sr=8-14&th=1
LOL year old post ….
Is there a way to replace the power port? It will no longer make a connection with the power plug. I can’t tell from the video if it’s soldered in or it’s connected via a wire. If it can be replaced, does anyone know the part # and whether there are any other steps to get to it than what is shown here for the other mods?
Thx!!
What is the big empty space used for at the bottom left of the computer (when the computer is upside down ).
That’s a SATA drive tray. You can install storage upgrades in that slot. Either a 2.5″ internal Hard Drive or a SATA SSD.
Can i change the gpu?
is the single SATA drive slot for a 2.5″ drive?
Yes it is, I currently have a 2.5″ SATA SSD in that slot, along with the 2280 NVMe SSD that came included in the M.2 slot.
Added an SSD to mine for Linux and kept the NVMe with windows .
Dual boot of sorts but every time I update BIOS I have to adjust my boot parameters in BIOS to get GRUB to boot correctly.