Inside HP Pavilion x360 15 (15-cr0000) – disassembly and upgrade options
If you are familiar with HP and the way they package their notebooks, you would know that the company is champion in the game – hide the screw. If not – you will understand in a second.
Check out all HP Pavilion x360 15 (15-cr0000) prices and configurations in our Specs System or read more in our In-Depth review.
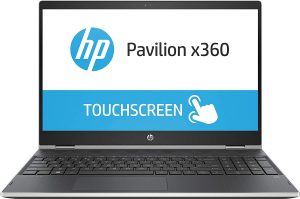
1. Remove the bottom plate
So, at first glance, there is nothing special with this device – remove the screws and pop the panel open. However, HP has decided to spice this up by hiding some of the screws beneath the top feet.
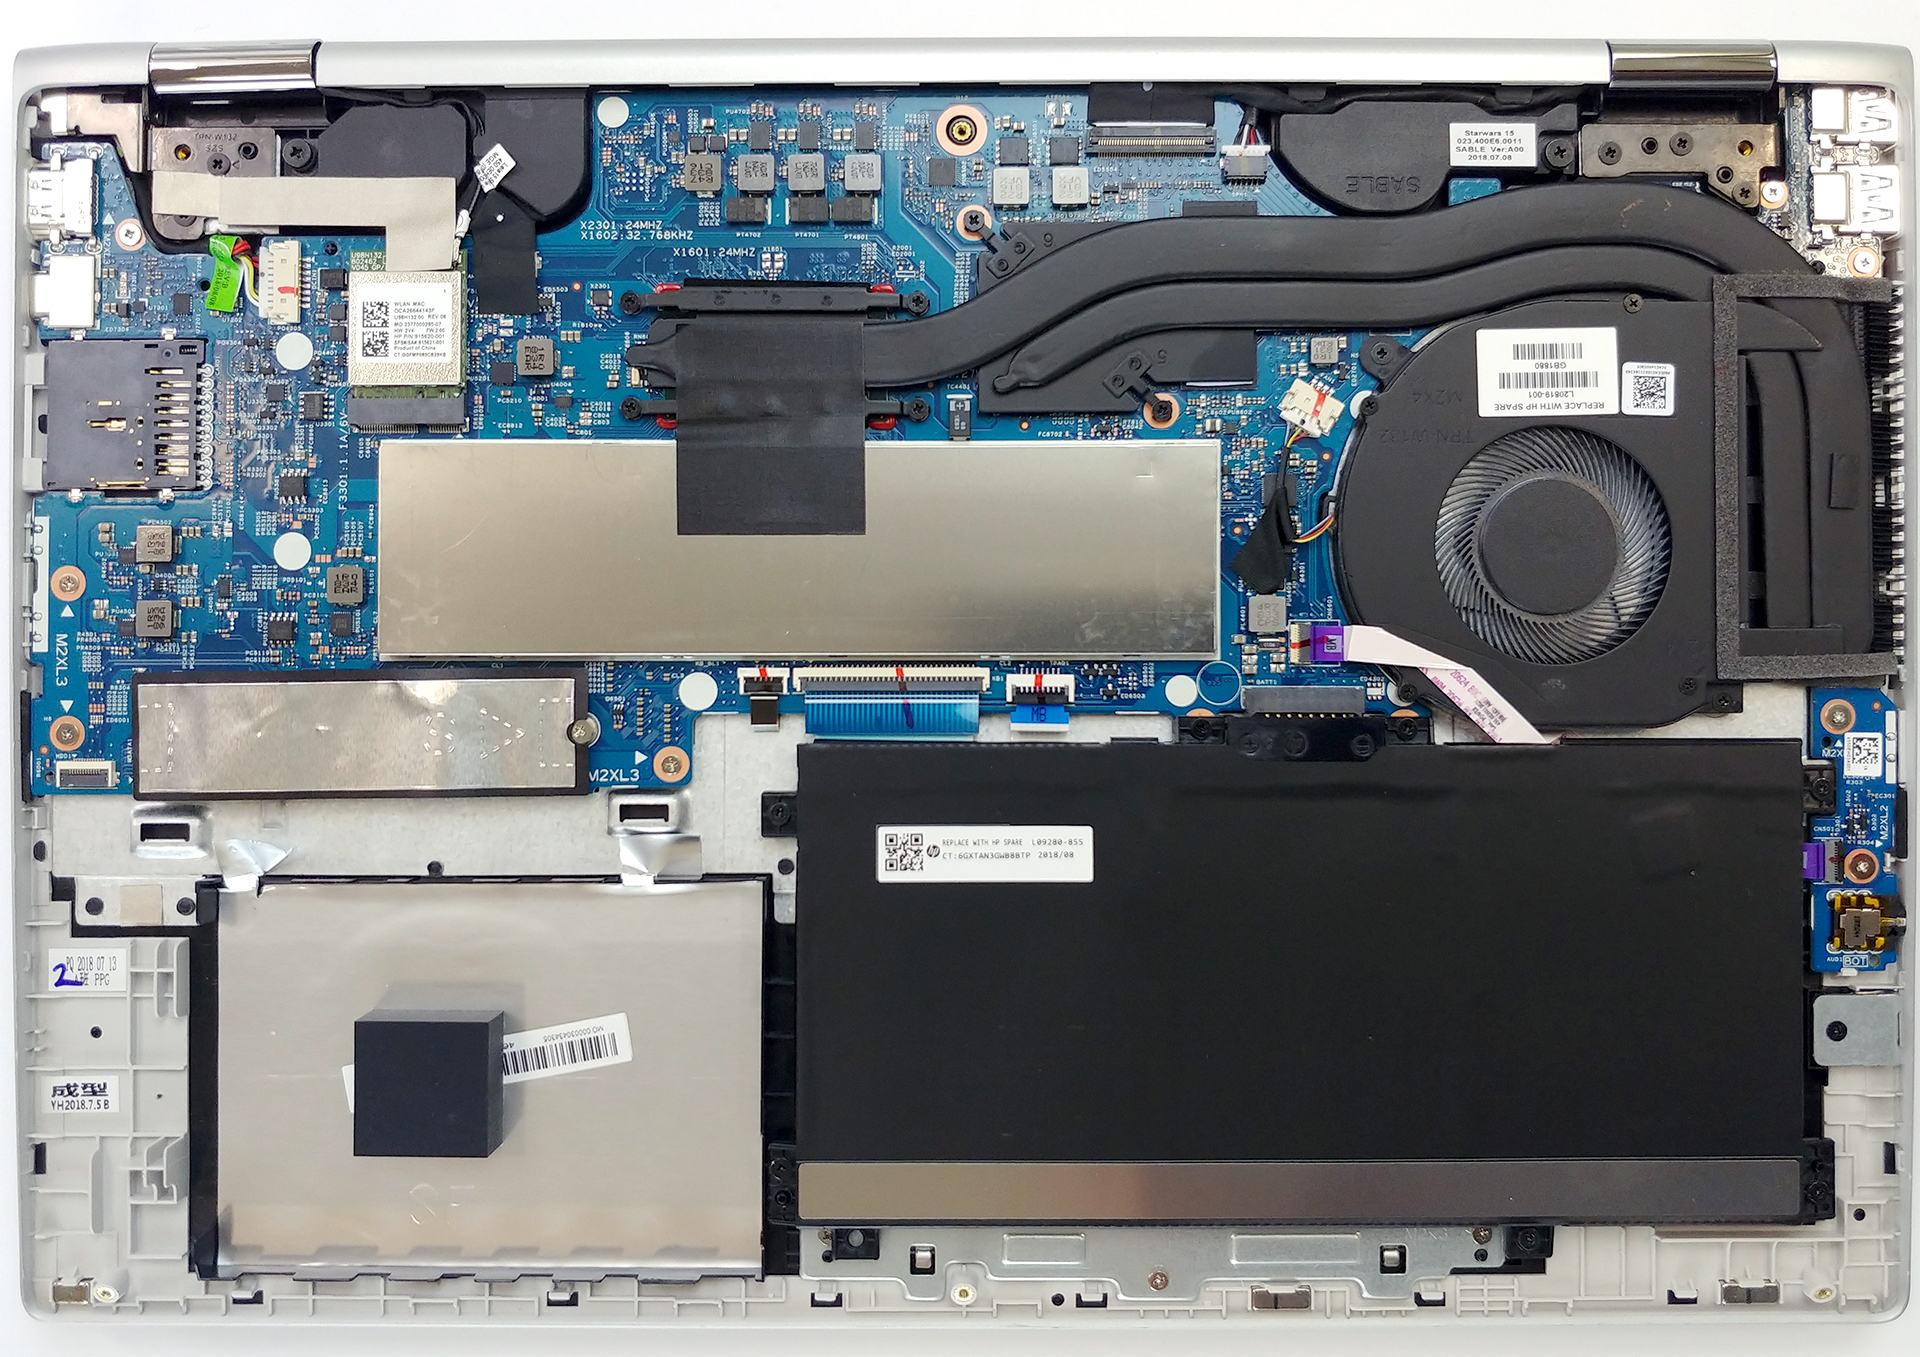
2. Battery
If you want to remove the battery, there are 6 Phillips-head screws that hold it in place. Additionally, this is what you need to do to remove it from the motherboard, as well as to see its capacity figures. After you turn it upside down, you will see that it has a 48Wh capacity.

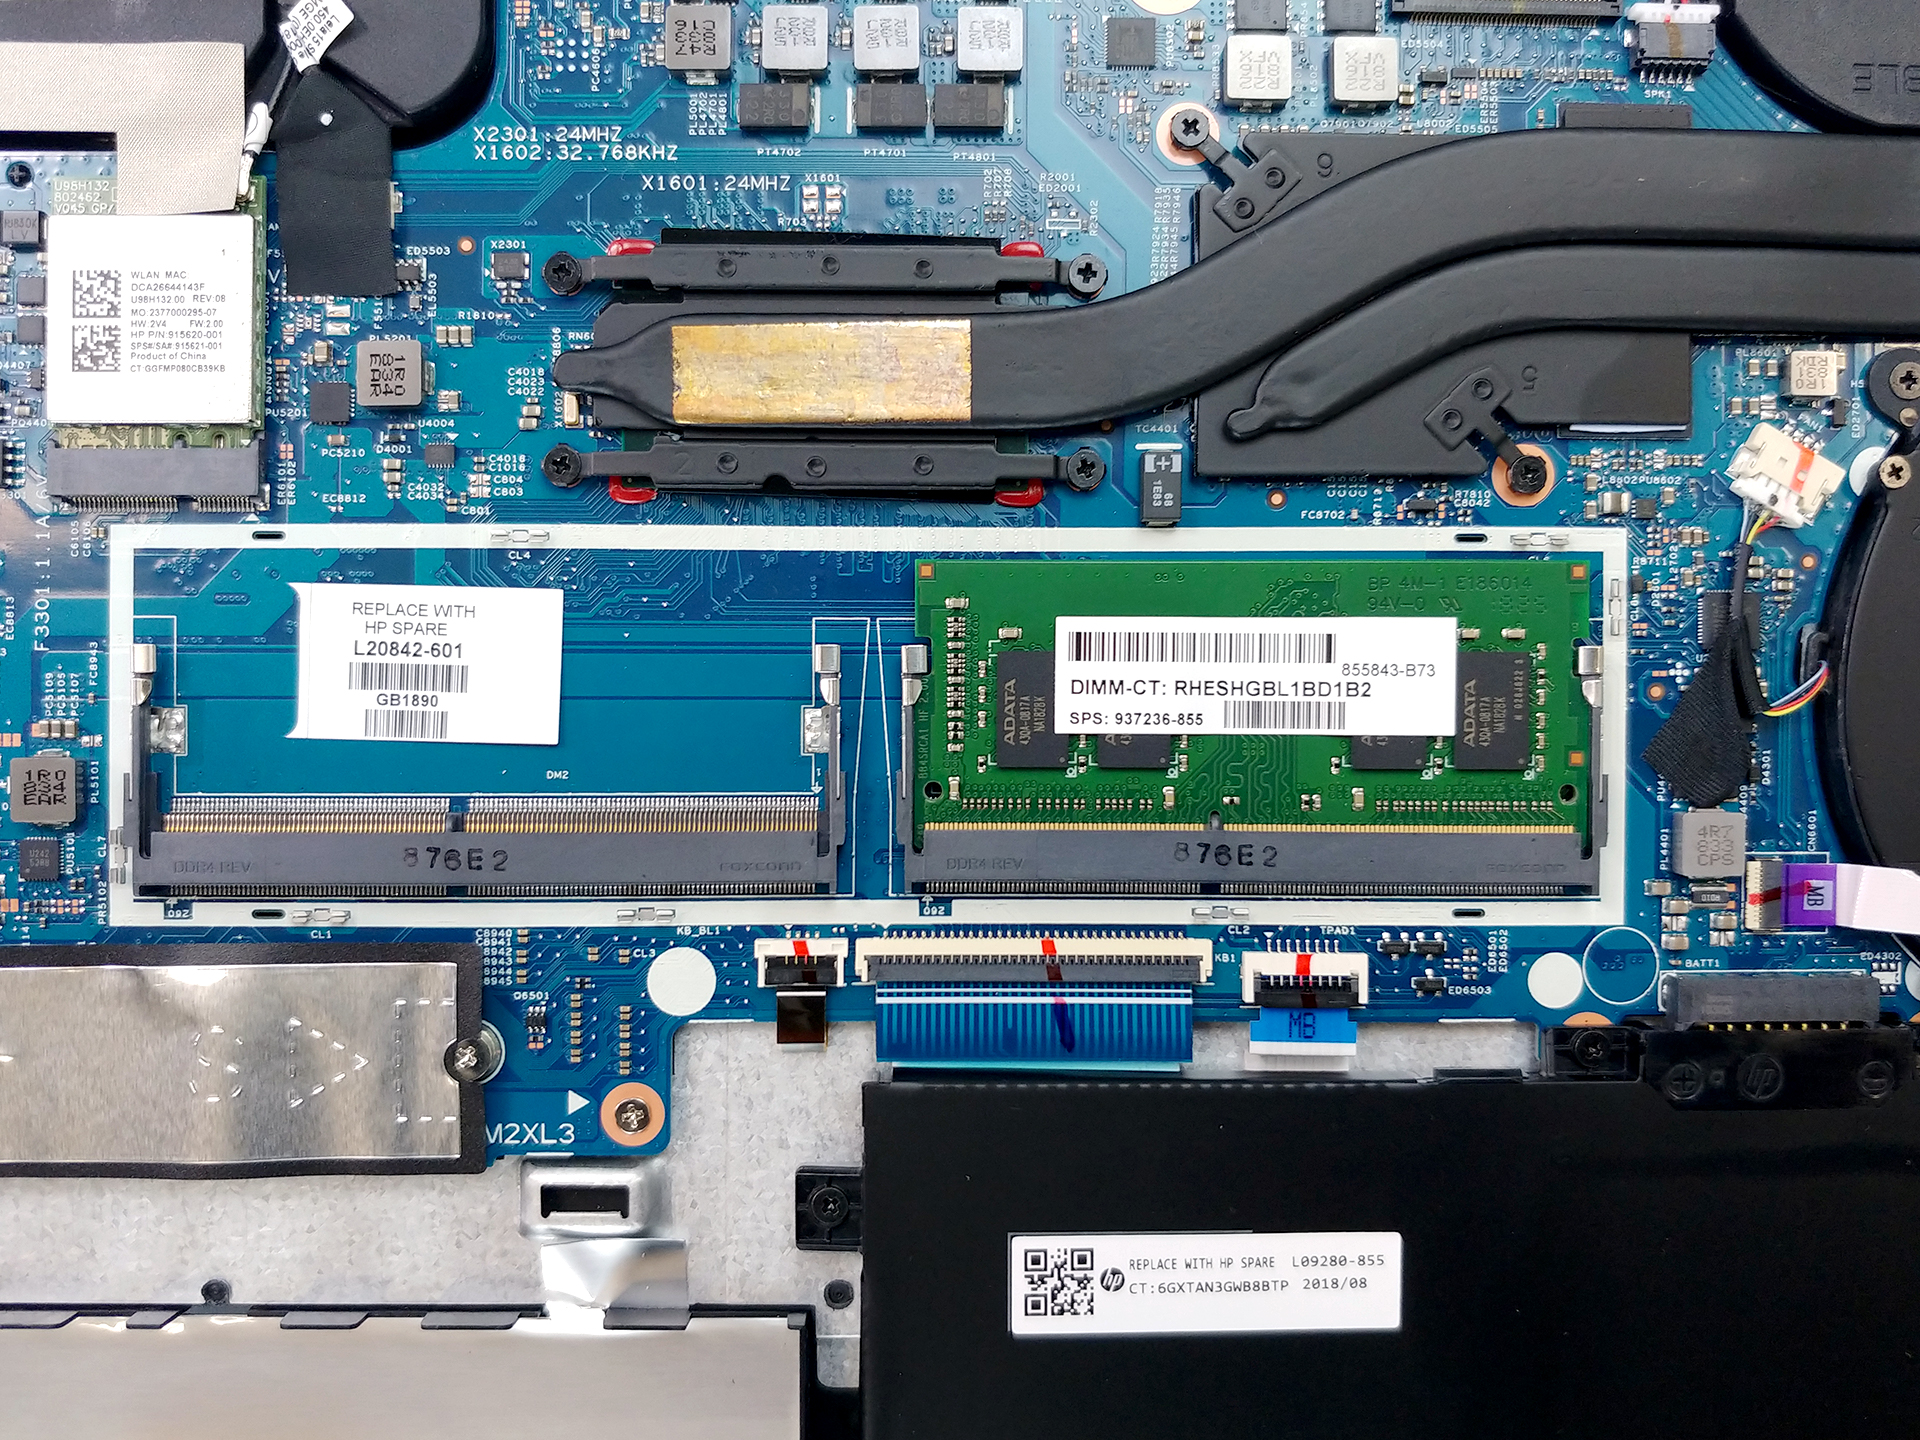
3. Memory and storage
In order to access anything else, there are a couple of metal covers that you need to remove. It is a good way of protection when you don’t have the good structural integrity of the bottom plate. In terms of memory, there are two RAM DIMMs, while the storage comprises a single M.2 NVMe-enabled slot, as well as a 2.5″ SATA drive slot.

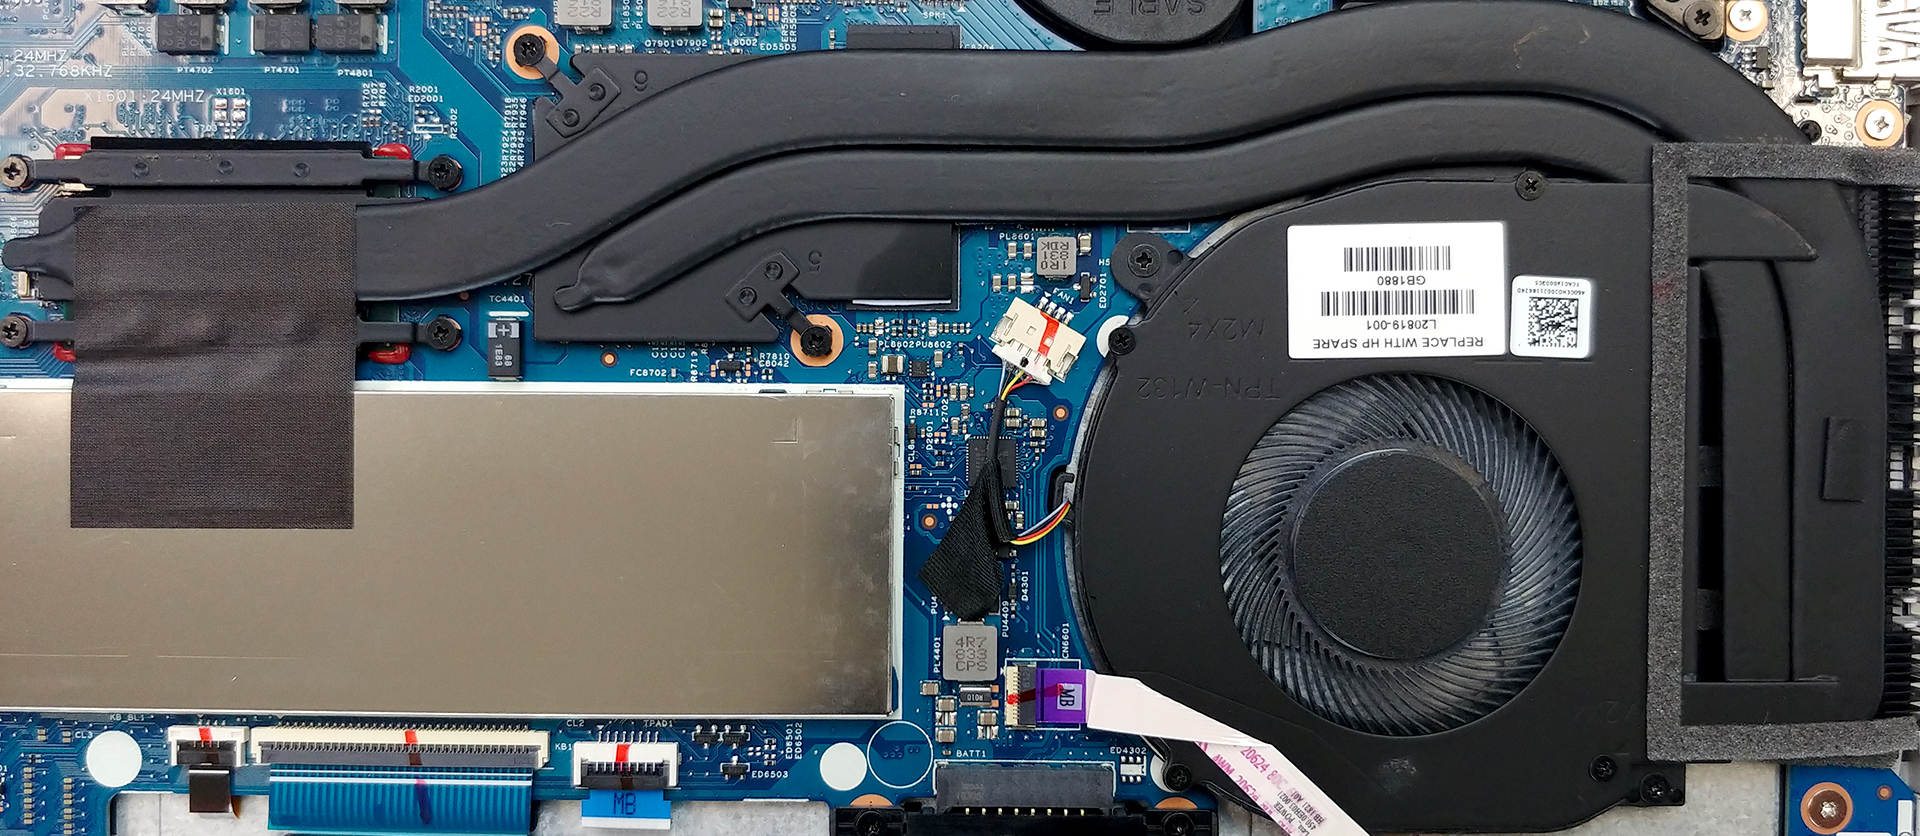
4. Cooling system
Lastly, there is an interesting cooling solution on this device. One rather bulky heat pipe is cooling both the CPU and the GPU, while there is one more, dedicated for the GPU only.
Check out all HP Pavilion x360 15 (15-cr0000) prices and configurations in our Specs System or read more in our In-Depth review.
 Author: Alex Iliev

![[August 2026] Amazon Italy: Top 10 Best-Selling Laptops – Apple MacBook Neo Claims the Crown as Budget and Mid-Range Windows Machines Dominate Volume](https://laptopmedia.com/wp-content/uploads/2026/09/Best-Selling-Laptops-IT-Top-10-400x225.jpg)
![[August 2026] Amazon Italy: Top 7 Best-Selling Gaming Laptops – ASUS V16 Claims the #1 Spot Amid Strong Mid-Range Demand](https://laptopmedia.com/wp-content/uploads/2026/09/Best-Selling-Gaming-Laptops-IT-Top-10-400x225.jpg)
![[August 2026] Best-Selling Laptop Brands on Amazon Italy – Lenovo Dominates Market Share and Revenue Leadership](https://laptopmedia.com/wp-content/uploads/2026/09/IT-Best-Brands-400x225.jpg)
![[August 2026] Amazon India: Top 10 Best-Selling Laptops – Apple MacBook Neo Dominates the Charts with Massive Sales Lead](https://laptopmedia.com/wp-content/uploads/2026/09/Best-Selling-Laptops-IN-Top-10-400x225.jpg)
![[August 2026] Amazon India: Top 10 Best-Selling Gaming Laptops – HP Victus 15 Dominates the Market with Massive Unit Lead](https://laptopmedia.com/wp-content/uploads/2026/09/Best-Selling-Gaming-Laptops-IN-Top-10-400x225.jpg)
is the internal the same as the HP Pavilion X360 14-DH1046TX?