How to open Acer Nitro V 15 (ANV15-51) – disassembly and upgrade options
Step 1: Accessing the Internal Components
- Ensure the Acer Nitro V 15 (ANV15-51) is powered off and placed on a soft, clean surface to prevent scratches or damage.
- Remove the 11 Phillips-head screws from the bottom of the laptop.
- Use a plastic tool to gently pop the bottom plate off, starting from one of the top two corners.
Hint: Proceed with care to avoid damaging the internal clips or the laptop casing.
More info: The internal layout is very similar to the Acer Aspire 7 (A715-76G).

Step 2: Removing the Battery
- Disconnect the battery by pulling out its connector from the motherboard.
- Lift the 57Wh battery away from the base; no screws are needed due to the dedicated socket securing the battery.
Caution: Handle the battery carefully to avoid puncturing or damaging it.
More info: The 57Wh battery provides up to 7 hours and 42 minutes of web browsing or 6 hours and 40 minutes of video playback, a decent performance given the device’s specifications.

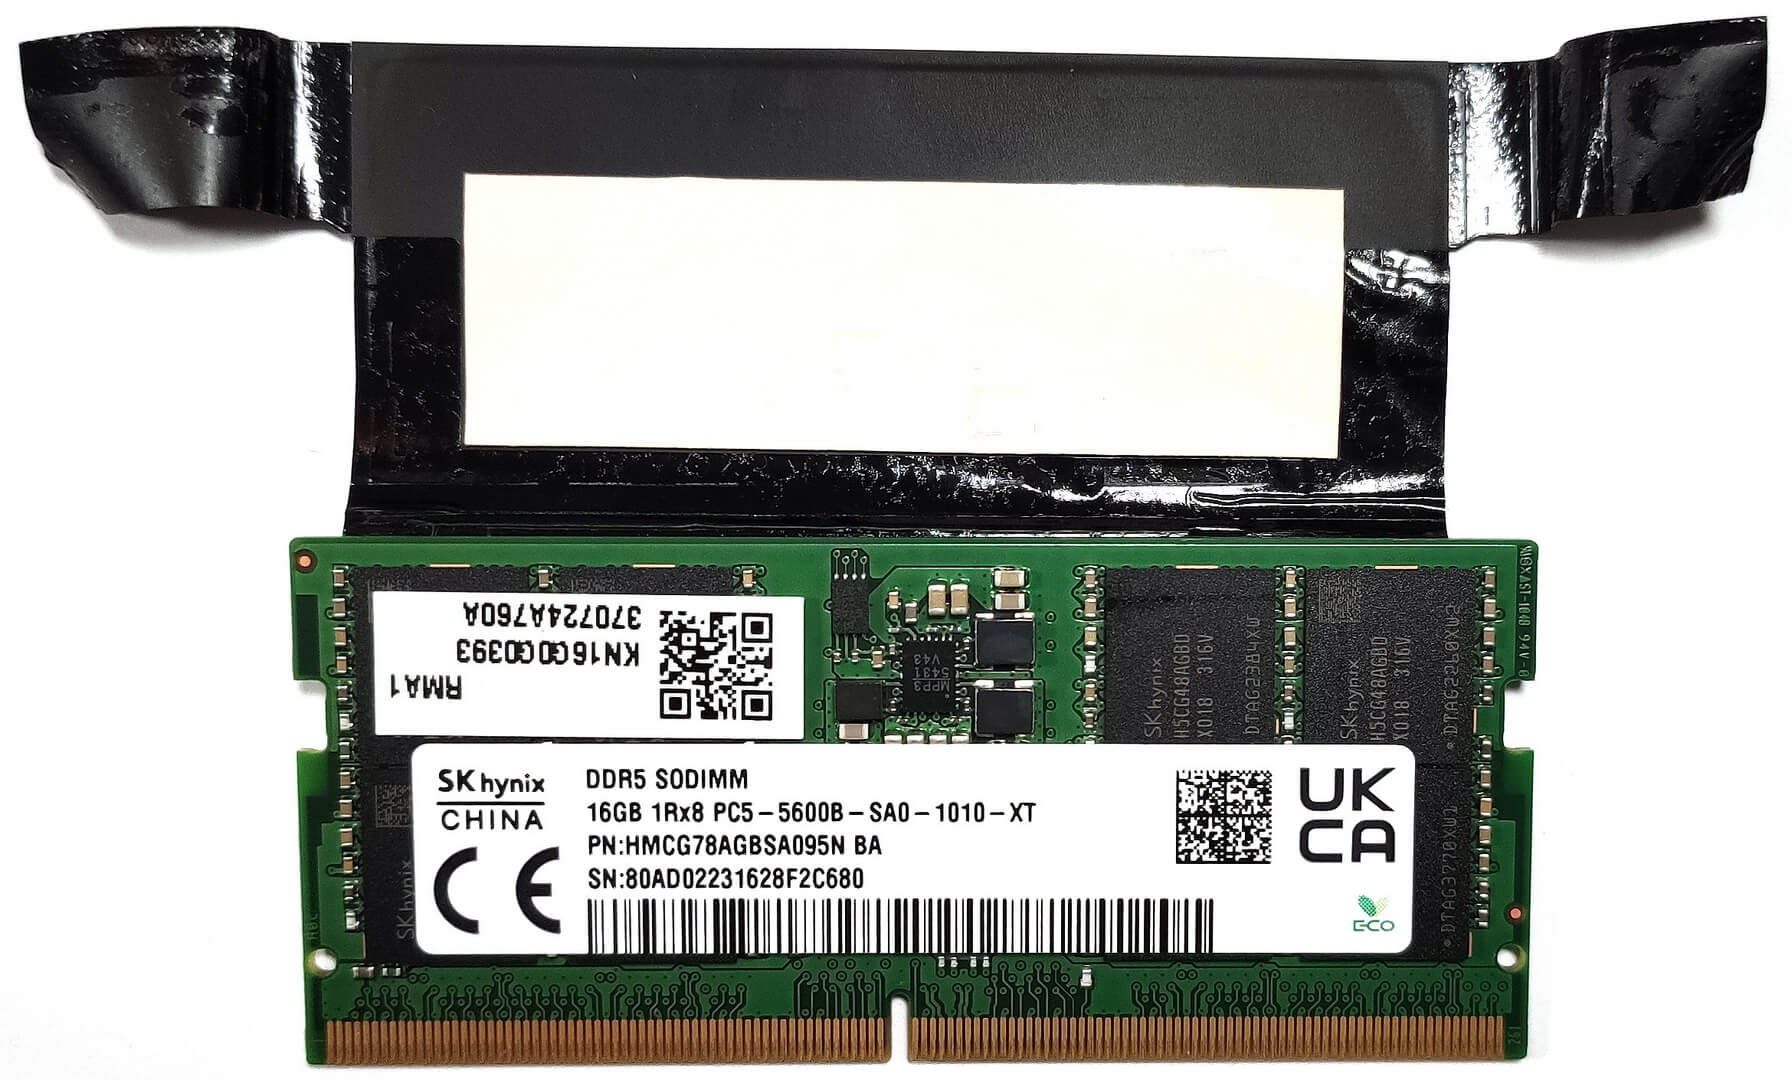
Memory Upgrade
- Identify the two SODIMM slots available for memory upgrades.
- Upgrade or install up to 32GB of DDR5-5200MHz RAM in dual-channel mode to enhance the laptop’s multitasking capabilities.
Note: The RAM is additionally cooled by a thermal pad, aiding in heat dissipation.
You can buy DDR5 RAM modules here: Buy from Amazon.com (#CommissionsEarned)

Storage Upgrade
- Locate the two M.2 slots, one supporting Gen 4 SSDs and the other Gen 3 SSDs, for high-speed storage solutions.
- Consider upgrading the storage with appropriate Gen 4 or Gen 3 NVMe SSDs to increase storage capacity or improve system responsiveness and load times.
More info: Leveraging both M.2 slots can significantly enhance the laptop’s storage performance and capacity.
You can buy Gen 4 M.2 SSD modules here: Buy from Amazon.com (#CommissionsEarned)
You can buy Gen 3 M.2 SSD modules here: Buy from Amazon.com (#CommissionsEarned)


Cooling System
Review the cooling system, which includes two fans, three heat pipes, one large top-mounted heat sink, a smaller one on the left, and two heat spreaders, designed to efficiently manage the thermal output of the device.