How to open ASUS ProArt Studiobook Pro 16 OLED W7604 – disassembly and upgrade options
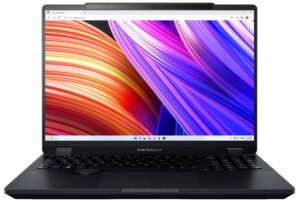
Opening the ASUS ProArt Studiobook Pro 16 OLED
Hint: Ensure the laptop is powered off and unplugged before starting. Use a microfiber cloth under tools to prevent scratches on the matte surface.
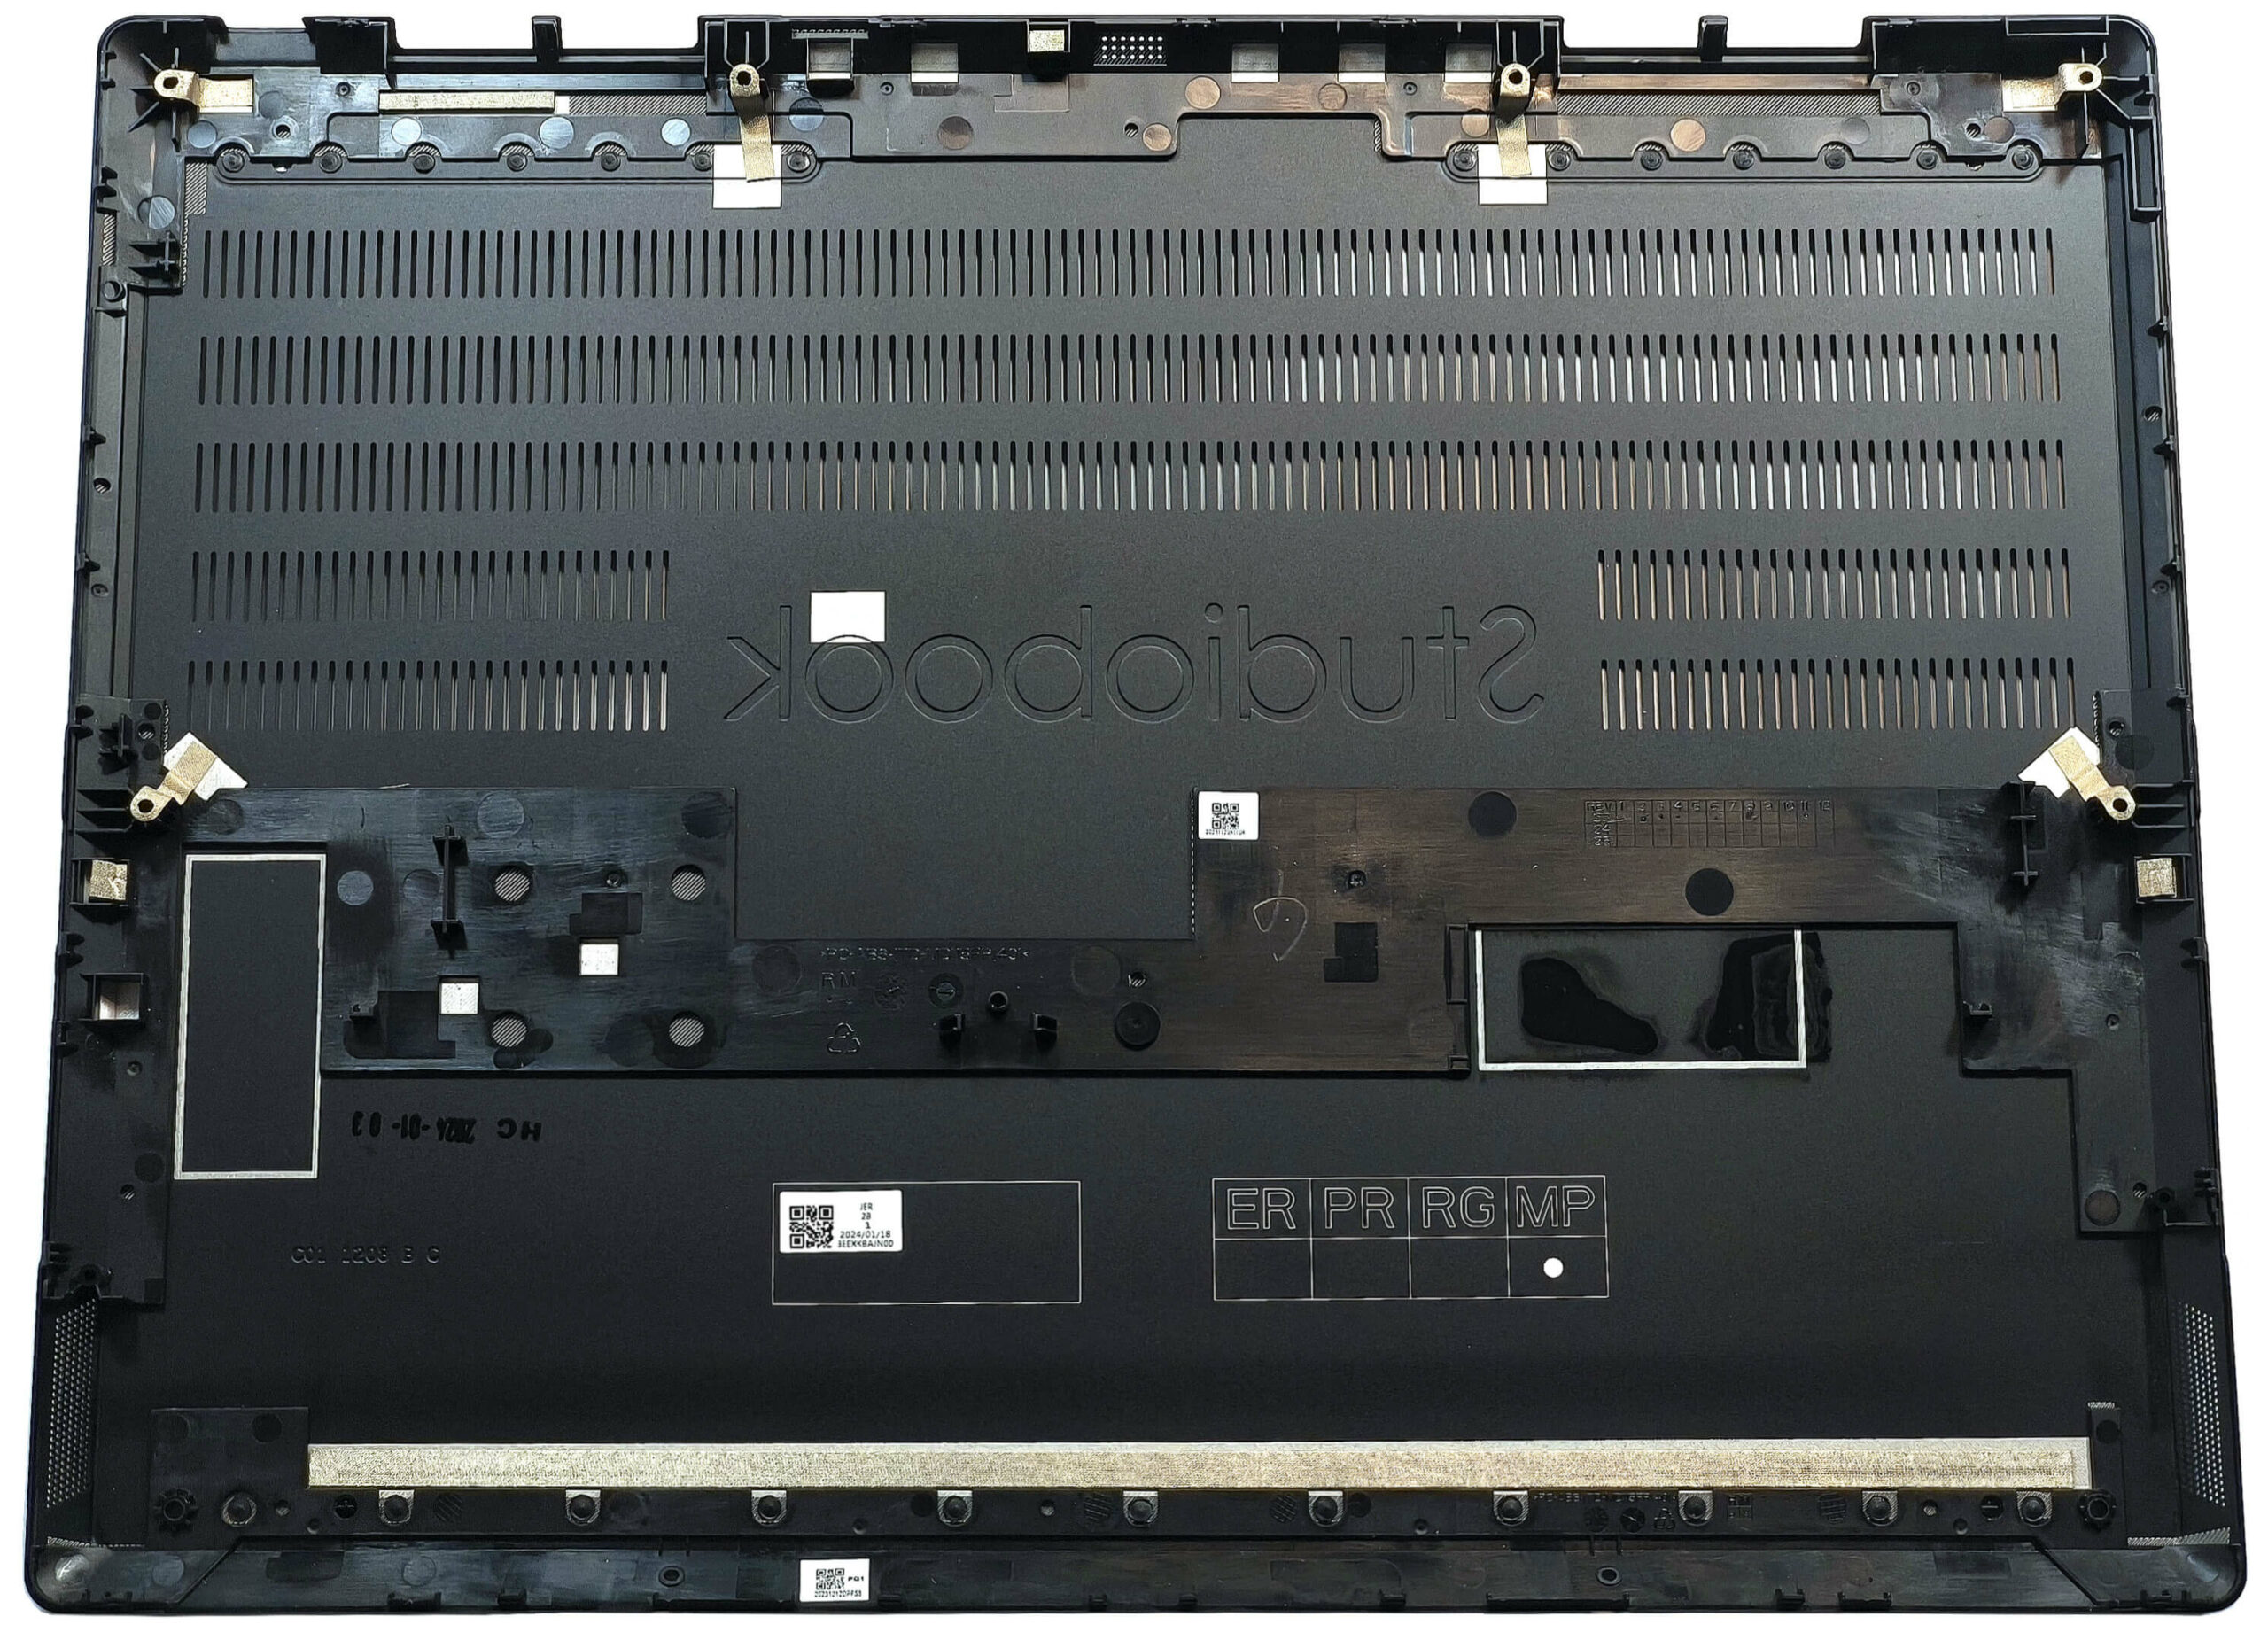
- Undo the 10 Torx-head screws securing the bottom panel of the laptop.
- Since there are no gaps, start by inserting a lever tool into the lower row of the rear exhausts to pop the panel.
- Use a thin plastic tool to pry the middle zone of the back and half of the sides. Carefully lift the rear of the panel to remove it from the chassis.
- If internal clips are not fully released, pry the sides and front to fully detach the bottom plate.

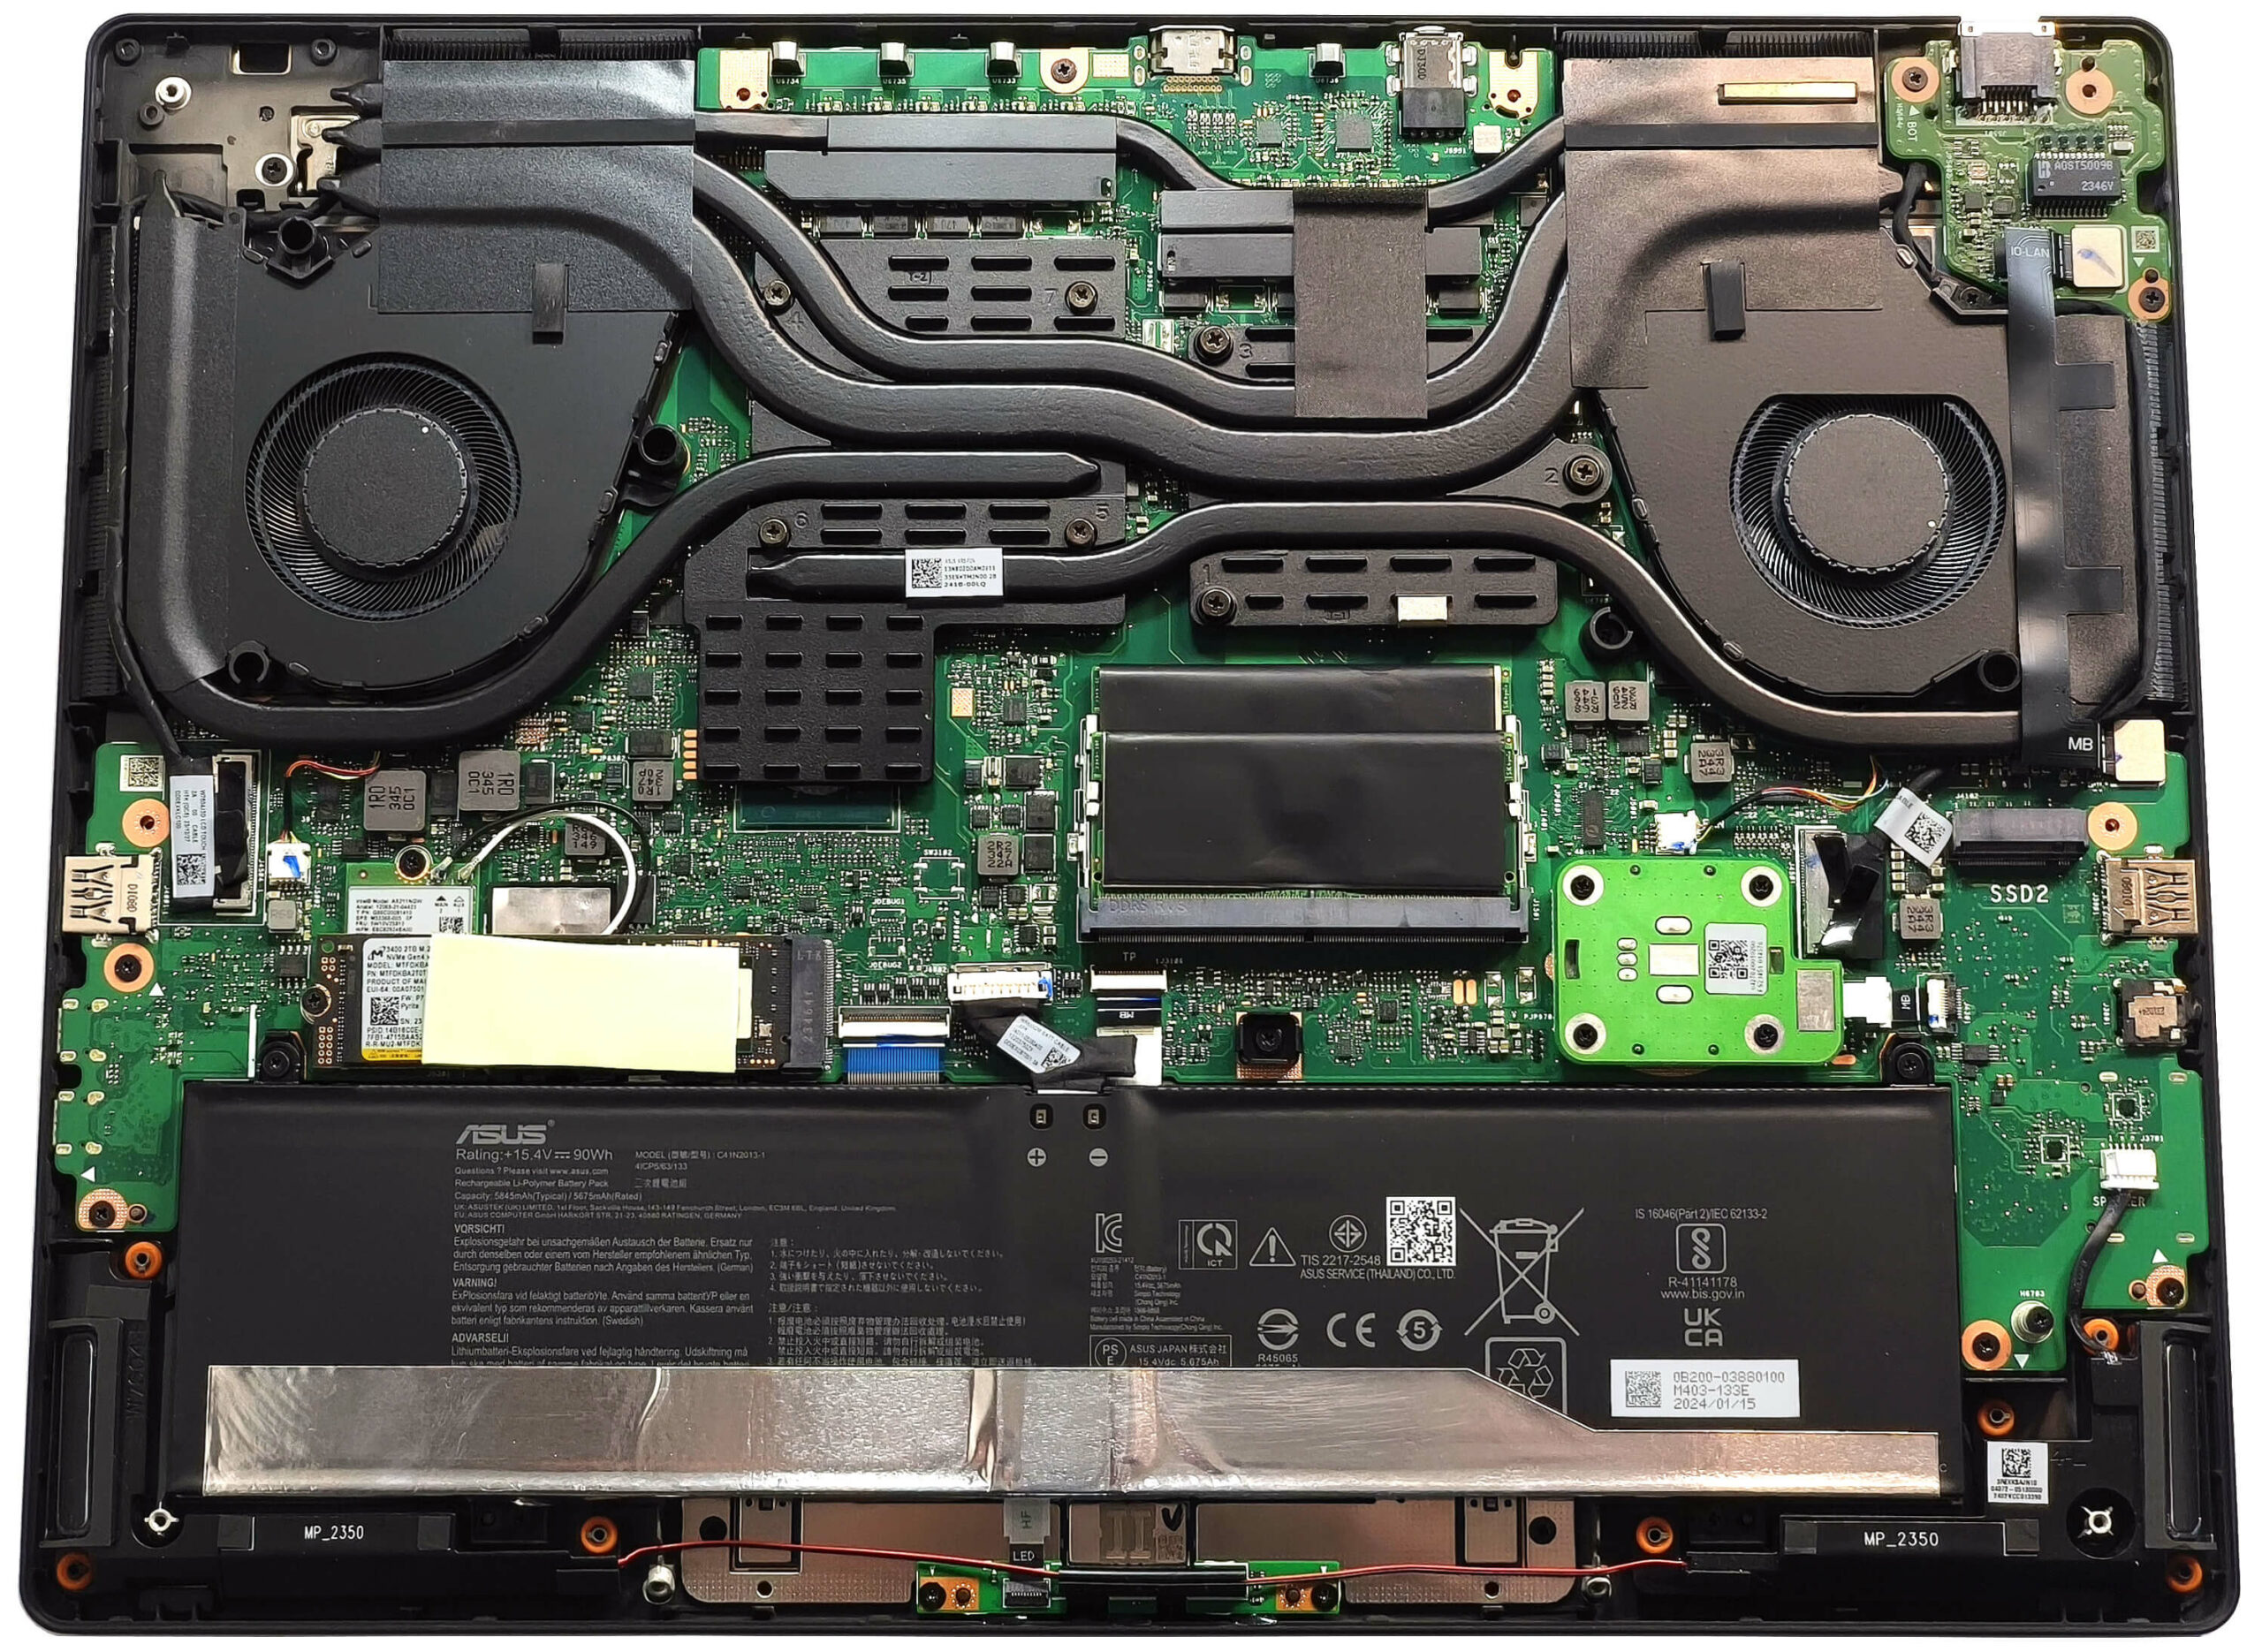
More info: The inside of the bottom plate reveals the layout of cooling components and provides access to internal upgrades.
Battery Removal
Caution: Wear gloves to avoid short circuits while handling the battery.
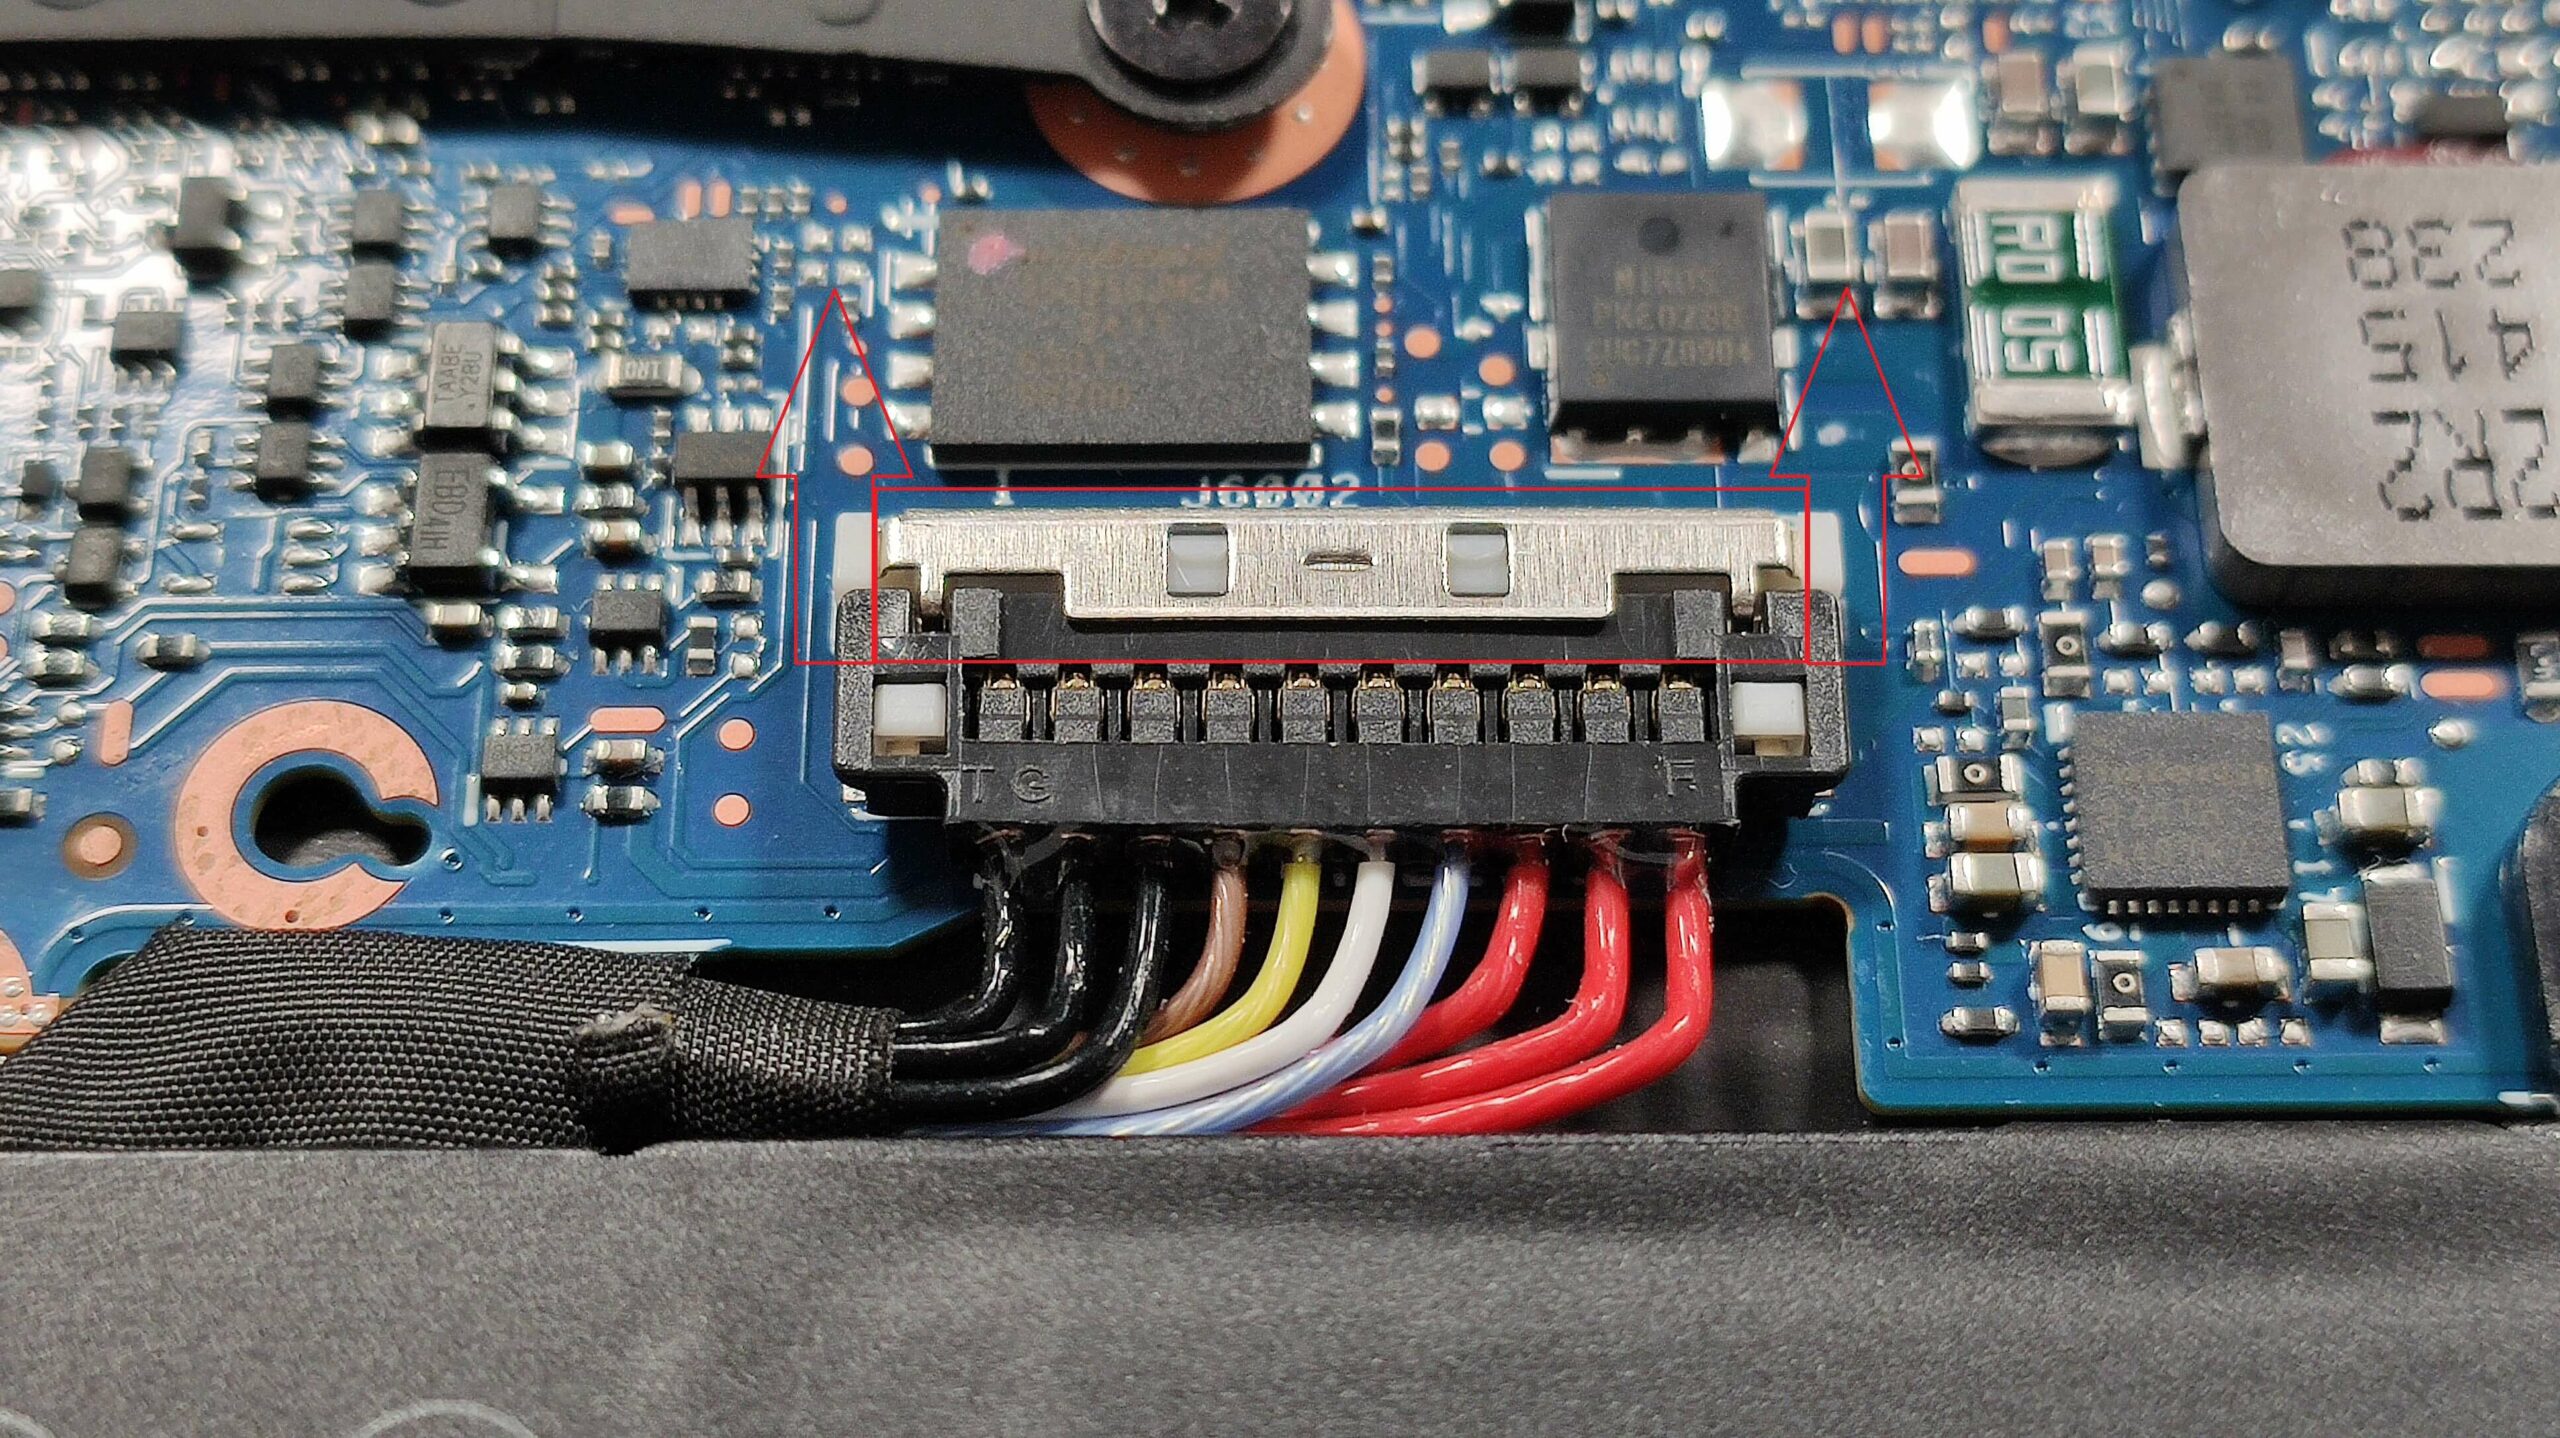
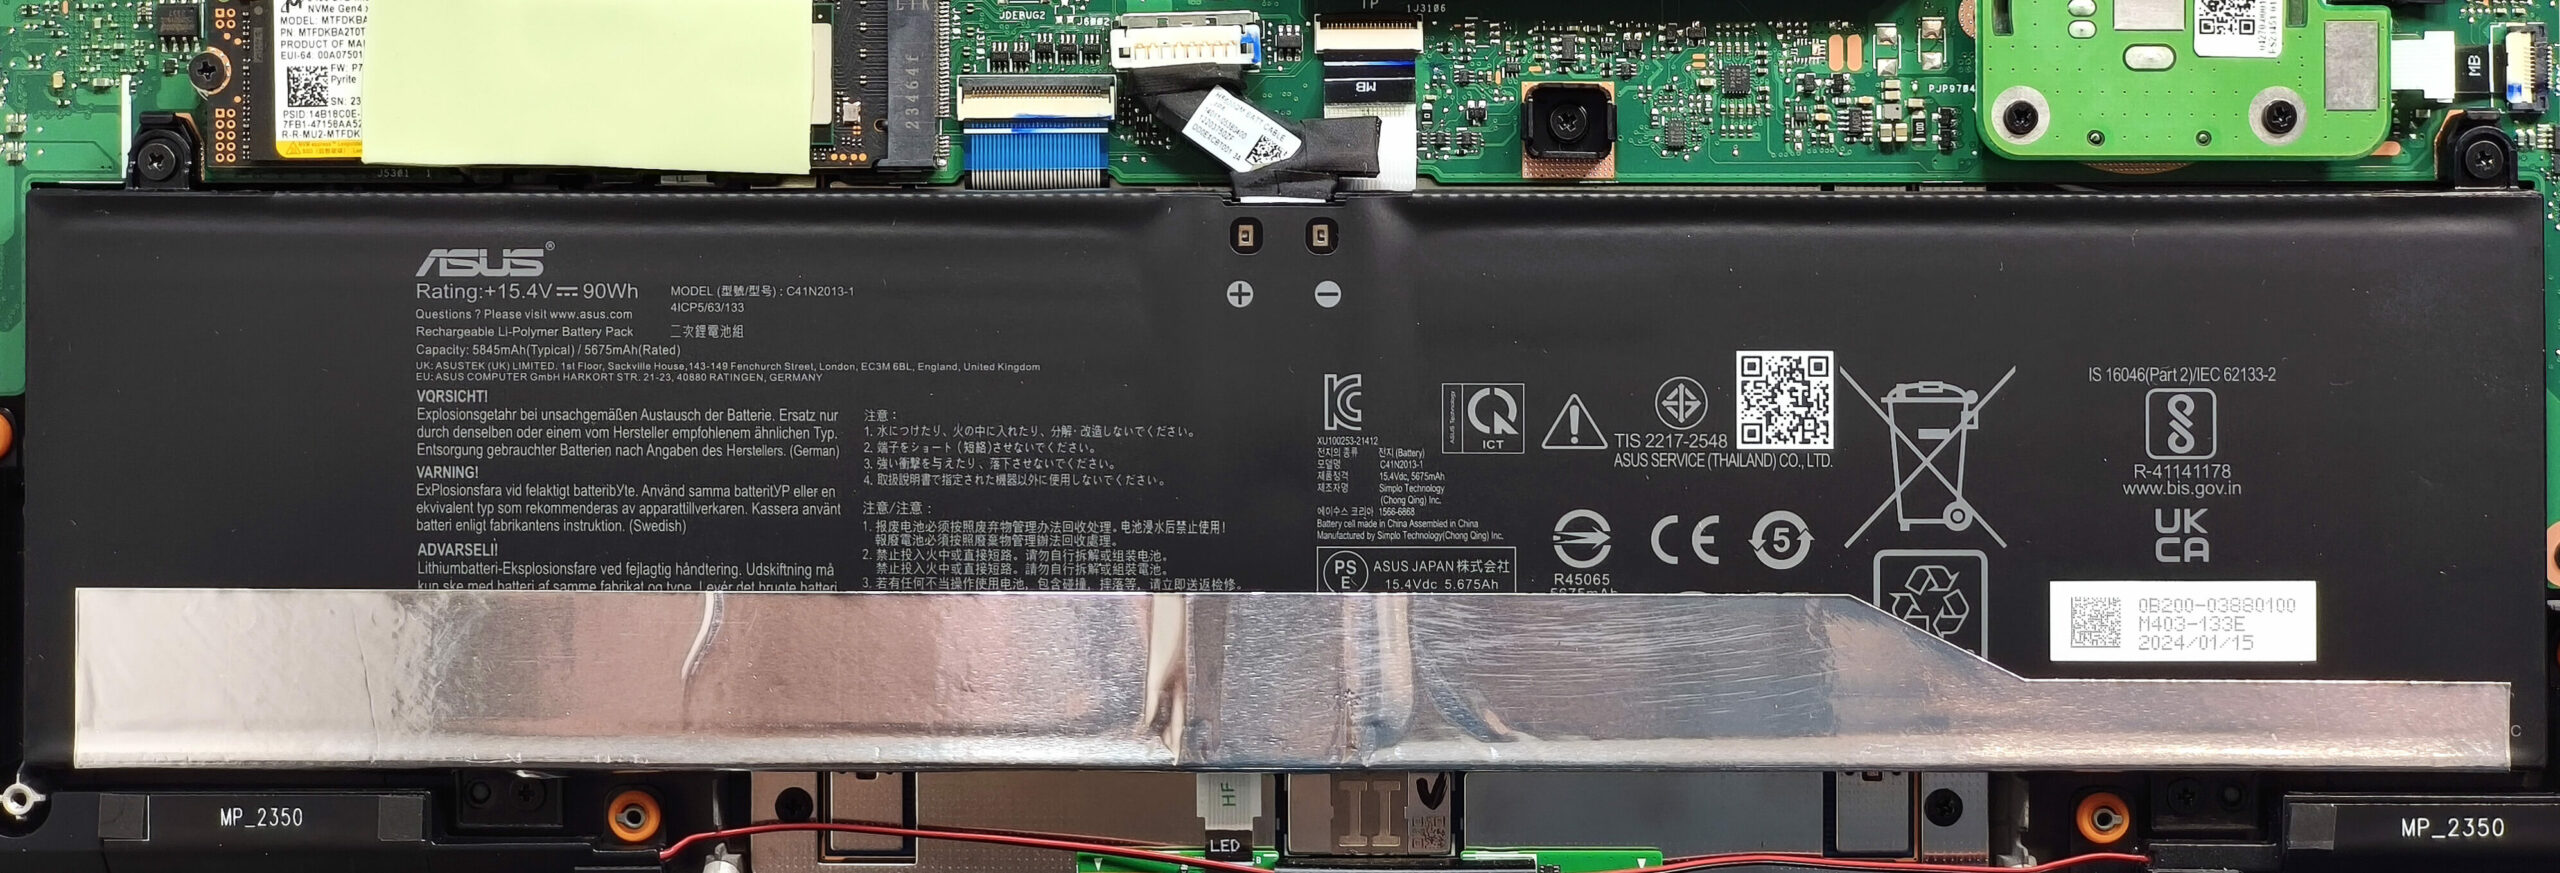
- Slide up the small metal shroud covering the battery connector.
- Lift the battery connector on the sides using a plastic tool.
- Undo the four Phillips-head screws securing the 90Wh battery to the chassis.
- Carefully lift and remove the battery from the laptop.
More info: The 90Wh battery provides approximately 6 hours of video playback, making it suitable for extended workloads.
You can find compatible batteries here: Buy from Amazon.com (#CommissionsEarned)
Memory Upgrade
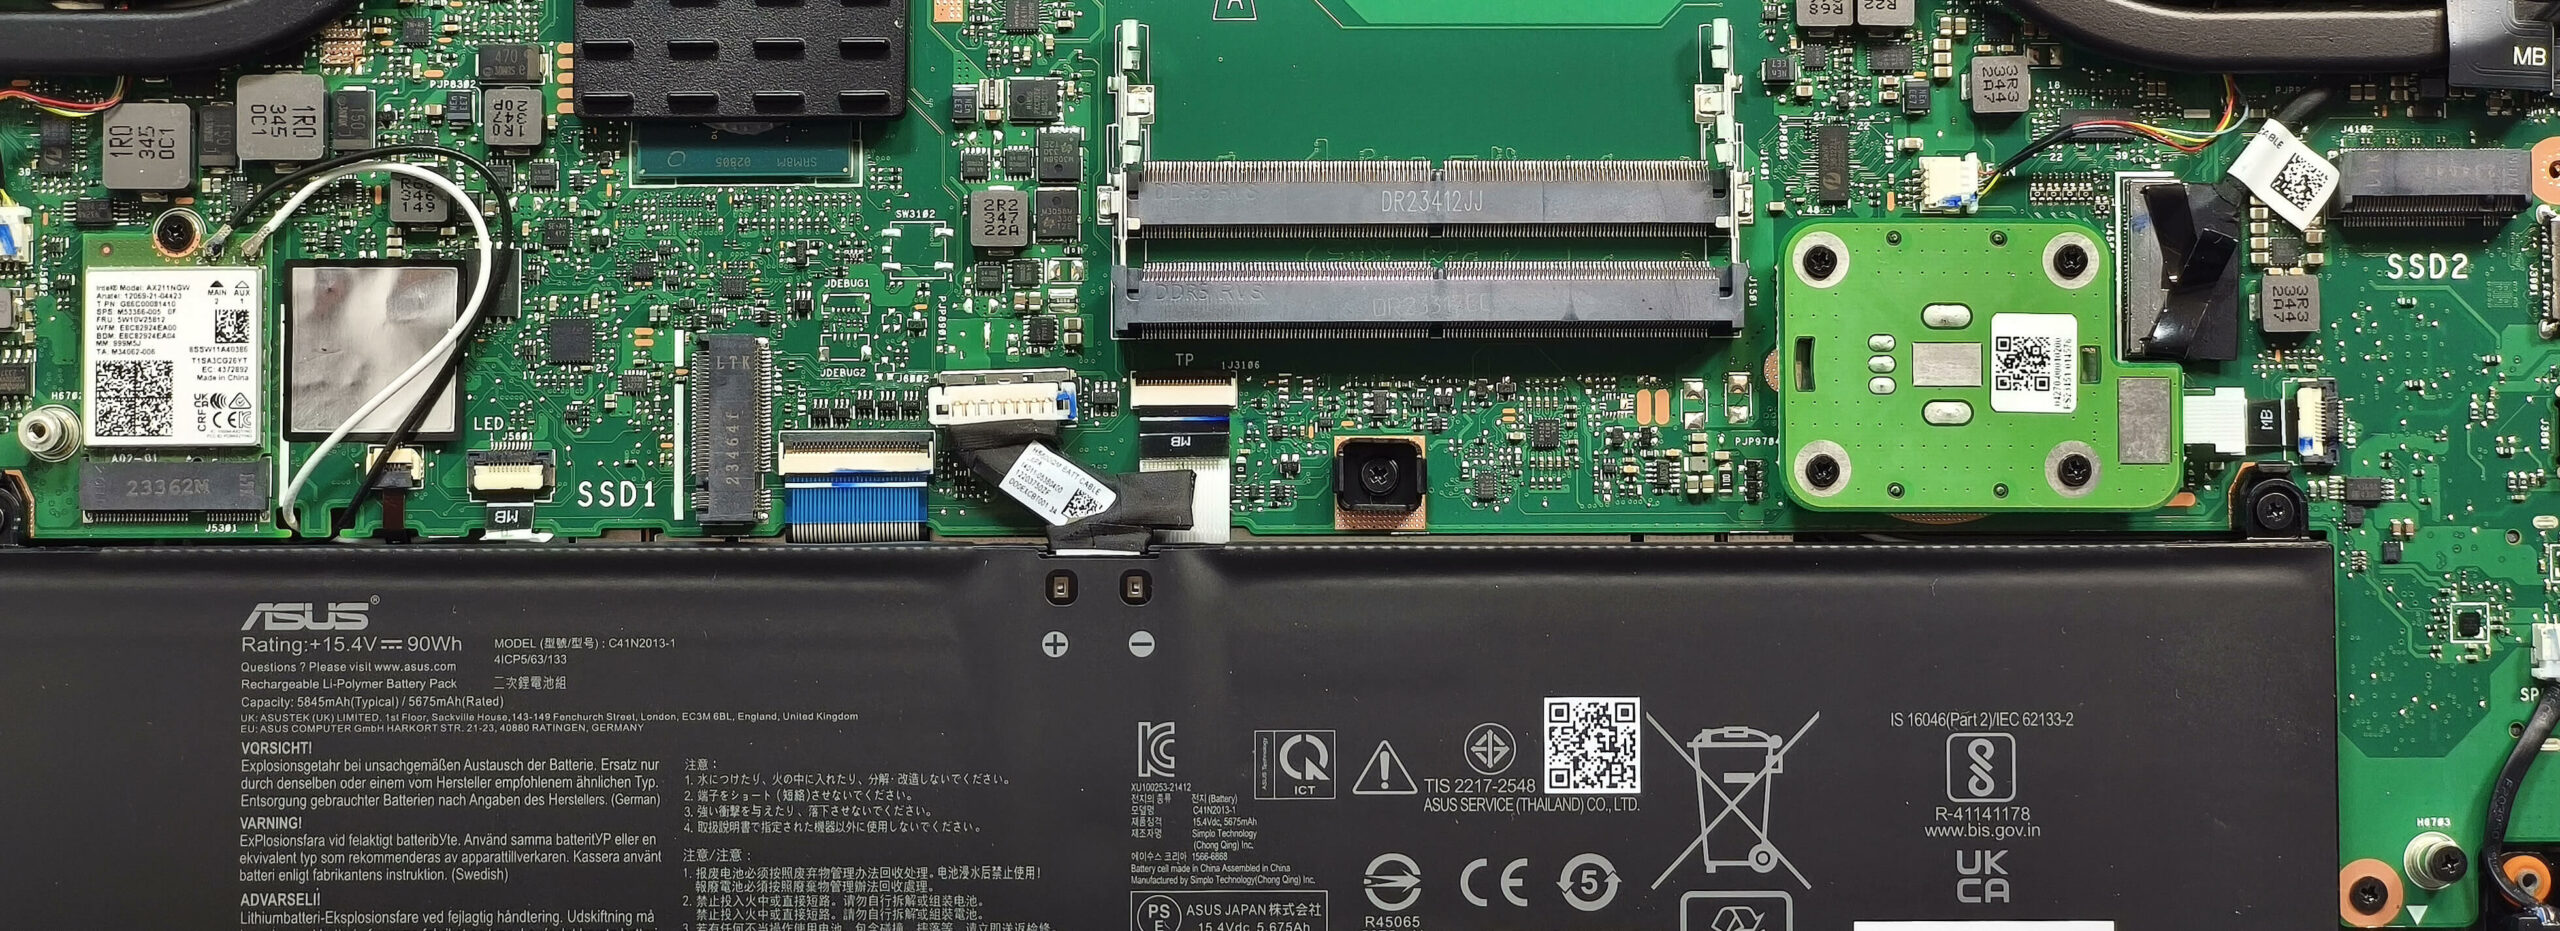
Note: The memory slots are user-upgradeable and equipped with heat shields.
- Locate the two SODIMM slots under the heat shields. Remove the shields carefully.
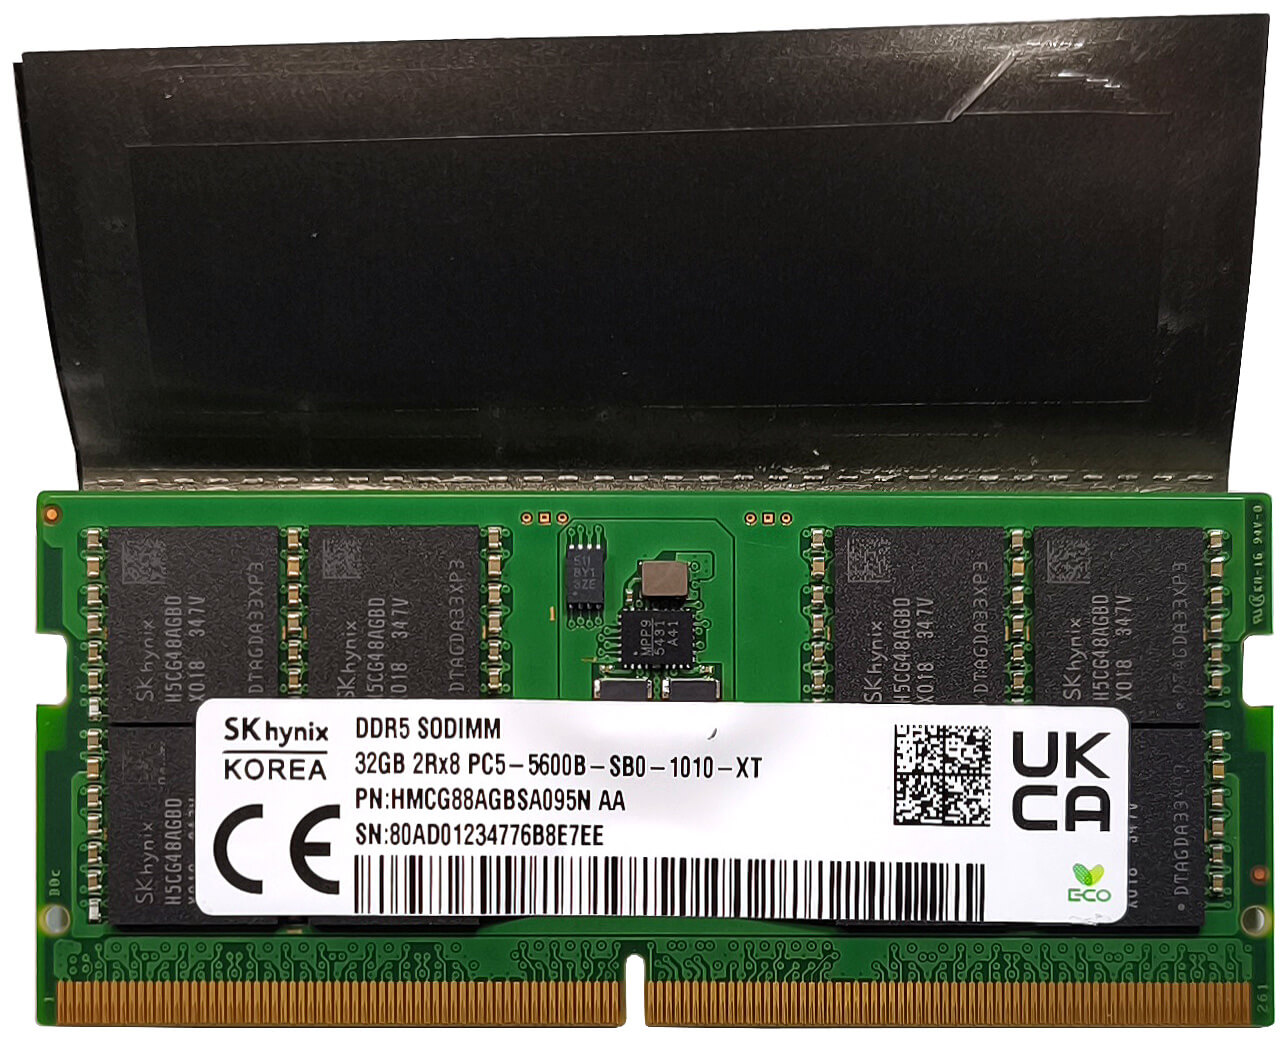
- Install up to 64GB of DDR5-5200MHz RAM in dual-channel mode, as per ASUS specifications. Higher capacities (up to 192GB) may be supported due to the CPU’s capability.
- Secure the memory modules into the slots until they click into place, and replace the heat shields.
More info: Ensure the RAM modules are compatible with the laptop for stable performance.
You can find compatible RAM here: Buy from Amazon.com (#CommissionsEarned)
Storage Upgrade
Hint: Handle SSD components carefully to avoid damage or data loss.
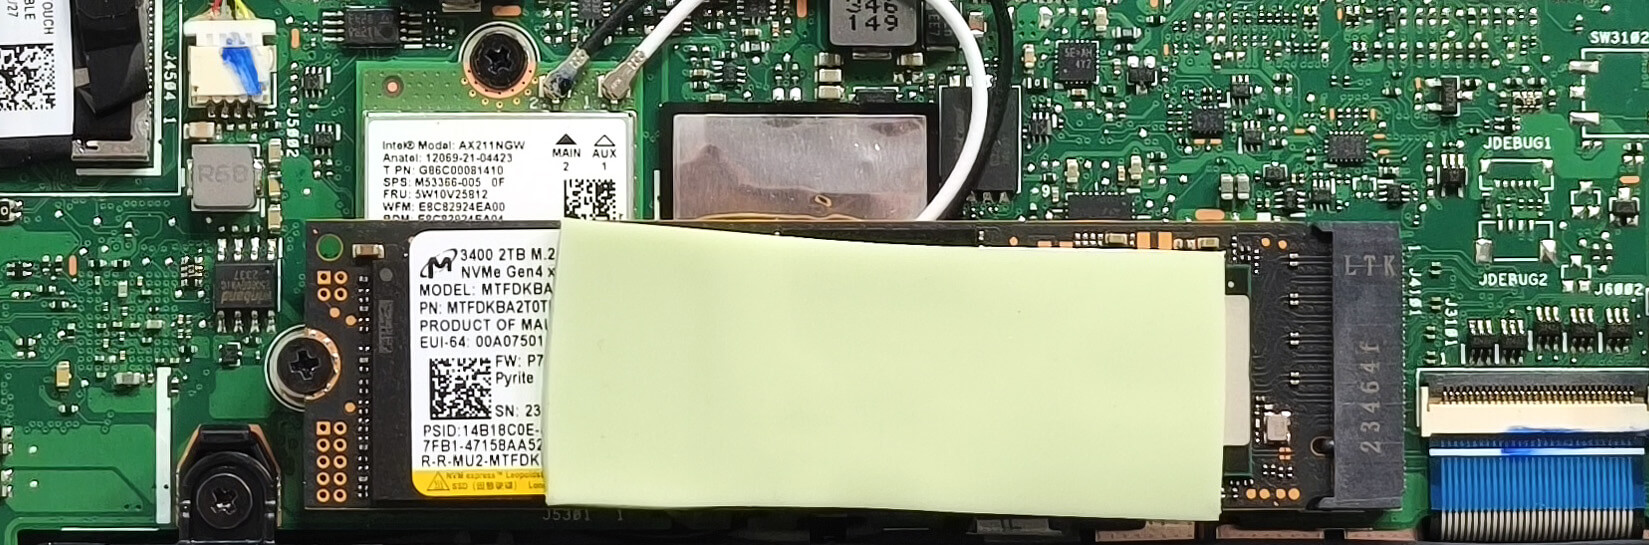
- Locate the two M.2 slots, both compatible with 2280 Gen 4 SSDs.
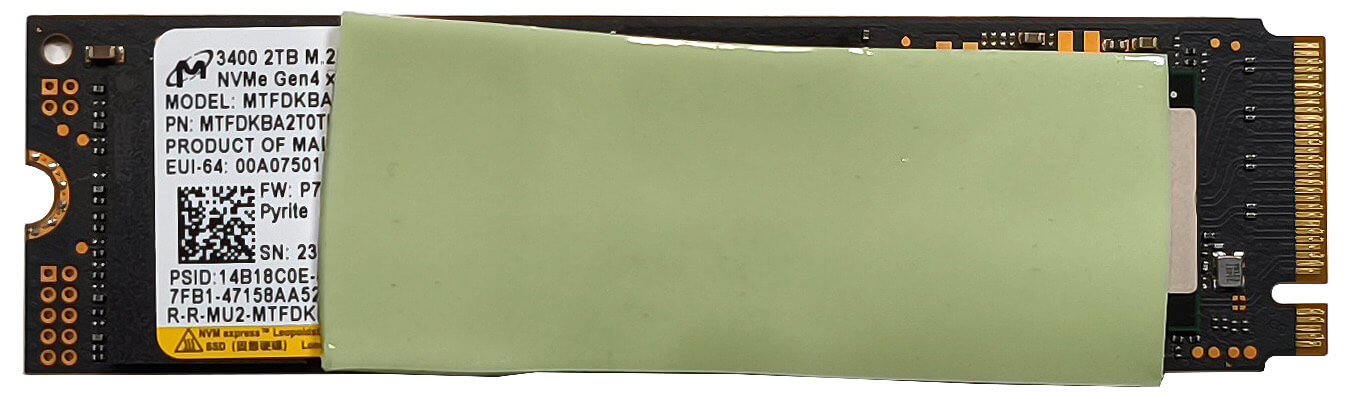
- The system storage drive features a large thermal pad on top. Use a lever tool to pop off the metal shield covering the slots.
- Install the SSD into the slot at a slight angle, ensuring it is fully seated. Replace the metal shield to maintain thermal performance.
More info: Be cautious about the placement of the Wi-Fi 6E card, as it sits near the left SSD slot and can be partially covered when an NVMe drive is installed.
You can find compatible SSDs here: Buy from Amazon.com (#CommissionsEarned)
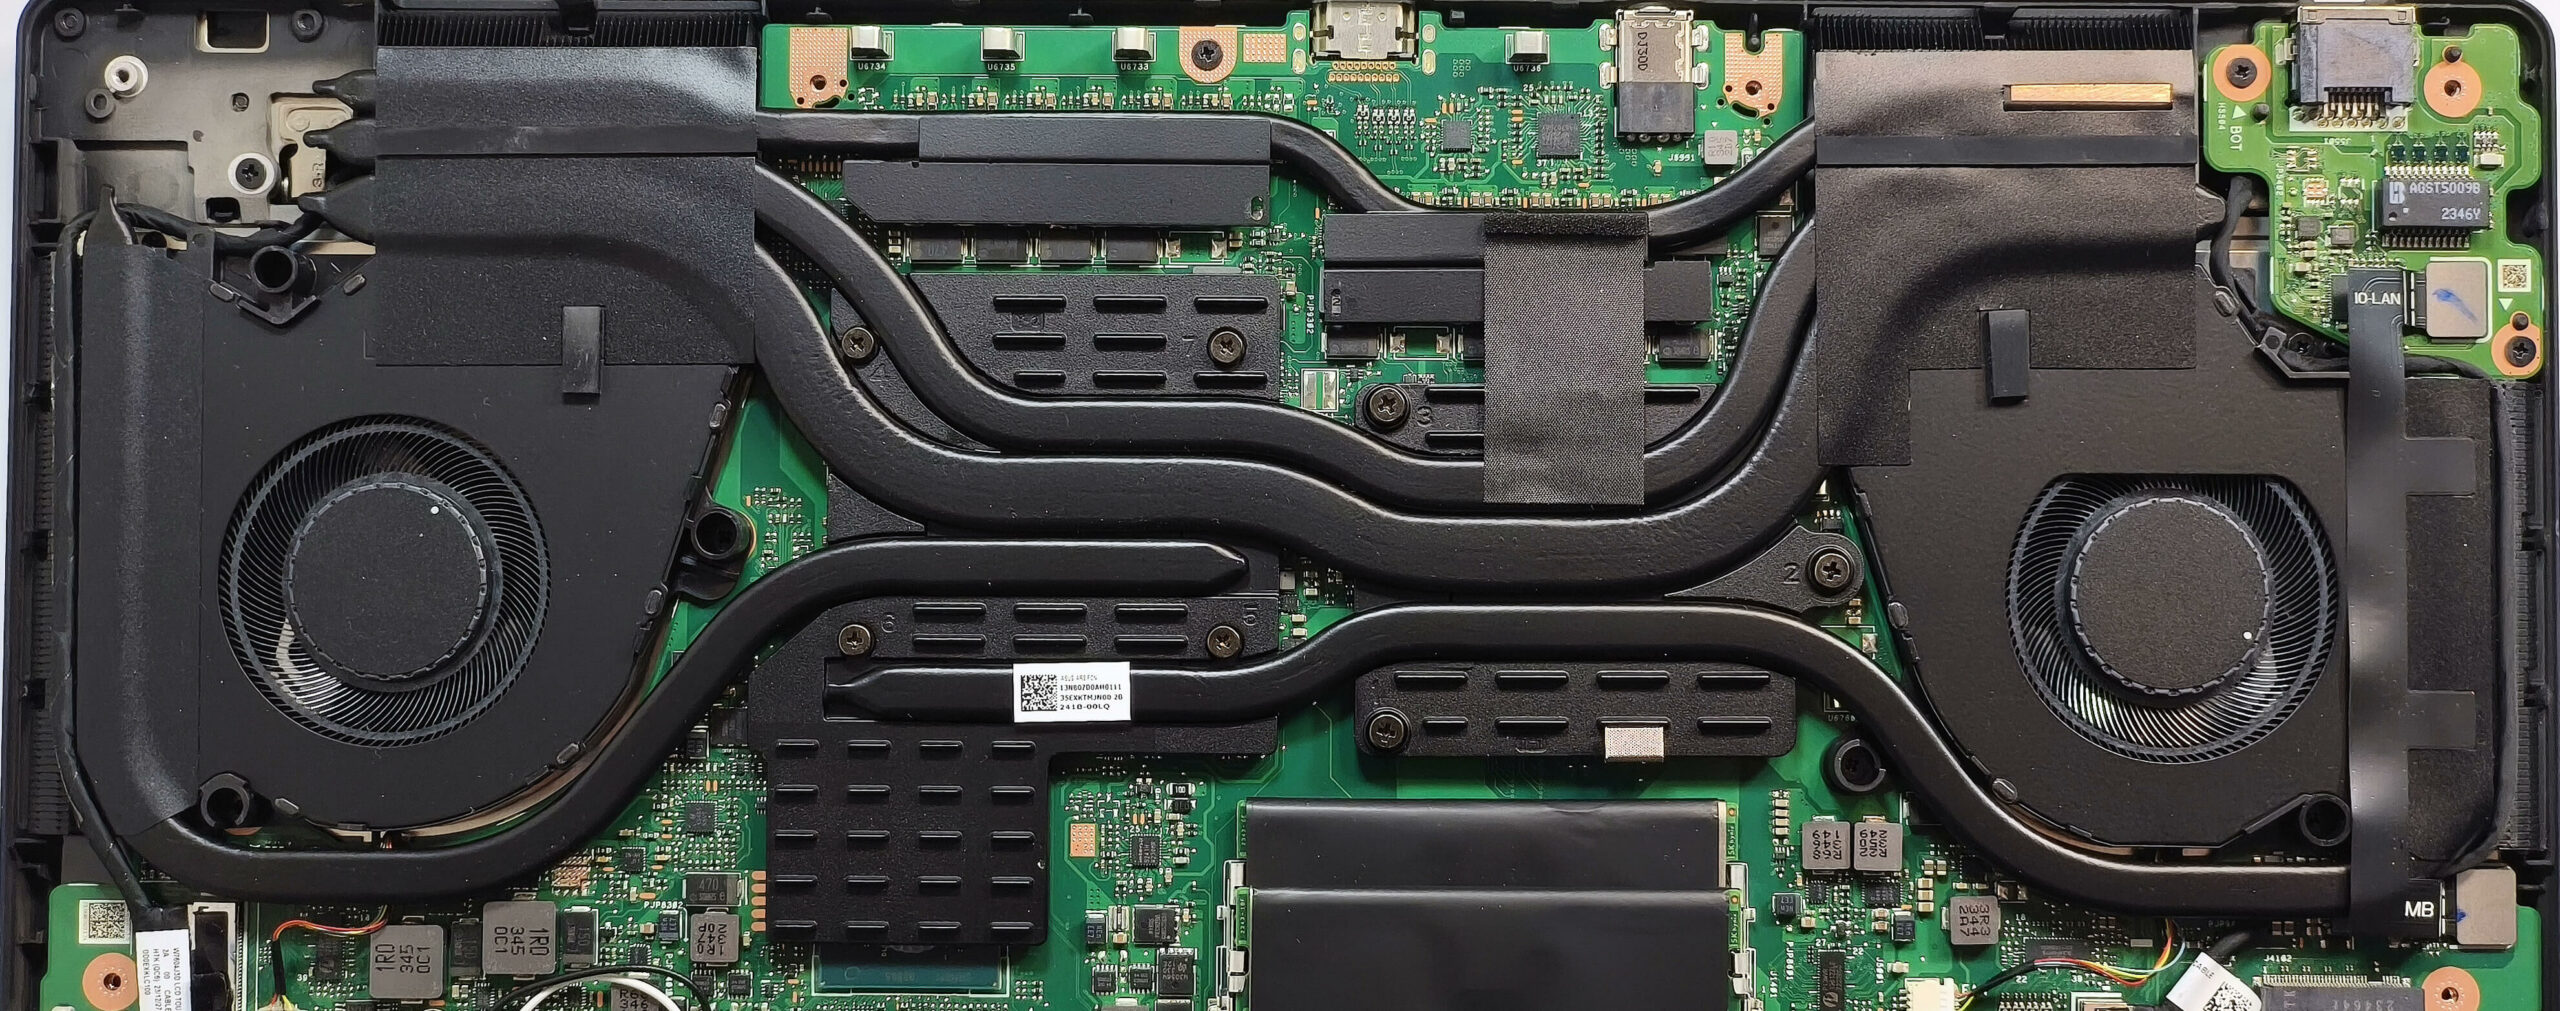
Cooling System Overview
- The system features two large fans, each with 102 blades, and preapplied liquid metal on the CPU die for enhanced thermal conductivity.
- Three heat pipes are shared between the CPU and GPU, with an additional pipe dedicated to each chip.
- Four heat sinks, two small heat spreaders, and two large metal plates contribute to heat dissipation. The left metal plate also cools the chipset.
Tip: Regularly clean the fans and heat sinks to maintain optimal cooling performance, especially for heavy workloads.
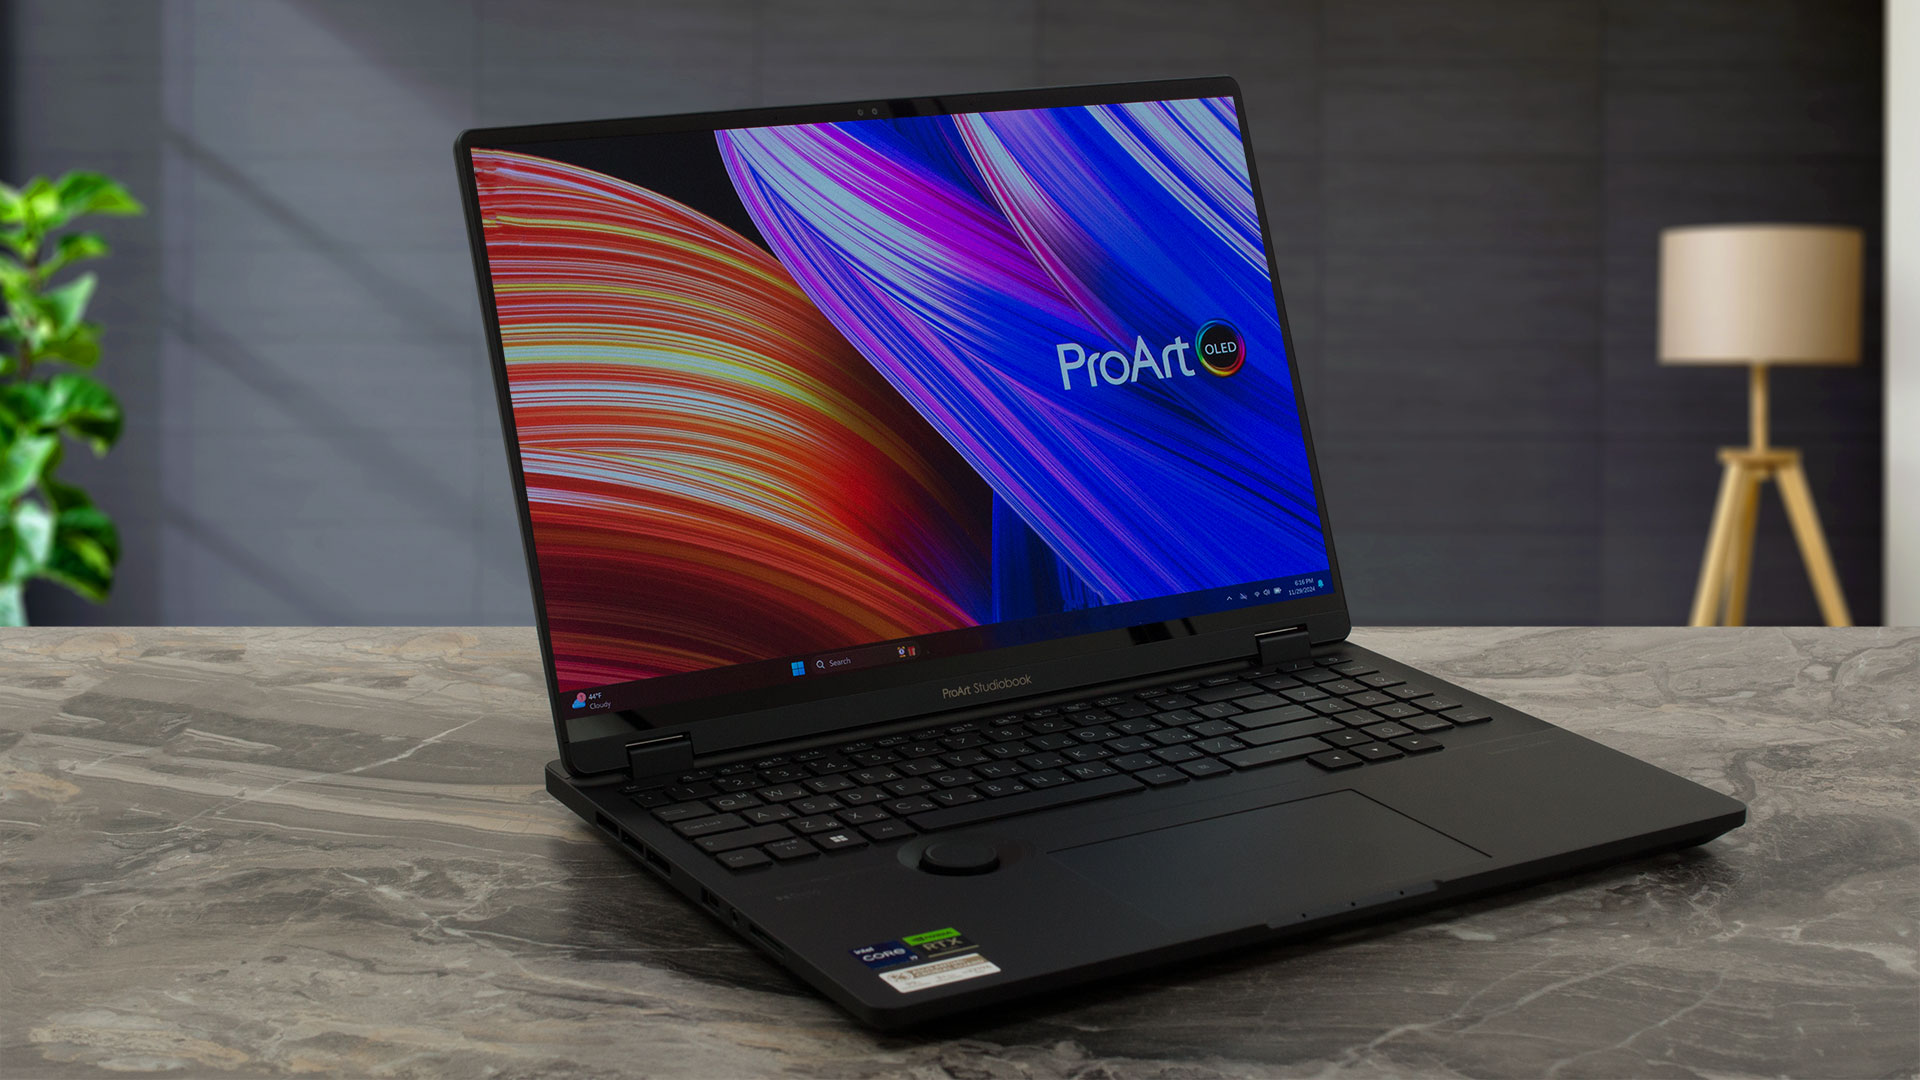
ASUS ProArt Studiobook 16 3D OLED (Pro W7604 / H7604, 2023) in-depth review
The ASUS ProArt Studiobook Pro 16 OLED W7604 is a mind-blowingly good workstation for creators. It's offered in just one high-end configuration with Intel Core i9-13980HX and 130W NVIDIA RTX 3000 Ada Generation. The latter is the pro-grade version of the RTX 4070. The 13980HX CPU is almost the same chip as the slightly higher-clocked 14900HX which boasts an identical core count as the 13th gen sibling. Expectedly, you get goodies such as good upgradability and modern port selection. The lack of Type-C charging is actually quite positive since you don't lose one of the two Thunderbolt 4 connect[...]
Pros
- 2x SODIMMs + 2x 2280 Gen 4 slots
- Very good sustained performance
- Good CPU clocks and power limits during heavy stress in "Performance" mode (3.07 GHz P-core clock + 115W)
- The RTX 3000 Ada Generation maintains a 130W TGP in graphics-heavy tasks
- MUX Switch
- Rich port selection
- Full sRGB and DCI-P3 coverage (SDC4178)
- Great color accuracy (SDC4178)
- 120Hz refresh rate and 3200x2000 resolution (SDC4178)
- Infinite contrast ratio and high max brightness of 573 nits in HDR mode (SDC4178)
- The Armoury crate app offers tons of customization options
- Comfortable backlit keyboard with per-key illumination + accurate touchpad
- Built like a tank
- Capable cooling
- Useful ASUS Dial controller
- Well-cooled SSD (Micron 3400)
Cons
- High price
- Lacks goodies such as Wi-Fi 7 and Gen 5 SSD slot
- The Wi-Fi card is positioned in front of the left SSD slot which is unlogical
- Loud fans in "Performance" mode
 Author: Dimitar Stalev

![[June 2026] Best-Selling Laptop Brands on Amazon Global – Apple’s Unrivaled Dominance in Units and Revenue](https://laptopmedia.com/wp-content/uploads/2026/07/GLOBAL-Best-Brands-400x225.jpg)
![[June 2026] Amazon Global: Top 10 Best-Selling Laptops – Apple’s New MacBook Neo Storms to #1, Reshaping the Market with Affordability](https://laptopmedia.com/wp-content/uploads/2026/07/Best-Selling-Laptops-GLOBAL-Top-10-400x225.jpg)
![[June 2026] Amazon Global: Top 10 Best-Selling Gaming Laptops – Acer’s Nitro V 16S AI Dominates Sales, While ASUS Leads Overall Revenue](https://laptopmedia.com/wp-content/uploads/2026/07/Best-Selling-Gaming-Laptops-GLOBAL-Top-10-400x225.jpg)
![[June 2026] Global Ranking of Best-Selling Laptop GPUs on Amazon – NVIDIA RTX 5060 is the Top-Selling Dedicated GPU](https://laptopmedia.com/wp-content/uploads/2026/07/Best-Selling-GPUs-GLOBAL-Top-10-400x225.jpg)
![[June 2026] Global Ranking of Best-Selling Laptop CPUs on Amazon – Apple M5 Dominates, AMD Ryzen 7 260 Gets Solid Premium Share](https://laptopmedia.com/wp-content/uploads/2026/07/Best-Selling-CPUs-GLOBAL-Top-10-400x225.jpg)