How to open MSI Thin 15 B12U – disassembly and upgrade options

Opening the Device
Hint: Ensure the laptop is powered off and disconnected from any power source before starting.
- Undo the twelve Phillips-head screws on the bottom panel of the laptop.
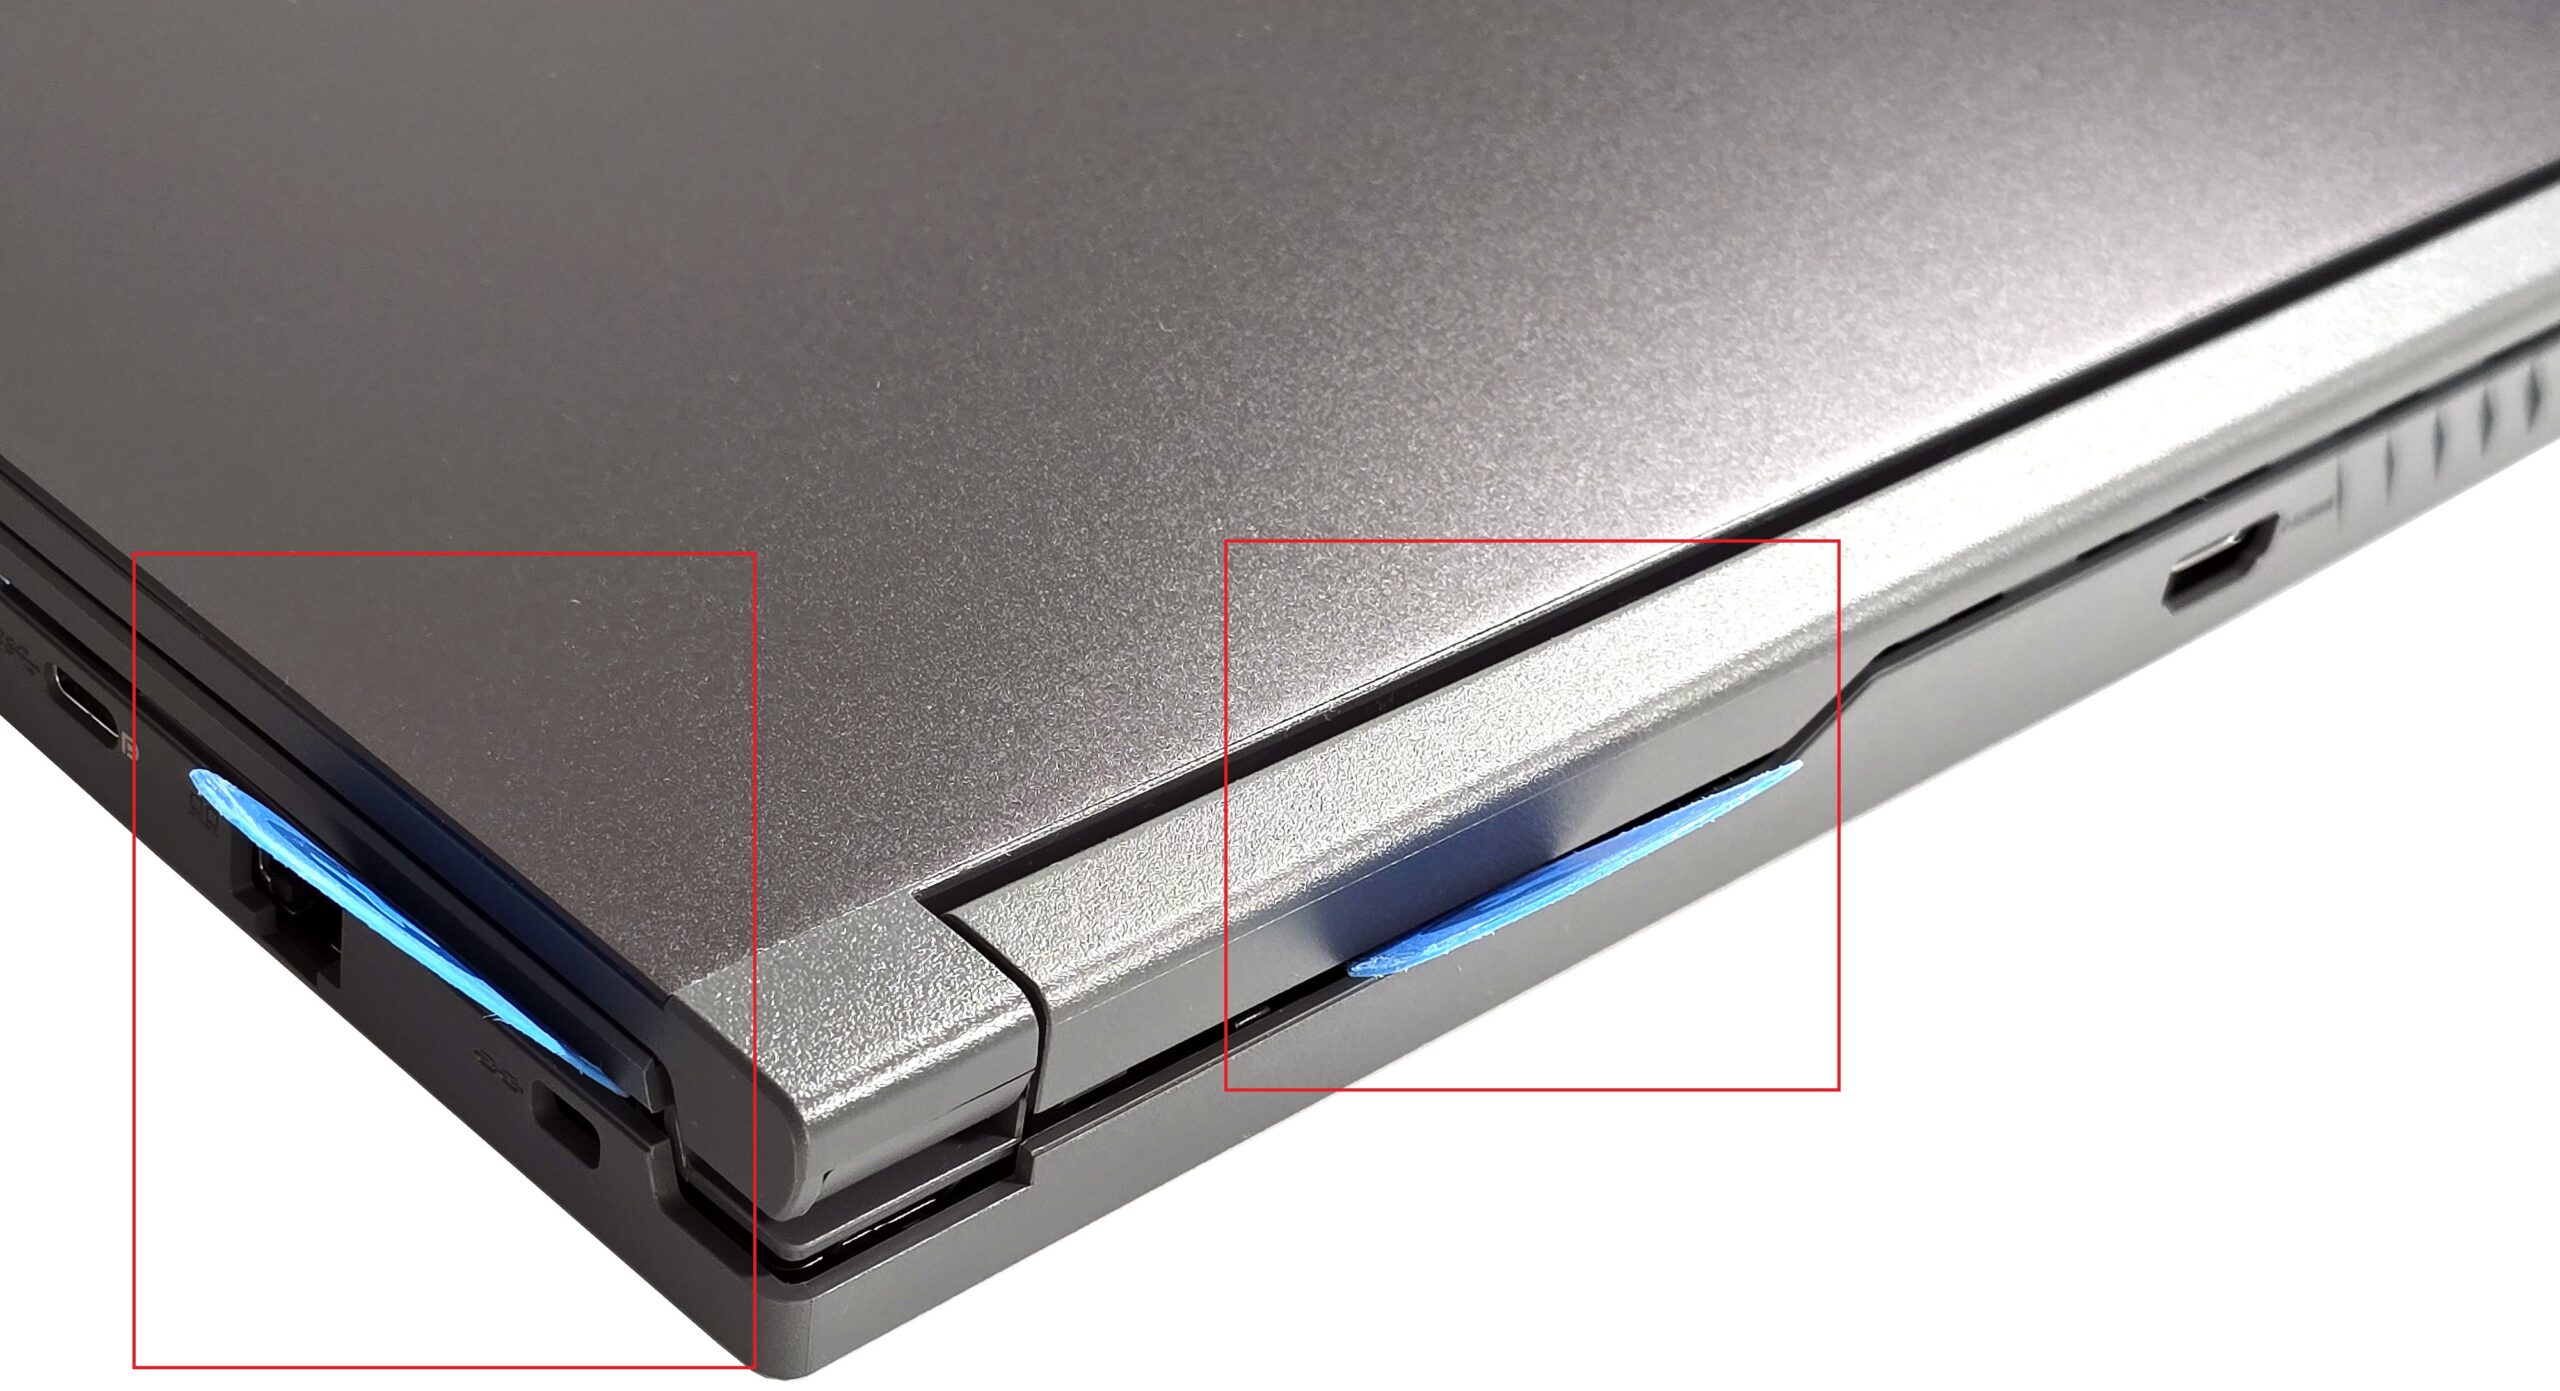
- Use a thin plastic tool to pop the rear close to the Kensington Lock slot.
- Insert the tool deeper into the chassis to create a small gap on the side and pop it.
- Pry the other side as well as the front to fully pop the back panel.
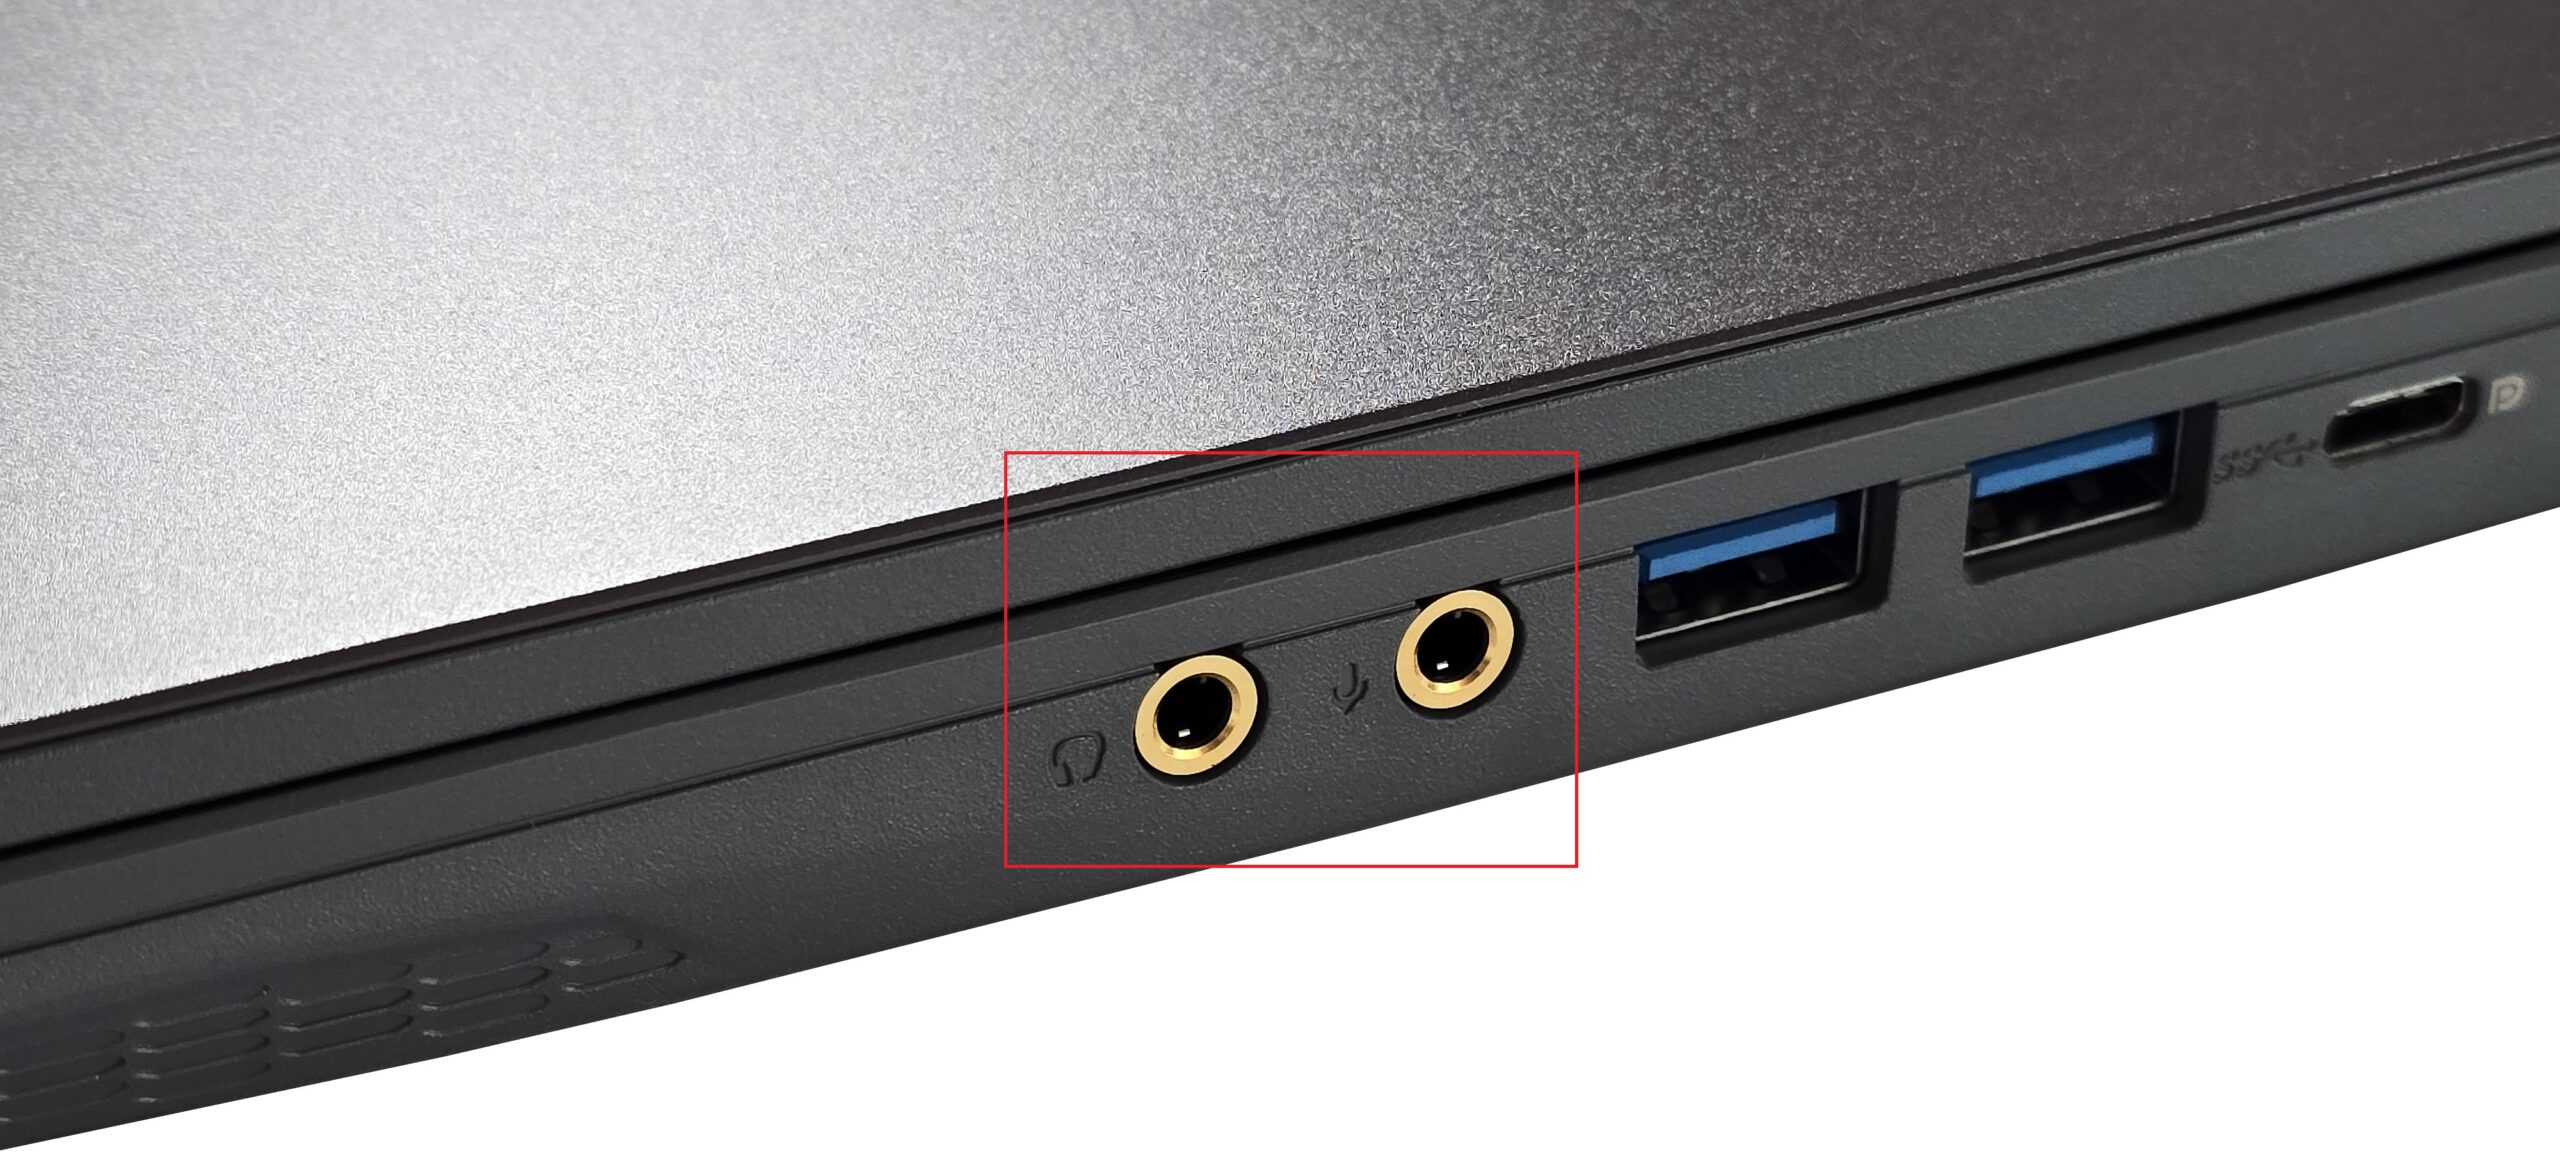
- Since the Headphone and Microphone jacks slightly stick out of the motherboard, lift the plate on the right and slide it to the left.
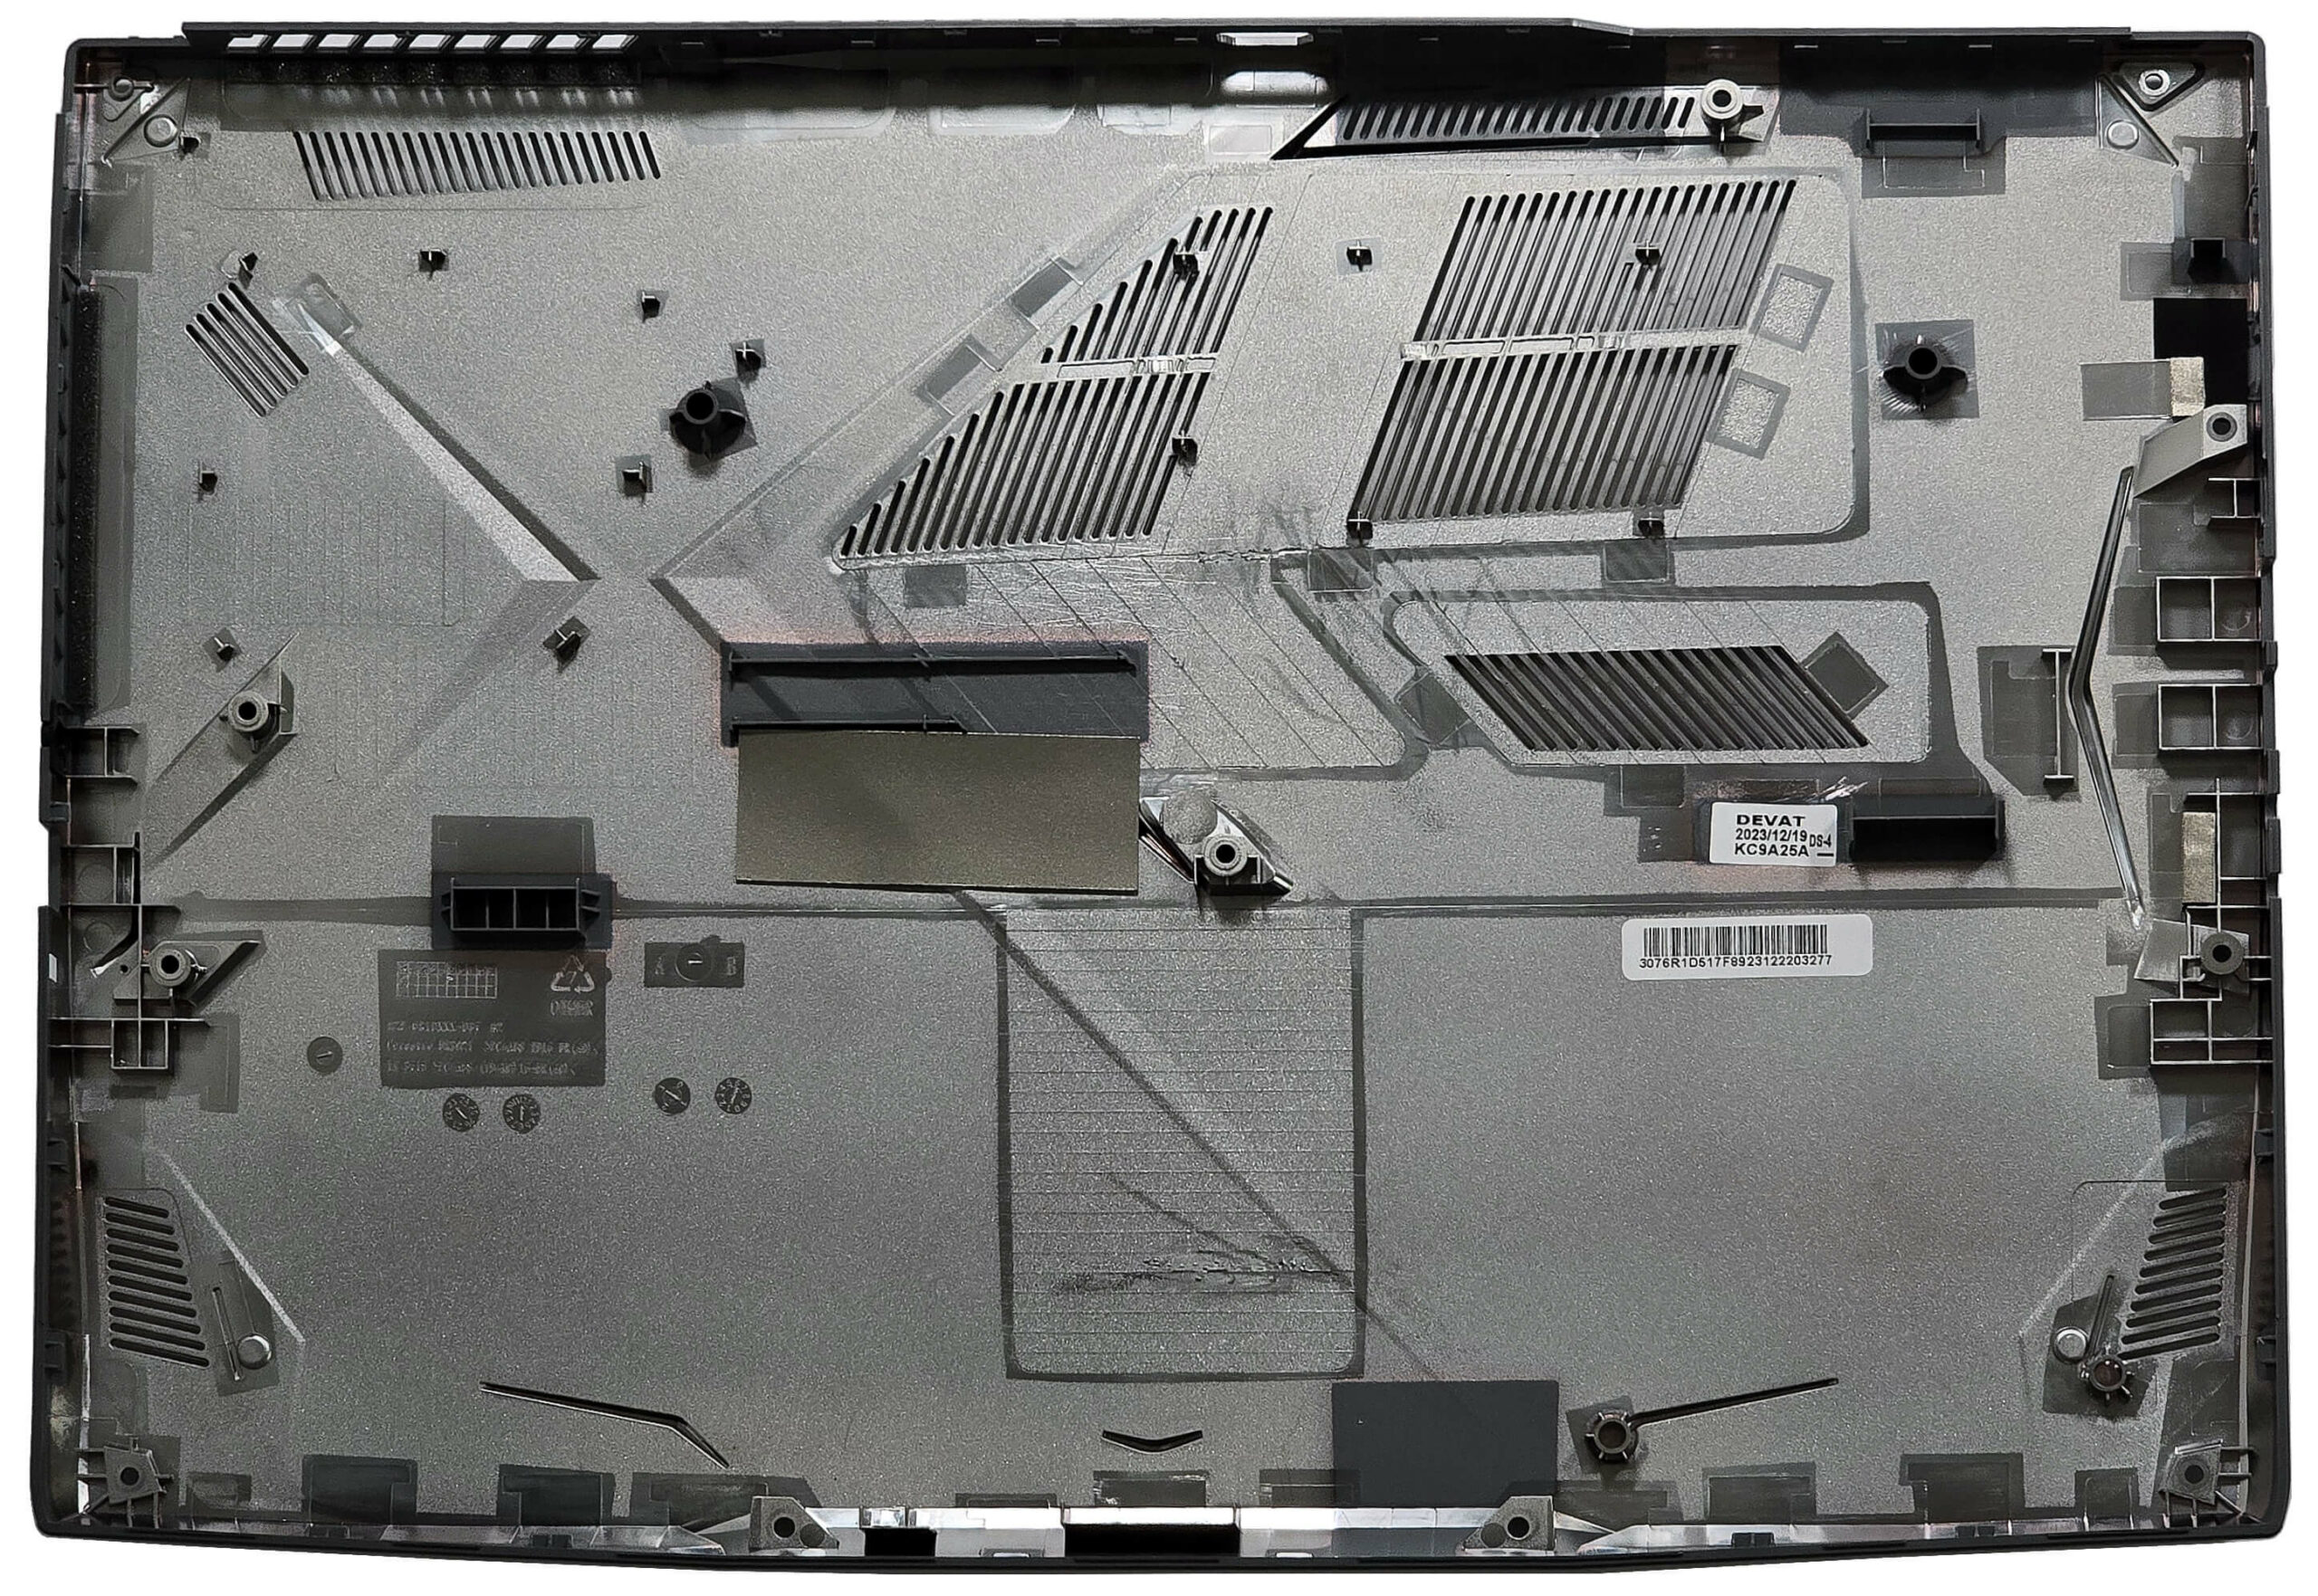
More info: The bottom panel houses numerous plastic elements to enhance internal structural support alongside dust filters for the fans and the speakers.
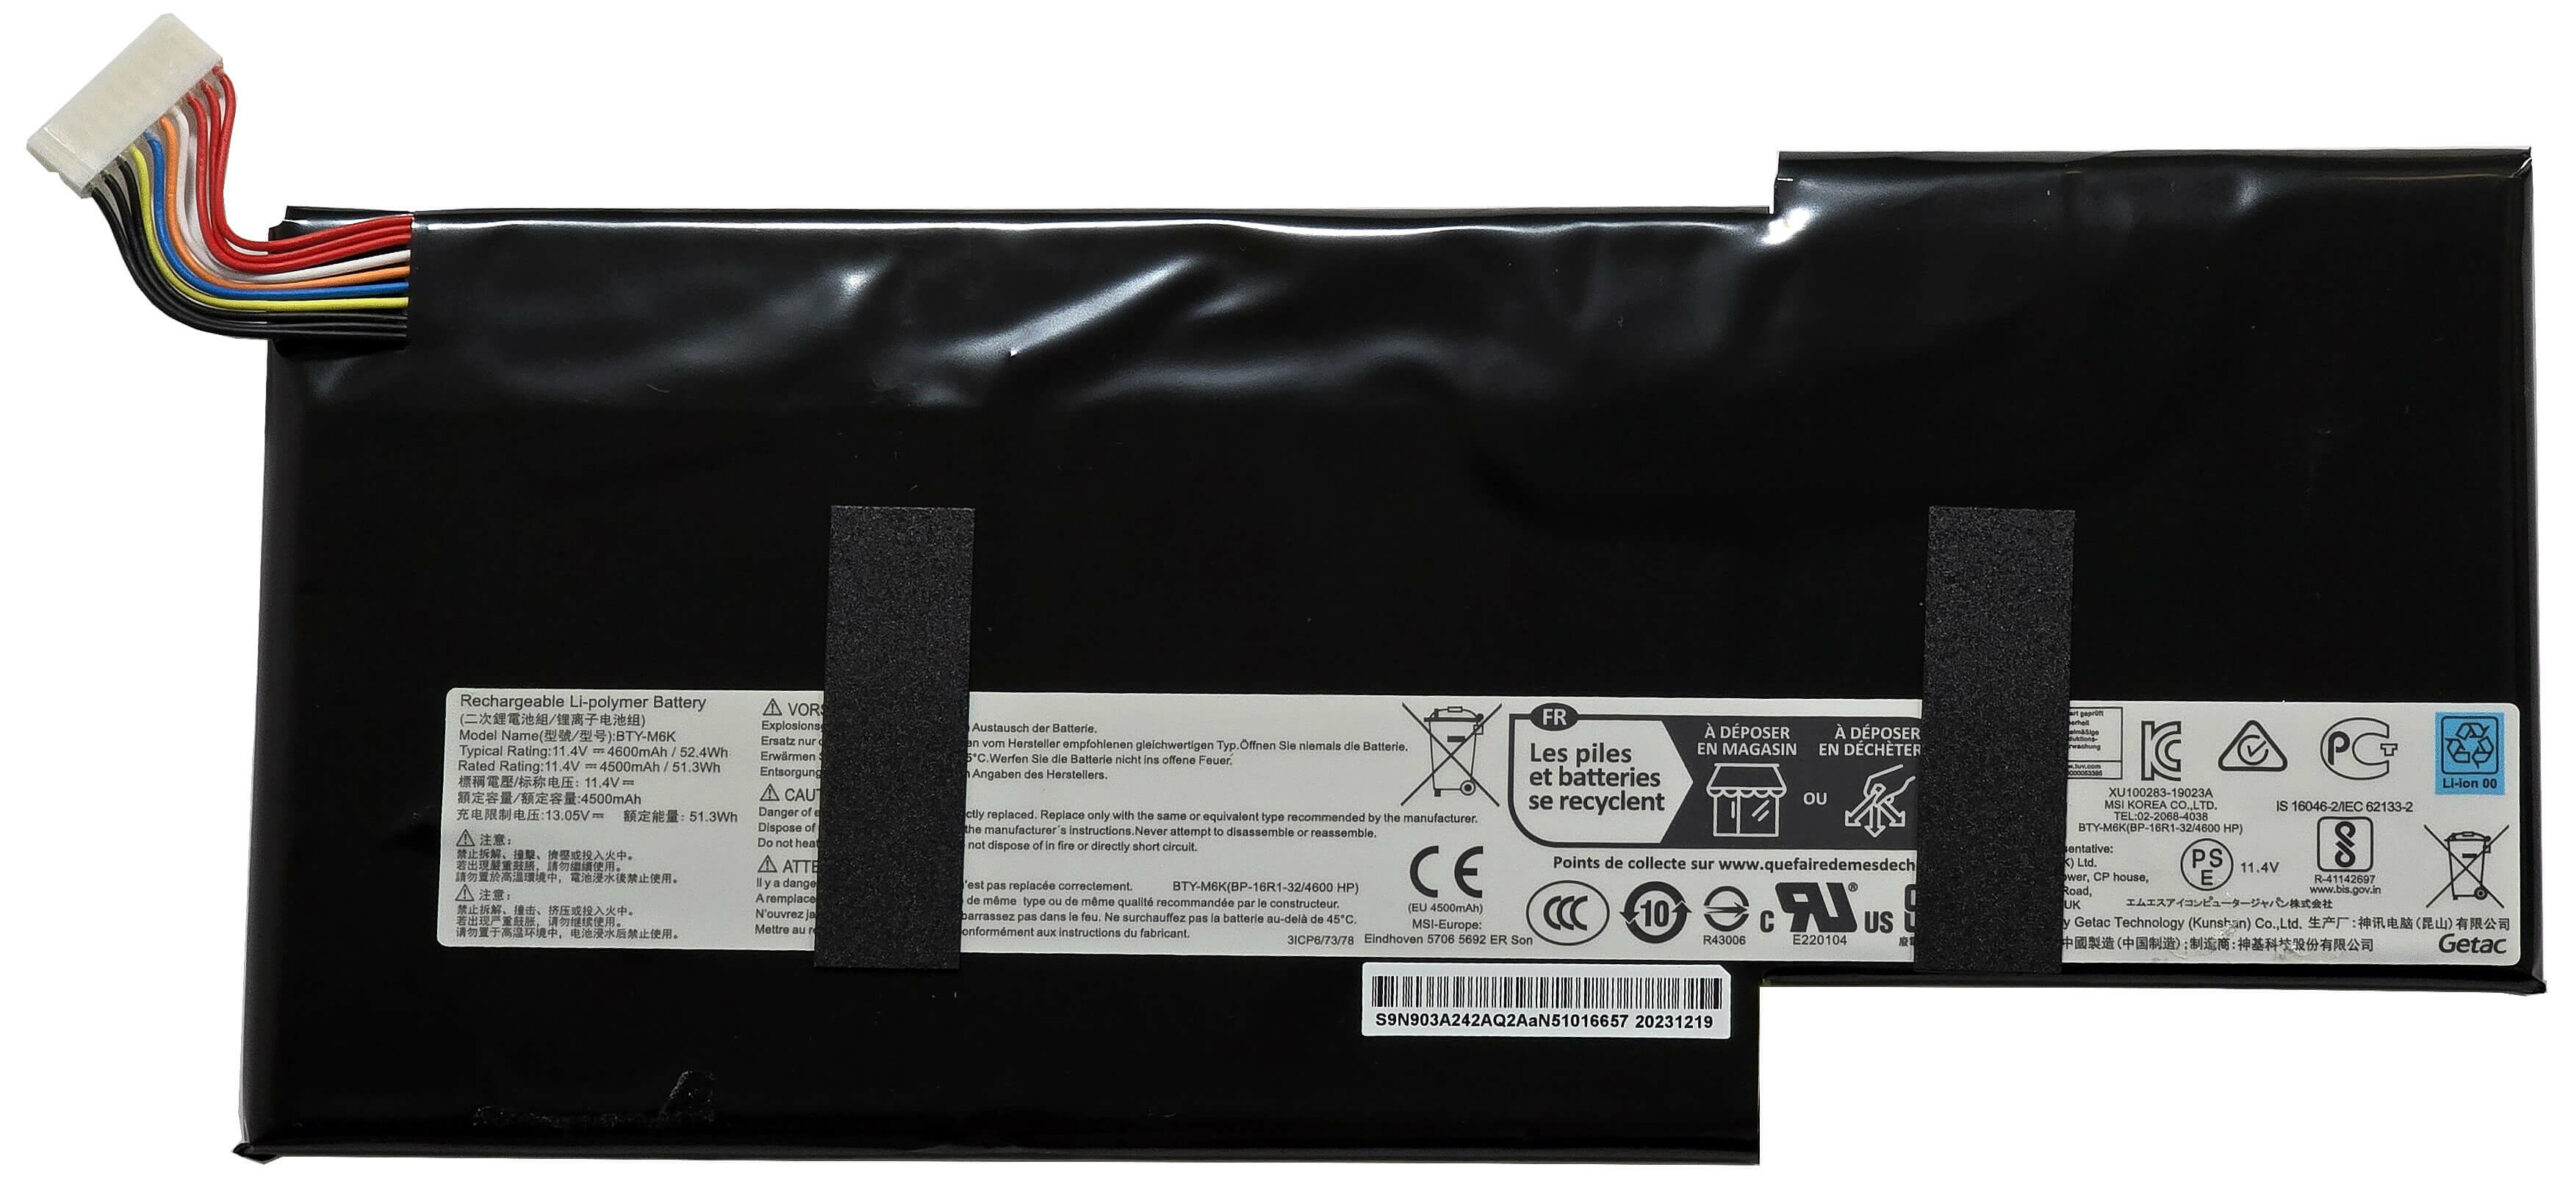
Battery Removal
Caution: Handle the battery with care to avoid damage or injury. Be cautious not to bend the battery, as the touchpad is positioned right below it.
- Pull out the battery connector from the mainboard.
- Undo the five Phillips-head screws that secure the 52.4Wh battery unit to the chassis.
- Unglue the battery unit starting from the left side. The double-sided tape on both sides is very sticky, so pull hard without bending the battery.
- Carefully detach the battery from the laptop.
More info: The laptop is equipped with a 52.4Wh battery, providing approximately 5 hours and 31 minutes of video playback. The touchpad is positioned right below the battery, so extra care is needed during removal.
You can buy compatible batteries here: Buy from Amazon.com (#CommissionsEarned)
Memory Upgrade
Hint: Ensure you are grounded to prevent static discharge when handling memory modules.
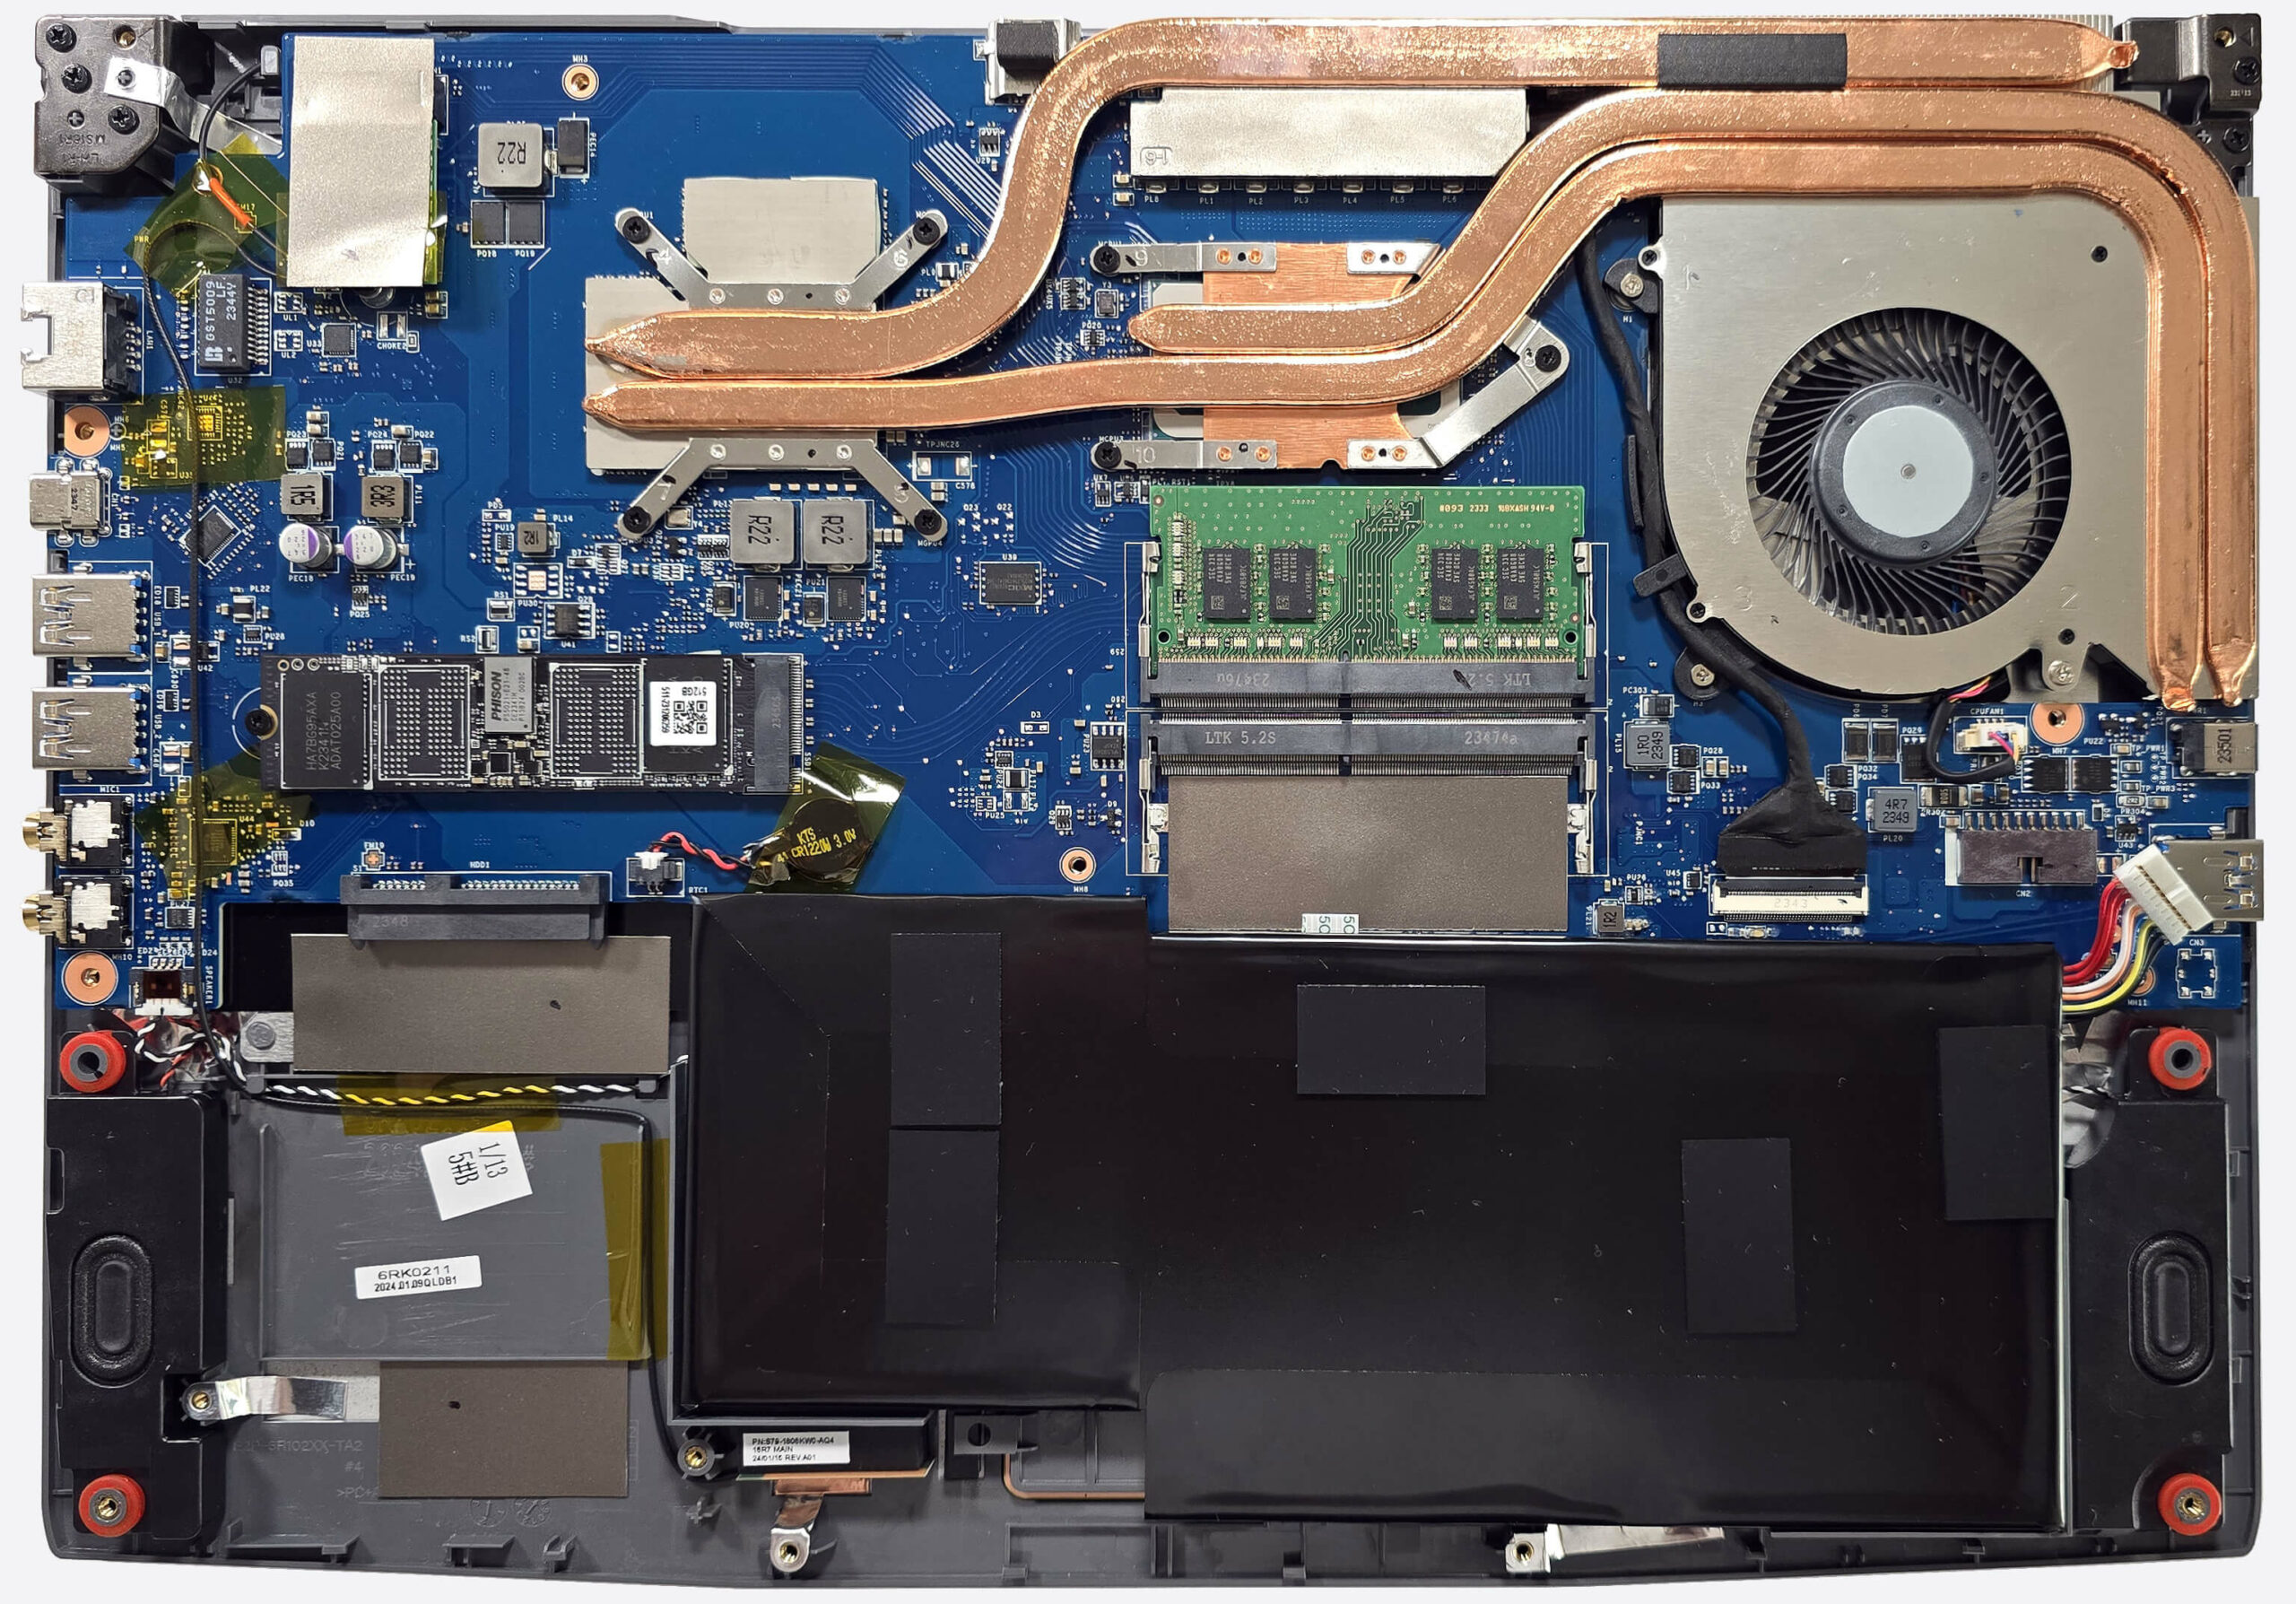
- Peel the Mylar heat shield over the memory section to access the RAM slots.
- Locate the RAM zones covered by metal caps.
- Use a lever tool to pop the metal caps open.
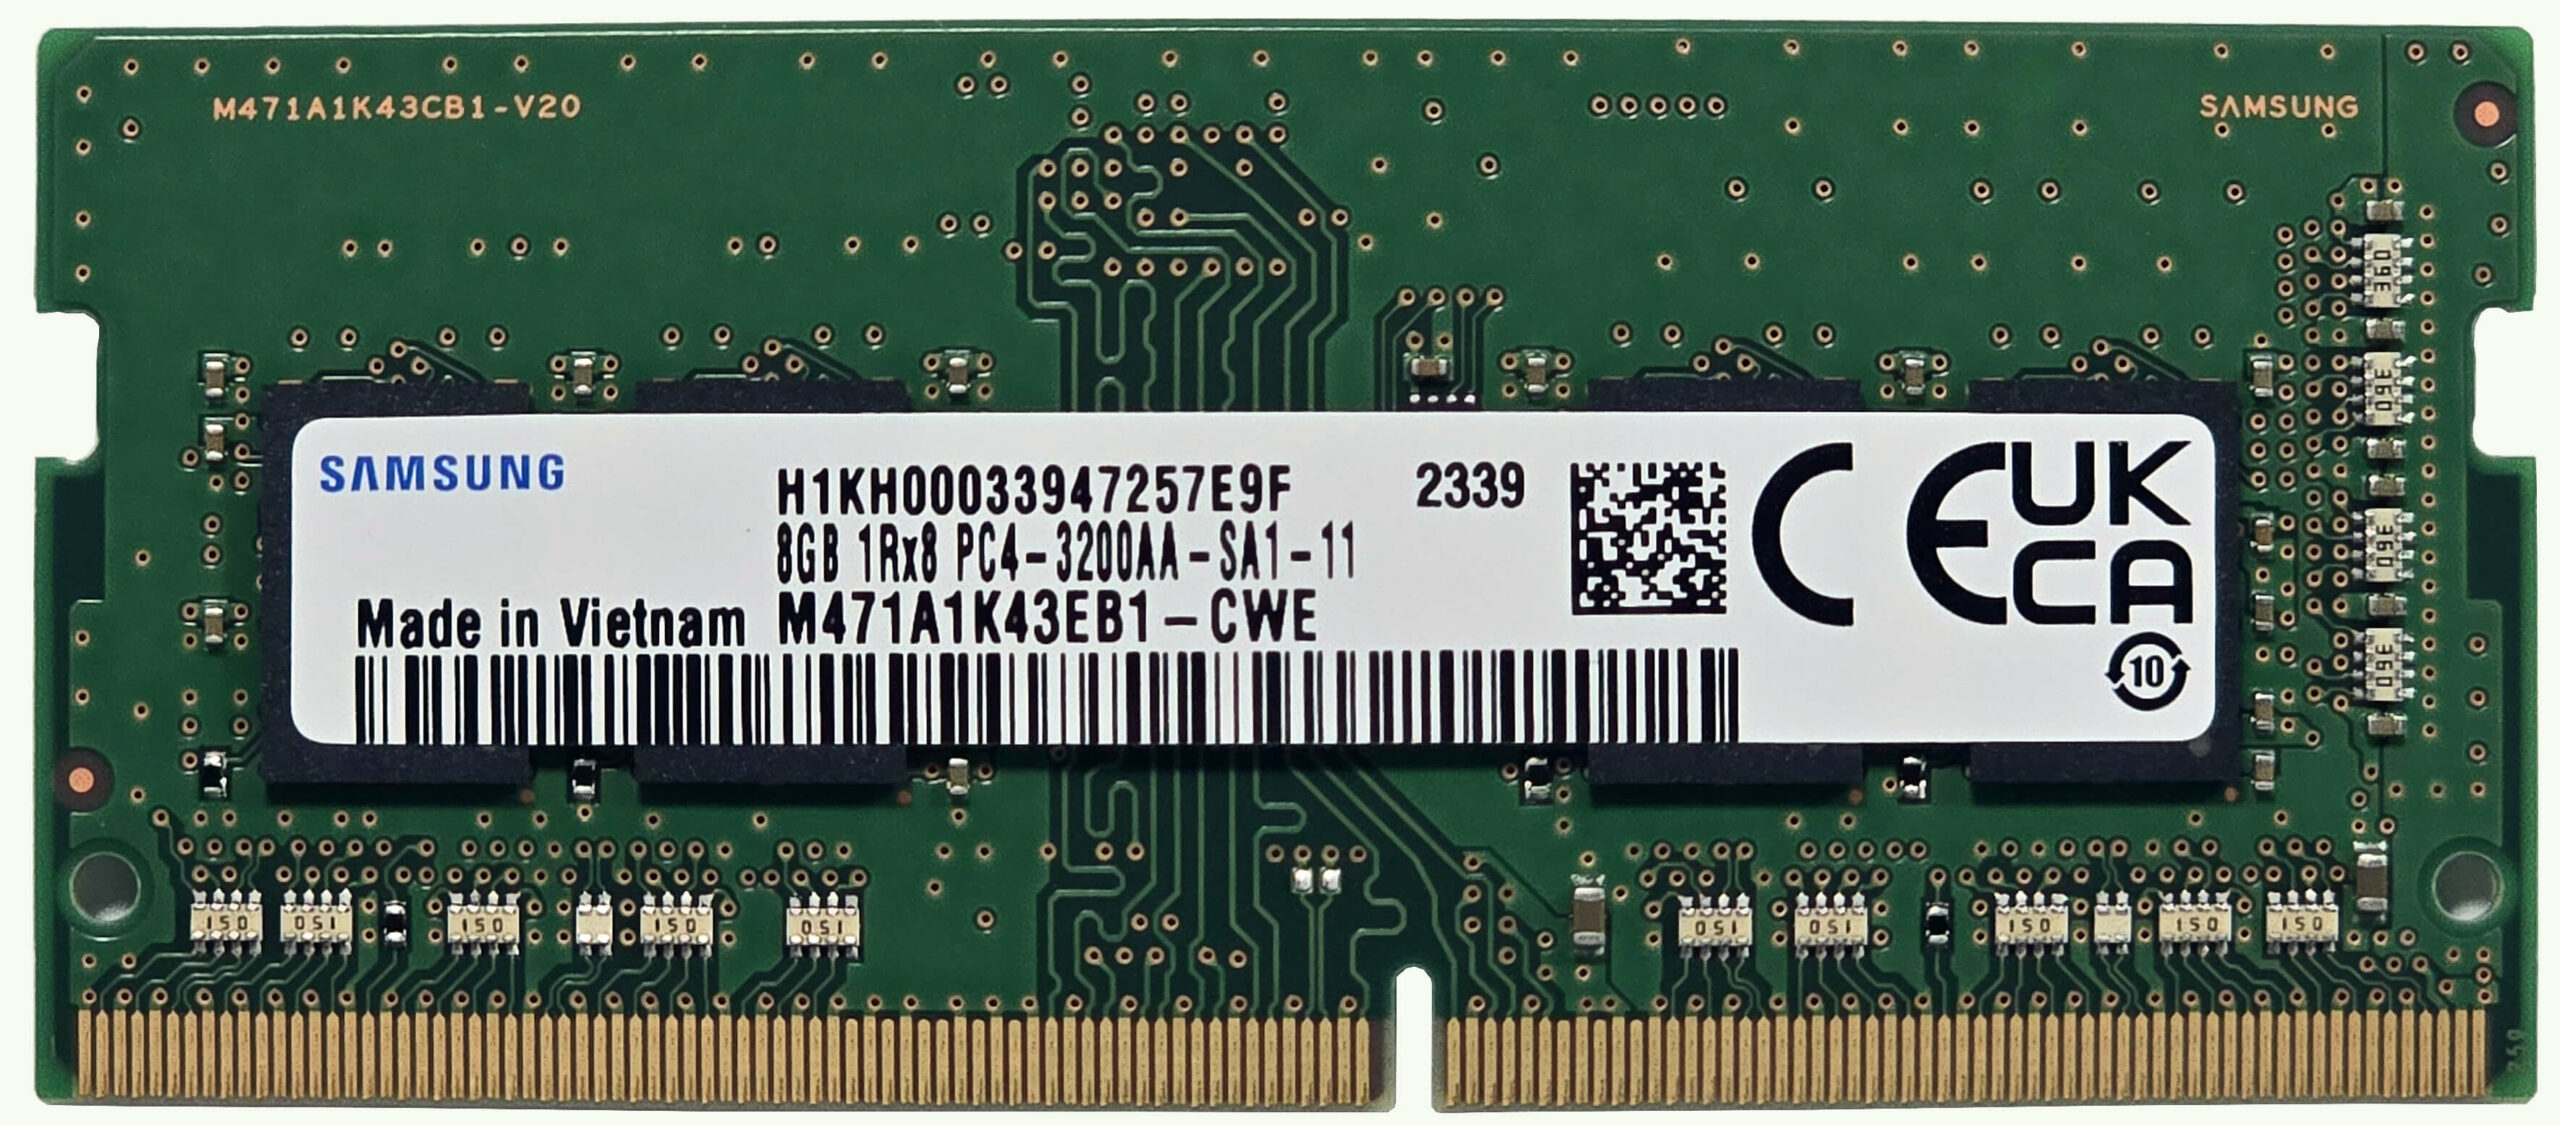
- Insert the new DDR4-3200MHz RAM modules into the SODIMM slots, ensuring they are properly seated.
More info: The laptop supports up to 64GB of DDR4-3200MHz RAM in dual-channel mode, which is the maximum officially specified limit for an Alder Lake-H CPU.
You can buy compatible RAM modules here: Buy from Amazon.com (#CommissionsEarned)

Storage Upgrade
Hint: Handle the SSD with care to avoid any data loss or damage during installation.
- Locate the single M.2 slot compatible with 2280 Gen 4 NVMe drives and the SATA slot for 2.5-inch SSDs or HDDs.
- Remove the Mylar heat shield covering the SSD slots by carefully lifting the attached fabric handles.
- If installing an M.2 SSD, insert it into the slot and secure it with the screw.
- If installing a SATA SSD or HDD, connect it to the SATA slot and secure it accordingly.
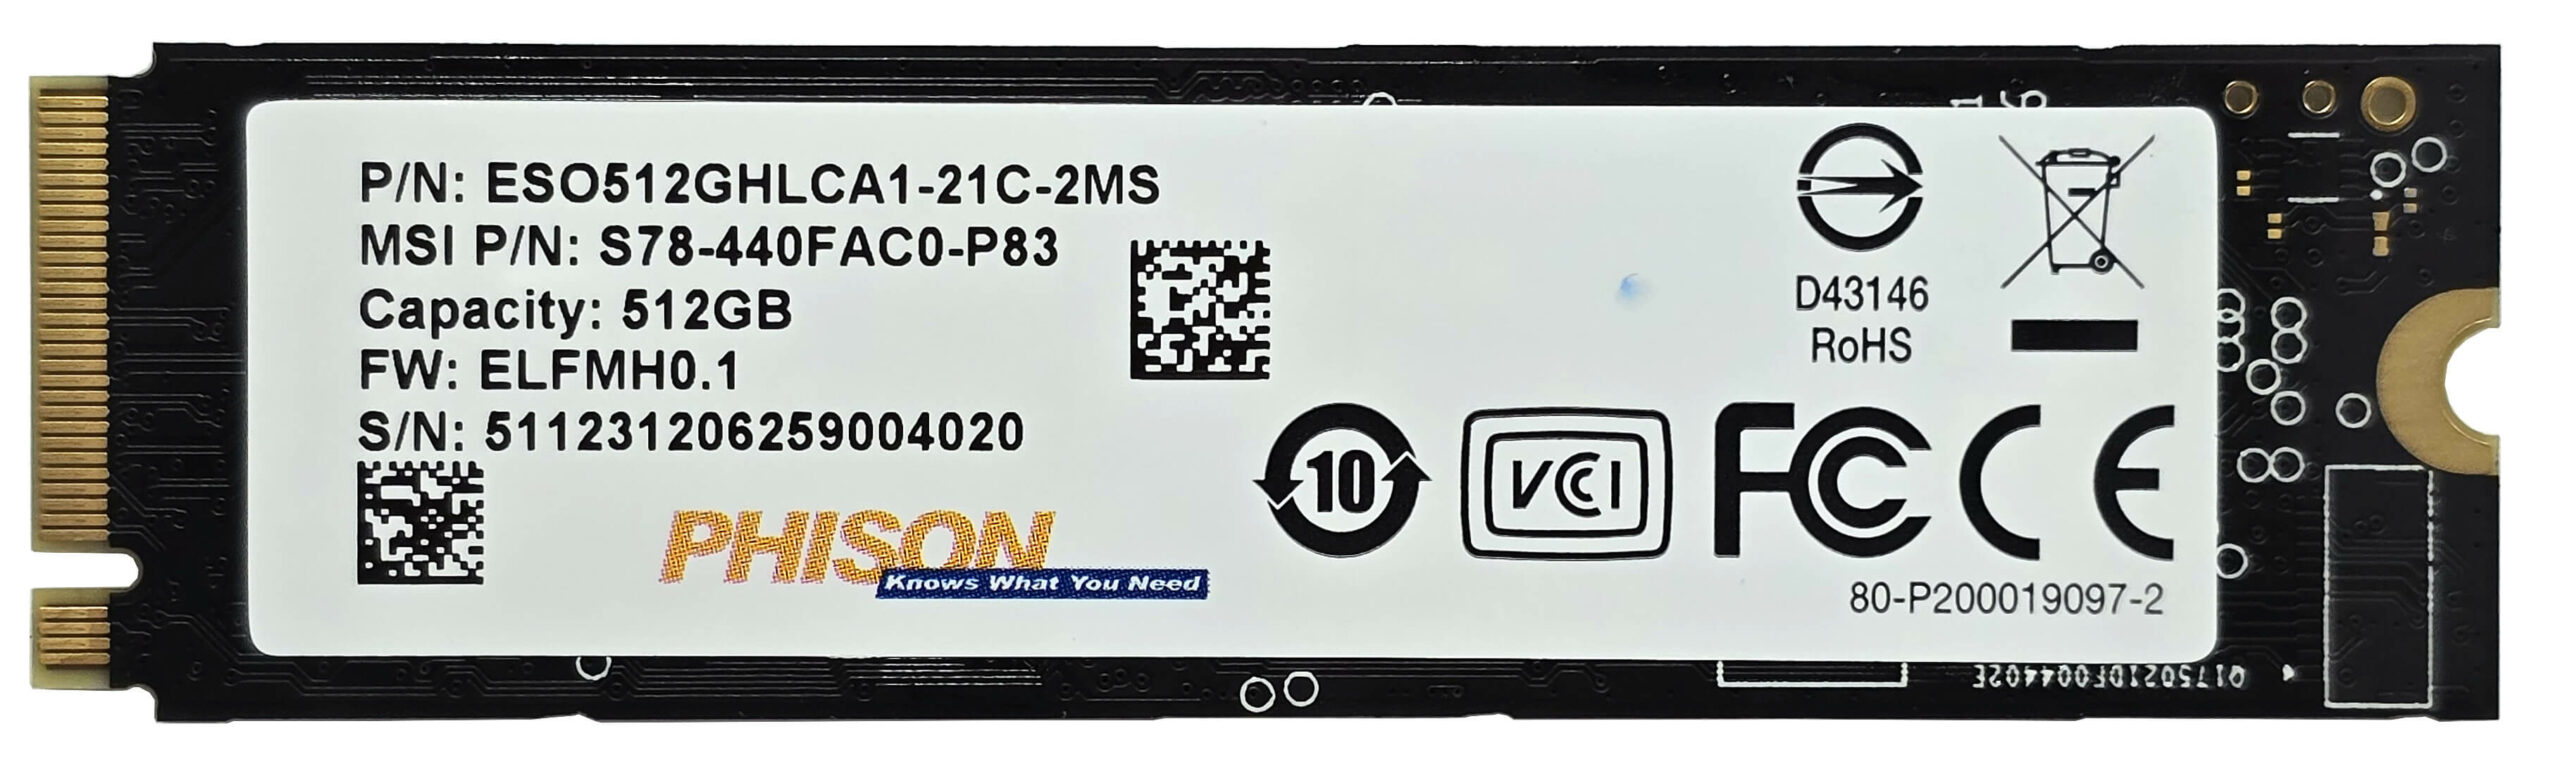
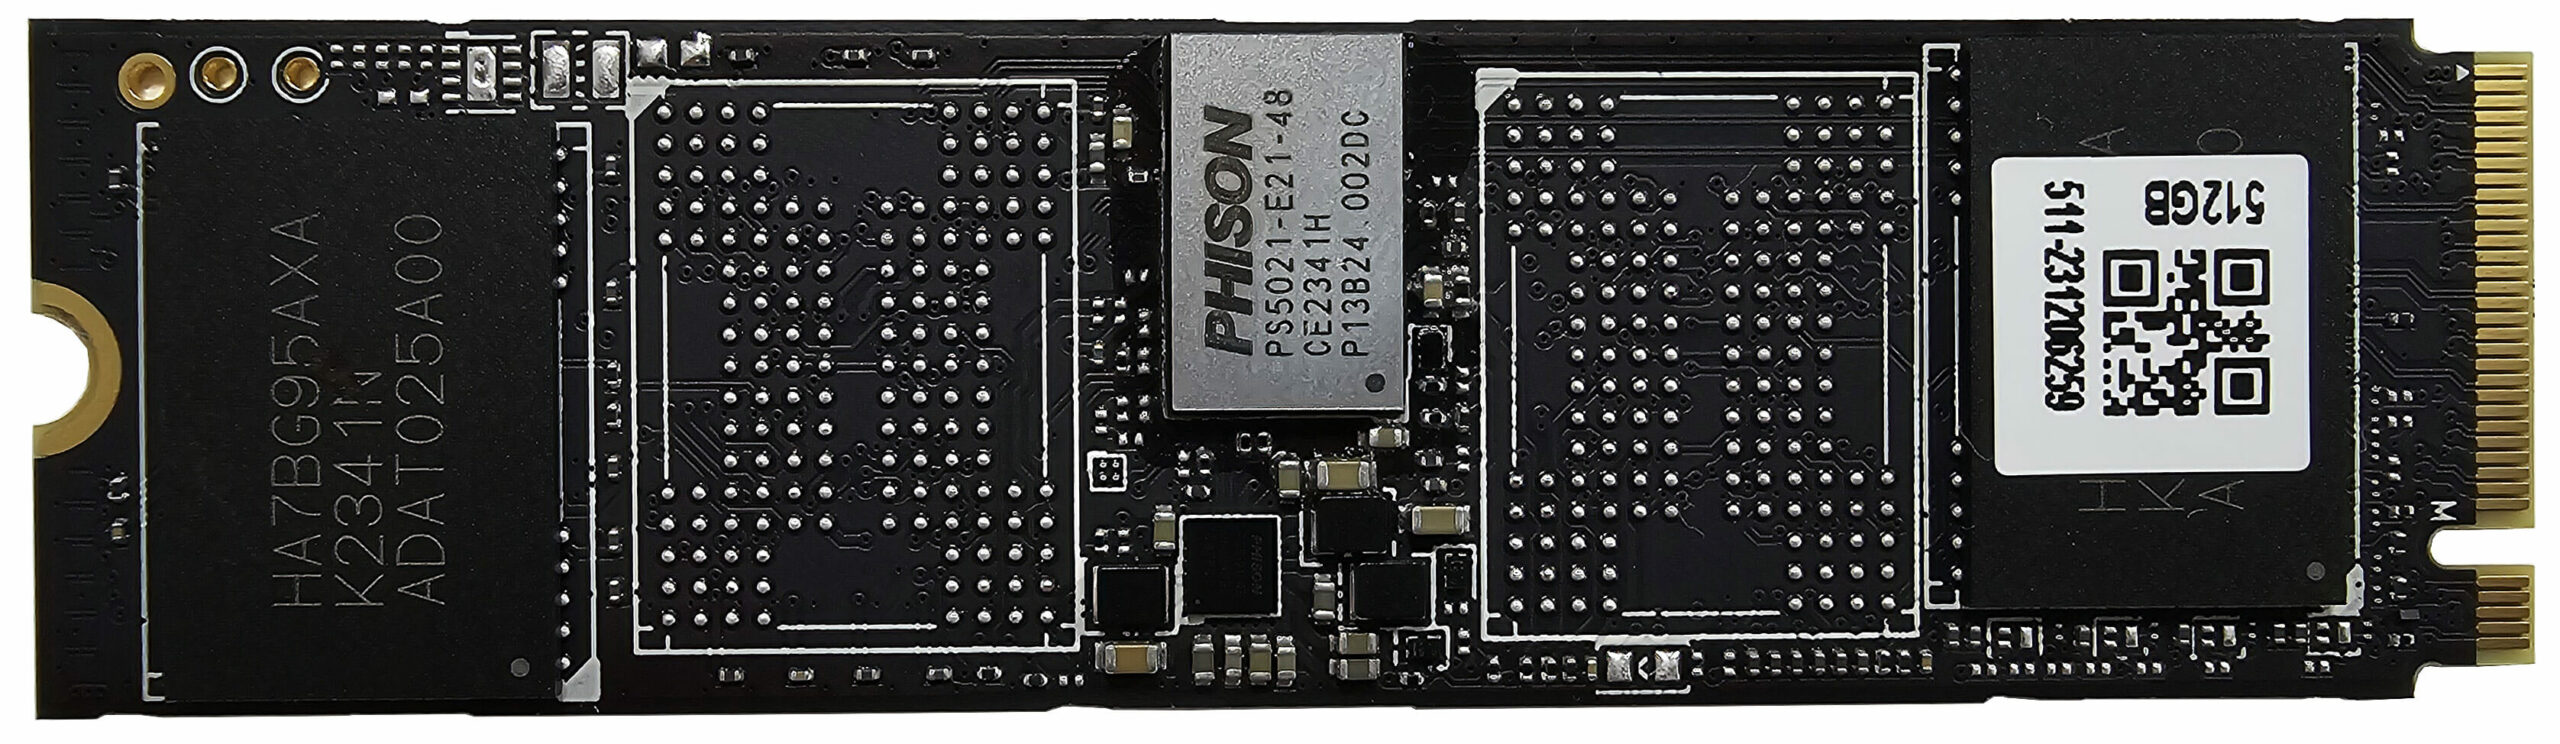
More info: The storage compartment includes a single M.2 slot compatible with 2280 Gen 4 NVMe drives and a SATA slot for regular 2.5-inch SSDs or HDDs. The preinstalled NVMe SSD is additionally cooled by two thick thermal pads beneath it to lower temperatures during heavy loads. The position of the thermal pad below the NVMe isn’t optimal but can be fixed easily.
Hint: Don’t forget to check out our Top M.2 SSDs Performance Rankings for insights on the best storage options available.
You can buy compatible SSDs here: Buy from Amazon.com (#CommissionsEarned)
Cooling System Overview
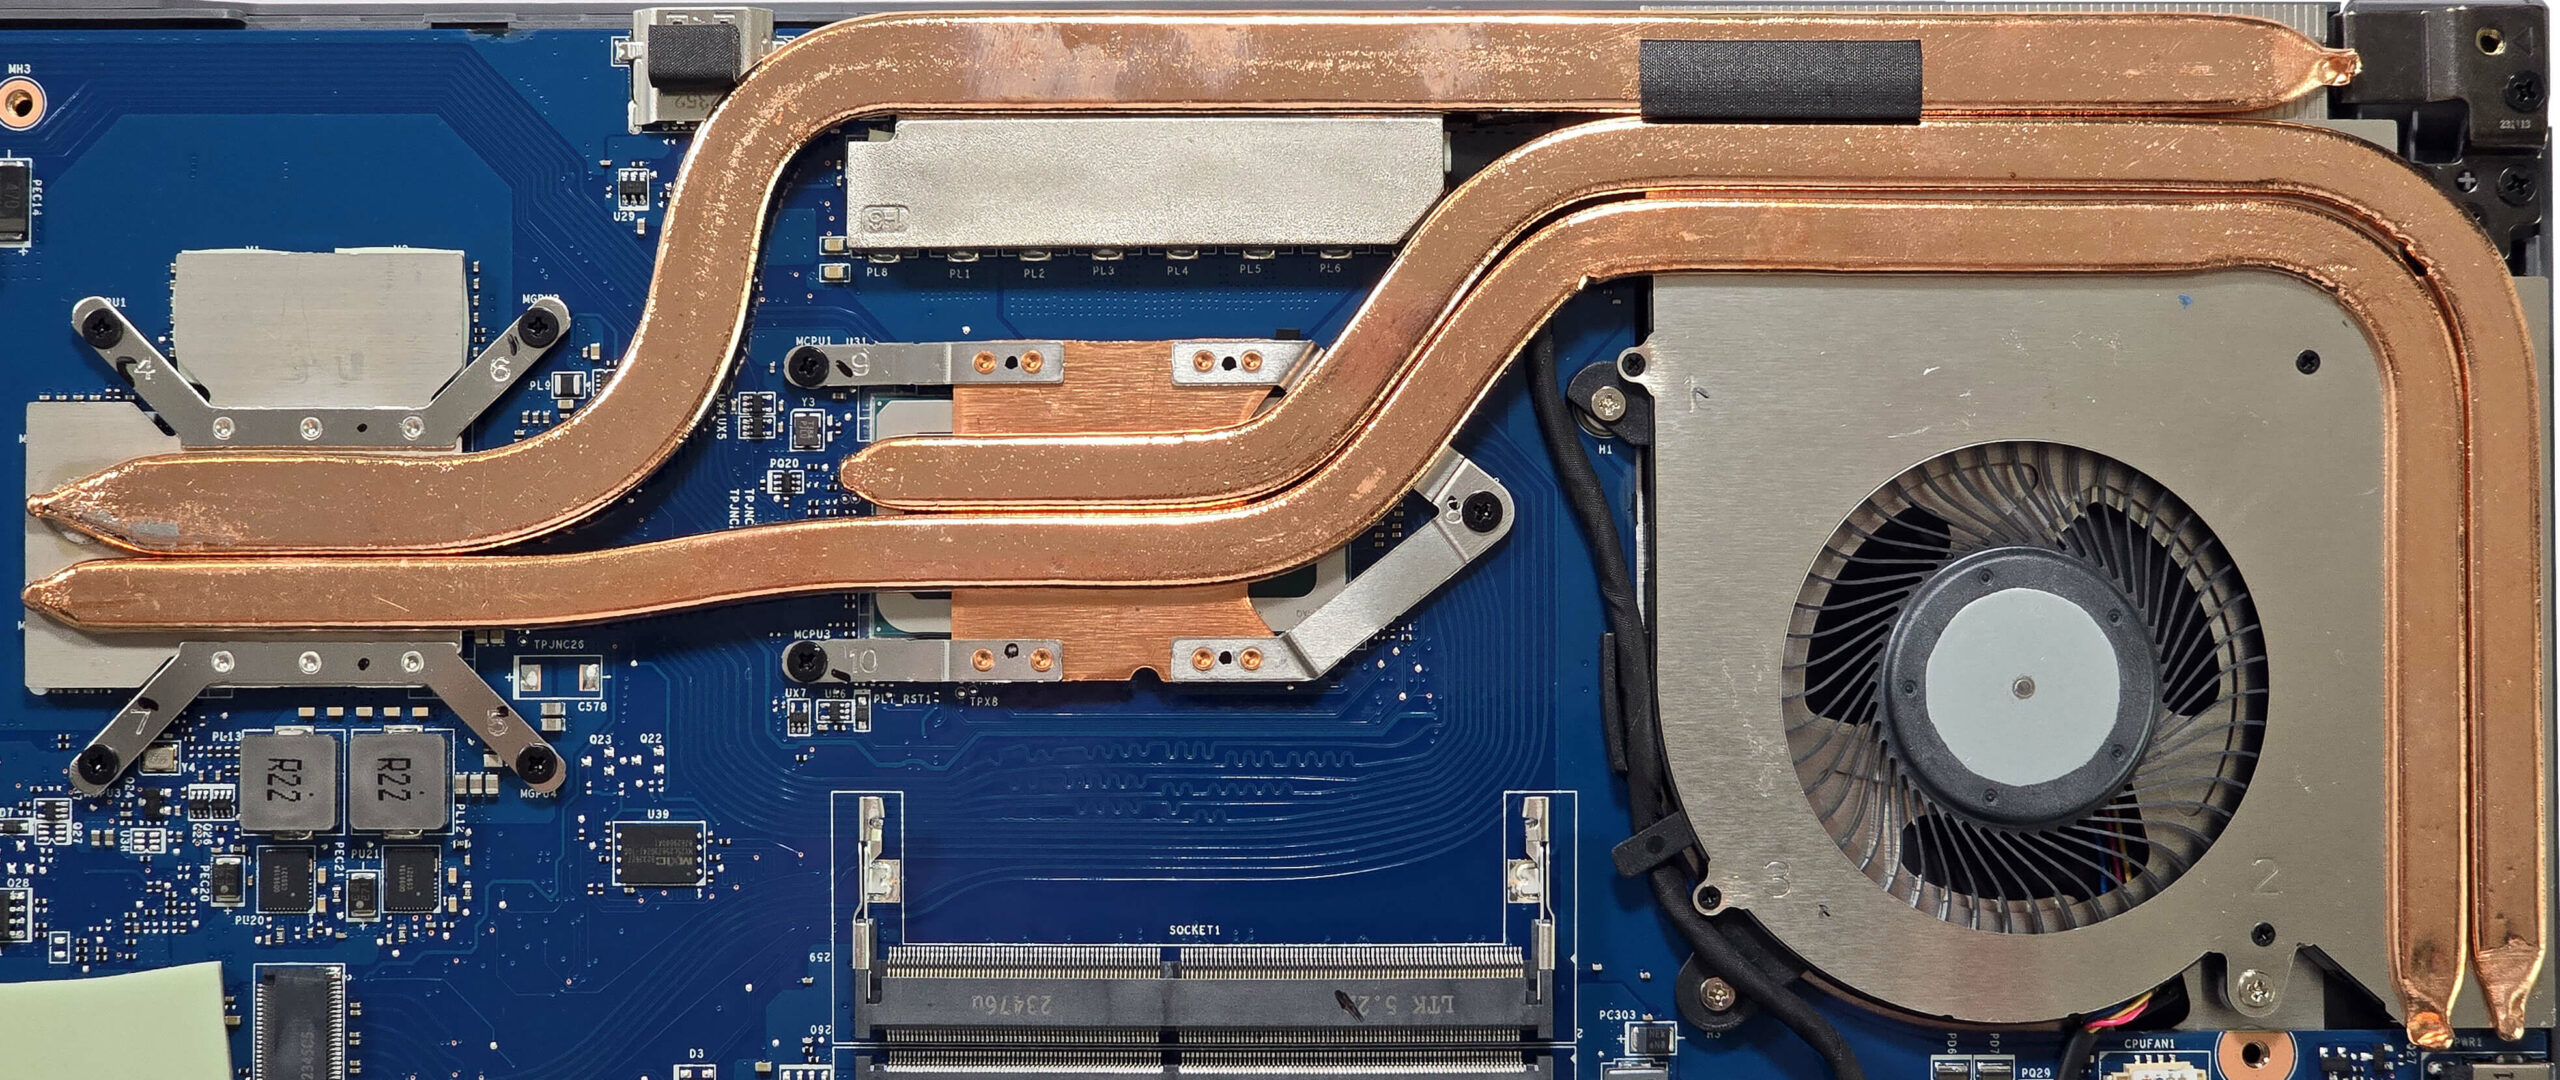
More info: The cooling system comprises a single sizable fan and three heat pipes. The lower heat pipe is shared between the CPU and the GPU, the middle heat pipe is solely dedicated to the graphics card, and the top heat pipe cools the processor as well as the GPU’s VRMs and memory chips. Additionally, there are a pair of heat sinks and three heat spreaders to ensure effective thermal management.
- Inspect the single sizable fan to ensure it is free of dust and debris.
- Check the lower heat pipe shared between the CPU and GPU for any signs of wear or damage.
- Check the middle heat pipe dedicated to the graphics card for any signs of wear or damage.
- Check the top heat pipe cooling the processor and GPU’s VRMs and memory chips for any signs of wear or damage.
- Verify that the pair of heat sinks are properly seated and unobstructed.
- Ensure the three heat spreaders are securely in place to maintain optimal cooling performance.
MSI Thin 15 (B12Ux / B12Vx / B13Ux / B13Vx) in-depth review
In 2024, the market offers a lot of budget gaming laptops and some of them are pretty capable for their price. One of the notable mentions in this category is the Acer Nitro V 15 (ANV15-41) which is a great bang for the buck but has one bad flaw - the super high noise during CPU-heavy tasks. On the other hand, we got the MSI Thin 15 B12U which is also an inexpensive gaming machine and it looks pretty sleek for its class.This one is offered with Intel Alder Lake-H CPUs and up to RTX 3050 with 4GB VRAM. The 12th Gen 45W chips are still a good choice for the budget segment. They pack tons of [...]
Pros
- Good overall performance for the class
- 2x SODIMMs + 1x M.2 slot + 1x SATA slot
- PWM-free (CMN1521)
- Wide viewing angles (CMN1521)
- Good backlit keyboard
- Aluminum lid and top base cover
- The Core i5-12450H can sustain 3.20 GHz / 2.60 GHz P and E core frequencies during long CPU loads
- The MSI Center offers plenty of customizations
- 4x USB ports
- Light device - 1.86 kg
- Acceptable noise levels during gaming
- The RTX 2050 can maintain a stable 45W TGP even in "Balanced" mode
- Good sound quality
- Decently fast and well-cooled SSD (512GB Phison ESO512GHLCA1-21C-2MS)
- Aluminum lid and top chassis cover
Cons
- Just Gen 1 USB ports
- Slight wobble in the middle of the keyboard during harsh typing
- Low sRGB coverage (CMN1521)
- Short battery life
 Author: Dimitar Stalev

![[August 2026] Amazon Italy: Top 10 Best-Selling Laptops – Apple MacBook Neo Claims the Crown as Budget and Mid-Range Windows Machines Dominate Volume](https://laptopmedia.com/wp-content/uploads/2026/09/Best-Selling-Laptops-IT-Top-10-400x225.jpg)
![[August 2026] Amazon Italy: Top 7 Best-Selling Gaming Laptops – ASUS V16 Claims the #1 Spot Amid Strong Mid-Range Demand](https://laptopmedia.com/wp-content/uploads/2026/09/Best-Selling-Gaming-Laptops-IT-Top-10-400x225.jpg)
![[August 2026] Best-Selling Laptop Brands on Amazon Italy – Lenovo Dominates Market Share and Revenue Leadership](https://laptopmedia.com/wp-content/uploads/2026/09/IT-Best-Brands-400x225.jpg)
![[August 2026] Amazon India: Top 10 Best-Selling Laptops – Apple MacBook Neo Dominates the Charts with Massive Sales Lead](https://laptopmedia.com/wp-content/uploads/2026/09/Best-Selling-Laptops-IN-Top-10-400x225.jpg)
![[August 2026] Amazon India: Top 10 Best-Selling Gaming Laptops – HP Victus 15 Dominates the Market with Massive Unit Lead](https://laptopmedia.com/wp-content/uploads/2026/09/Best-Selling-Gaming-Laptops-IN-Top-10-400x225.jpg)
near the audio ports can you check what the chip’s SKUs and S/Ns are? i need them for repair
Thanks a lot for the video and information.
I changed the memory and added an SSD drive after watching the video.