How to open MSI Vector 17 HX AI A2XW – disassembly and upgrade options
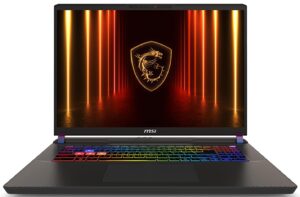
Before you start: Shut the laptop down, unplug the charger and all peripherals, and press and hold the power button for a few seconds to discharge any residual power.
How to open the bottom panel
- Place the laptop upside down on a soft, clean surface to avoid scratching the lid.
- Undo all visible screws that secure the bottom panel to the chassis. Keep track of their positions for easier reassembly.
- Starting from a free edge, insert a thin plastic pry tool between the bottom cover and the base. Gently work your way around the perimeter to release the plastic clips. Avoid using metal tools to prevent damage to the finish.
- Once all clips are released, lift the bottom panel away from the chassis and set it aside.
Battery removal and replacement
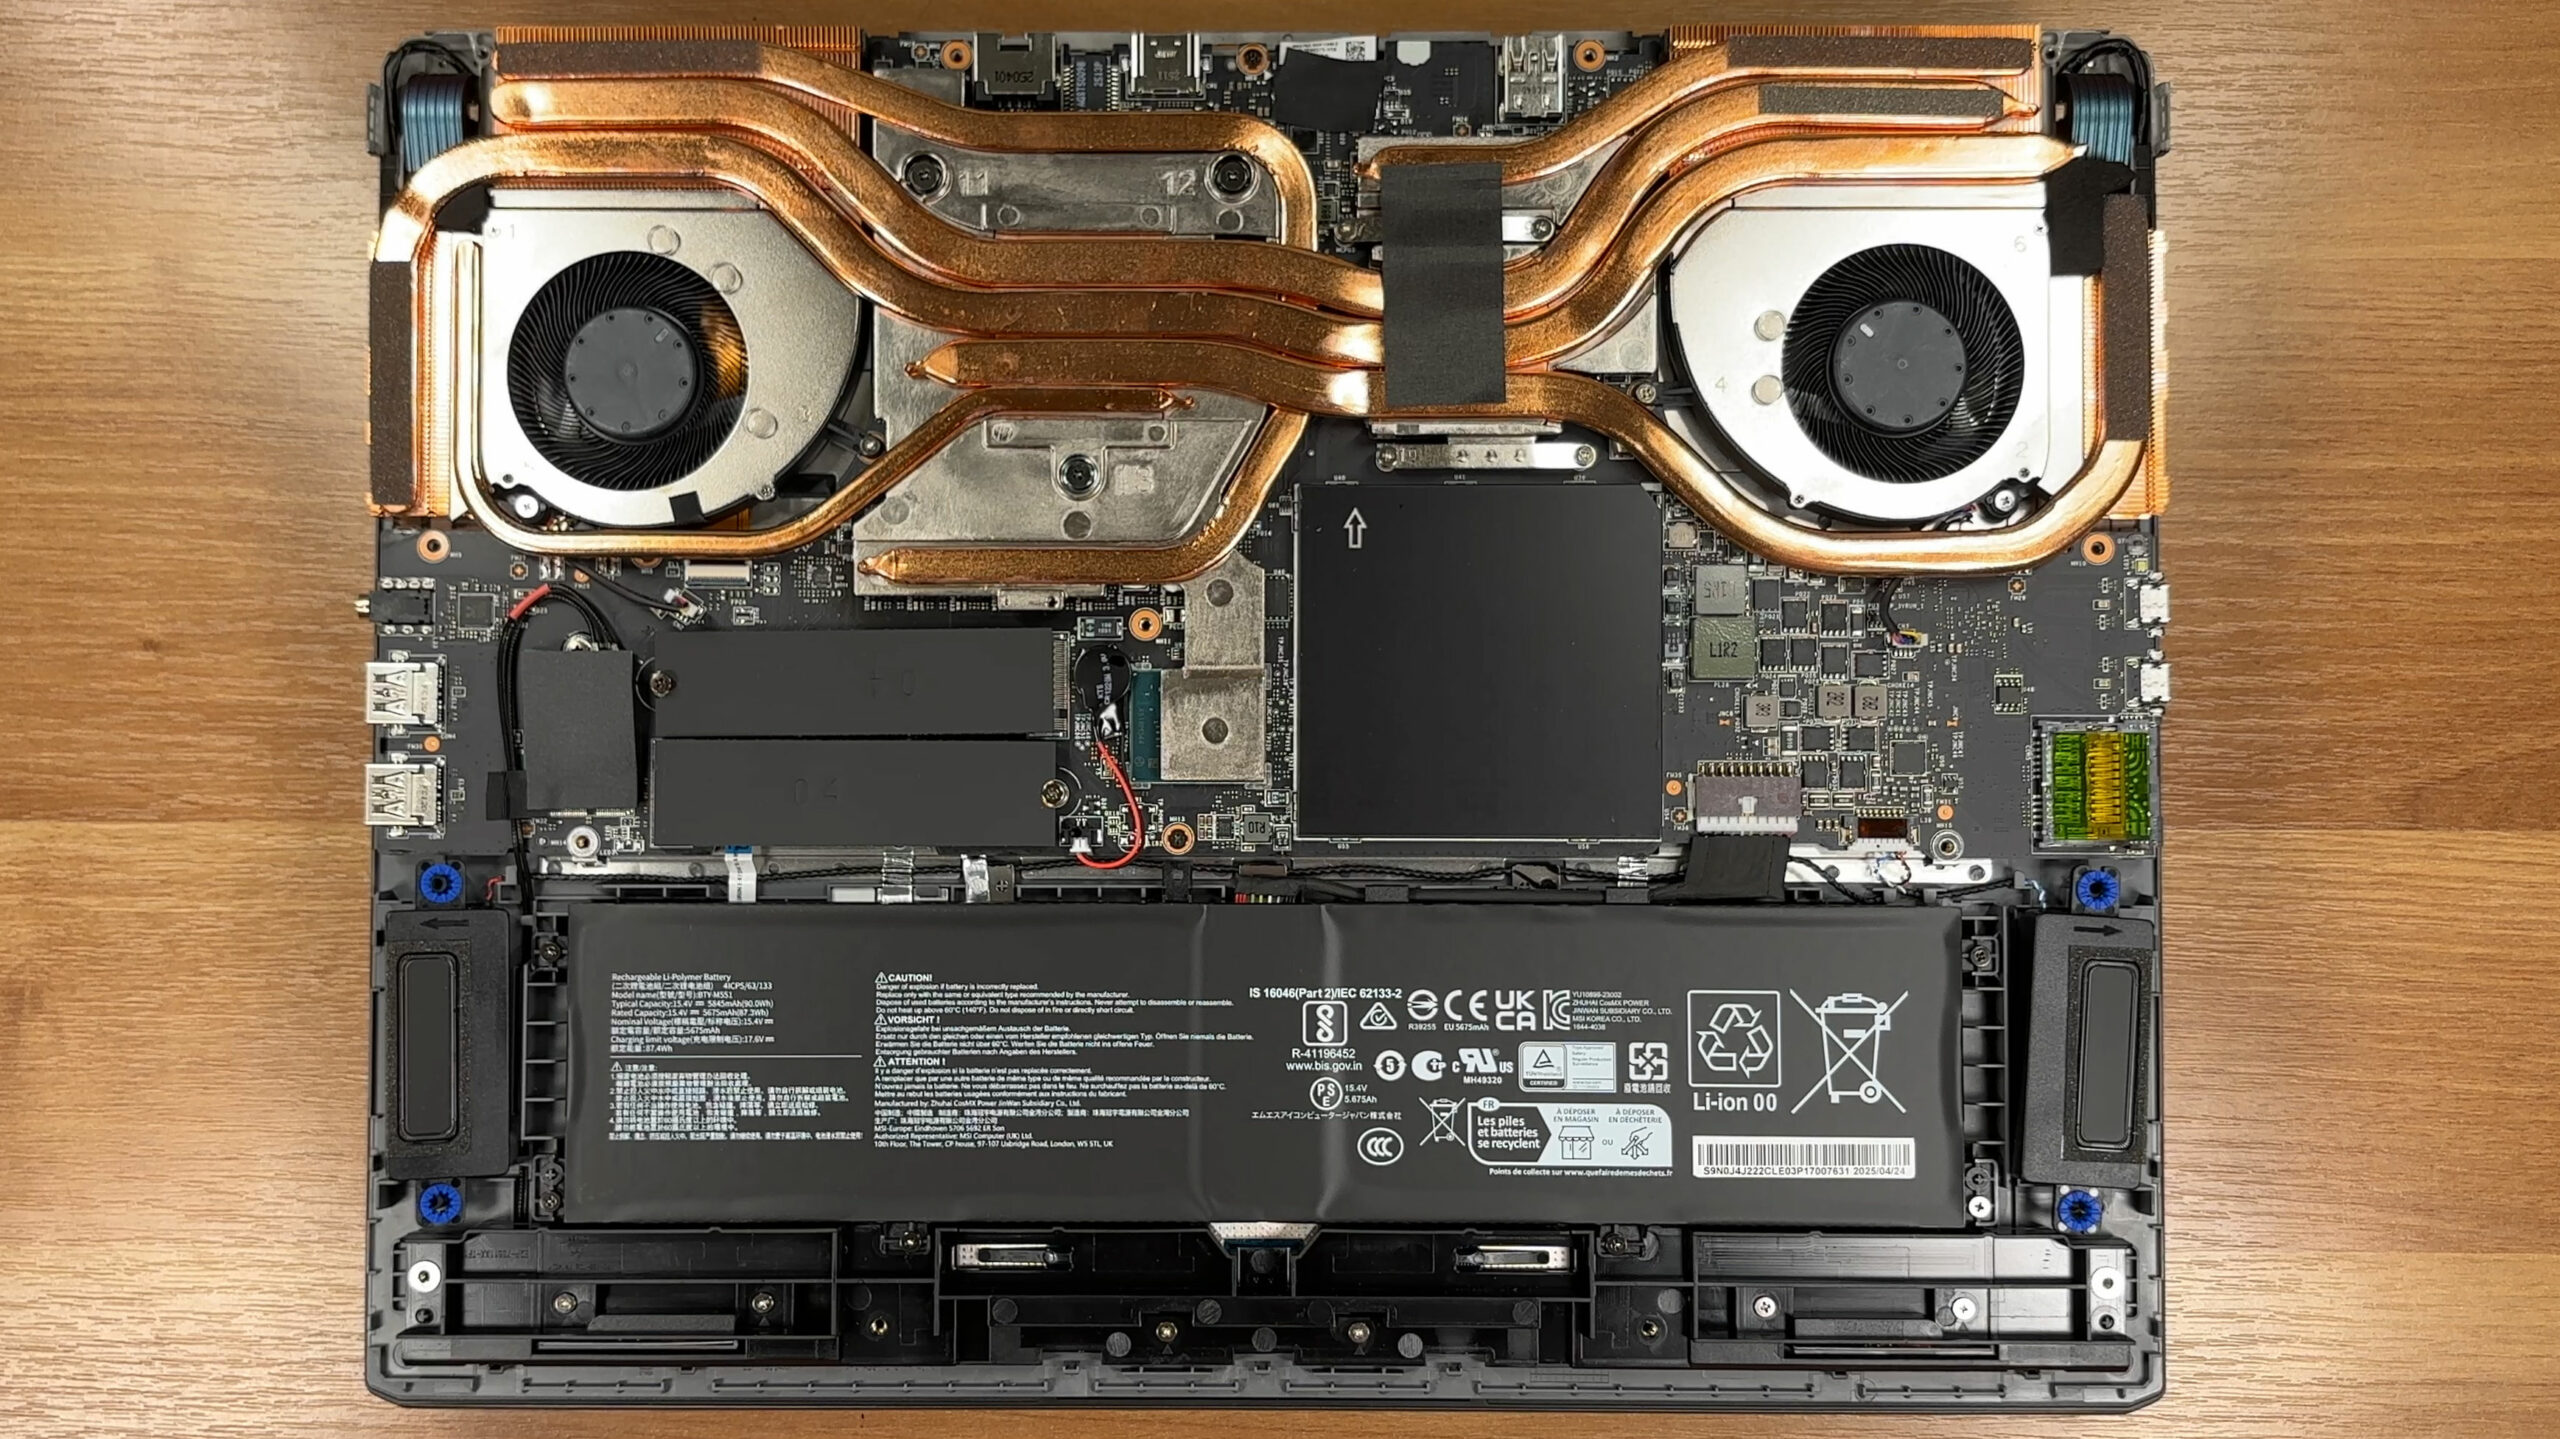
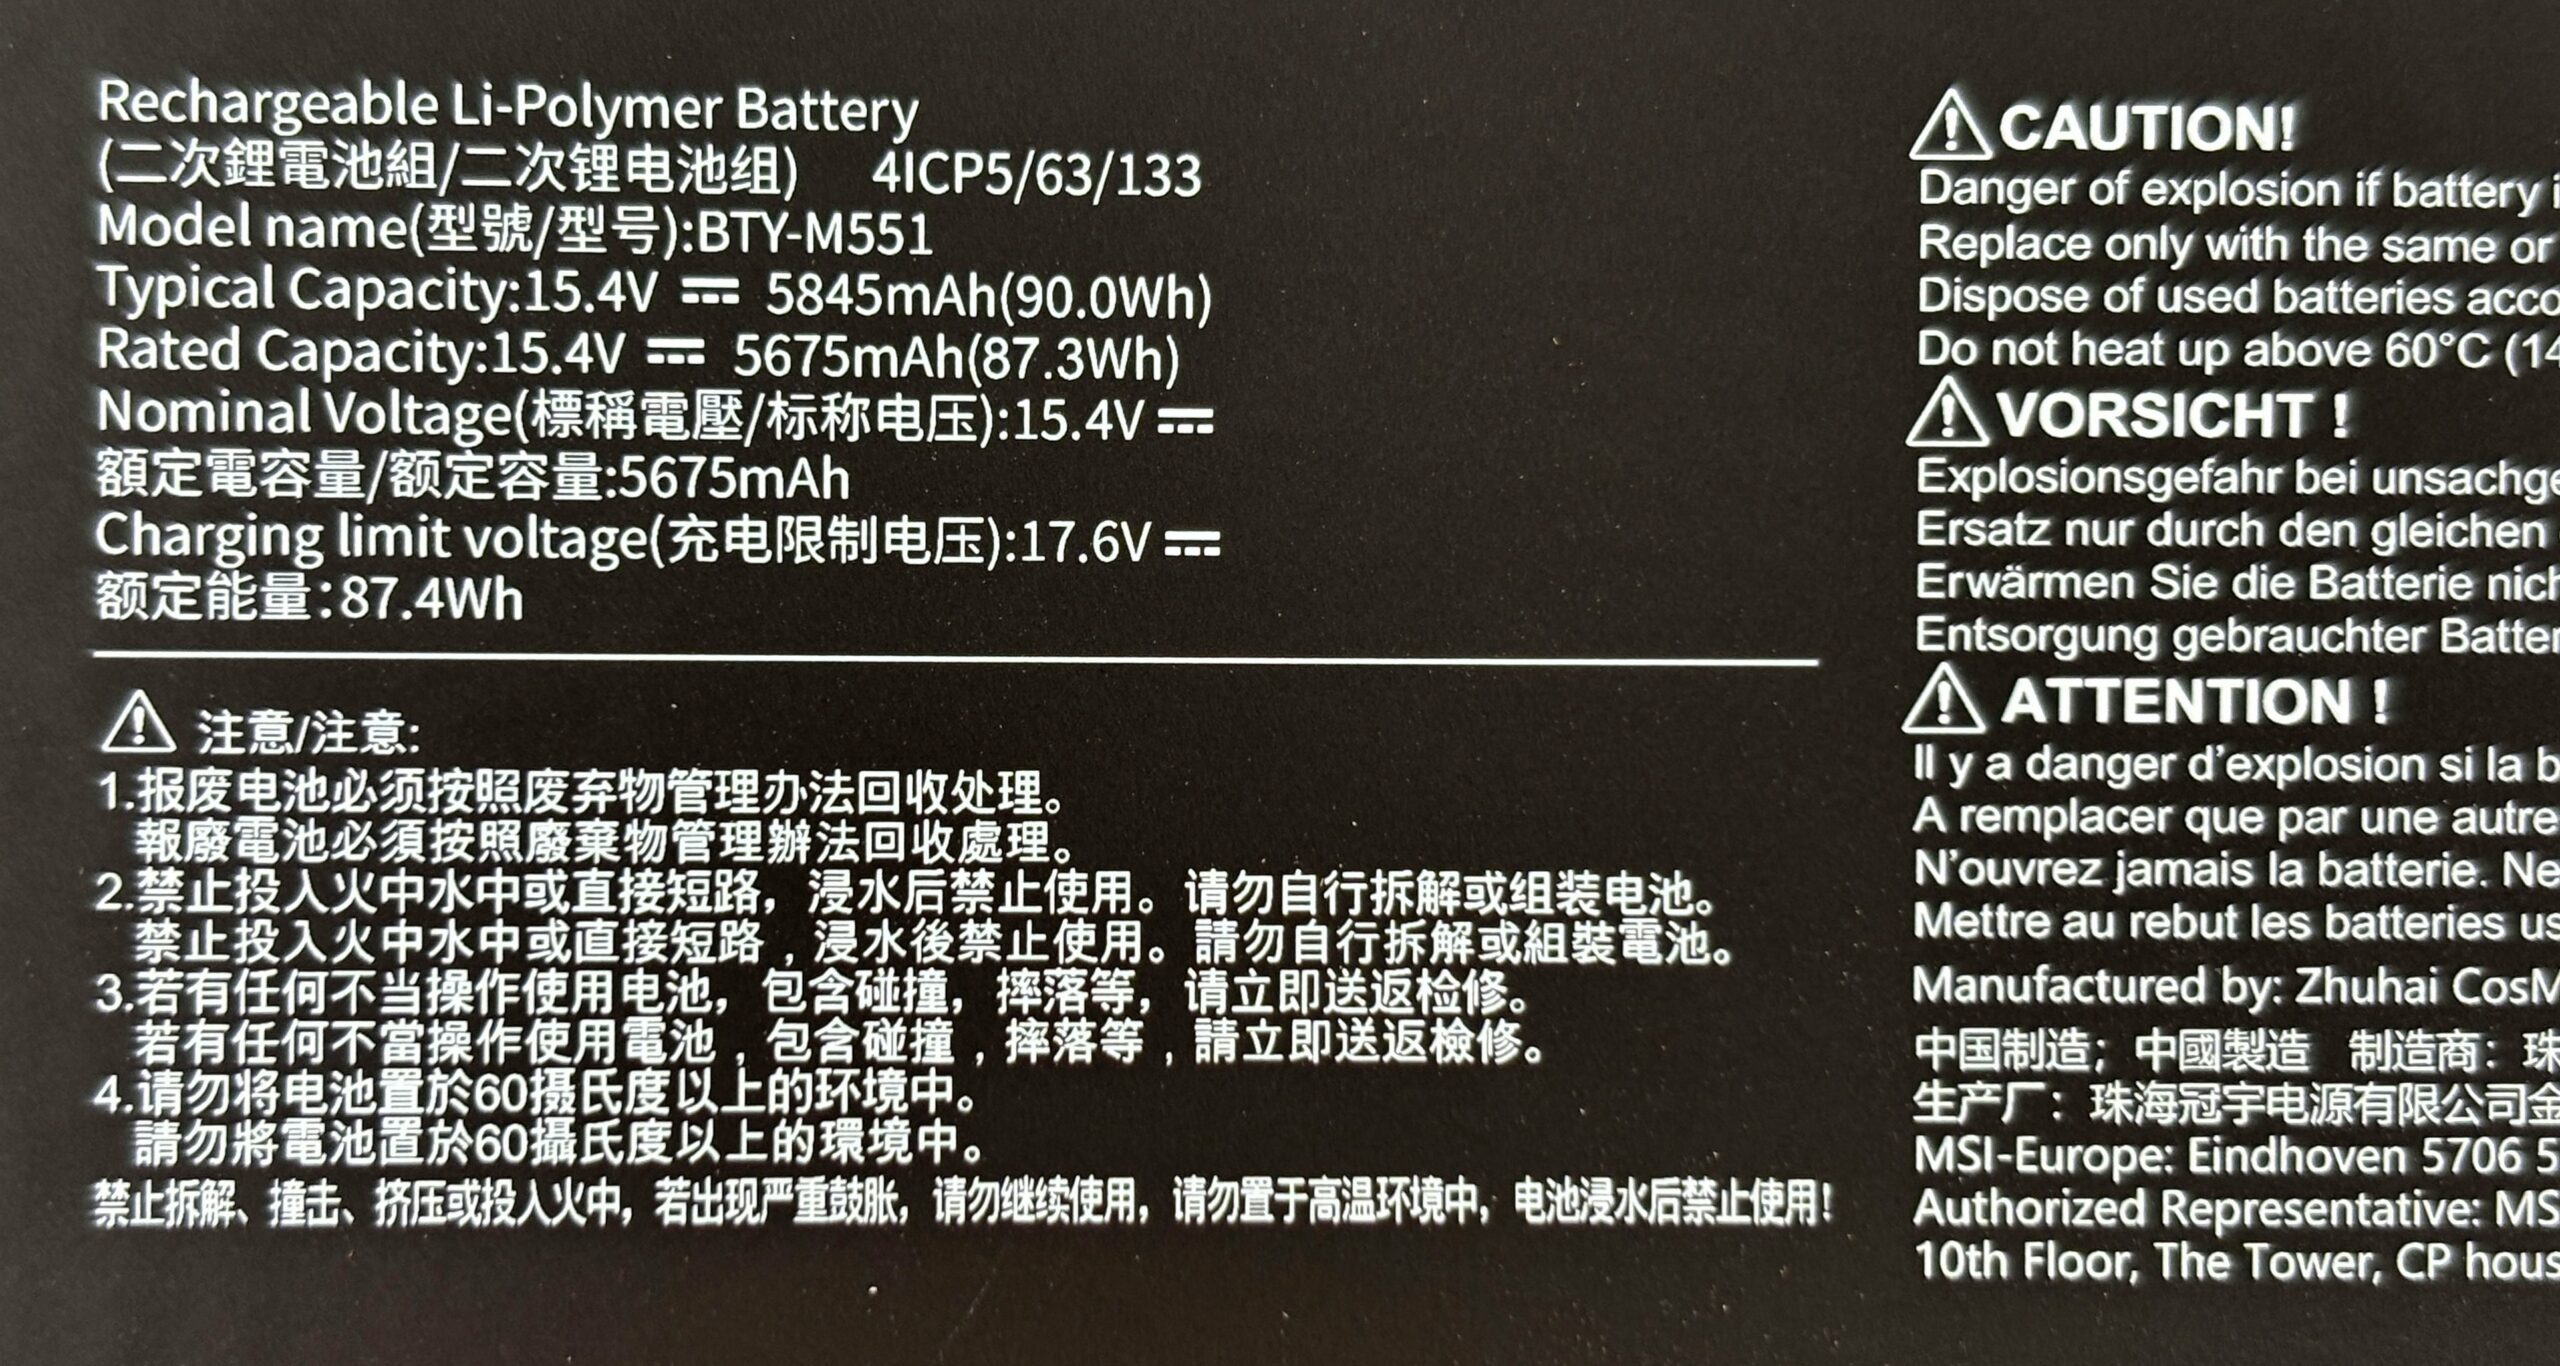
- Locate the 90Wh battery pack along the front edge of the chassis.
- Before touching anything else, detach the battery connector from the motherboard by gently wiggling the plug out of its socket. Pull along the direction of the cable, not upwards.
- Undo the screws that fix the battery to the chassis.
- Lift the battery out of its bay, taking care not to snag any nearby speaker or Wi-Fi antenna cables.
- To reinstall, place the battery back in position, secure it with the screws, and reconnect the battery cable firmly.
Memory (RAM) upgrade options
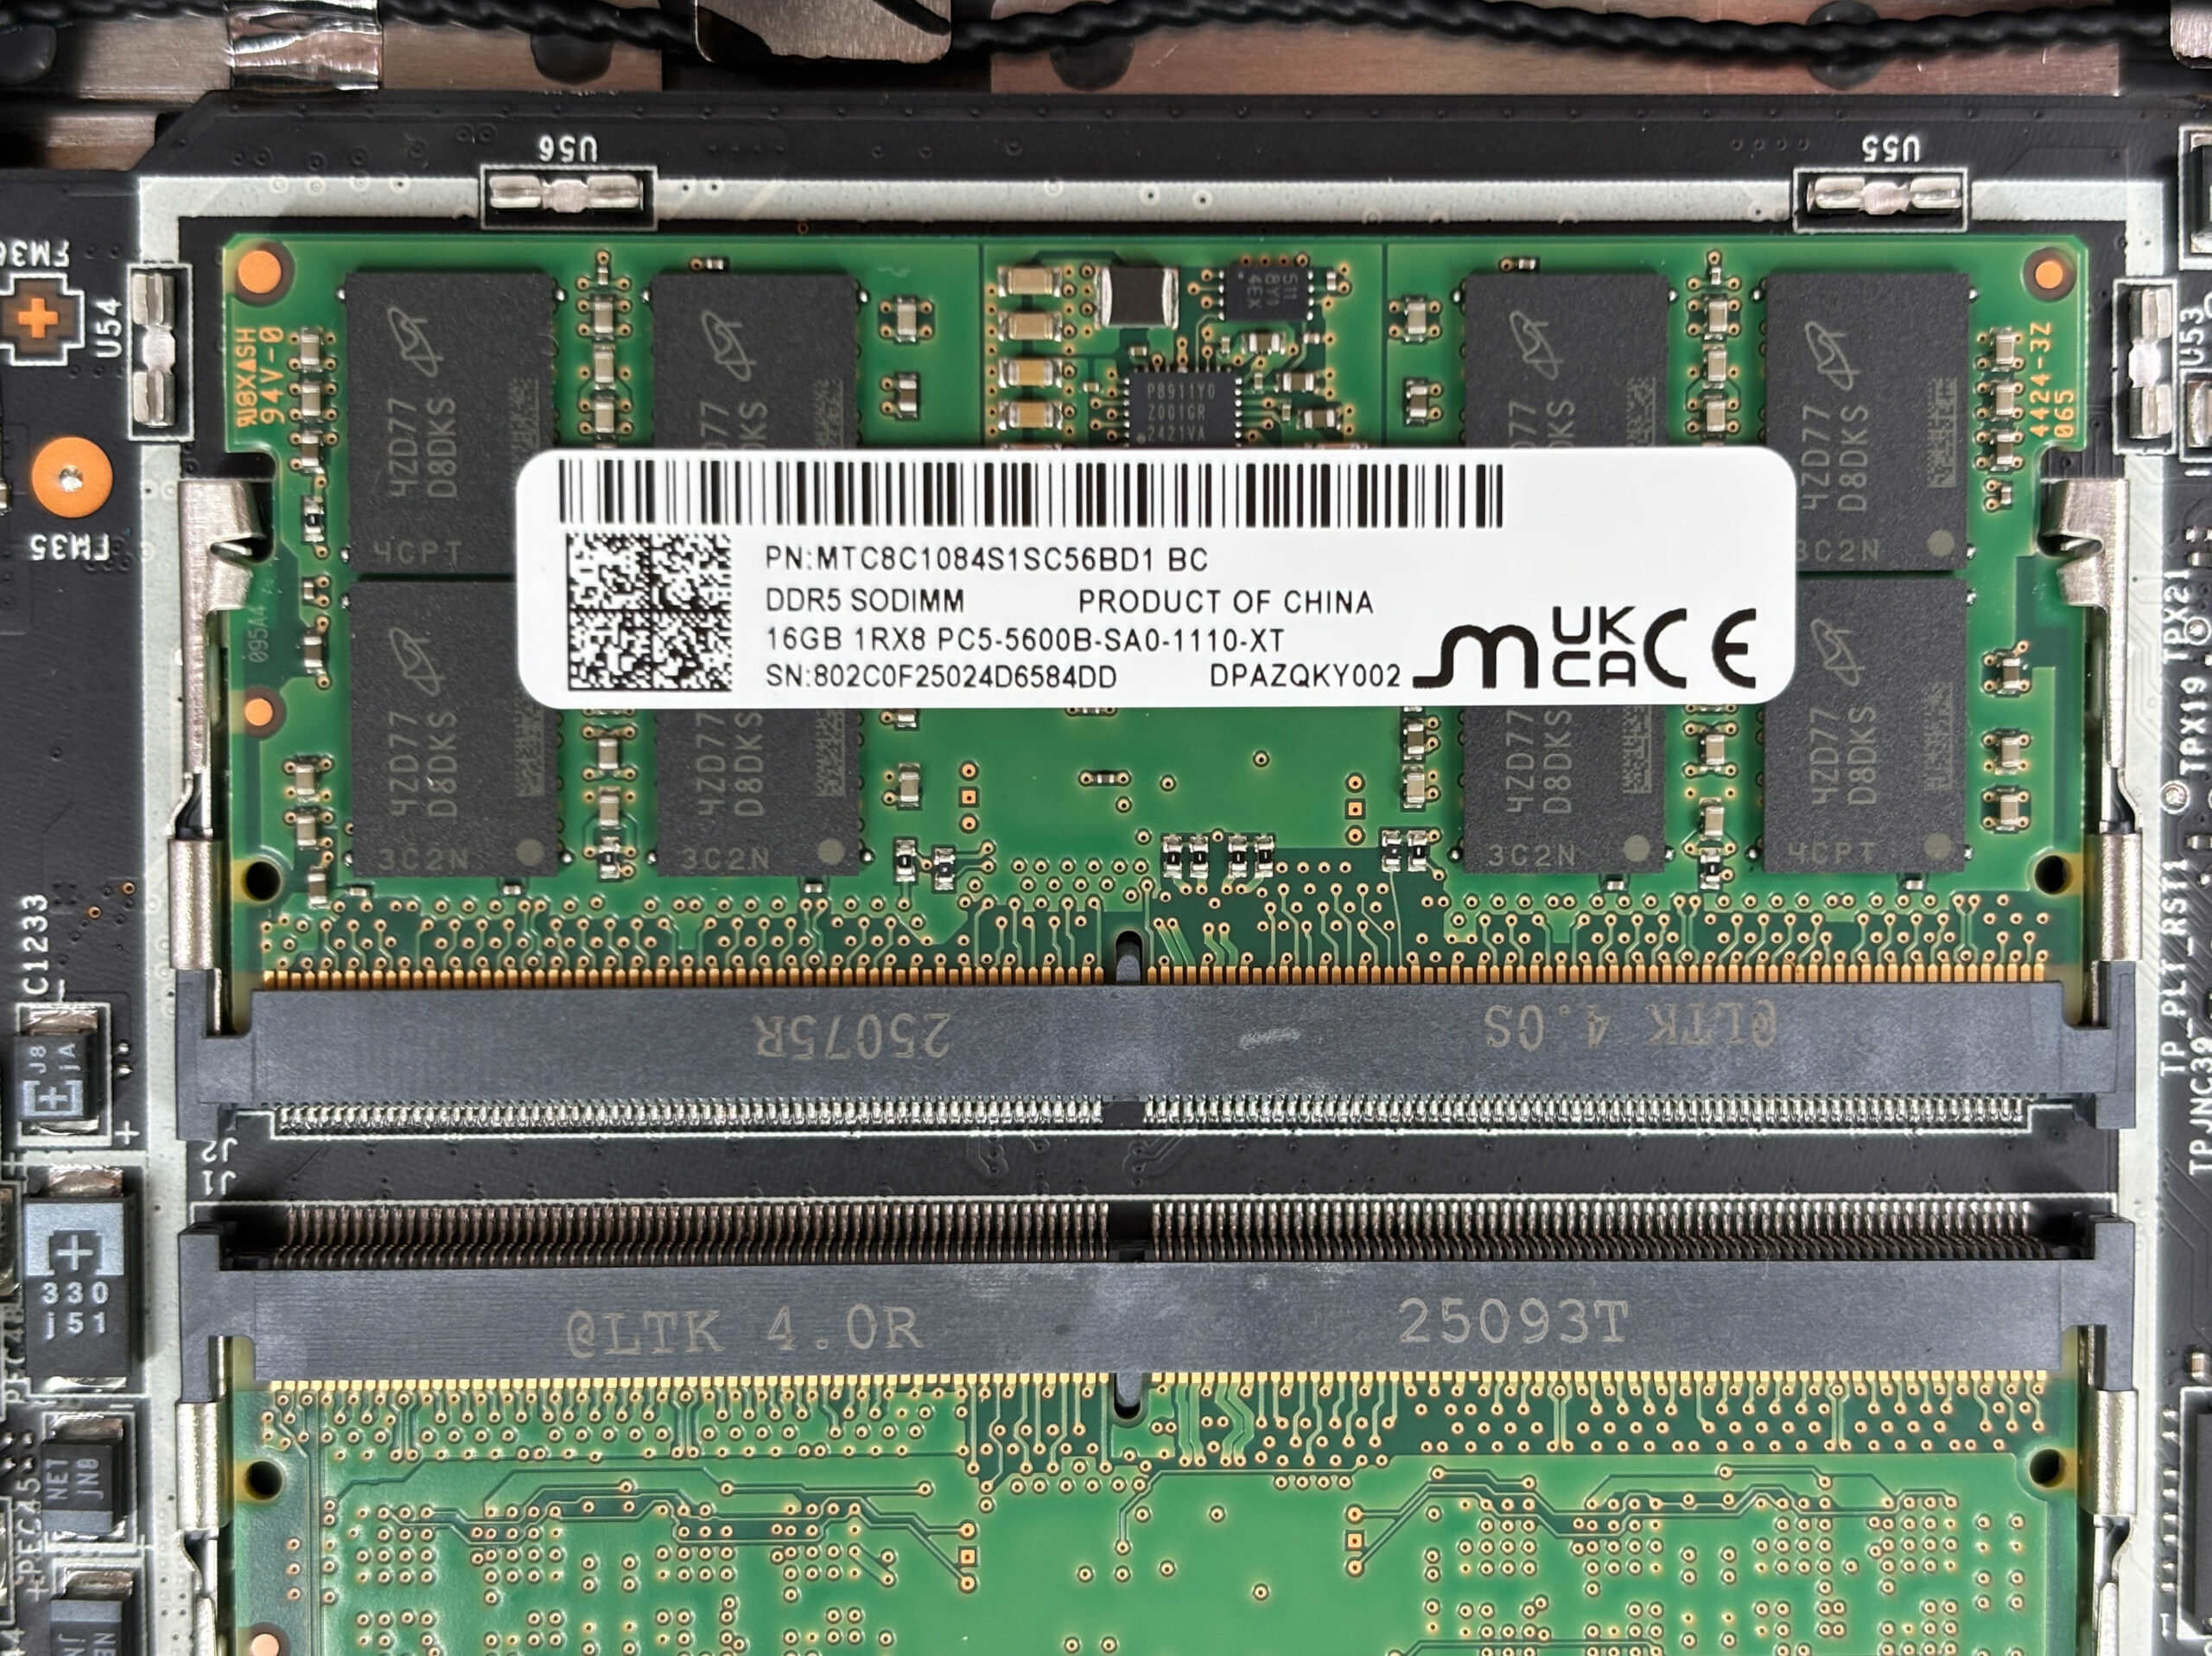
- Locate the two DDR5 SO-DIMM slots near the cooling assembly.
- If RAM is already installed, push the metal retention clips on the sides of the module outward. The stick will pop up at an angle.
- Slide the module out of the slot in a straight line.
- Align the notch of the new DDR5 SO-DIMM with the key in the slot, insert it at about a 30° angle, and press it down until both side clips click into place.
- The platform officially supports up to 96GB of DDR5 memory, with speeds up to 6400MT/s in dual-channel mode.
You can buy DDR5 SO-DIMM memory modules here: Buy from Amazon.com (#CommissionsEarned)
Storage upgrade options
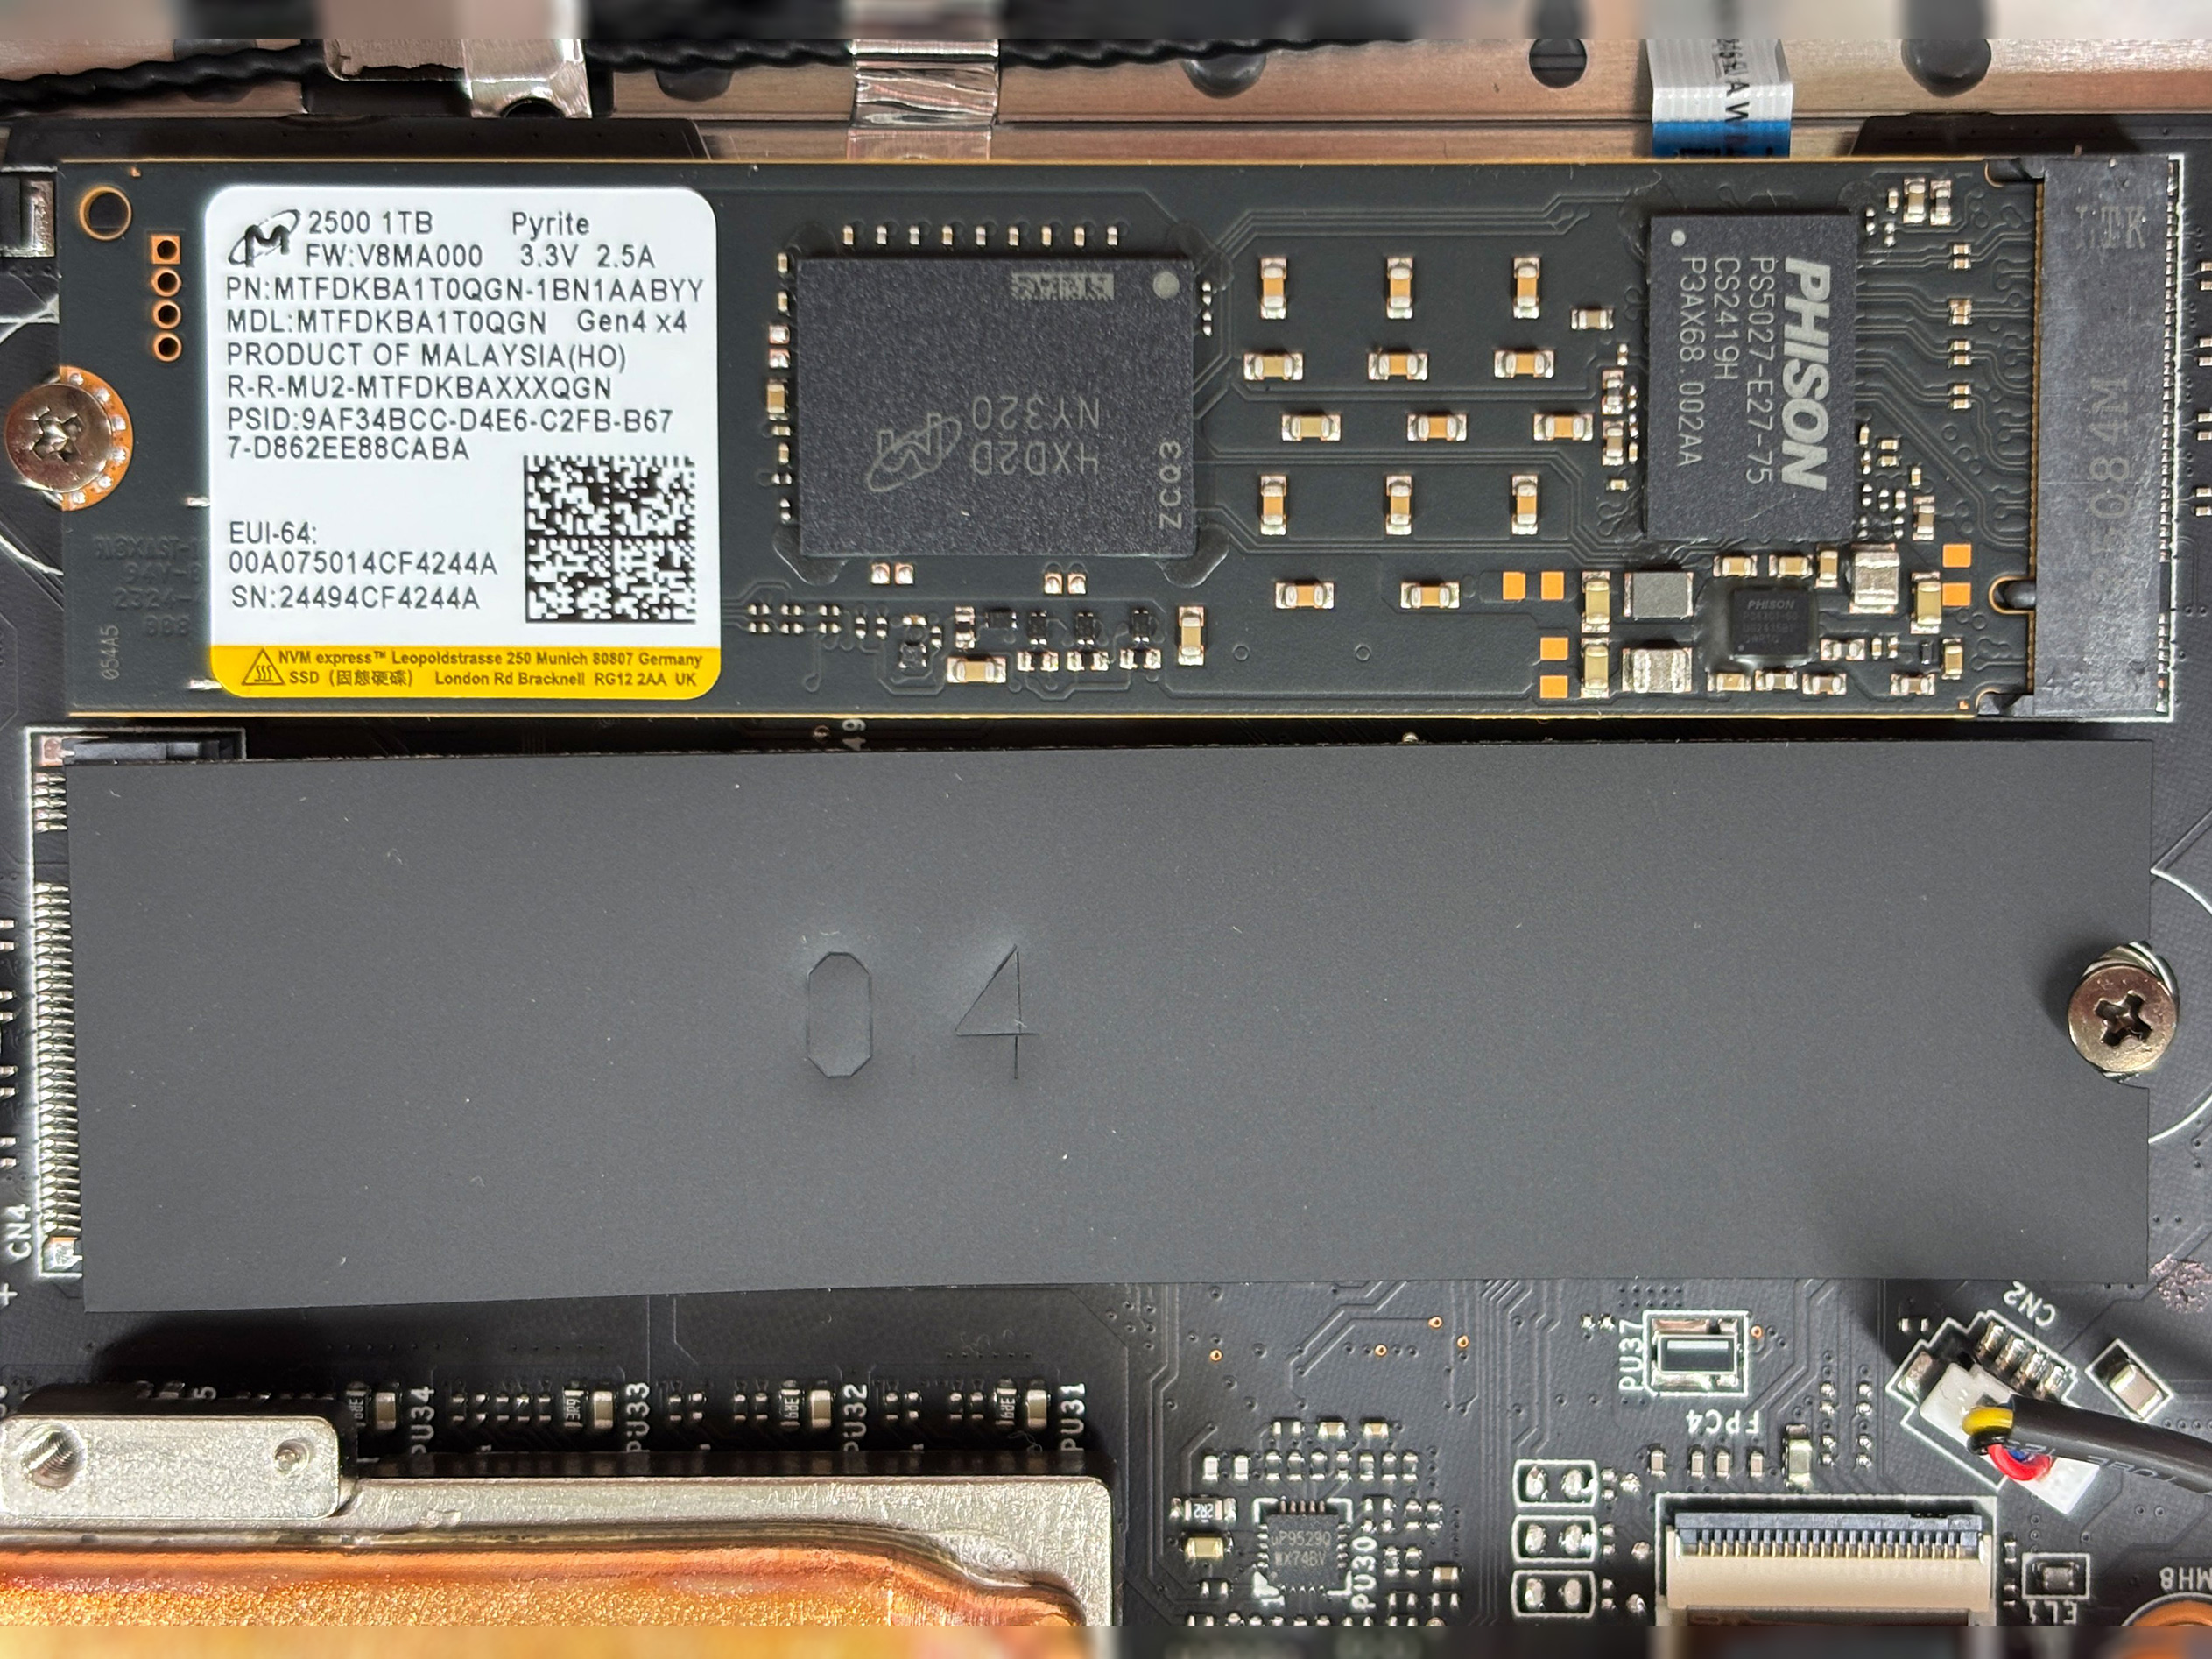
- Identify the two M.2 slots:
- The left slot is wired for PCIe Gen 4 and, in our configuration, holds a 1TB Micron 2500 NVMe SSD.
- The second slot is PCIe Gen 5–ready and is empty by default, reserved for ultra-fast future upgrades.
- Each slot is covered by a simple metal or EMI shield and cooled by thermal pads. Remove the fixing screw or cover as needed to access the SSD.
- To remove an SSD, undo its single retaining screw. The drive will tilt upwards; pull it straight out of the connector.
- Insert the new 2280-length NVMe drive at a slight angle into the slot, press it down, and secure it with the screw or latch. Ensure the thermal pad makes proper contact with the top of the SSD.
- Reinstall any covers or shields you removed earlier.
You can buy PCIe NVMe SSDs here: Buy from Amazon.com (#CommissionsEarned) Buy from Amazon.com (#CommissionsEarned)
Hint: Don’t forget to check out our Top M.2 SSDs Performance Rankings for insights on the best storage options available.
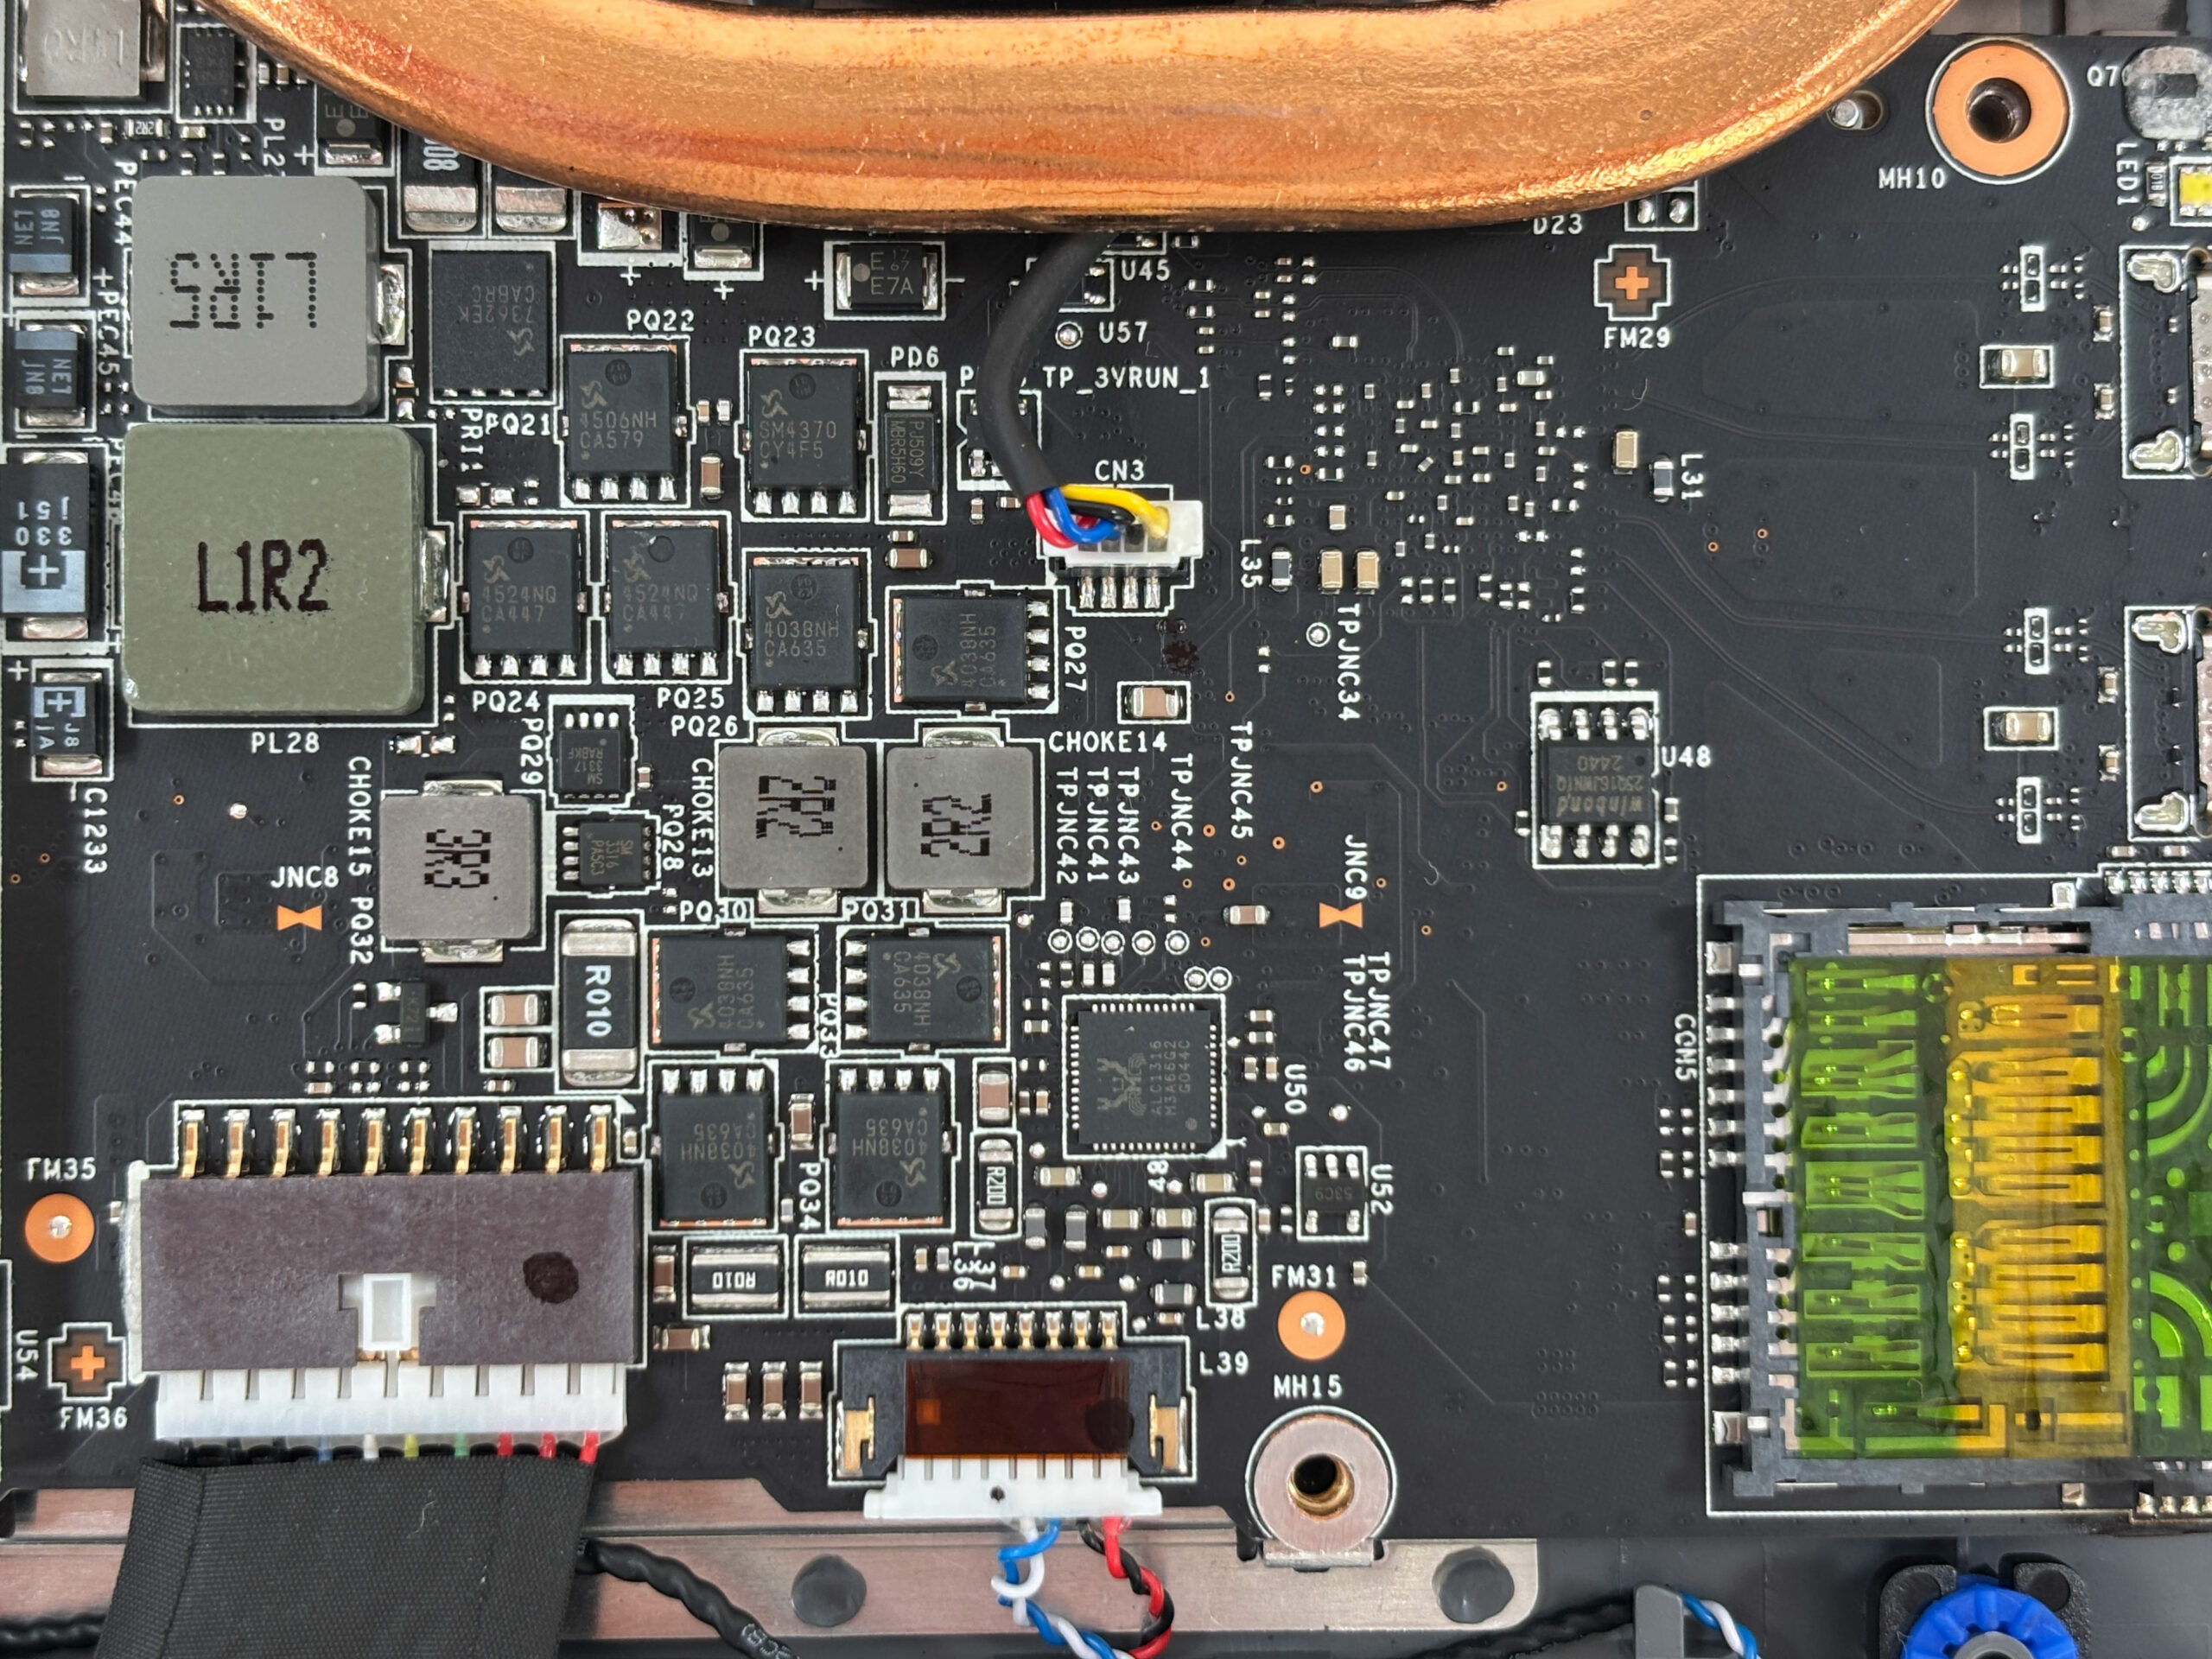
Wi-Fi card replacement
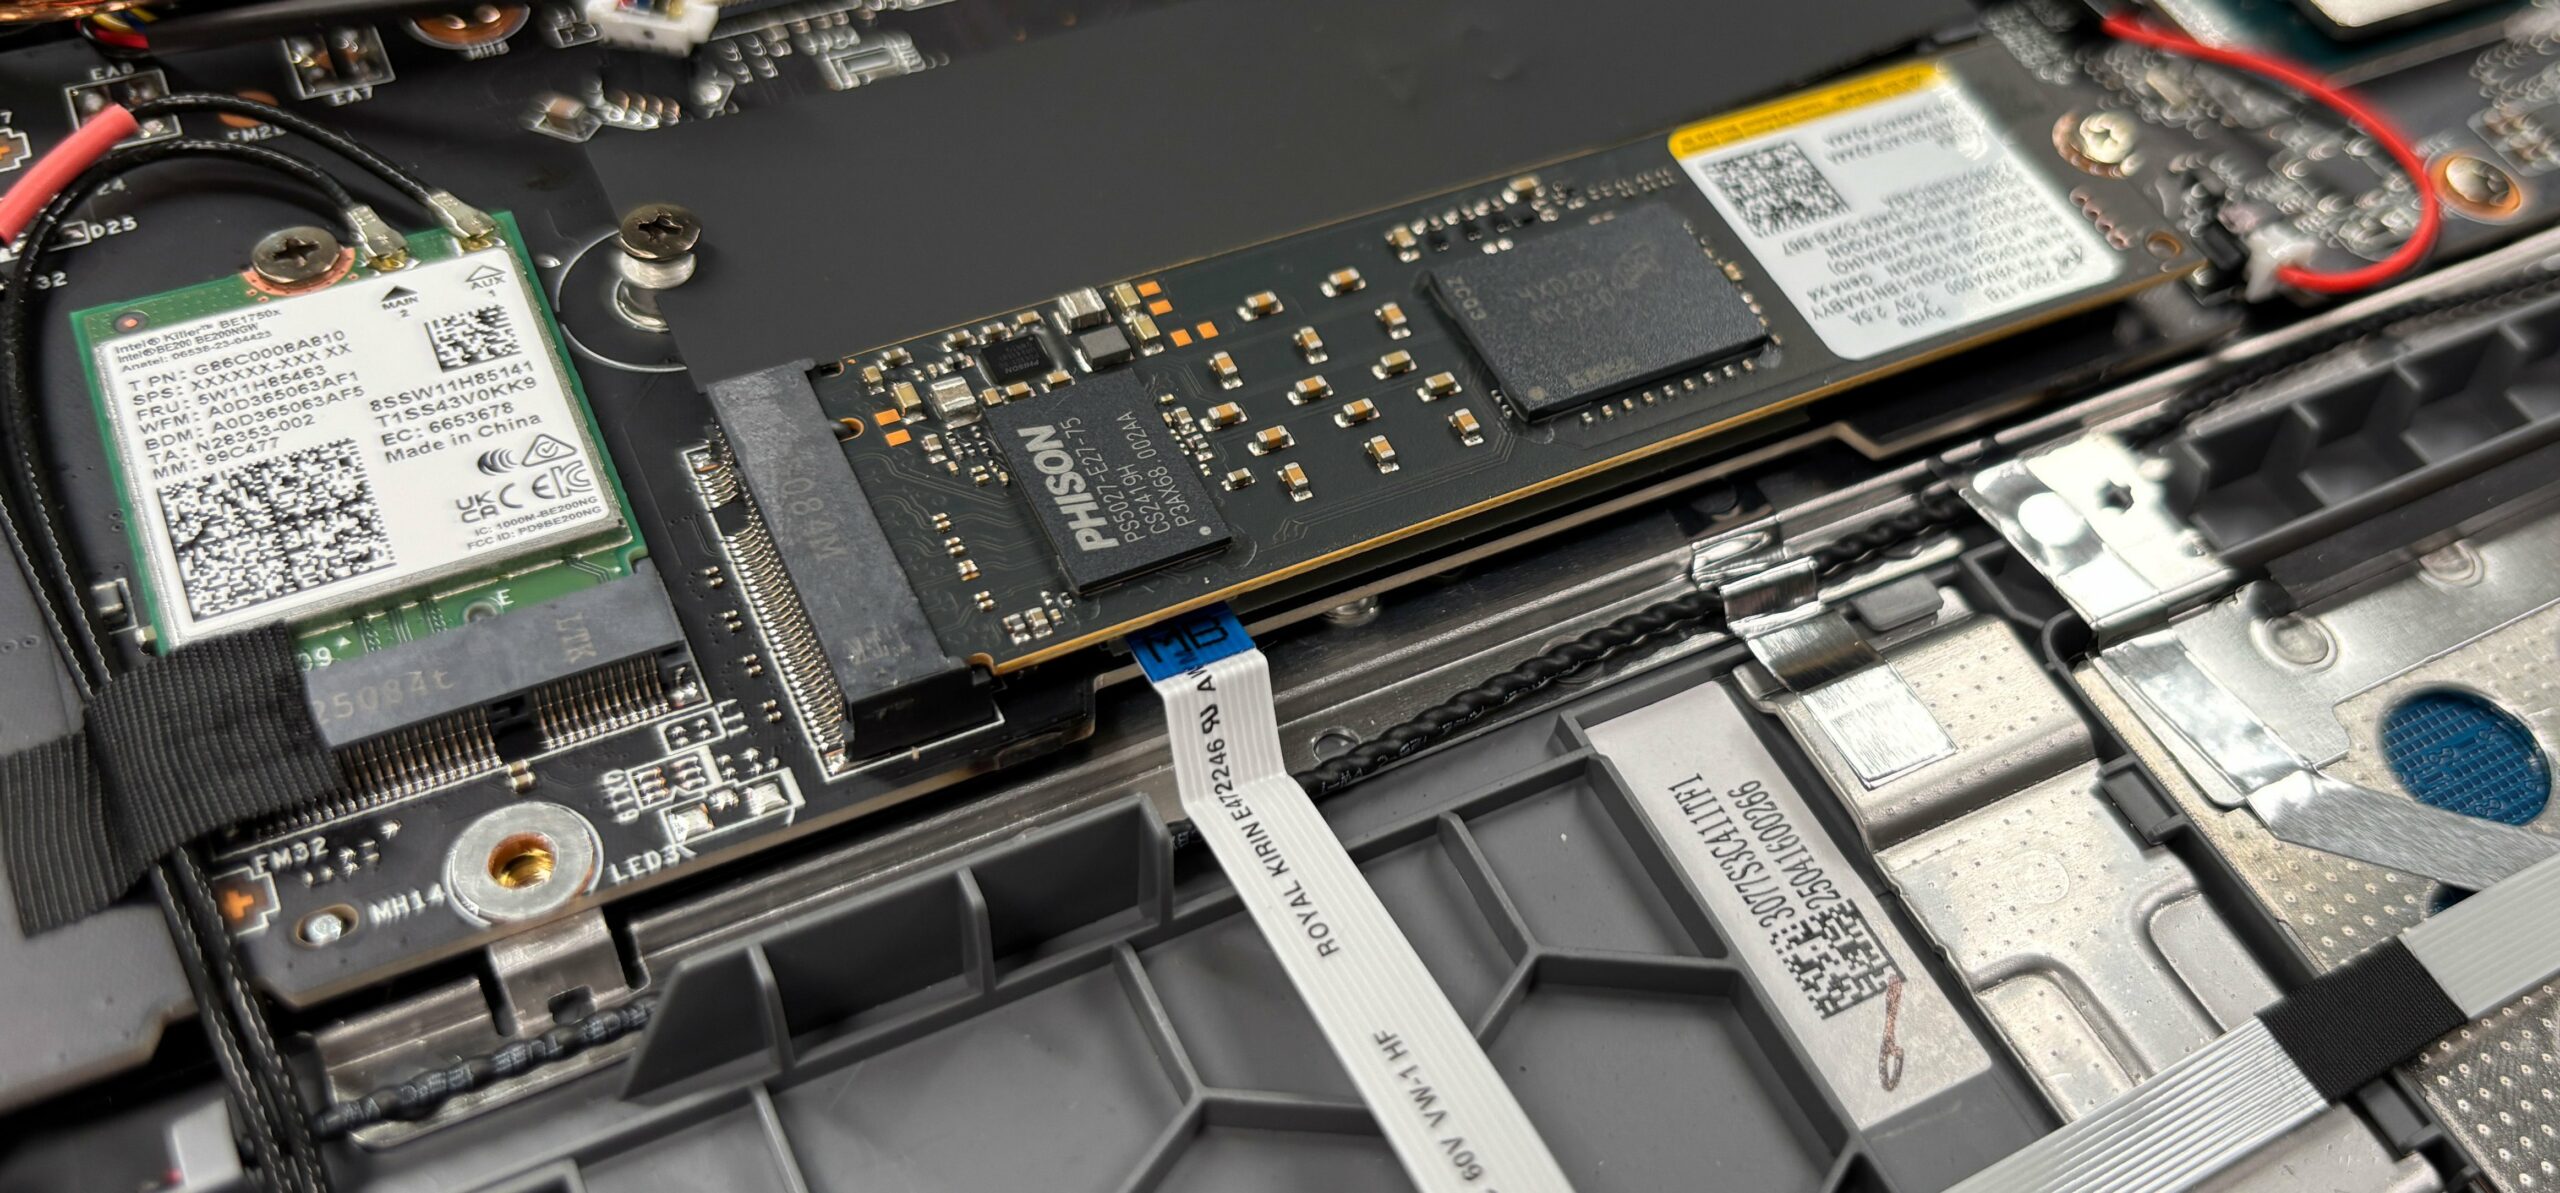
- Locate the Intel Killer BE Wi-Fi 7 card in its M.2 slot (2230 format), usually near one of the fans.
- Carefully disconnect the two antenna cables, lifting them vertically from their posts using a plastic tool if needed.
- Undo the single screw that secures the Wi-Fi card and slide the module out of the slot.
- Insert the new card into the M.2 socket at an angle, push it down, and secure it with the screw.
- Reconnect the antenna leads to their respective “Main” and “Aux” terminals, pressing straight down until they click.
Cooling system and maintenance
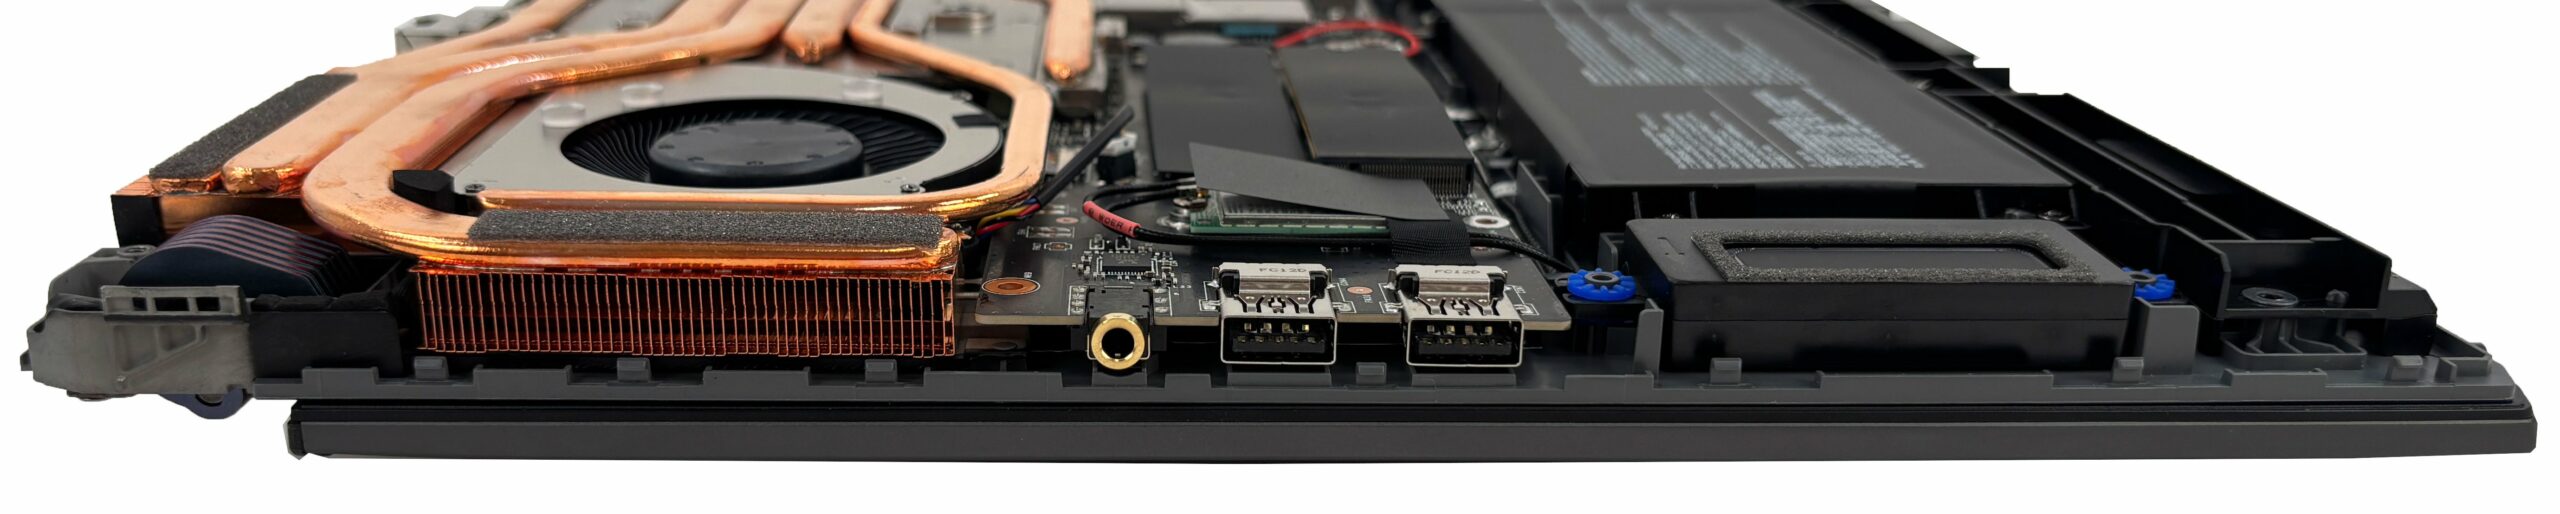
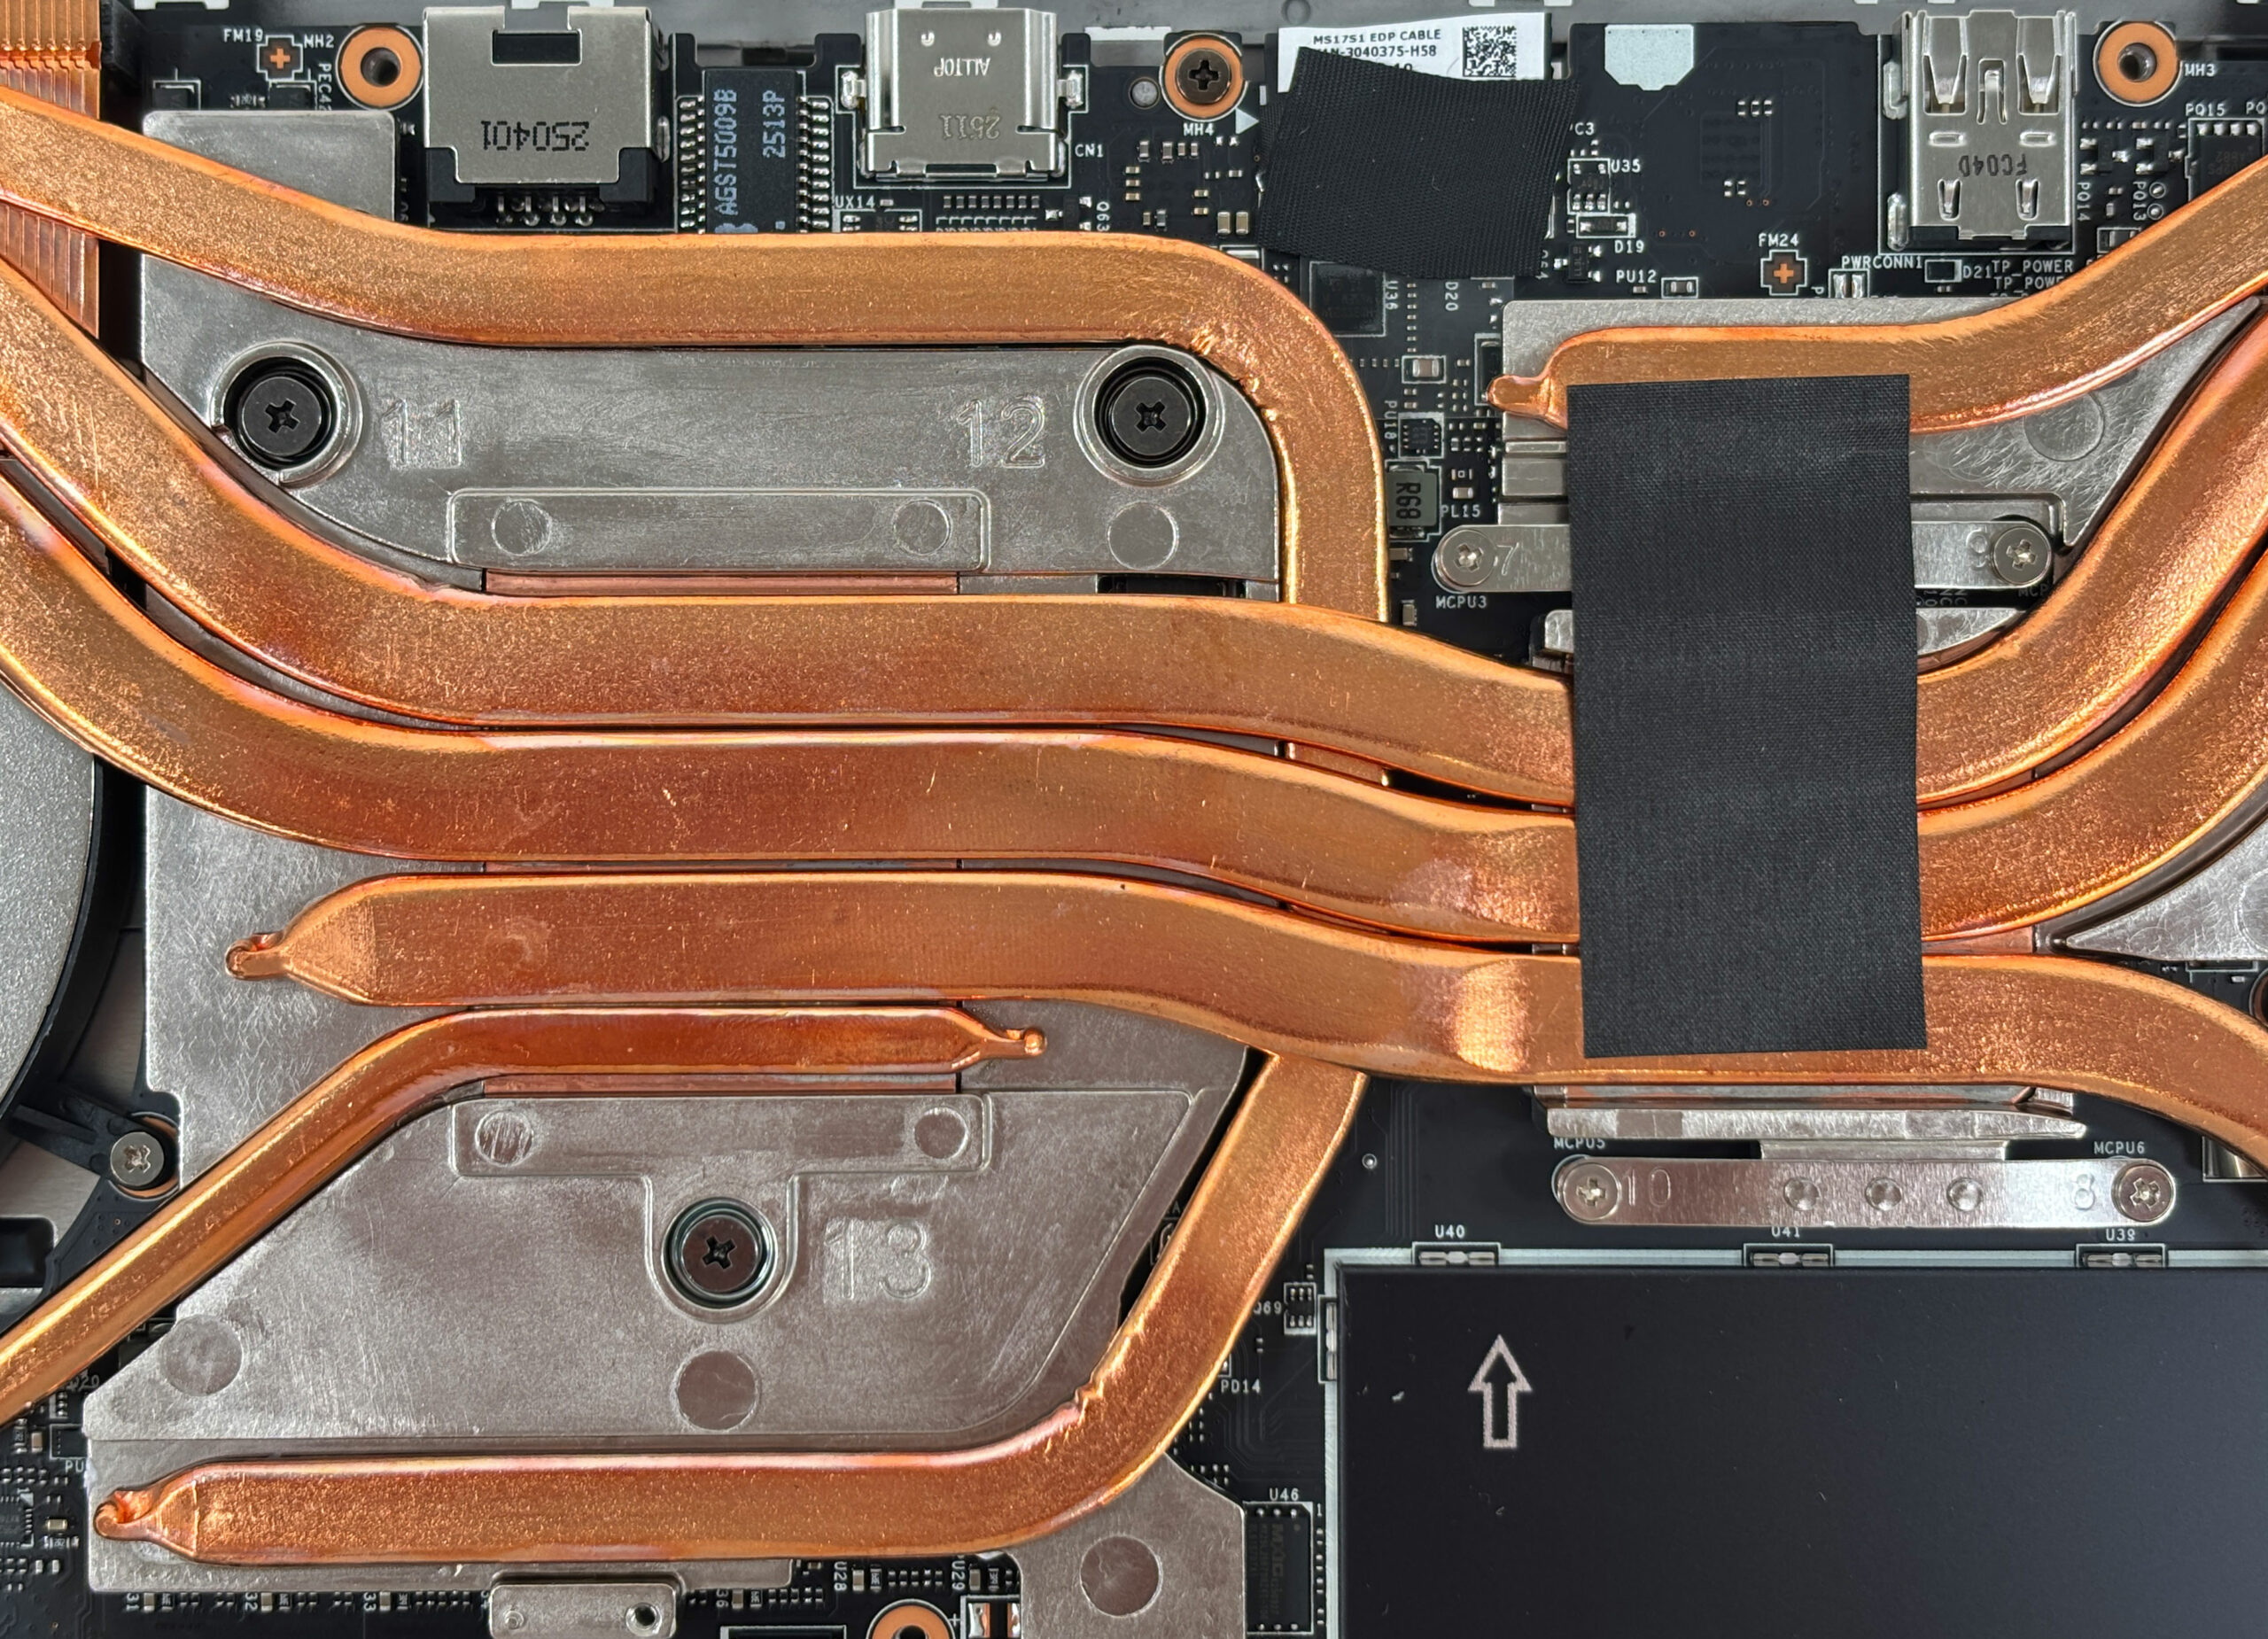
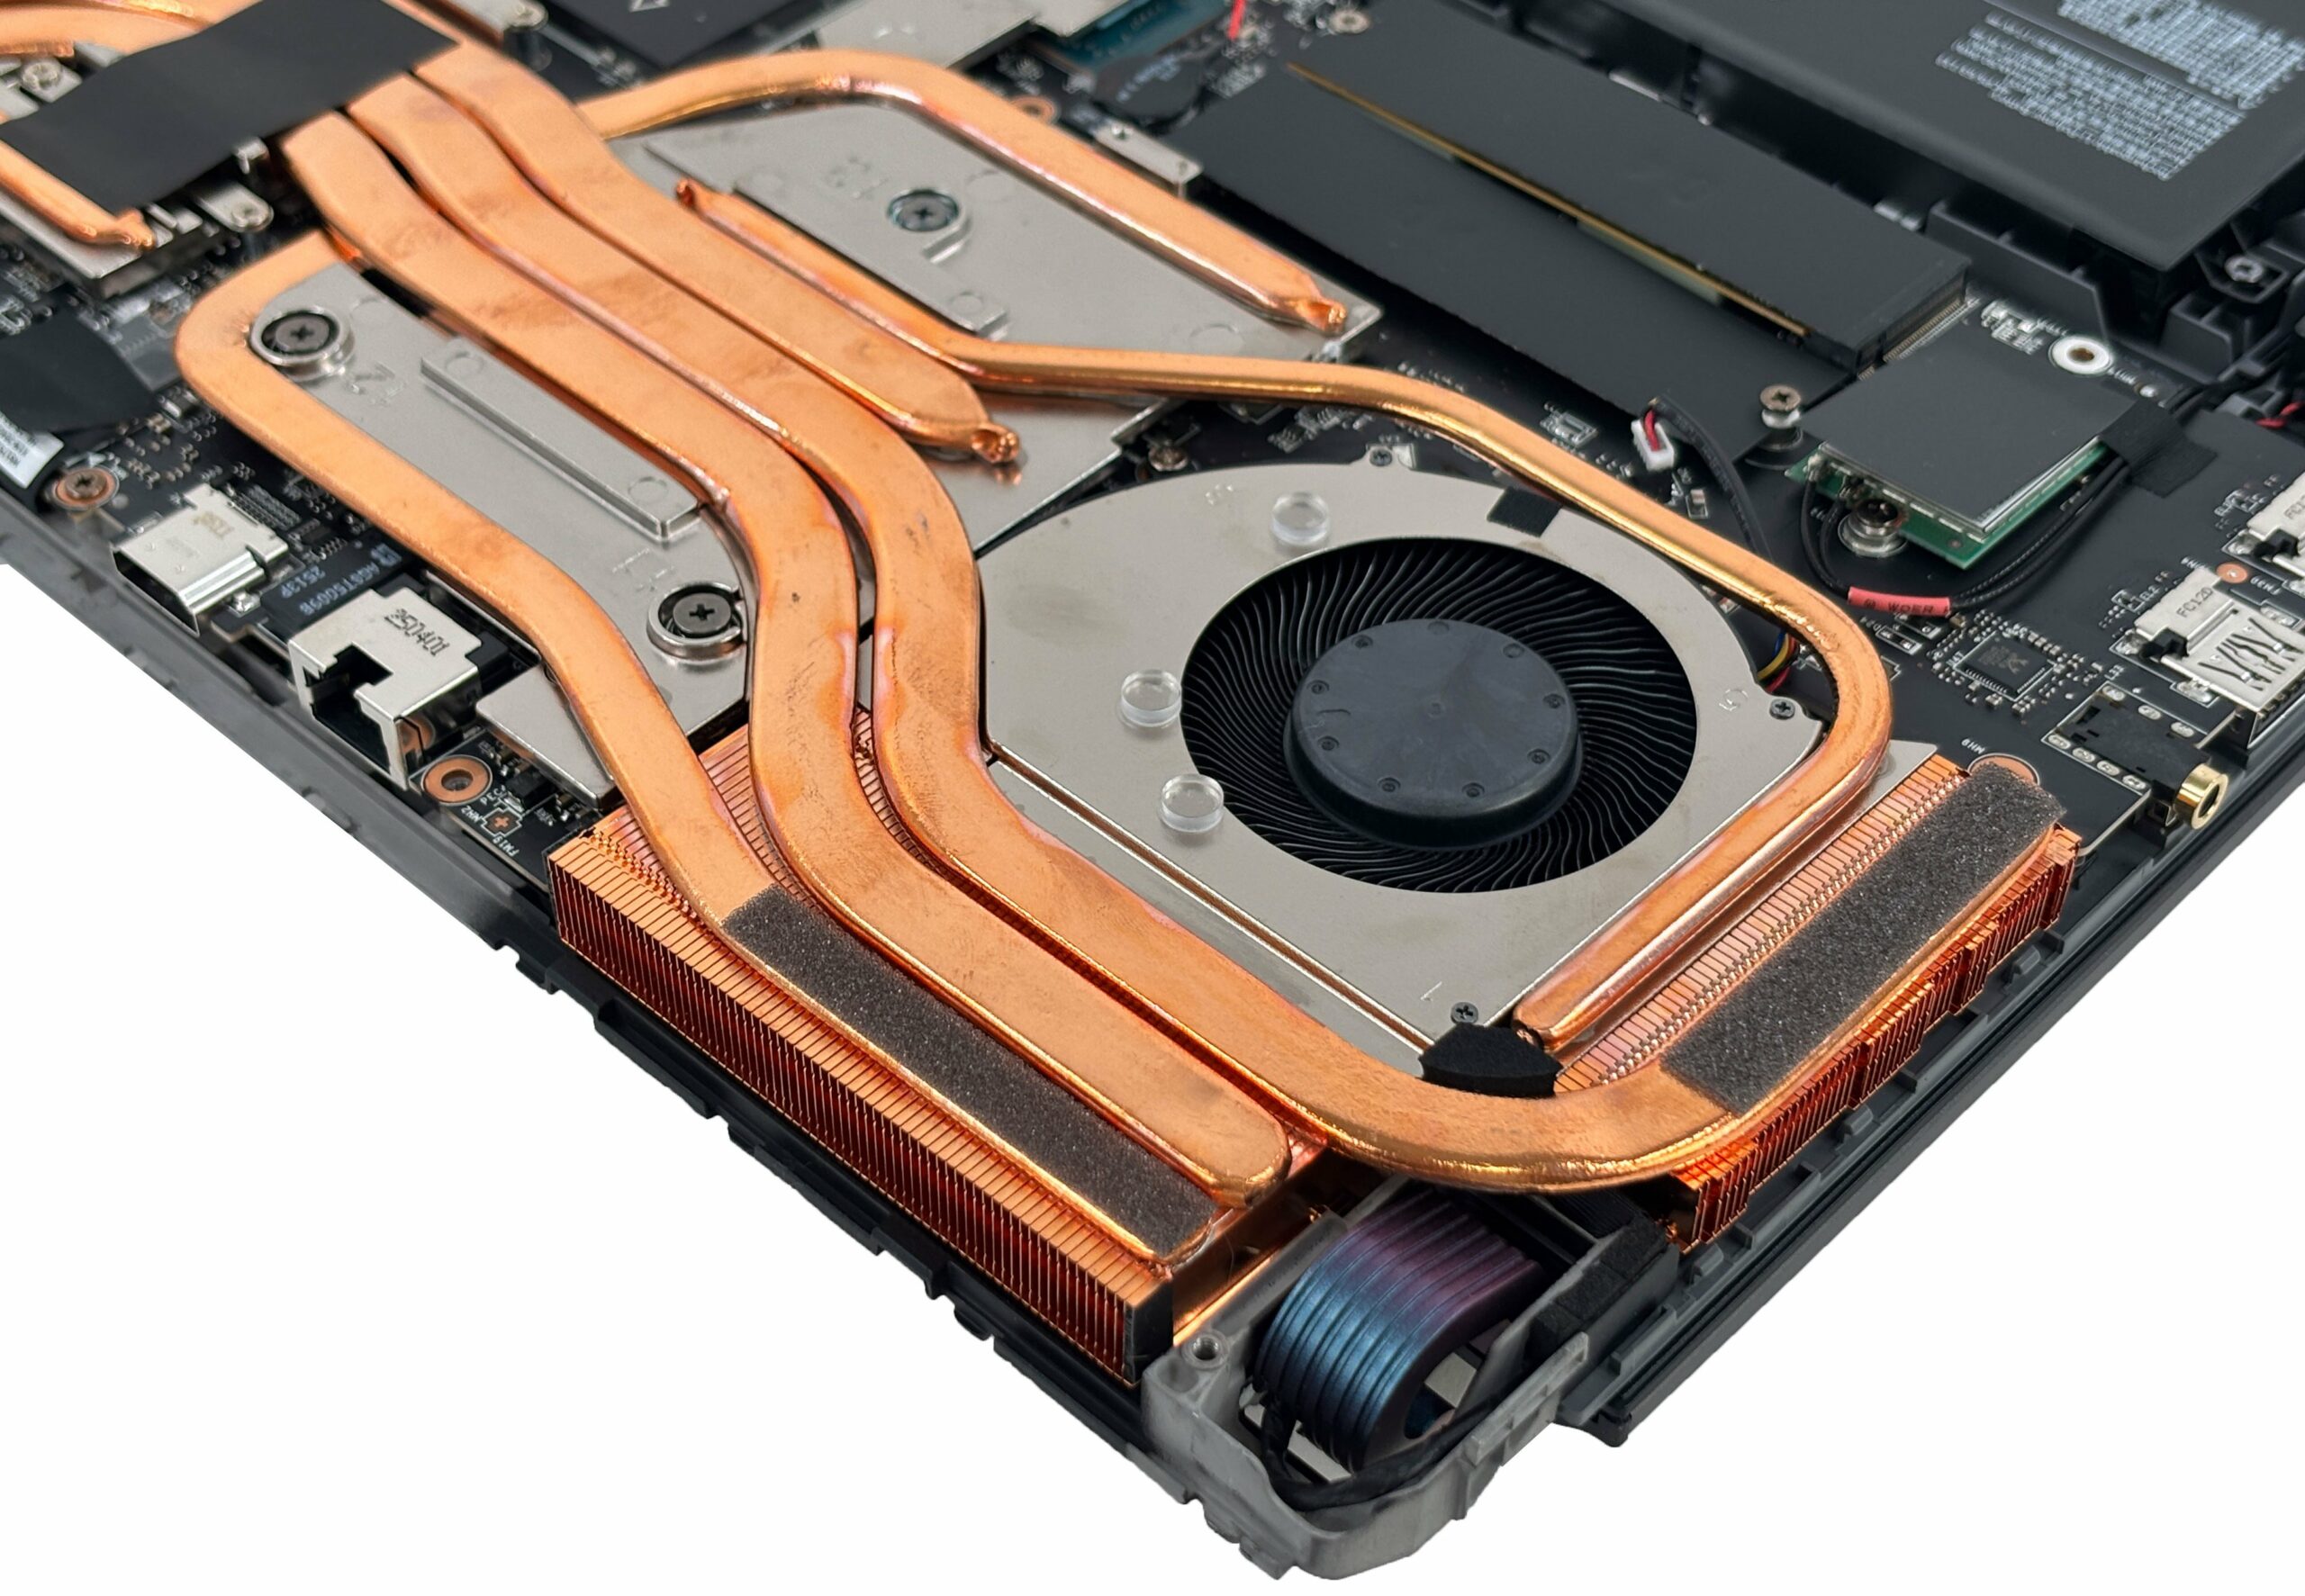
- The Vector 17 HX AI A2XW uses a dual-fan cooling system with a dense network of shared and dedicated copper heat pipes and large fin stacks on both sides of the chassis.
- If you need to clean the fans, disconnect the battery first, then unplug each fan’s cable from the motherboard and remove their mounting screws. Lift the fans out and blow dust out of the blades and heatsinks with compressed air.
- Avoid poking the fan blades with hard tools; hold the blades still with a cotton swab while cleaning to prevent overspinning.
- Reinstall the fans, making sure no cables are trapped under the frames and all connectors are firmly seated.
Reassembly
- Double-check that the battery is connected, all RAM and SSD modules are fully seated, and all fan and Wi-Fi cables are plugged in.
- Place the bottom panel back on the chassis, aligning it around the ports and corners.
- Press gently around the edges to engage all clips.
- Reinstall and tighten all bottom screws. Do not overtighten to avoid stripping the threads.
- Power on the laptop and enter the BIOS/UEFI to confirm that the new RAM and storage are detected correctly.
More info: The robust dual-fan cooling design with extensive heat piping and large radiators is built for sustained high power loads, making the MSI Vector 17 HX AI A2XW a solid candidate for users who plan regular upgrades and long-term use.
Summary: MSI Vector 17 HX AI A2XW is easy to work on, with straightforward access to both storage bays, two RAM slots, a replaceable Wi-Fi card, and a screw-in 90Wh battery, while the robust dual-fan cooling is serviceable and built for long-term reliability.
MSI Vector 17 HX AI (A2XWx) in-depth review
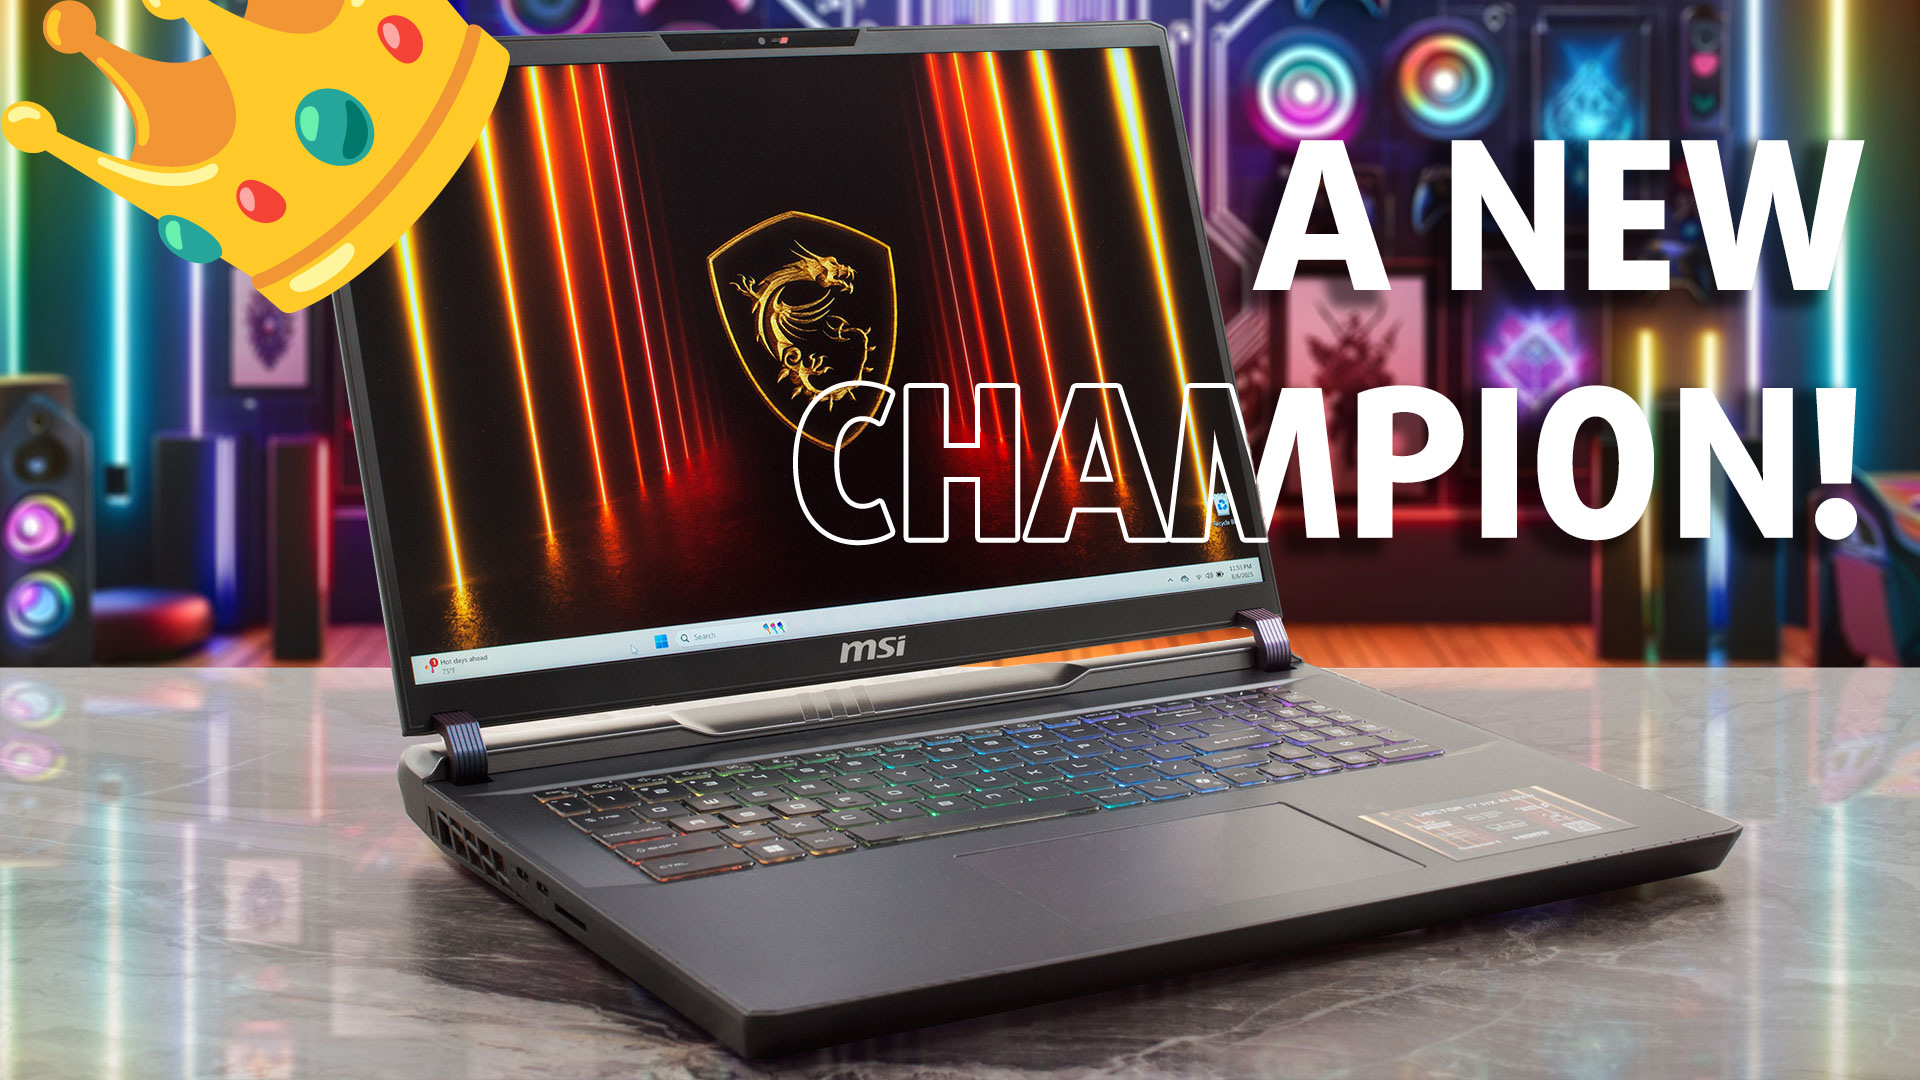
It's not every day that a new laptop arrives and completely upends the performance hierarchy we've so carefully measured. The MSI Vector 17 HX AI (A2XWx) is one of those rare machines. It has not only challenged the reigning champions but has definitively beaten them, claiming the title of the fastest GPU we have ever tested. This isn't MSI's top-of-the-line flagship, yet it has managed to outperform even its more expensive, flagship sibling, the MSI Titan. This is the story of an unexpected king, a machine that pairs its record-breaking power with phenomenal cooling, excellent battery lif[...]
Pros
- Chart-topping, best-in-class GPU performance (fastest RTX 5090 tested)
- Exceptional thermal management for both CPU and GPU
- Excellent battery life for a high-performance gaming laptop
- Superb QHD+ 240Hz display with 100% DCI-P3 coverage and no PWM
- Future-proof connectivity with two Thunderbolt 5 ports and Wi-Fi 7
- Fantastic upgradeability with dual RAM and dual M.2 (Gen5) slots
Cons
- Baffling keyboard layout with small NumPad and arrow keys
- Chassis is primarily plastic, which may feel less premium for the price
- No fingerprint reader for biometric login
 Author: Dimitar Stalev

![[August 2026] Best-Selling Laptop Brands on Amazon Japan – Apple Dominates Market Share and Revenue Led by Strong Unit Sales](https://laptopmedia.com/wp-content/uploads/2026/09/CO.JP-Best-Brands-1-400x225.jpg)
![[August 2026] Best-Selling Laptop Brands on Amazon USA – Apple Dominates Market Revenue and Volume Despite Lower Model Diversity](https://laptopmedia.com/wp-content/uploads/2026/09/COM-Best-Brands-1-400x225.jpg)
![[August 2026] Amazon Germany: Top 8 Best-Selling Gaming Laptops – Acer Dominates the Market as the Premium Nitro V 17 AI Takes the #1 Spot](https://laptopmedia.com/wp-content/uploads/2026/09/Best-Selling-Gaming-Laptops-DE-Top-10-1-400x225.jpg)
![[August 2026] Best-Selling Laptop Brands on Amazon France – Apple Dominates Revenue Despite Lenovo and HP Leading in Catalog Breadth and Volume](https://laptopmedia.com/wp-content/uploads/2026/09/FR-Best-Brands-1-400x225.jpg)
![[August 2026] Amazon Italy: Top 10 Best-Selling Laptops – Apple MacBook Neo Claims the Crown as Budget and Mid-Range Windows Machines Dominate Volume](https://laptopmedia.com/wp-content/uploads/2026/09/Best-Selling-Laptops-IT-Top-10-400x225.jpg)