Inside Dell Inspiron 15 5567 – disassembly, internal photos and upgrade options
Unfortunately, the chassis doesn’t offer easy access to the internals but with a little bit of patience, you can still make your upgrade or just clean it up if needed.
You can find some of the available models here: http://amzn.to/2kZK0Nz
1. Removing the bottom cover
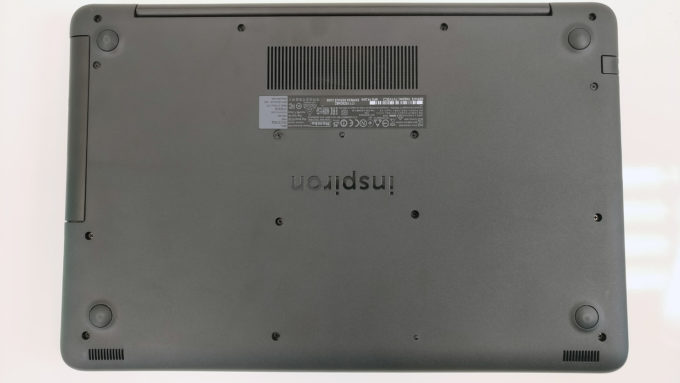
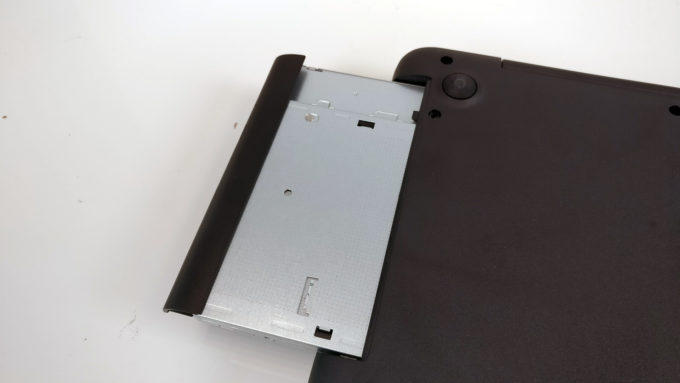
Just remove all the screws around the bottom and don’t forget to pull out the optical drive as well. There are three more screws hiding under it so you need to get those out before prying up the bottom piece.
2. Storage
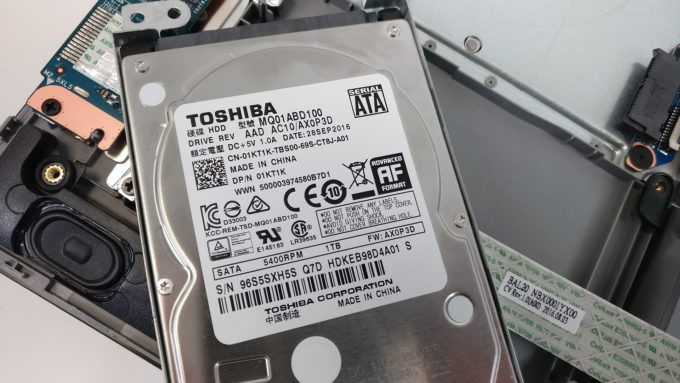
Once you’ve removed the bottom, you can easily spot the 2.5-inch HDD, which in our case is 1TB Toshiba drive.
Since there aren’t any additional M.2 SSD slots, you can still swap the optical drive for extra internal storage using a caddy.
3. RAM, Wi-Fi card and battery
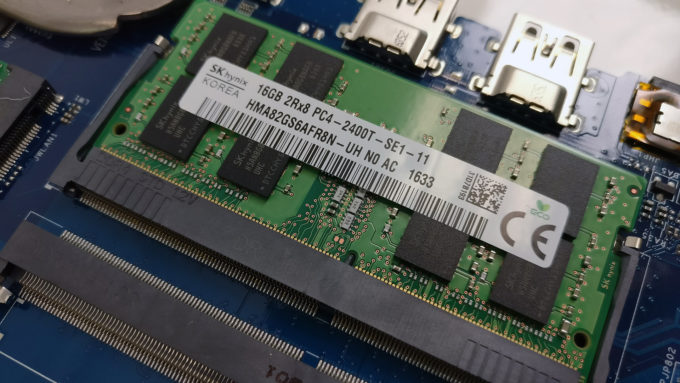
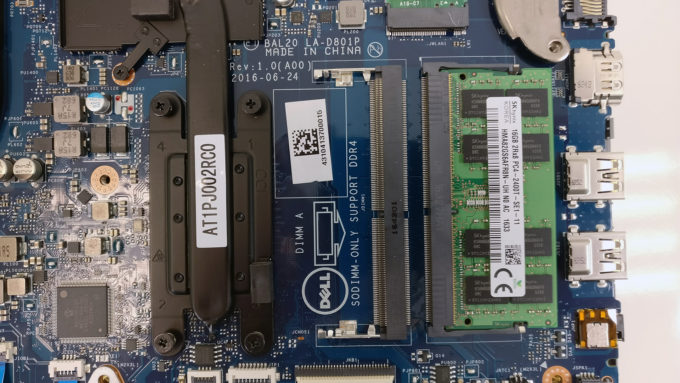
We were pleasantly surprised by the two RAM slots available on the motherboard. Our unit was equipped with one 16GB DDR4-2400 chip from SK Hynix, leaving the second one free for upgrade.
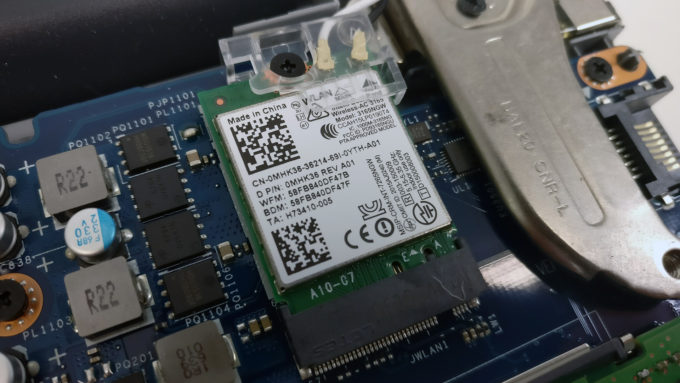
The Wi-Fi card is right next to the ram chip slots and it’s Intel 3165NGW.
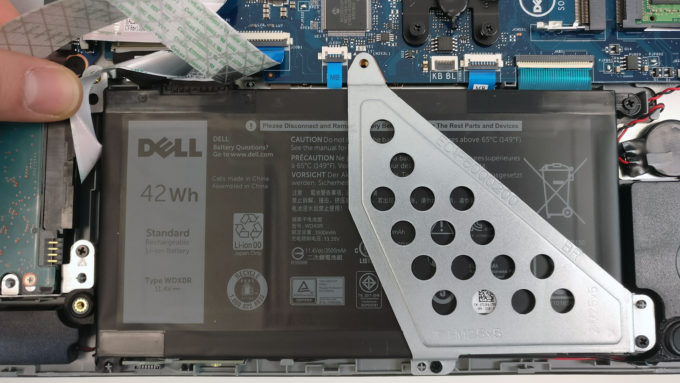
The battery is at its usual place – right under the palm rest area. The unit is rated at 42Wh.
4. Cooling system
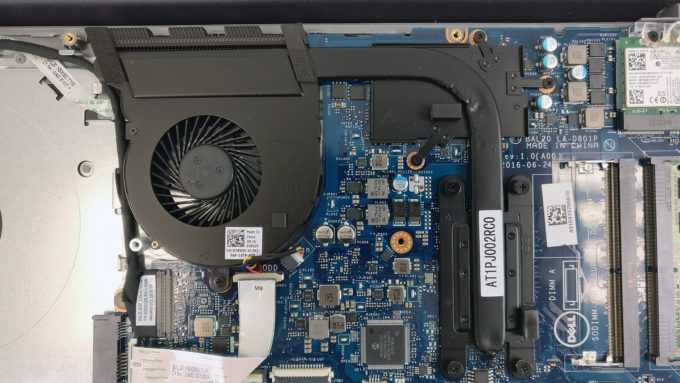
The cooling design isn’t anything special. There’s just one heat pipe stretching across the two heat sinks of the CPU and GPU and leading the hot air through the rear exhaust vent.
You can read the full review here.
You can find some of the available models here: http://amzn.to/2kZK0Nz



How am I supposed to get the screws under the optical drove out? I can’t find a screwdriver small enough
What i can do to increase my dell inspiron 15 5567 performance , read and write speed etc. Please help