Inside Lenovo Ideapad 110 – disassembly, internal photos and upgrade options
We have some great news about the successor of the Ideapad 100! The Ideapad 110 appears to be much easier to disassemble than its predecessor because it doesn’t require the keyboard to be removed. The only thing you have to do in order to access the commonly upgraded components is to just remove the bottom piece.
You may find some of the available models here: http://amzn.to/2ep5S6v
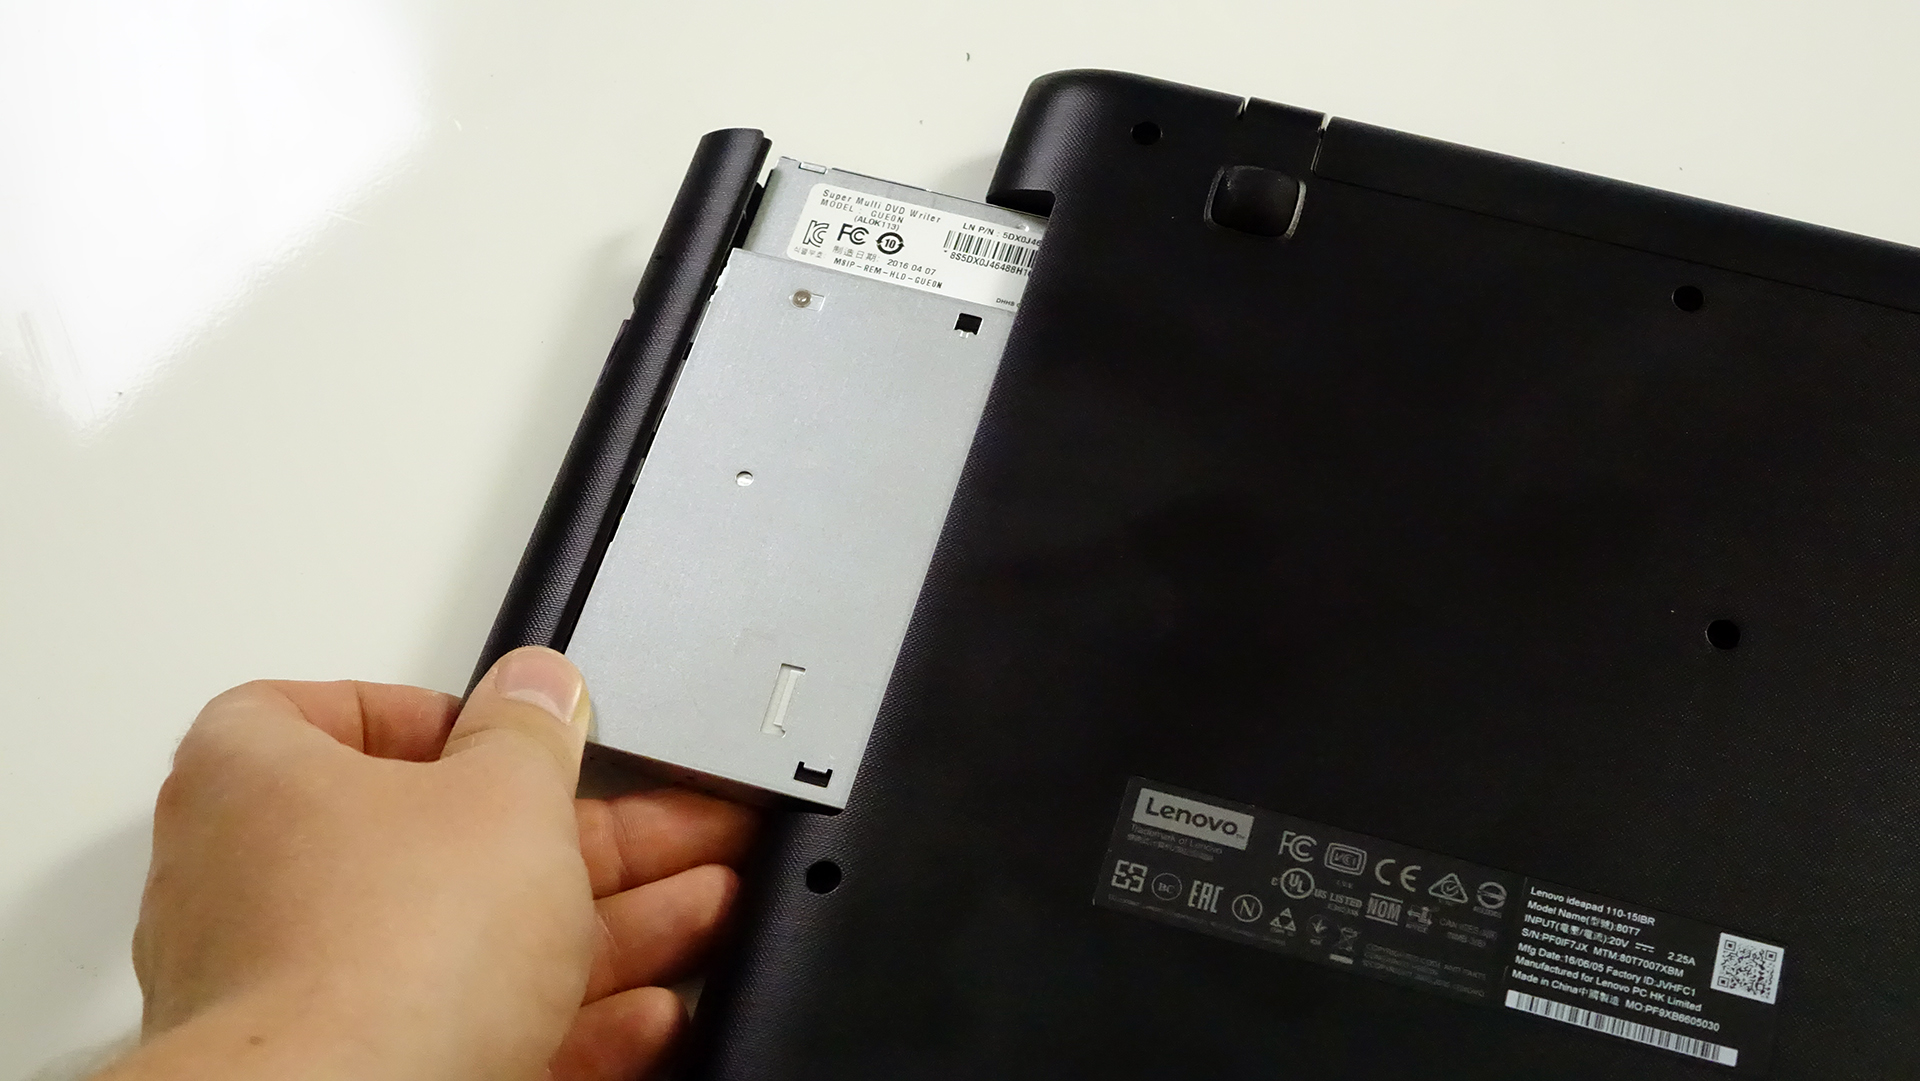
1. Removing the optical drive
Before you start doing anything, we suggest that you unscrew the whole bottom and then remove the optical drive. There might be a few screws hiding there so be careful. Remove them before you attempt to pry it up.
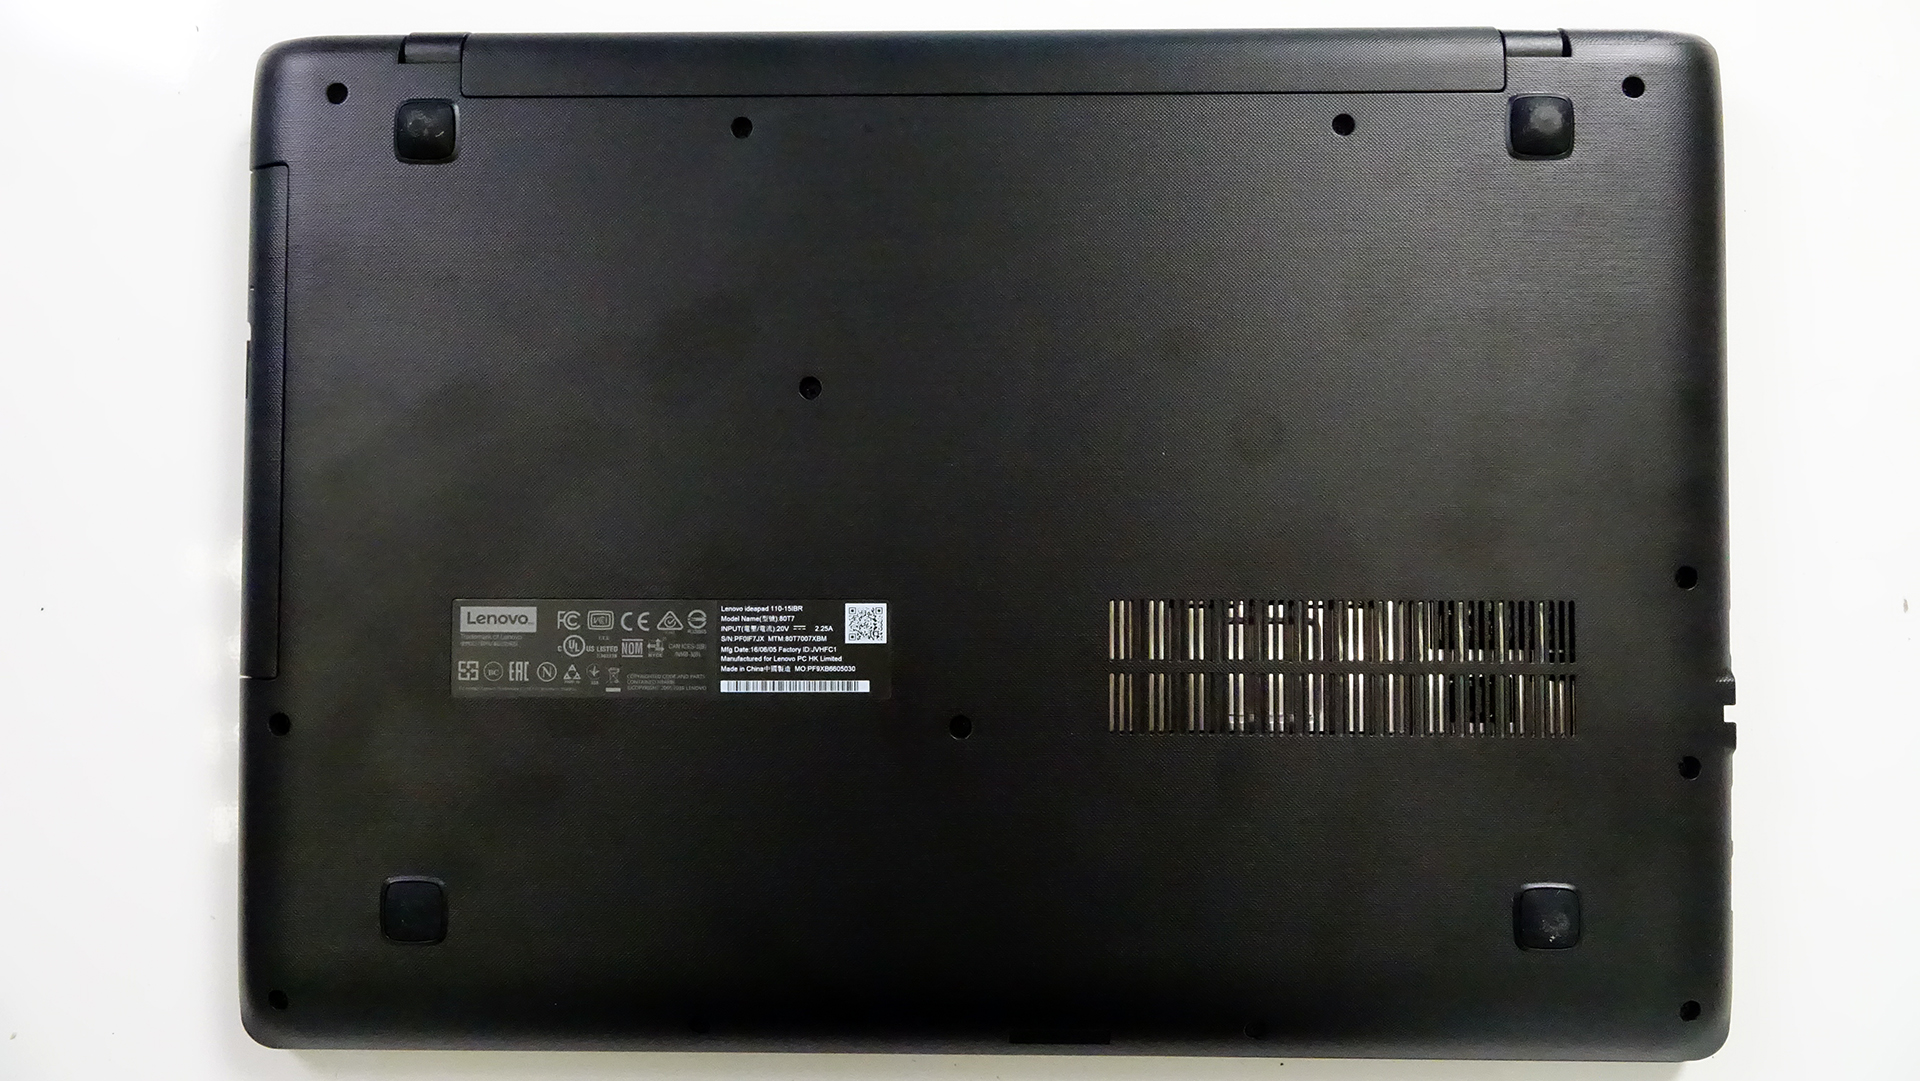
2. Detaching the bottom piece
After the optical drive has been removed, continue with the rest of the screws and pry up the bottom. It should come off easily.
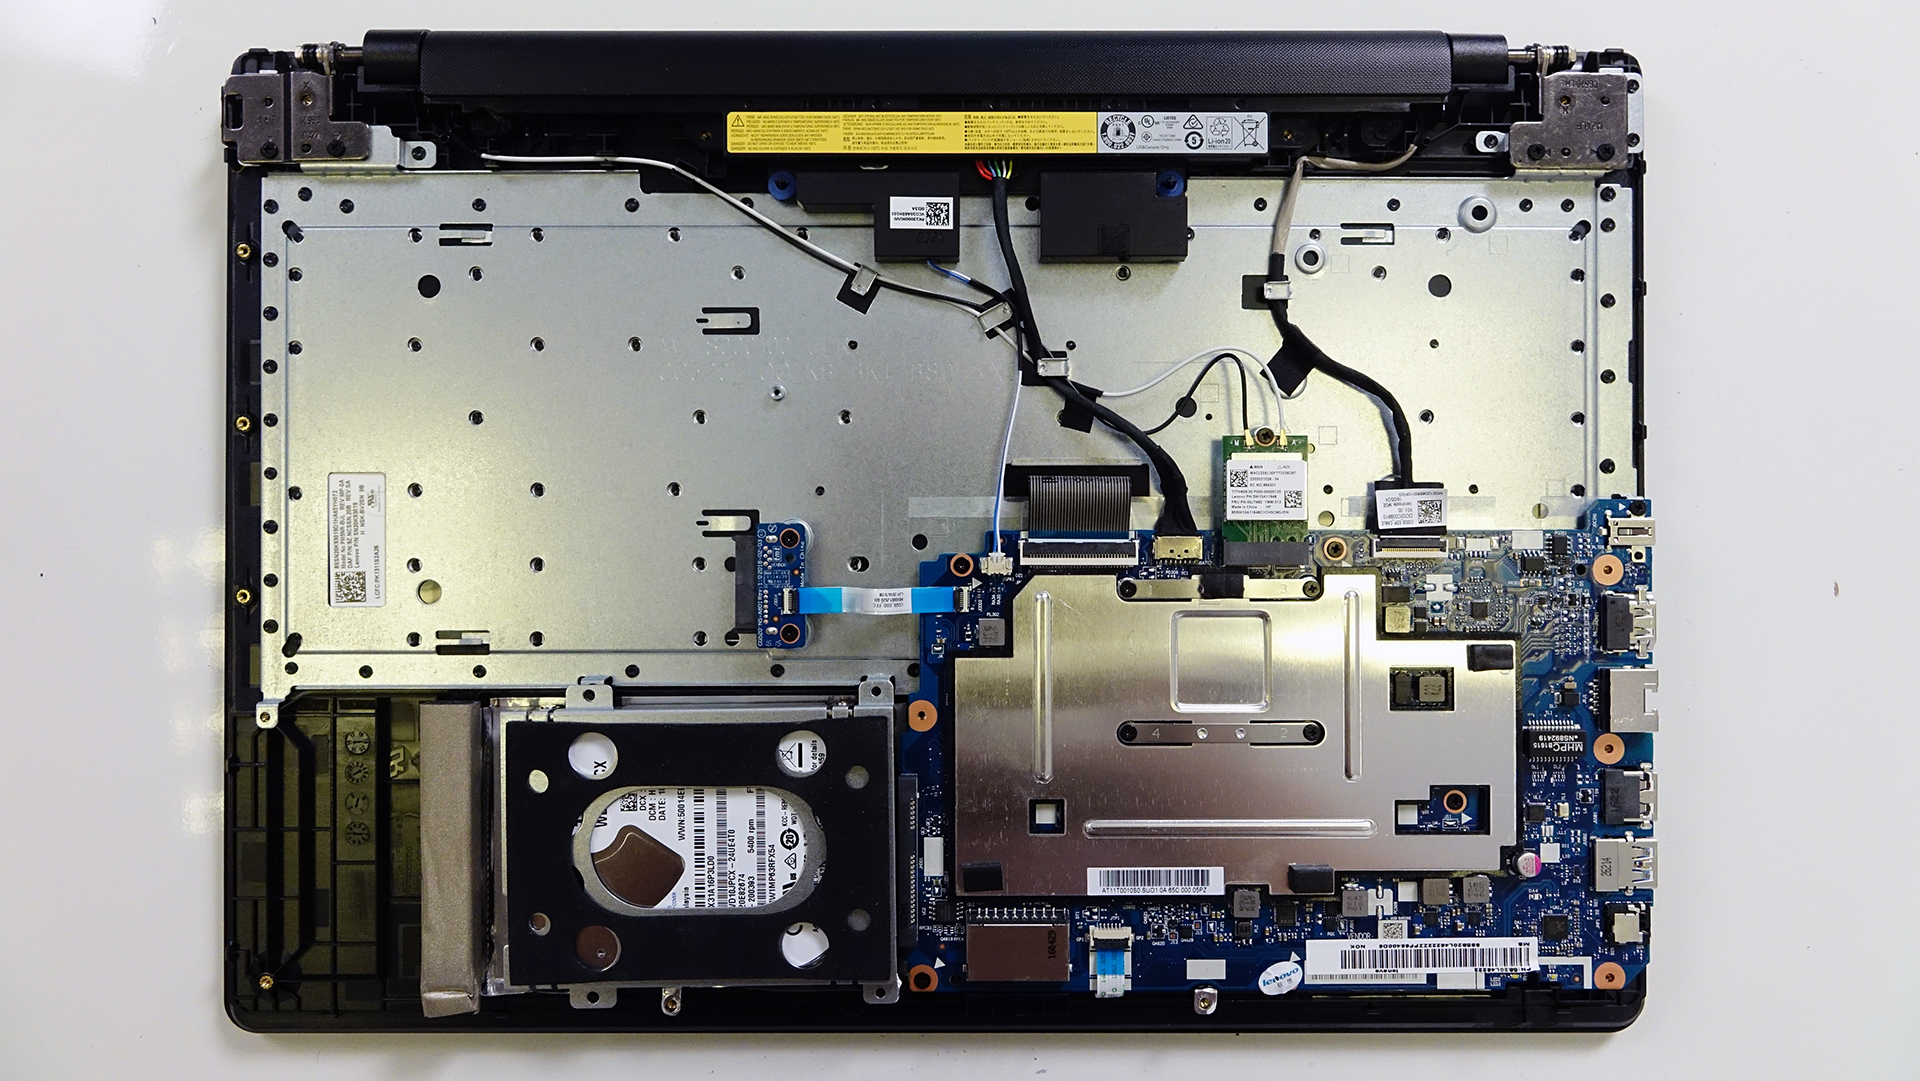
3. Storage and RAM
The notebook uses 4GB of DDR3 soldered RAM so unfortunately, it can’t be upgraded.
However, the 2.5-inch HDD is easily accessible, which in our case is WD packing 1TB of storage. If you throw an SSD in there and preserve the HDD using a caddy instead of the optical drive, you will have yourself an excellent budget performer with lots of space.

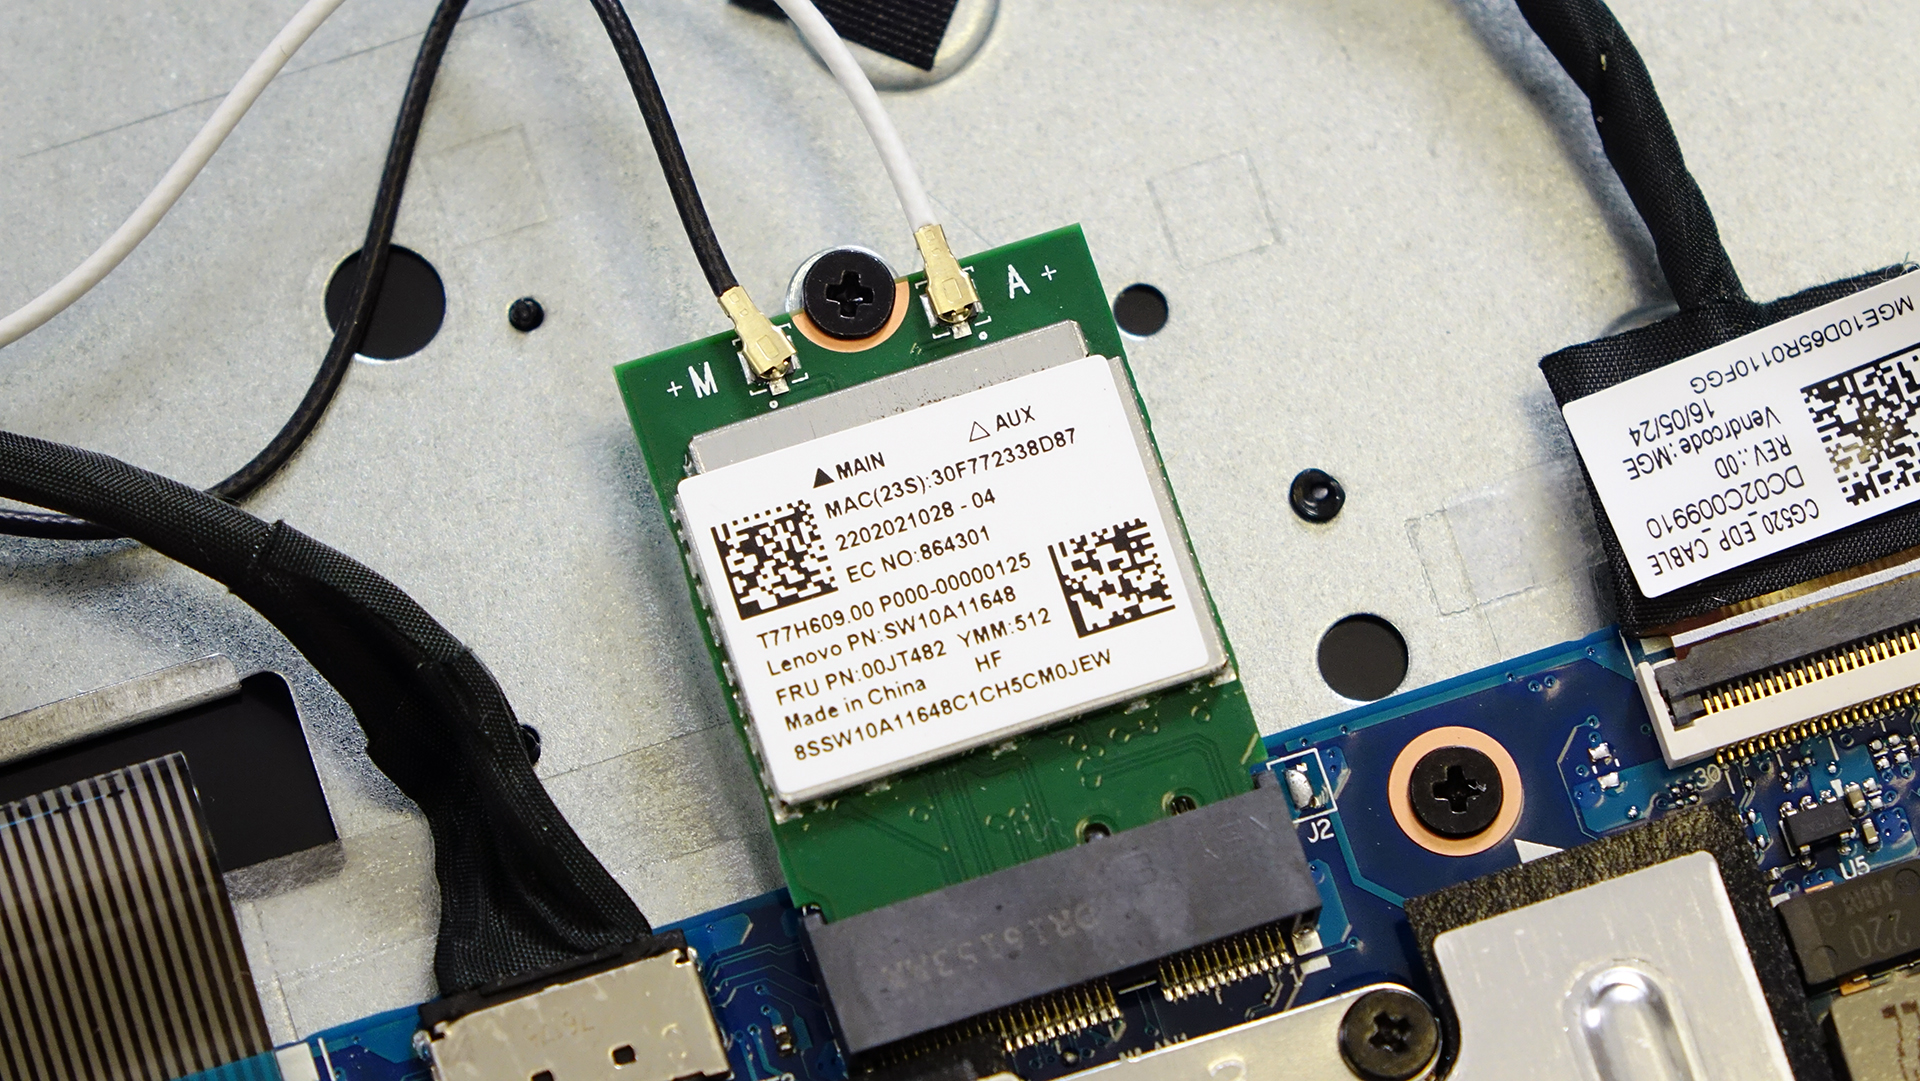
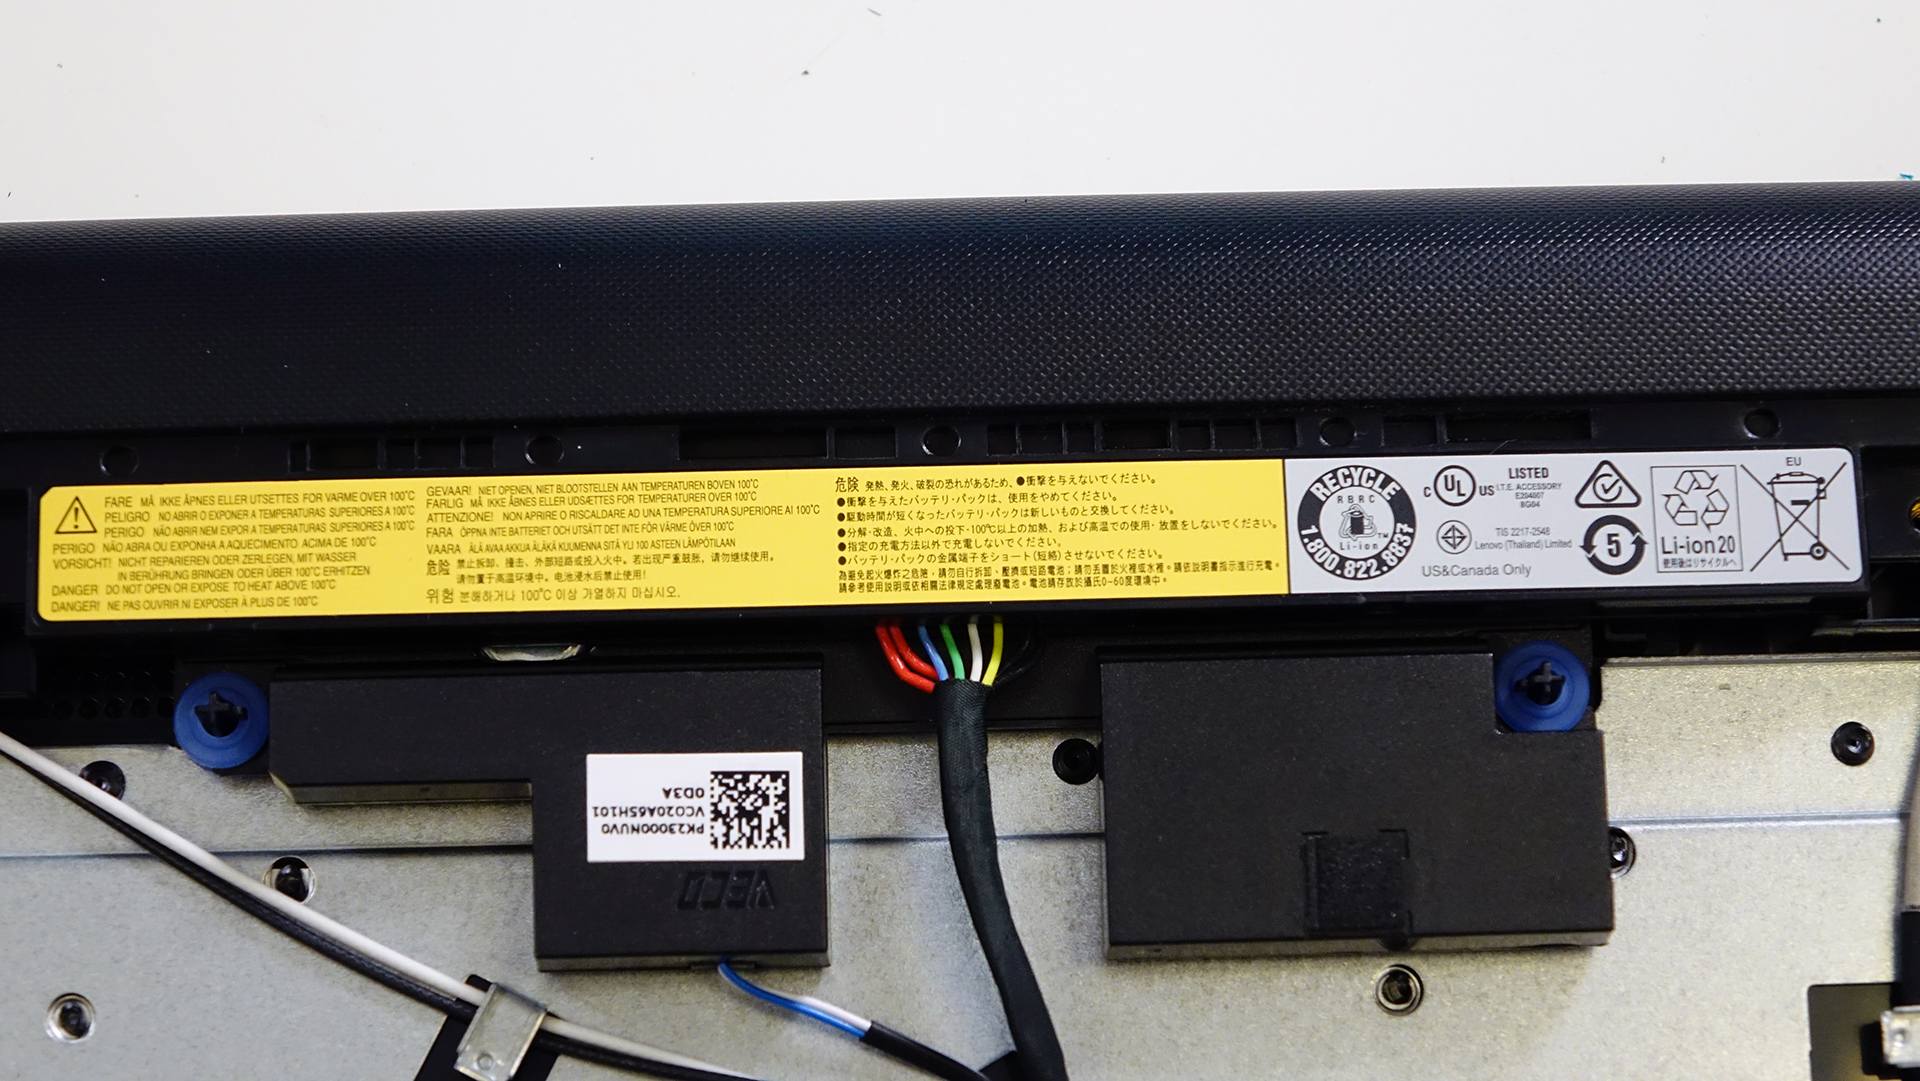
4. Wi-Fi card and battery
The Wi-Fi card is located next to the big heat sink plate for the CPU. Its model number is SW10A11648.
Whereas the battery, it’s located between the screen hinges and it’s rated at 24Wh so we can’t expect any record-breaking battery runtimes.
5. Cooling system
Since the notebook is equipped with an Intel Pentium N3710 CPU, it allows for a passive (fanless) cooling system. The only thing for heat dispersion is the metal plate and thermal paste applied on the CPU.
You may find some of the available models here: http://amzn.to/2ep5S6v


![[June 2026] Best-Selling Laptop Brands on Amazon Global – Apple’s Unrivaled Dominance in Units and Revenue](https://laptopmedia.com/wp-content/uploads/2026/07/GLOBAL-Best-Brands-400x225.jpg)
![[June 2026] Amazon Global: Top 10 Best-Selling Laptops – Apple’s New MacBook Neo Storms to #1, Reshaping the Market with Affordability](https://laptopmedia.com/wp-content/uploads/2026/07/Best-Selling-Laptops-GLOBAL-Top-10-400x225.jpg)
![[June 2026] Amazon Global: Top 10 Best-Selling Gaming Laptops – Acer’s Nitro V 16S AI Dominates Sales, While ASUS Leads Overall Revenue](https://laptopmedia.com/wp-content/uploads/2026/07/Best-Selling-Gaming-Laptops-GLOBAL-Top-10-400x225.jpg)
![[June 2026] Global Ranking of Best-Selling Laptop GPUs on Amazon – NVIDIA RTX 5060 is the Top-Selling Dedicated GPU](https://laptopmedia.com/wp-content/uploads/2026/07/Best-Selling-GPUs-GLOBAL-Top-10-400x225.jpg)
![[June 2026] Global Ranking of Best-Selling Laptop CPUs on Amazon – Apple M5 Dominates, AMD Ryzen 7 260 Gets Solid Premium Share](https://laptopmedia.com/wp-content/uploads/2026/07/Best-Selling-CPUs-GLOBAL-Top-10-400x225.jpg)

Great, this is the first page online, that shows how to disassemble the 110. Maybe its important to note that first youll have to take off the one screw in the middle that holds the optical drive and slide the drive out. Then three more screws become visible that all have to go as well as all the other screws on the back. Then prying up the back is easy – i like to use a guitar pick. Its not a Thinkpad, but its fairly easy to disassemble and upgrade the HDD. All you need is one small phillips screwdriver.… Read more »
Sorry – the optical drive does NOT have a standard SATA connector!! so forget the last paragraph!
I have one wiyh 2GB RAM, so it can not be upgraded to 4GB ?
we used the laptop yesterday and now it won’t turn on or do anything. what should I do? it’s brand new. Thanks.
Warranty?
Removed all the screws including the two under the optical drive. There is still one point in the middle that is holding the back cover in place. Anybody figure out how to get that one?
Did you figure this out? I too am struggling.
I bought the 17″ version of this model with the 7th gen i5 processor. In order to get inside I had to remove all bottom screws, flip it over, remove keyboard by lifting ribbon latch (keyboard held by 2 bottom screws), then remove 4 screws under the keyboard (one has a Lenovo warranty-type sticker covering it to release optical drive.
Once those 4 screws under keyboard are removed slide out the optical drive, then it comes apart easily. Don’t forget to disconnect the battery cable (17″ model I took apart has the battery in the bottom cover).
thank you very much for this article. Can you please indicate which choice should be better for a SSD? Thank you very much!
hello , i have a question how to upgrade ram memory? i read that 4 gb are soldier and has a another ram slot, but where is located . my model is Lenovo 110-15ISK
did you ever figure this out?
I have a Lenovo 110 S and it’s less than a year old and the screen is black and won’t do anything. Please help!!!!
I spilled water all over my laptop and now it won’t turn on
And I can’t eject the optical drive
How else do you get it out?
There should be a pin hole when you can insert a stretched paperclip.. that will unlock the drive lock, and eject the disk drawer..
hope this helps. 😉
Hello, your page was pretty good. My only issue is that the exact model number of the unit you disassembled, was NOT part of the articles title. This is critical because there are several models of the 110S series, and as such, did not pertain to the model I was working on ( 110S / 11IBR ). The photograph of the identification label of the model in your article was not clear. Over all, I did find your article a positive contribution to the techs who repair these units. Keep up the good work.
How do i take out the CPU ??? Please help pleaseeeee
I have lenovo ideapad 110, it has 2GB RAM, is it possible for me to upgrade it to 4GB ?
Yes, of course. Our model is 4GB.
How to upgrade it ? cos Mine have 2gb too and. The System take 0,7 – 1,3+ MB and sometimes it takes 1,8GB (or i can say Overload) and that’s just like i only’ve 1mb.
i got Lenovo ideapad 110, it has 3cell battery (24Wh) and the battery drains very fast . i have warranty for 1 year can i exchange the battery or what can i do to increase the battery life.
I have a 110 15ibr signature edition and I want to know if it is possible to upgrade the cpu.
Whats the replacement part number of the Optical Drive???